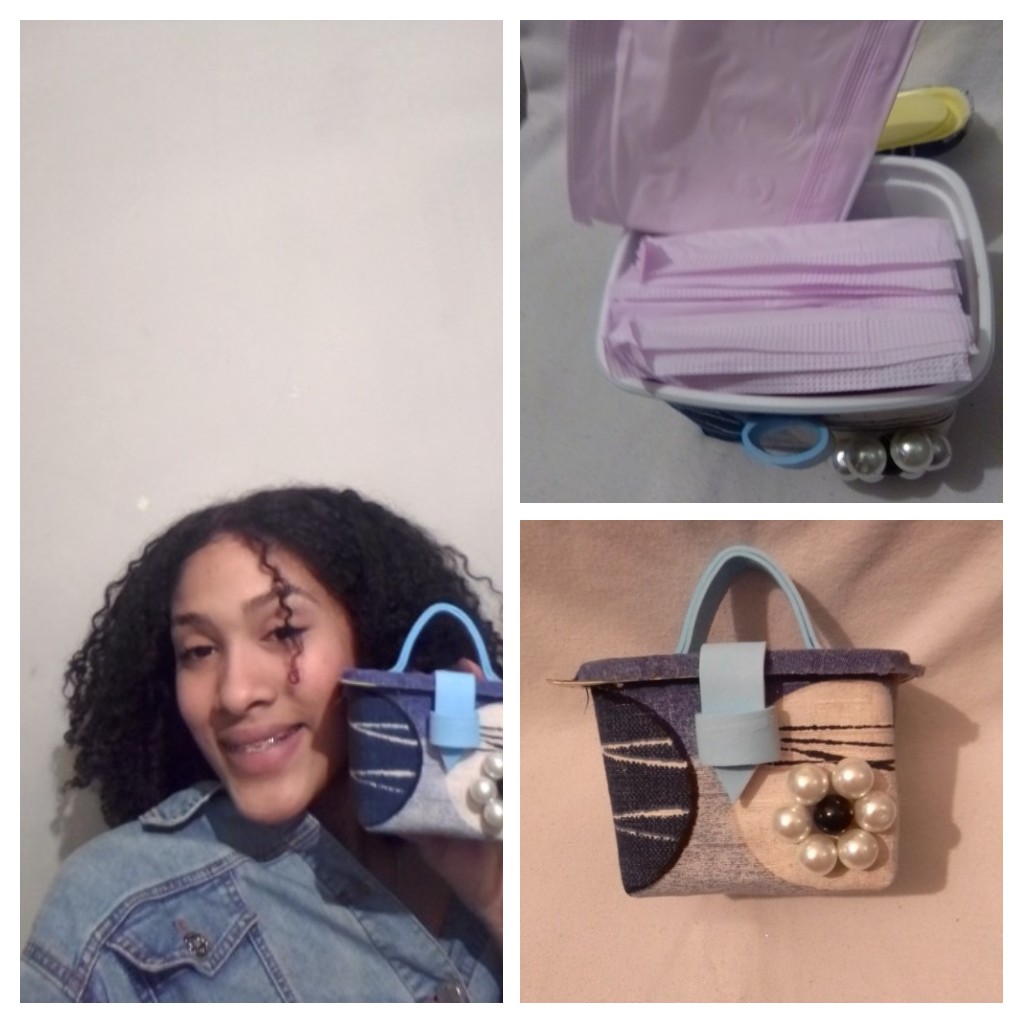
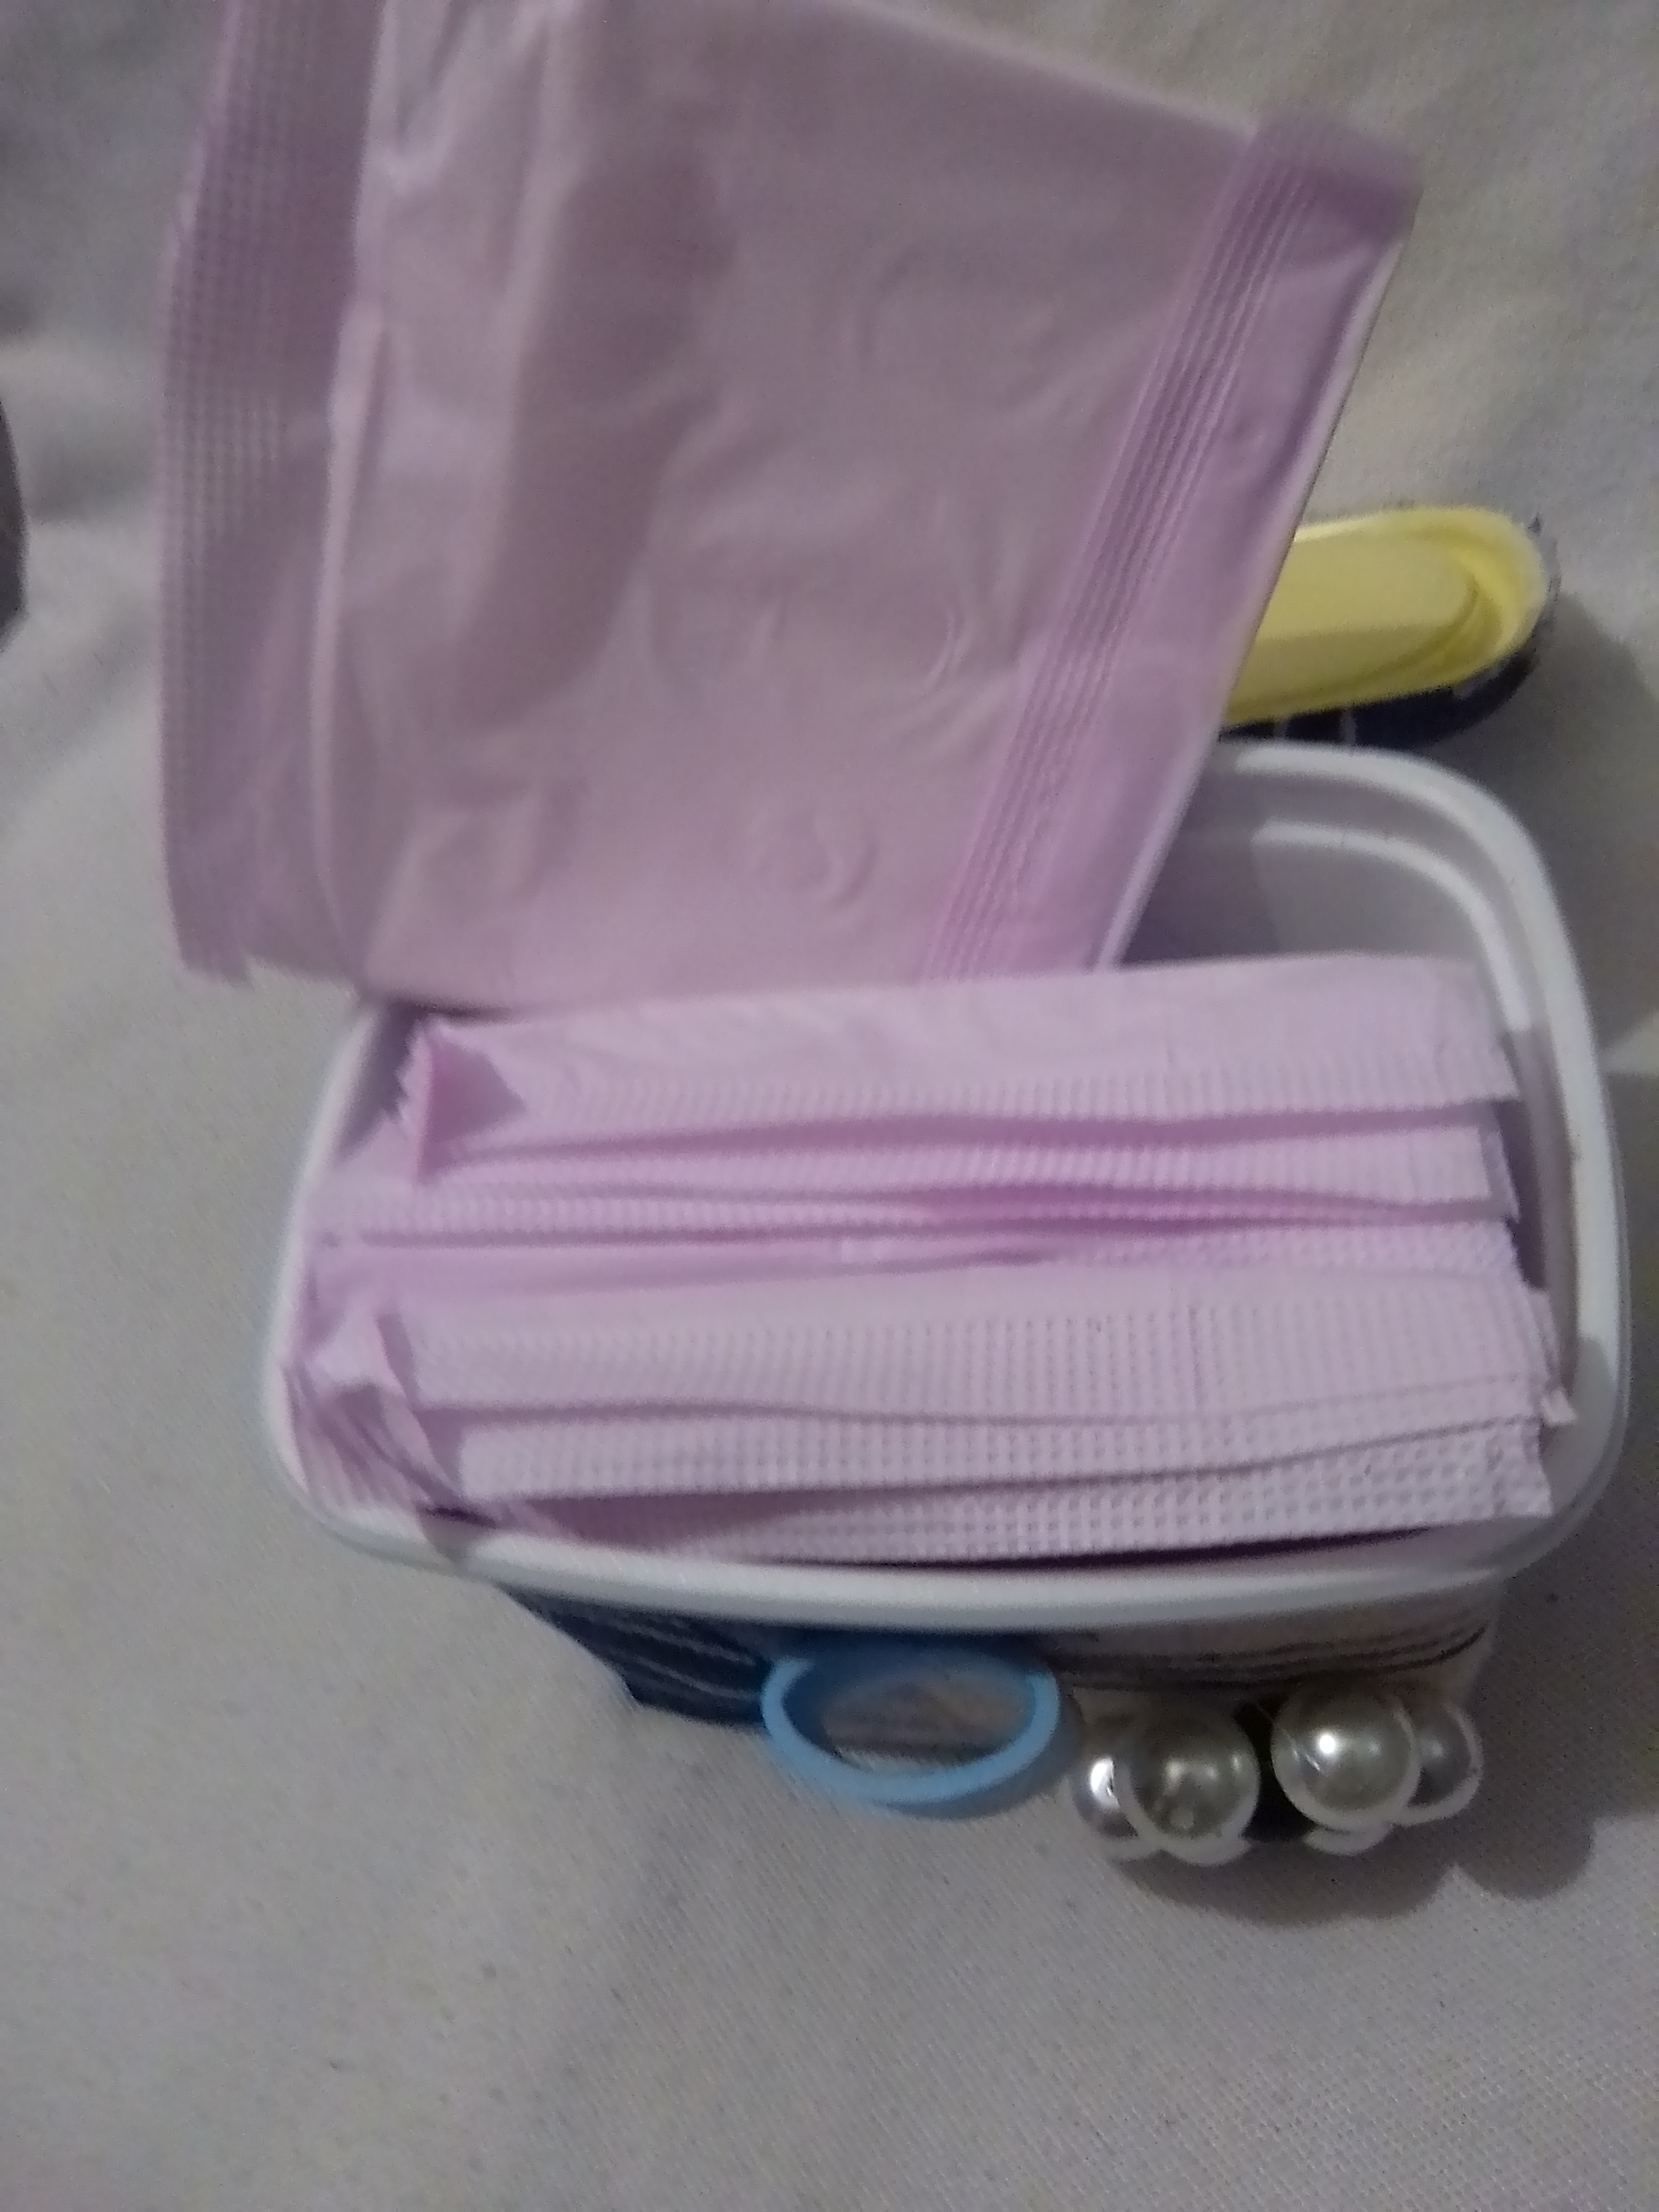
Hello friends of Hive Diy, after days without posting, I was motivated to make a nice craft, recycling a margarine container, and which I can use as an organizer either for sanitary napkins or my cotton mops.
Materiales usados/ Materials used
Utilice:
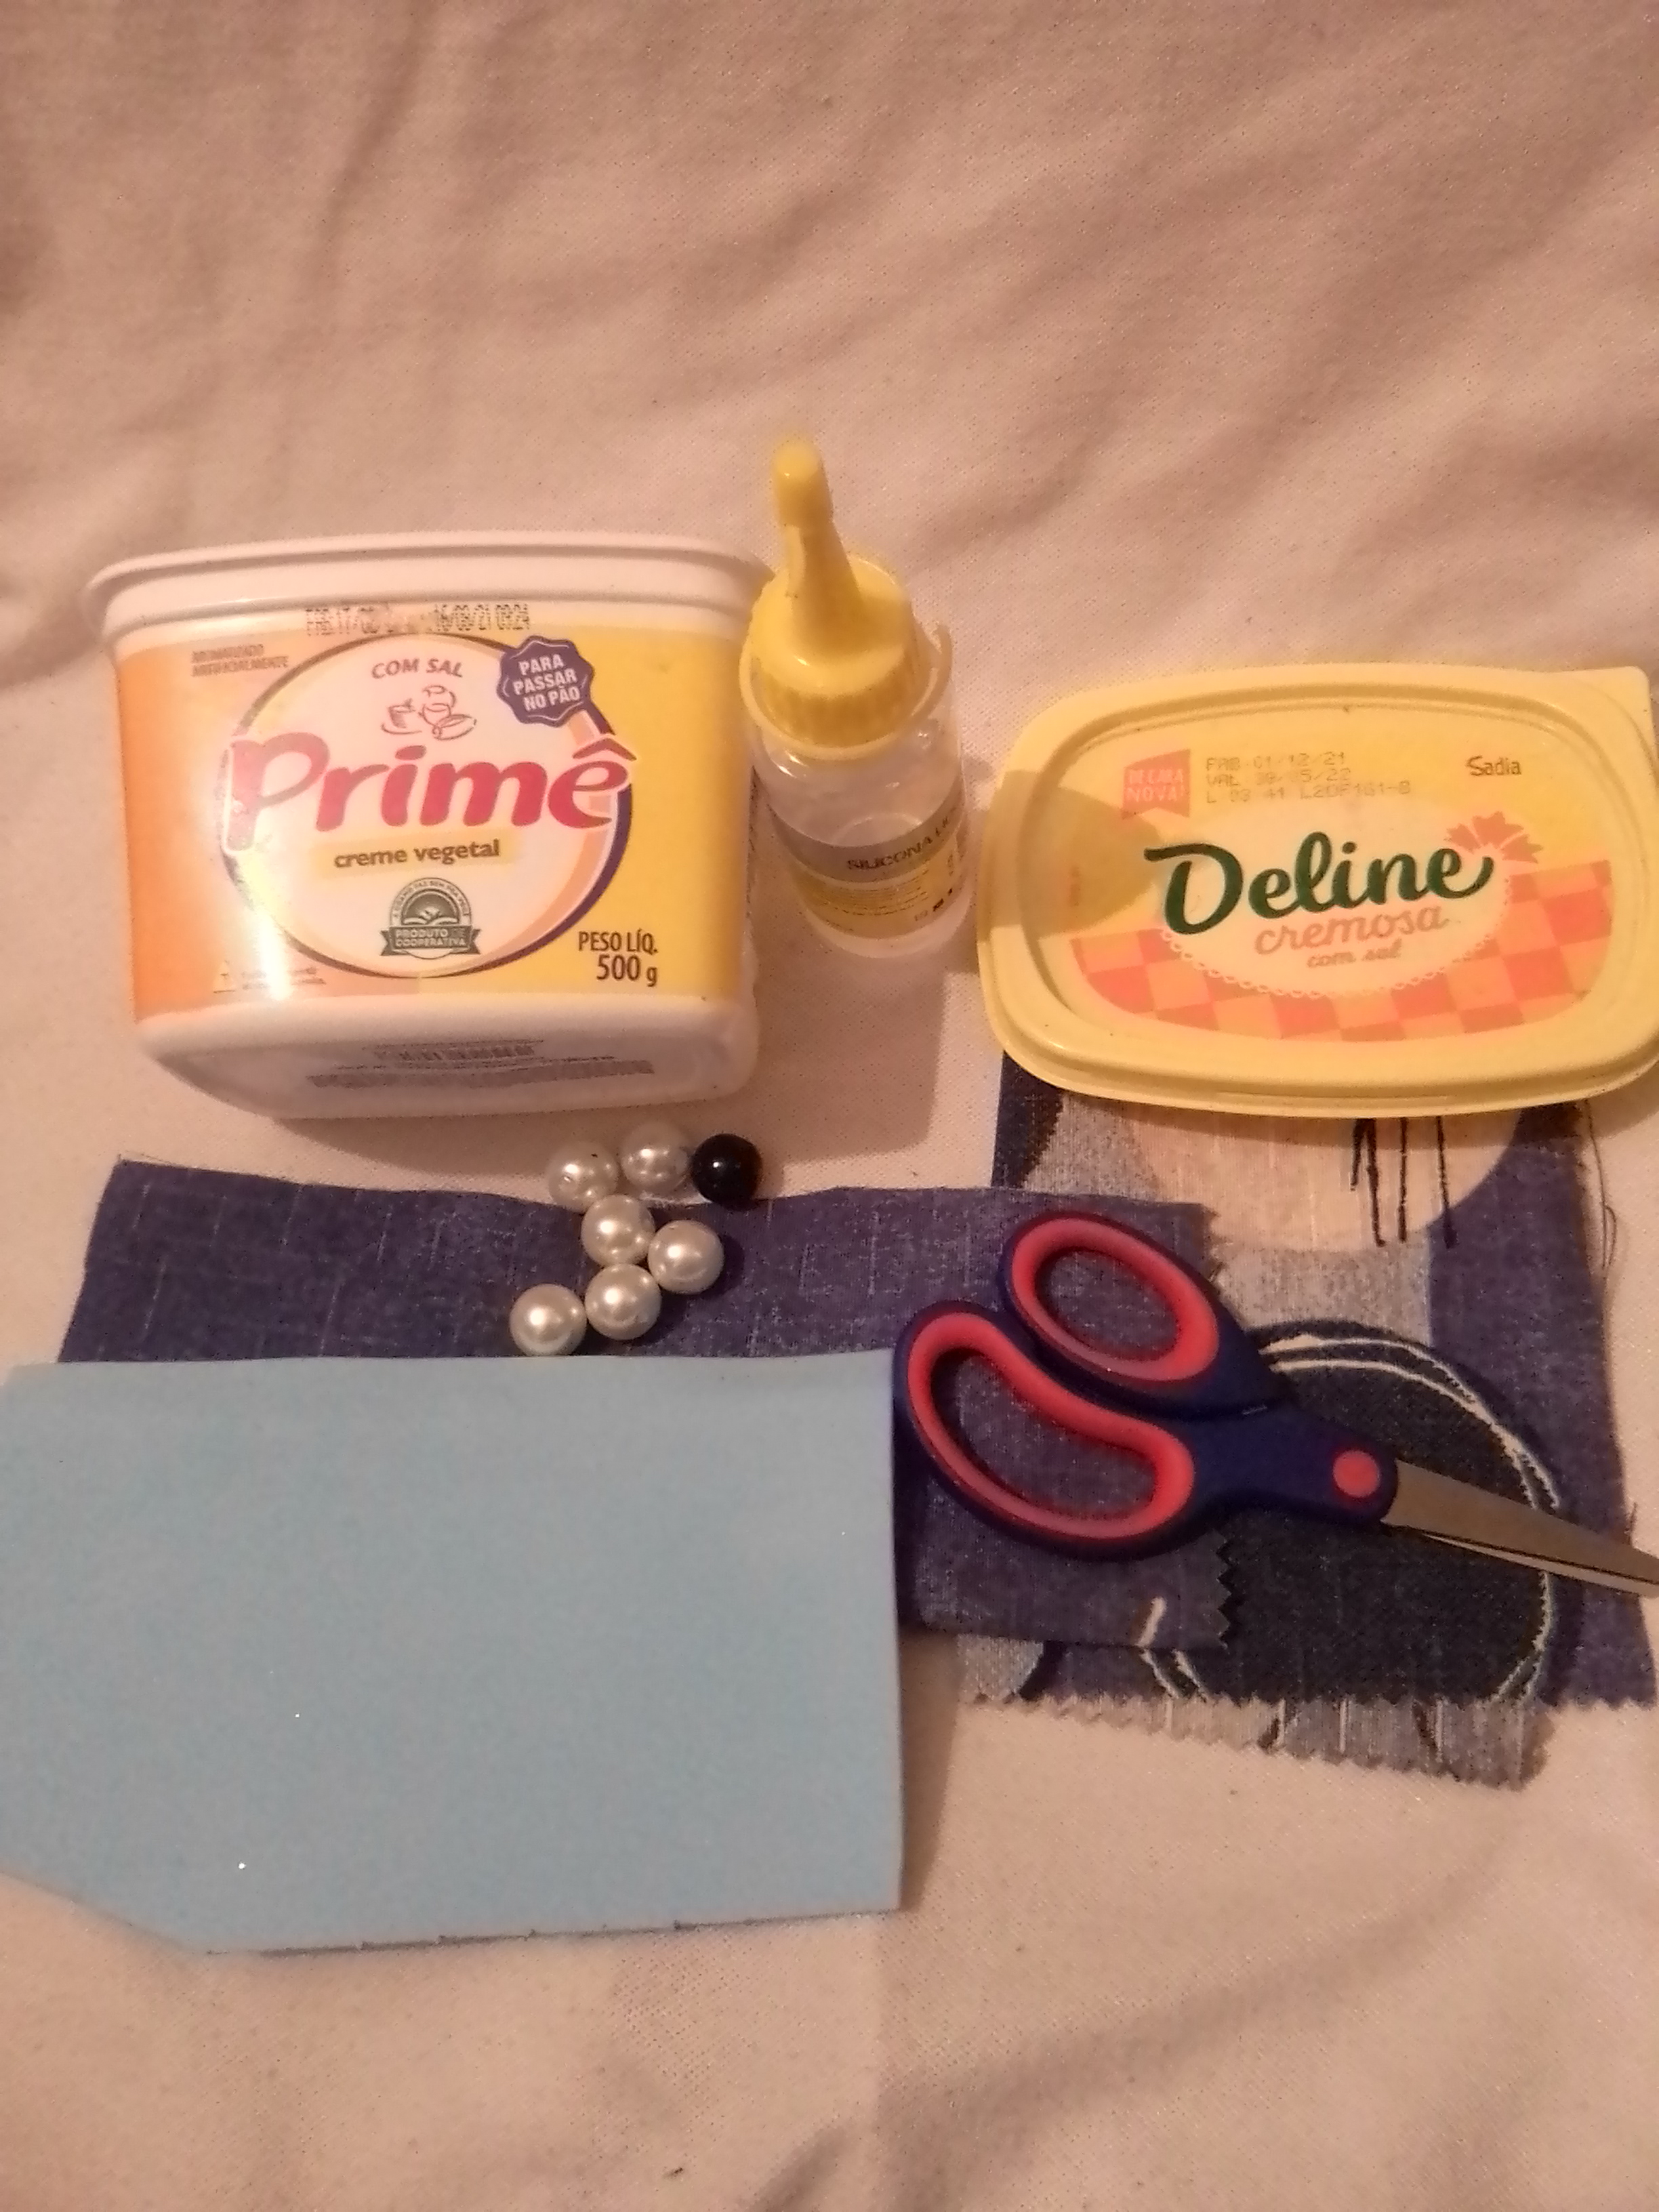
Envase de margarina con tapa, tela de tapicería, Silicon líquido, tijera, perlas blancas y azul oscuro, foami azul claro, tijera.
Use:
Margarine container with lid, upholstery fabric, liquid silicon, scissors, white and dark blue beads, light blue foami, scissors.
Paso a paso/ Step by step
Primer paso/ First step
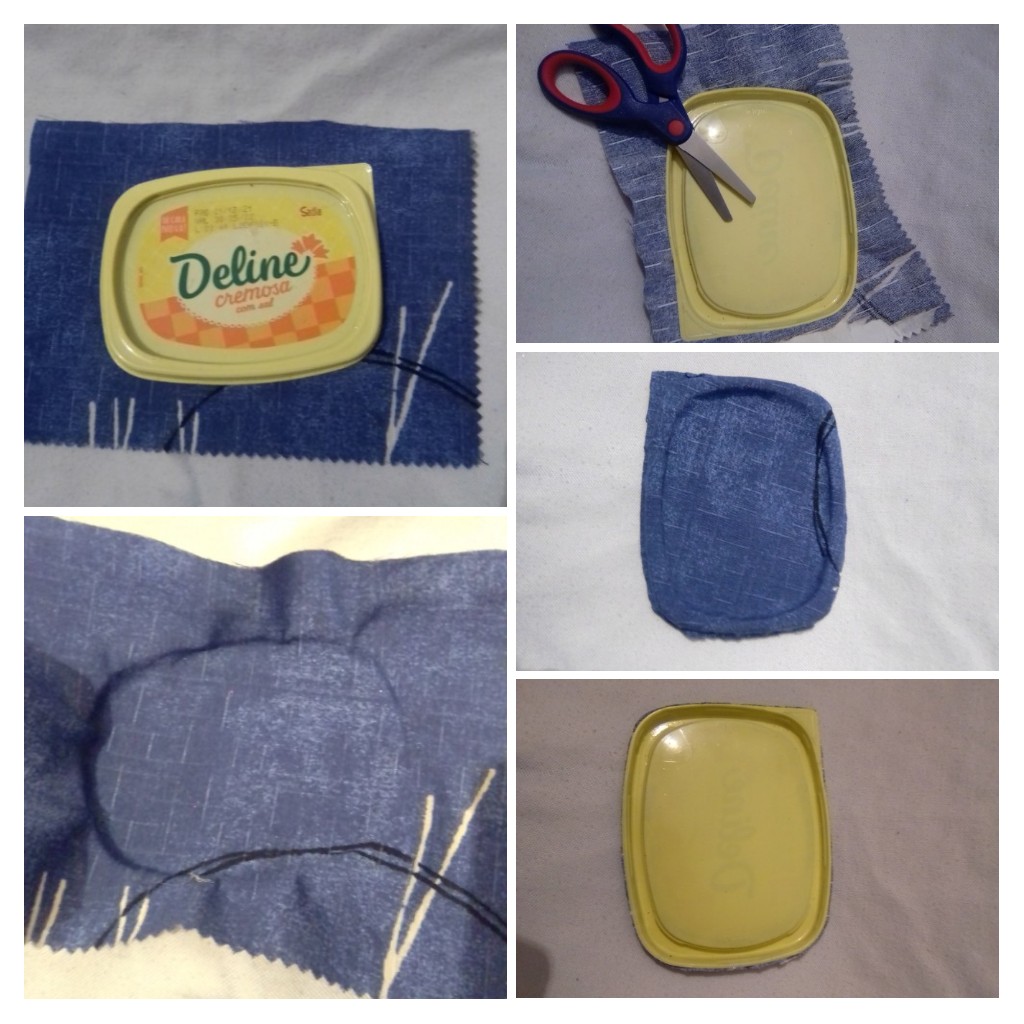
Lo primero que hice fue seleccionar la parte estampada de la tela para forrar el envase plástico, el cual comencé doblando hacia dentro el borde y colocando justo en el doblez donde calza la tapa, ayudándome con la tijera, y aplicando pequeñas cantidades de Silicon líquido y alisando, para evitar que se arrugue, doble en la parte de abajo y cubri con un trozo es espació que faltó.
The first thing I did was to select the printed part of the fabric to line the plastic container, which I started by folding inward the edge and placing it just in the fold where the lid fits, helping me with the scissors, and applying small amounts of liquid silicon and smoothing, to avoid wrinkling, fold at the bottom and cover with a piece is missing space.

Segundo paso / Second step
El siguiente paso fue forrar la tapa, para ello seleccione la parte de la tela del mismo trozo, pero que es más unicolor. Pegue la tela a la tapa colocando el silicon líquido donde la tapa se eleva y presionando muy bien y luego coloque pegamento en el ala de la tapa y presione la tela para que pegue. Al secar recorte el sobrante de la tela.
The next step was to line the lid, for this select the part of the fabric from the same piece, but that is more unicolor. Glue the fabric to the lid by placing the liquid silicone where the lid rises and pressing very well and then place glue on the wing of the lid and press the fabric to stick. When dry trim off the excess fabric.

Tercer paso/ Third step
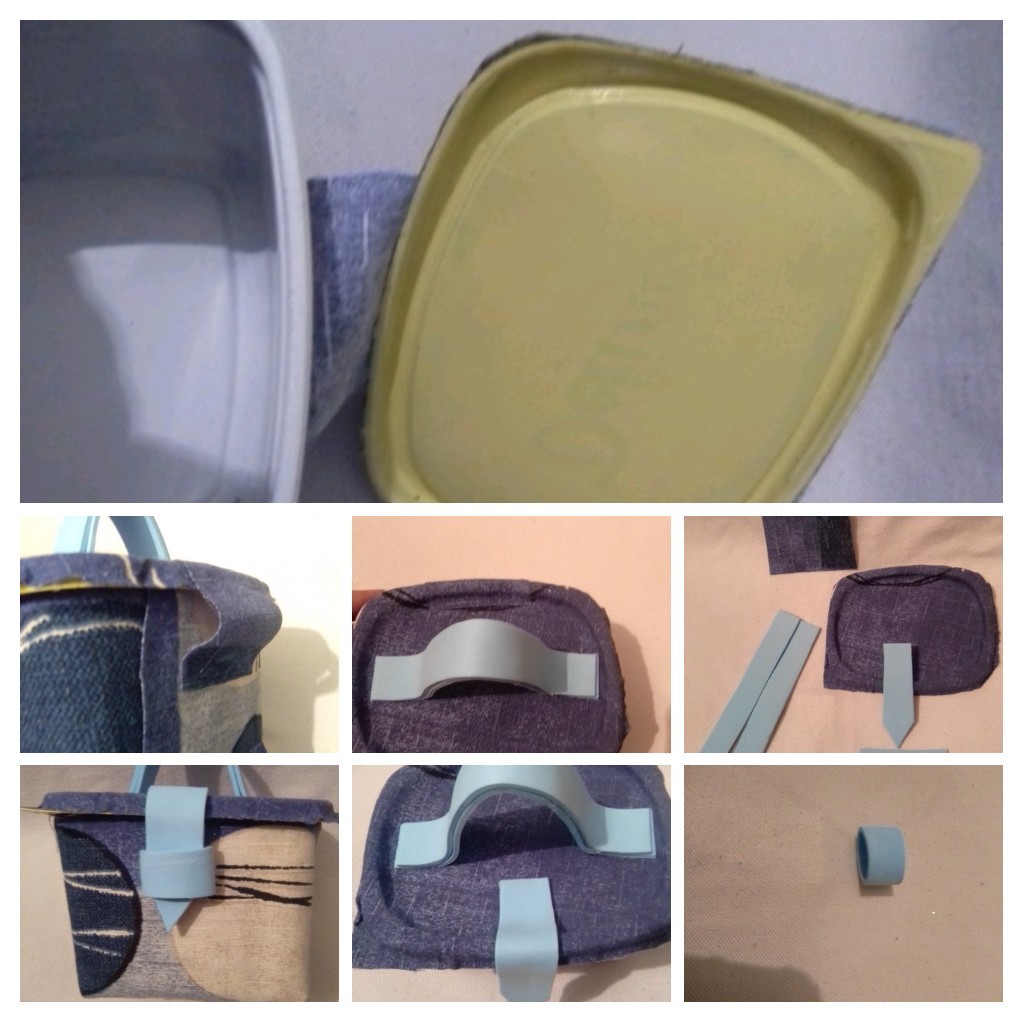
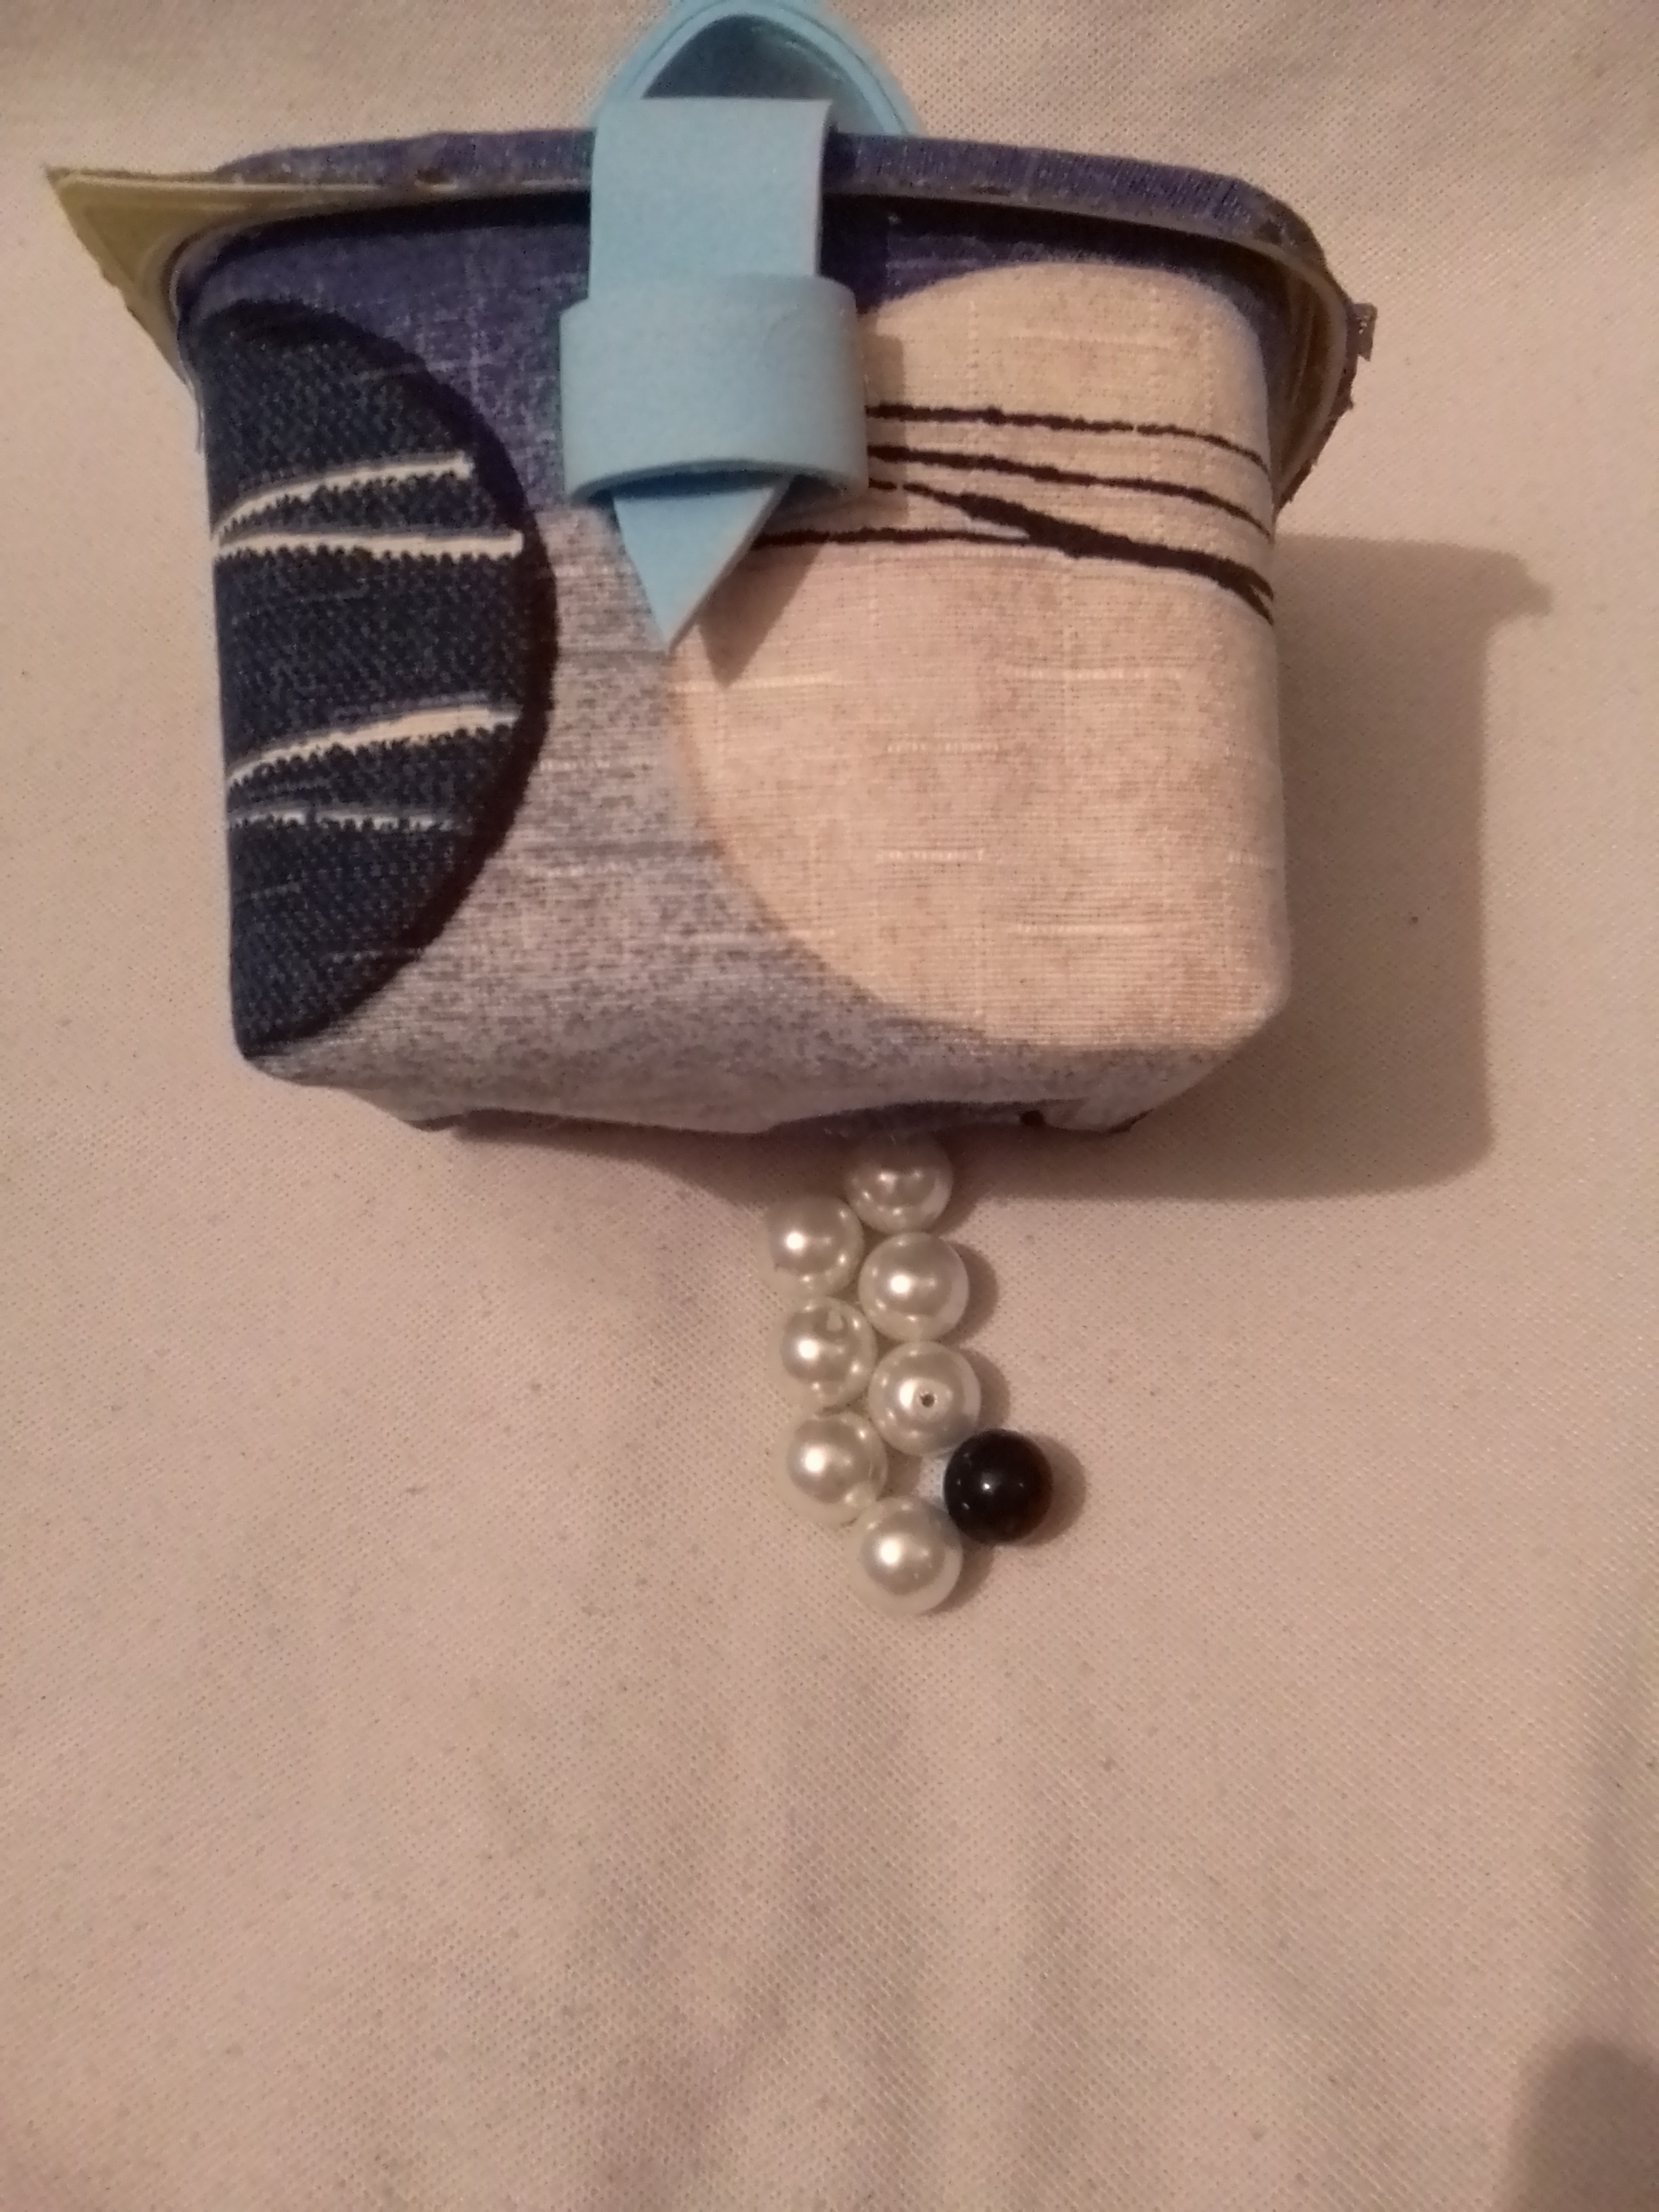
El siguiente paso fue realizar con foami azul el colgador y una especie de seguro para el organizador, también coloque un trozo de tela el la parte posterior para unir el envase con la tapa, de manera que al abrirla, la tapa quede colgando.
The next step was to use blue foami to make the hanger and a kind of lock for the organizer, I also placed a piece of fabric on the back to attach the container to the lid, so that when it is opened, the lid will be hanging.
Cuarto paso/ Fourth step
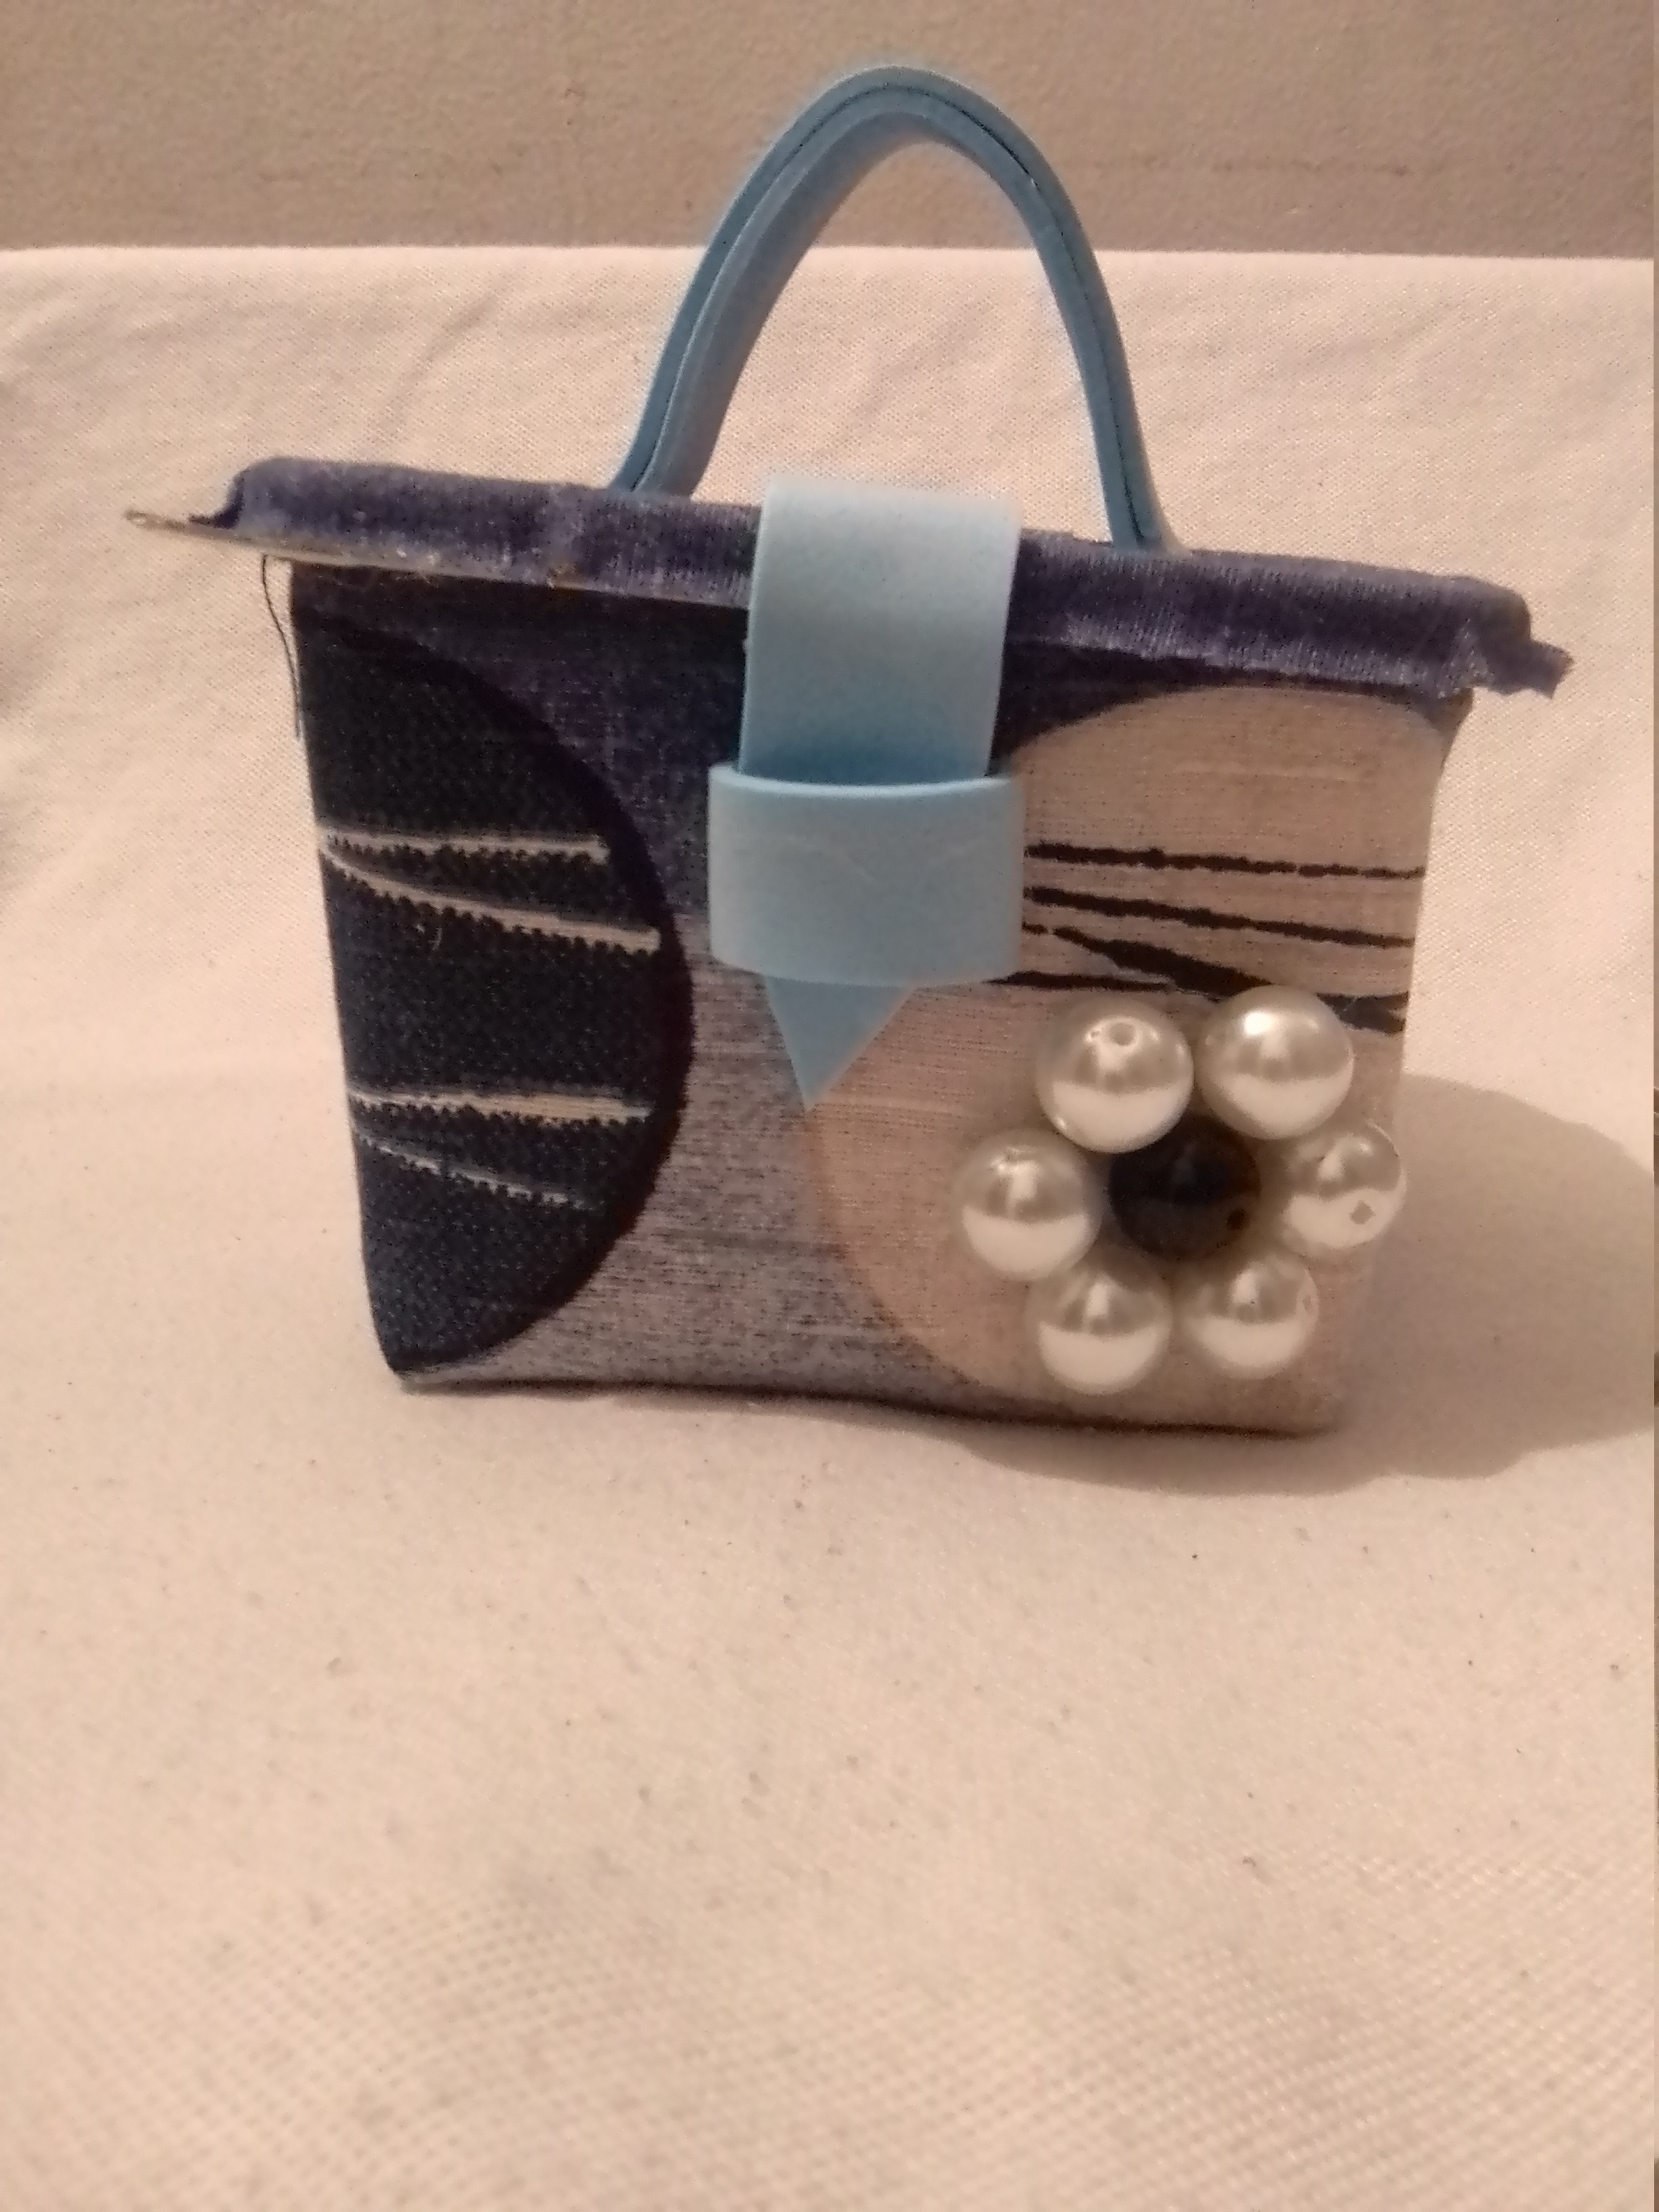
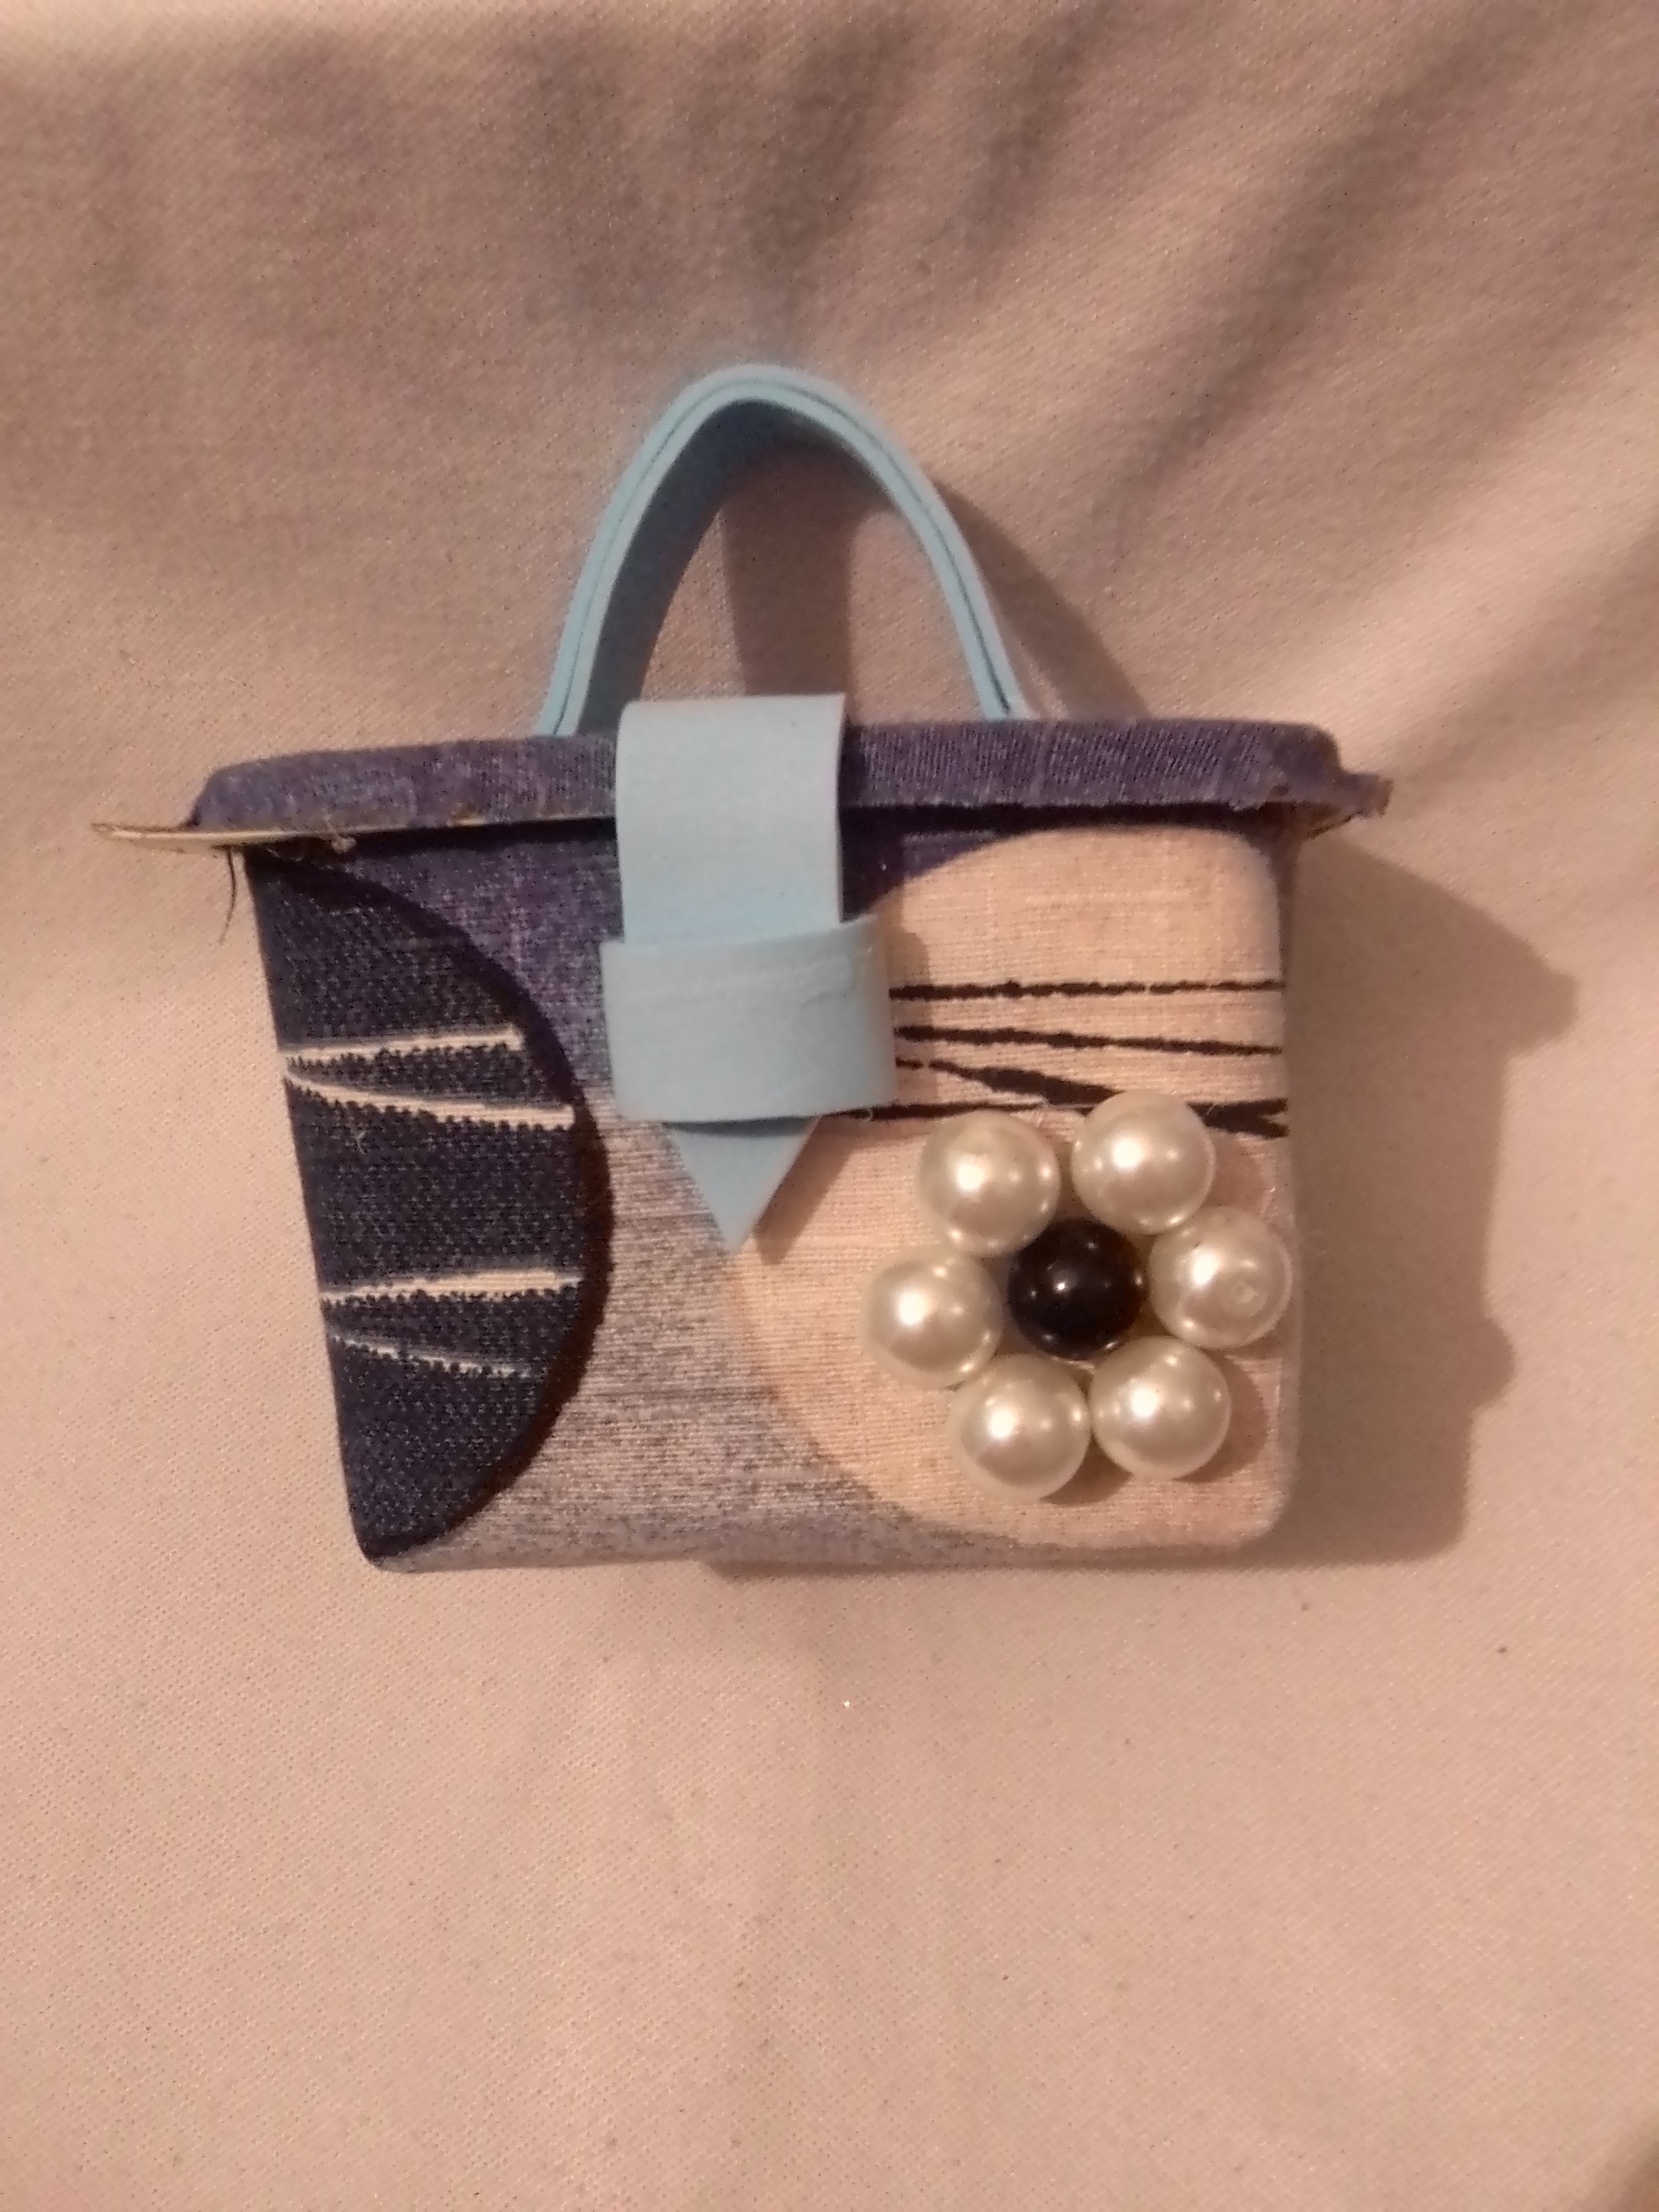
Como último paso, pegue las perlas, haciendo una linda flor con ellas, para así decorar mi cajita organizadora.
As a last step, I glued the pearls, making a pretty flower with them, to decorate my organizer box.
Resultado/ Result
Las fotos fueron tomadas con mi celular BluC7
El traductor usado / The translator used
Deelp Traductor
Excelente idea amiga felicidades 😜
Gracias 🤗
Que lindo es poder reutilizar los envases de plastico, excelente idea para organizar.Gracias por compartir
Gracias @brume7