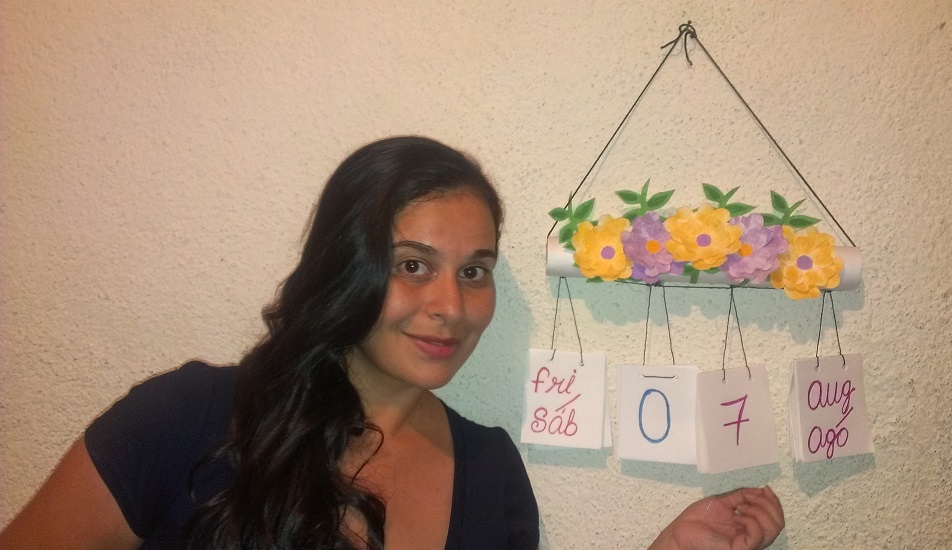
Greetings DIY #HIVEDIY, I hope you are very well. My craft for today consists of exactly the days, and that is that from a simple and useful cardboard tube and some cardboard cutouts that I had at home I have prepared a practical Gregorian calendar that is as functional as it is educational at the time of teaching our children the months and days of the week. In addition, this calendar turns out to be decorative, with nothing more to add I leave you the elaboration of my project.
Saludos bricolajeros de #HIVEDIY, espero se encuentren muy bien. Mi manualidad para el día de hoy consiste exactamente en los días, y es que a partir de un sencillo y útil tubo de cartón y unos recortes de cartulina que tenía en casa me he dispuesto a elaborar un practico calendario gregoriano que es tan funcional como educativo al momento de enseñar a nuestros hijos los meses y días de la semana. Además este calendario resulta ser decorativo, sin más nada que agregar les dejo la elaboración del mi proyecto.
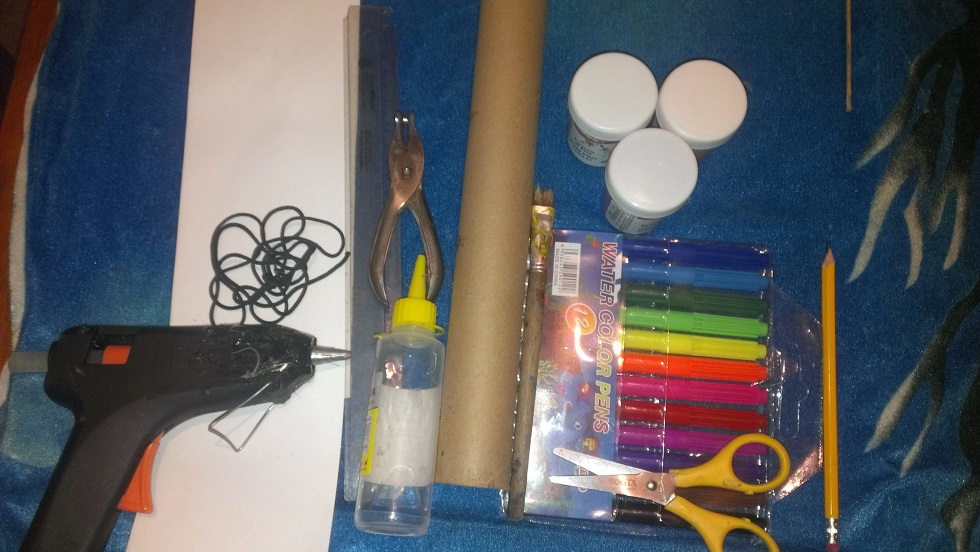
Materials used:
• Long cardboard tube.
• Scraps of white card.
• Shoe string or nylon thread.
• Colored markers.
• Paints: green, purple and orange.
• Liquid glue.
• Stick silicone with your gun.
• Pair of scissors.
• Pencil.
• Open holes.
• Brush.
• Rule.
Materiales utiizados:
• Tubo de cartón largo.
• Retazos de cartulina blanca.
• Cuerda de zapatos o hilo nailon.
• Marcadores de colores.
• Pinturas: verde, violeta y naranja.
• Pegamento líquido.
• Silicón en barra con su pistola.
• Tijeras.
• Lápiz.
• Abre huecos.
• Pincel.
• Regla.
Start of my craft:
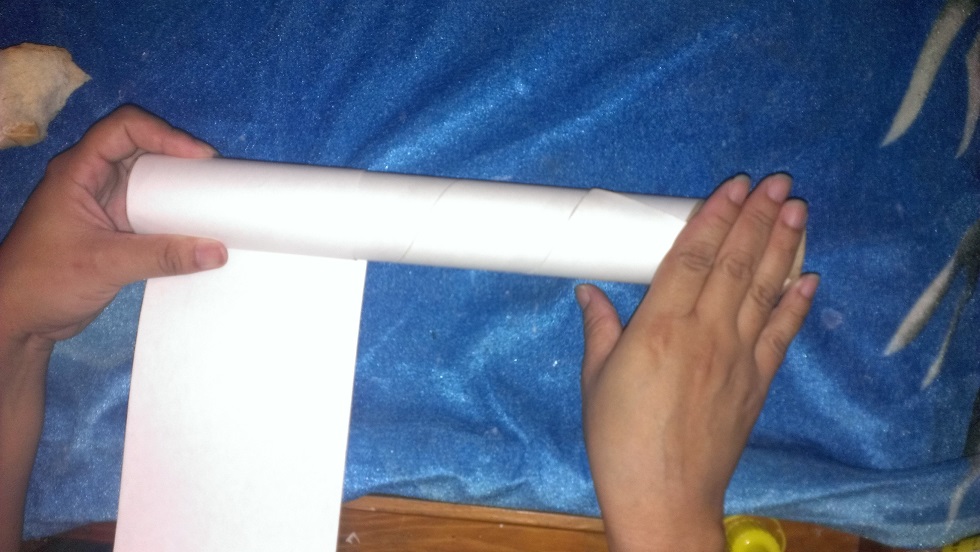
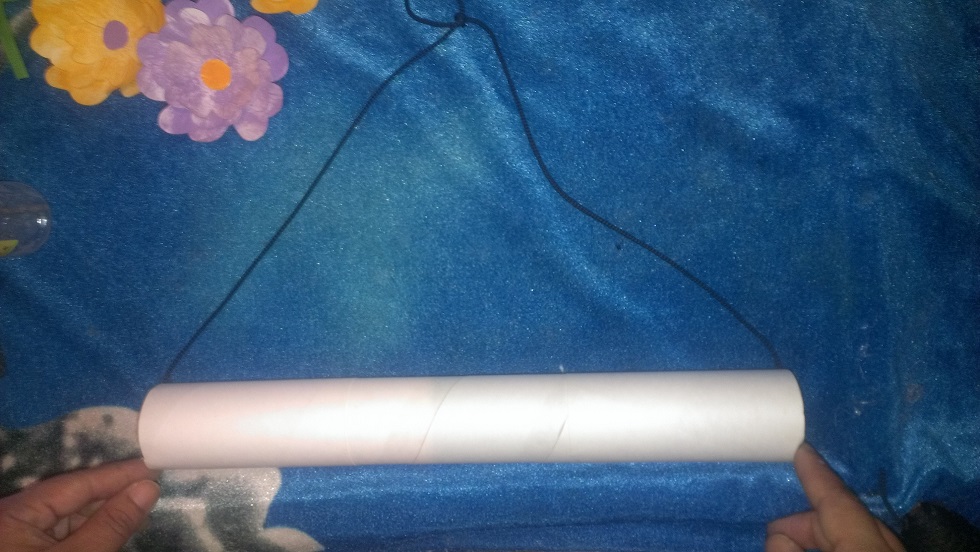
Take the cardboard tube and line it with a cardboard strip, stick with the liquid glue and reserve.
Inicio de mi manualidad:
Toma el tubo de cartón y forra con una tira de cartulina, pega con el pegamento líquido y reserva.
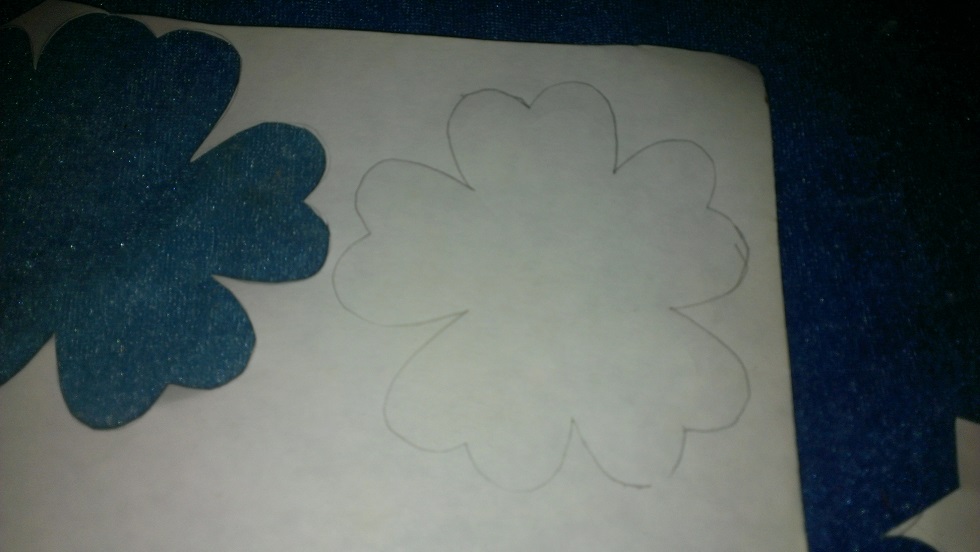
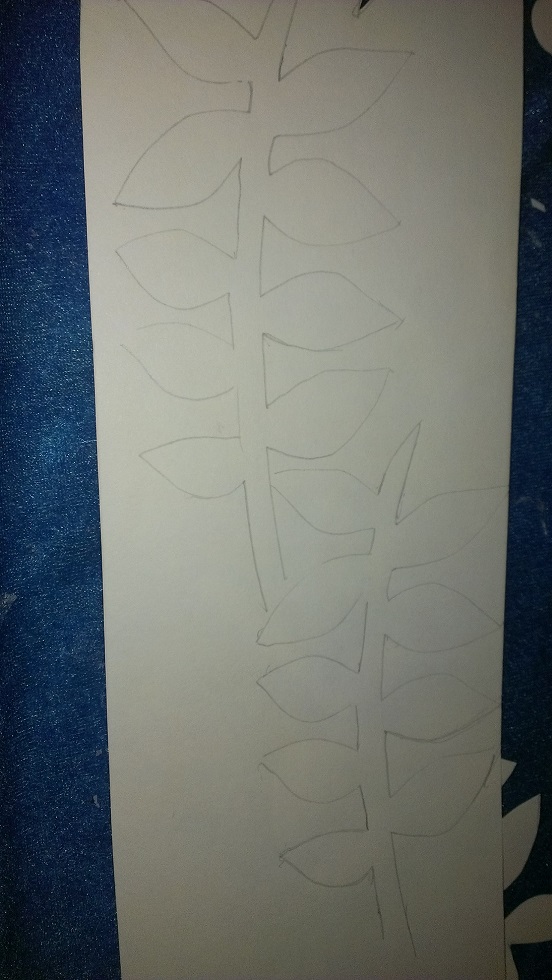
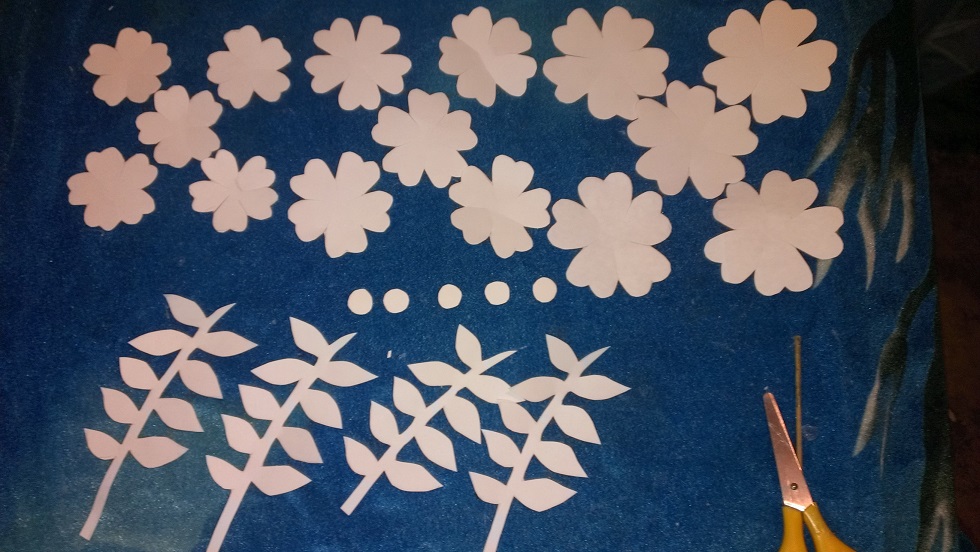
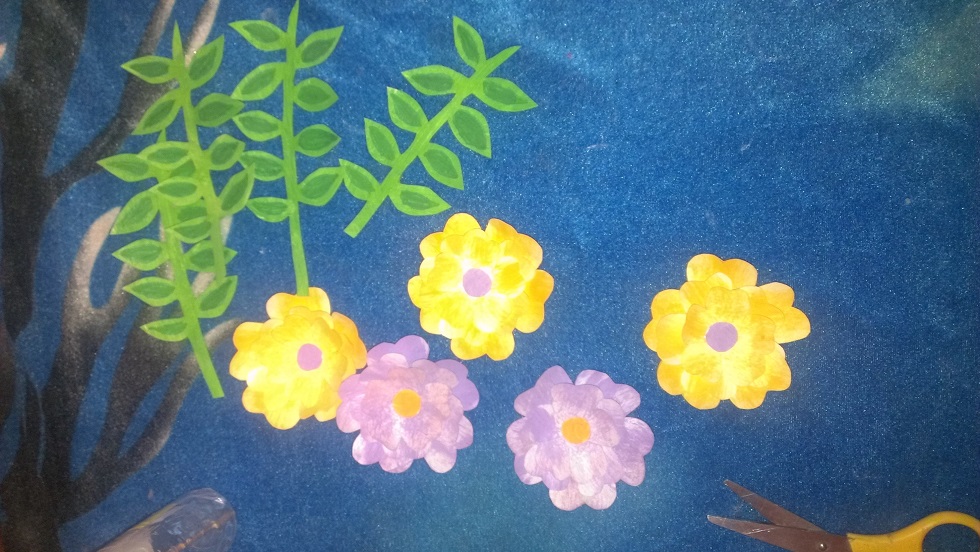
Draw with your pencil 5 flowers on the cardboard (you choose the size), draw the same shape in two sizes, one medium and one smaller. Also, draw 4 branches and 5 circles of the same size on the cardboard and cut everything out with your scissors. Reserve your figures.
Dibuja con tu lápiz 5 flores en la cartulina (tú eliges el tamaño), dibuja la misma forma en dos tamaños uno mediano y otra más pequeña. También, dibuja en la cartulina 4 ramas y 5 círculos del mismo tamaño y recorta todo con tus tijeras. Reserva tus figuras.
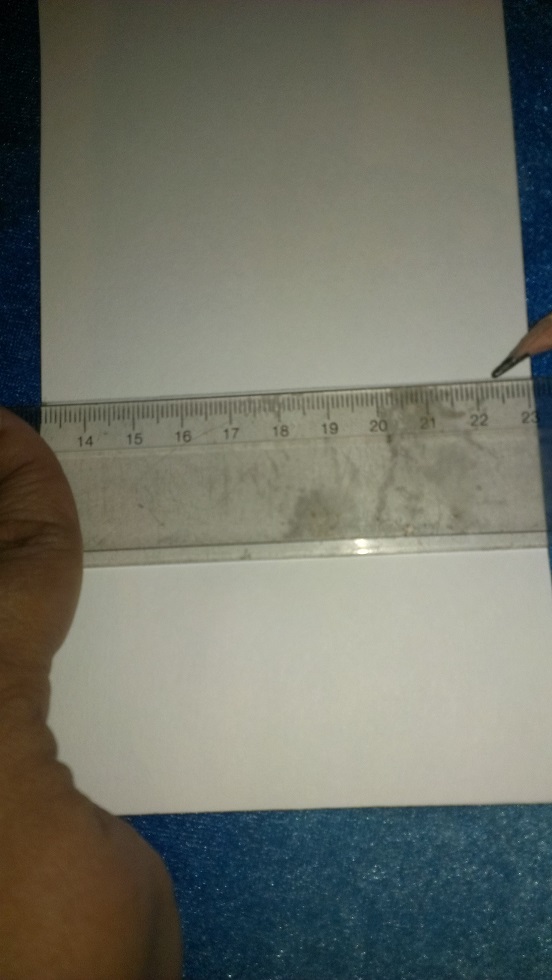
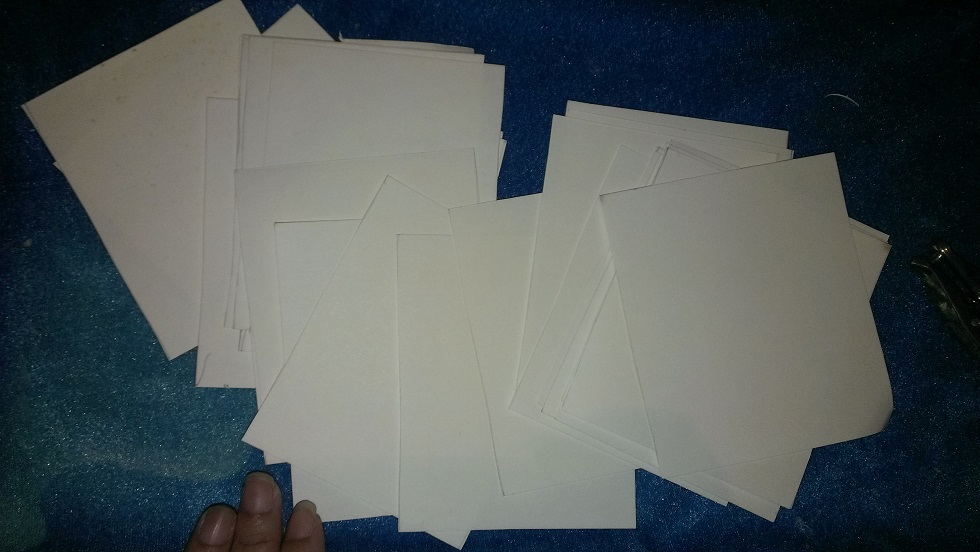
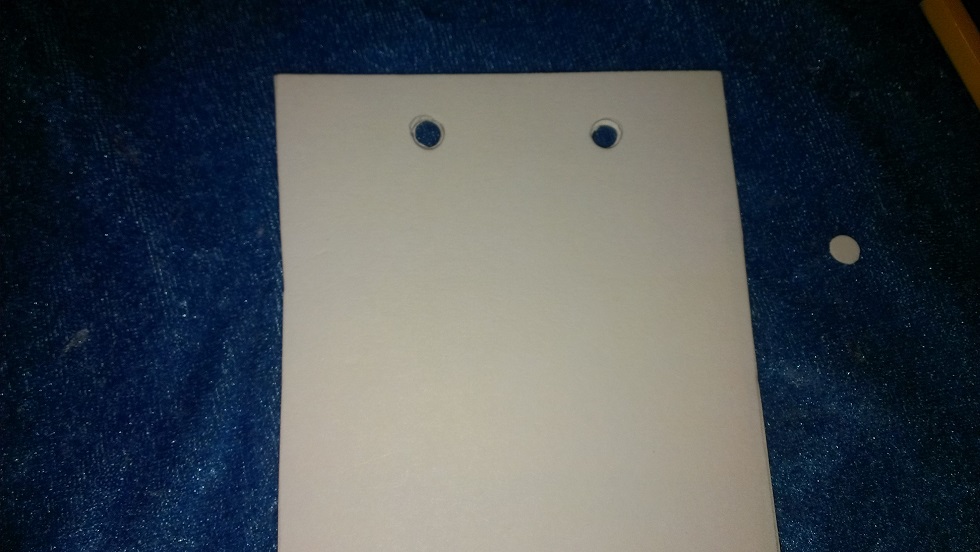
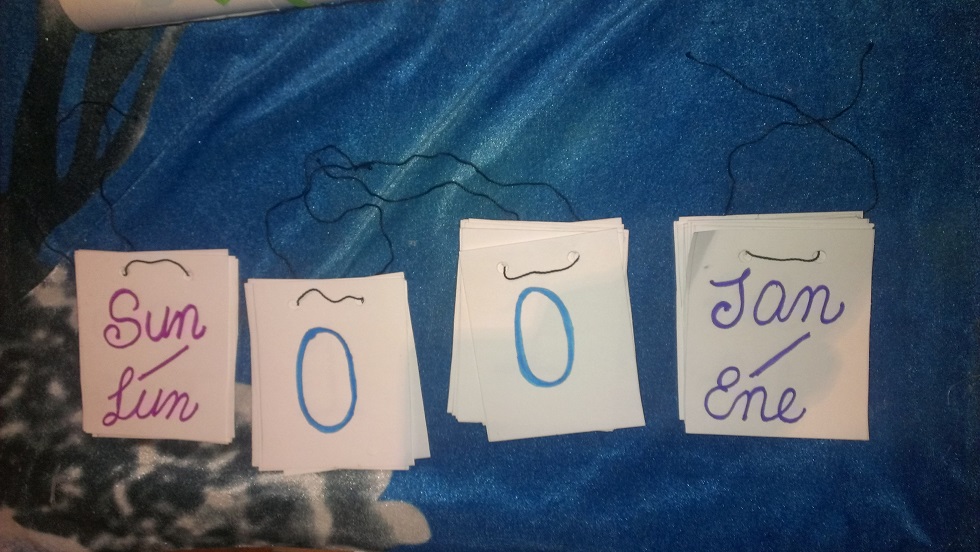
With the help of your ruler, measure the cardboard and cut out 33 cards that should measure 8cmx10cm. Then, with the hole opener, make two contiguous perforations in each of the cut cardboard.
Con la ayuda de tu regla mide la cartulina y recorta 33 cartones que deben tener una medida de 8cmx10cm. Luego con el abre hueco realiza dos perforaciones contiguas en cada uno de los cartones cortados.
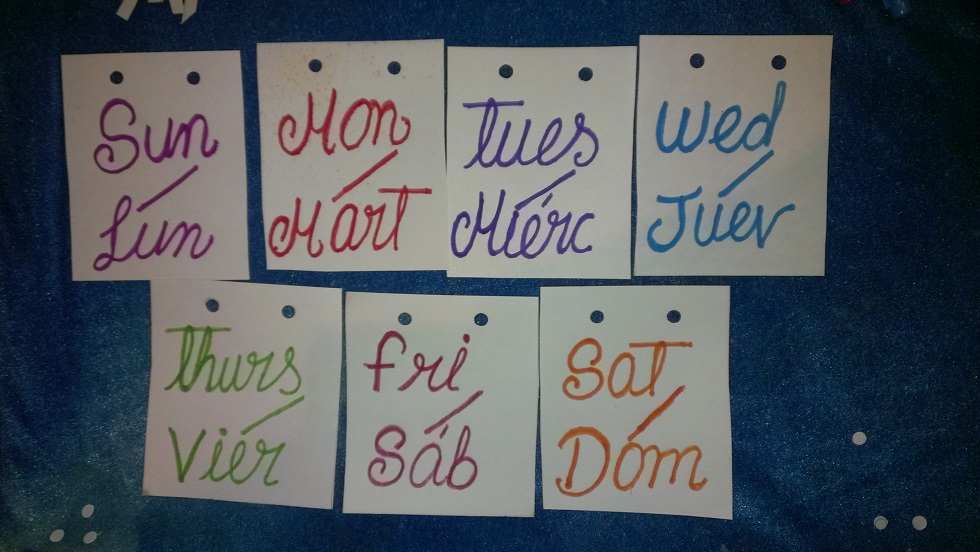
Take your cards and with your markers write the days of the week on them. Reserve them.
Toma de tus cartones y con tus marcadores escribe en ellos los días de la semana. Resérvalos.
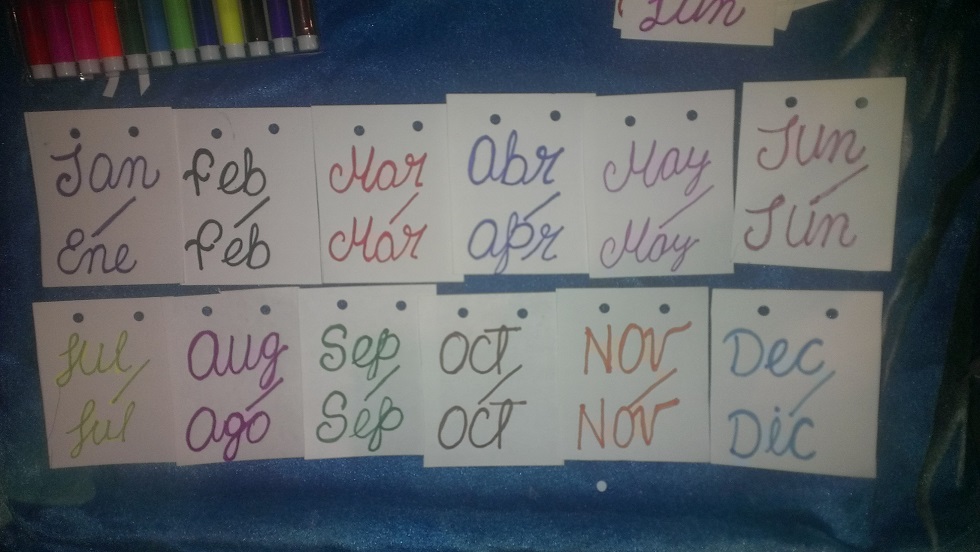
Do the same procedure with 12 of your cards and write the months of the year. Reserve the cards.
Realiza el mismo procedimiento con 12 de tus cartones y escribe los meses del año. Reserva los cartones.
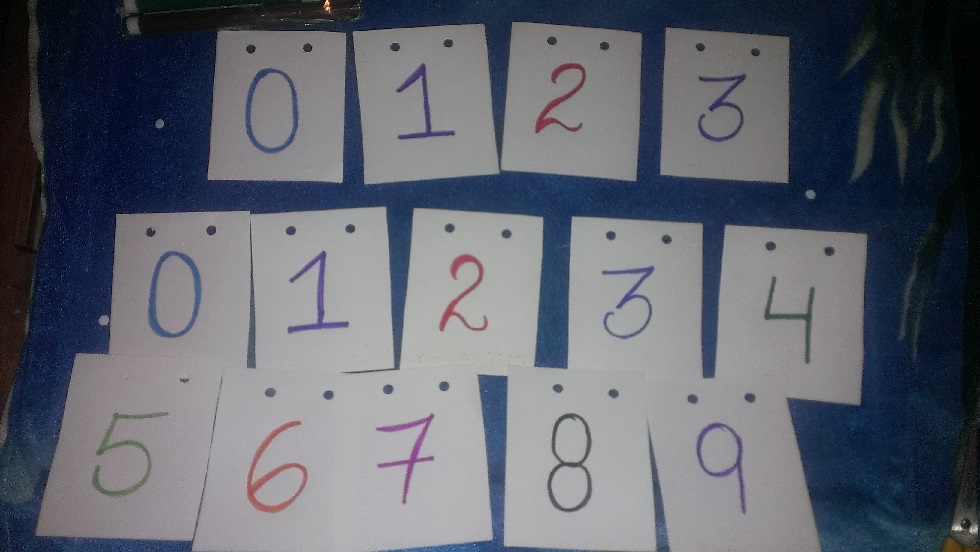
Now write with your markers on 4 of your cards the numbers: 0, 1, 2, 3 and on the remaining cards write the numbers from 0 to 9 and reserve them.
Ahora escribe con tus marcadores en 4 de tus cartones los números: 0, 1, 2, 3 y en los cartones restantes escribe los números del 0 al 9 y resérvalos.
It is time to paint your flowers. With the paints and your brush, add a touch of color to your flowers by blurring a little color on it. Also, paint the circles and green the branches and then shade the center a little with a dark green marker.
Es momento de pintar tus flores. Con las pinturas y tu pincel ponle un toque de color a tus flores difuminando un poco de color sobre ella. También, pinta los círculos y de color verde pintas las ramas y luego sombrea un poco el centro con un marcador verde oscuro.
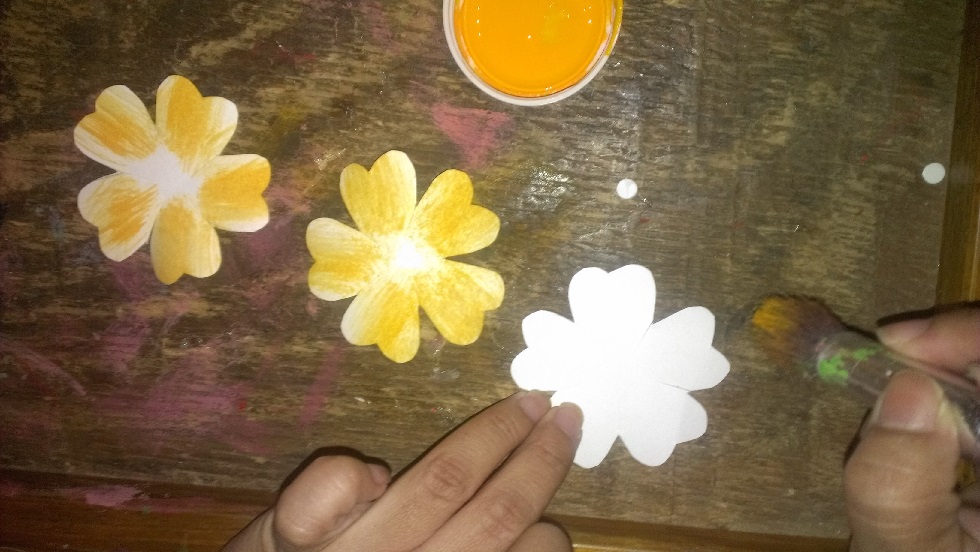
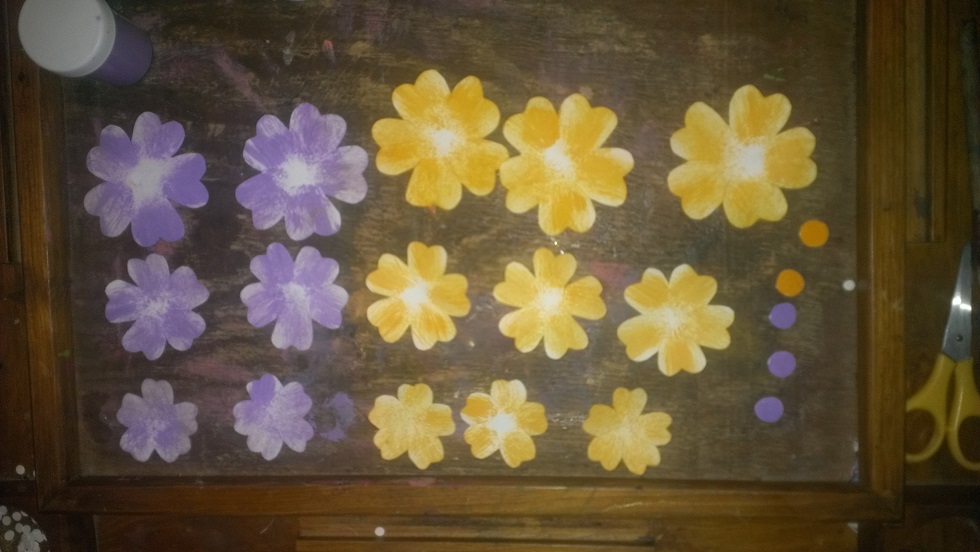
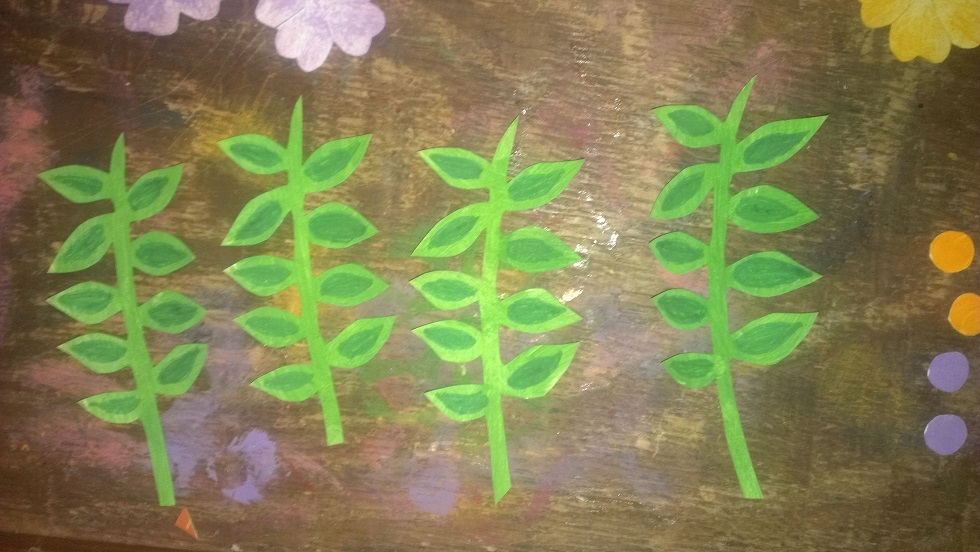
Assemble your flowers by folding the petals a little inward and stick in the center of the largest flower two the other two medium flowers and the smallest. Glue one of the circles in the center of the flower.
Arma tus flores doblando los pétalos un poco hacia adentro y pega en el centro de la flor más grande dos las otras dos flores medianas y las más pequeñas. Pega uno de los círculos en el centro de la flor.
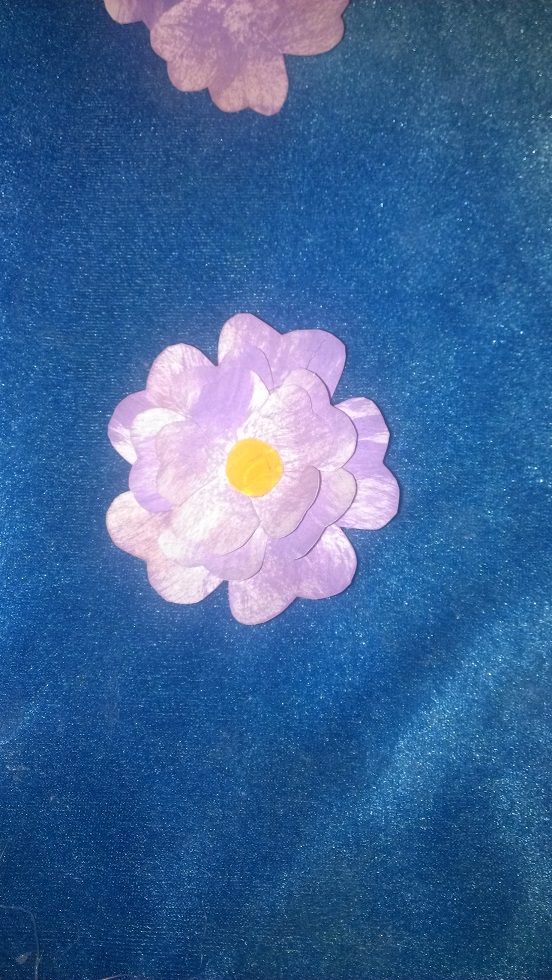
Place the string inside the paper tube and fix a bit with the glue gun. Attach another piece of your string to the bottom of the tube and glue your flower arrangement from the tube.
Coloca el cordón por dentro del tubo de papel y fija un poco con la pistola de silicón. Fija otro pedazo de tu cordón de la parte inferior del tubo y pega tu arreglo floral del tubo.
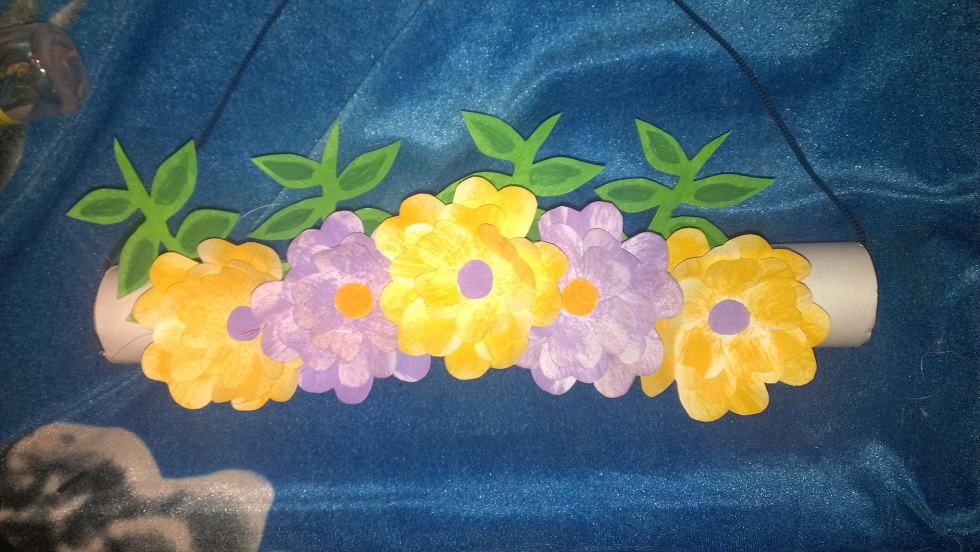
Finish by cutting four strings of the same size, then insert those strings through the posters that you have created following an order with respect to the days of the week, numbers and months and glue the bottom string that you have left in the tube.
Finaliza cortando cuatro cuerdas del mismo tamaño, luego esas cuerdas introdúcelas por los carteles que has creado siguiendo un orden con respecto a los días de la semana, números y los meses y pega de la cuerda inferior que has dejado en el tubo.
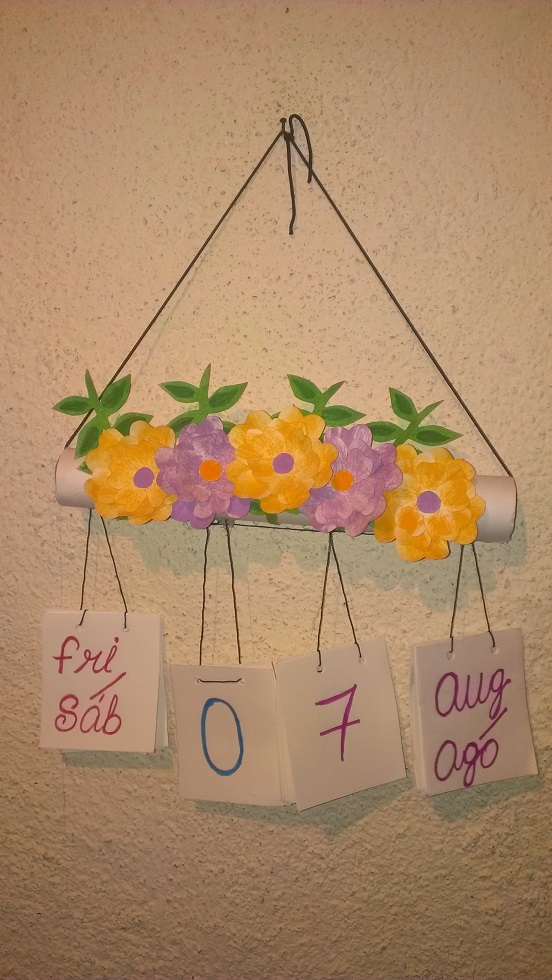
Final score:
Resultado final:
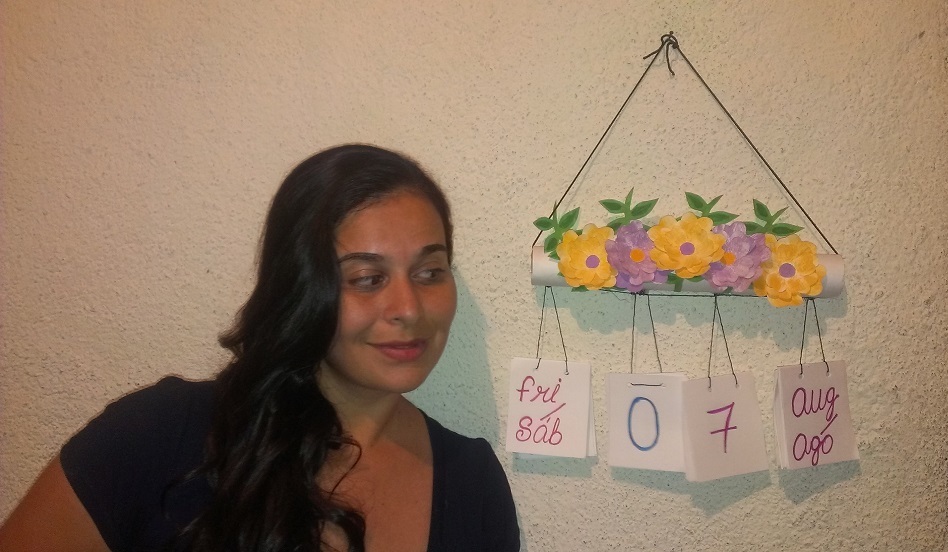
Thanks for dressing me up and reading me, until next time @aksurevm89.
Gracias por vístame y leerme, hasta una próxima ocasión @aksurevm89.
THANKS FOR READING ME // GRACIAS POR LEERME
Translated by: google translator // Traducido por: google traductor
All photos are my property // Todas las fotos son de mi propiedad.
nice !
Thank you @ahmadturki