Welcome to my Blog.
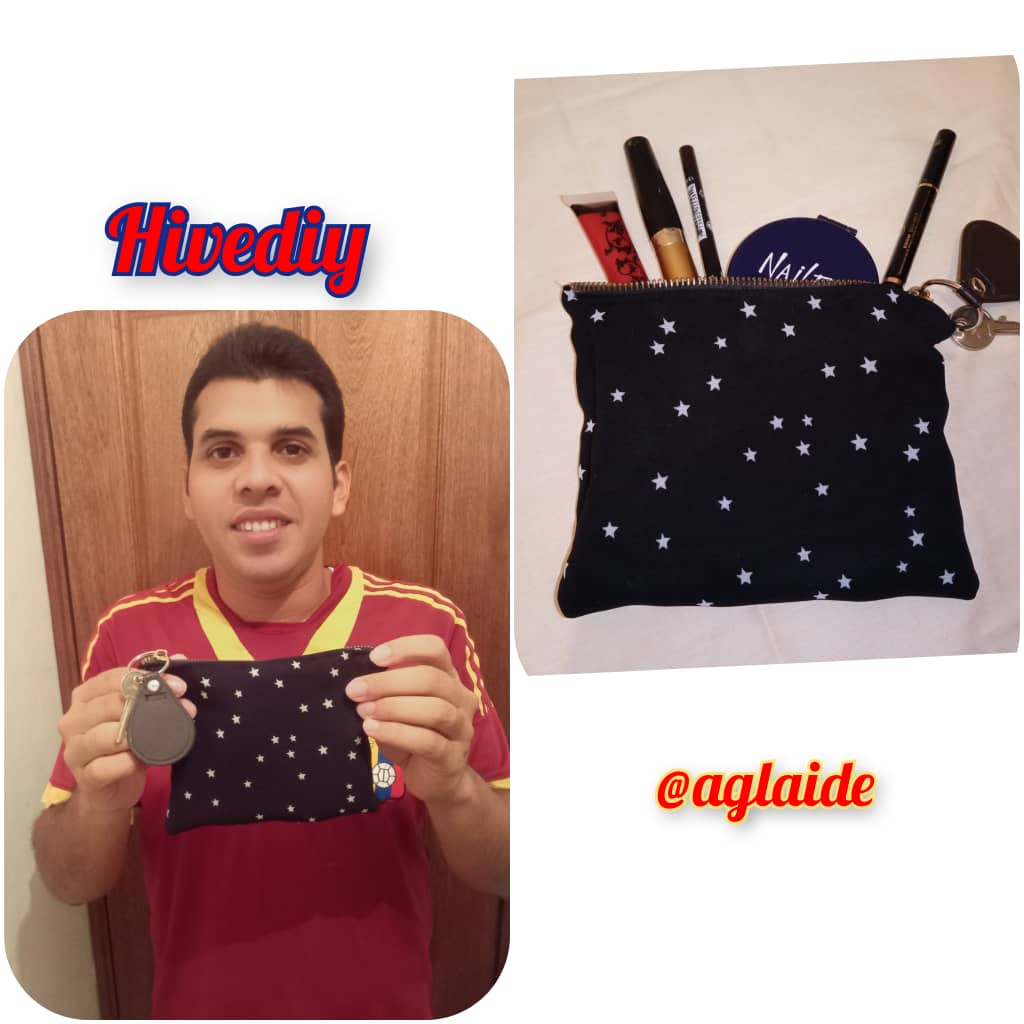
Hola amigos creativos saludos, espero se encuentren todos muy bien y hayan tenido un bendecido jueves. Hoy quiero unirme al concurso propuesto por esta gran comunidad de @Hivediy que esta moderado por @equipodelta; en donde debemos realizar un práctico y muy necesario para las mujeres "Porta comestico". La verdad me gusto mucho este concurso ya que estaba pensando en comprarlo uno a mi mamá que lo necesita con urgencia jejeje, pero gracias a esta idea podre realizarle desde casa y obsequiarselo. Espero les guste la idea y se animen a participar amigos artesanos.
Hello creative friends greetings, I hope you are all very well and have had a blessed Thursday. Today I want to join the contest proposed by this great @Hivediy community that is moderated by @equipodelta; where we must make a practical and very necessary for women "Porta Edico". The truth is I really liked this contest since I was thinking of buying one for my mother who needs it urgently lol, but thanks to this idea I will be able to do it from home and give it to her. I hope you like the idea and are encouraged to participate, artisan friends.
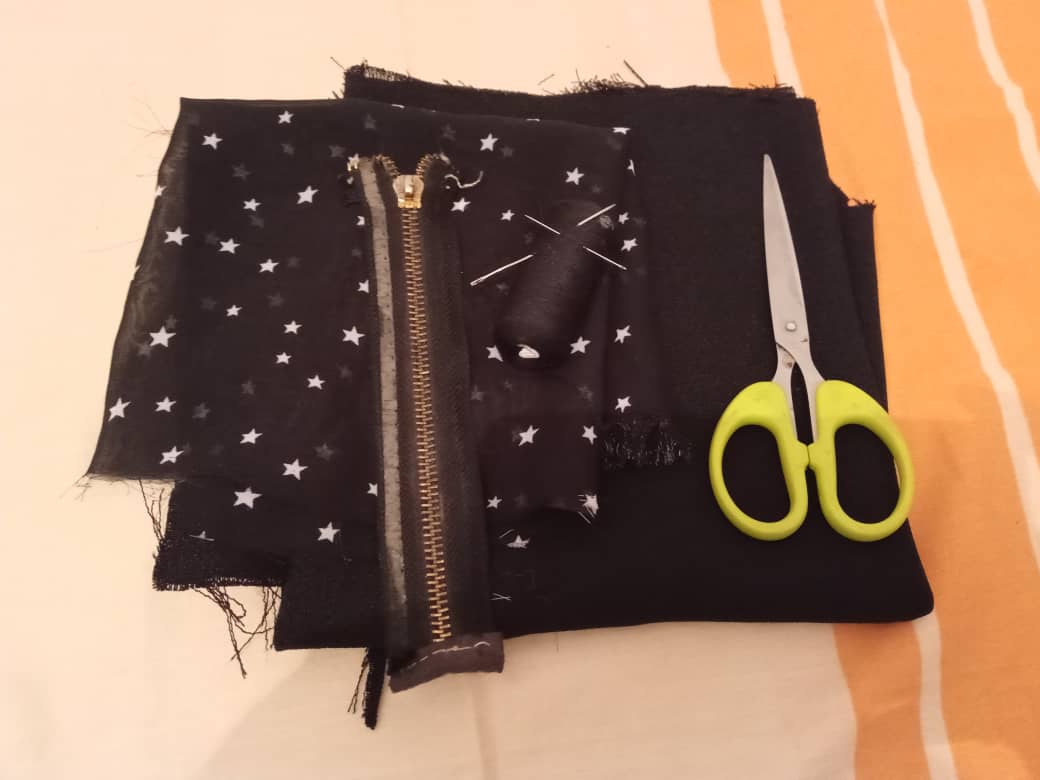
Materiales:
✓ Tela negra para fondo.
✓ Tela negra de estrellas.
✓ Tijera.
✓ Cierre.
✓ Aguja.
✓ Hilo negro.
Materials:
✓ Black fabric for background.
✓ Black fabric with stars.
✓ Scissor.
✓ Closing.
✓ Needle.
✓ Black thread.
Step by Step || Pasó a paso:
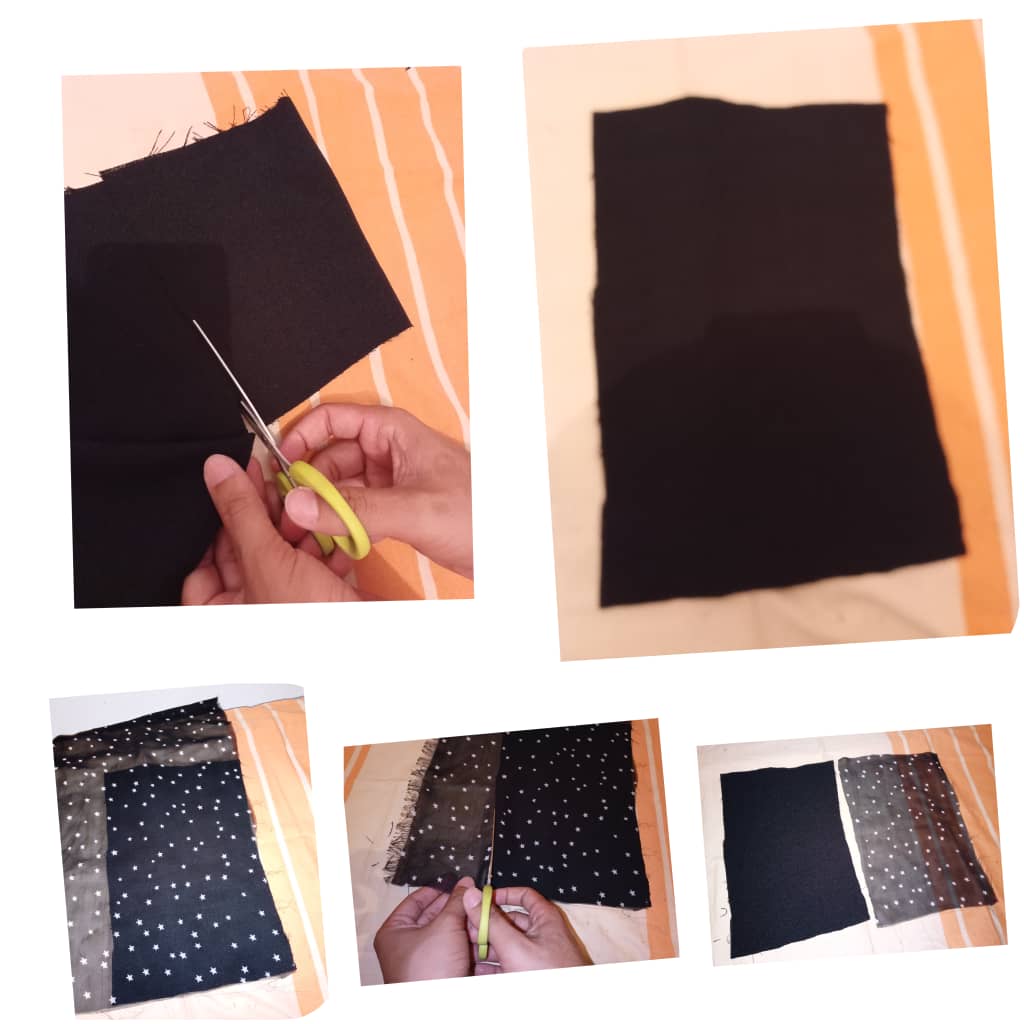
✓ Primero que nada amigos, vamos a cortar ambas telas en forma rectangular como se muestra en la imágen (la pueden cortar del tamaño de su preferencia).
First of all friends, we are going to cut both fabrics in a rectangular shape as shown in the image (you can cut it to the size of your preference).
✓ luego unimos las dos telas y comenzamos a coser sus laterales de la parte del revés (en este caso hice la costura a mano), y una vez este listo le damos la vuelta al derecho.
then we join the two fabrics and begin to sew their sides on the wrong side (in this case I did the sewing by hand), and once it is ready we turn it over to the right side.
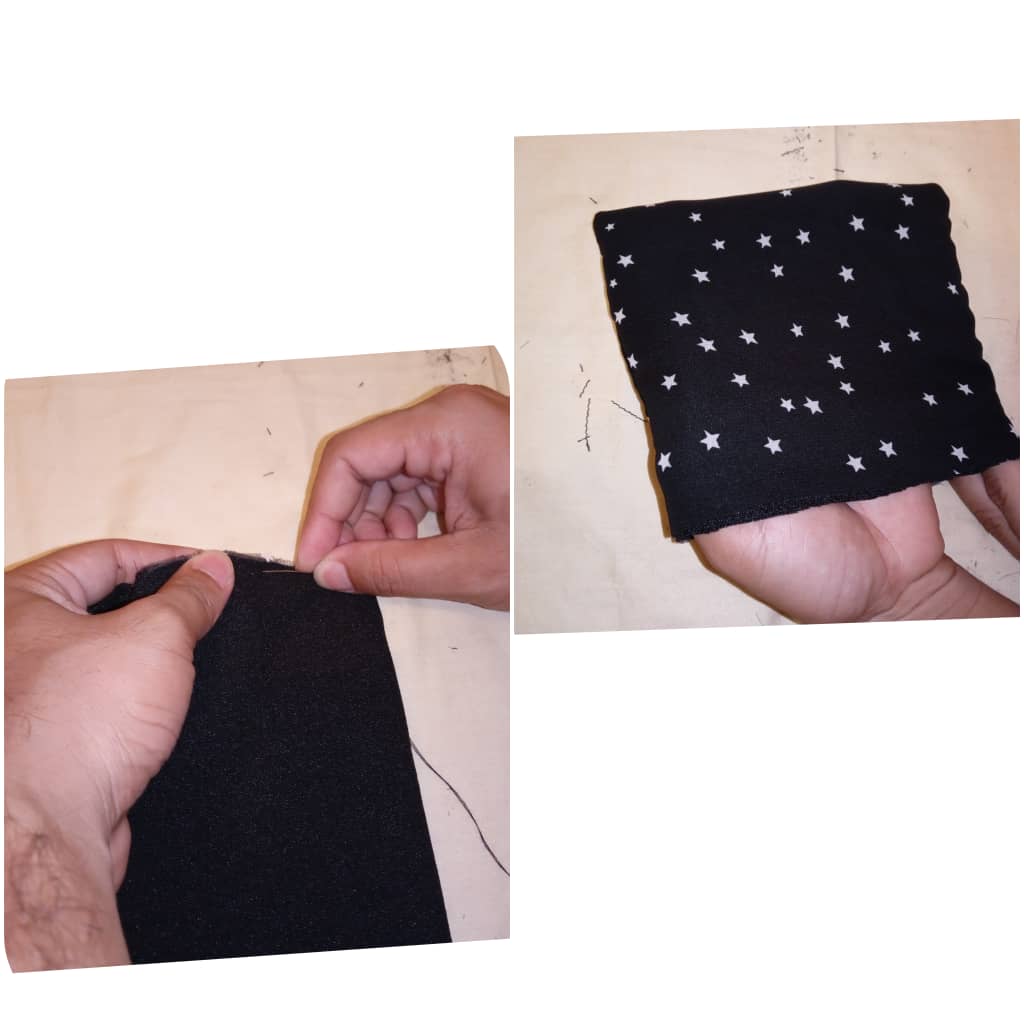
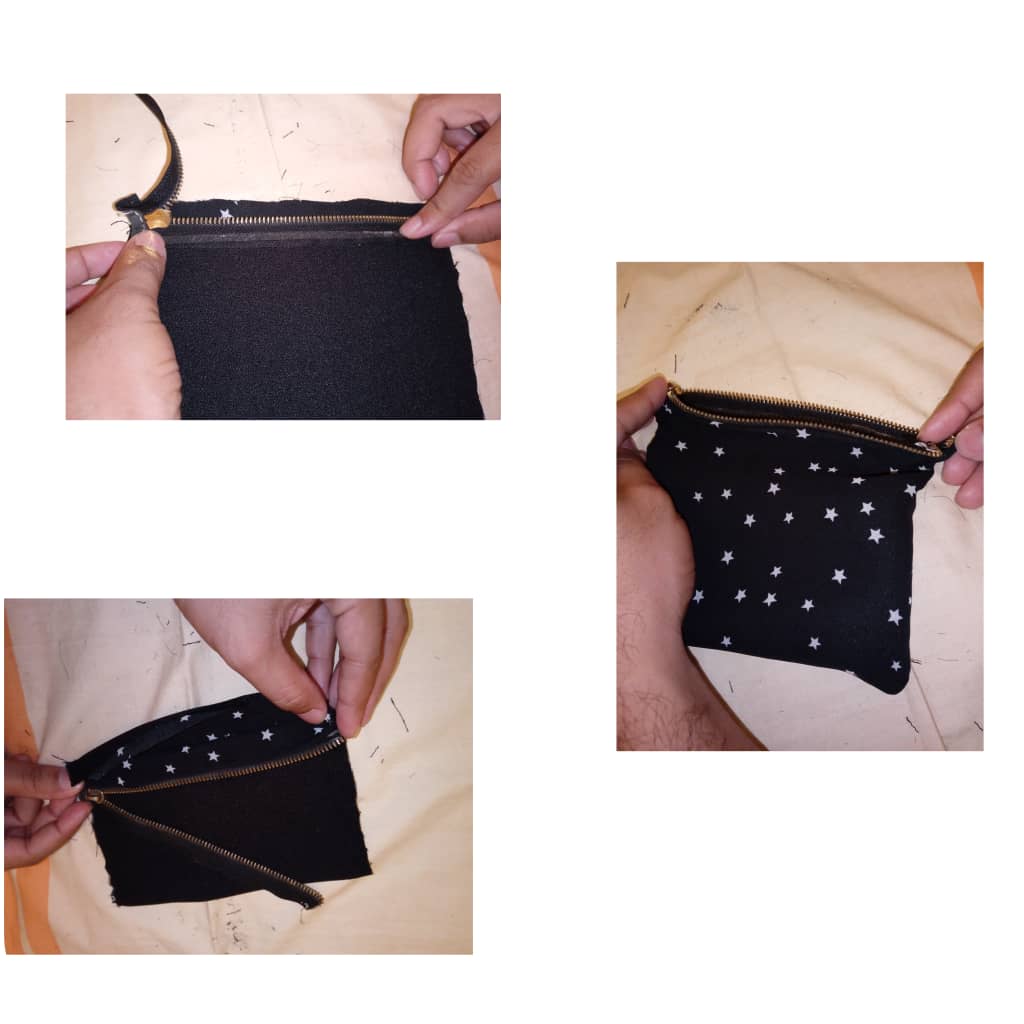
✓ Seguidamente le damos la vuelta nuevamente y procedemos a coser el cierre como se aprecia en la imágen.
Then we turn it over again and proceed to sew the closure as shown in the image.
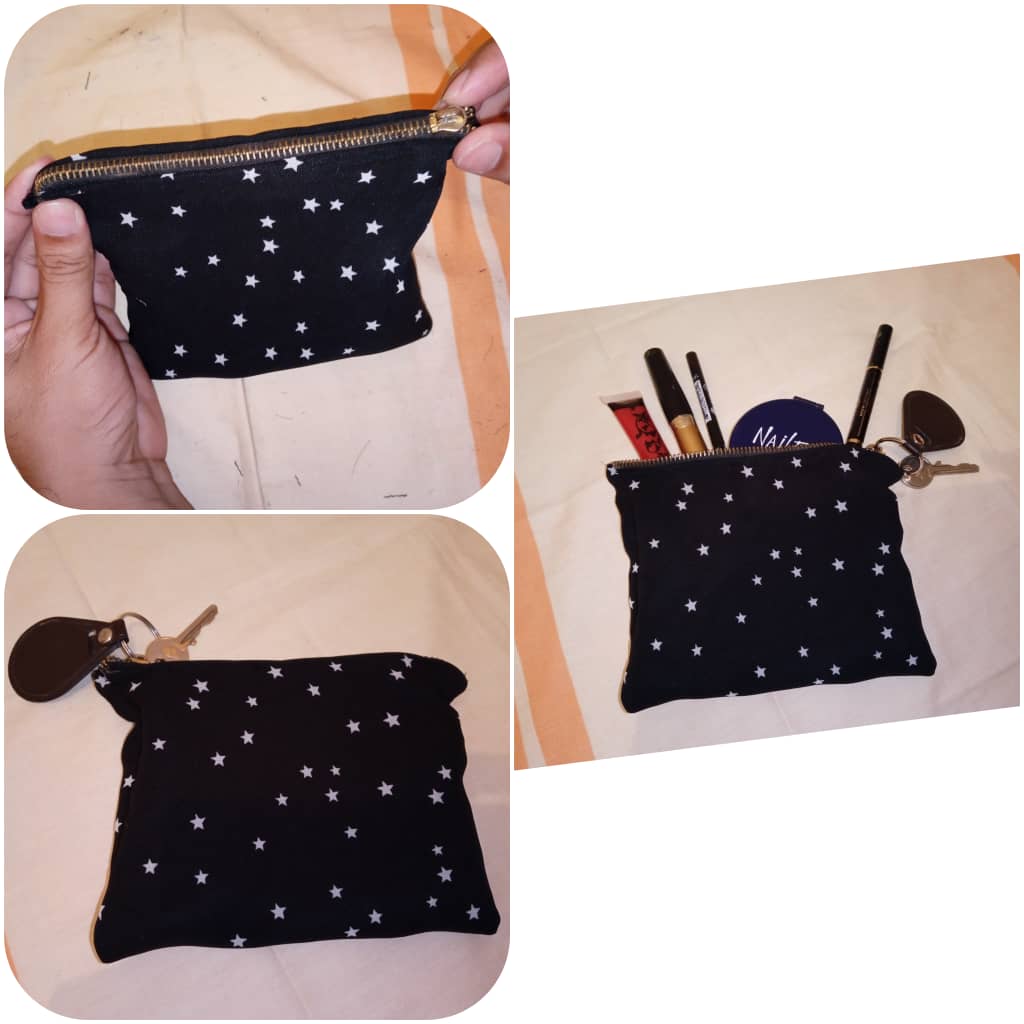
Para finalizar anexamos un pequeño detalle en el cierre con el llavero, agregamos los cosméticos y listo amigos.
To finish we add a small detail in the closure with the keychain, we add the cosmetics and ready friends.
Muchas gracias por visitar mi Blog, invito a @delvallecedeno a participar
Thank you very much for visiting my Blog, I invite @delvallecedeno to participate.

Me encanto la transparencias, Lo hace ver hermoso y especial. Muchas gracias por compartir con nosotros y mostrarnos tu proyecto, mucha suerte en el concurso.
Muchísimas gracias por el apoyo y por motivarnos constantemente con estos concursos.. saludos y bendiciones!!
me gusta el tamaño y diseño de estrellas es hermoso.
Great project! You made it look easy!
Thanks for sharing this!
Cheers!