Greetings from @a-lass-wonders!! 🙏
Hello, my loving talented friends!
Hope you all are doing well and today. I am ready to share something very unique; DIY kids headband using glitter papers.

This is quite simple and easy to make, so without further ado let’s get started!
Here my tutorial will guide you all on how to make this elegant kids headband and I describe its procedure step by step for a guide for you.
Materials you may needed 👇

Materials
Procedure👇
How to make cone
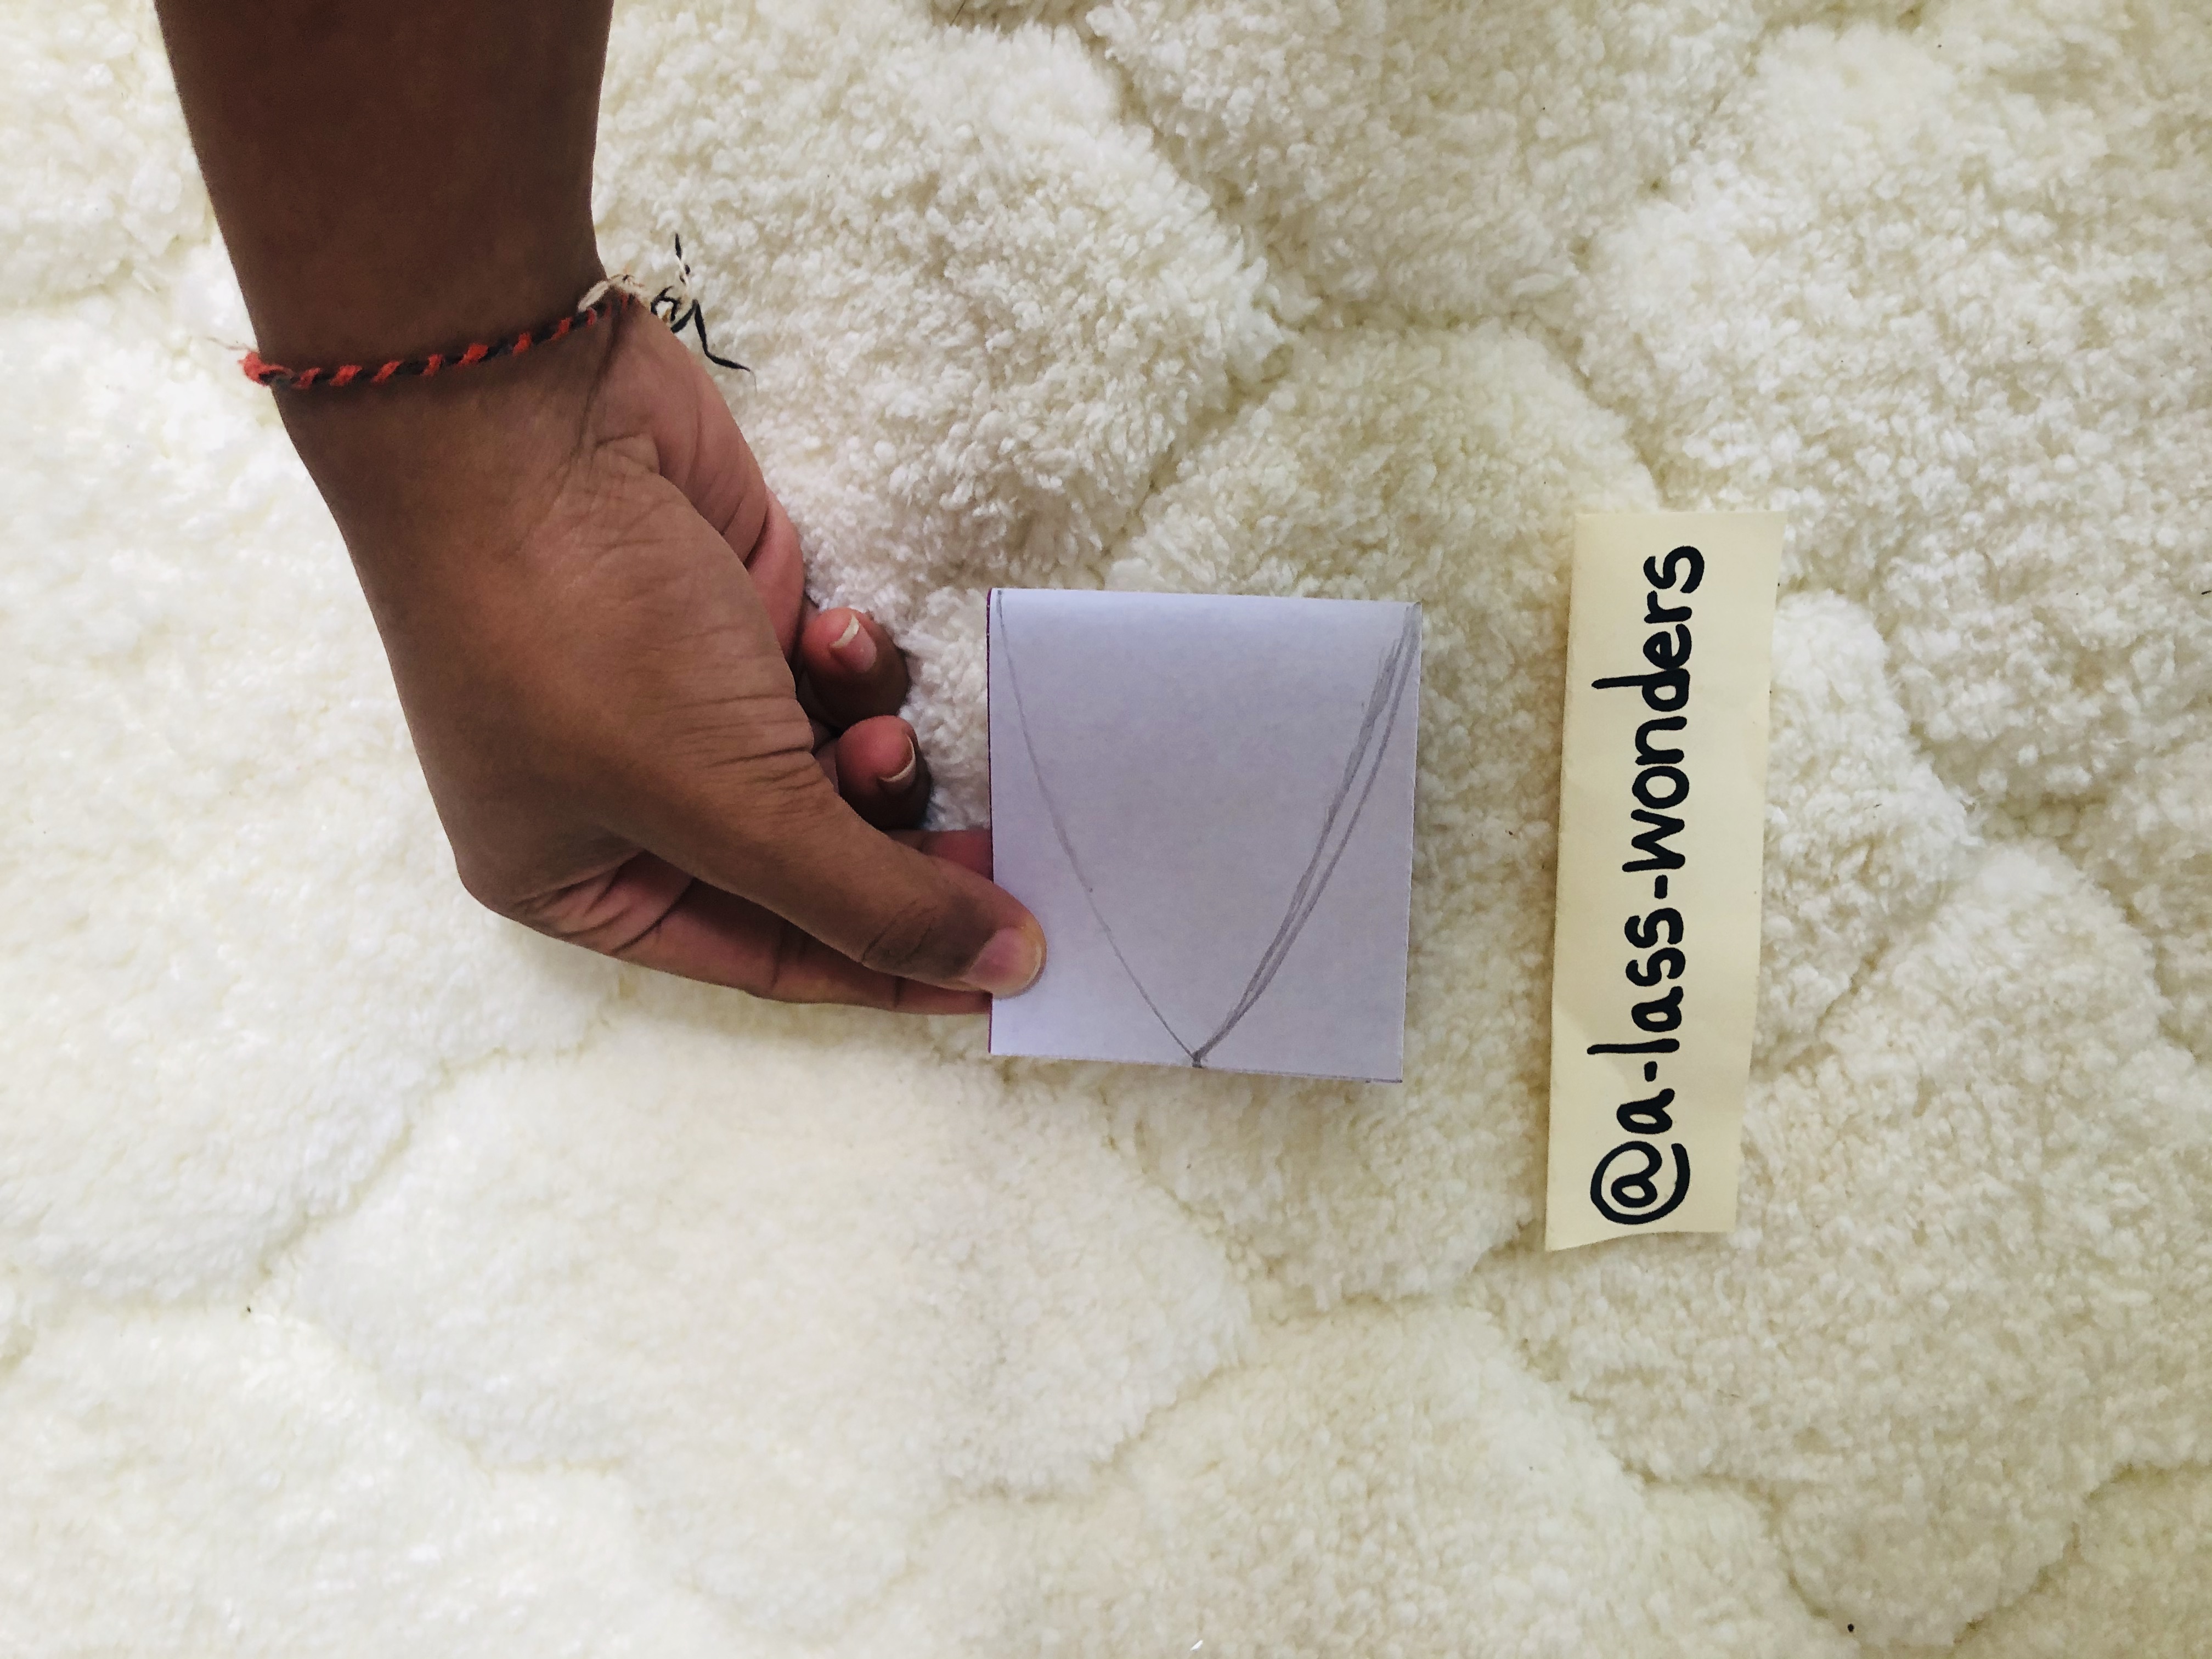
Draw a quarter of a circle from the radius of 12cm and cut it.
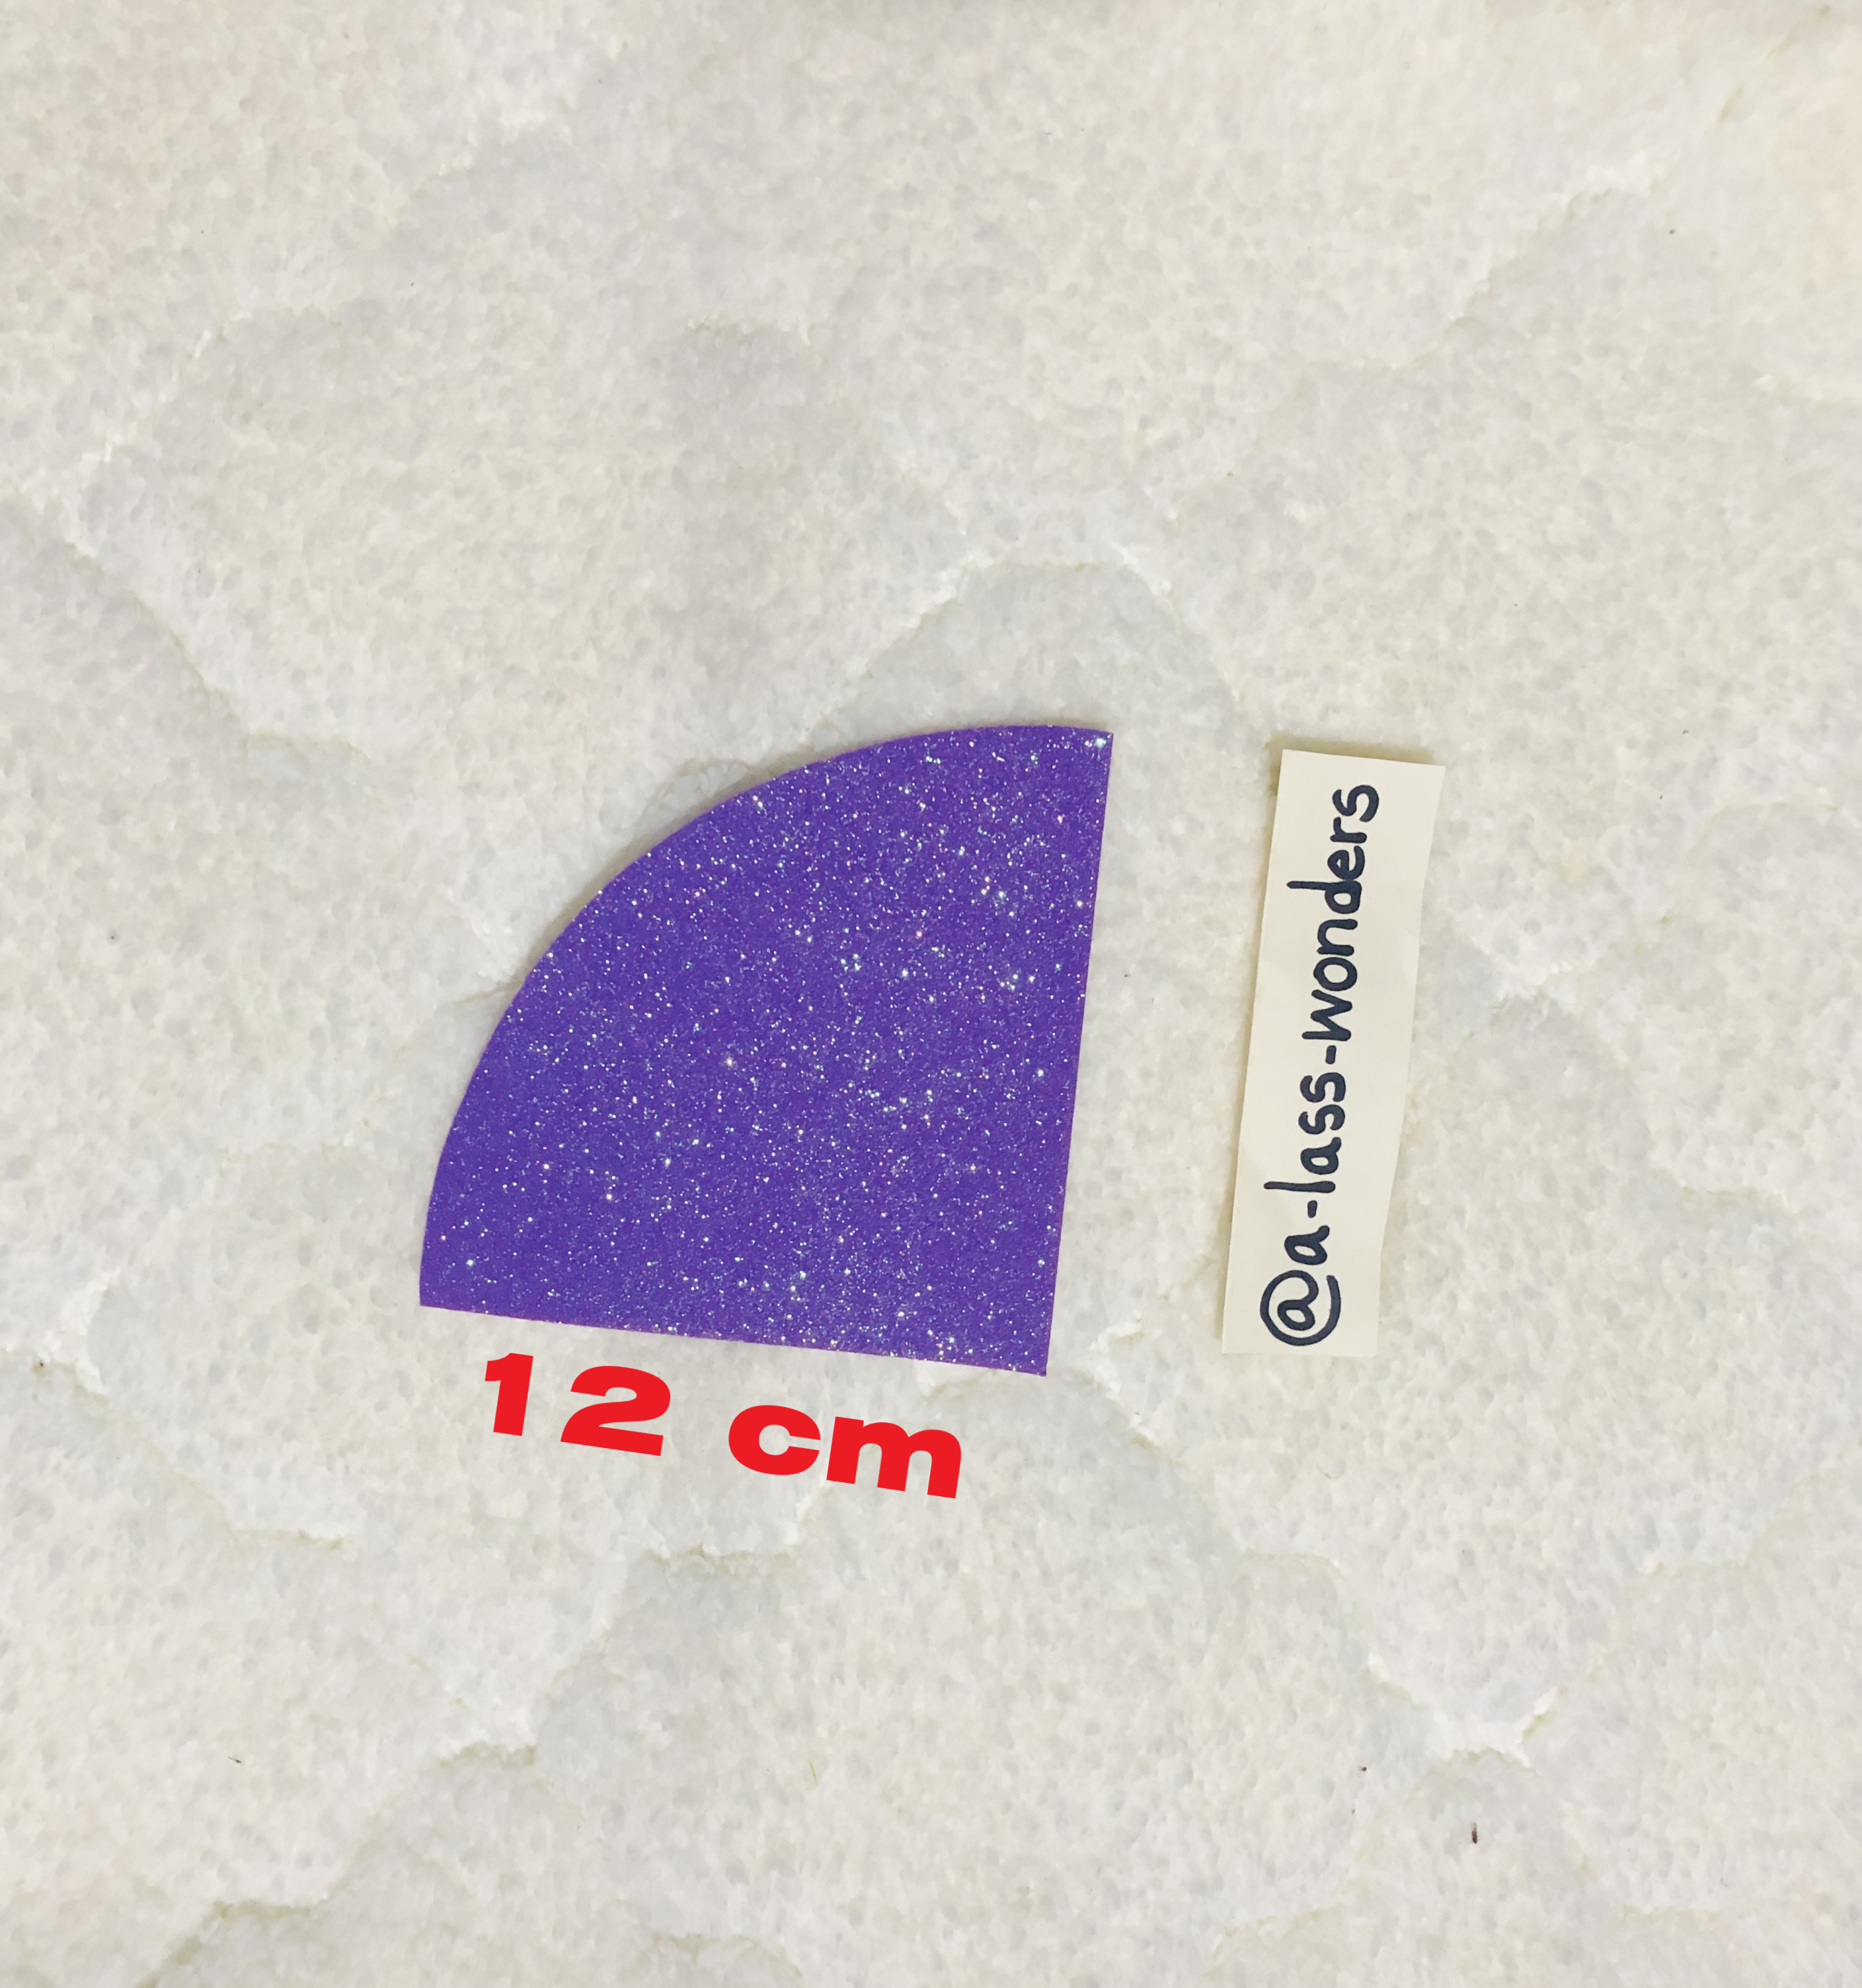
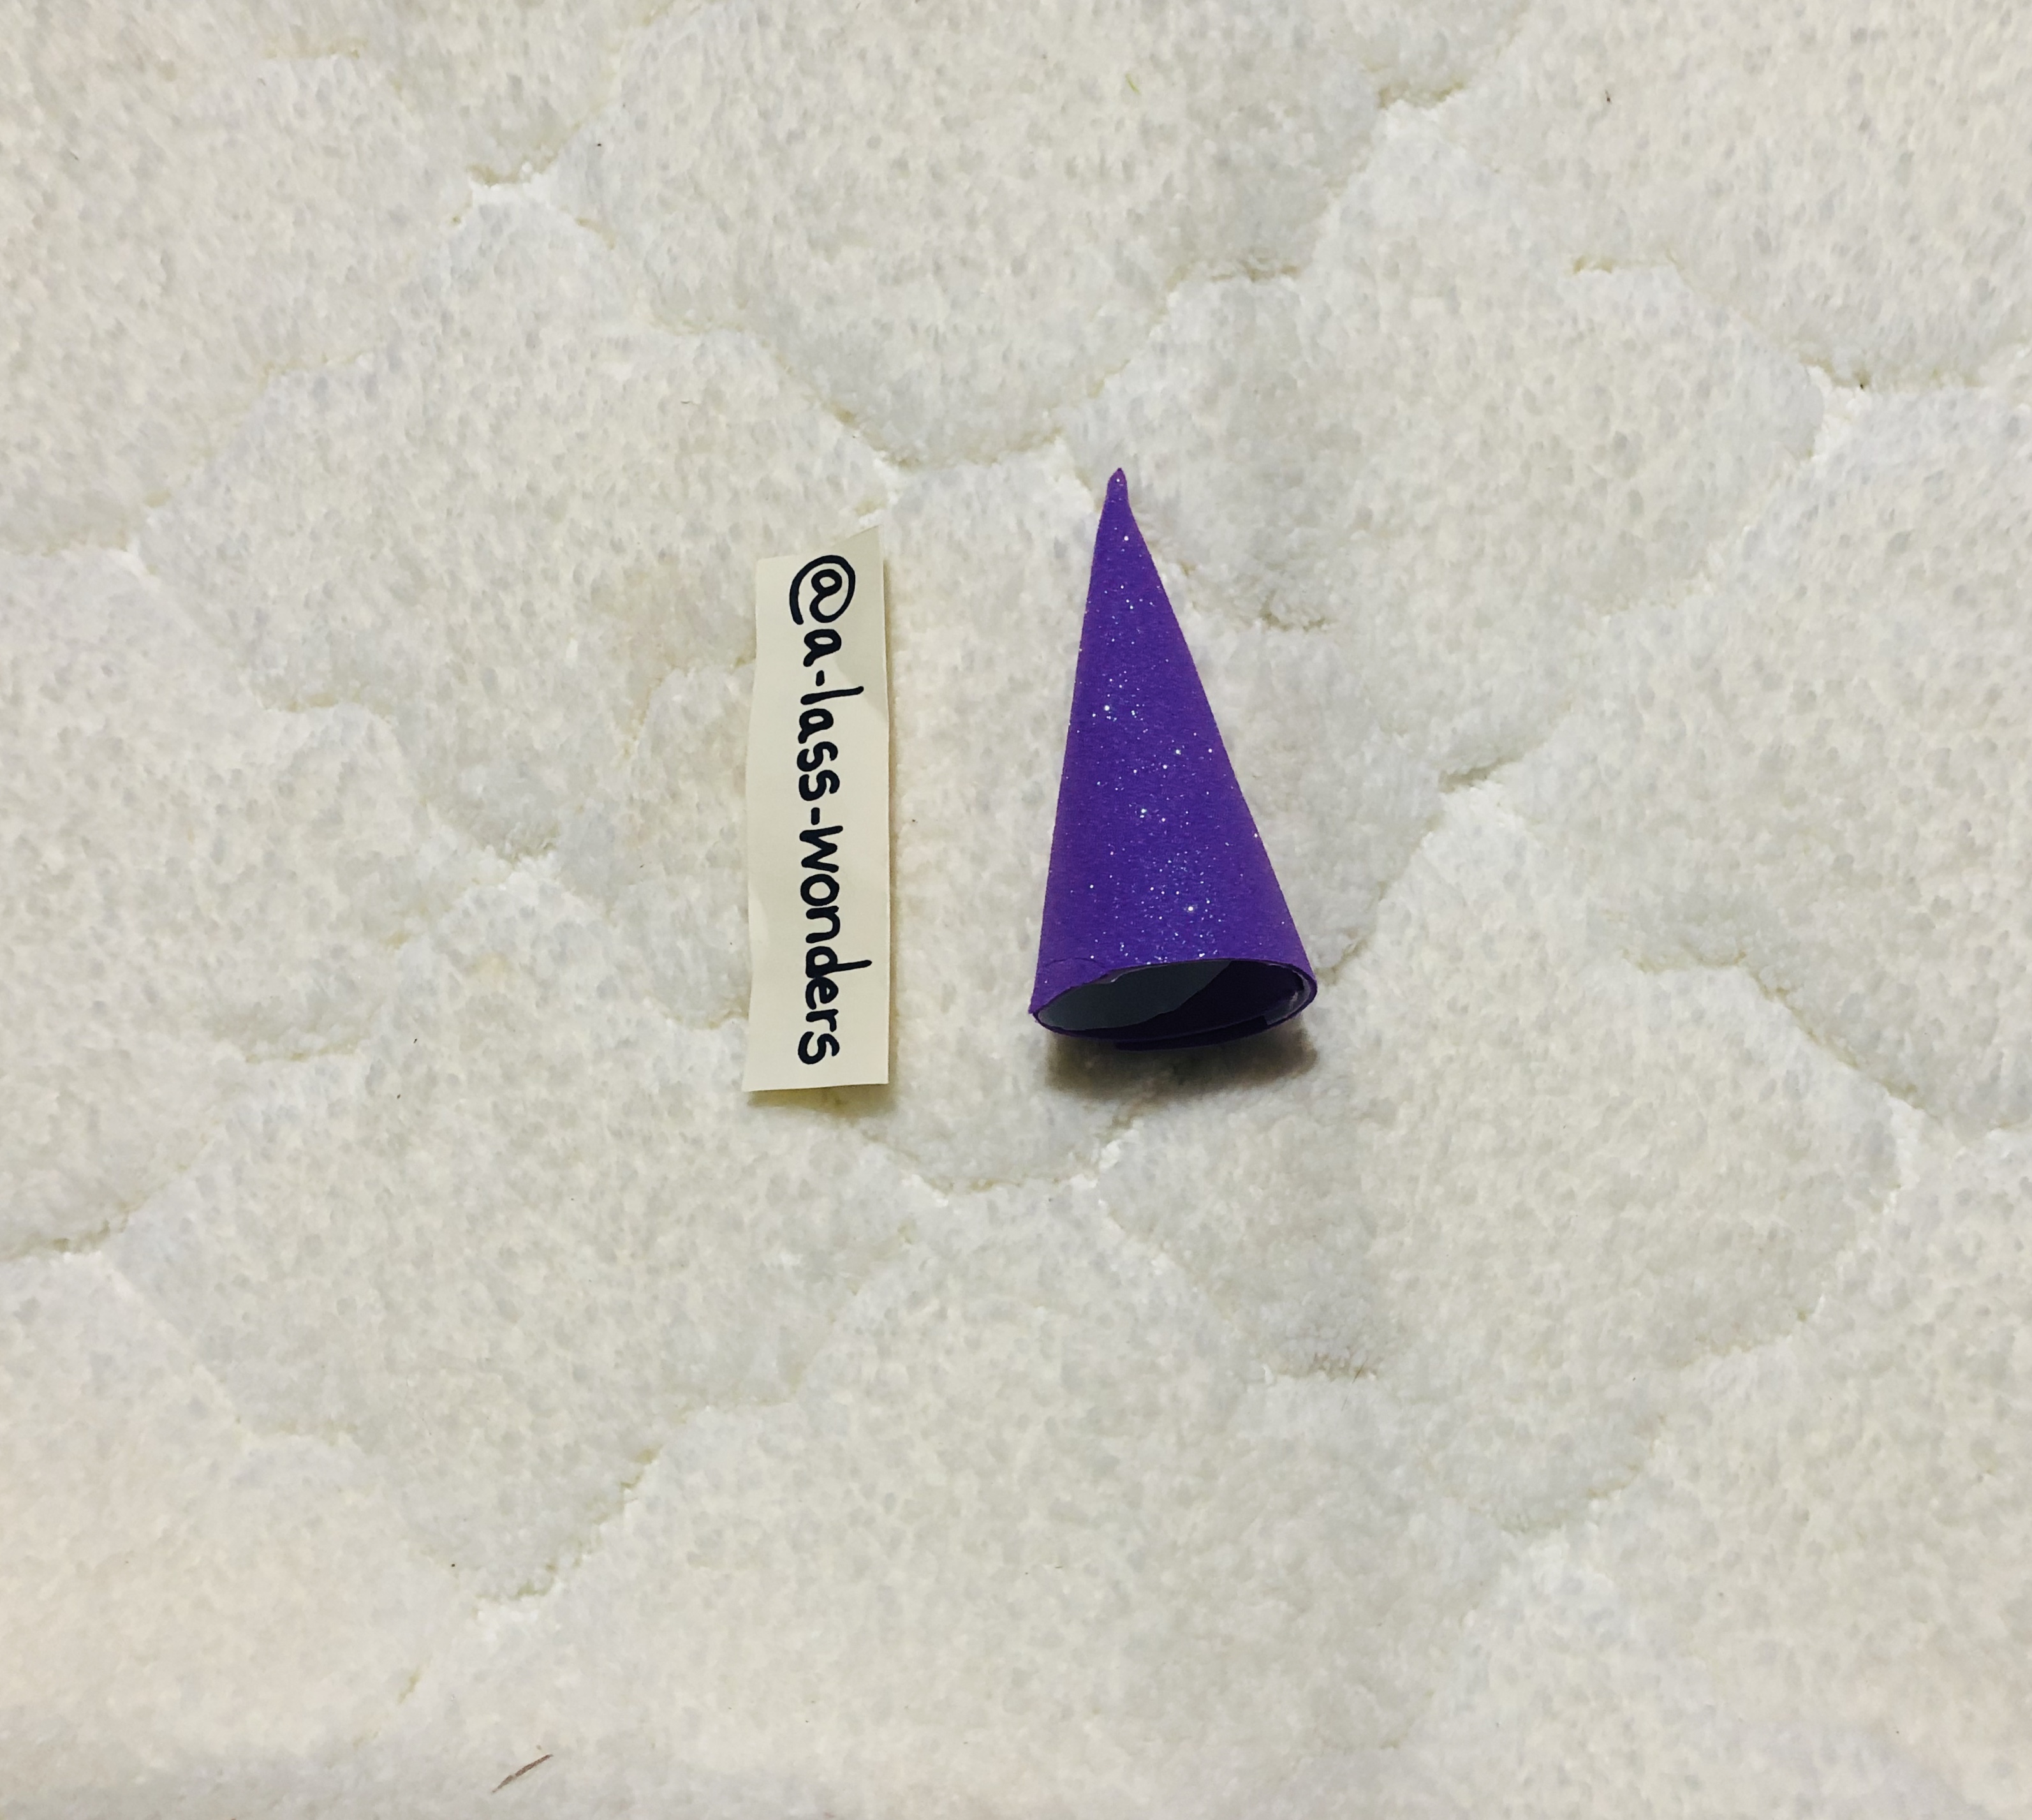
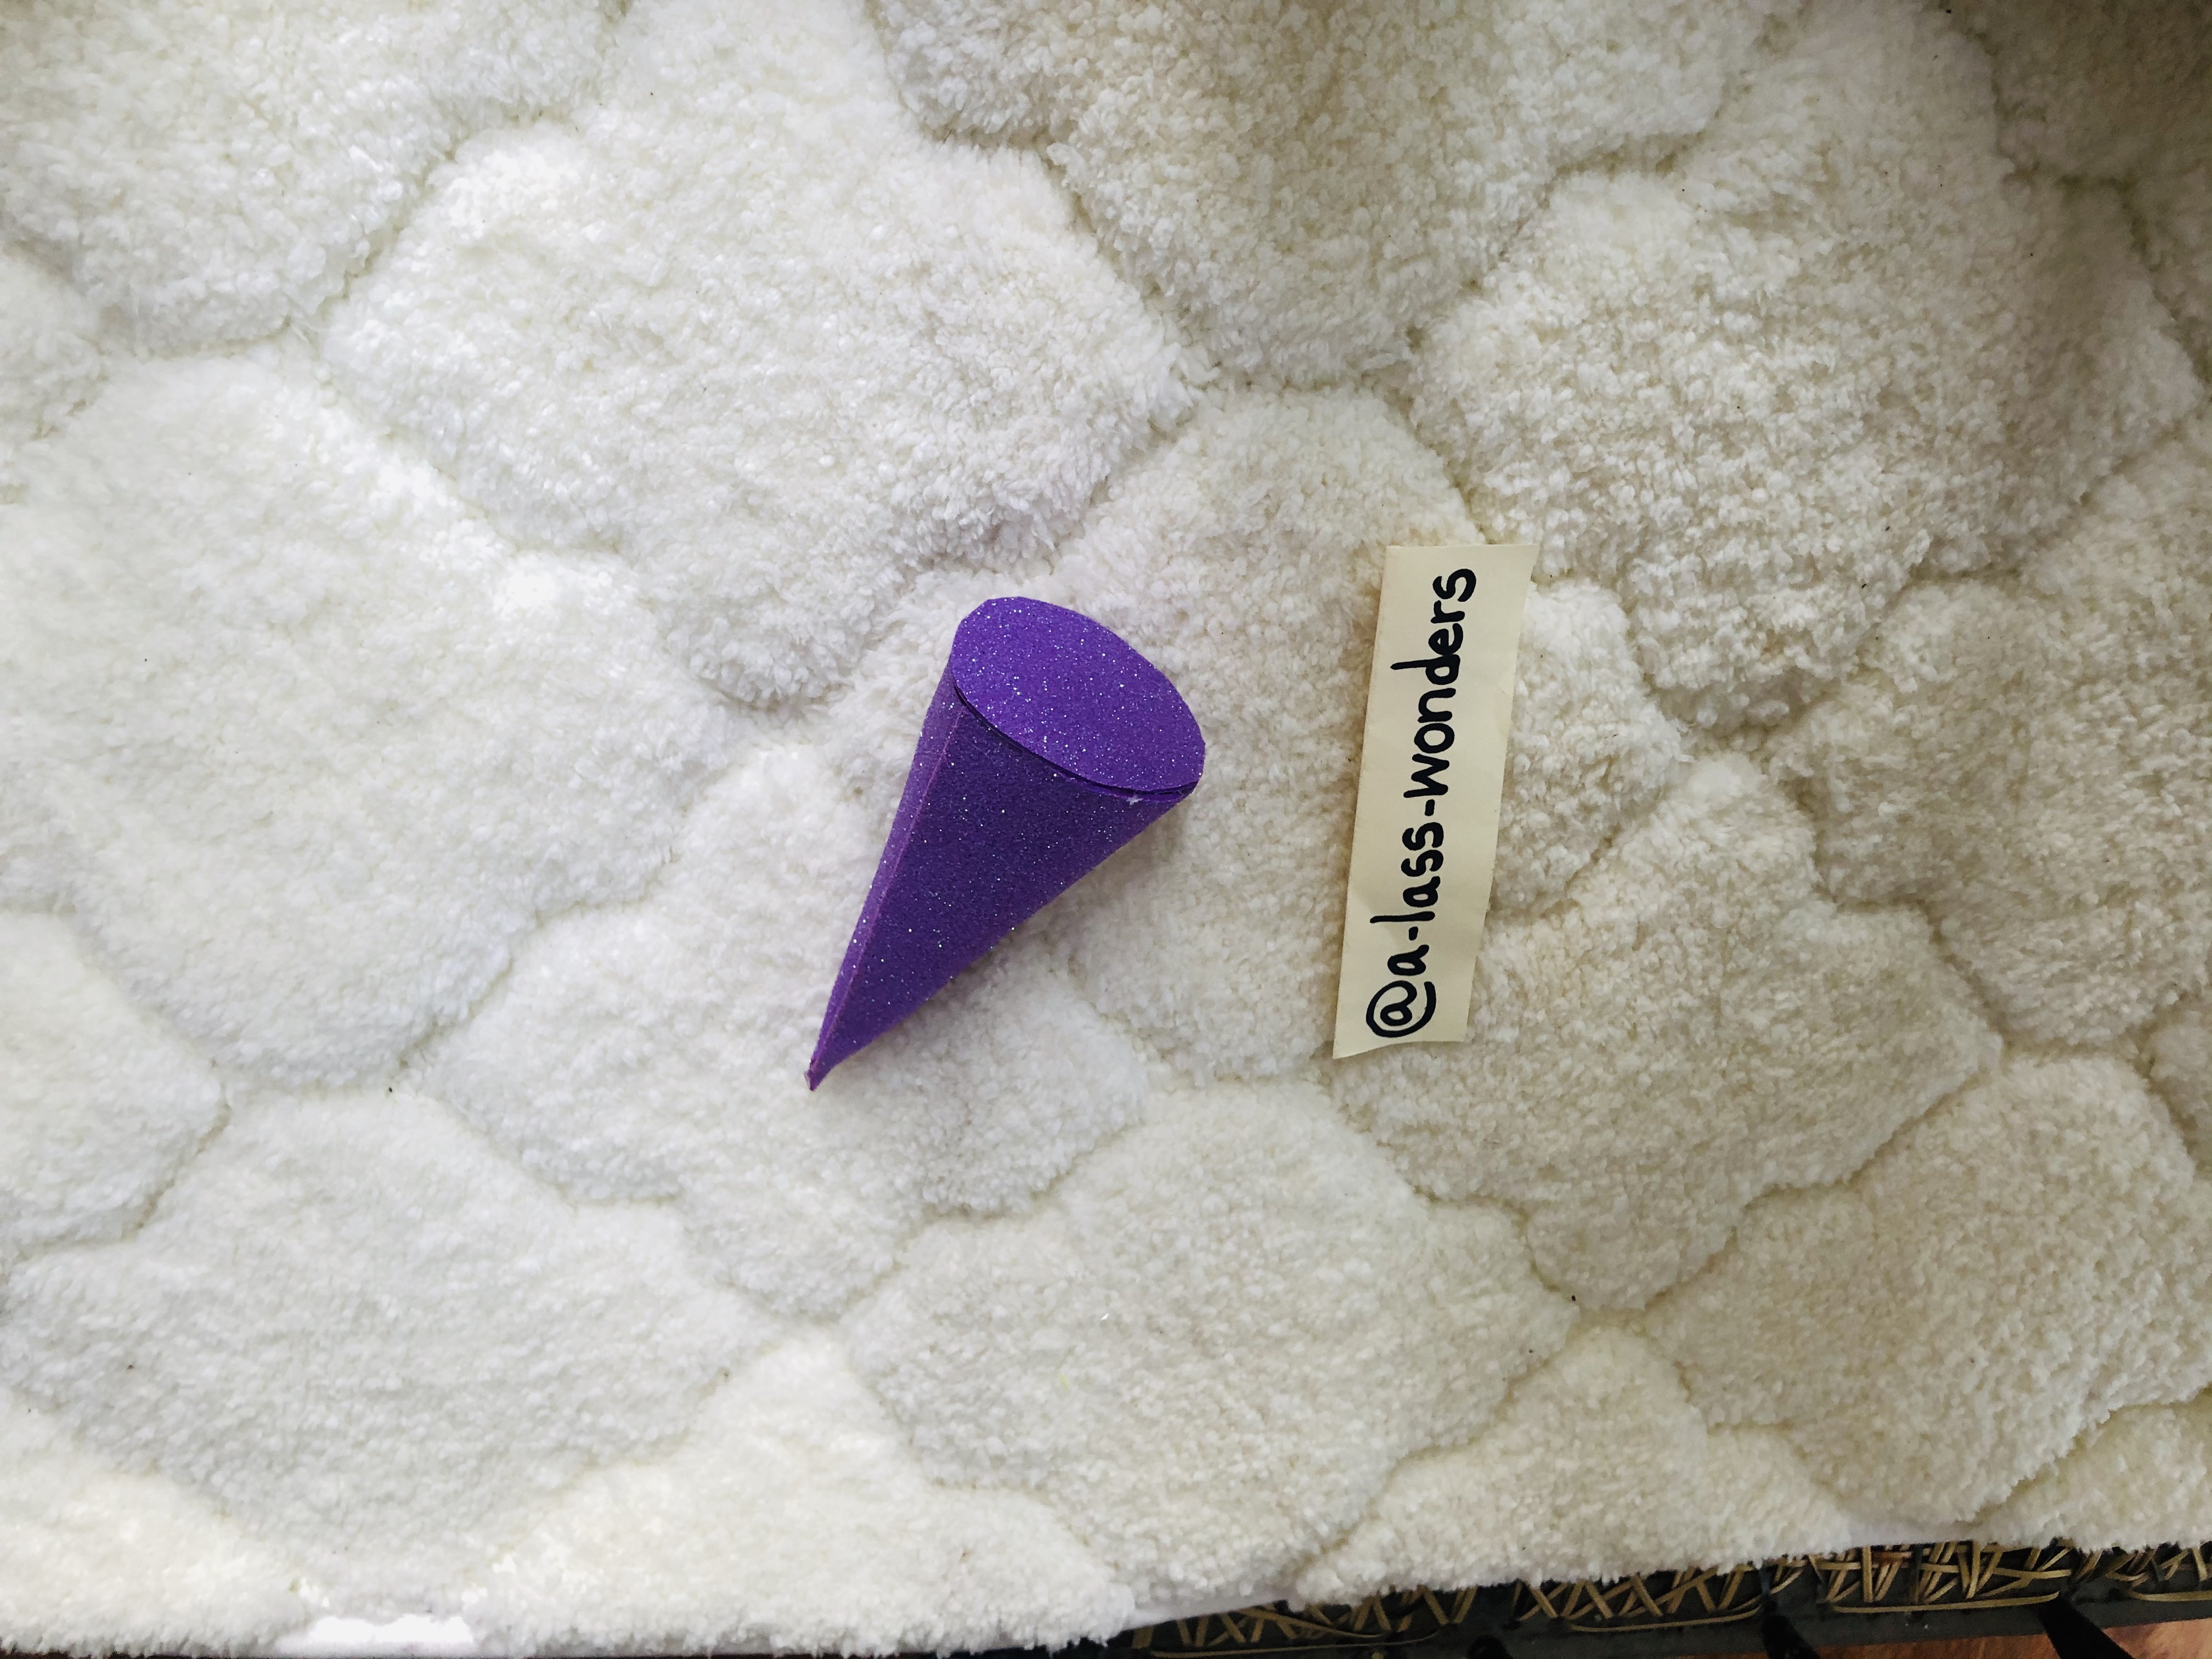
Roll it like the shape of a cone and glue its ends using a glue gun.
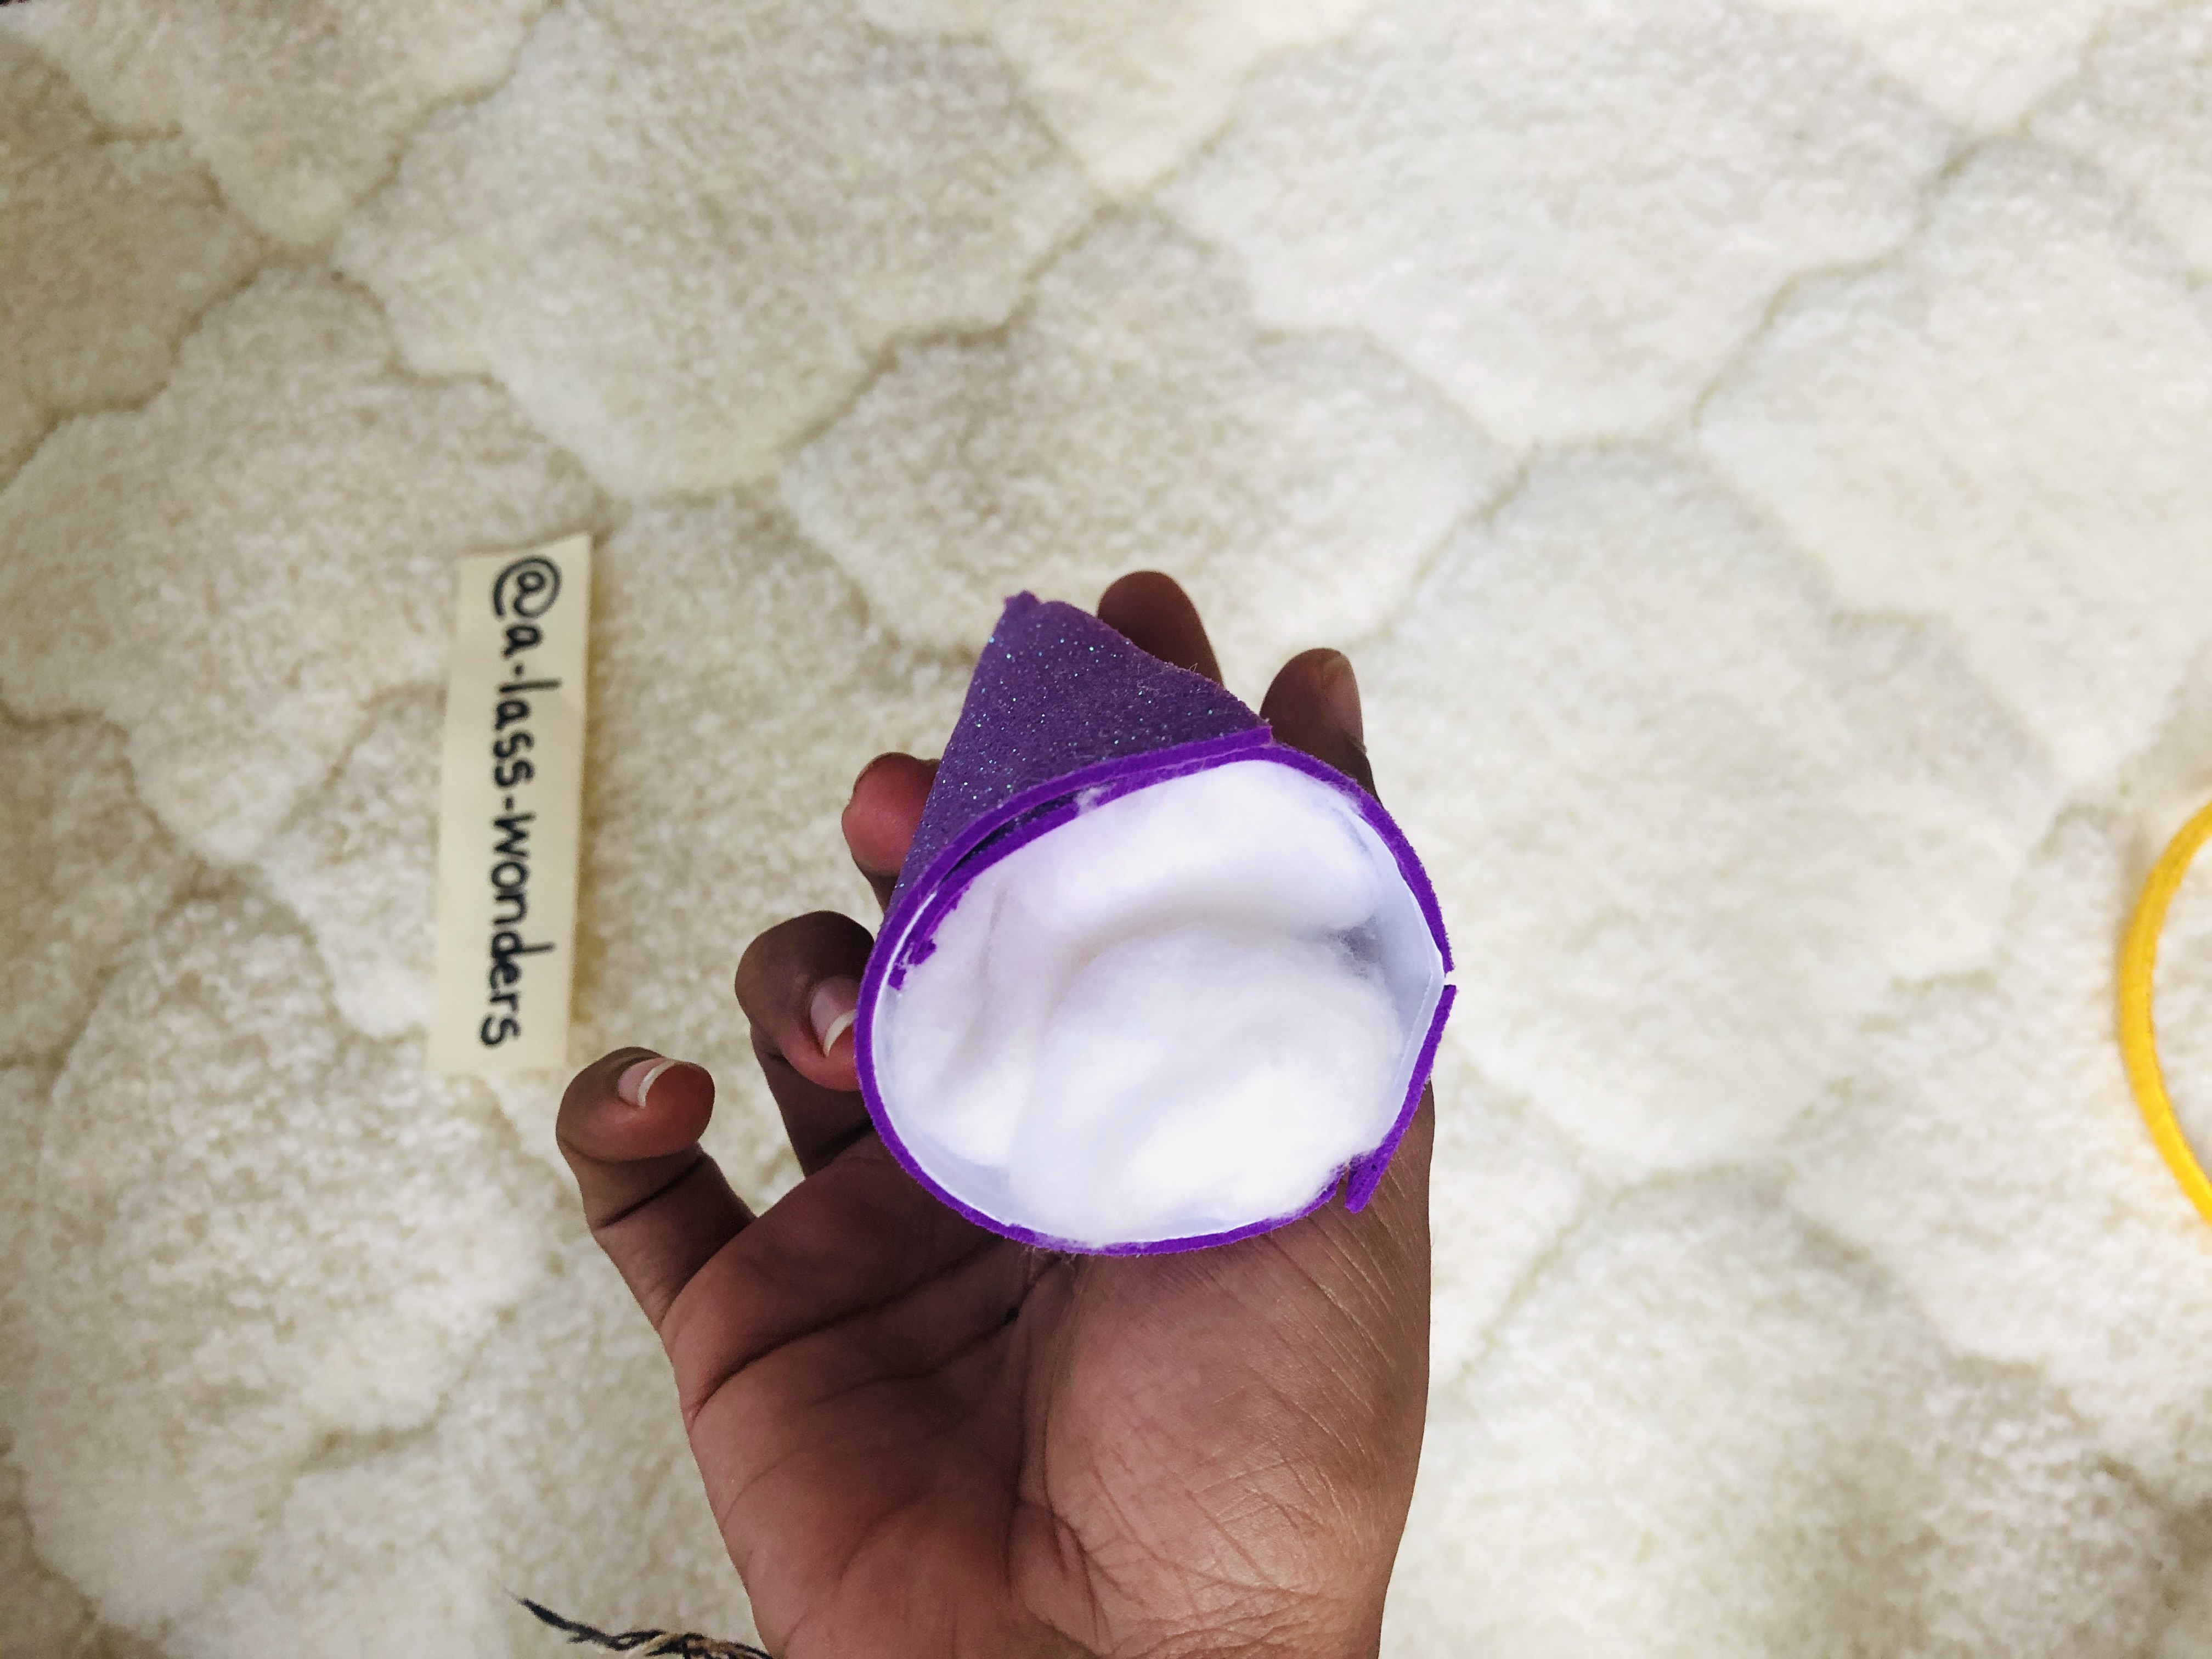
Fill cotton balls in the cone to make it more rigid.
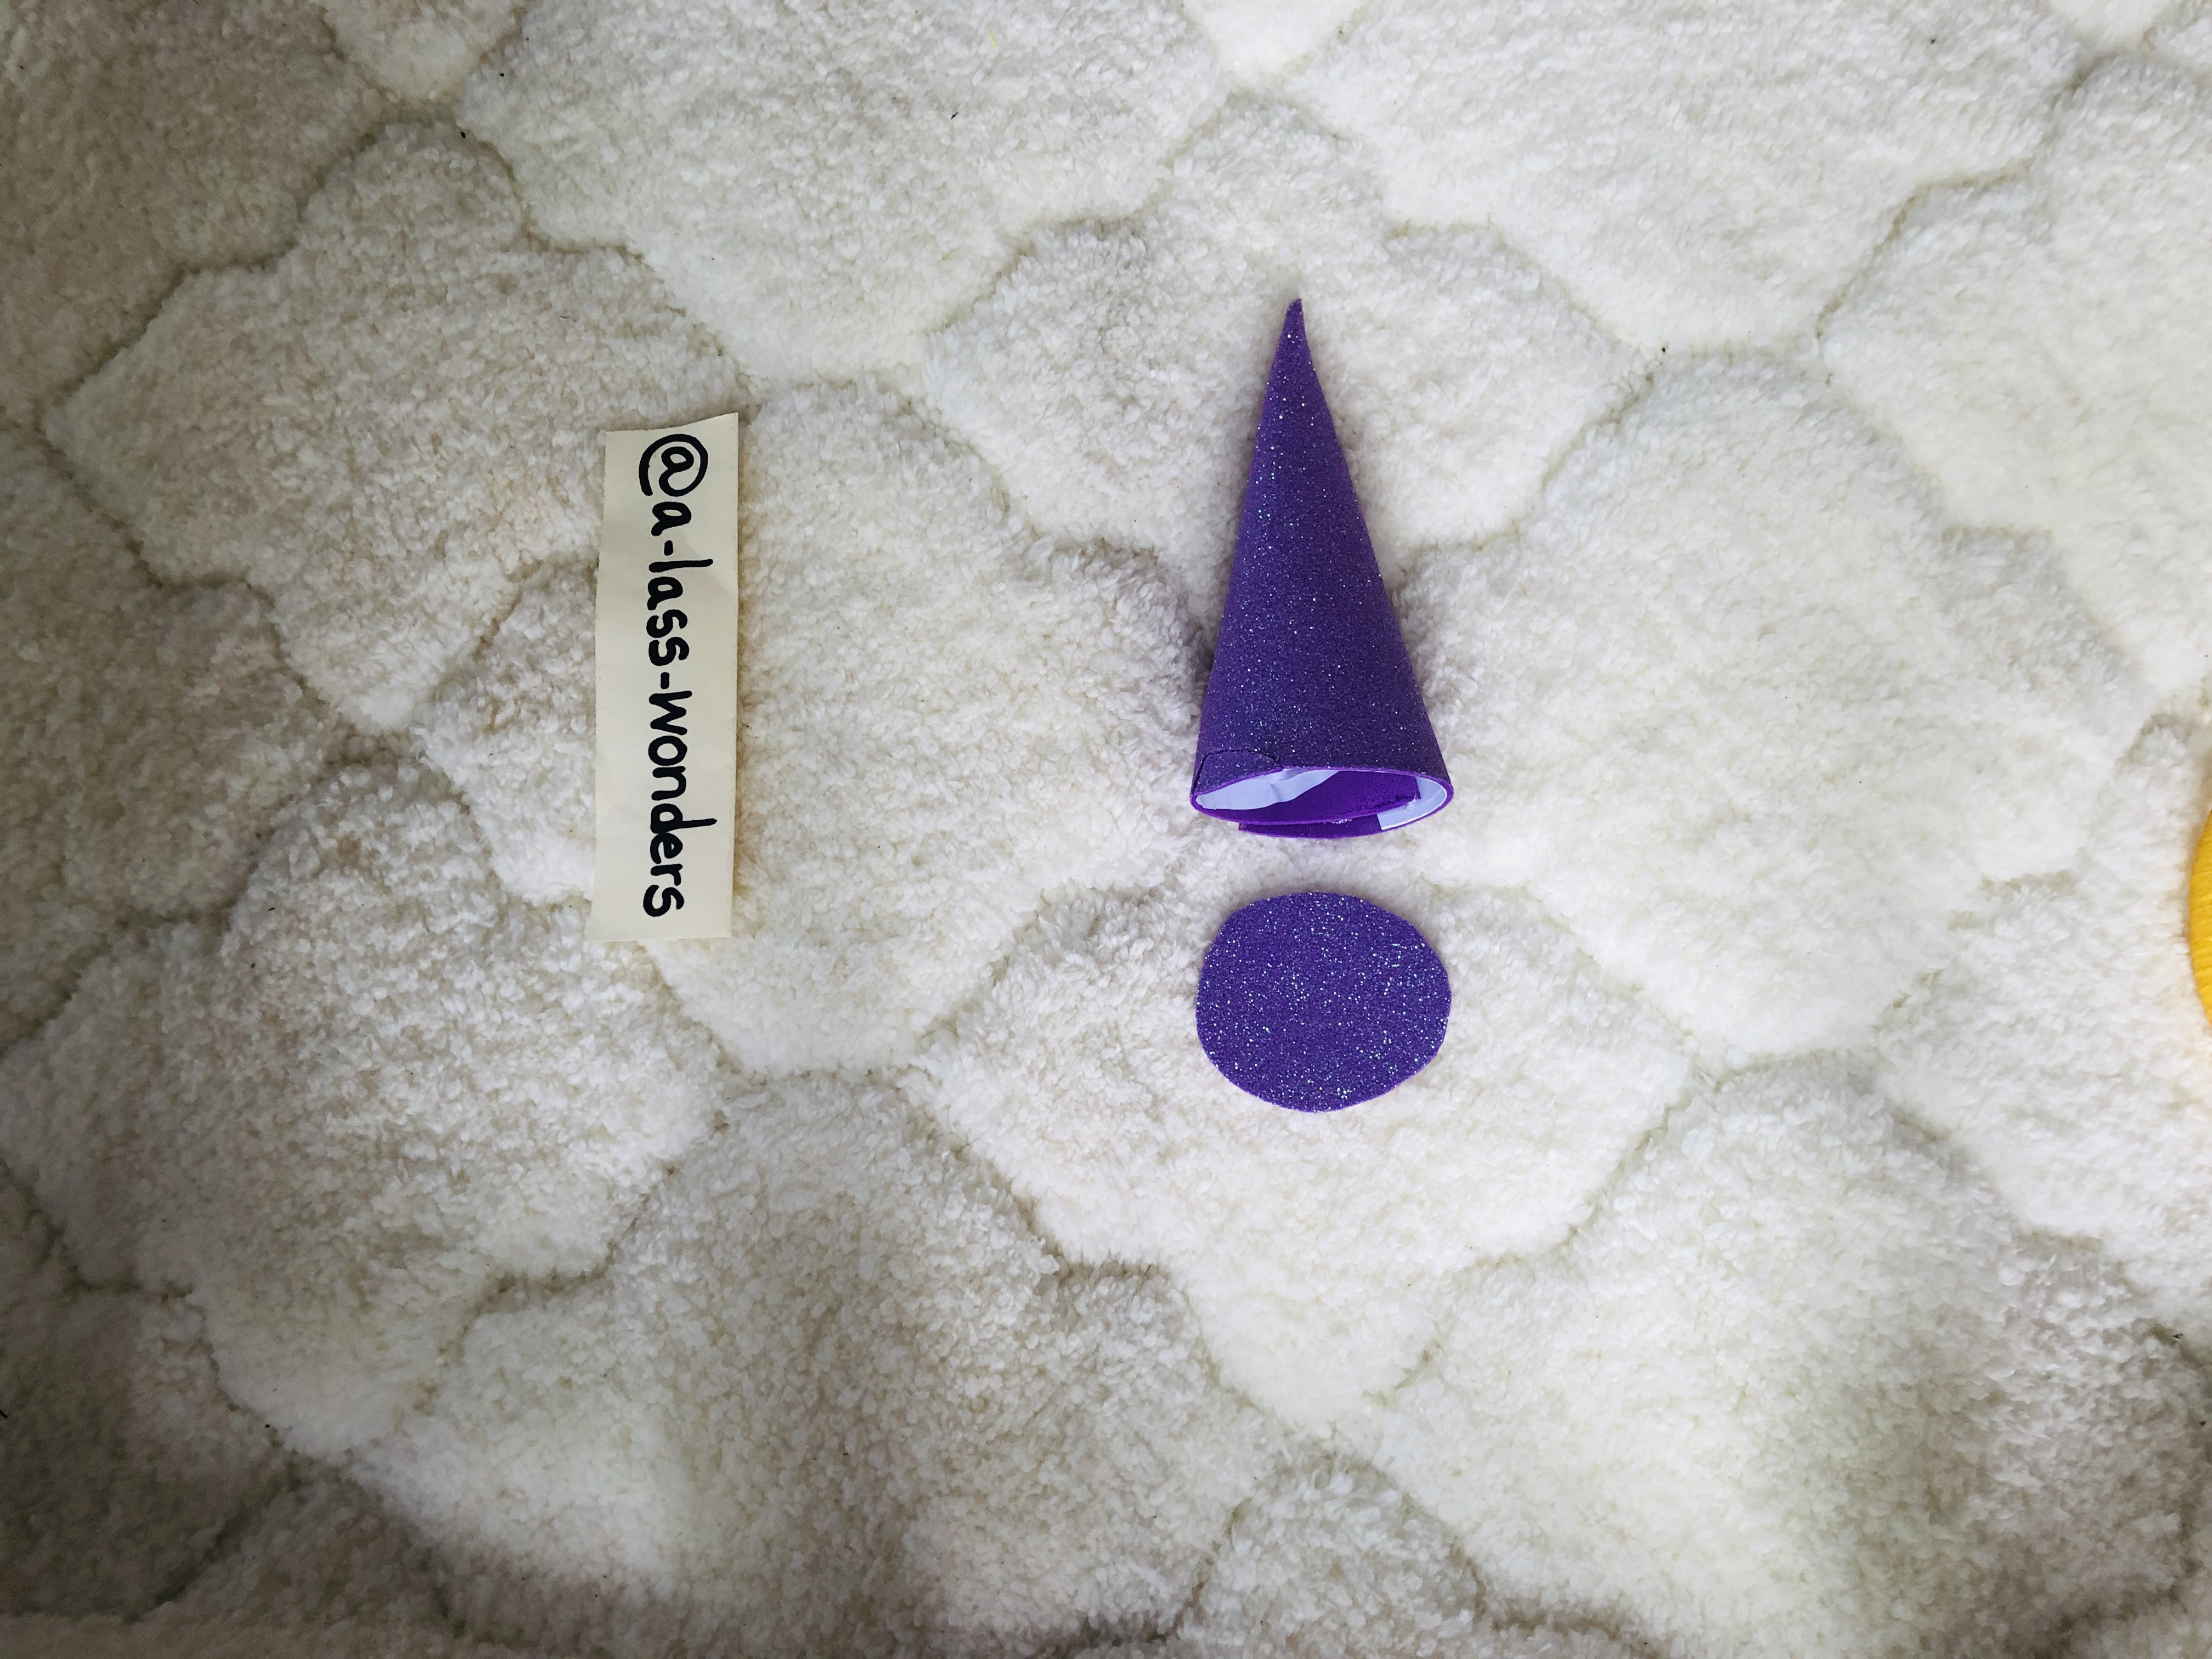
Cut a circle that matches the circle of the cone and glue the circle to the cone.
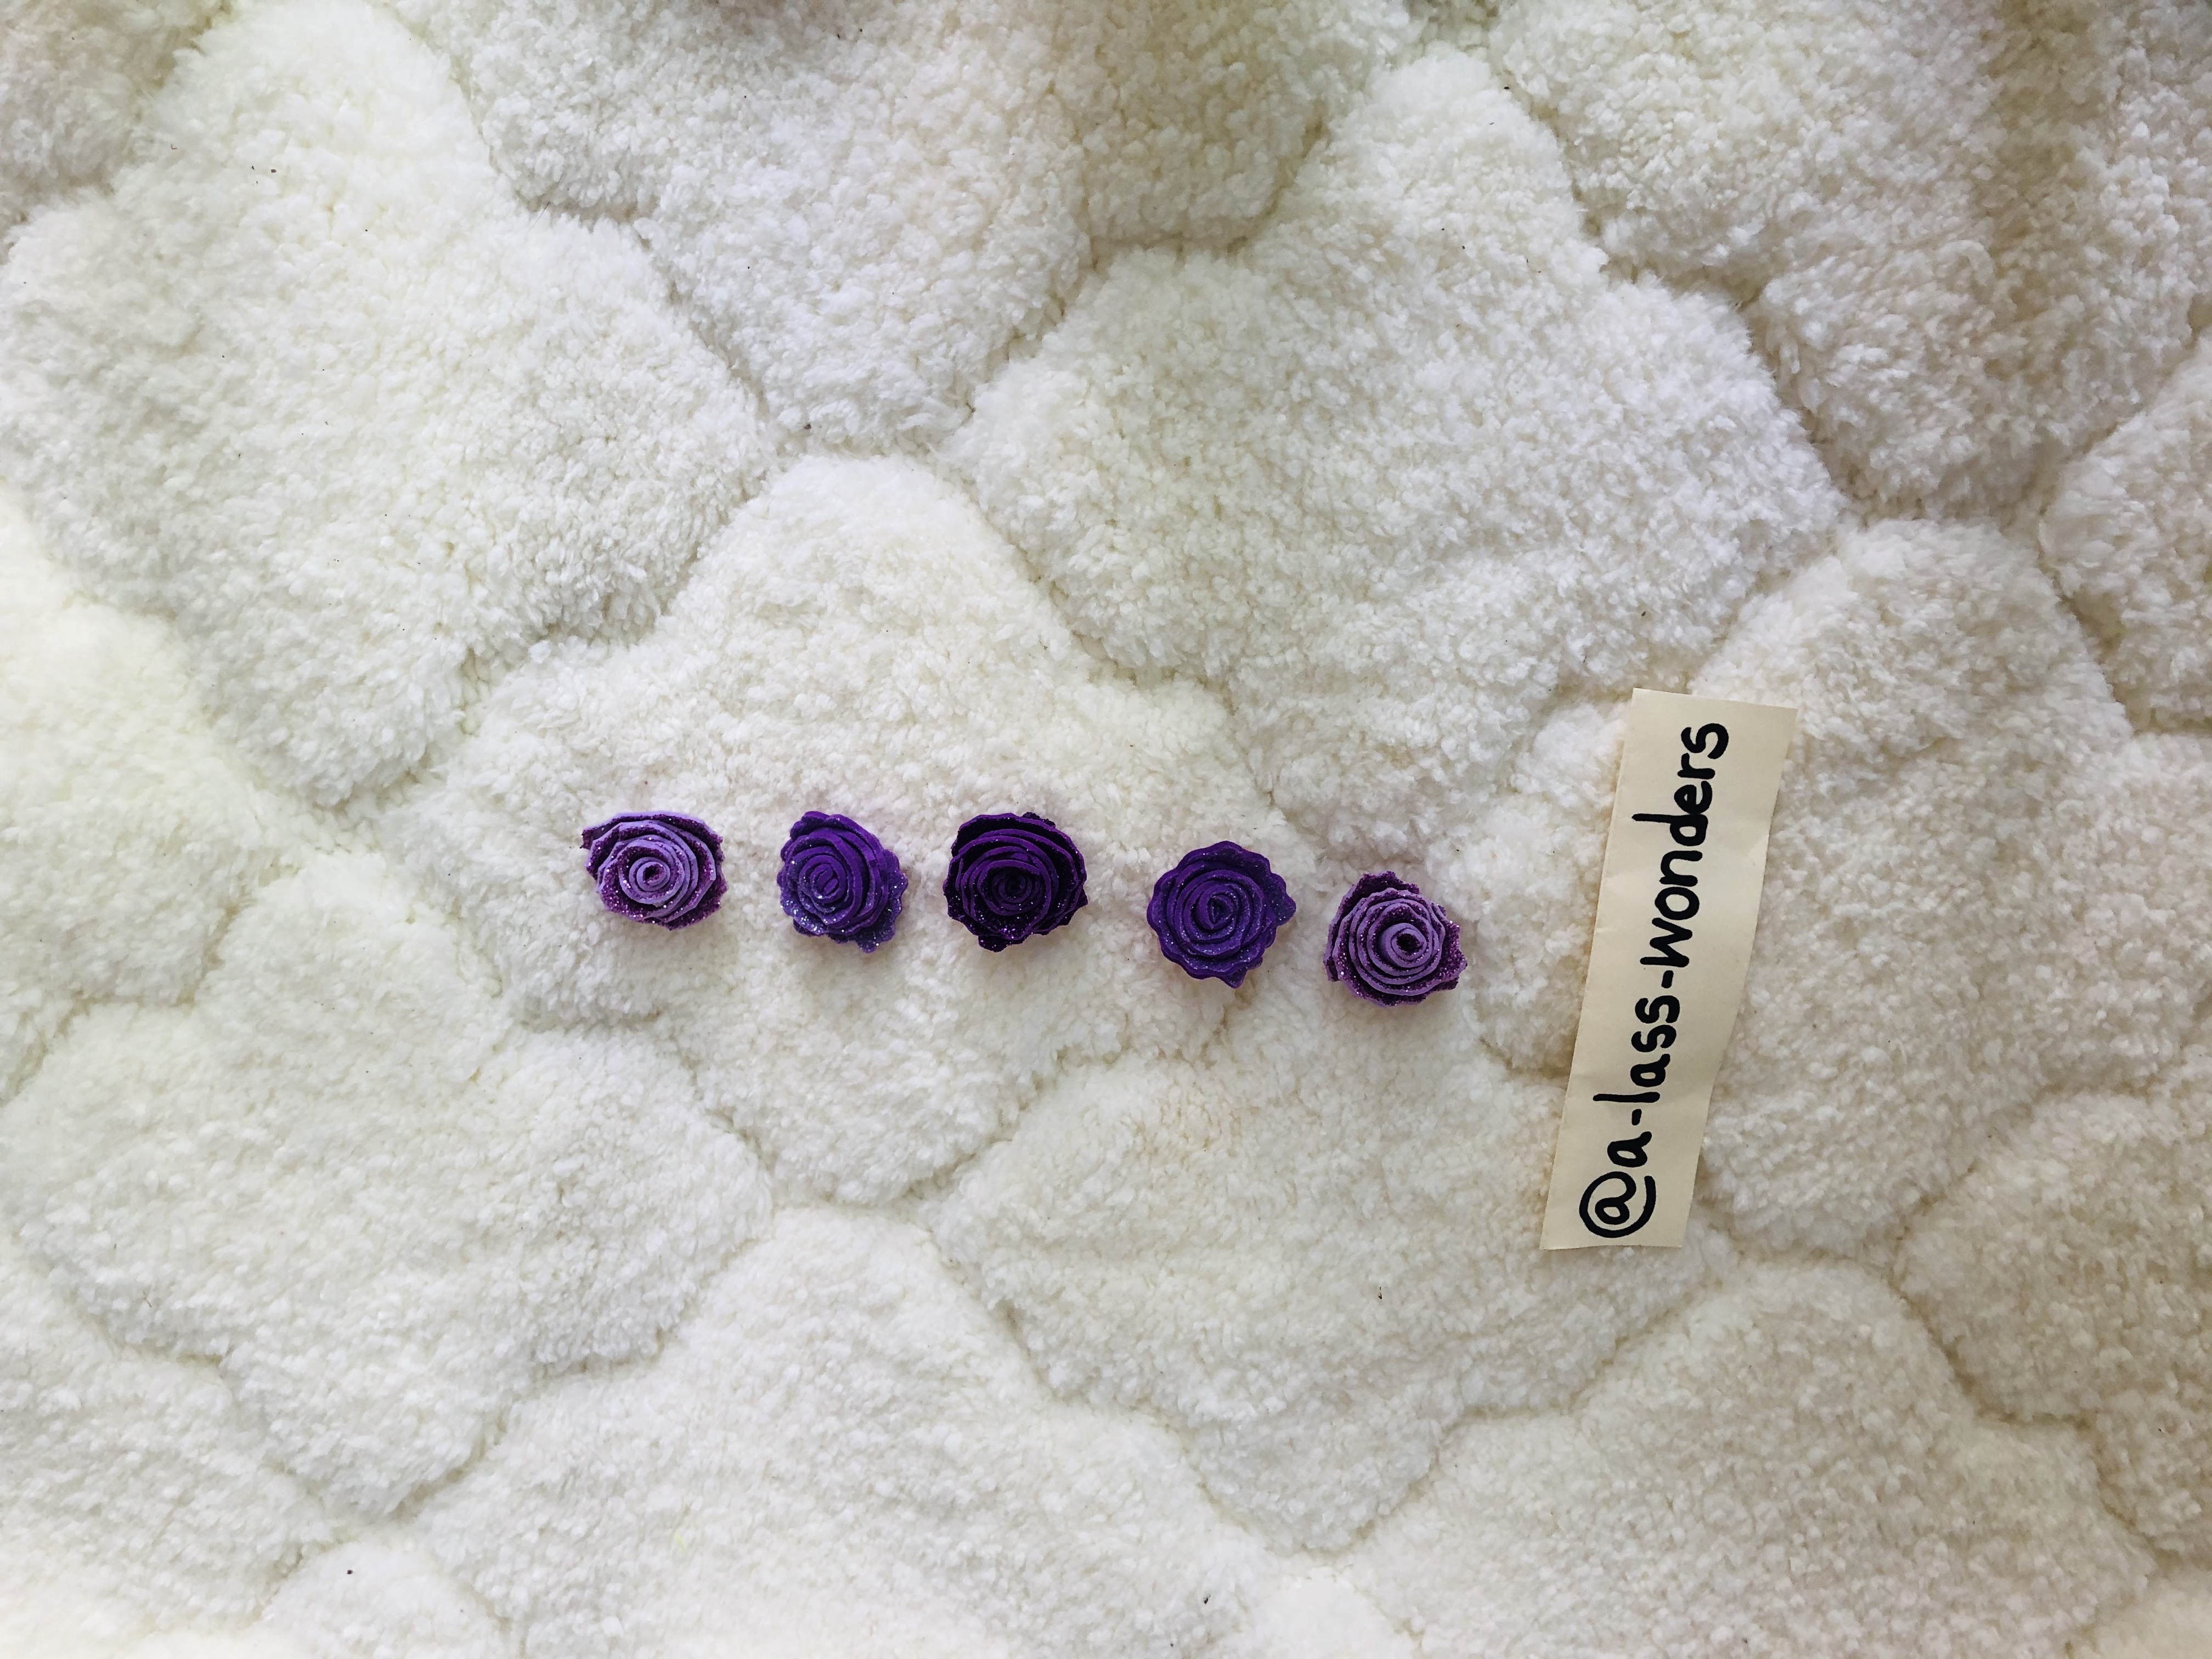
How to make flowers
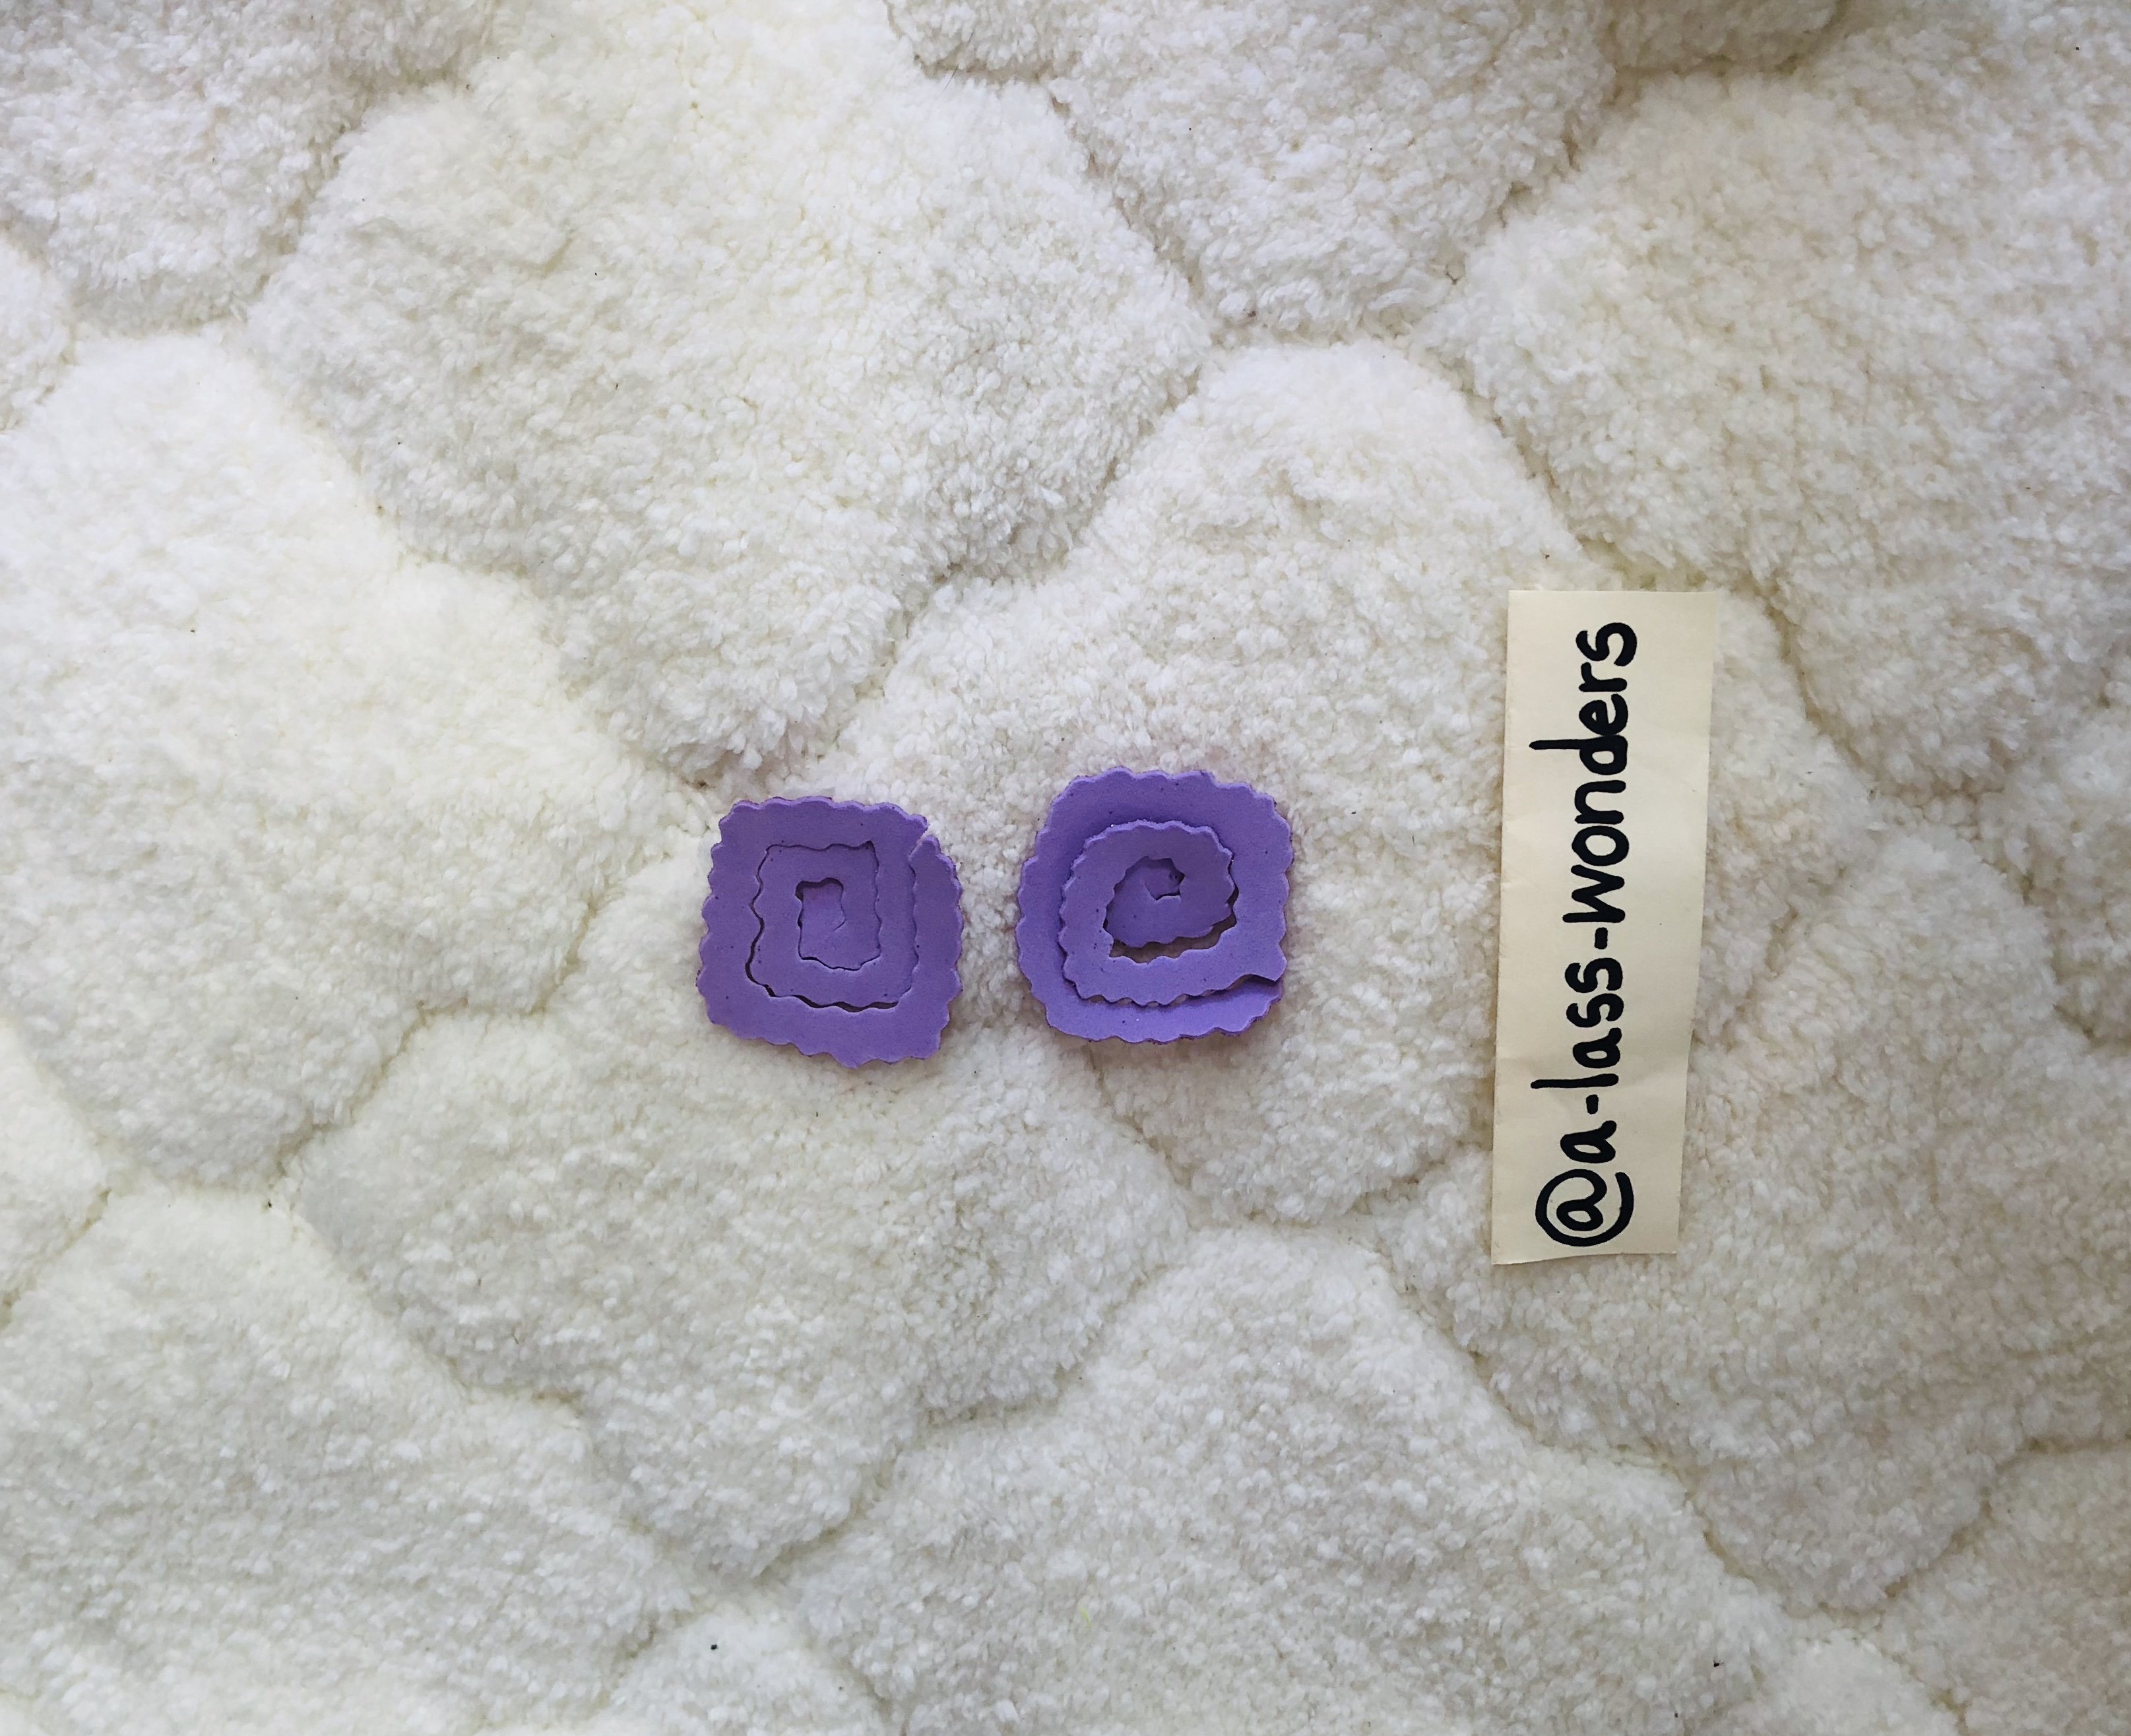
Cut a square of 5cm * 5cm and cut it around with tiny curves to make the flower.
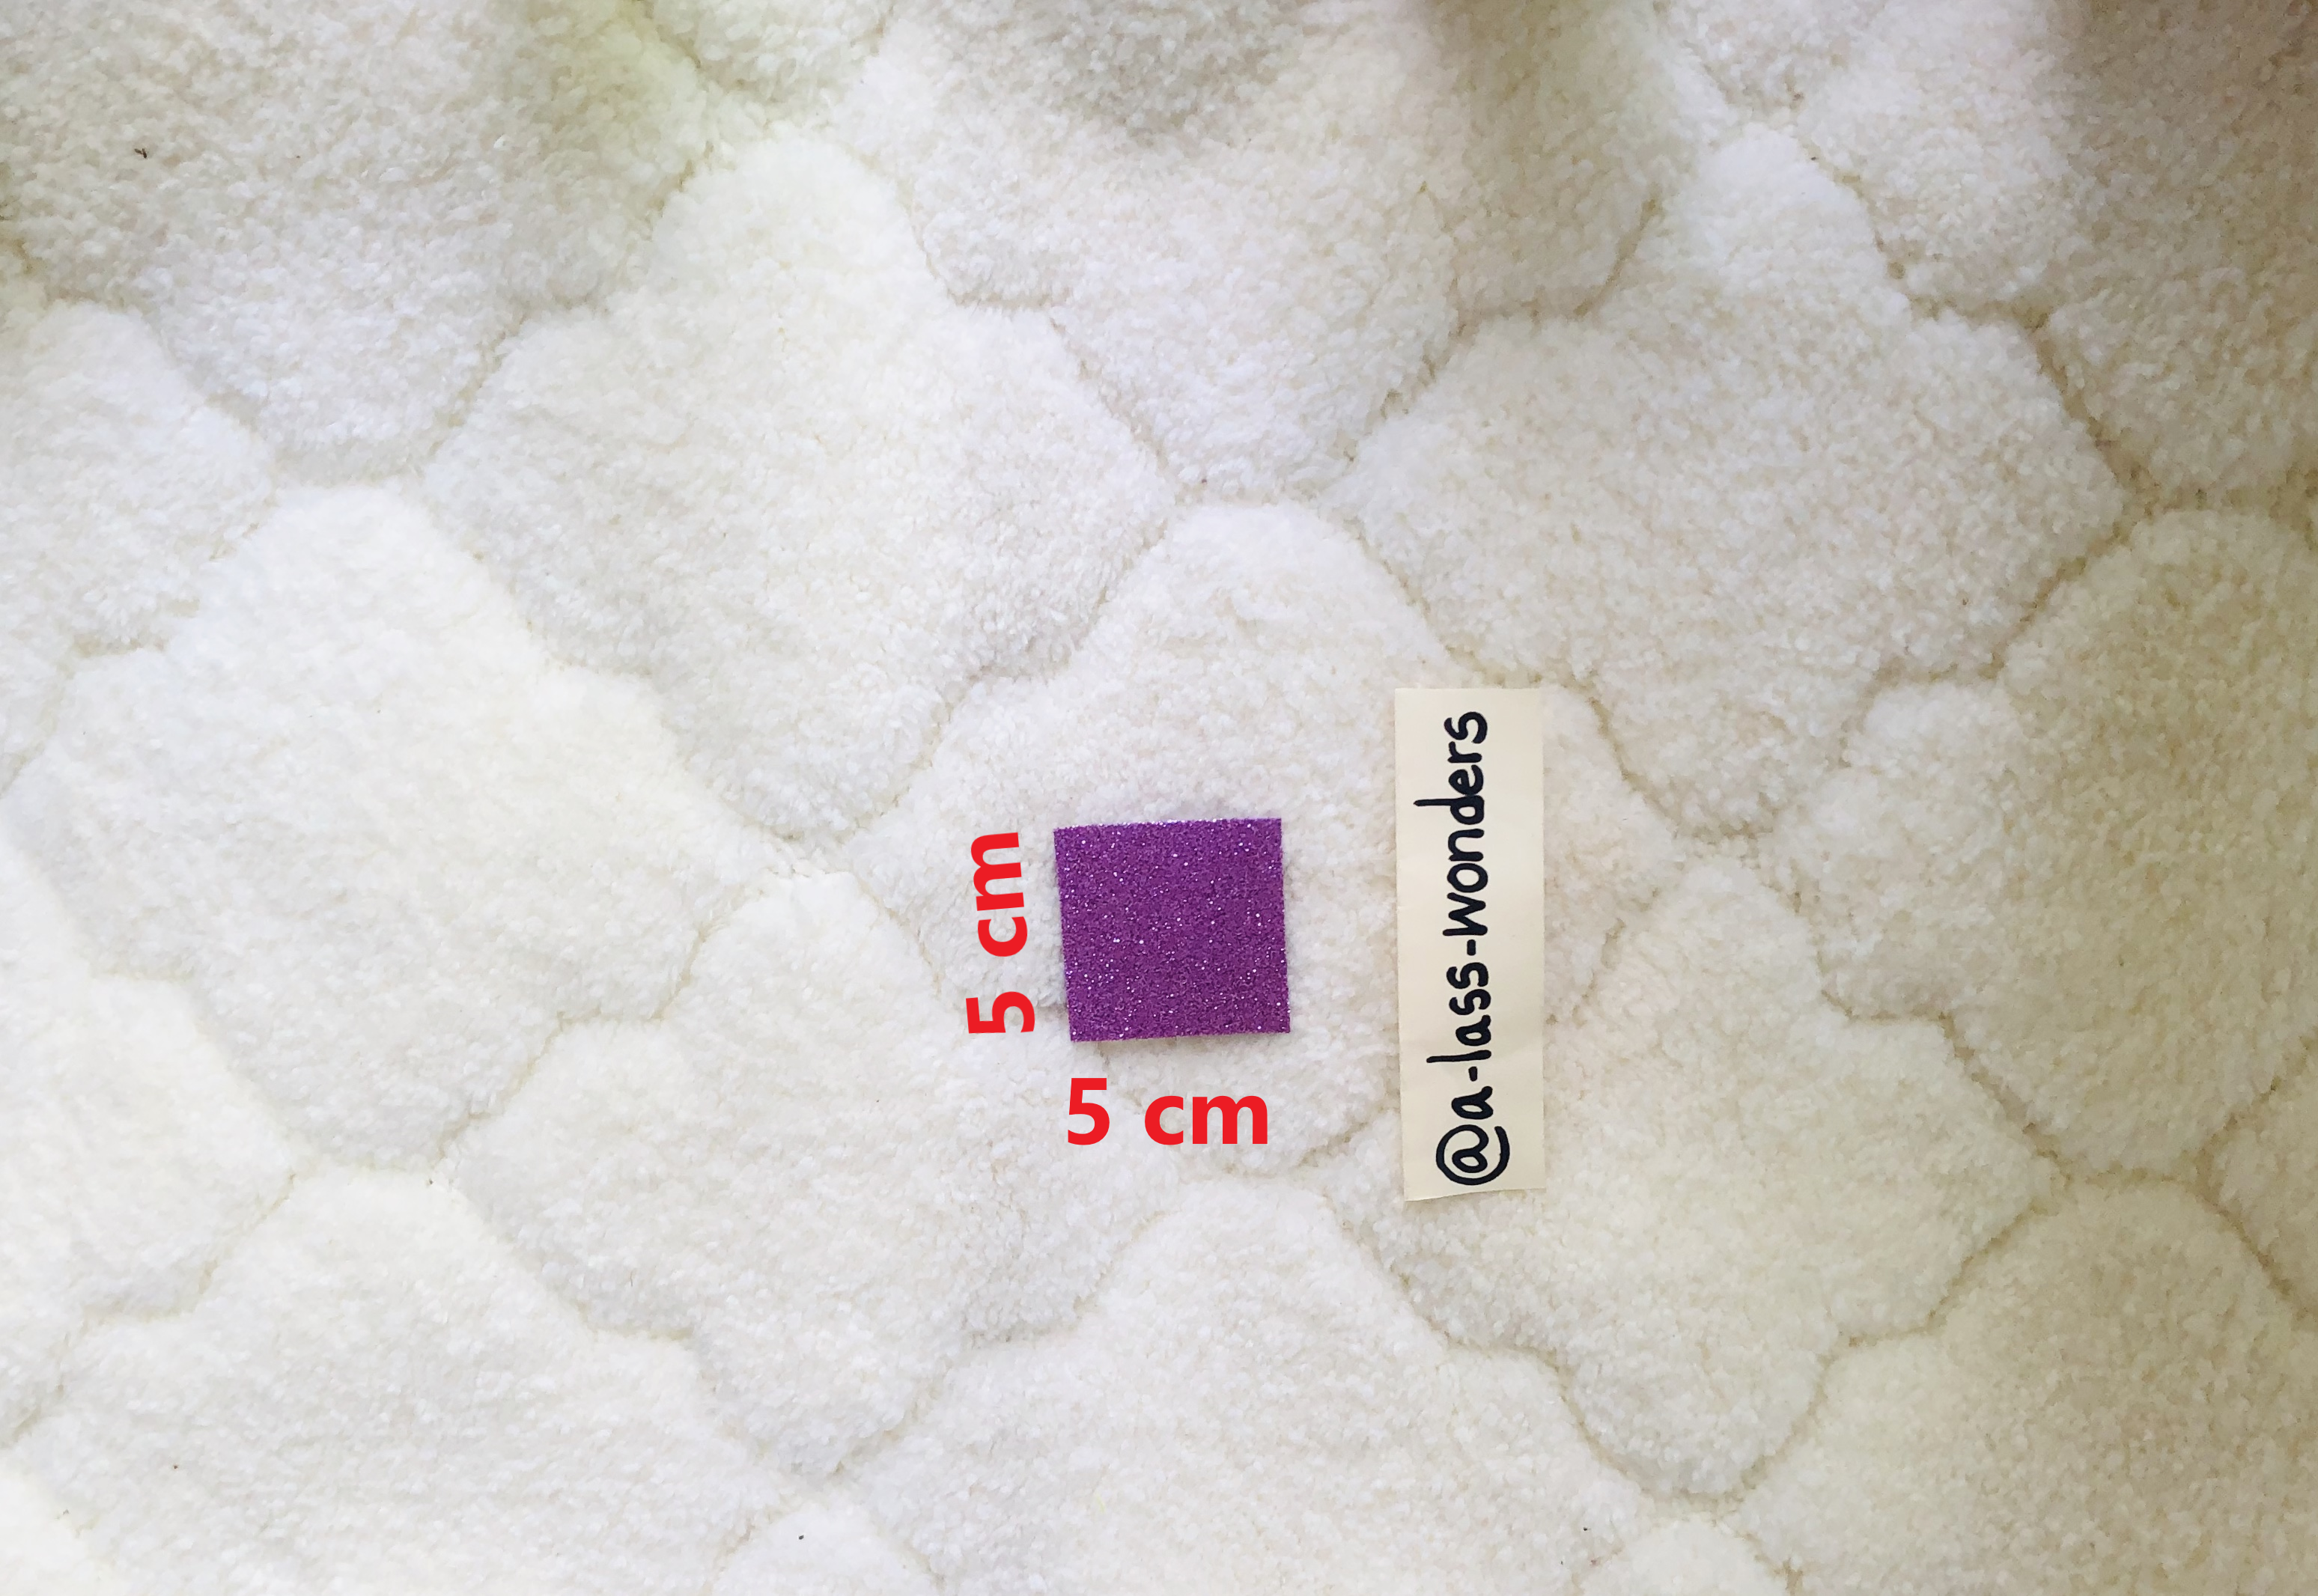
Roll the curved glitter paper to make a flower and glue it at the end of the paper roll.
How to make ears
Cut a rectangle from the size of 6cm * 14cm and draw an ear-shaped as below. Then cut it.
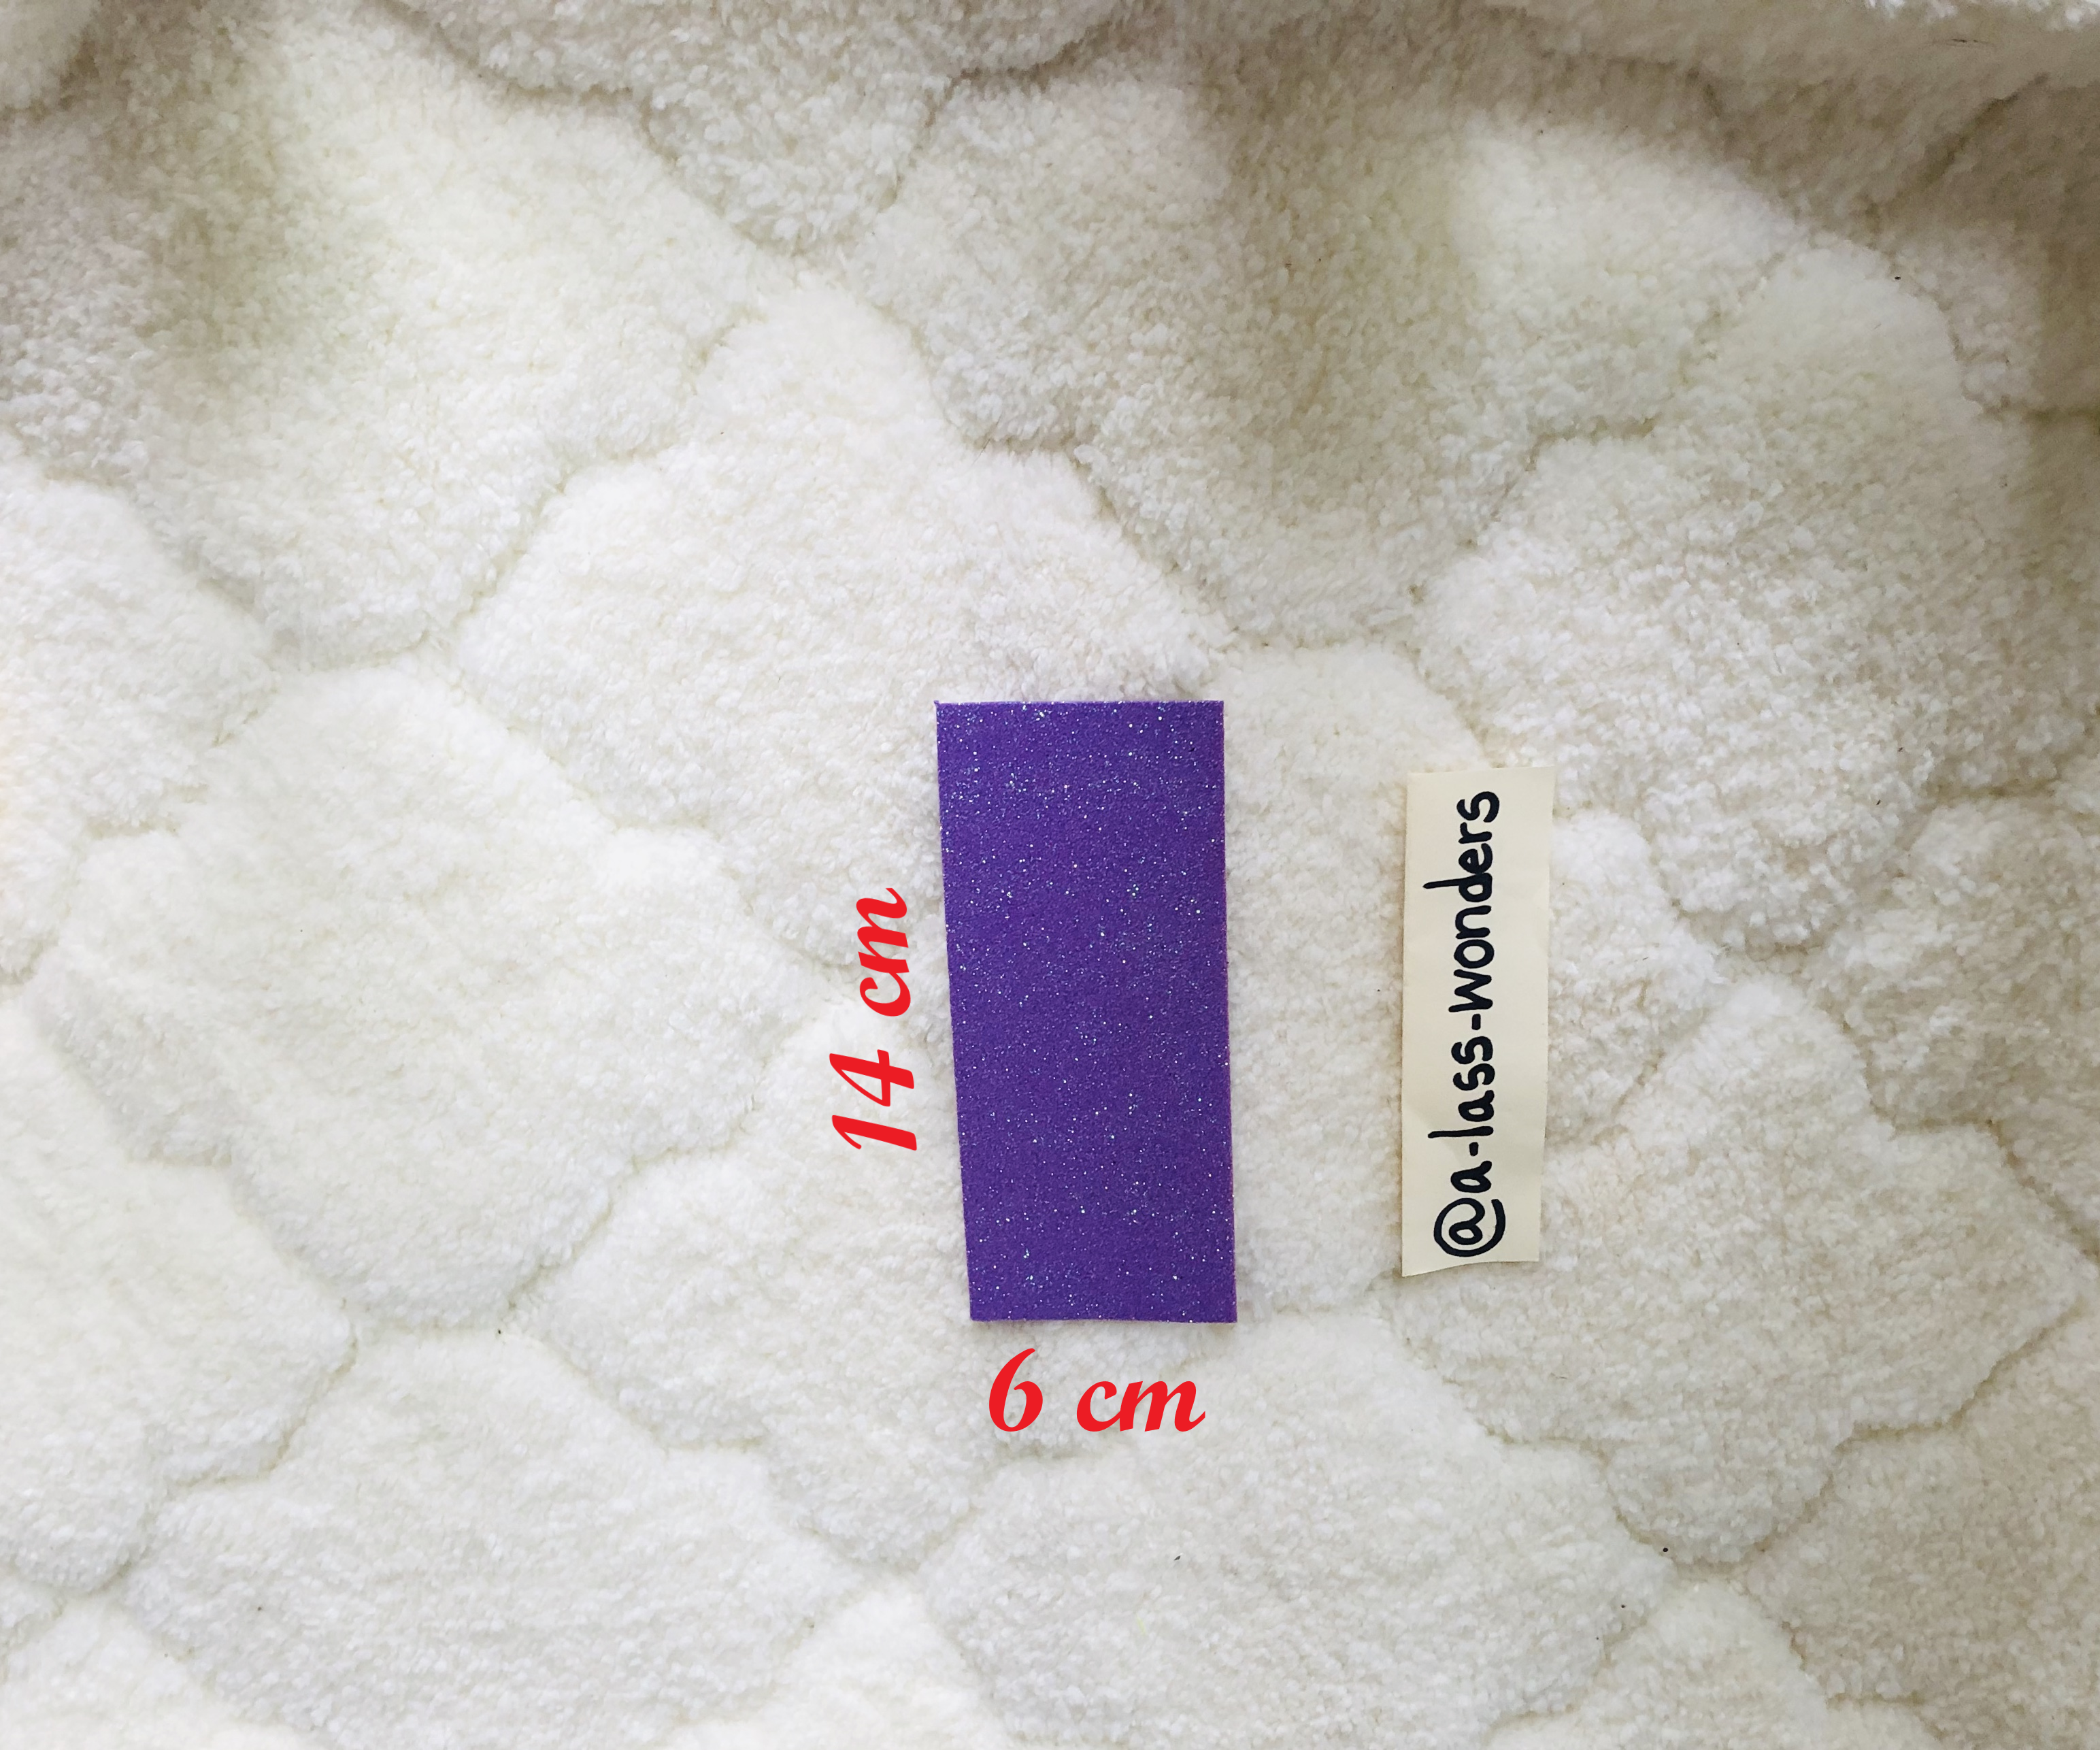
Cut a yellow color ear lobe smaller than the previous one.
How to finish head band
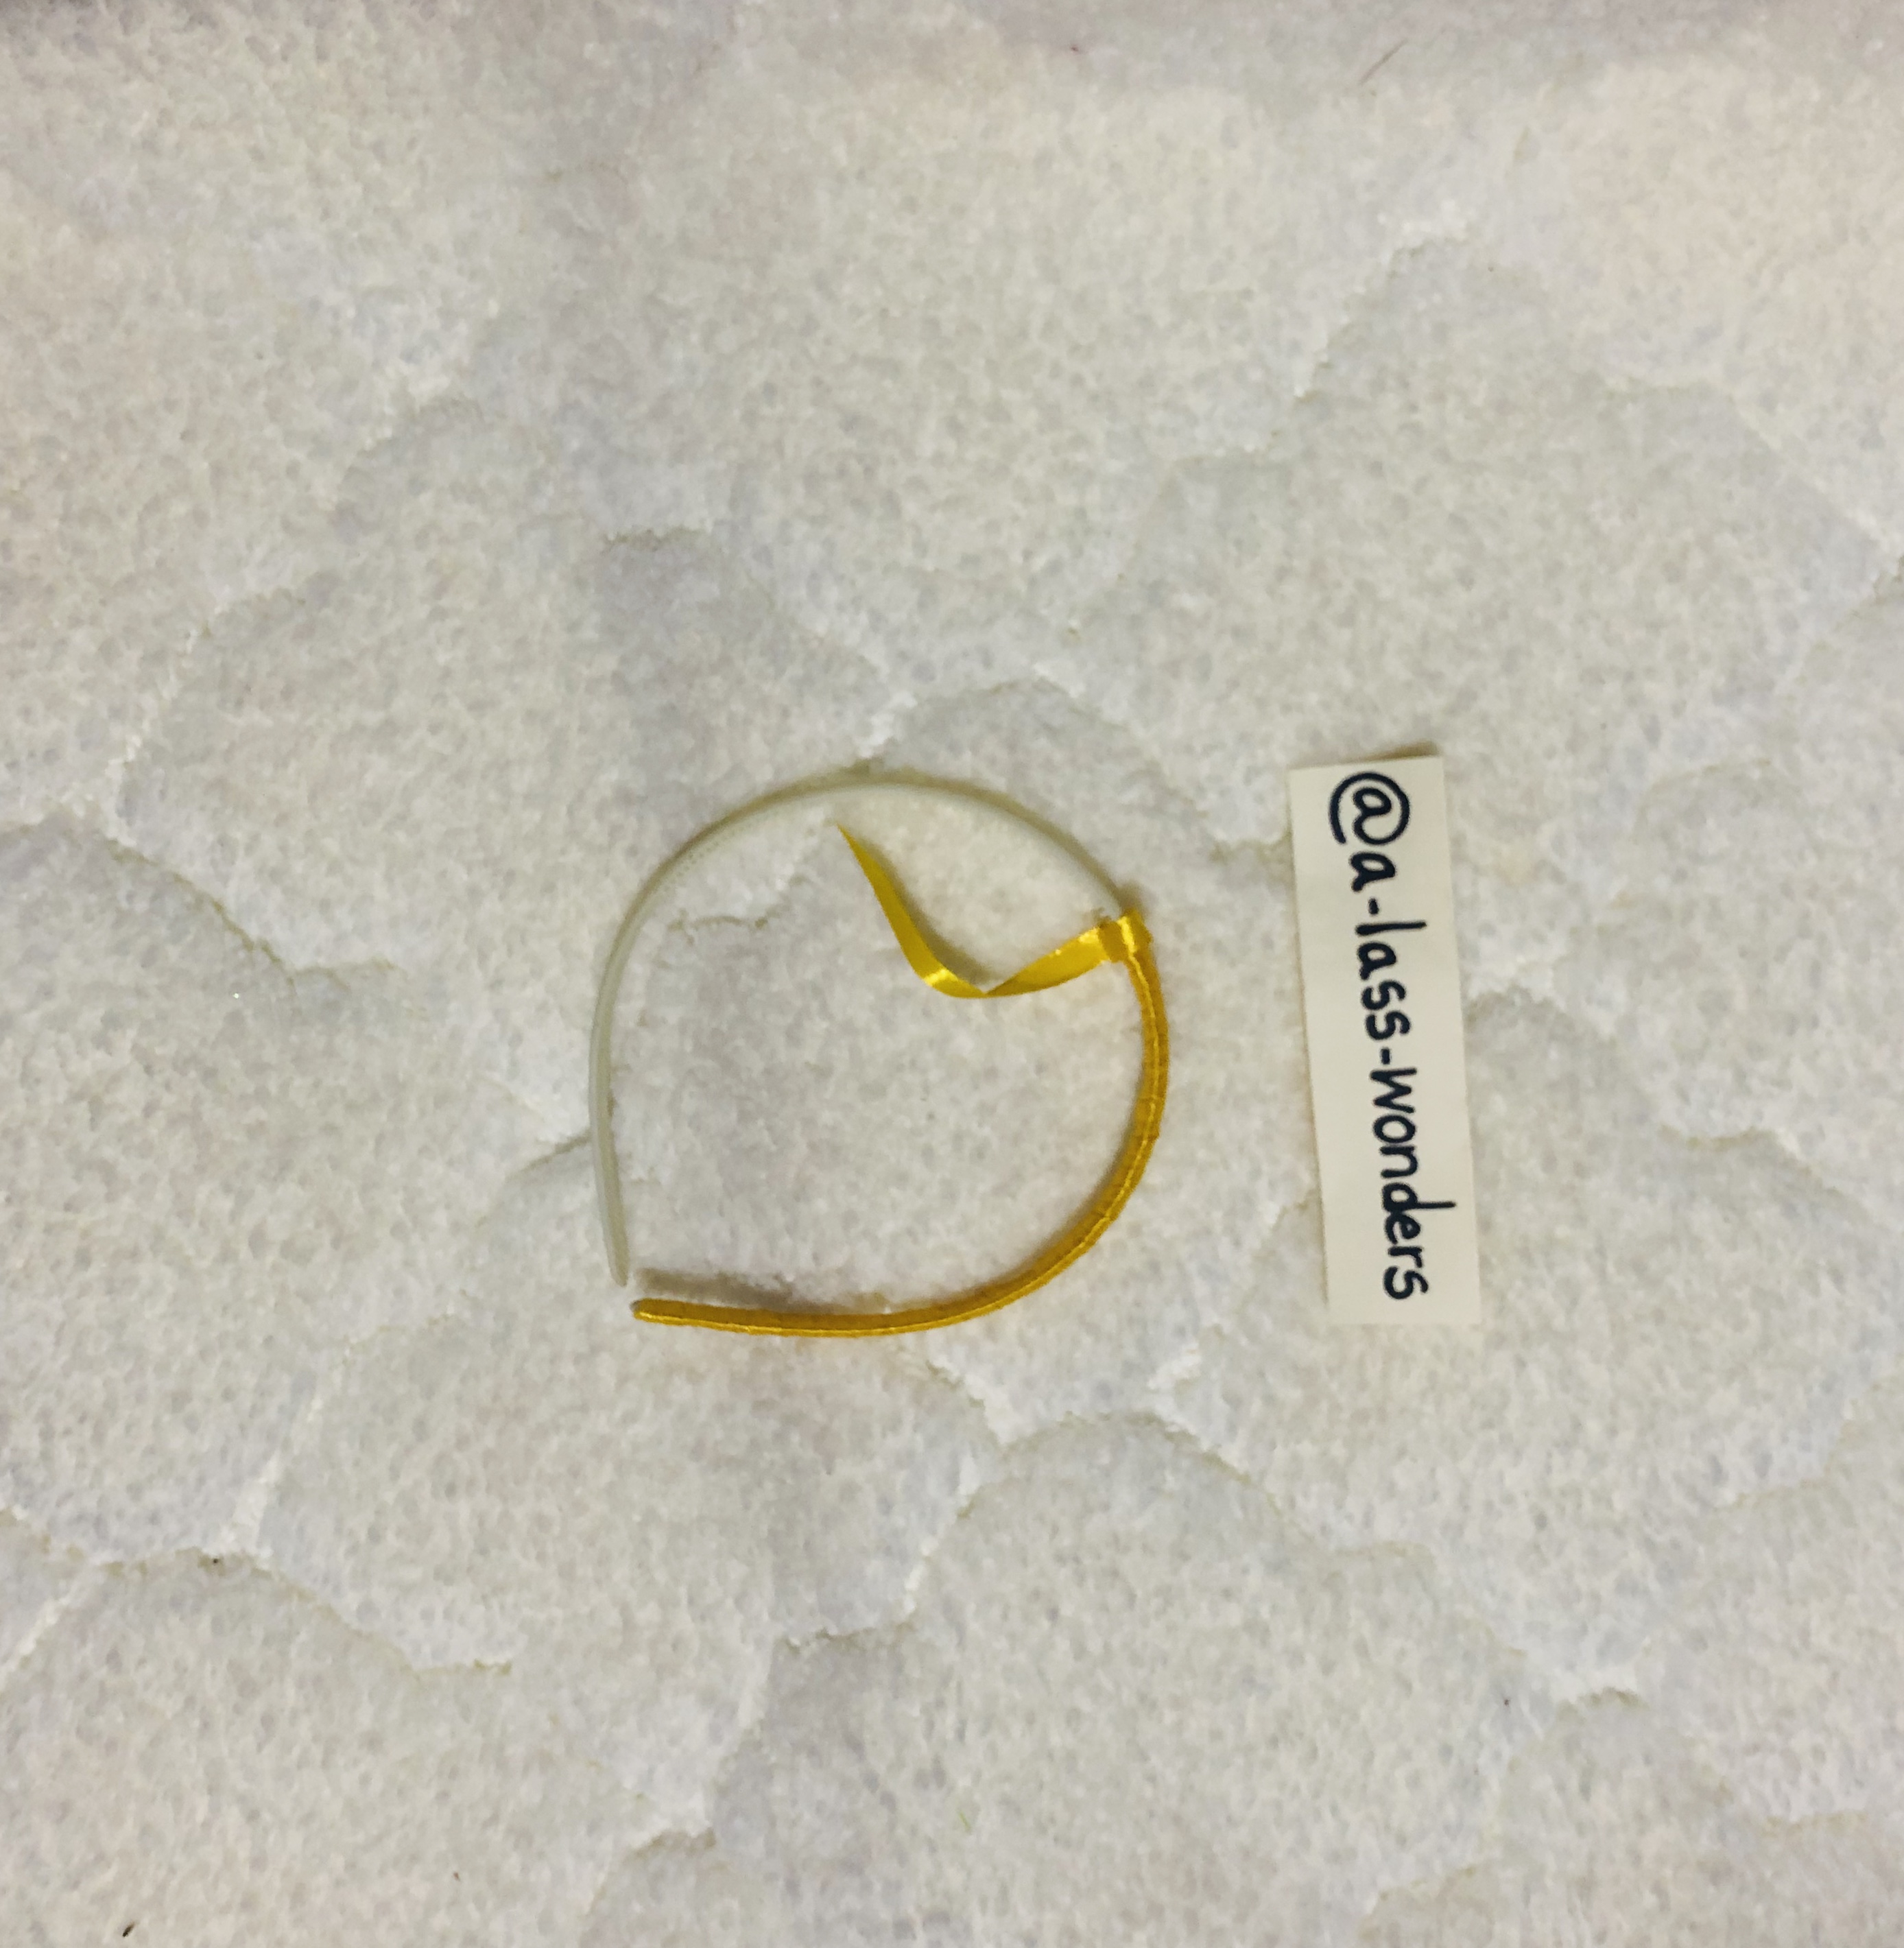
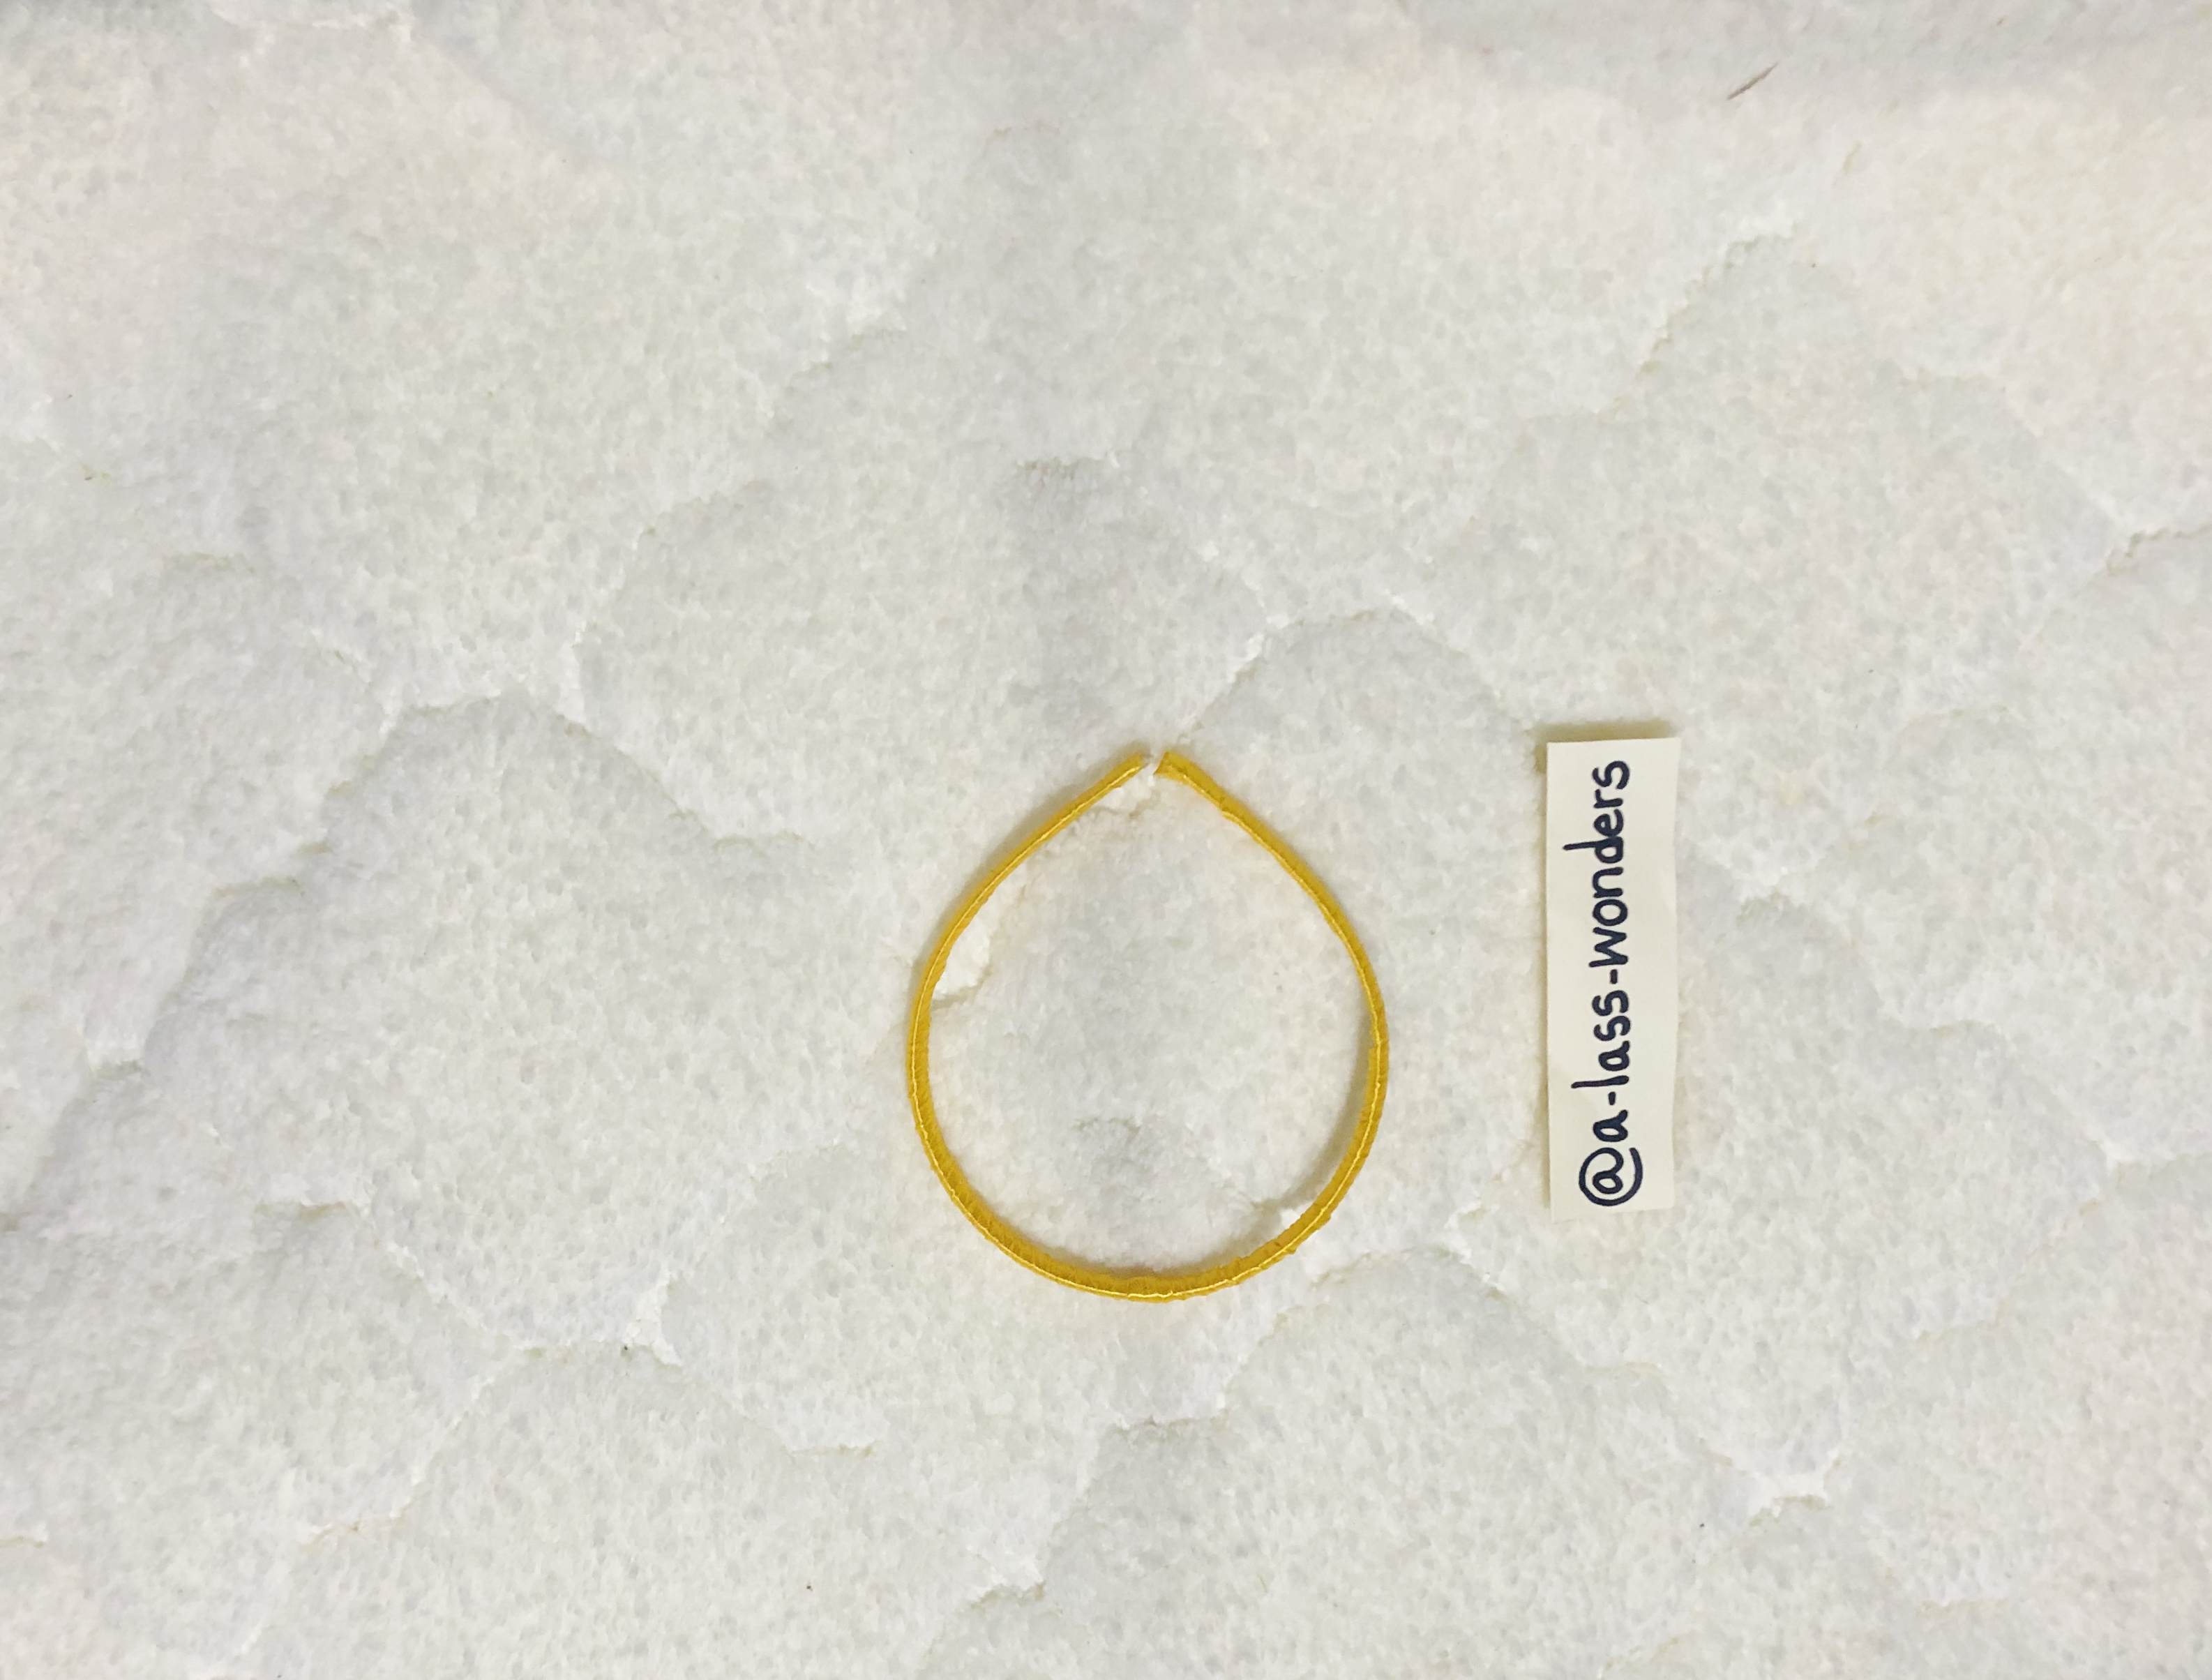
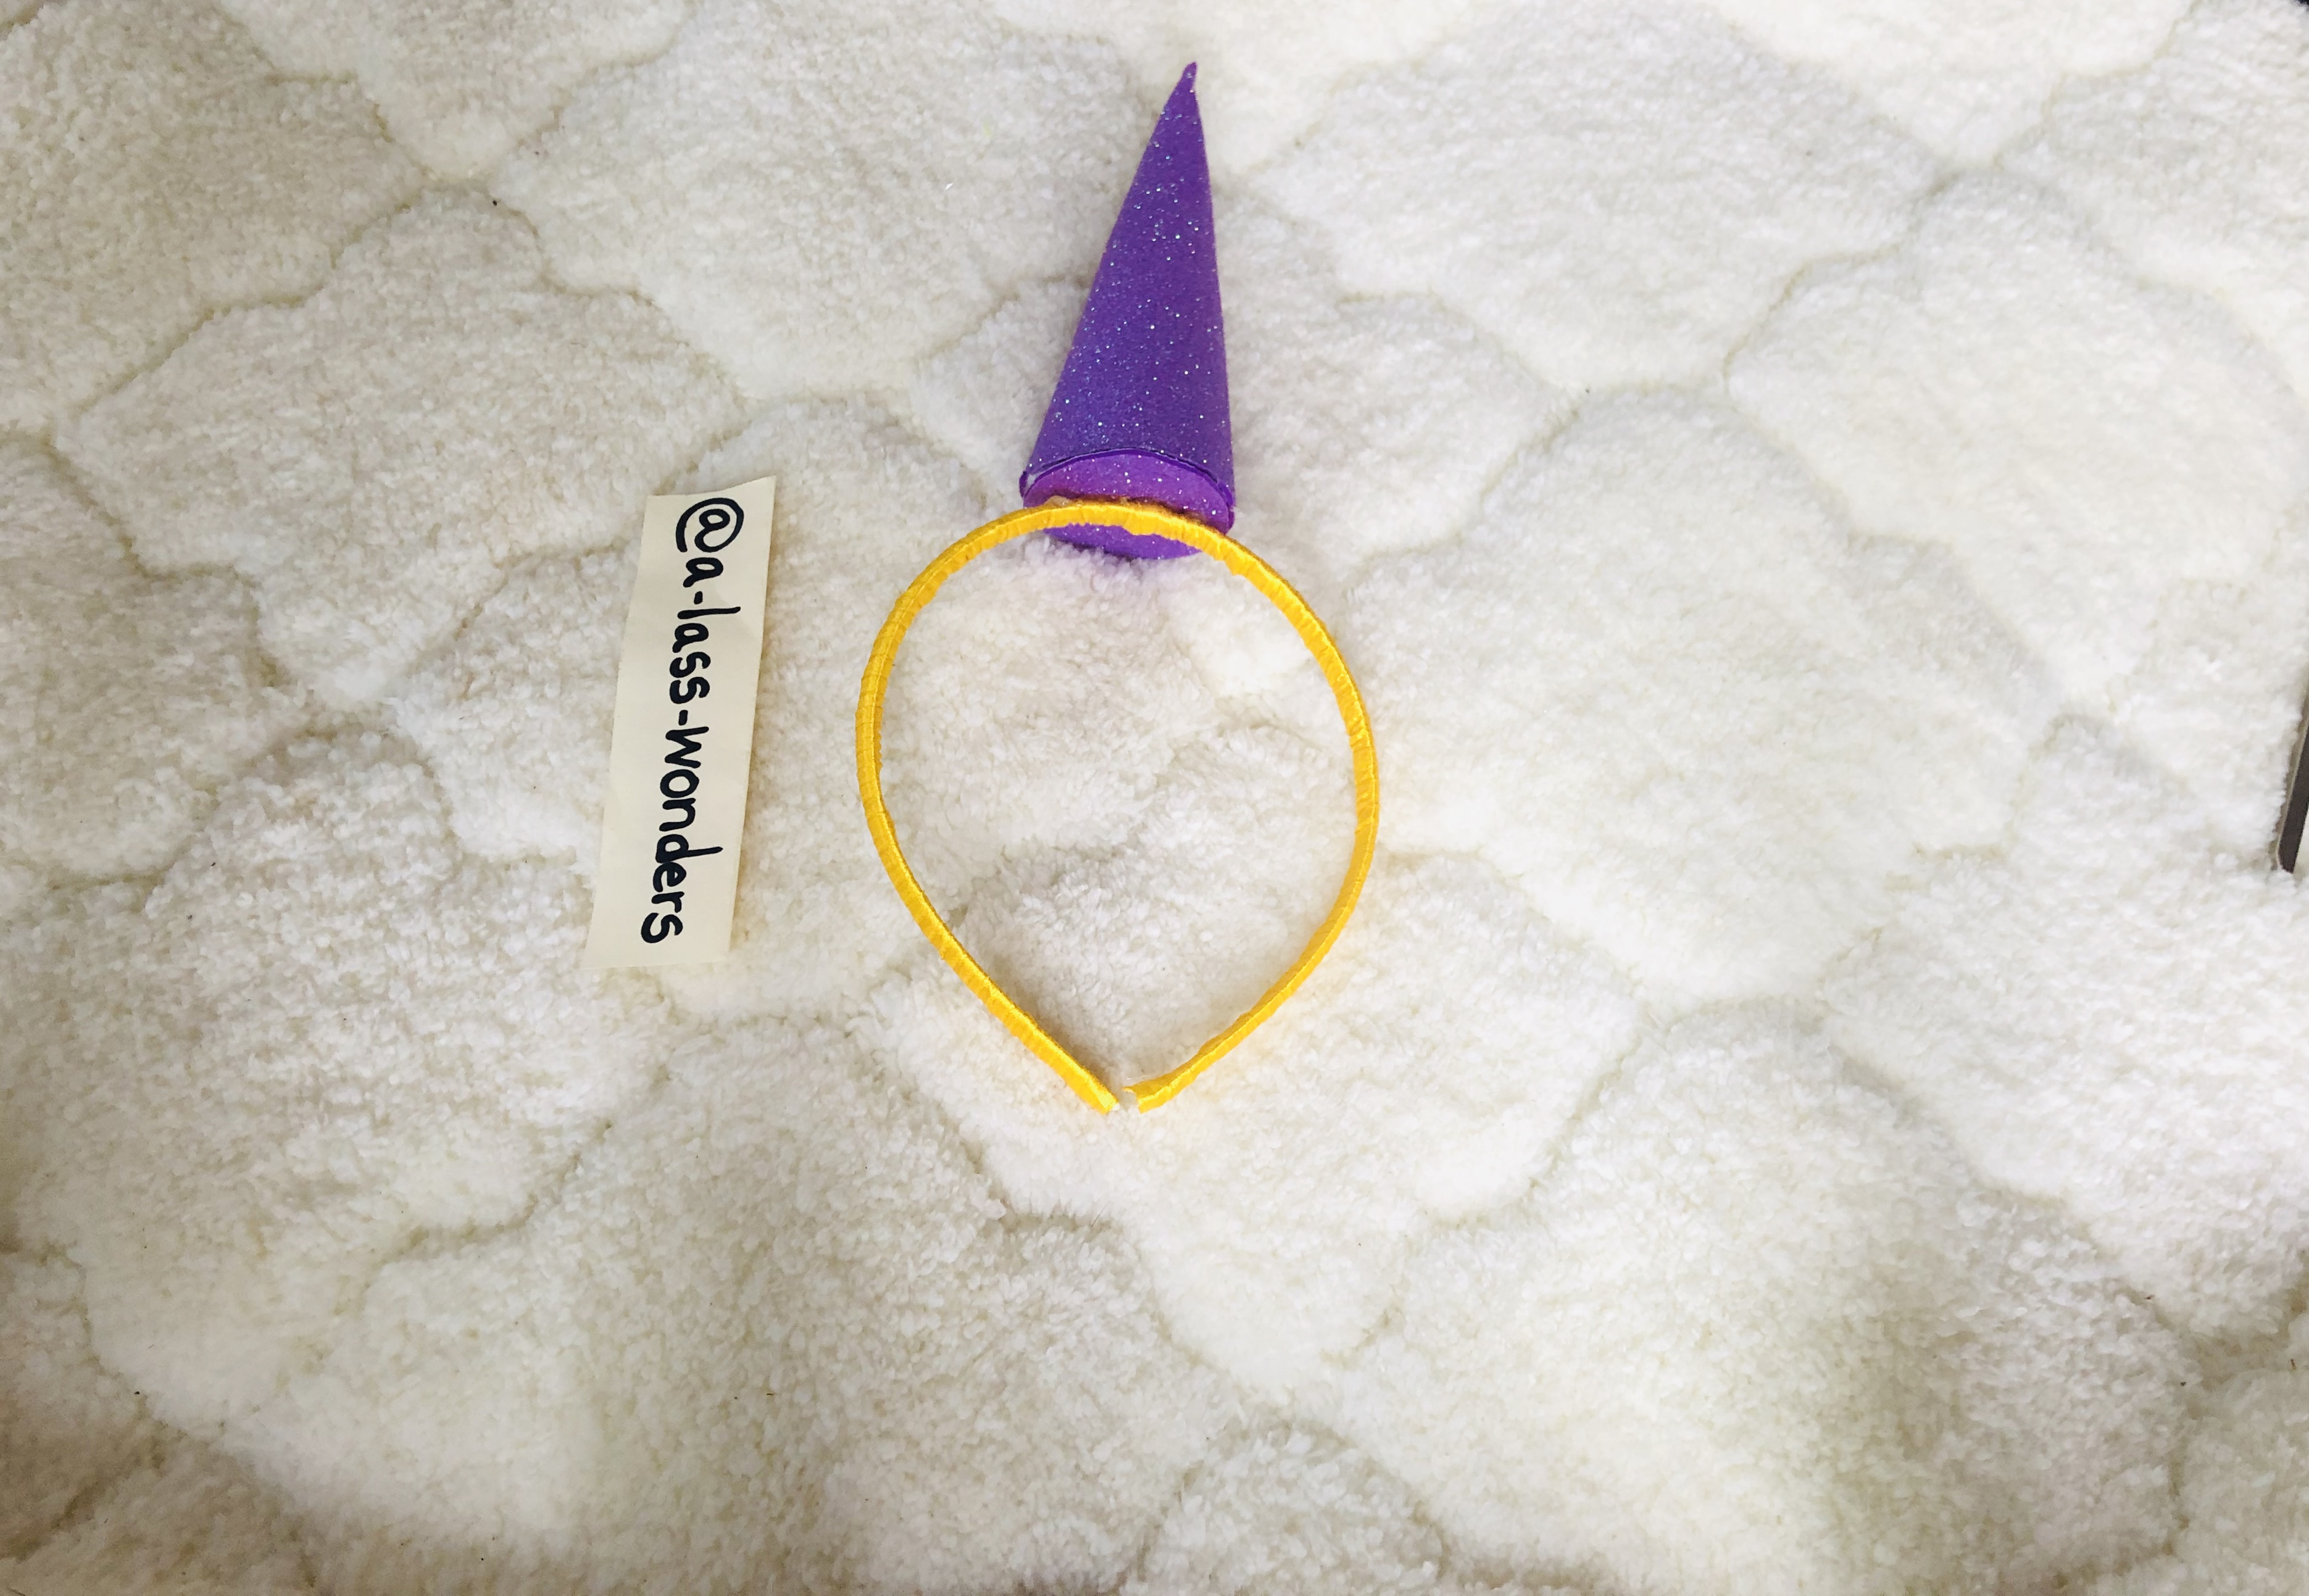
Wrap the band from yellow ribbon.
Fix the cone at the middle of the band as below.
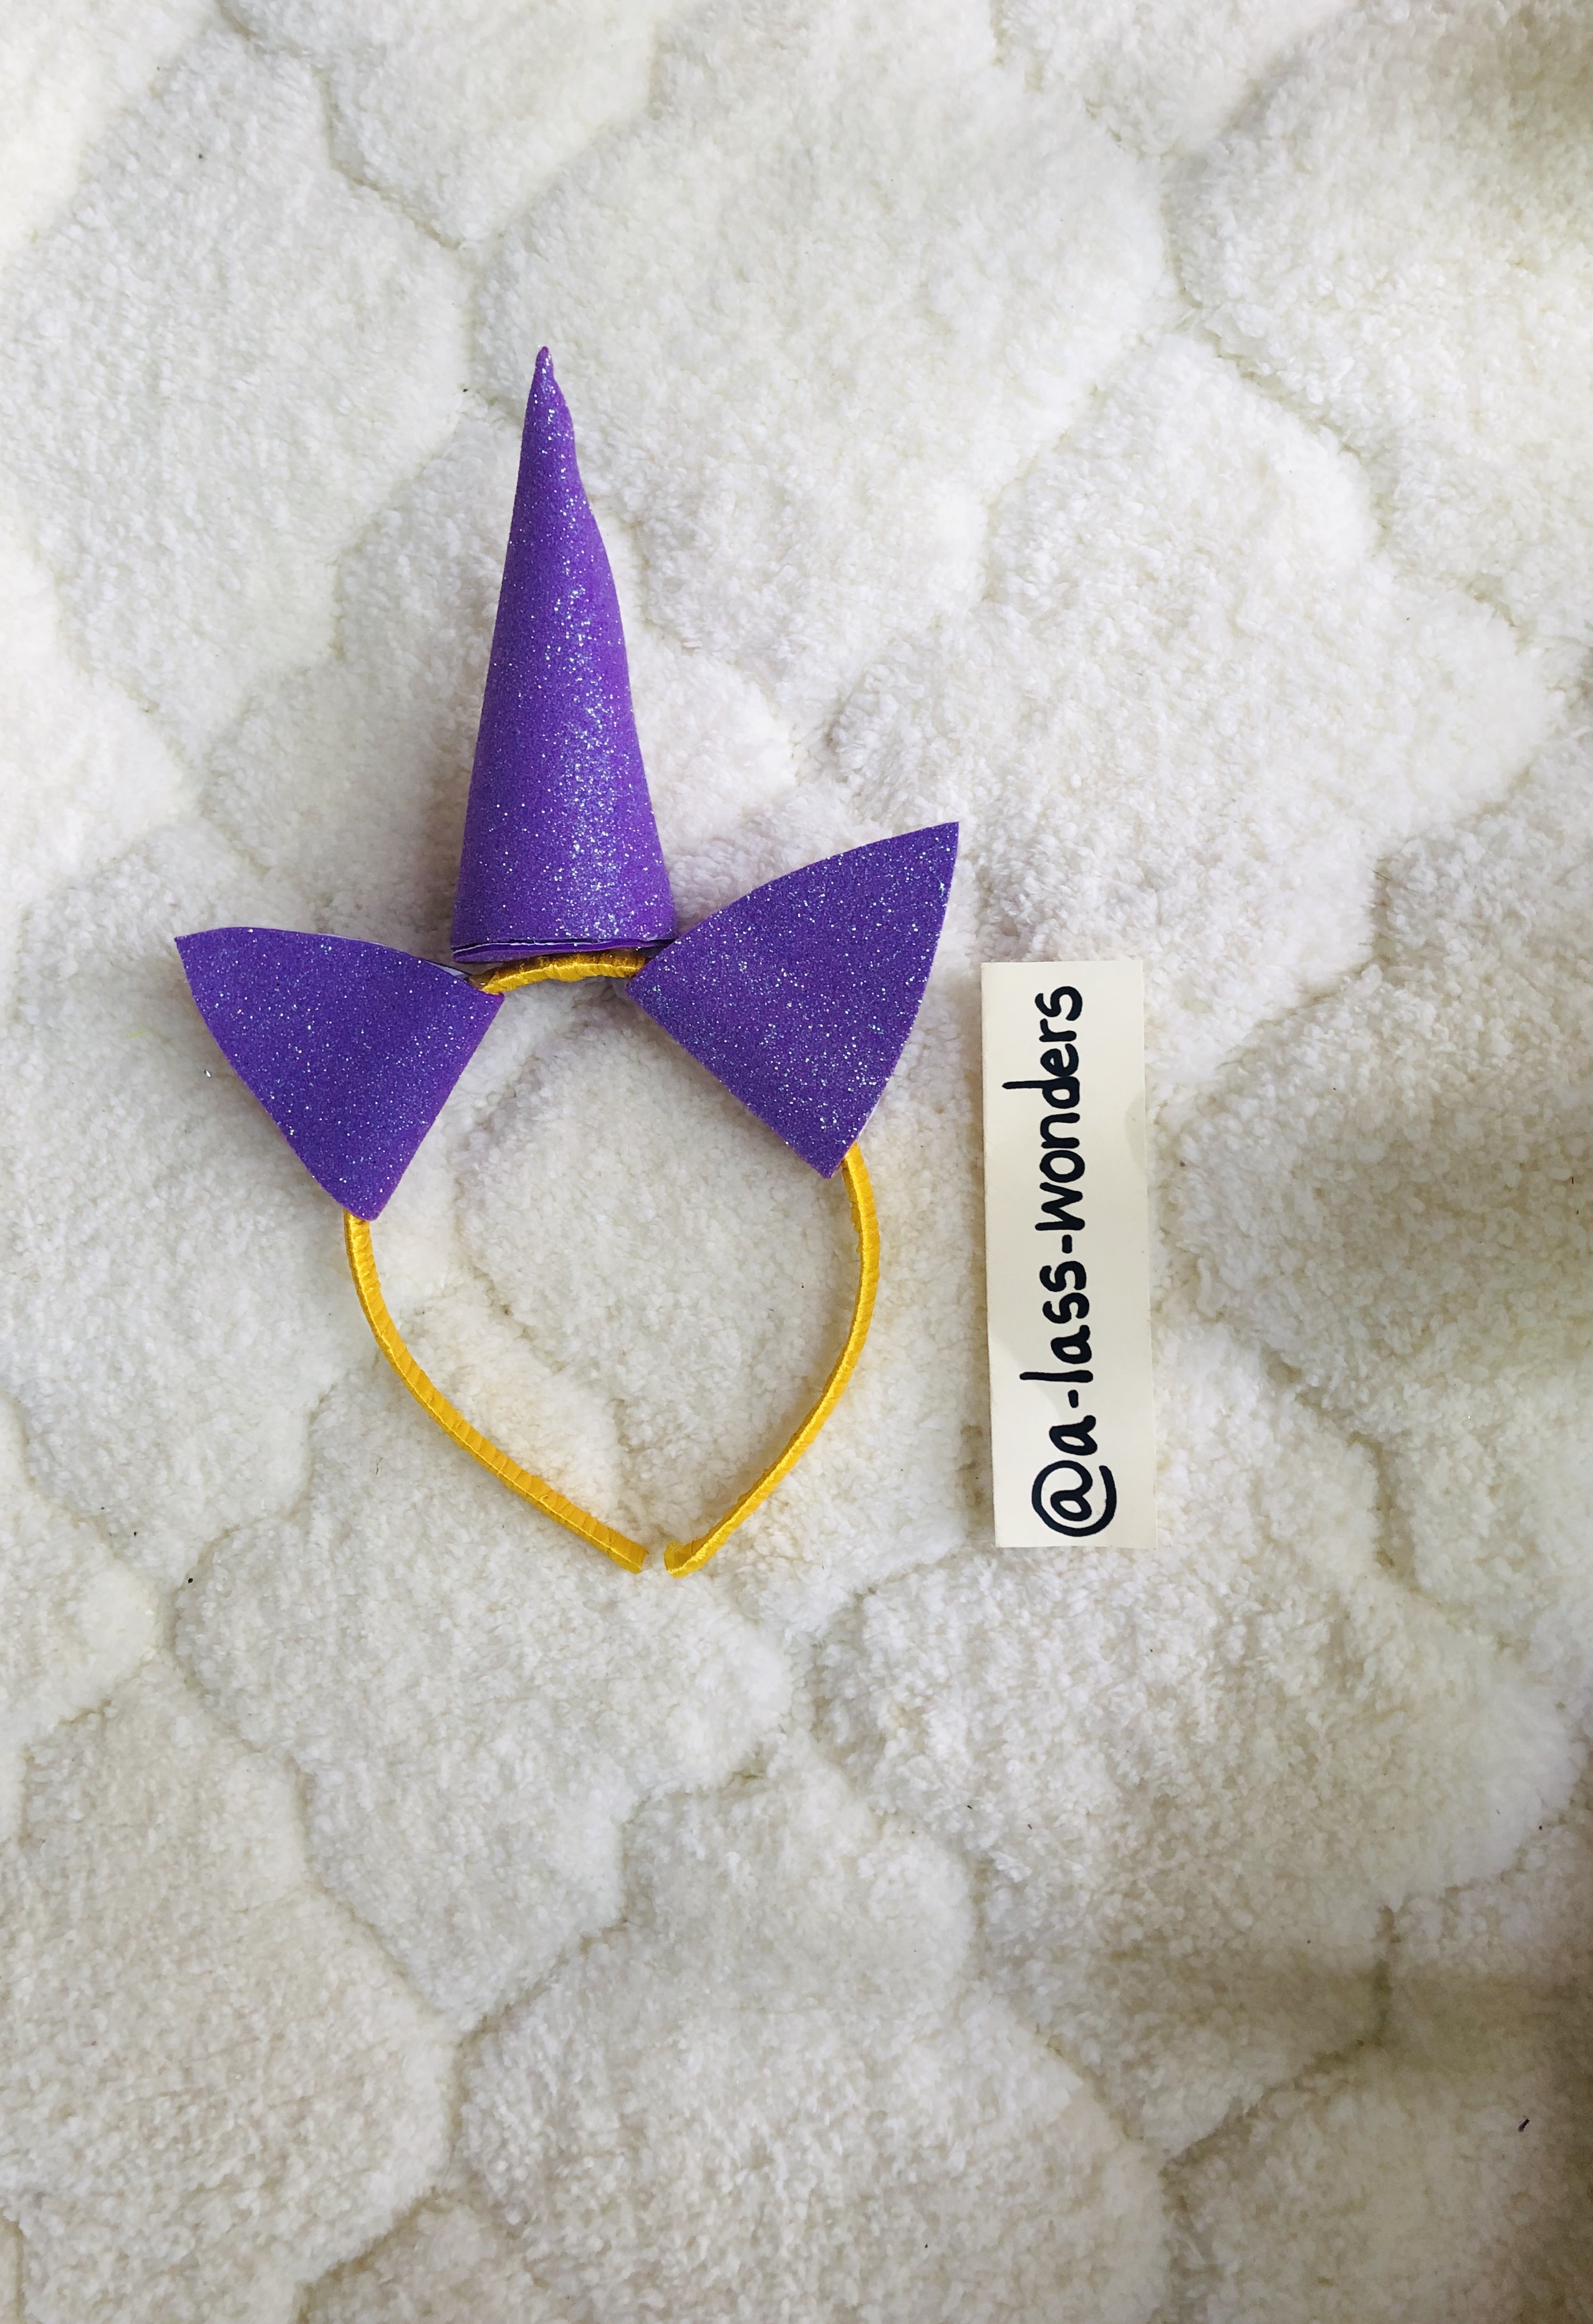
Set the ear lobes next to the cone as below.
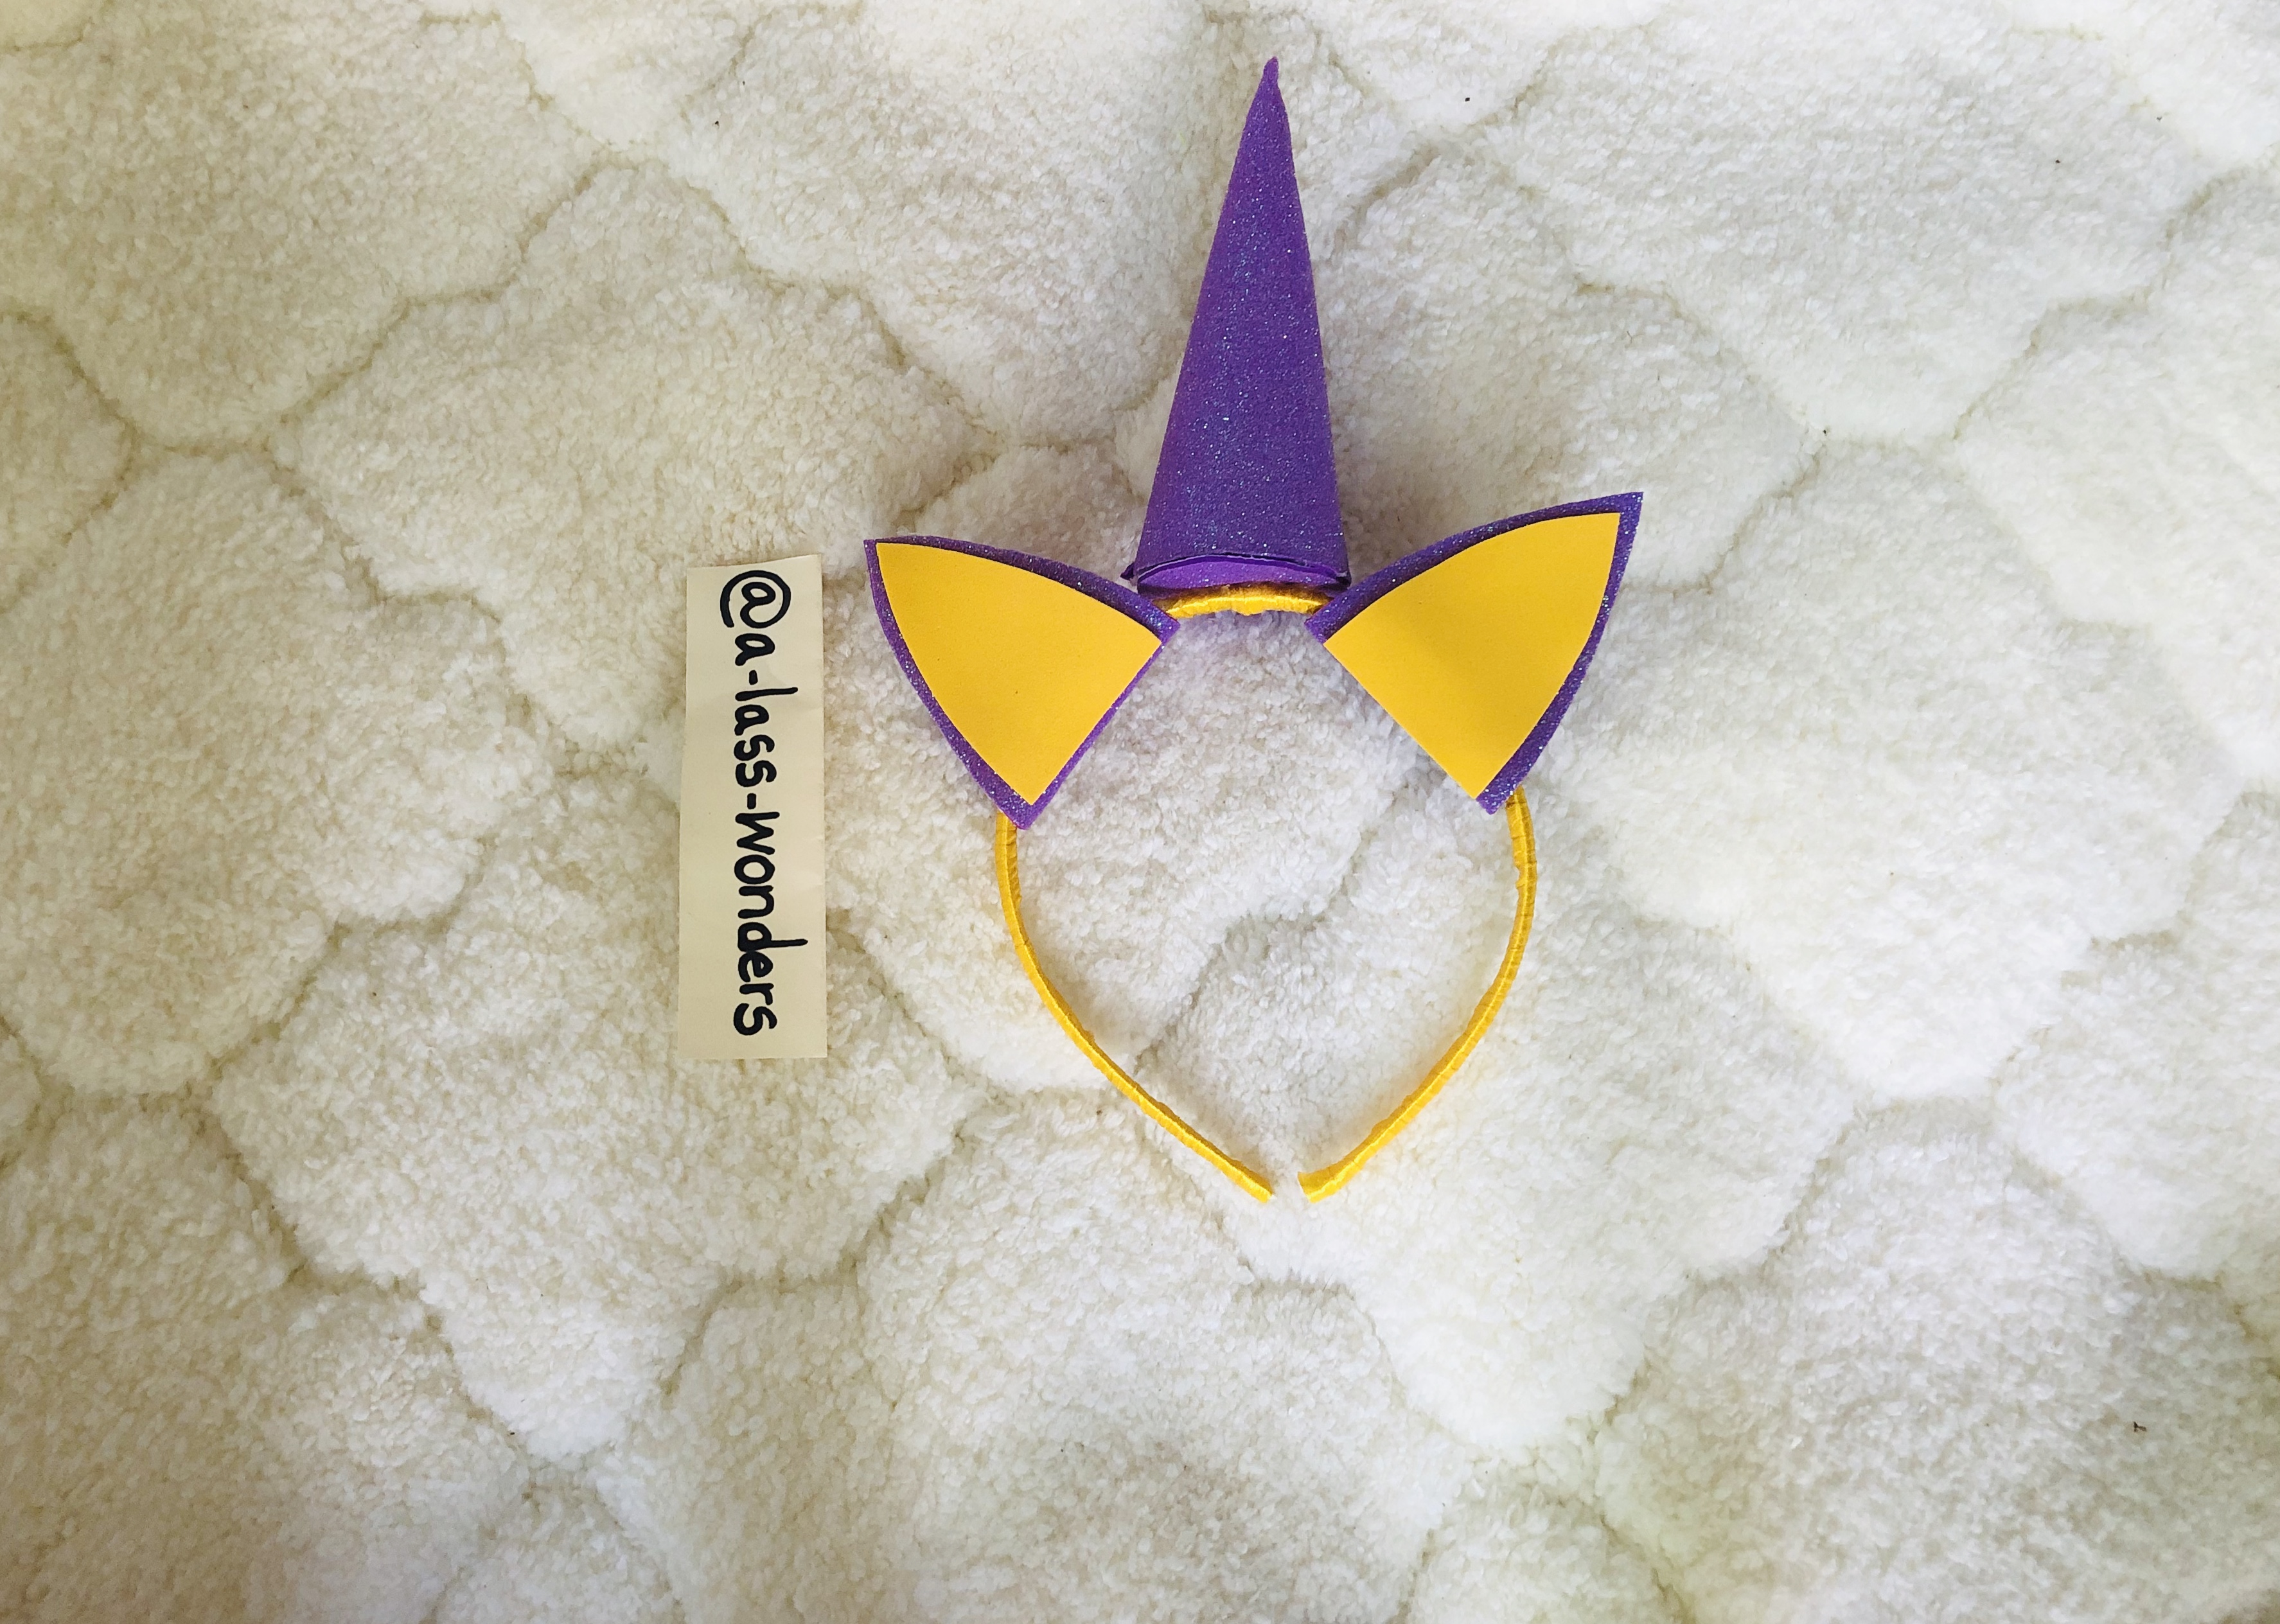
Fix yellow color small lobes on it.
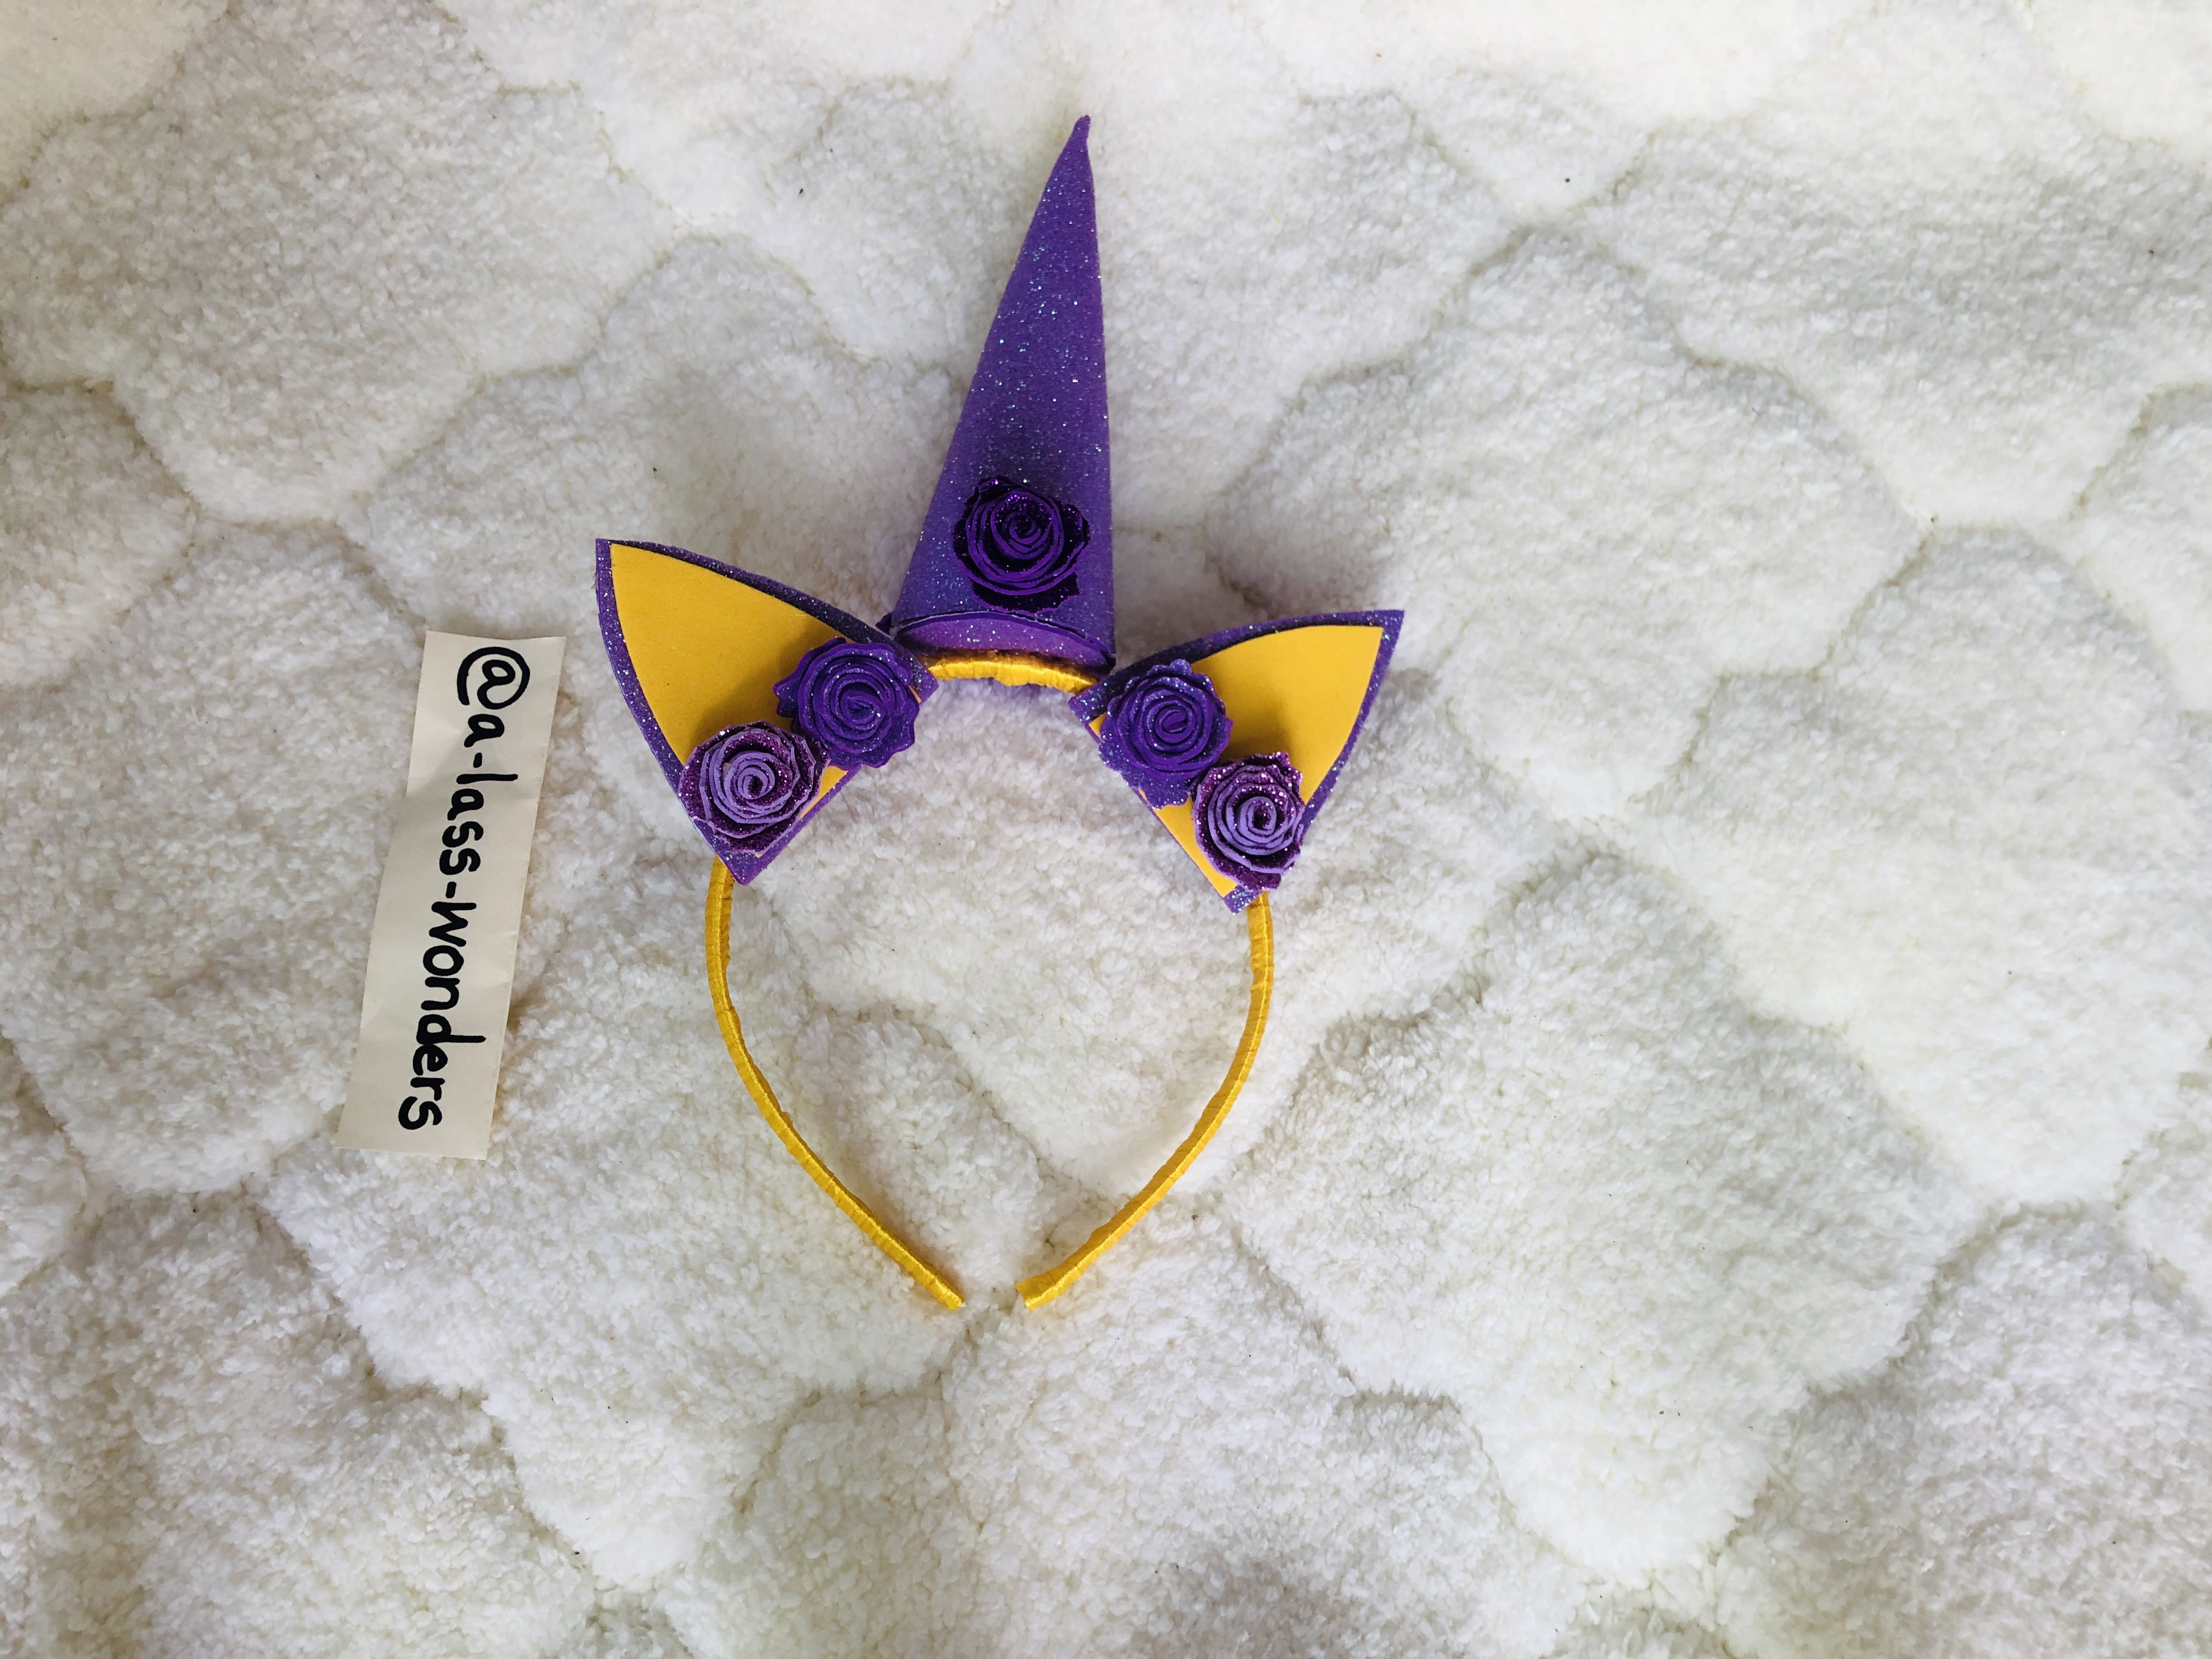
Attach flowers at the places as below.
Attach small beads to the flowers using a glue gun.
Aaaaaand here the headband is ready👇.
Lastly, I would like to invite you all to try this, and if any concerns regarding it, I’m here to guide you🙋.
Anticipate to meet all of my crafty buddies from another exciting craftwork and until then, stay safe🙏.
Sending my virtual hugs to all🤗.

GOOD LUCK AND HAVE A NICE DAY!!










Congratulations @a-lass-wonders! You have completed the following achievement on the Hive blockchain and have been rewarded with new badge(s):
Your next target is to reach 20 posts.
Your next target is to reach 300 upvotes.
You can view your badges on your board and compare yourself to others in the Ranking
If you no longer want to receive notifications, reply to this comment with the word
STOPTo support your work, I also upvoted your post!
Check out the last post from @hivebuzz:
Support the HiveBuzz project. Vote for our proposal!