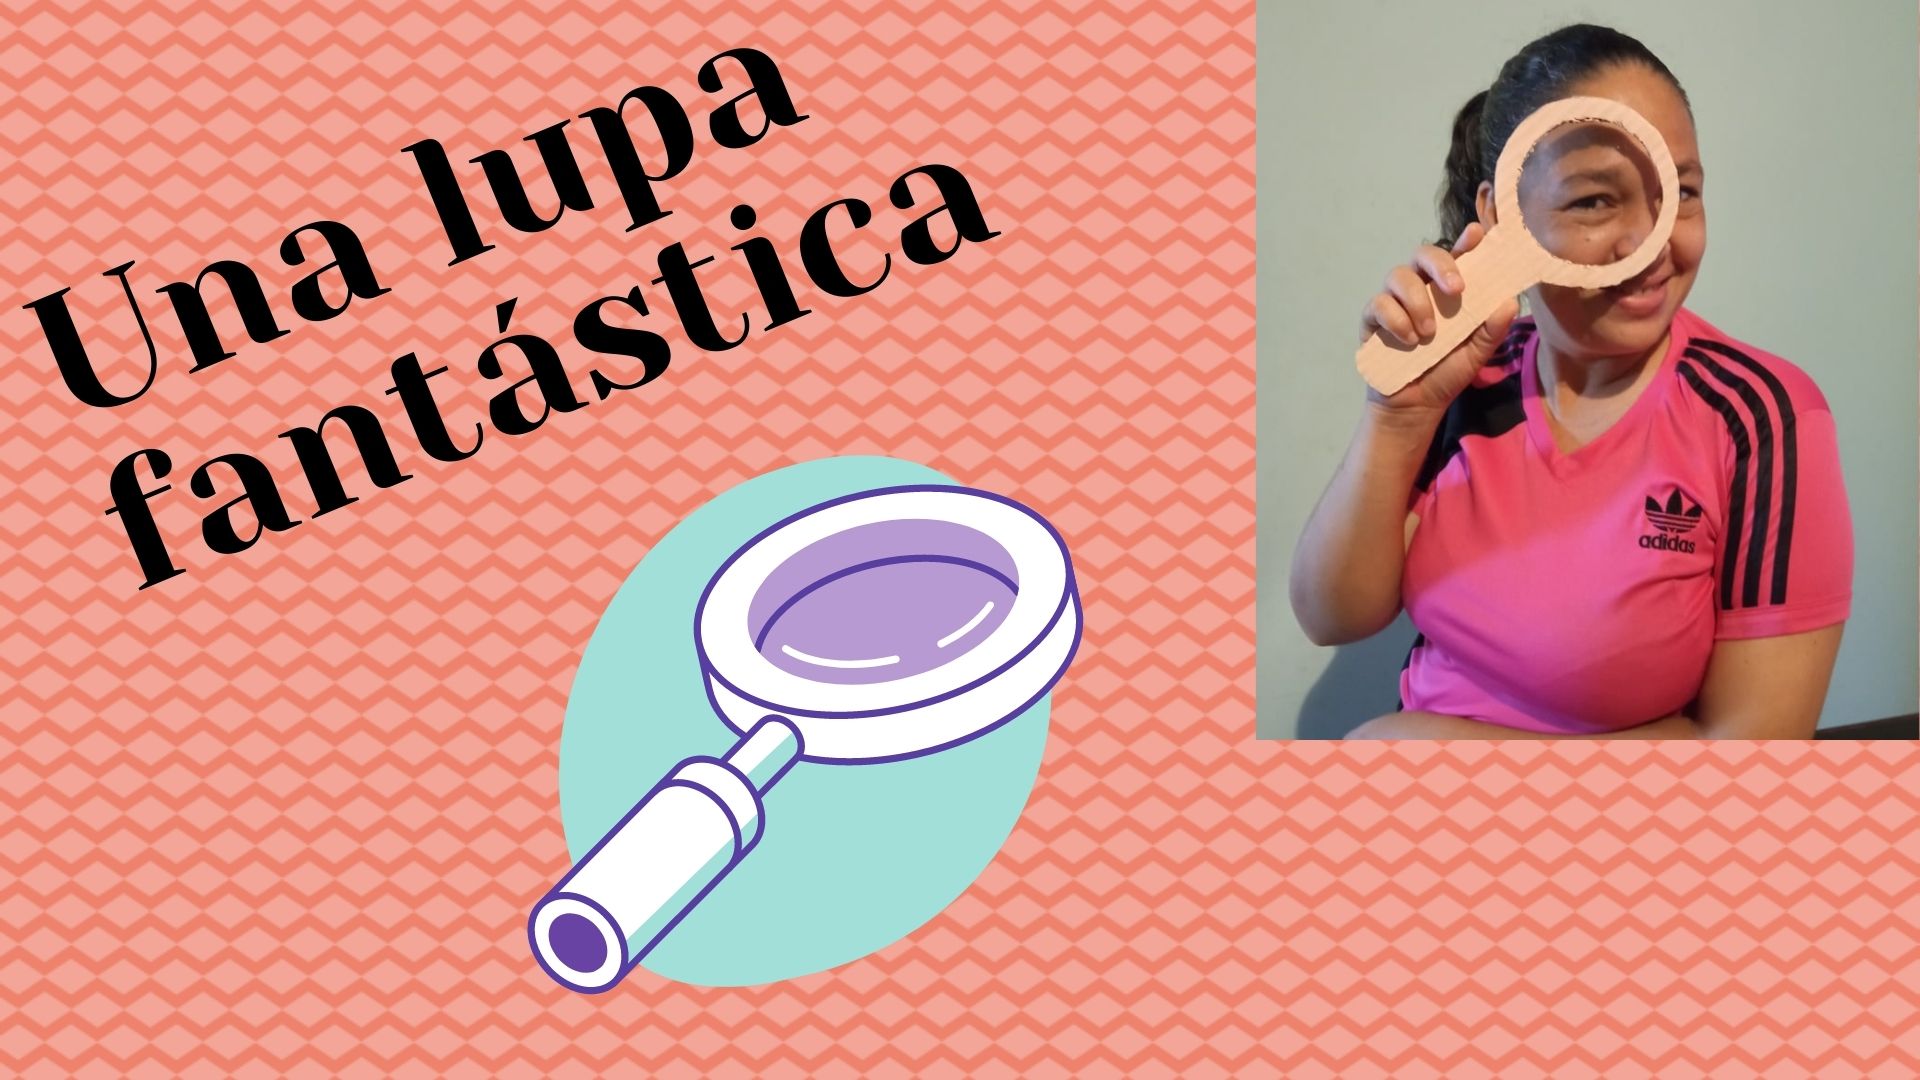
 Un gran saludo para todos, hoy quise realizar una lupa fantástica hecha con cartón, la lupa es ese instrumento que nos permite ver cualquier tipo de imagen un poco más grande de lo normal, consta de un lente óptico, ese lente lo realicé con una carpeta transparente. A continuación el procedimiento a seguir para esta lupa fantástica.
A big greeting to everyone, today I wanted to make a fantastic magnifying glass made with cardboard, the magnifying glass is that instrument that allows us to see any type of image a little larger than normal, it consists of an optical lens, that lens I made it with a transparent folder. Here is the procedure to follow for this fantastic magnifying glass.
.jpg)
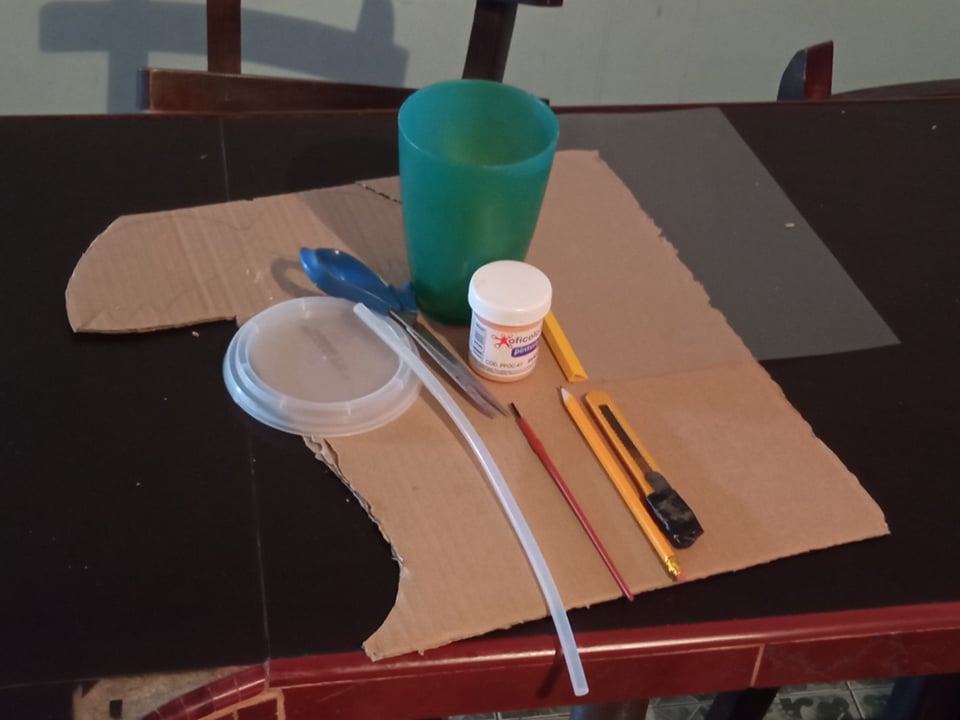
- Los materiales a utilizar son:
- Pintura al frío.
- Pincel.
- Tijera.
- Silicón en barra.
- Lápiz.
- 1 Vaso.
- 1 Tapa de mantequilla.
- Cutter.
- 1 Carpeta transparente.
- Cartón
- The materials to be used are:
- Cold paint.
- Brush.
- Scissors.
- Silicone stick.
- Pencil.
- 1 cup.
- 1 butter lid.
- Cutter.
- 1 transparent folder.
- Cardboard.
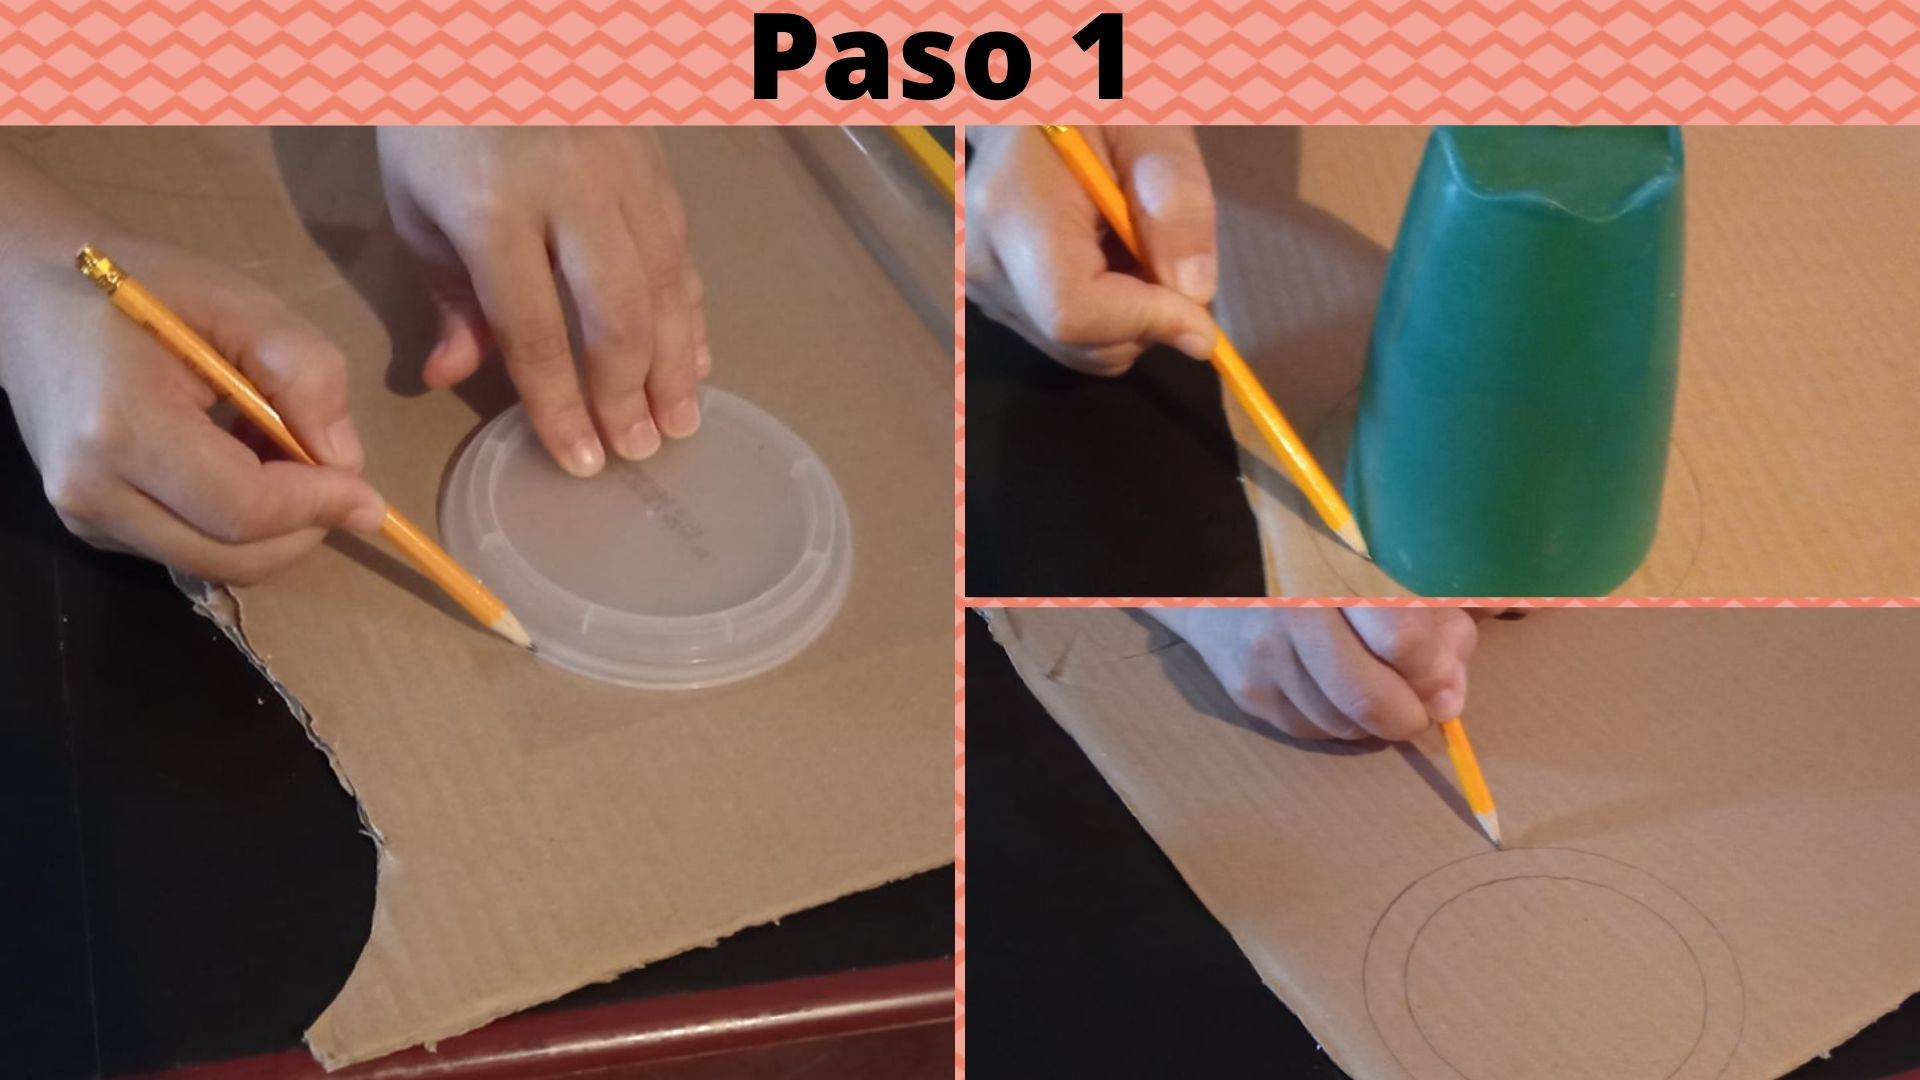
- Paso 1: Primeramente marcamos el primer círculo con la tapa de mantequilla, luego dentro del primer círculo, marcamos con el vaso el segundo círculo que es más pequeño, nos quedarán 2 circulos.
- Step 1: First we mark the first circle with the butter lid, then inside the first circle, we mark with the glass the second circle which is smaller, we will have 2 circles.
.jpg)
- Paso 2: Una vez que ya tenemos los círculos, dibujamos con el lápiz lo que será el mango de la lupa y recortamos, con la ayuda del cutter recortamos el segundo círculo hasta que nos quede como muestra la imágen.
- Step 2: Once we have the circles, we draw with the pencil what will be the handle of the magnifying glass and cut out, with the help of the cutter we cut out the second circle until it looks like the image shows.
.jpg)
- Paso 3: Ya teniendo la lupa recortada, procedemos a pintarla, mientras se seca colocamos la tapa de mantequilla sobre la carpeta transparente, marcamos y recortamos, si usted ve que el círculo transparente queda más grande que la lupa, recorte por la orilla del plástico hasta tener la medida deseada.
- Step 3: Once the magnifying glass is cut out, we proceed to paint it, while it dries we place the butter cover on the transparent folder, mark and cut it out, if you see that the transparent circle is bigger than the magnifying glass, cut it along the edge of the plastic until you have the desired size.
.jpg)
- Paso 4: Una vez recortado el circulo transparente, echamos silicón por la parte de atrás de la lupa y procedemos a pegar el circulo , una vez pegado, nuestra lupa quedará lista.
- Step 4: Once the transparent circle is cut out, we put silicone on the back of the magnifying glass and proceed to glue the circle, once glued, our magnifying glass will be ready.
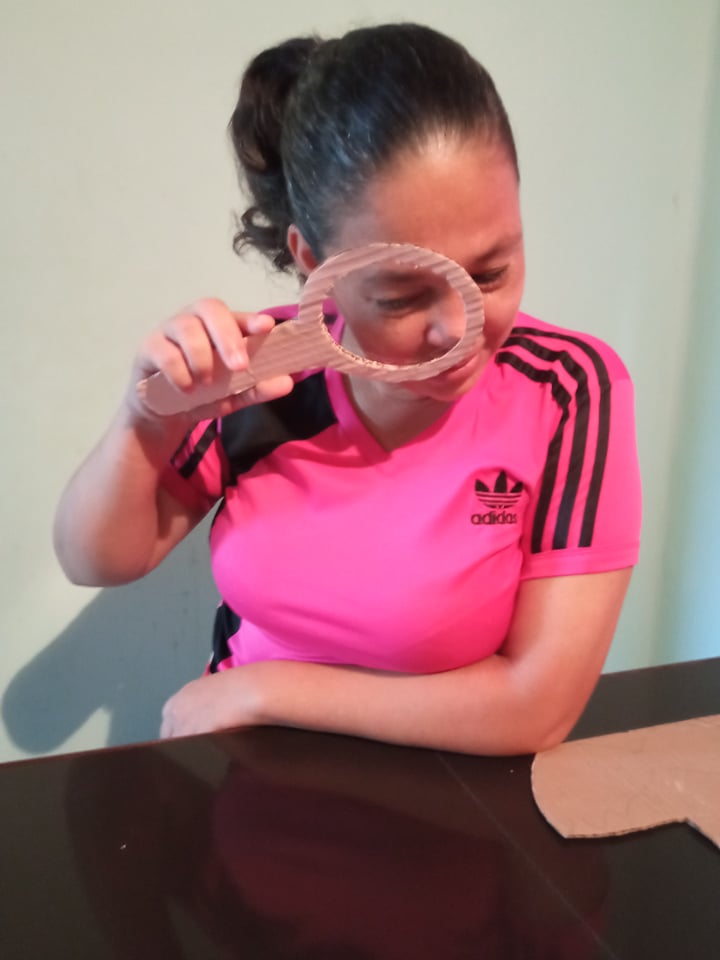
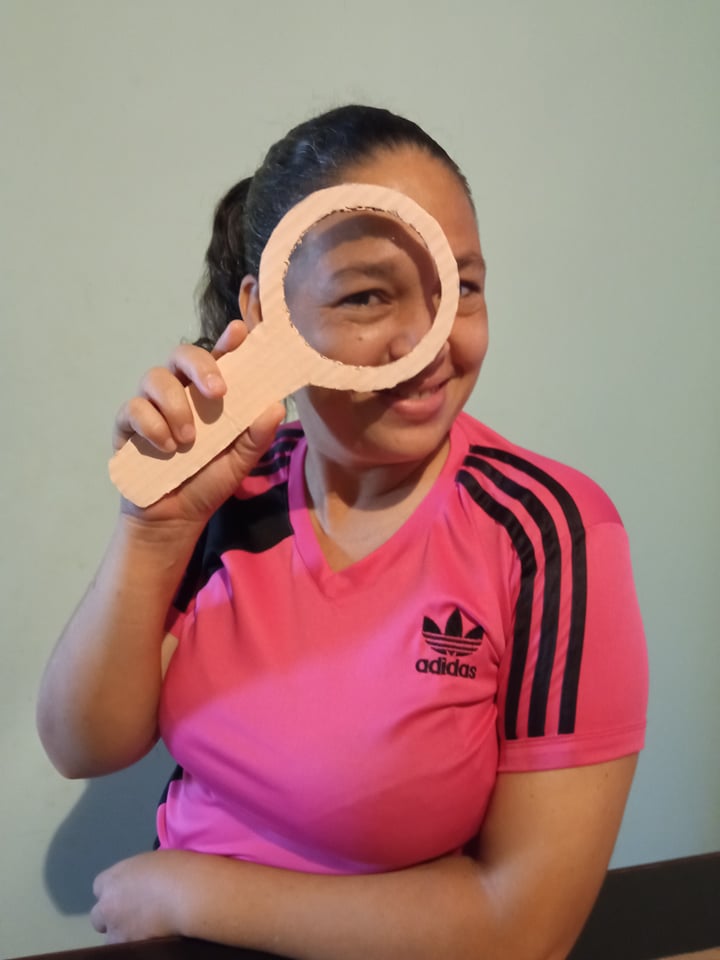
Aqui tenemos nuestro resultado final
Here is our final result
 Todas las fotos son de mi autoría, y editadas desde canva.
All photos are of my authorship, and edited from canva.
Todas las fotos son de mi autoría, y editadas desde canva.
All photos are of my authorship, and edited from canva.

Me encantaaaaaaaa.... jajajajajaj... muy original. felicidades.
Gracias, leomara.