Macramé Feather project
I started to love the look and feel of macramé decorations thanks to their nature touch to it. The natural rope I used in this work, is a rope I envision seeing hanging on our walls as decoration while slowly transitioning to a more nature feel in the house. This is just a tiny keychain project, but one should start small learning a new skill, as I don't like wasting anything.
While browsing through all these awesome macramé decorations to pick my next project, I bumped on the macramé feathers quite a few times. I decided to see if I could find an extra keychain ring and try out my macramé rope 5mm for this project. I have to admit, that I was planning on creating a very small one for the keychain of my daughter, but ended up discovering that the rope I used (5mm) was not suitable for a very tiny feather because the knots are very hard to make. Therefore I decided to just try it out with a certain size rope with the risk of having to cut it a lot in the end. That's better than ending up with a work that's not big enough to trim, on top of that, I will learn from the experience. I will explain to you what I should have done differently, so you don't have to make the same mistake. :)
The needed supplies and tools
Below you see the tools and supplies that I thought I needed before starting:
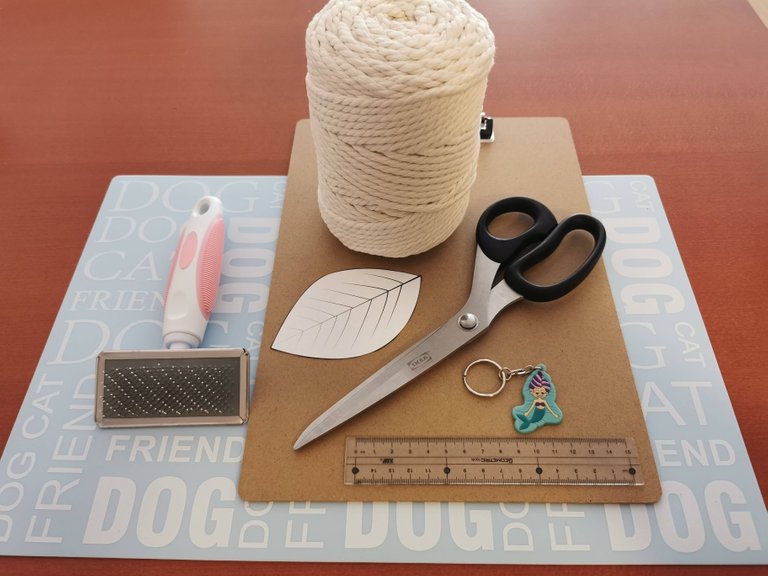
- 5 mm thick macrame rope
- scissors
- keychain ring
- measuring tool
- a leaf template
- animal brush
- a placemat to protect your table from the sharp brush
- clipboard
I ended up not using the clipboard, while it was very convenient when knotting the macramé bracelet earlier this week, it wasn't needed today. Of course you can use it if you prefer this, just decide while you're knotting if you find it more convenient or not.
The leaf pattern is optional, I have to admit that I was afried that trimming the rope would be a pain and a pattern was convenient, it turned out that the trimming works pretty smooth and I don't think using the pattern (for this size feather at least) is a plus. Just decide along the way what you find for yourself, I bet that less thick rope is easier to trim with a template than this thick rope I used today.
The animal brush is a tip I heard in several videos, that's why I bought one yesterday and along with it a place mat that won't damage if I brush the rope. Be careful with the brush and don't accidentally scratch your table with it, because the teeth are sharp!
The instructions
I have practiced the square knot as it's called when I made the bracelet, and two days later, I still remembered by heart how it's done. The difference this time is that I'm using a thicker rope and therefore it's not as much work as it is with a 1mm thick rope project like the bracelet.
I have to admit that I managed to capture the step by step pictures of the knotting much better today thanks to this rope, it just doesn't move like the previous one. I'm hoping that you will now see how easy this knotting technique is thanks to the clear pictures.
The square knot explained step by step
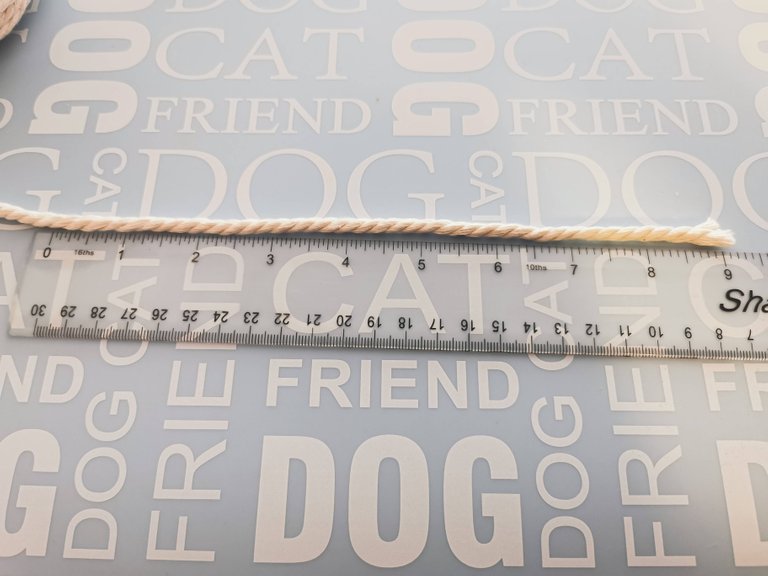
First, trim a 9 inches piece of rope
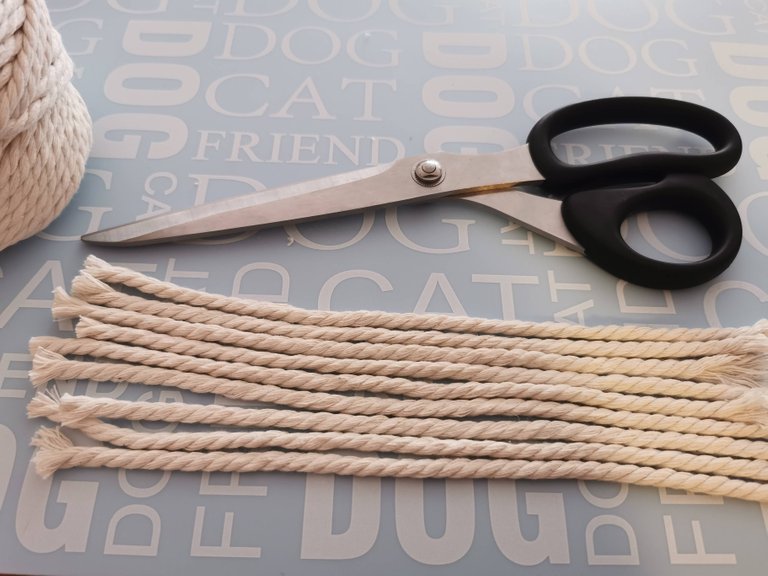
Second, cut 8 more, giving you a total of 9 pieces of rope all 9 inches long
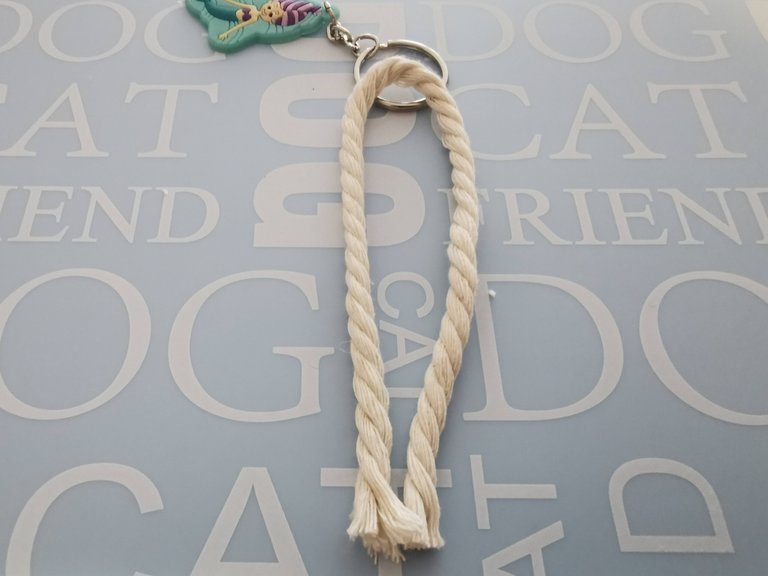
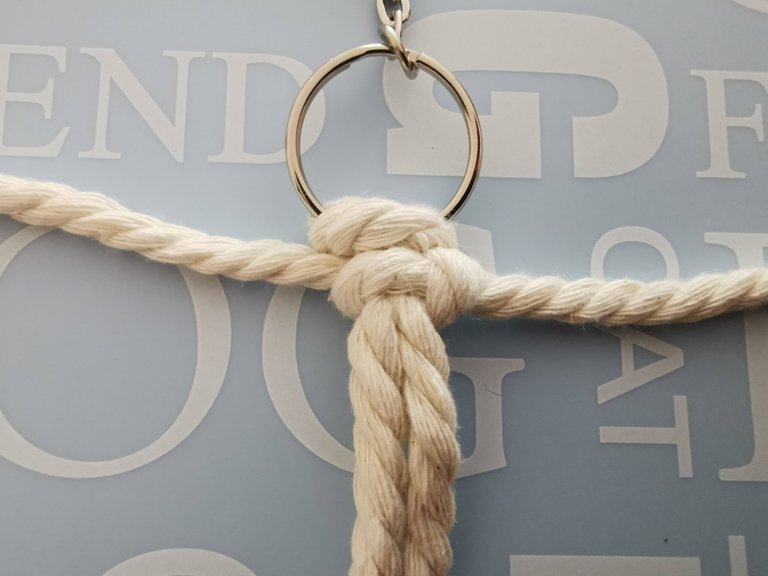
Take one piece and place it on top of the keychain ring as displayed above
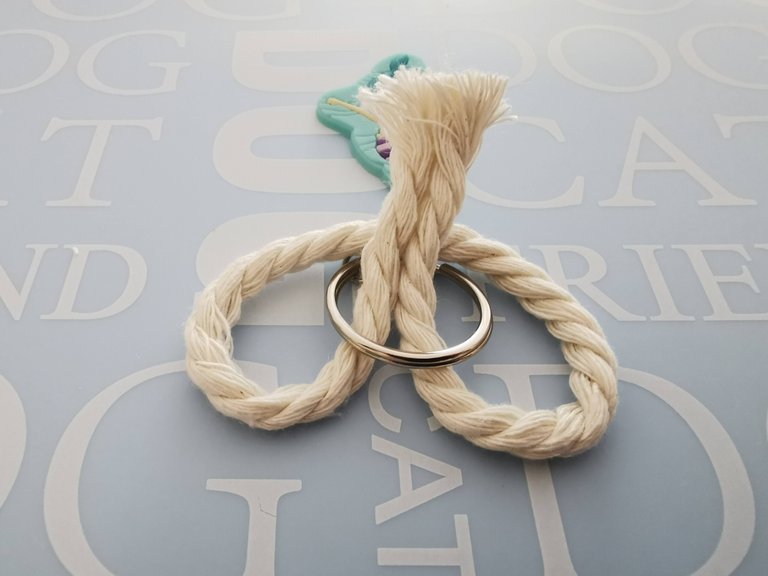
Not pull the ends through (upwards) as shown above
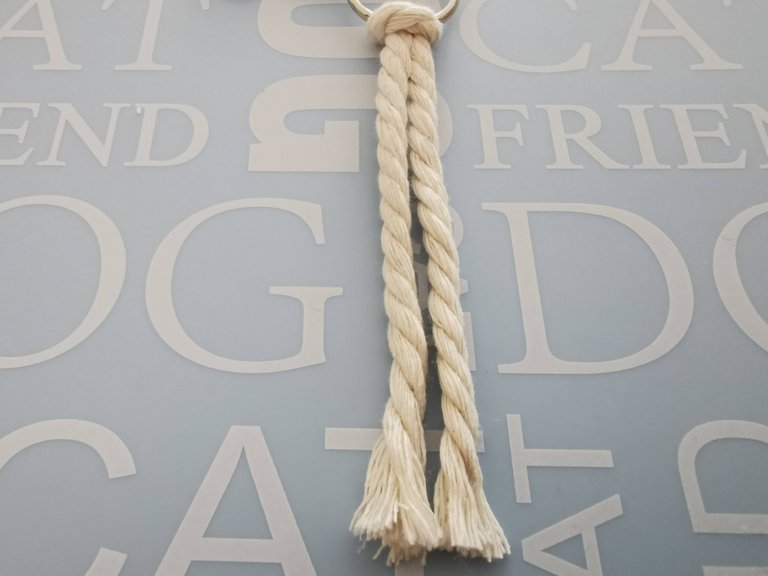
Now tighten the knot and it will look as shown in the above image
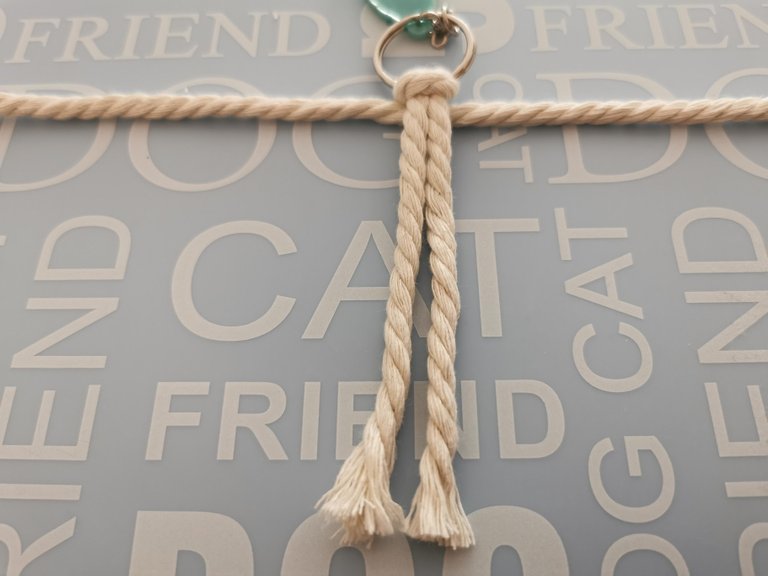
Place another rope below (make sure it's divided evenly) the middle rope
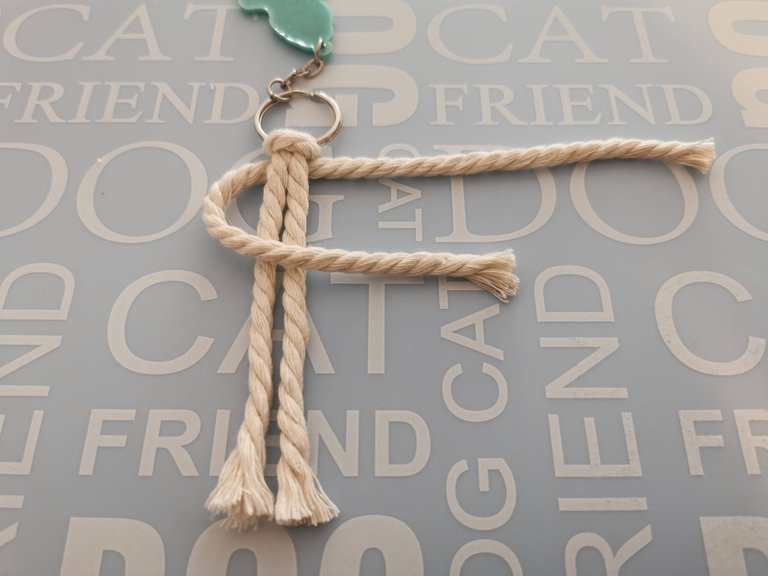
Start left, place the end of the rope on the other side as shown above
Take the right part of the rope and fold it down on top of the left rope you just folded, see image above

Take the same end of the right rope and pull it underneath the two middle ropes as shown in the picture
Now pull it upwards through the circle on the left part, see image above
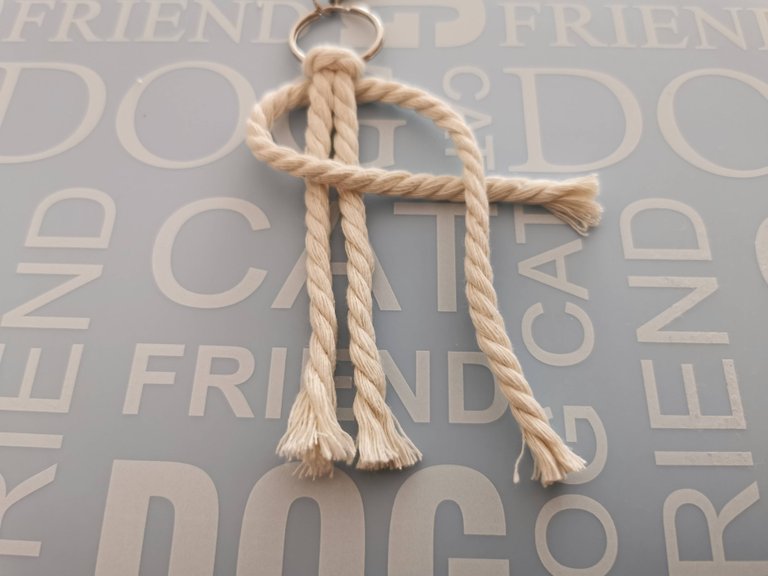
Tighten it, and this is what the knot will look like
Now that you know how to make this knot, repeat it starting with the right end of the rope, and take turns starting on the left.
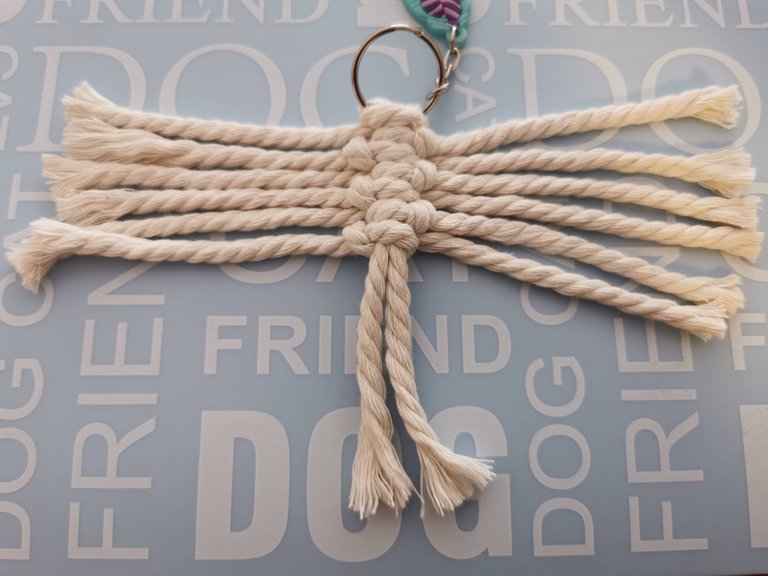
This is what it looks like after 6 knots
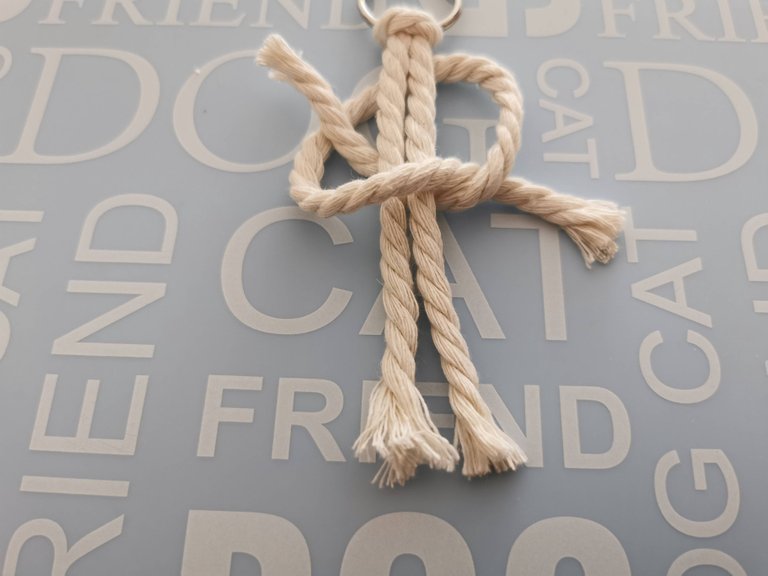
At this point, I decided that I wanted to make the feather a bit bigger, and added 4 more 9 inch ropes to continue the knotting.
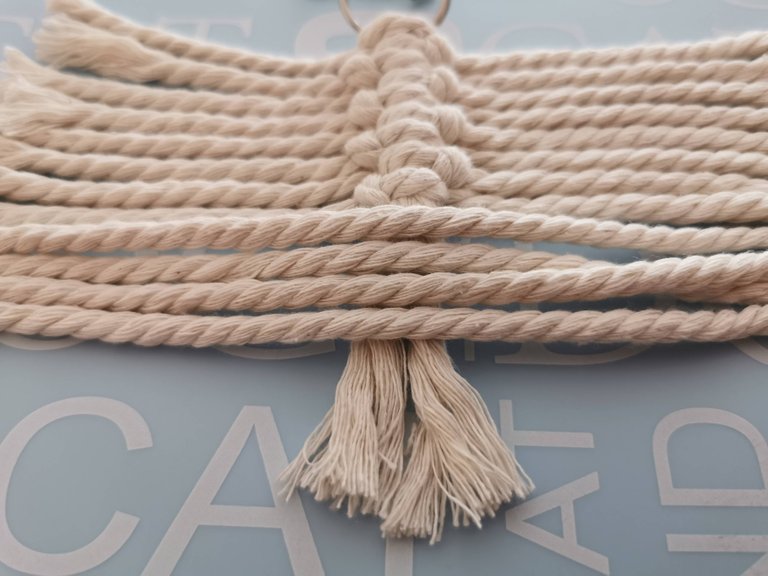
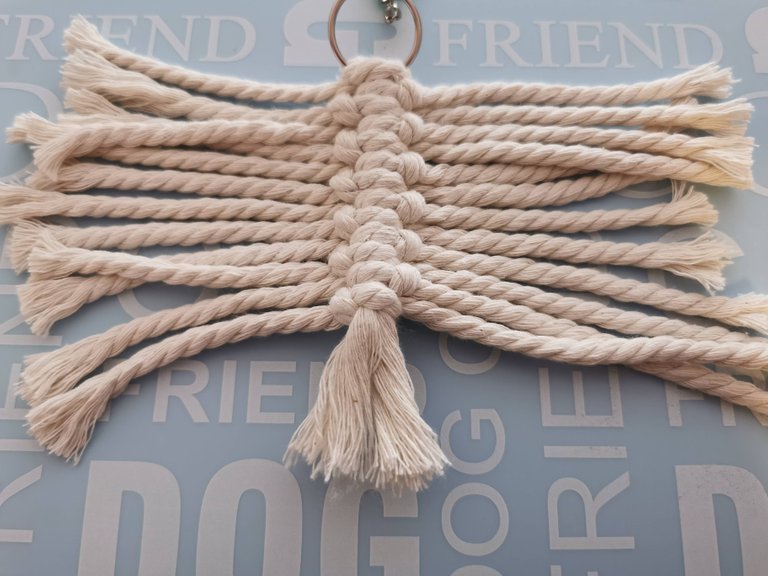
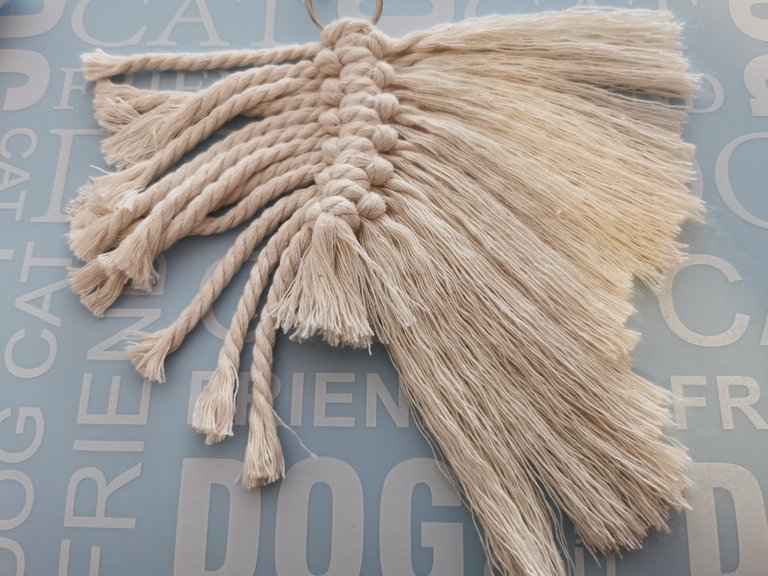
After knotting these 4 ropes, I was satisfied with the length of the soon to be feather
Brushing
It's time to make the rope look like a feather, and start combing with the animal brush.
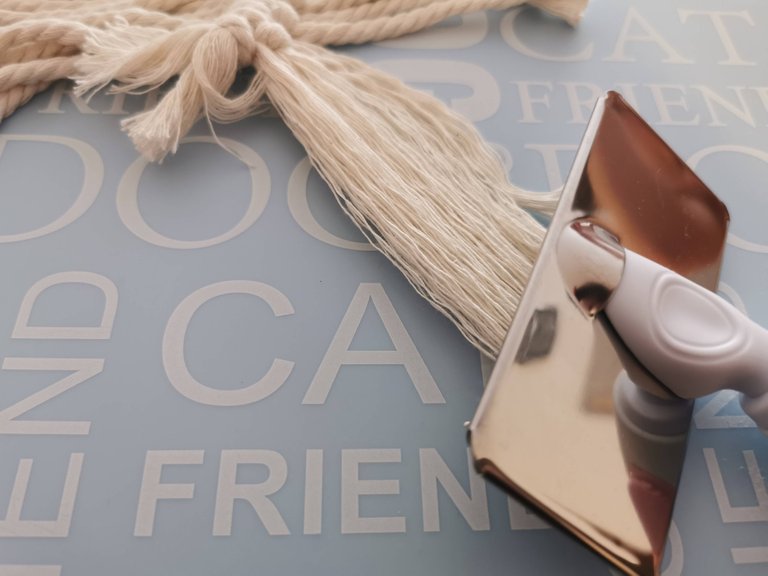
I untangled the rope a bit by hand and then placed the brush at the top of the rope as close as possible to the knot. Comb carefully and you will see the difference in the rope right away
Repeat until the rest of the rope is untangled as well
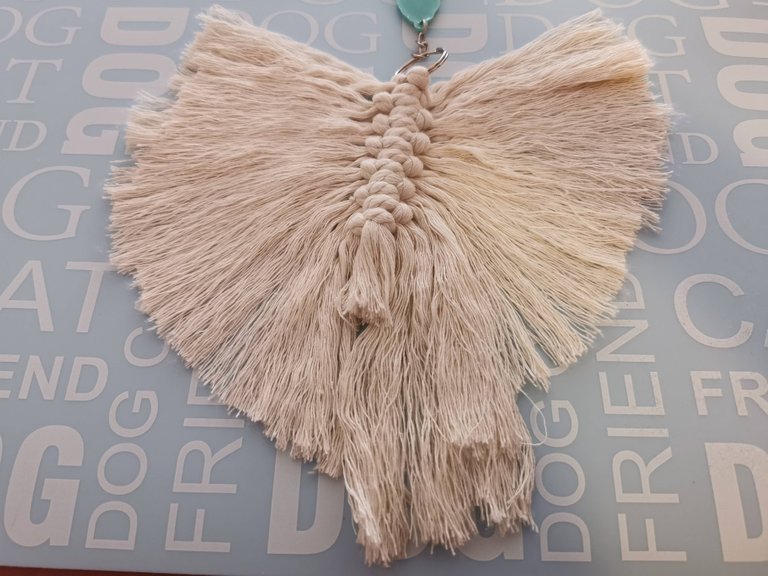
All untangled and brushed, it's time for the final details
Trimming
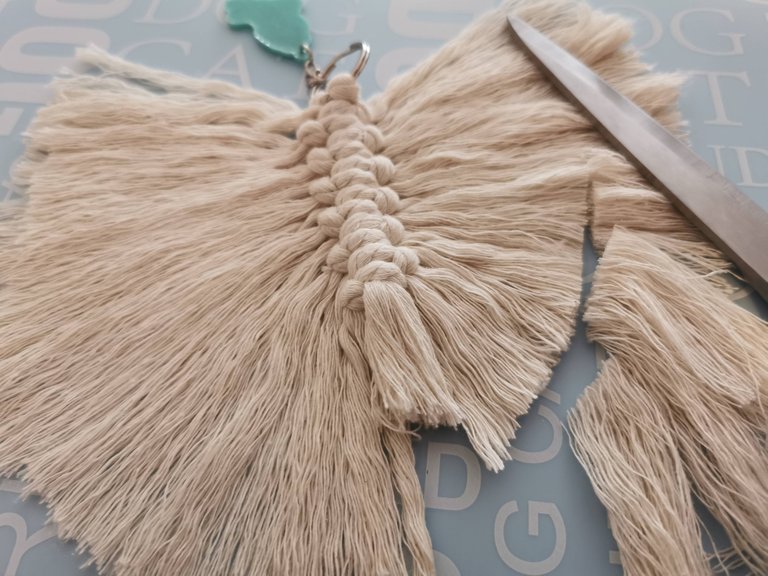
No need for a template, the rope stays in place quite well, but if you prefer, you can cut around a chosen template
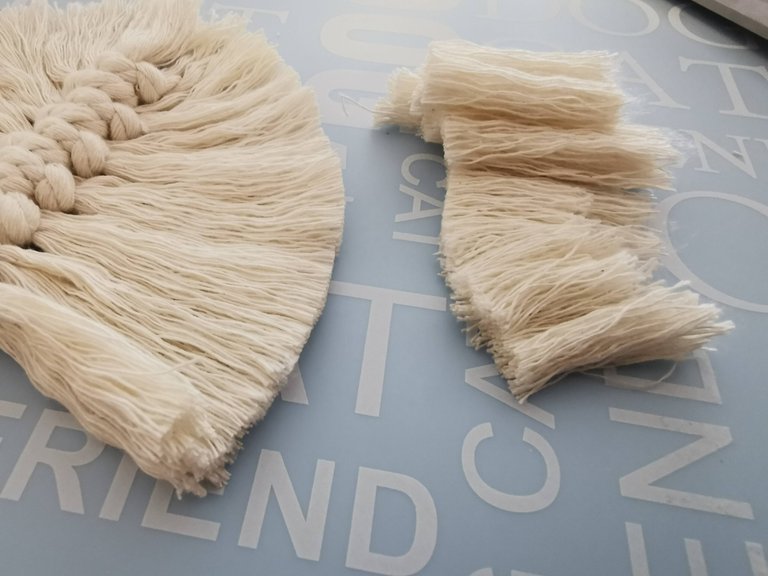
It's starting to look nice already. Note: I didn't throw out these rope parts as my daughter wanted to use them for a craft project of her own
Almost done, just some minor details to adjust only
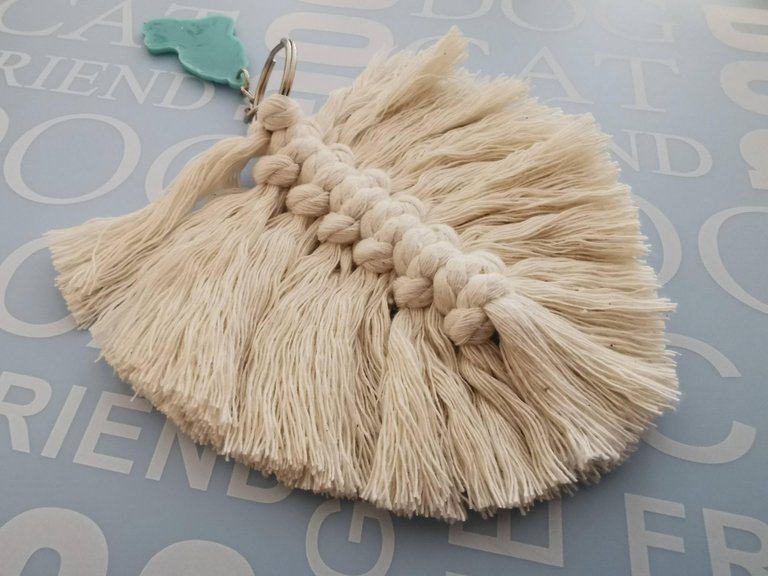
The end result
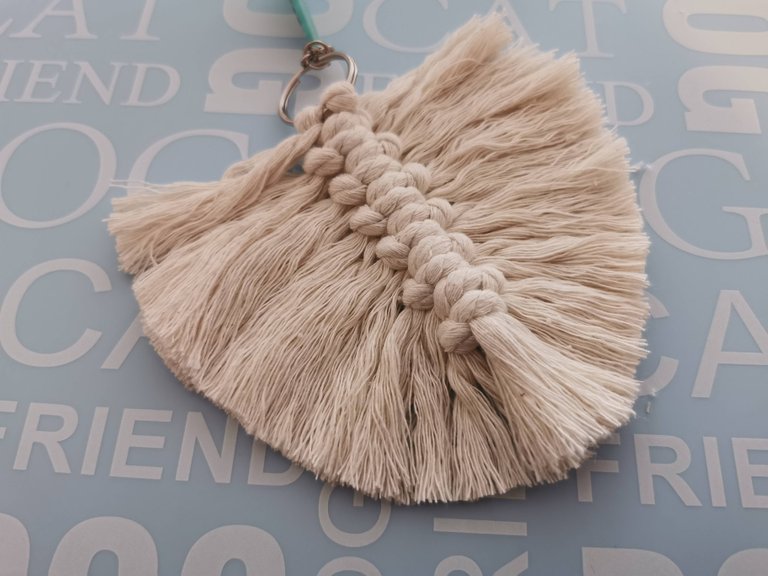
What do you think? Looks nice, right? I truly enjoyed this project and now I know the drill, I'm 100% sure that I will start creating bigger feathers for wall decoration as well. Probably I will make them longer and a slightly different form, following a pattern rather than trying it by heart. Nevertheless, it was another good practice knotting and I will now never forget the basics of creating a feather using the macramé technique.
If you have tried creating a Macramé feather yourself, please let me know in a comment below, I'd love to see your work as well!
This turned out beautifully!
And so easy to make, thank you for this tutorial, I'm definitely gonna keep it in mind :)
Imagine that, right? It's just the first one, it can only get better from here. I was so postponing on trying it, as I thought the knotting would be another pain in the butt, but seriously it doesn't get any easier than this, especially with this thicker rope. The 1mm is daunting as it moves and you get confused (did I start left or right the last knot lol)
I was hoping these pictures would make it easier to understand, so have fun with that :) I have to find a template with slightly different form so that I can create a few to hang on the wall as decoration. Maybe tomorrow :)
If you try it, please share <3
Great job with the Macrame!
Guess what... I just won 10 ListNerds when I clicked on your mail. Yay!
Thanks, and that's awesome! Enjoy the freebies :)
You should join the @needleworkmonday community if you are not already there. A tutorial like this would be a perfect fit.
Thanks, I sold all this stuff last week though as I'm moving to Spain and these items can't be taken. But I will remember this for when I start macrame again after settling there!
The rewards earned on this comment will go directly to the person sharing the post on Twitter as long as they are registered with @poshtoken. Sign up at https://hiveposh.com.
Wow, I thought macrame' was a lost art, Good job, thanks for sharing.
Great project and result
Have a wonderful day 😎
!ALIVEBrilliant well done @thisismylife
You Are Alive so I just staked 0.1 $ALIVE(2/10)@thisismylife! to your account on behalf of @benthomaswwd.
The tip has been paid for by the We Are Alive Tribe
 through the earnings on @alive.chat, feel free to swing by our daily chat any time you want.
This is lovely! I like Macrame but I never tried this one but I will now. When I do I will post it and reference back to your post.
!PIZZA
!BBH
Because this is such an awesome post, here is a BBH Tip for you. . Keep up the fantastic work
Many years ago I did macrame but I never did anything as fancy as your keychain. Thanks for sharing.