I don't have a bead roller or an english wheel, nor have I ever worked with them so this was never going to be done as a single piece 🙂
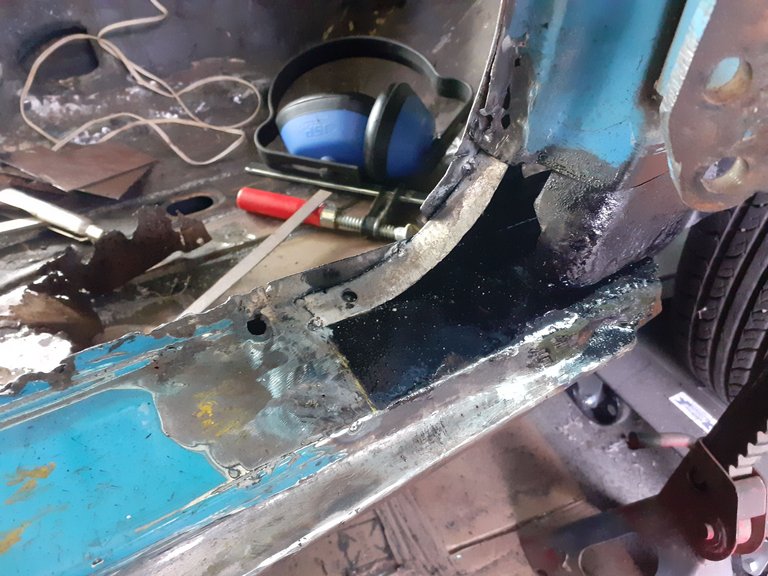
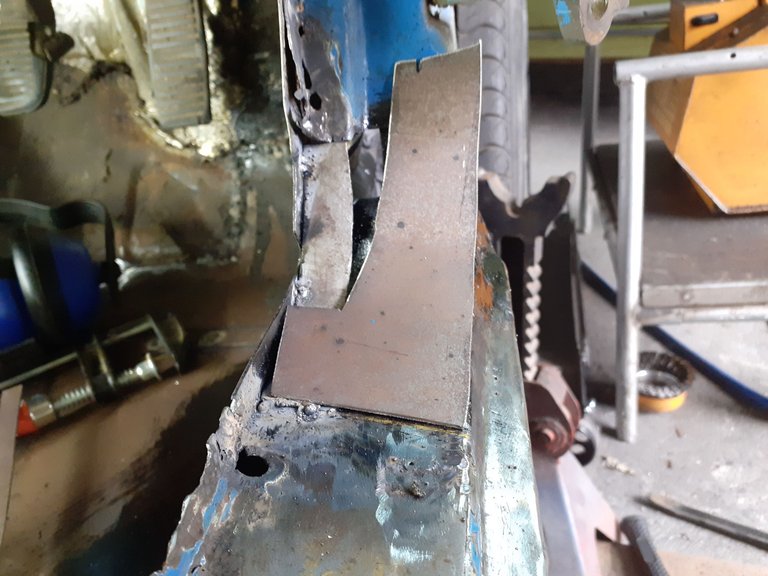
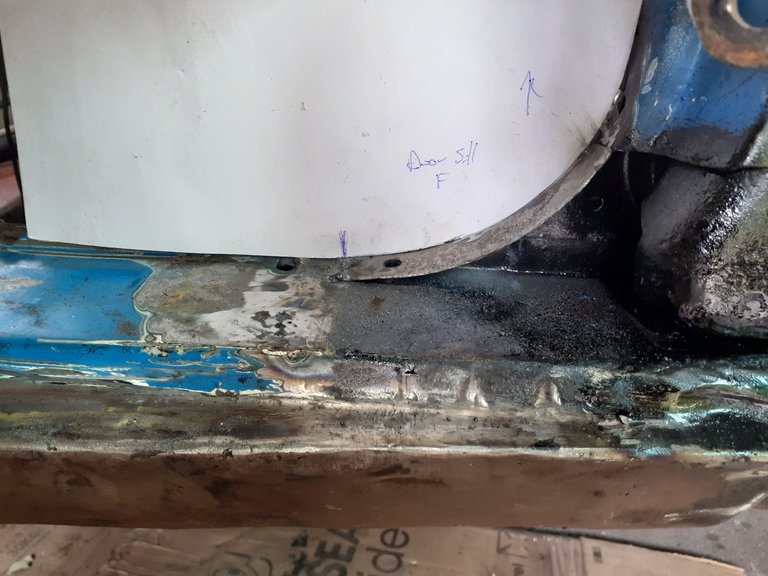
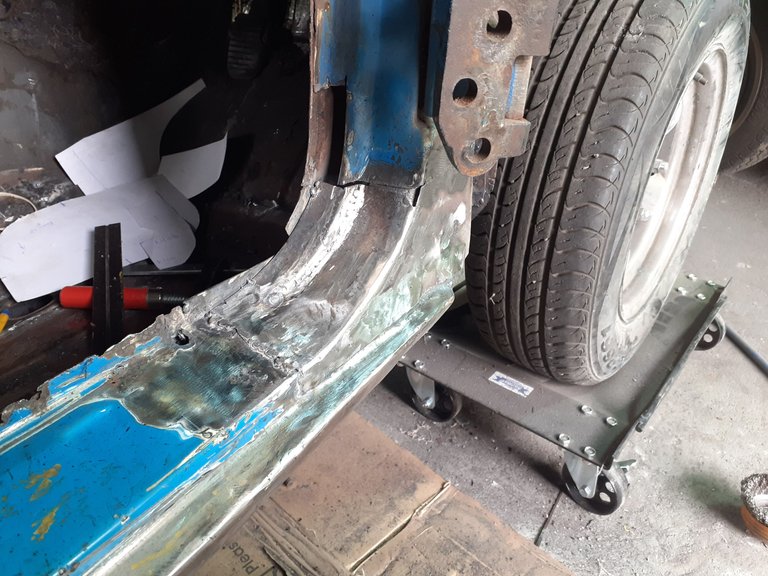
I started with the smallest and simplest bit to get going, using the left hand side as a reference for the width and the shape. After tacking it in place I decided I should make sure that the shape was correct and traced it onto some paper, I was out by a but so cut some of my welds loose and reshaped it until it matched with the paper.
Both the narrow and the wider sections have a curve in them and are not simple straight lines, to cater for this I used a hammer and stretched the metal on the outside. The third photo shows how the wider piece looked before I stretched it.
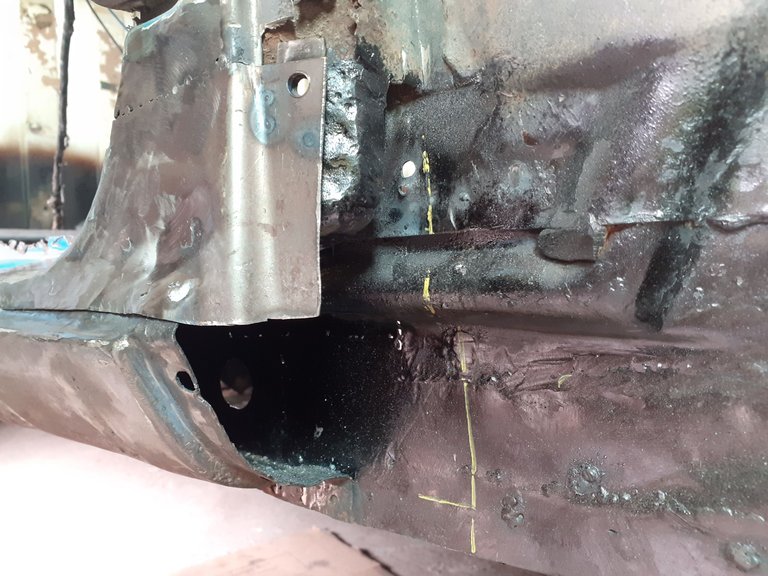
Despite my best efforts the metal did seem to move, I think the heat of the welding affected it and it left me with a gap between the original metal and the new metal. I will close this later.
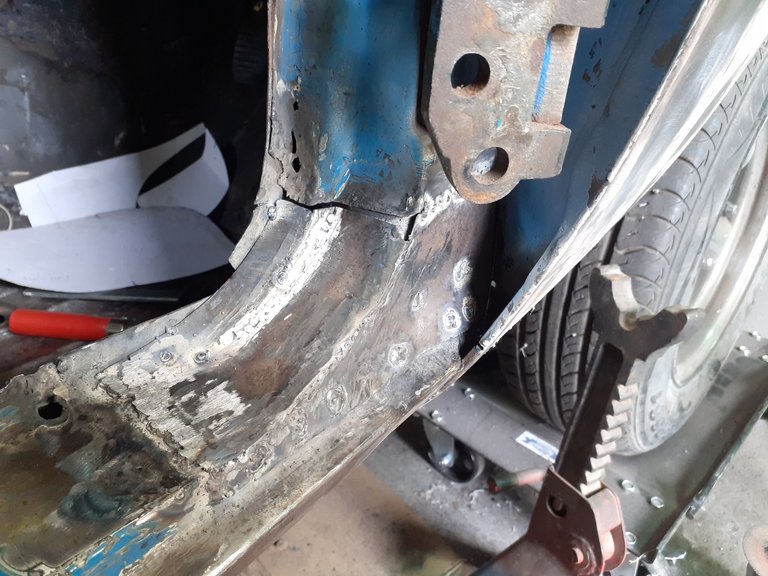
I moved onto the side and managed to get that closed up. After test fitting the fender/mudguard I cleaned up the welds.
I still need to close up the front, which is a great deal more complex with a lot more shape and curves but it is at least a start!
#cortina #rustrepair #fordcortina #cortinabakkie #fordp100 #restoration #cortinaldv
Congratulations @shaunmza! You have completed the following achievement on the Hive blockchain And have been rewarded with New badge(s)
You can view your badges on your board and compare yourself to others in the Ranking
If you no longer want to receive notifications, reply to this comment with the word
STOPCheck out our last posts: