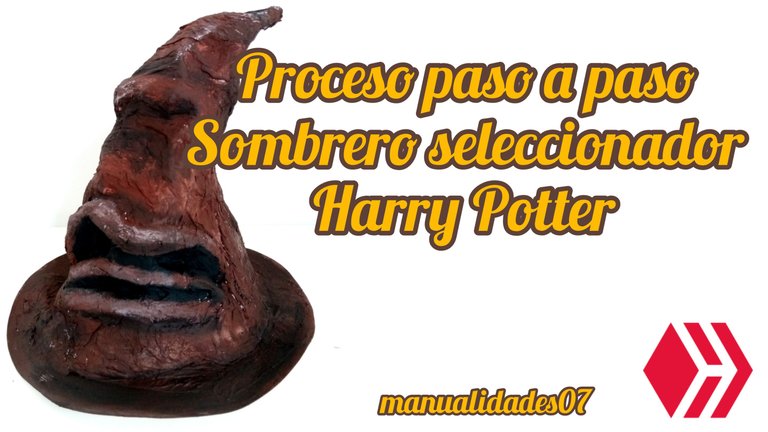
Este fue uno de esos trabajos que no sabía como hacer pero que igual acepté.
Todo comenzó como una improvisación y asi siguió hasta el final.
Materiales:
- Cartón
- Cartulina
- Teipe o tirro
- Pega
- Agua
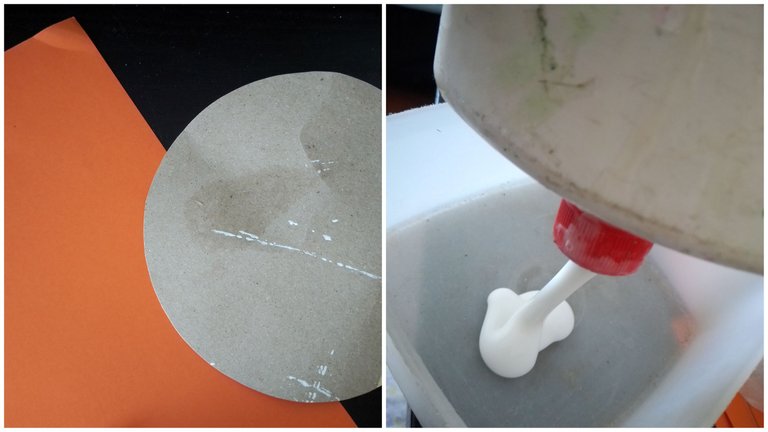
Primero recorte un círculo que sería mi base, en esta caso de 19 cm de diámetro que es el tamaño de la torta que se quería decorar.
This was one of those jobs that I didn't know how to do but I accepted anyway.

It all started as an improvisation and went on like that until the end.

First I cut out a circle that would be my base, in this case 19 cm in diameter, which is the size of the cake I wanted to decorate.

Materials:
- Cardboard
- Cardboard
- Tape or string
- Glue
- Water
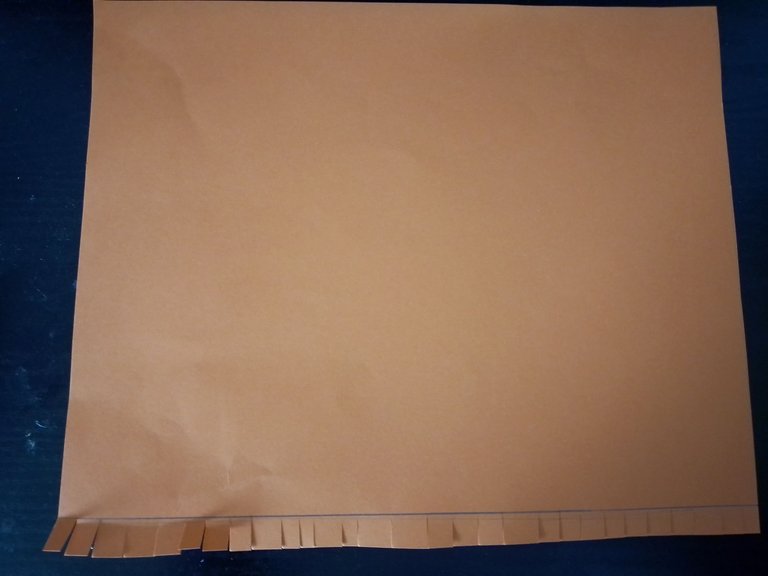
Luego recorte un rectángulo de cartulina y le hice unos pliegues en la parte de abajo que no sirvieron para nada, luego tuve que recortarlos.
Then I cut out a rectangle of cardboard and made some folds at the bottom that were useless, then I had to cut them out.
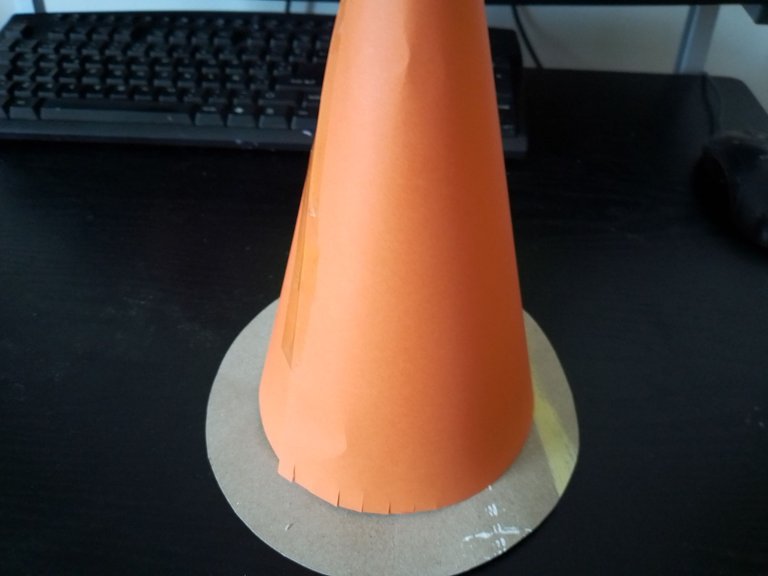
Enrolle la cartulina para obtener una forma de cono y recorte el excedente para que quedara derecha la base.
Roll the cardboard into a cone shape and trim the excess to make the base straight.
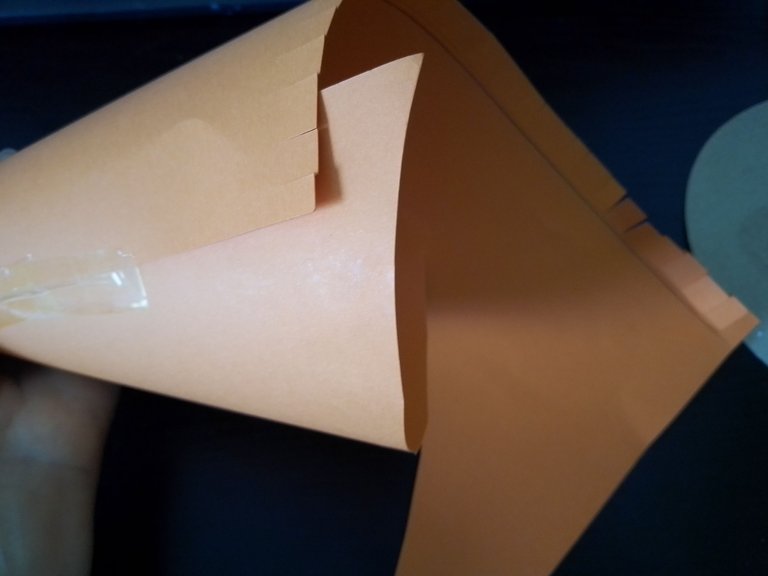
Los pegue del circulo de cartón con cinta adhesiva, si hubiese tenido tirro (cinta adhesiva de papel) hubiese sido mucho mejor.
I glued them to the cardboard circle with masking tape, if I had had some paper tape it would have been much better.
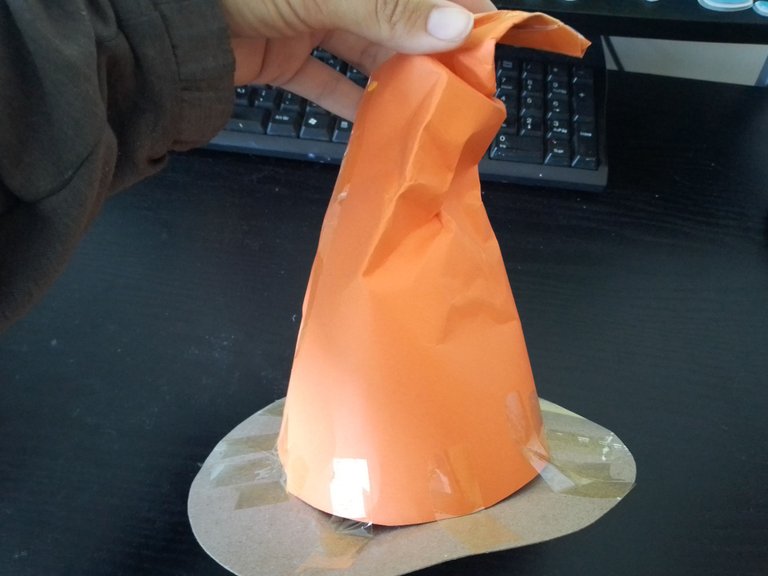
Una vez pegado el cono a la base lo arrugue e intente darle la forma del gorro.
Once the cone is glued to the base, crumple it and try to give it the shape of the cap.
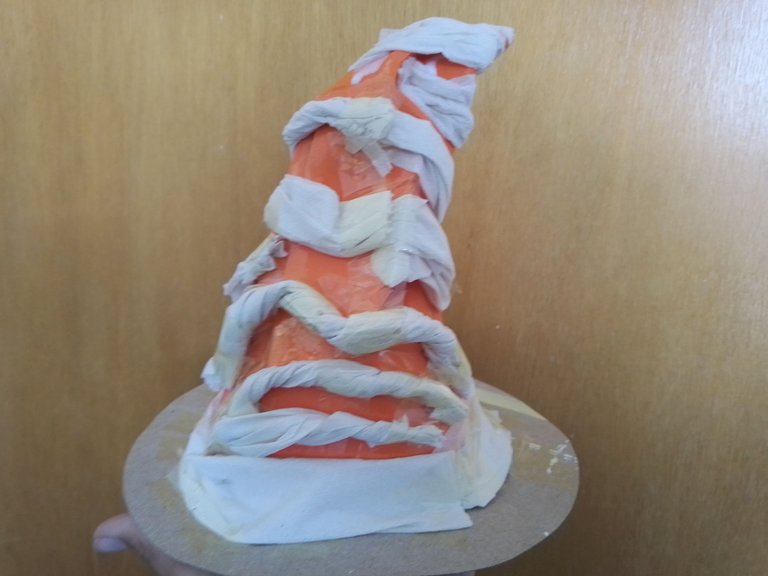
Inmediatamente comencé a realizar el relieve, con tiras de papel de cocina o de baño, fui haciendo los detalles, la forma de la cara, las orillas, rellenando aquí y allá donde hacía falta. Pegando únicamente por ahora con cinta adhesiva, para que mi trabajo no quedara tan humedecido y secara mas rápido.
I immediately began to make the relief, with strips of kitchen or toilet paper, I was making the details, the shape of the face, the edges, filling here and there where it was needed. I only glued with adhesive tape for now, so that my work would not be so wet and would dry faster.
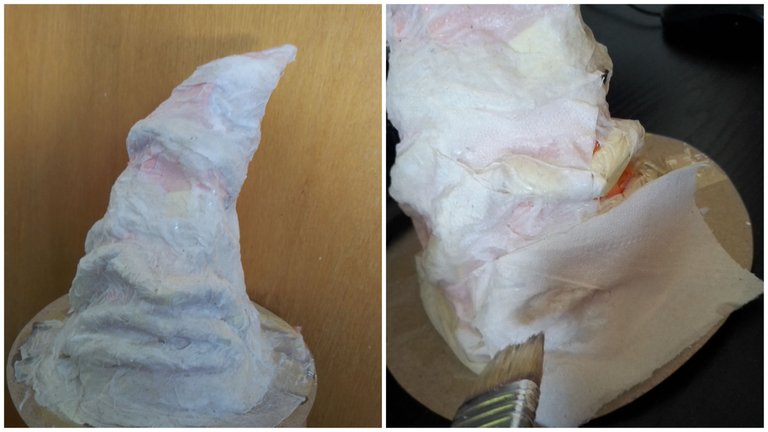
Ya conforme con la forma me puse modo art attack y con papel, agua y pega forre todo el gorro, lo deje secar cerca del sol para acelerar el proceso y una vez seco comencé a pintar.
Once I was satisfied with the shape I went into art attack mode and with paper, water and glue I lined the whole cap, I let it dry near the sun to speed up the process and once it was dry I started to paint.
Primero la base marrón, negro para hacer un poco de profundidad, especialmente en los ojos y la boca y finalmente un poco de blanco para iluminar.
First the brown base, black to make some depth, especially in the eyes and mouth and finally a little white to illuminate.
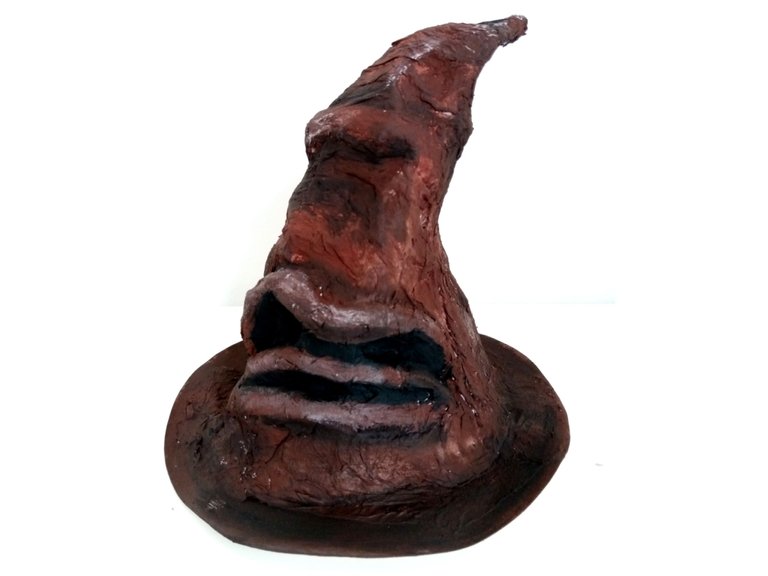
Y así quedó la torta
And this is how the cake turned out
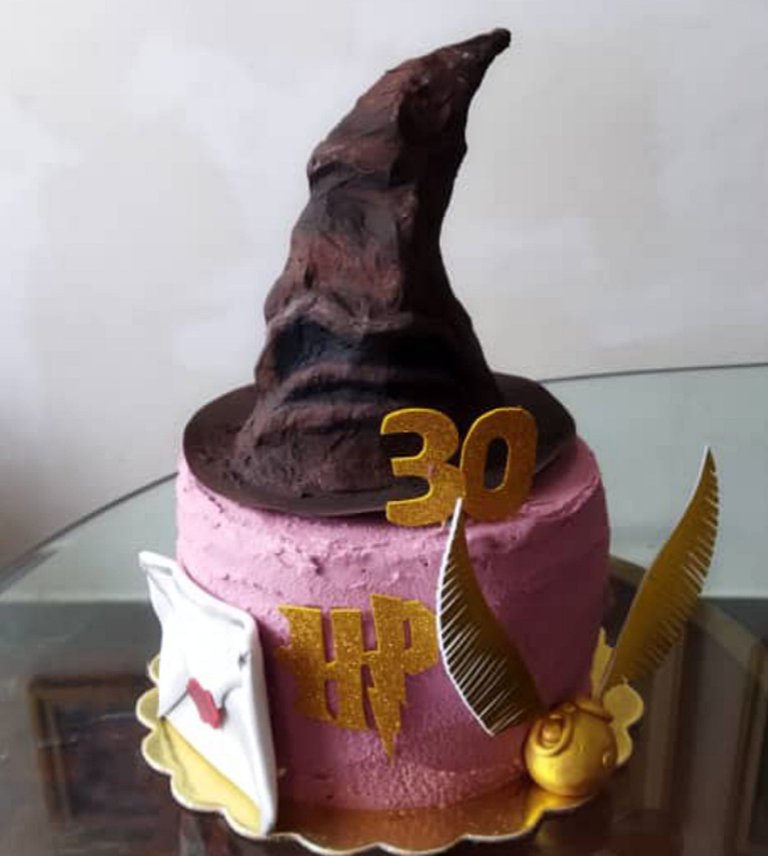
Espero que esté post te sea de utilidad, aunque sea para distraerte.
Gracias por leerme
I hope you find this post useful, if only to distract you.

Thanks for reading


The rewards earned on this comment will go directly to the person sharing the post on Twitter as long as they are registered with @poshtoken. Sign up at https://hiveposh.com.
Thank you for your witness vote!
Have a !BEER on me!
To Opt-Out of my witness beer program just comment !STOP below
View or trade
BEER.Hey @mxryp07, here is a little bit of
BEERfrom @isnochys for you. Enjoy it!Did you know that you can use BEER at dCity game to **buy dCity NFT cards** to rule the world.
Congratulations @mxryp07! You have completed the following achievement on the Hive blockchain and have been rewarded with new badge(s):
Your next target is to reach 3500 upvotes.
You can view your badges on your board and compare yourself to others in the Ranking
If you no longer want to receive notifications, reply to this comment with the word
STOPCheck out the last post from @hivebuzz:
Support the HiveBuzz project. Vote for our proposal!
Está genial!! me encanta 😍😍😍