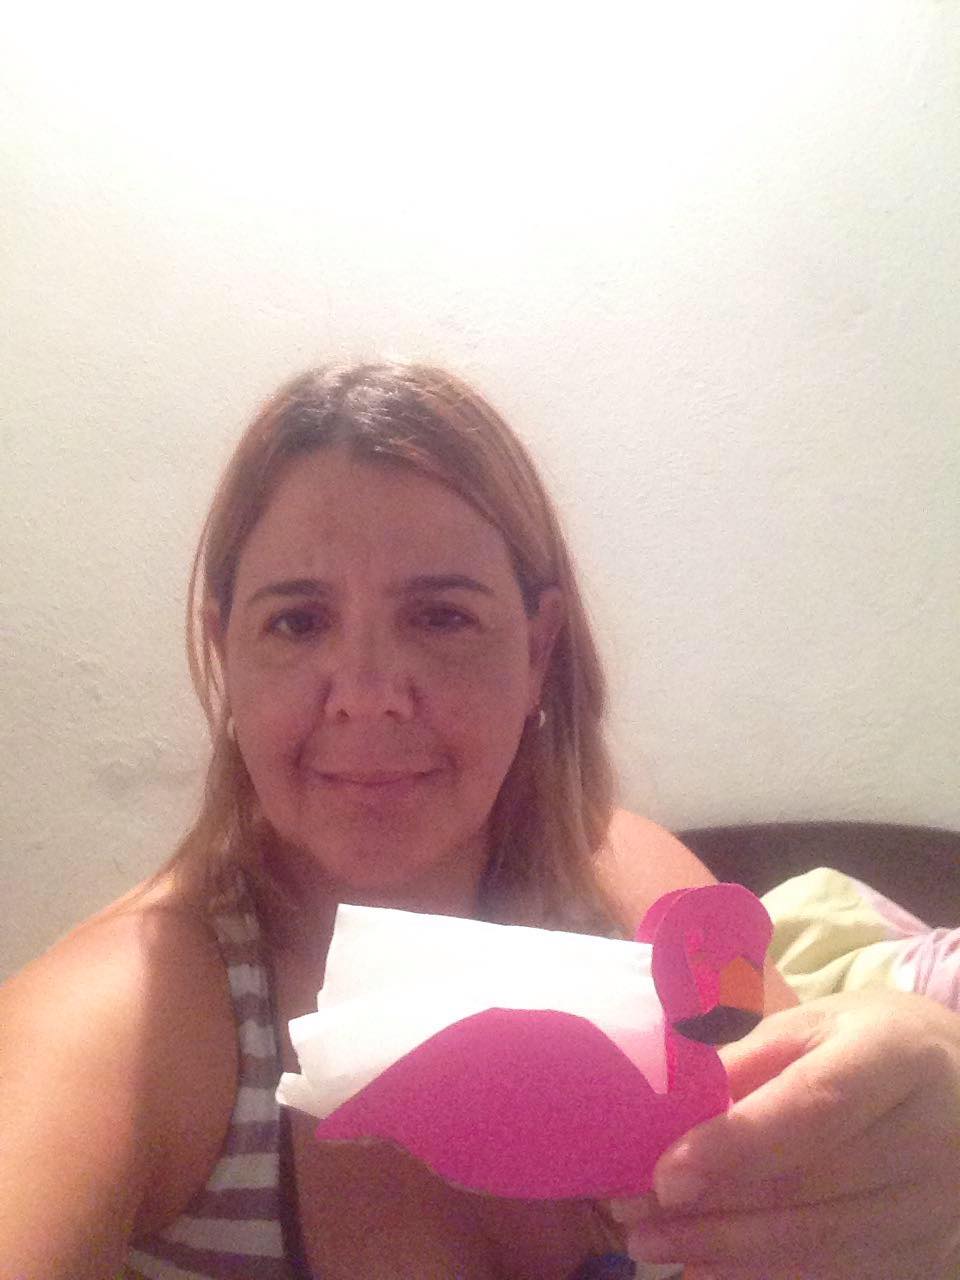
Hello friends of hive blog I hope you are very well today I bring you a fun tutorial where I am going to teach you how to make a beautiful napkin ring
Hola amigos de hive blog espero esten muy bien hoy les traigo un divertido tutorial en donde les voy a enseñar como hacer un hermoso servilletero
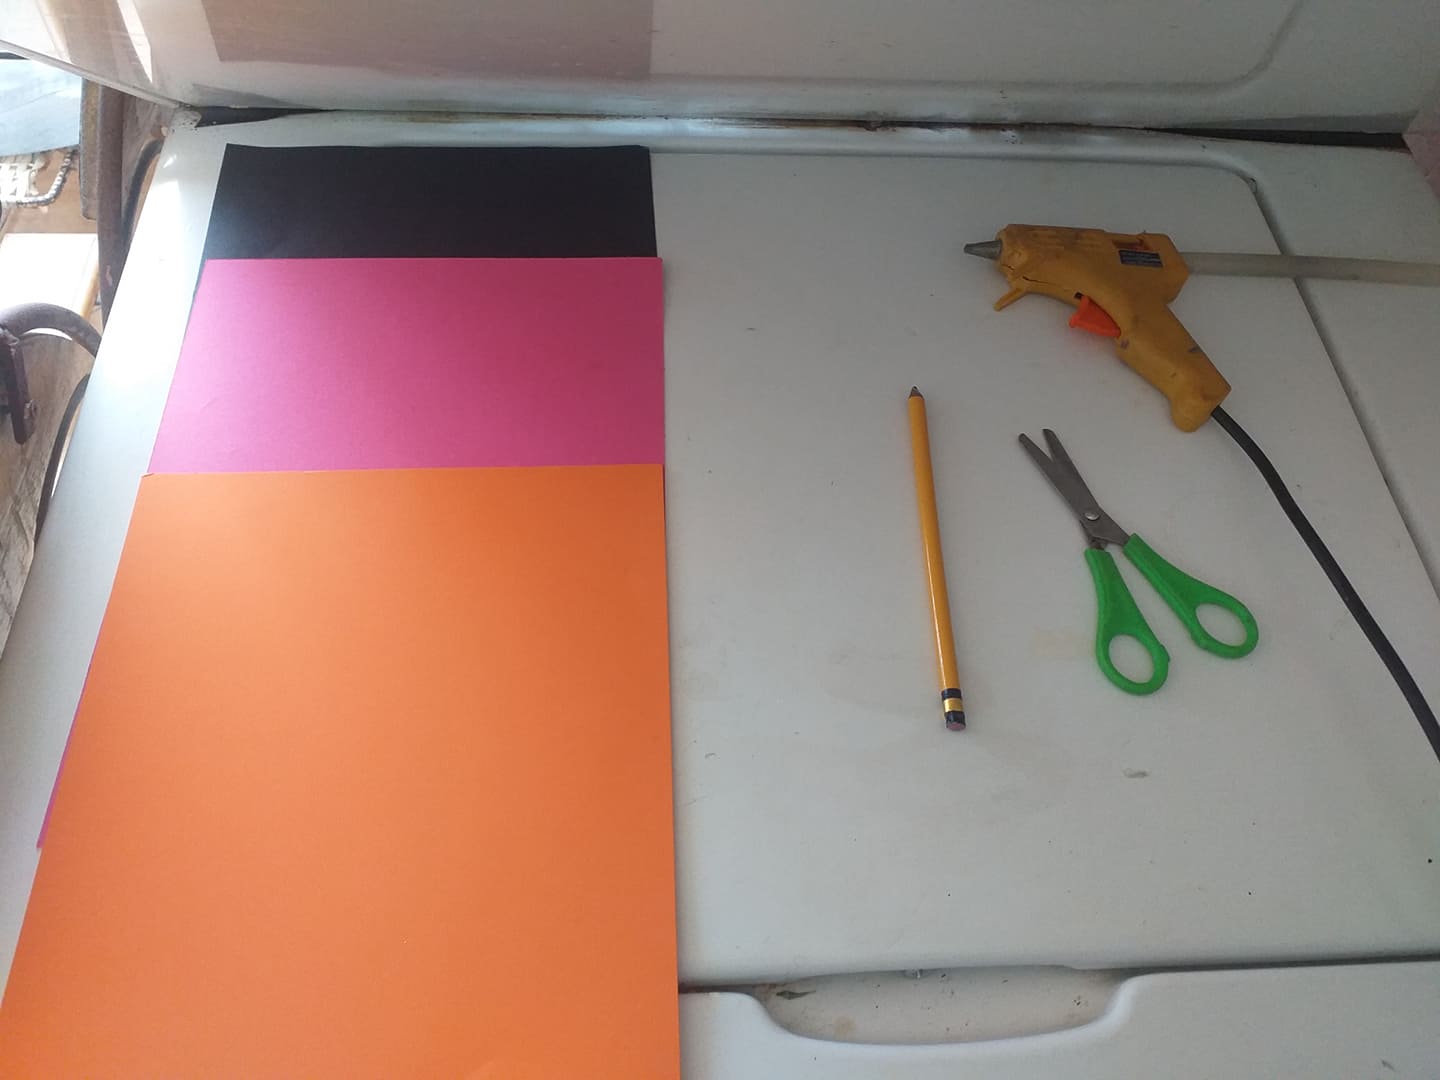
Materials:
⚫ Black cardstock
⚫ Pink cardstock
⚫ Orange cardstock
⚫ Pencil
⚫ Scissors
⚫Silicone gun
Materiales:
⚫ Cartulina negra
⚫ Cartulina rosa
⚫ Cartulina naranja
⚫ Lápiz
⚫ Tijera
⚫Pistola de silicon
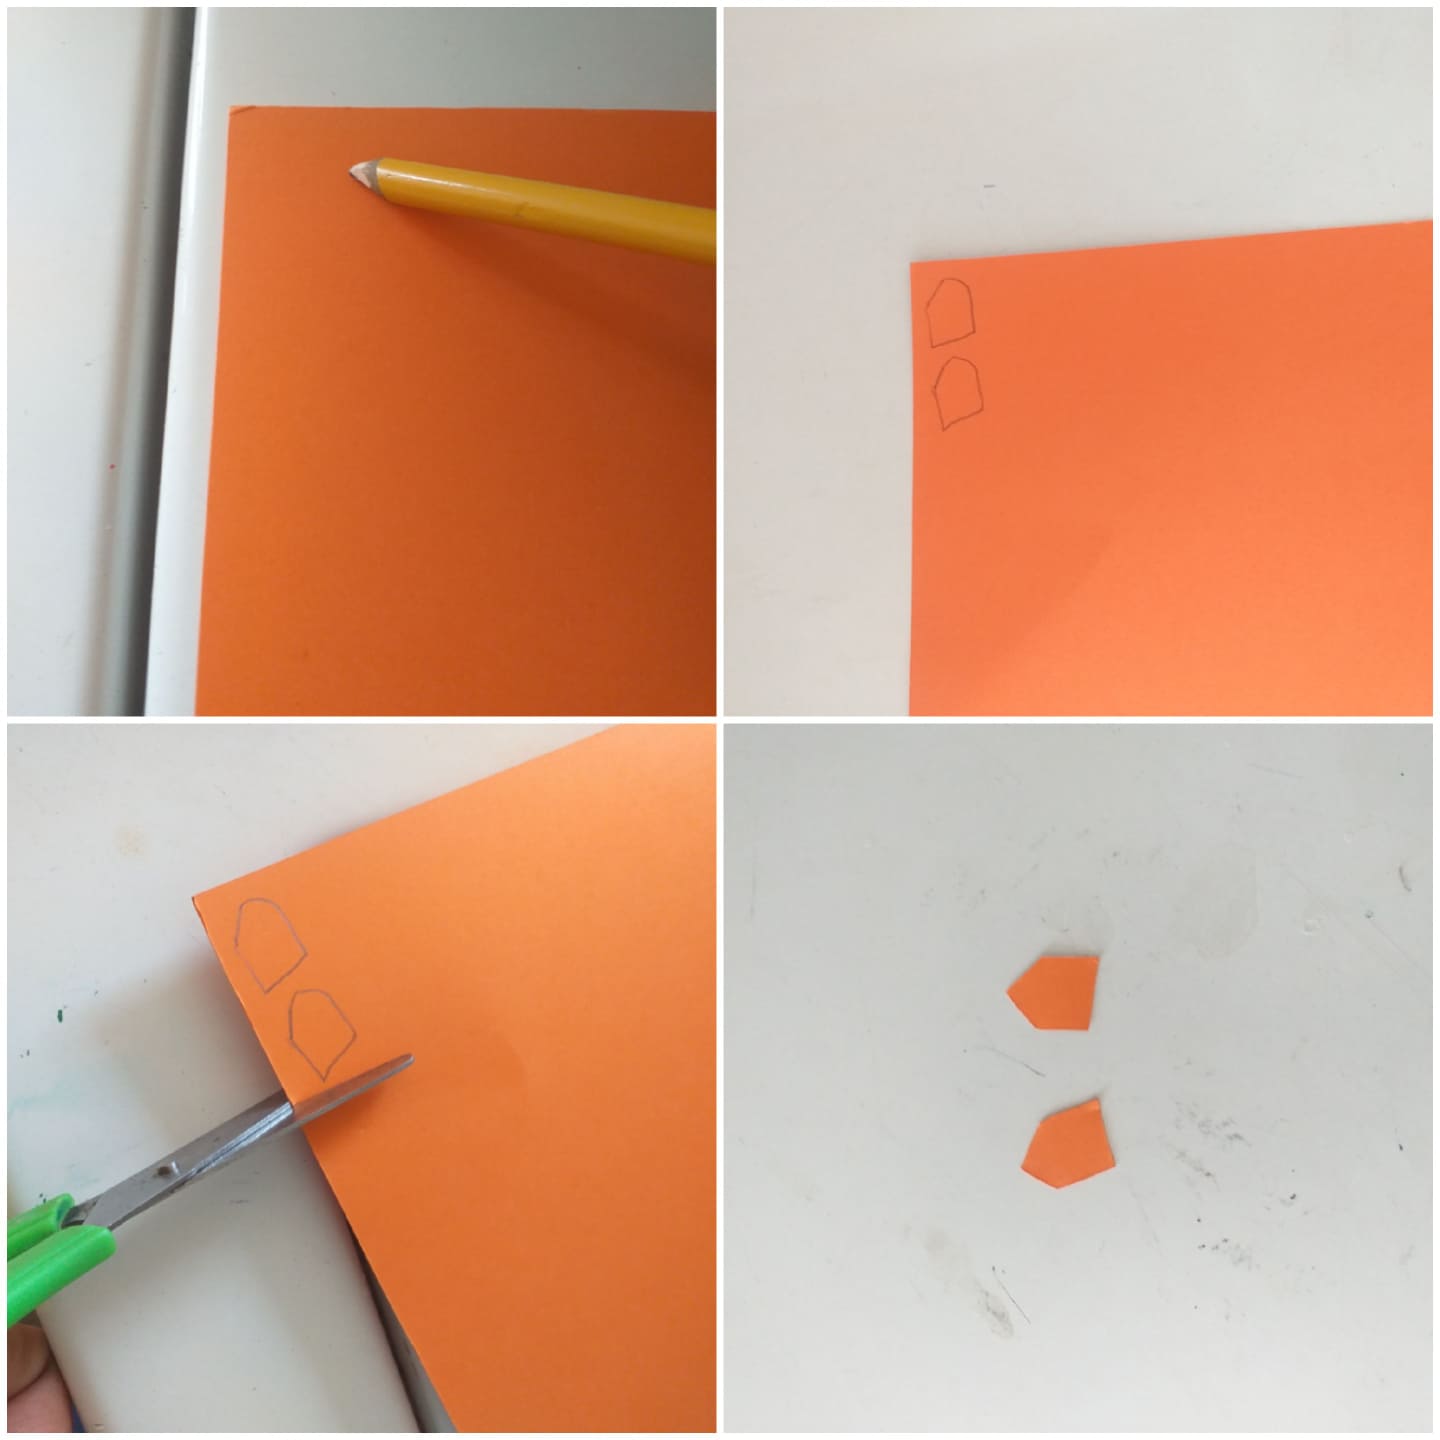
Step 1
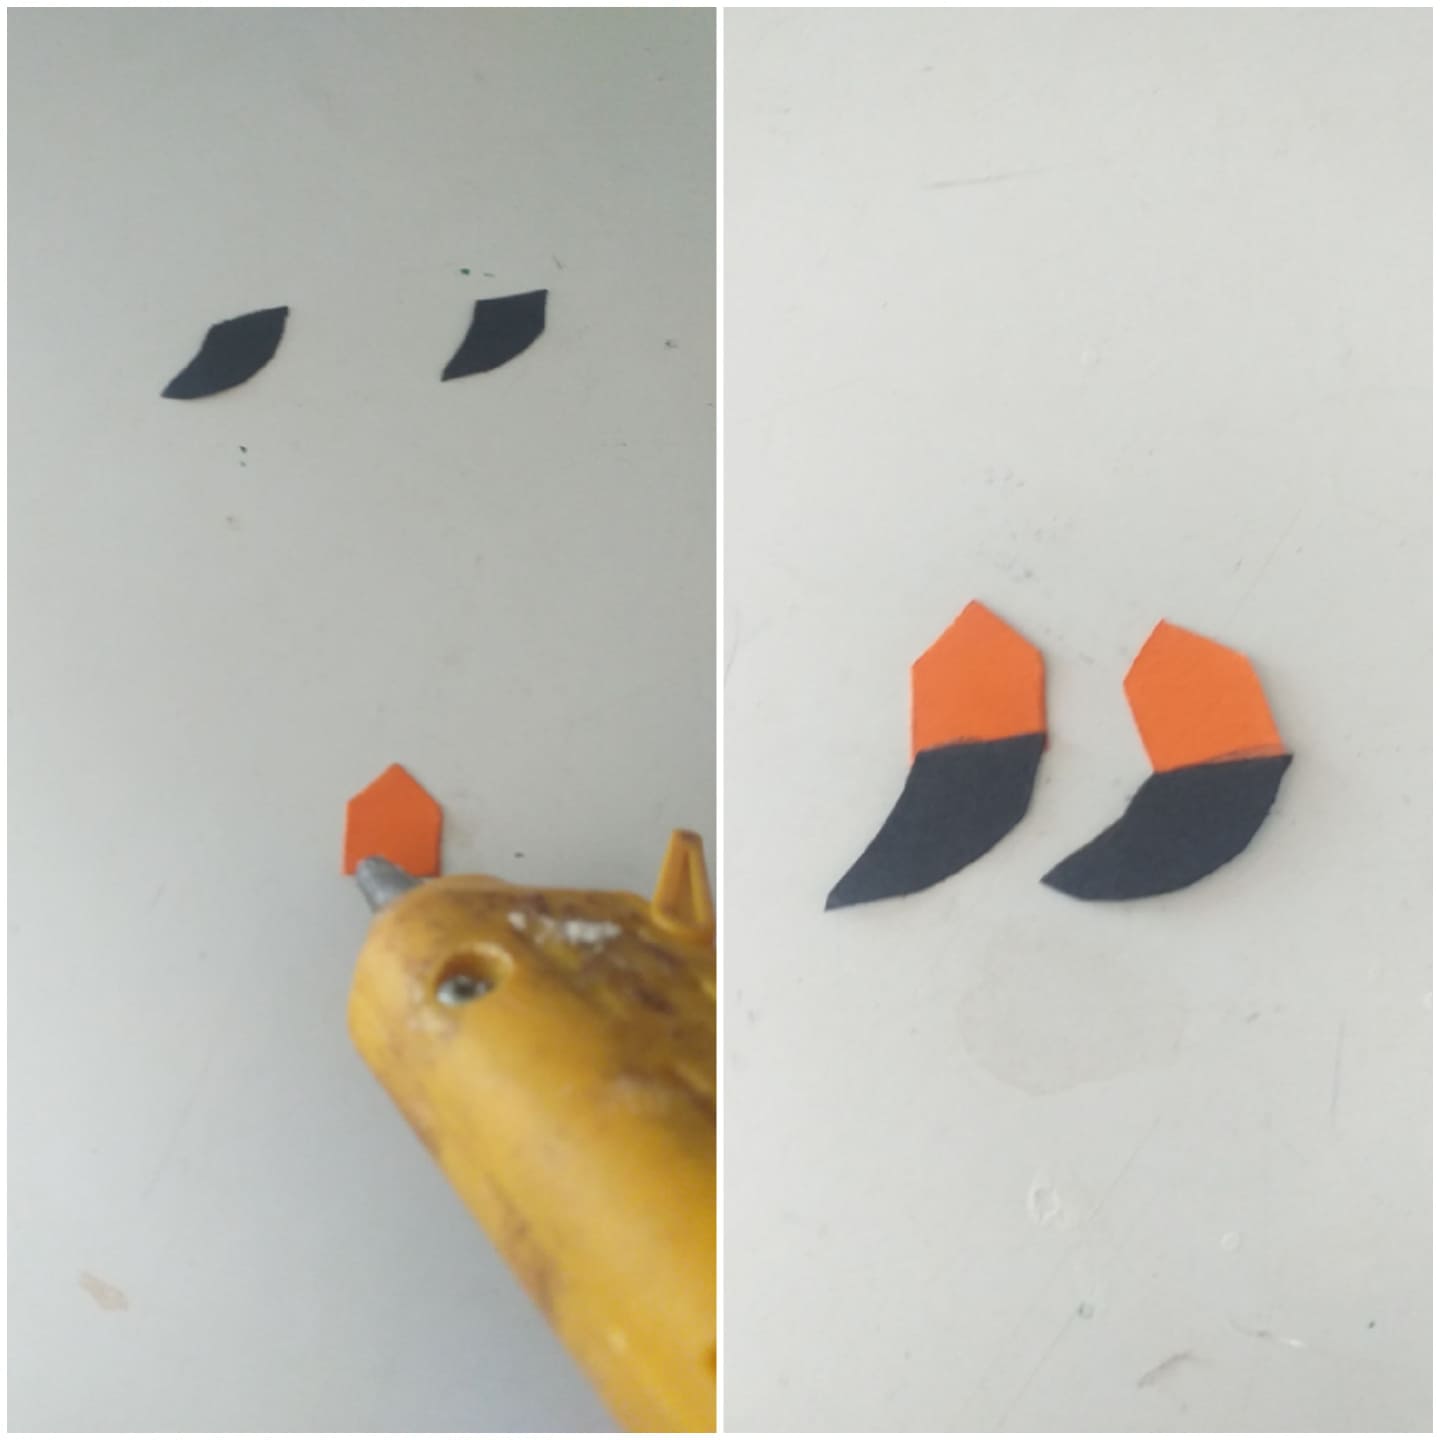
As the first step to follow, we will start by making the first and second part of our flamingo's beak with the pencil, on the orange cardstock and the black cardstock as shown in the image
Paso 1
Como primer paso a seguir,empezaremos haciendo con el lapiz la primera y segunda parte de el pico de nuestro flamenco, en la cartulina naranja y la cartulina negra así como muestra la imagen
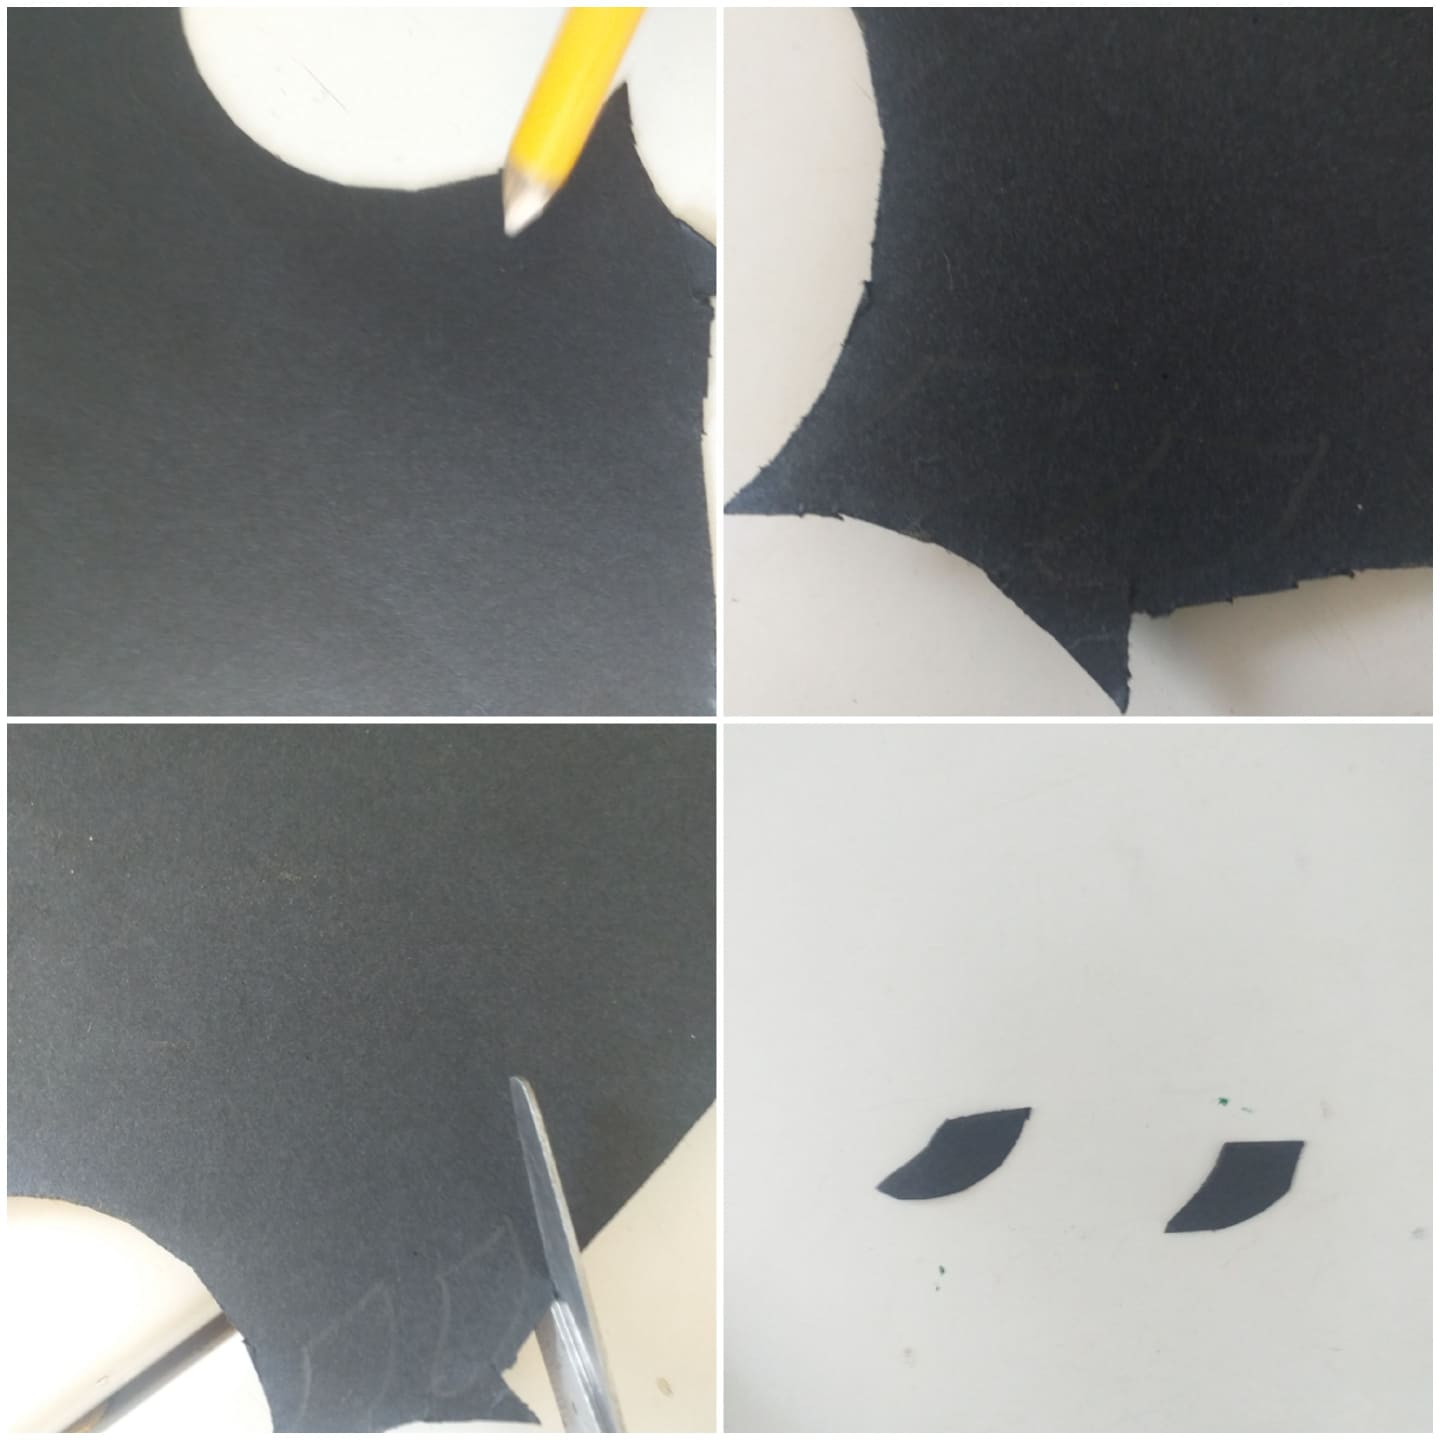
Step 2
Once the two parts of our beak are made, we will glue them as shown in the image
Paso 2
Una vez ya hecha las dos partes de nuestro pico,las pegaremos así como muestra la imagen
Step 3
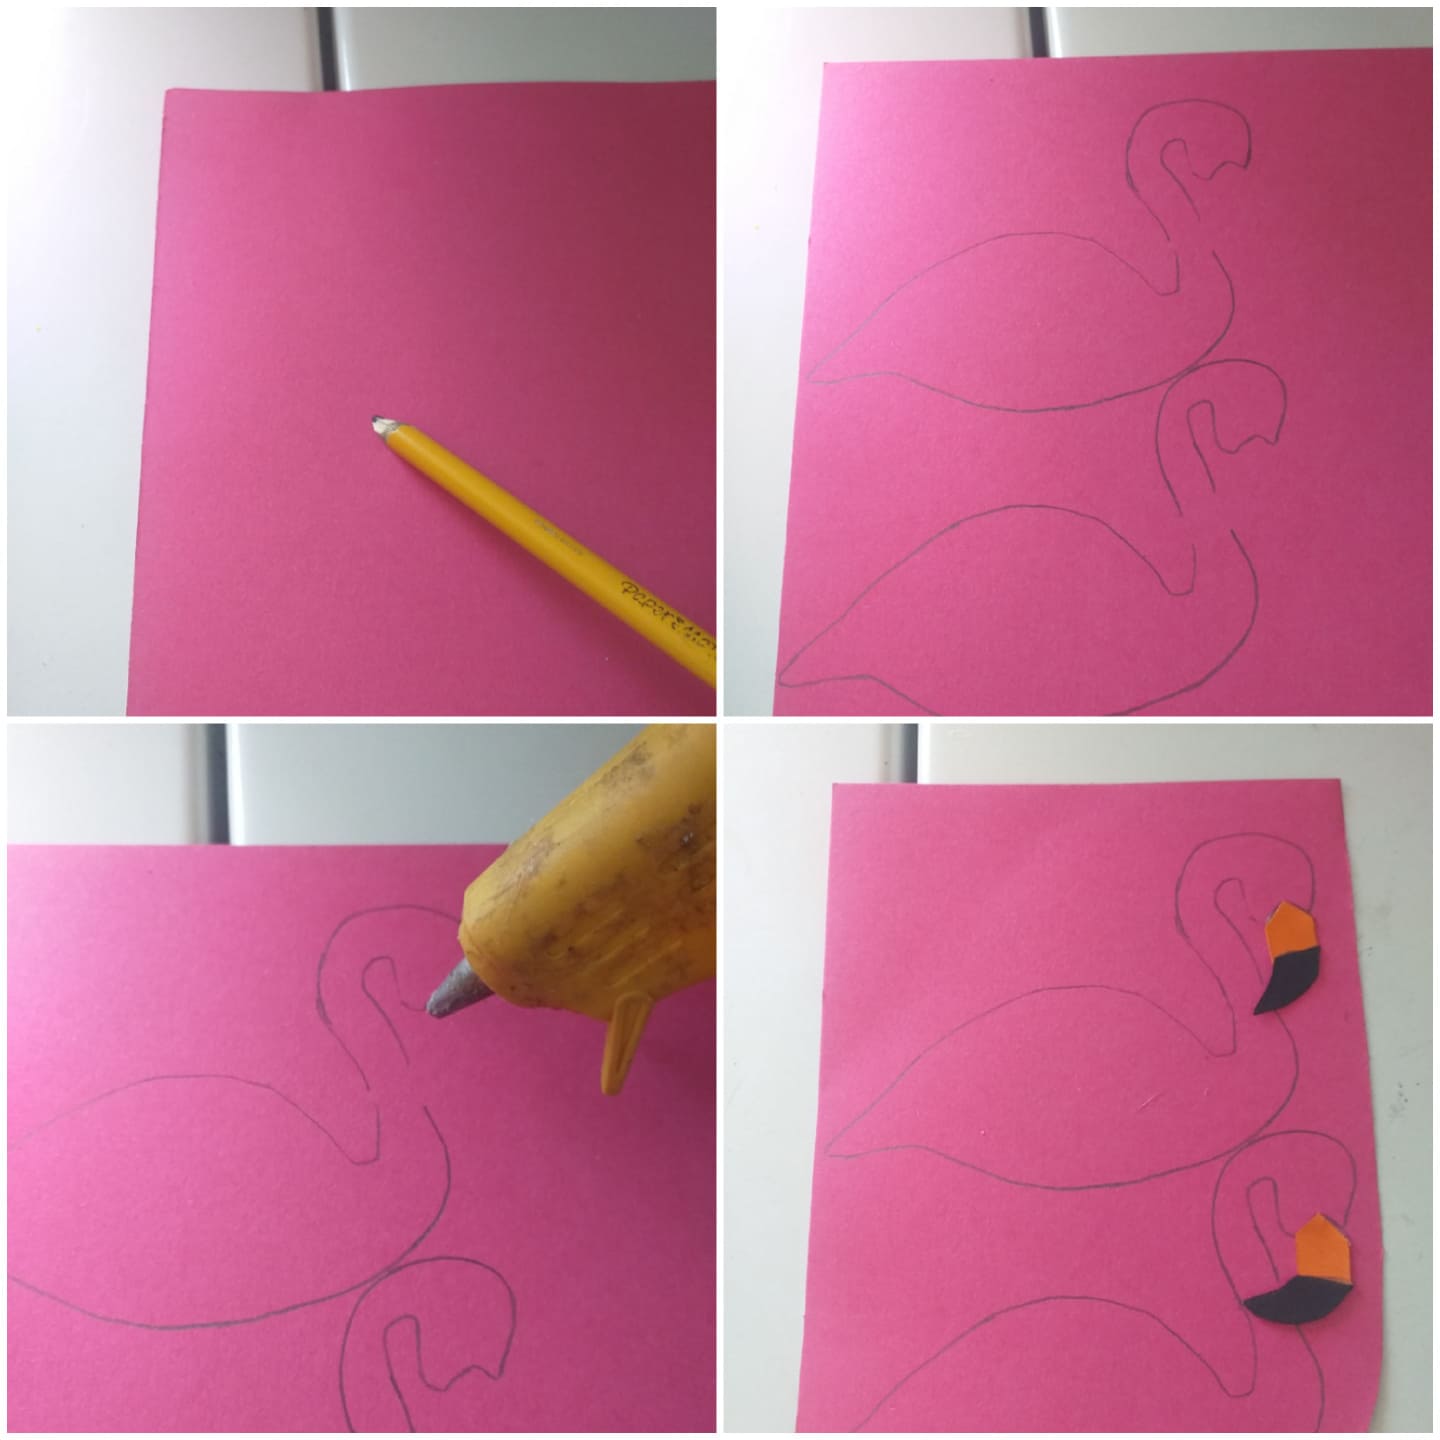
Then with the pencil we will draw the body of the flamingo on the pink cardboard, when we get to the part where we will draw the neck of the flamingo we will leave a small space on both sides, once we have left the space for the neck, we will glue the peak of our flamenco as the image shows
Paso 3
Luego con el lápiz dibujaremos el cuerpo de el flamenco en la cartulina de color rosa,cuando lleguemos a la parte donde dibujaremos el cuello de el flamenco dejaremos un pequeños espacio de los dos lados,una vez hayamos dejado el espacio de el cuello, pegaremos el pico de nuestro flamenco así como muestra la imagen
Step 4
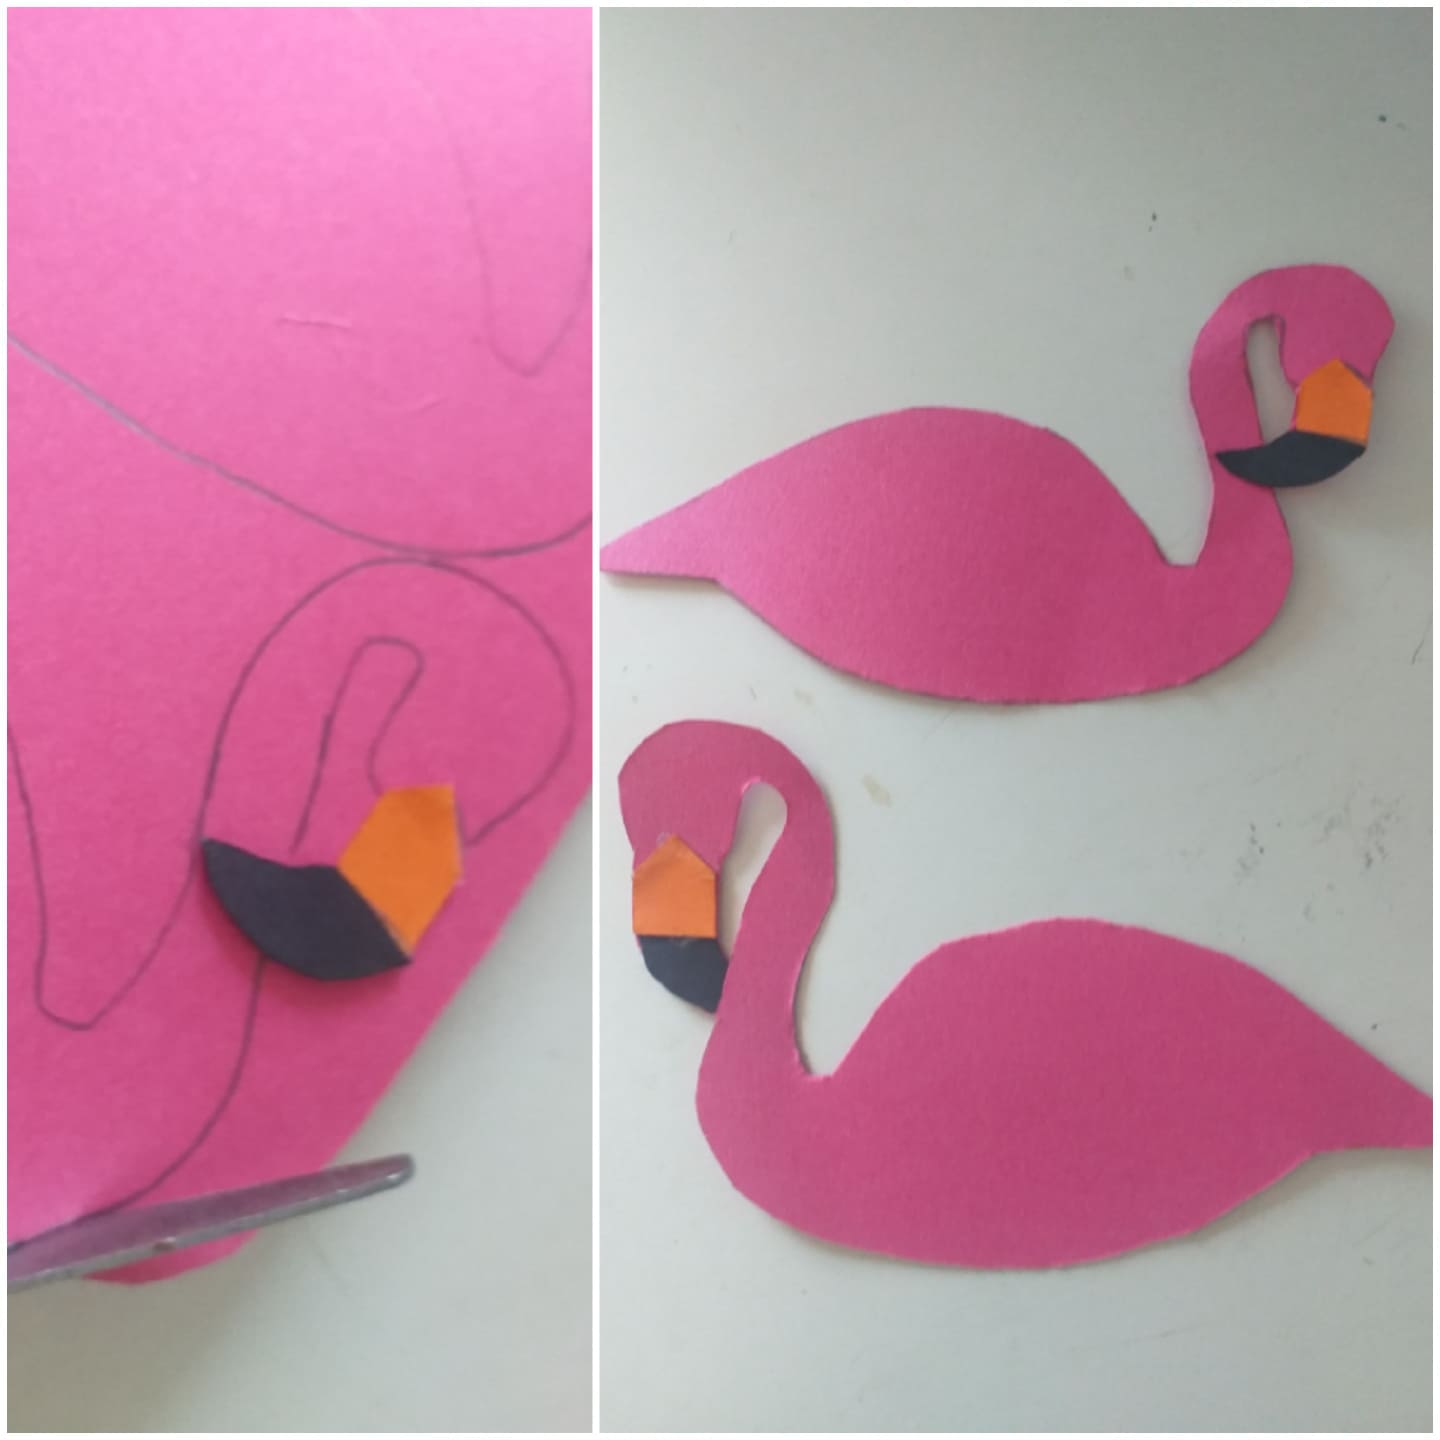
Then we will cut out the two molds of our flamingo made with the pink cardstock
Paso 4
Luego recortaremos los dos moldes de nuestro flamenco,hechos con la cartulina rosa
Step 5
And finally, to finish with this tutorial we will cut out a square of pink cardboard which will be the base of the napkin holder, once the base is made we will glue the two molds as shown in the image
Paso 5
Y por ultimo paso para finalizar con este tutorial recortaremos un cuadrado de cartulina rosa la cual sera la base de el servilletero,una vez hecho la base le pegaremos los dos moldes así como muestra la imagen
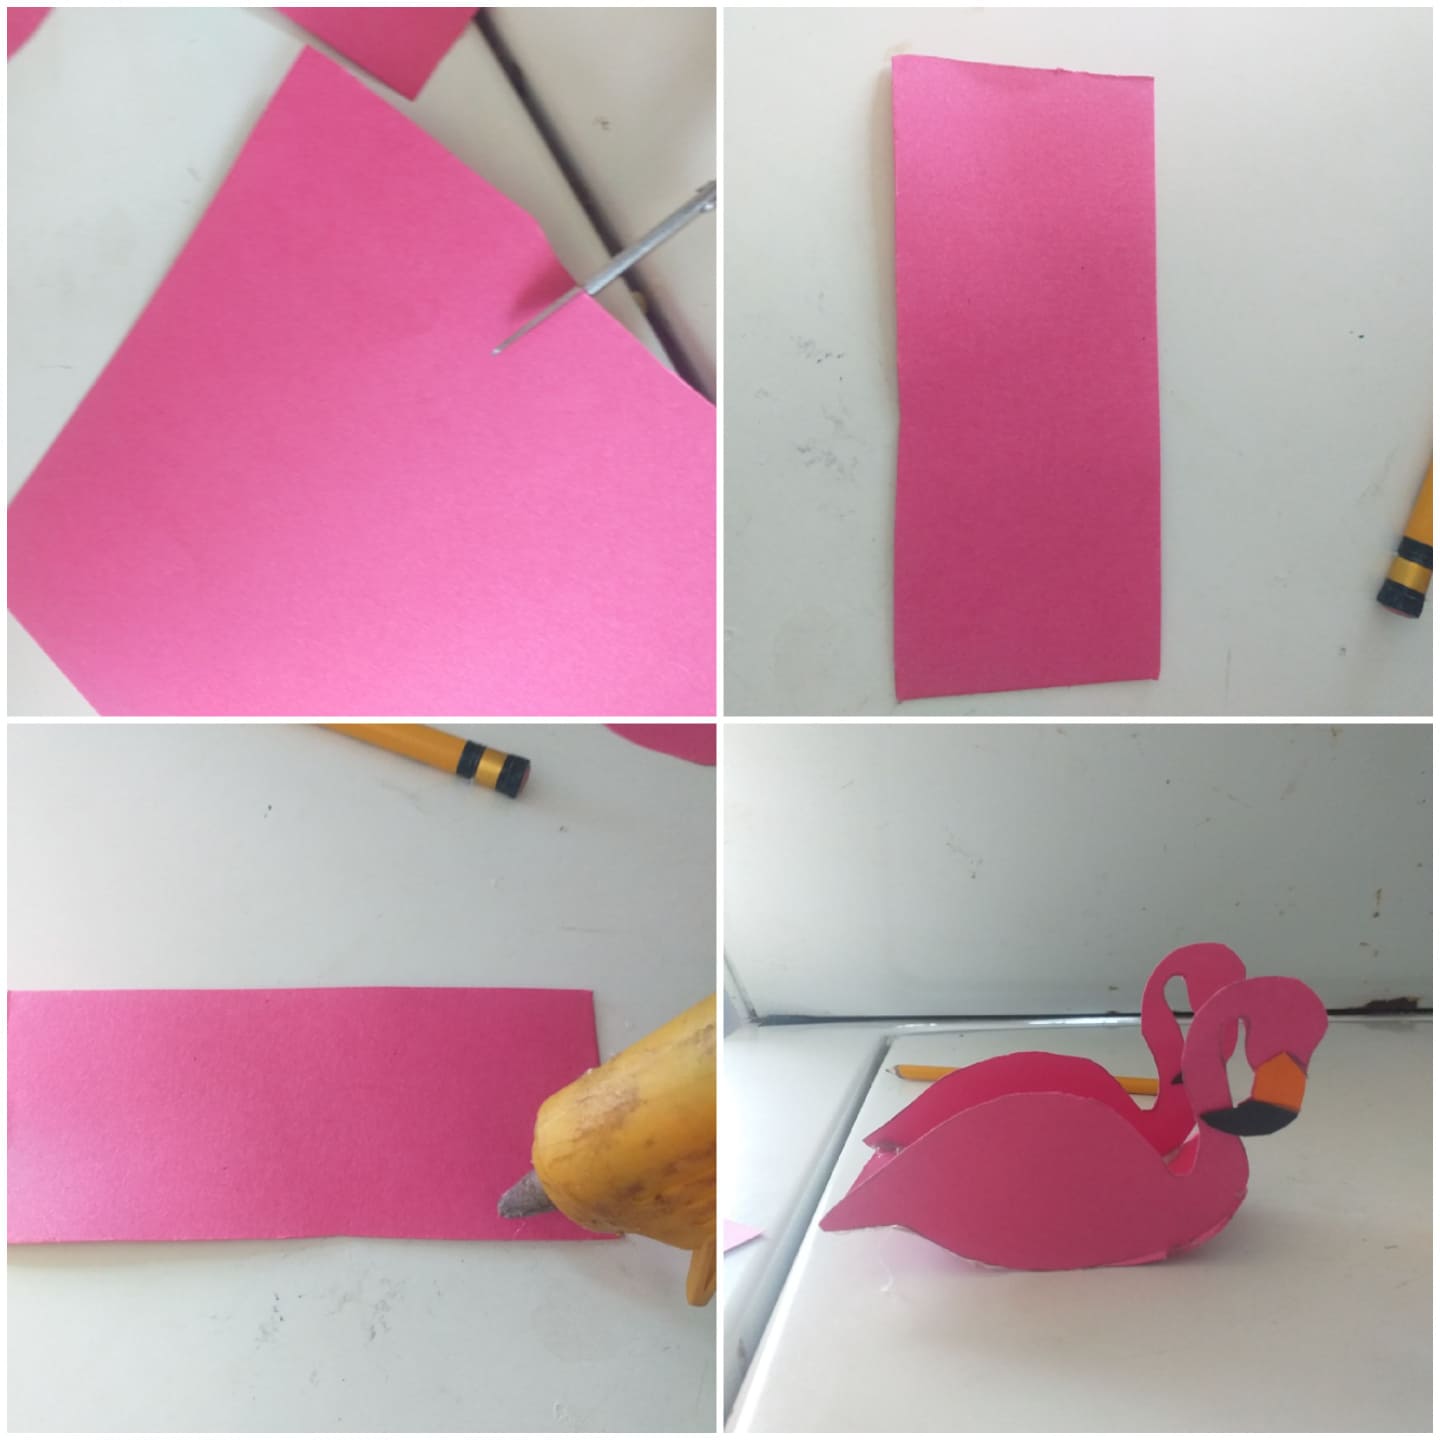
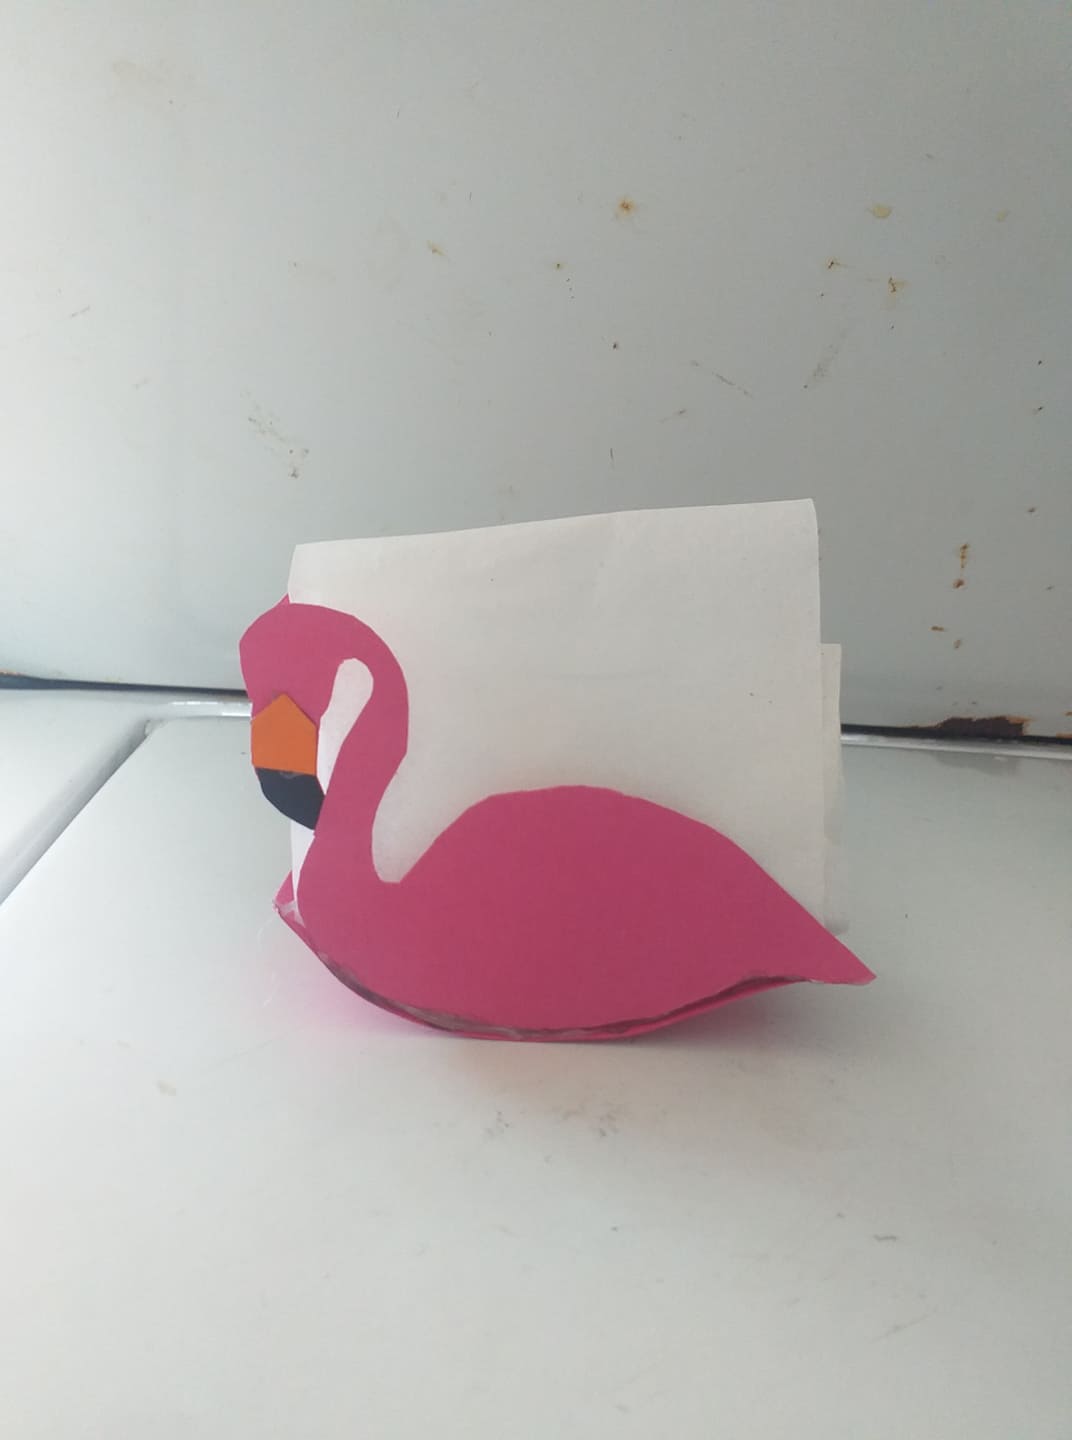
And this would be the result of our beautiful napkin holder, I hope you like it, have a nice day, afternoon or night until next time friends
Y este seria el resultado de nuestro hermoso servilletero,espero les guste que tengan un bonito día,tarde o noche hasta la próxima amigos
Thank you for visiting my blog
Gracias por visitar mi blog