Hello friends of this beautiful platform, I hope you are very well, today I bring you an easy and practical tutorial where I will teach you how to make a beautiful little mouse with recycled material
Hola amigos de esta hermosa plataforma espero estén muy bien, hoy les traigo un tutorial fácil y practico en donde les enseñare como elaborar un hermoso ratoncito con material reciclado
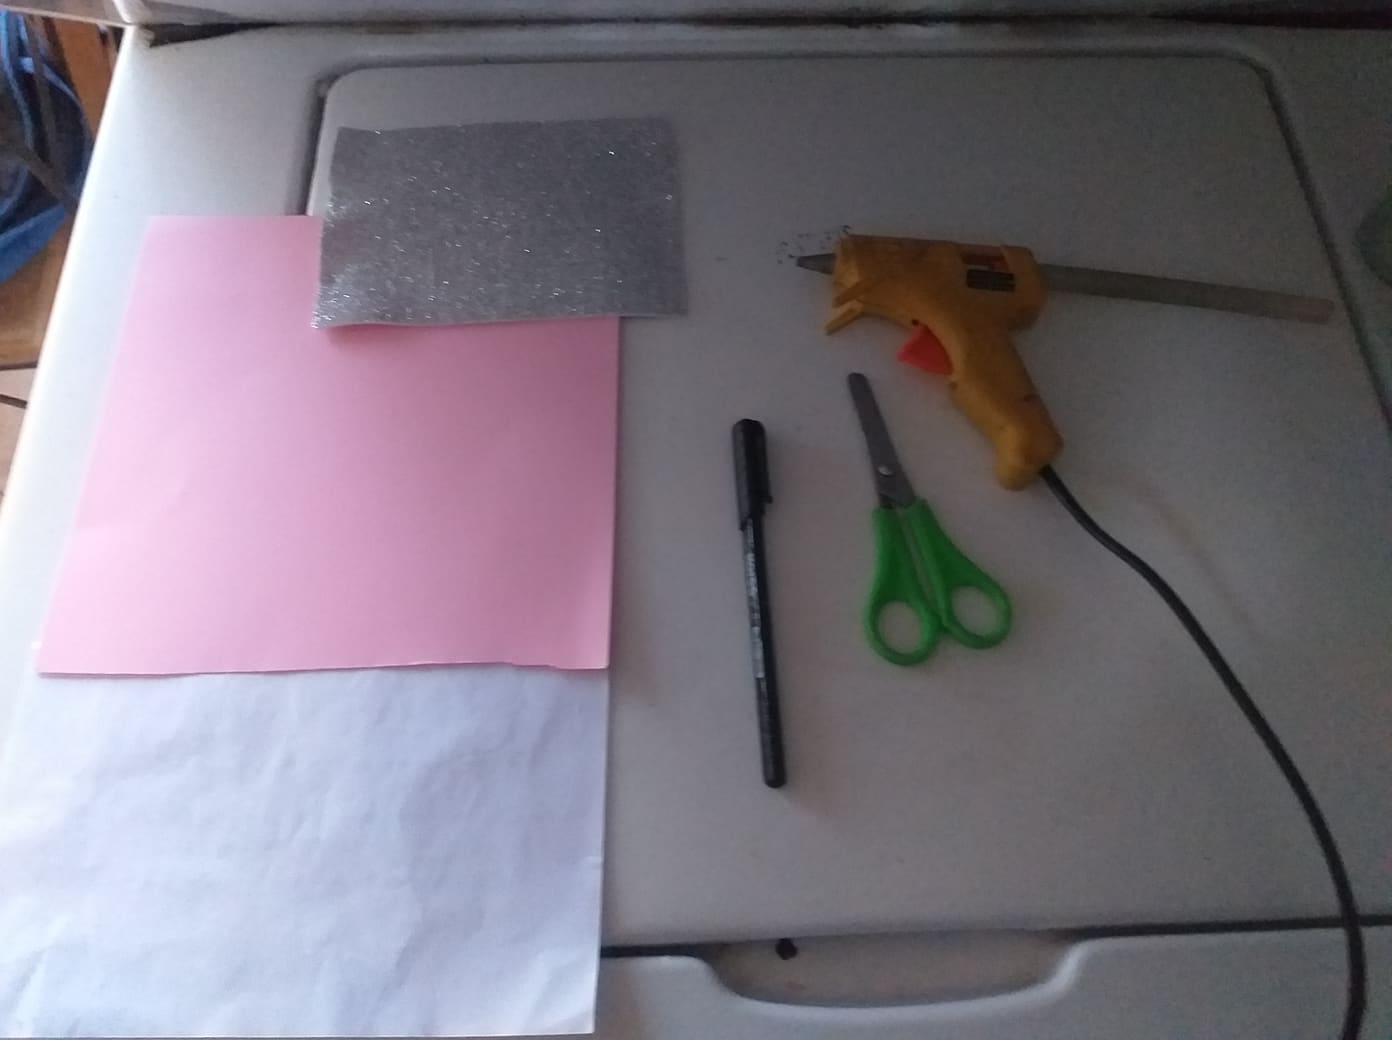
Materials:
⚫ Pink cardstock
⚫ Frosty gray foam
⚫ Machine sheet
⚫ Marker
⚫ Scissors
⚫ Silicone gun
Materiales:
⚫ Cartulina rosa
⚫ Foami gris escarchado
⚫ Hoja de maquina
⚫ Rotulador
⚫ Tijera
⚫ Pistola de silicon
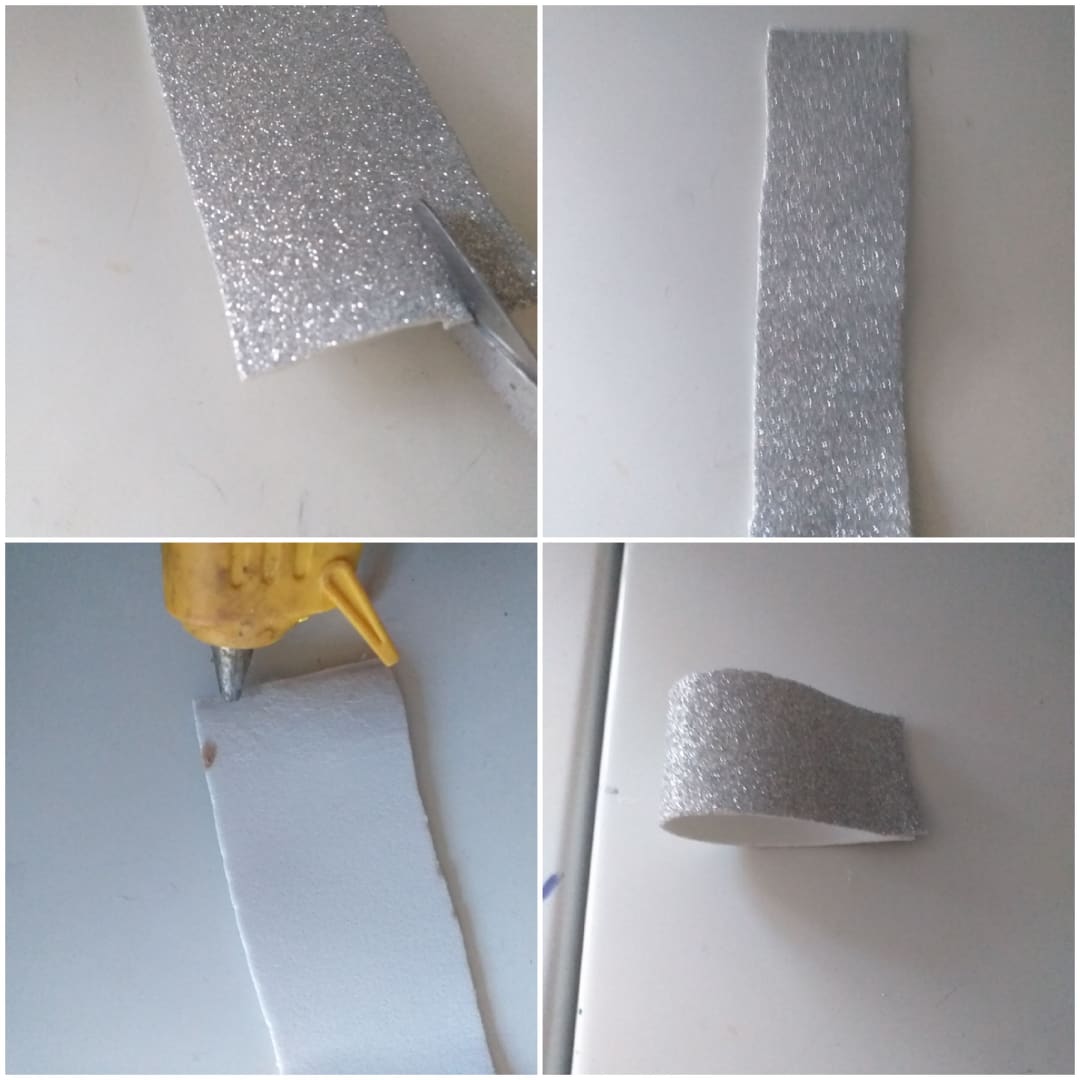
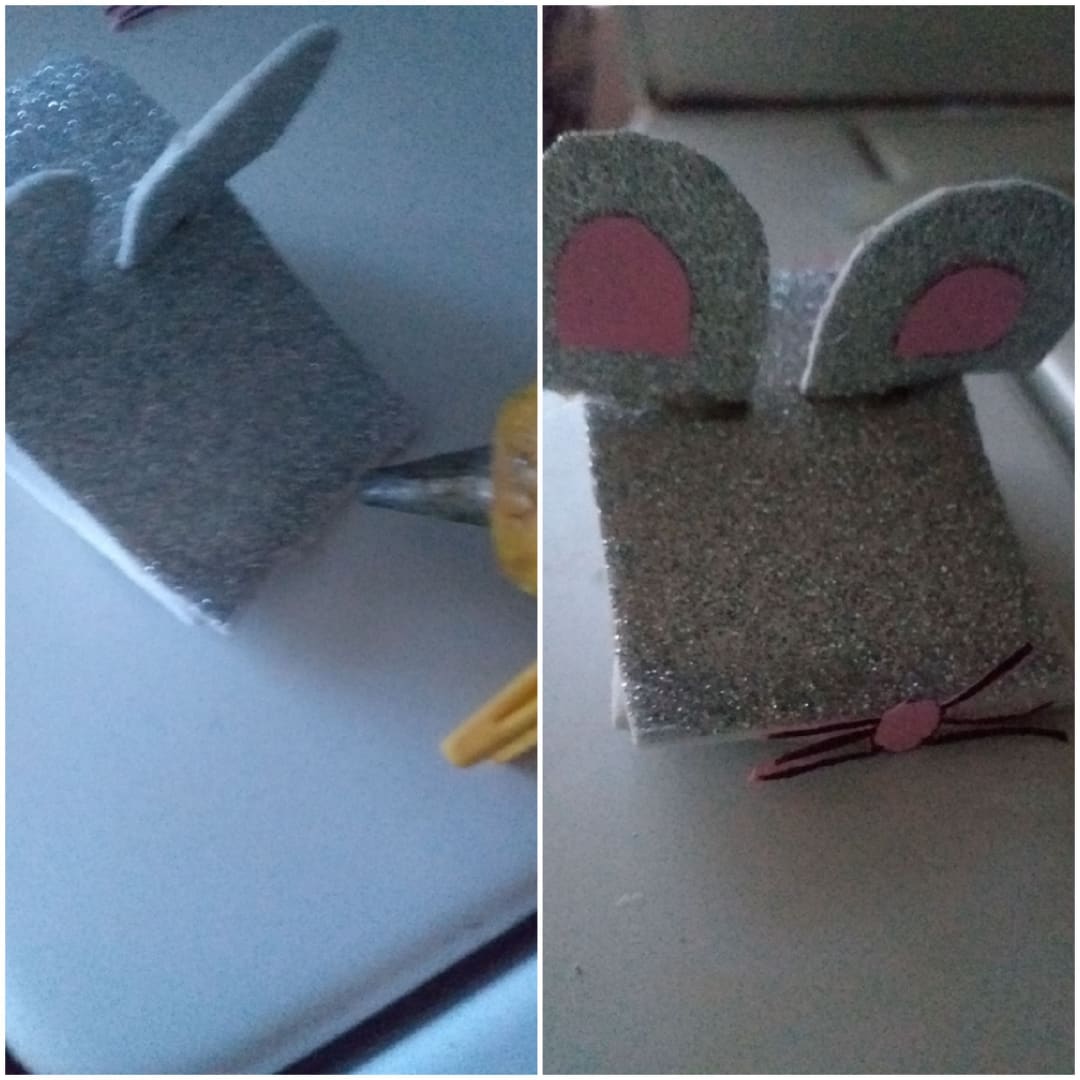
Step 1
As the first step to follow, we will start by cutting a strip of frosted gray foam, once we have cut the strip of foam, we will fold the foam as shown in our image
Paso 1
Como primer paso a seguir, iniciaremos recortando una tira de foami gris escarchado, una vez ya tengamos recortada la tira de foami, doblaremos el foami asi como muestra nuestra imagen
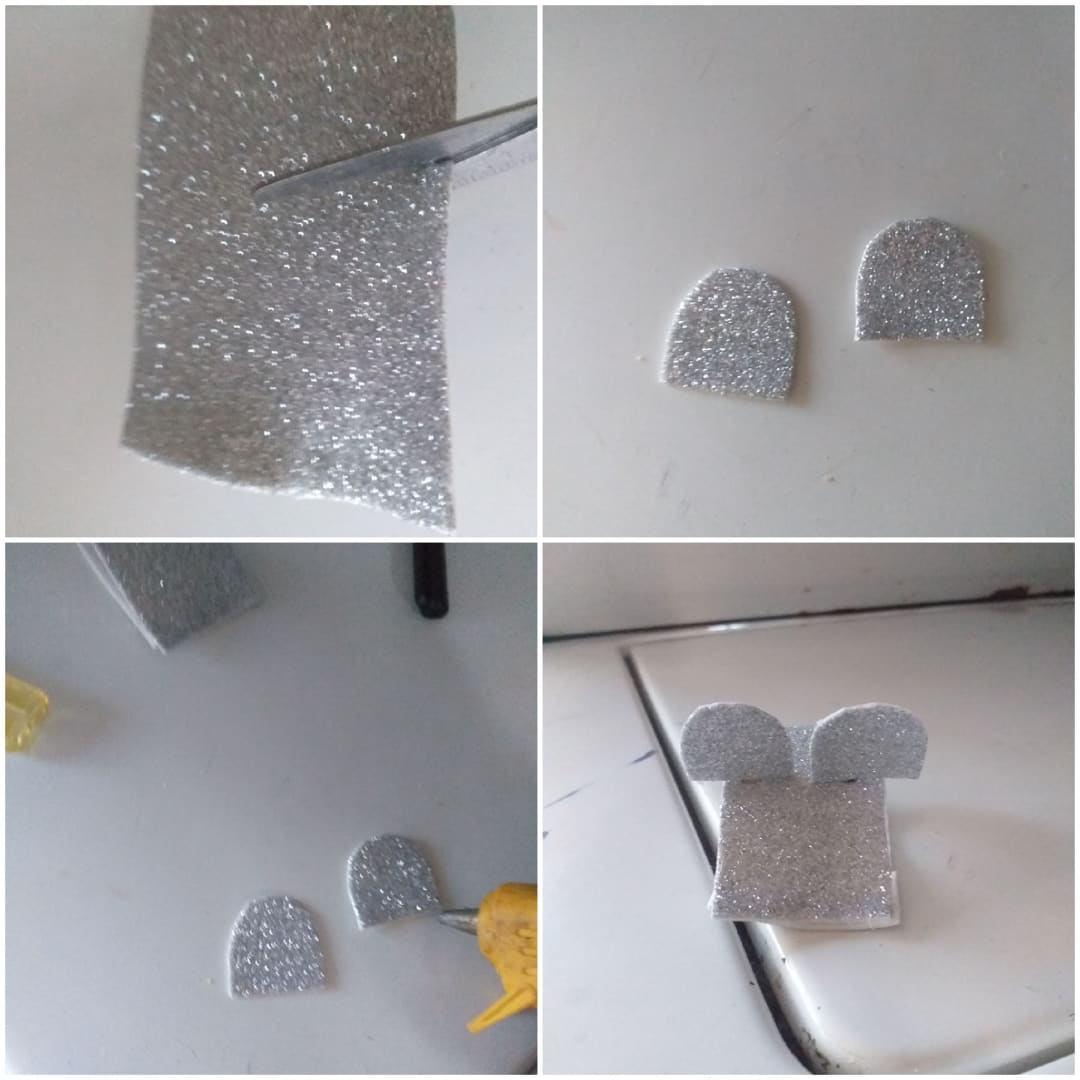
Step 2
Then we will cut the two ears from the frosted gray foam, once we have both ears we will glue them on top of the frosted gray foam that is folded
Paso 2
Luego recortaremos de el foami gris escarchado las dos oreja, una vez ya tengamos las dos oreja las pegaremos arriba de el foami gris escarchado que esta doblado
Step 3
Then we will draw on the pink cardstock with the marker the mouse's tail, the nose with the mouse's mustache and two circles, once that is done we will cut them out
Paso 3
Luego dibujaremos en la cartulina rosa con el rotulador la cola de el ratón, la nariz con el bigote de el ratón y dos círculos, una vez hecho eso los recortaremos
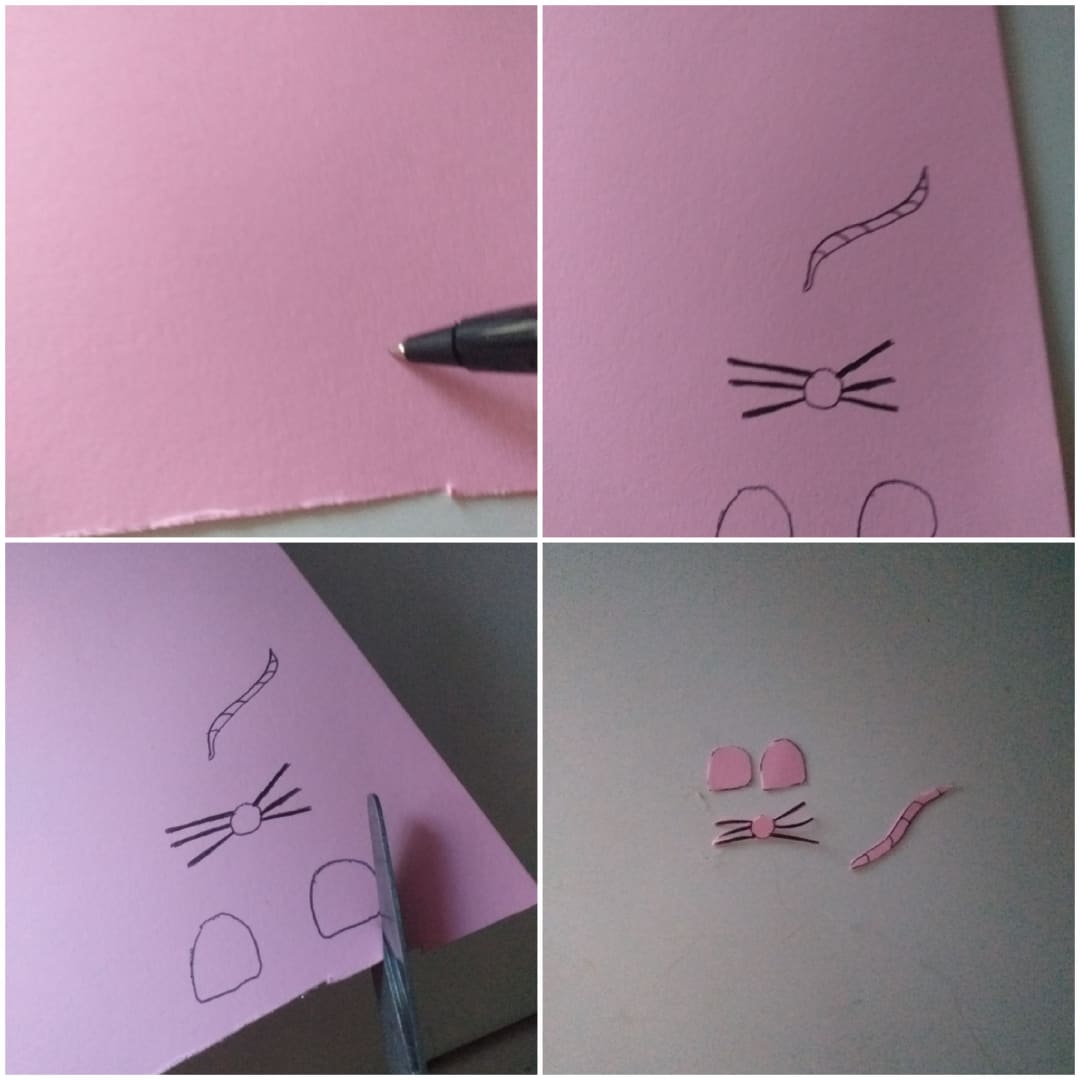
Step 4
Then we will glue all the parts of the mouse that we took out of the pink cardstock, first we will glue the two circles in the centers of the two ears, then we will glue the tail of the mouse on the back, and finally we will glue the nose with the mustache in the center of the front as shown in the image
Paso 4
Luego pegaremos todas las partes de el ratón que sacamos de la cartulina rosa, primero pegaremos los dos círculos en los centros de las dos orejas, luego pegaremos la cola de el ratón por la parte de atrás, y por ultimo pegaremos la nariz con el bigote en el centro de la parte de adelante así como muestra la imagen
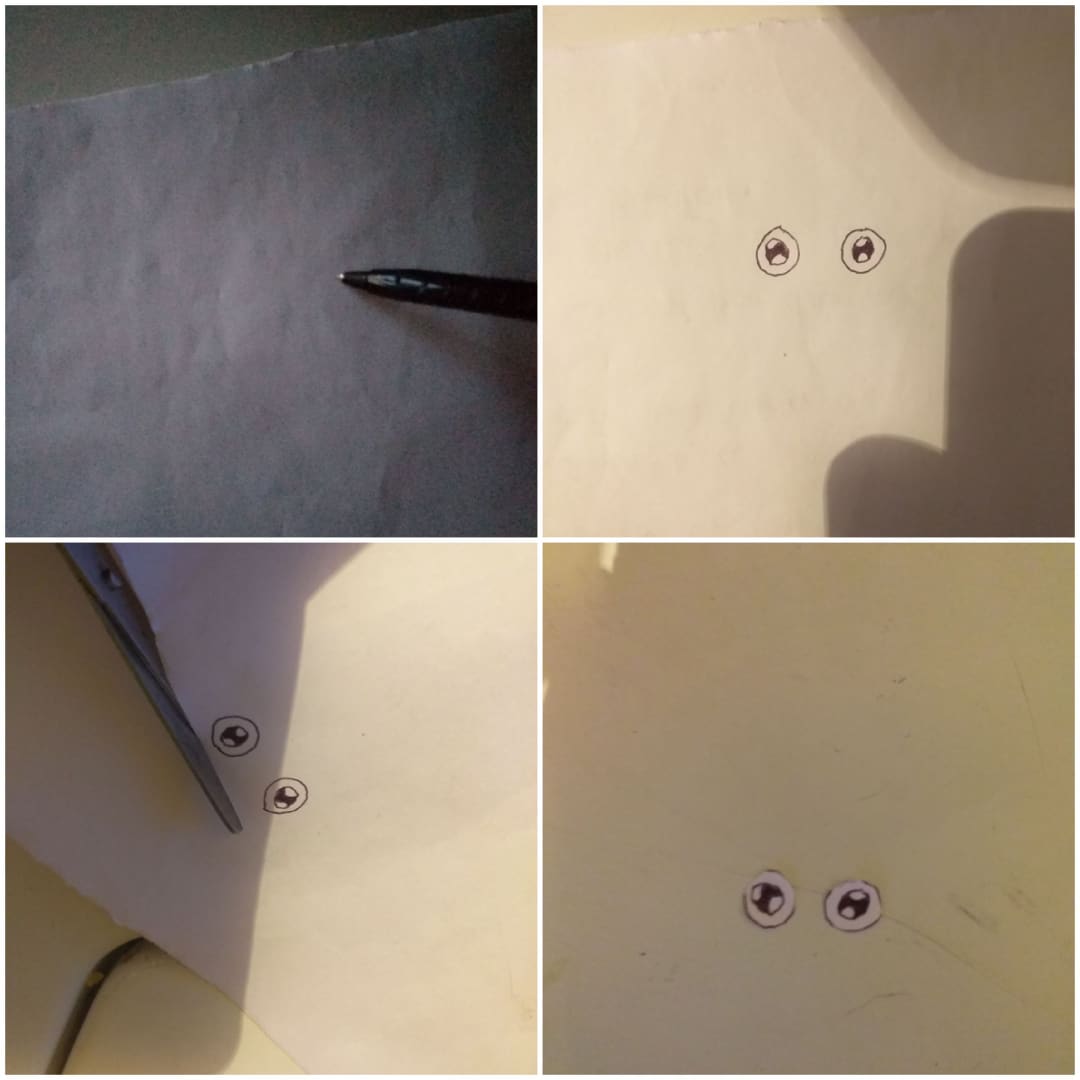
Step 5
Then we will draw the eyes of our mouse on the machine sheet with the marker, and then we will cut them out
Paso 5
Después dibujaremos en la hoja de maquina con el rotulador los ojos de nuestro ratón, y luego los recortaremos
Step 6
And finally, to finish with this tutorial, we will glue the eyes in the center of the gray frosted foam that is folded, below the ears
Paso 6
y por ultimo paso para finalizar con este tutorial, pegaremos los ojos en el centro de el foami escarchado gris que esta doblado, abajo de las orejas
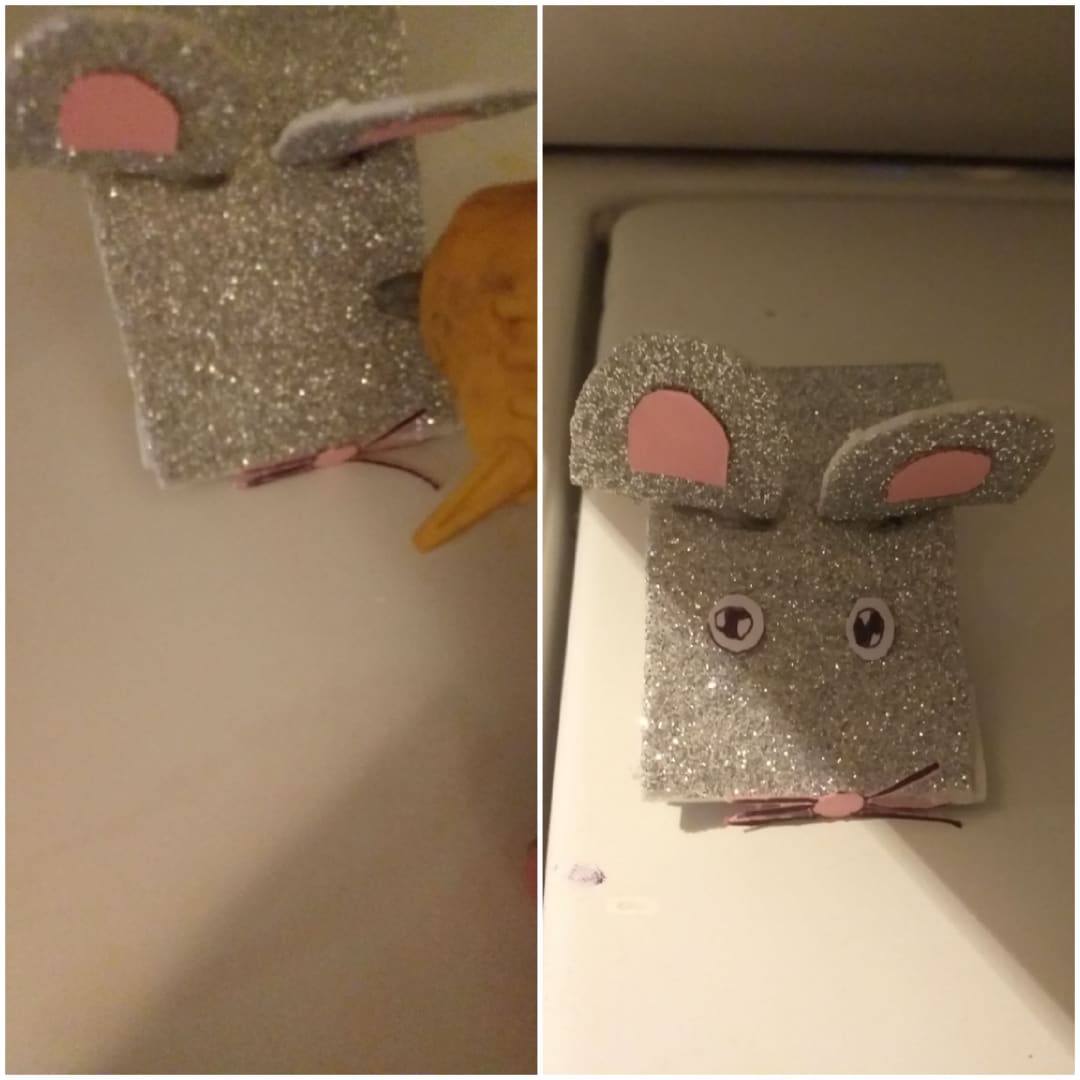
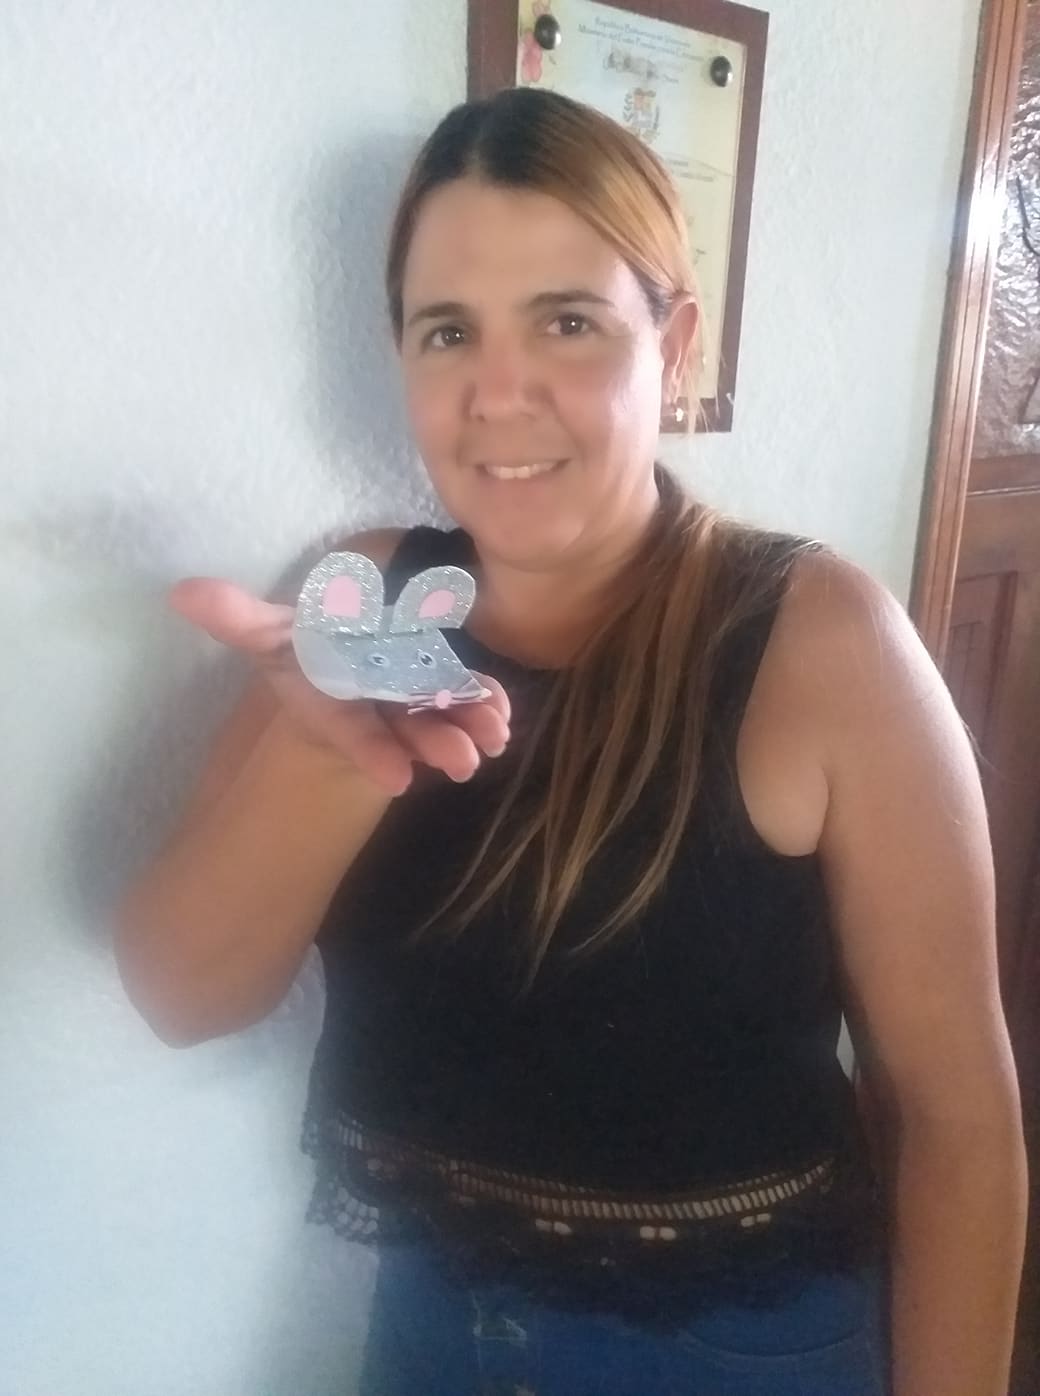
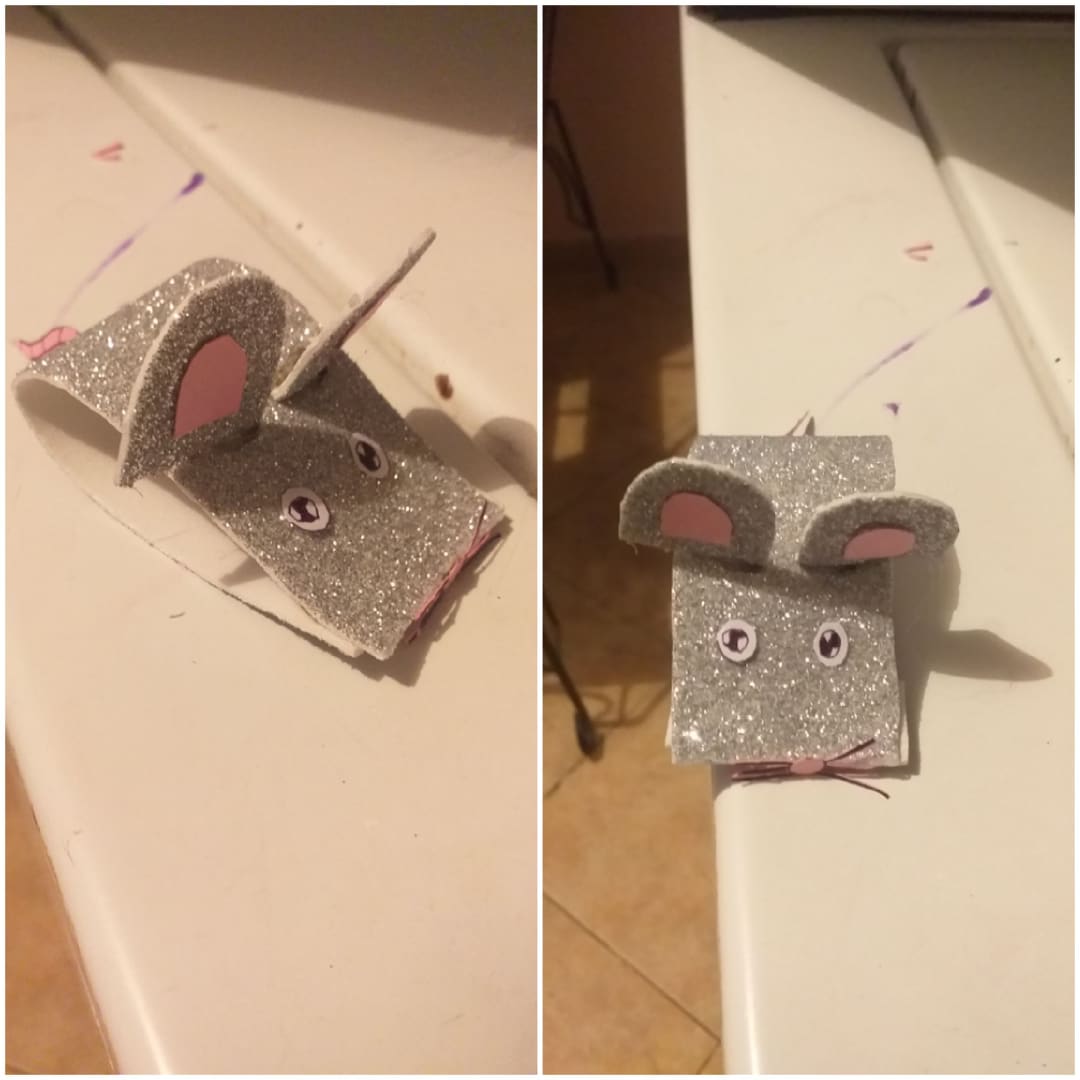
And ready friends this would be the result of our beautiful little mouse, I hope you liked it a lot, God bless you, bye
Y listo amigos este seria el resultado de nuestro hermoso ratoncito, espero les haya gustado mucho, que dios los bendiga, adiós
Thank you for visiting my blog
Gracias por visitar mi blog