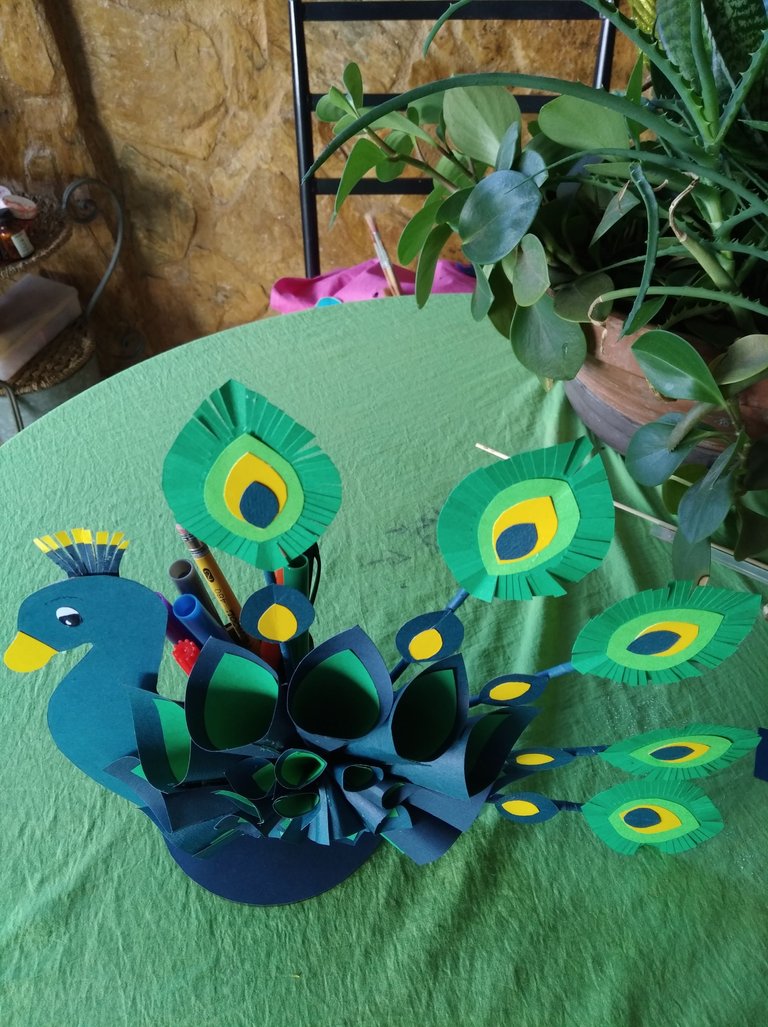
Hola querida familia de Hive, reciban un gran saludo, estoy por aquí con ustedes nuevamente para presentarles un hermosisimo proyecto, el cual es un portalápices de un elegante Pavorreal muy colorido que les va a encantar.
Hello dear Hive family, receive a great greeting, I am here with you again to present a beautiful project, which is a pencil holder of an elegant and very colorful Peacock that you are going to love.
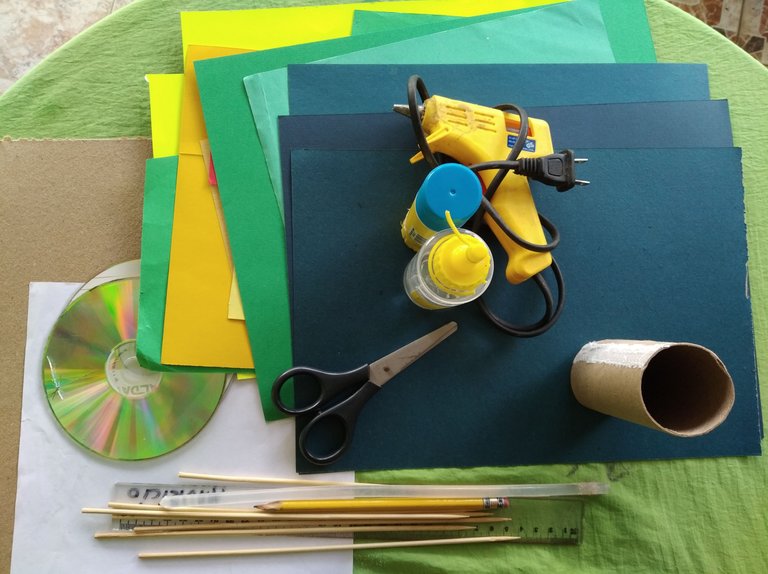
VAMOS A NECESITAR
*Cartulinas de diferentes colores (azul, verde, amarillo)
- 2 discos compacto usados.
- Un pedazo de cartón suave
- Lápiz y una regla.
- Pega de barra.
- Silicón líquido y de barra.
- Tijeras.
- Palitos de altura.
- Pistola de Silicón.
- Un tubo de cartón pequeño.
WE ARE GOING TO NEED
- Cards of different colors (blue, green, yellow)
- 2 compact discs used.
- A piece of soft cardboard
- Pencil and a ruler.
- Stick glue.
- Liquid and stick silicone.
- Pair of scissors.
- Height sticks.
- Silicone gun.
- A small cardboard tube.
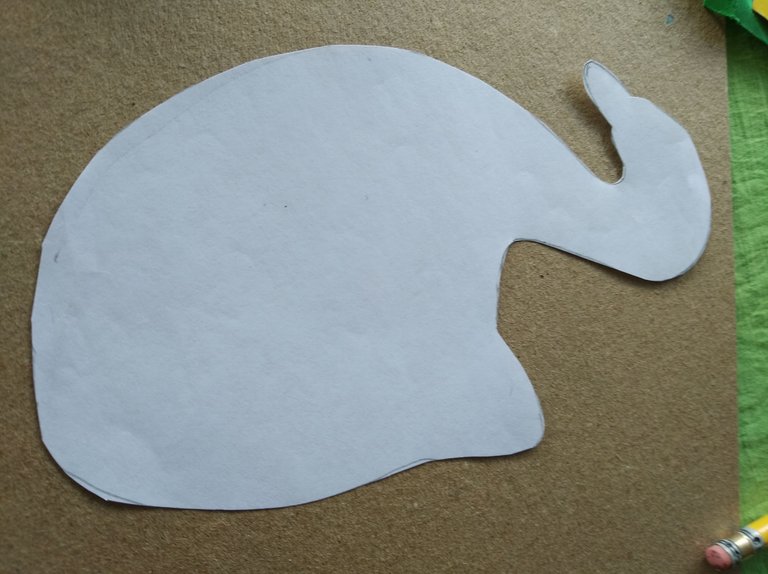
ASÍ LO HAREMOS
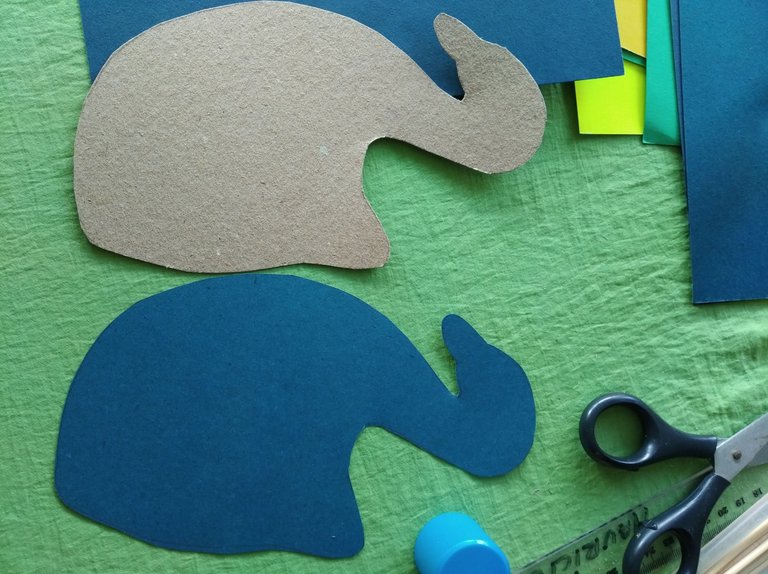
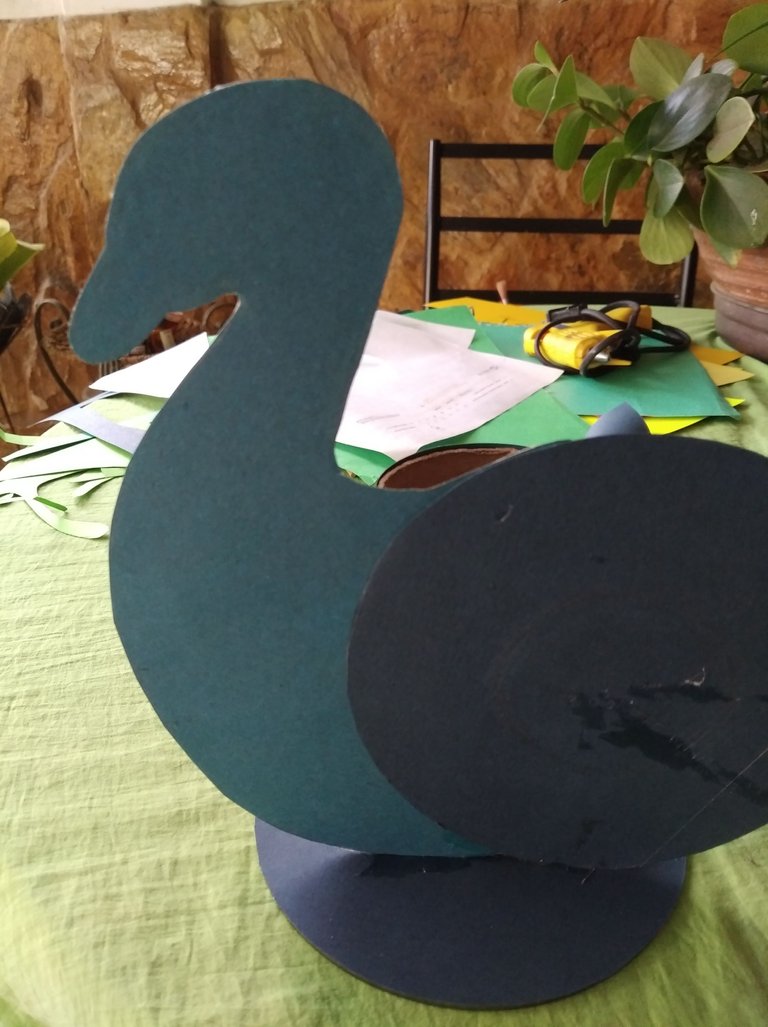
*Marcar y sacar el molde del pavo real en un cartón suave y luego lo llevamos a la cartulina azul.
WE WILL DO IT
- Mark and remove the peacock mold into a soft cardboard and then we take it to the blue cardboard.
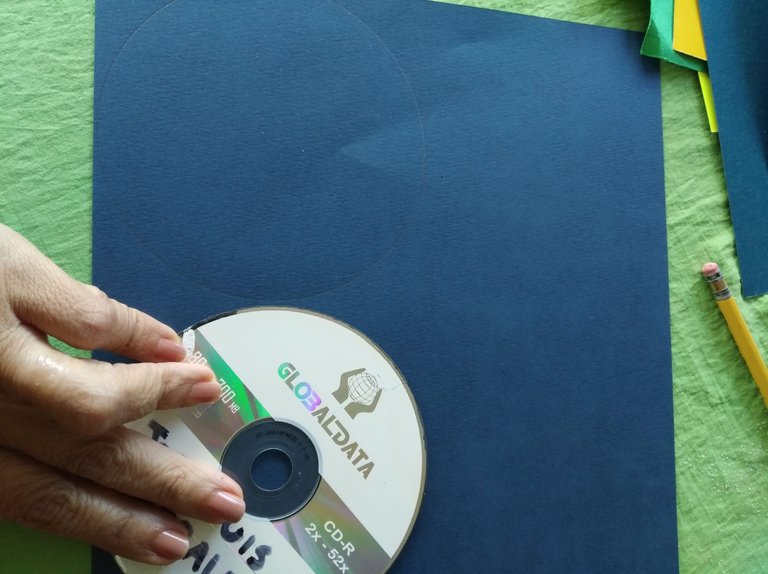
*Tomamos los dos discos compacto, los forramos con la cartulina azul, uno para la base y el otro para completar el cuerpo del pavo real.
- We take the two compact discs, we form them with the blue card, one for the base and the other to complete the body of the peacock.
!
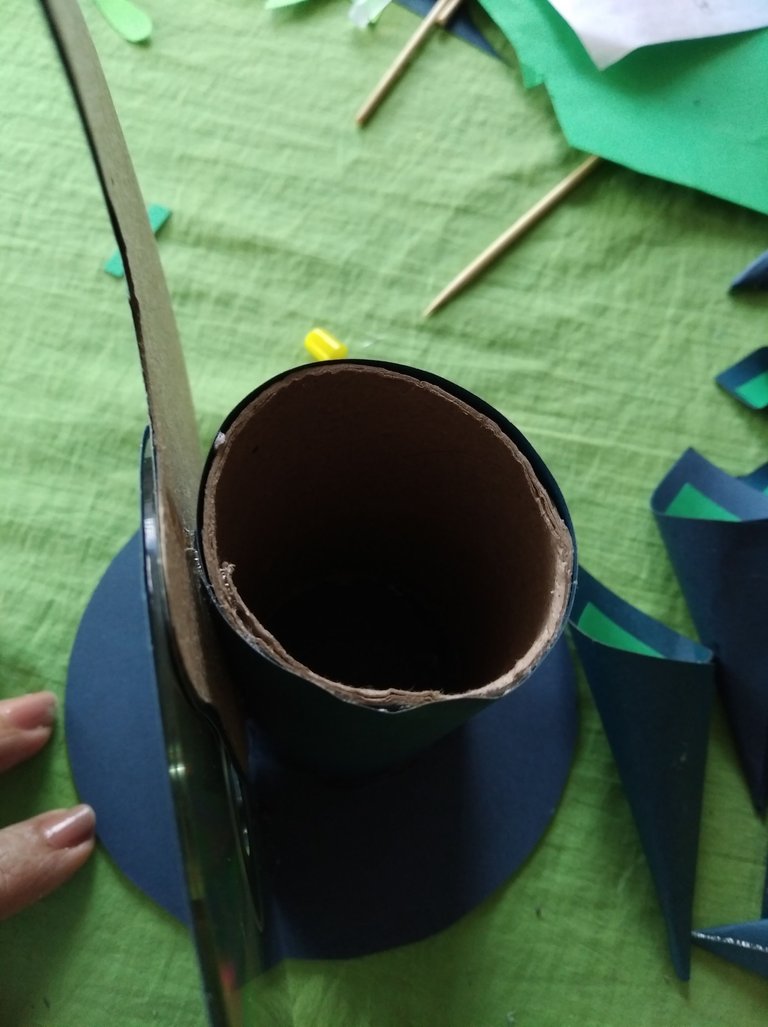
*Ahora realizamos un rectángulo de 18 x 9,5 cm para forrar el rollo de cartón, que será el portalápices.
- Now we make a rectangle of 18 x 9.5 cm to line the cardboard roll, which will be the pencil holder.
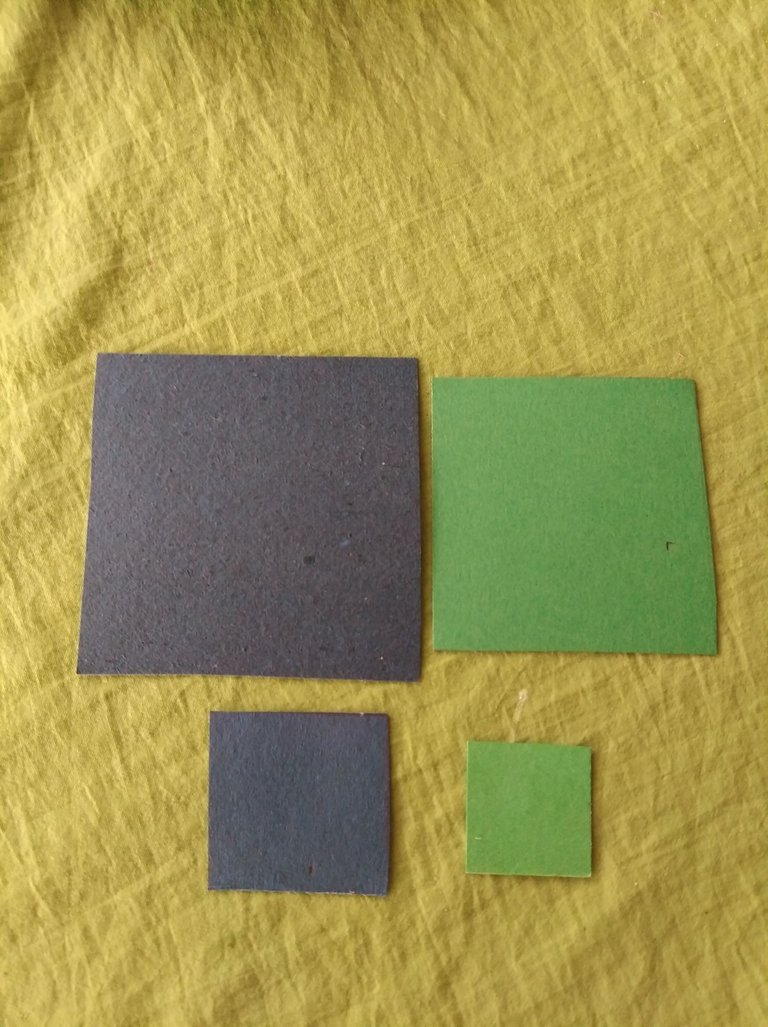
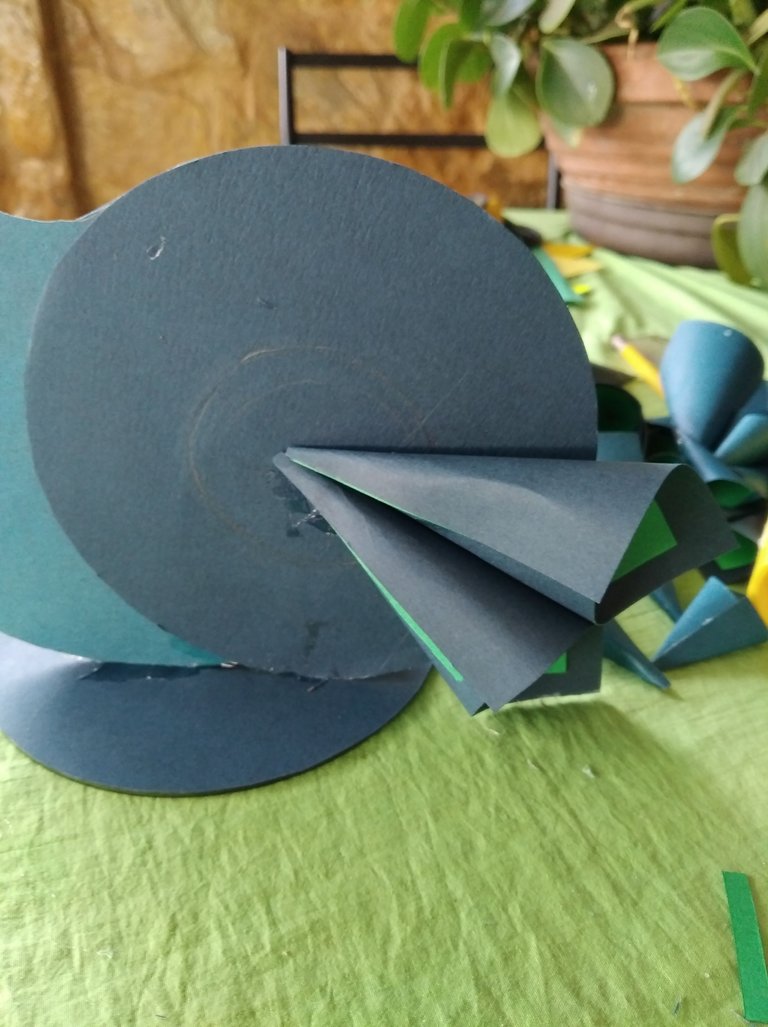
*En otra cartulina azul oscuro sacamos muchos cuadrados de 7 x 7 cm u en la cartulina verde sacamos la misma cantidad de cuadrados de 6 x 6 cm. Para las plumas más pequeñas sacaremos otros cuadrados en azul de 3,5 x 3,5 cm y con la verde la misma cantidad de 2,5 x 2,5 cm.
- On another dark blue card we take out many 7 x 7 cm squares and on the green card we take out the same number of 6 x 6 cm squares. For the smaller feathers we will take other squares in blue of 3.5 x 3.5 cm and with the green the same amount of 2.5 x 2.5 cm.

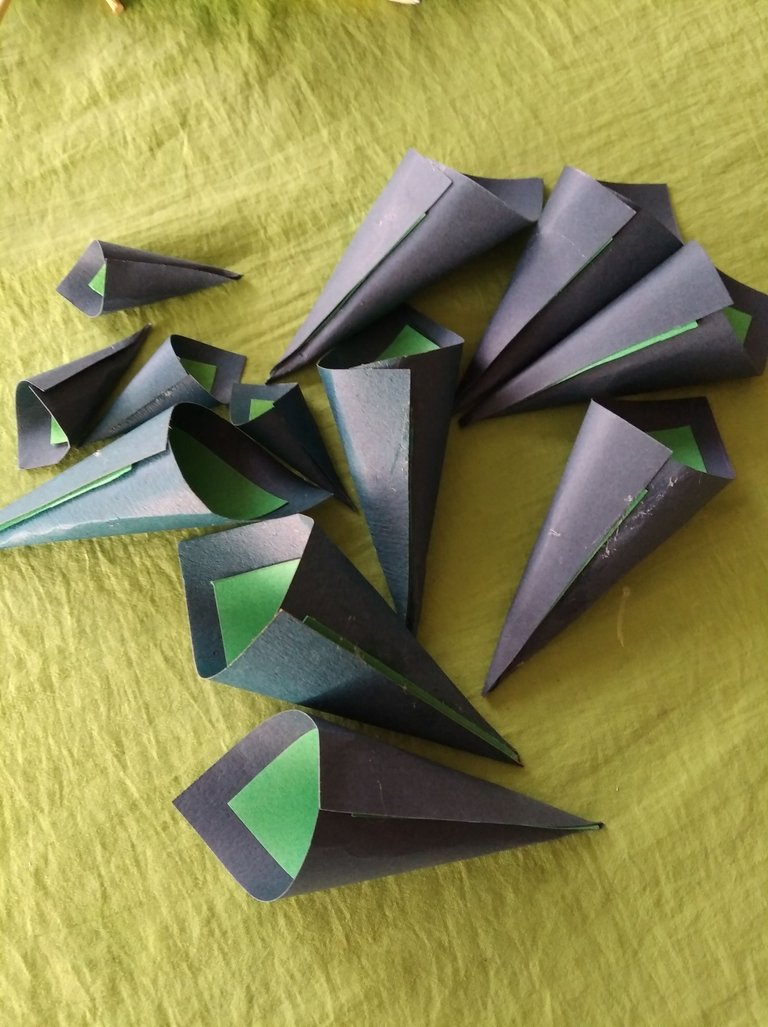
Ahora procedemos a realizar los conos que formarán el plumaje, lo haremos colocando un poco de pega de barra sobre los cuadrados azules y encima colocamos los verdes enrollamos en forma de cono y los pegamos en los extremos.
Now we proceed to make the cones that will form the plumage, we will do it by placing a little stick glue on the blue squares and on top we place the green ones, roll them into a cone shape and glue them on the ends.
Armamos el portalápices, pegando el rollo de la base con silicón líquido y luego pegamos el pavo real del tubo.
We set the chart, sticking the roll of the base with liquid silicone and then we paste the peacock of the tube.
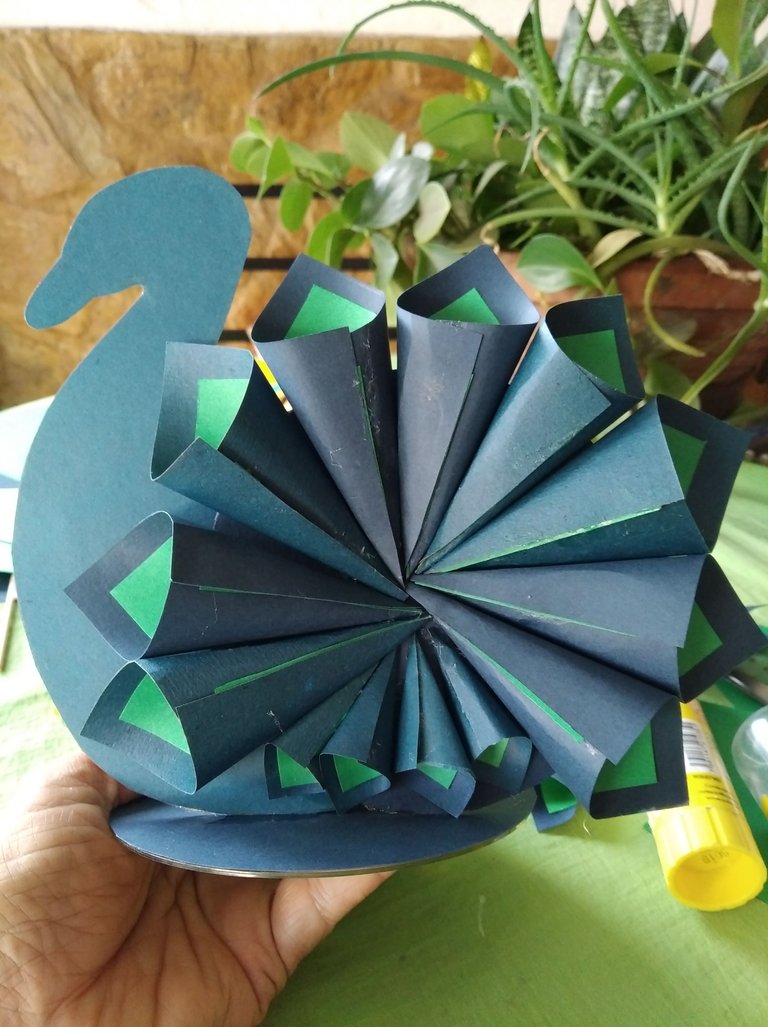
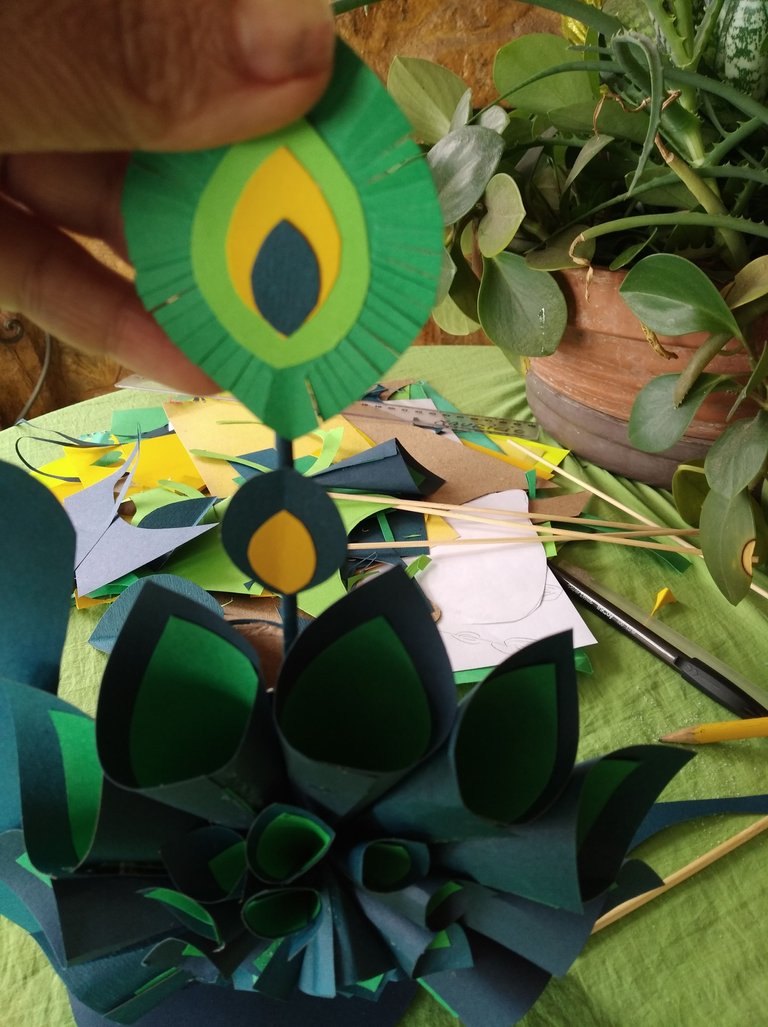
Ahora comenzamos a pegar los conos, primero pegamos los grandes y luego rellenamos con los pequeños hasta completar el cuerpo.
Now we begin to glue the cones, first we glue the large ones and then we fill with the small ones until we complete the body.

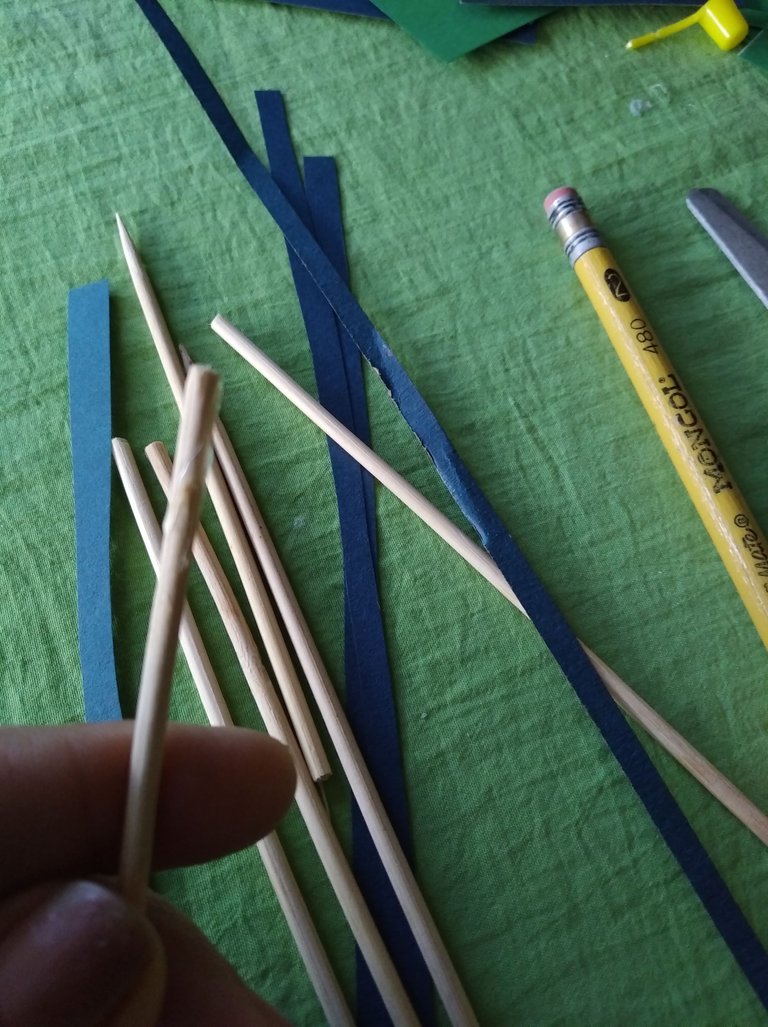
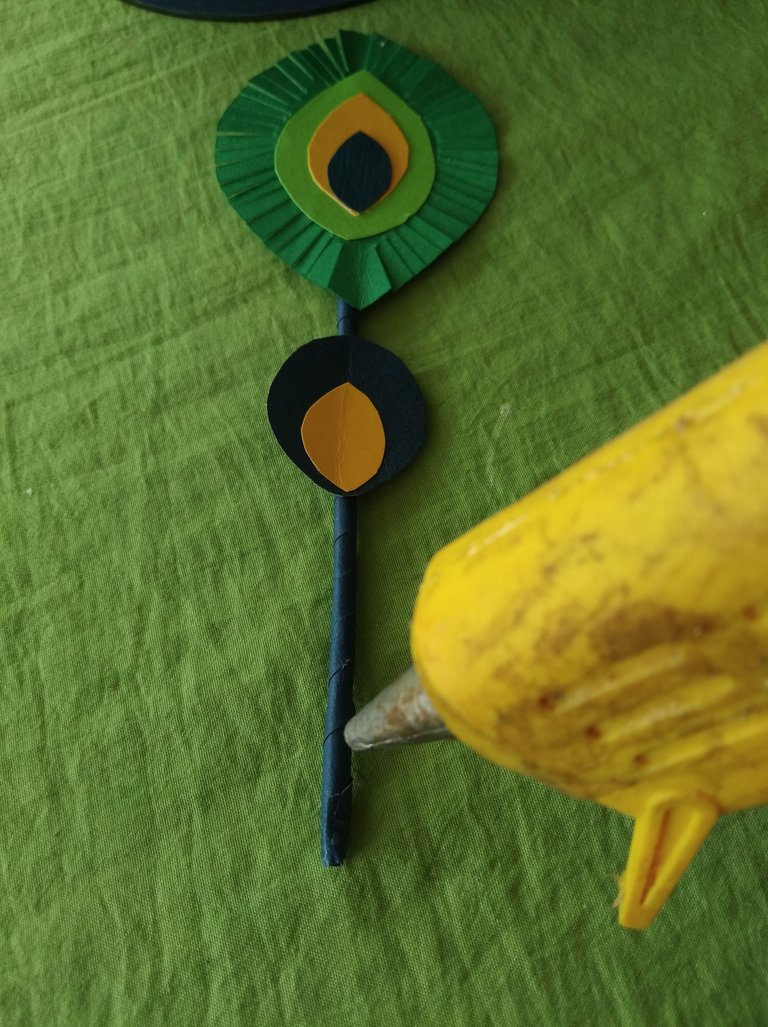
Tomamos 3 palitos de altura y los cortamos a la mitad, los forramos con delgadas tiritas de cartulina azul.
We take 3 sticks in height and cut them in half, we cover them with thin strips of blue cardboard.
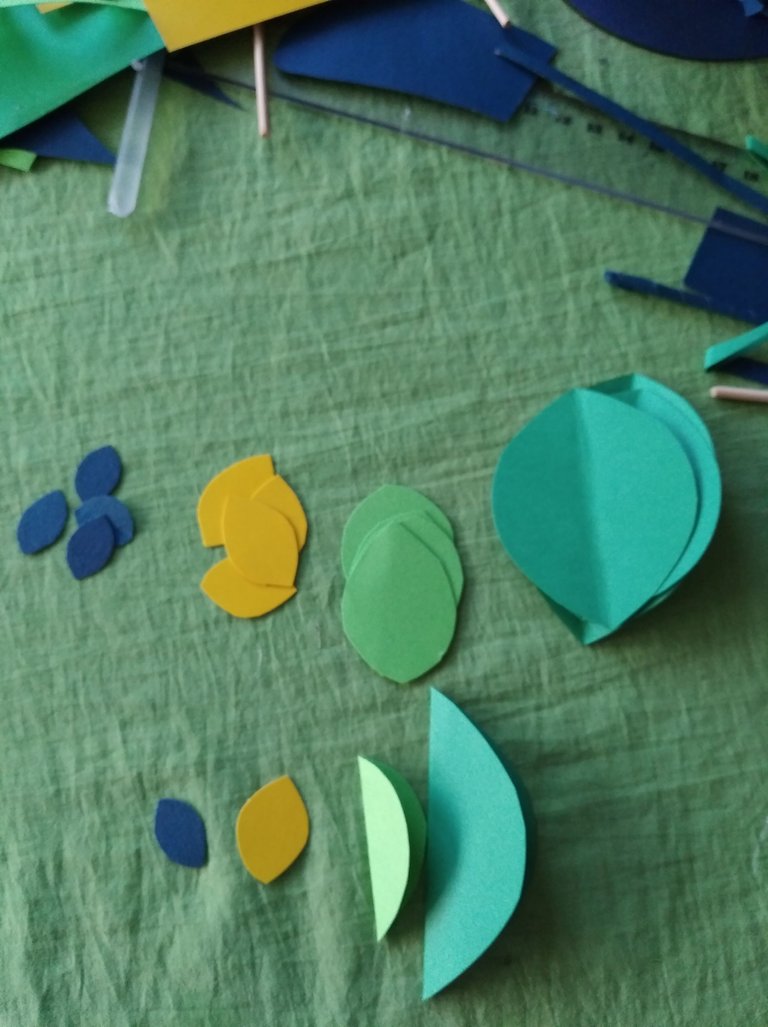
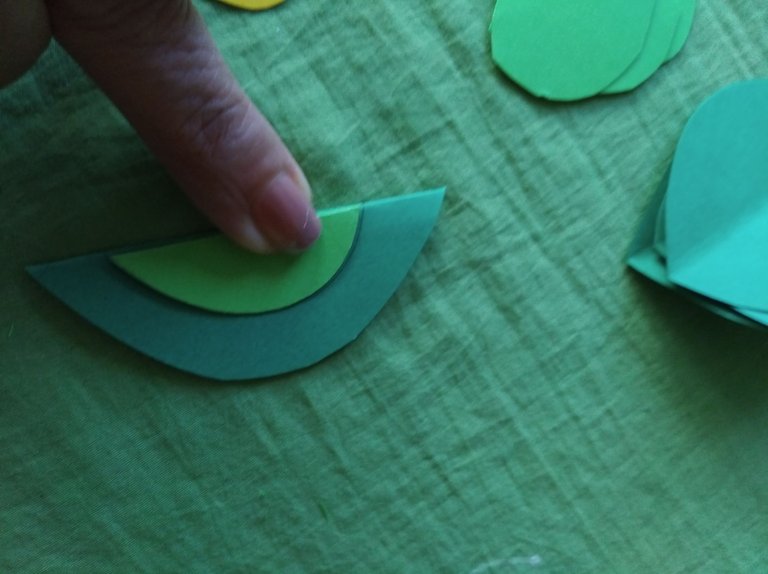
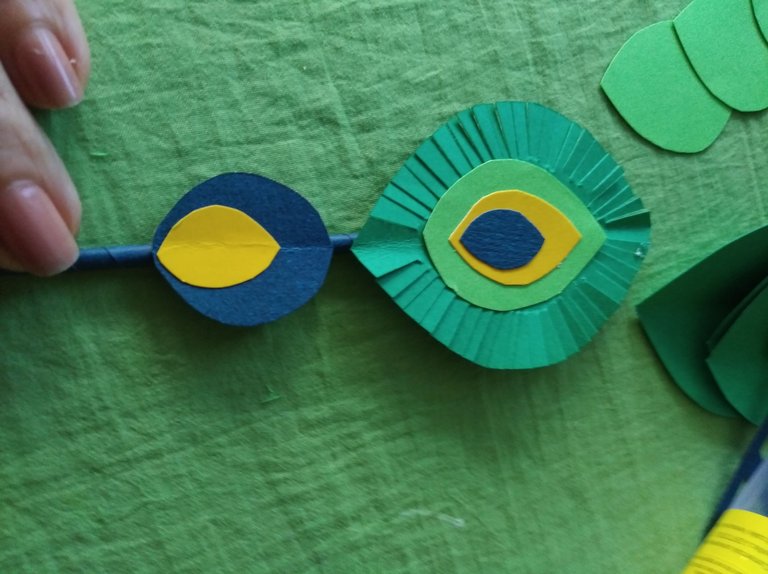
Ahora procedemos a hacer las plumas altas cortando 4 tamaños de hojitas de diferentes colores, la grande la doblamos la mitad y le colocamos encima la del tamaño que le sigue y la marcamos, luego vamos a cortar tiritas hasta la marca al culminar la abrimos y le pegamos encima las otras hojitas.
Now we proceed to make the tall feathers by cutting 4 sizes of leaves of different colors, the large one we fold in half and place the one of the next size on top and mark it, then we are going to cut strips up to the mark at the end we open it and We stick the other leaves on top.
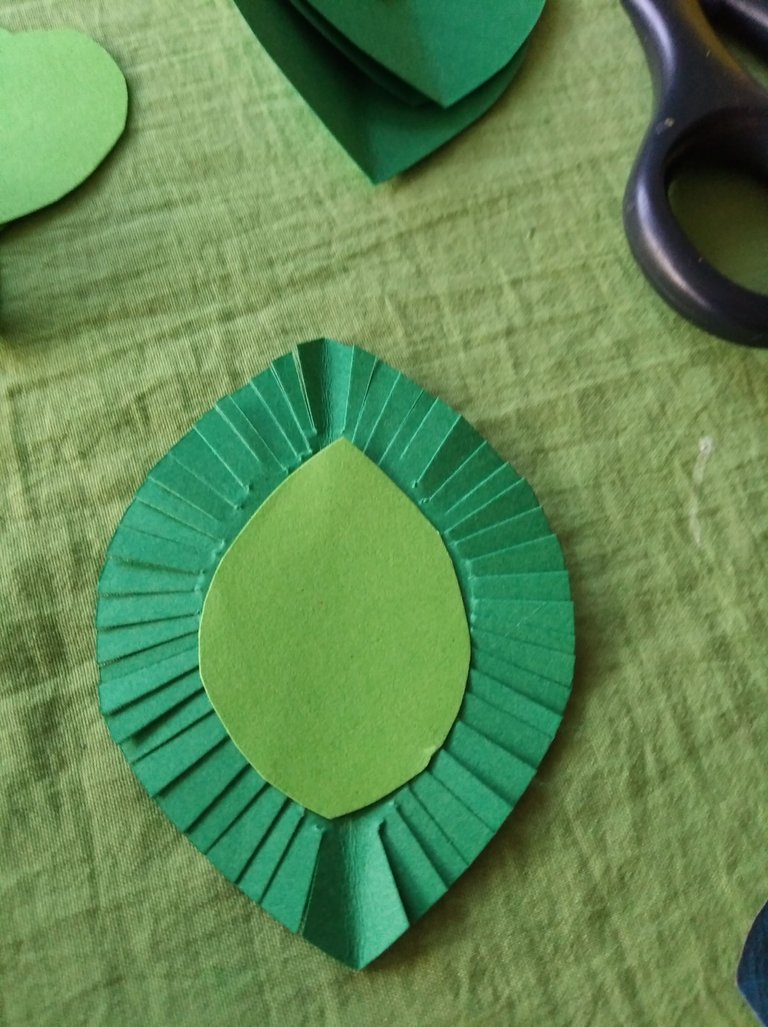
Seguidamente cortamos dos hojitas más y todas las pegamos a los palitos que están forrados para formar las plumas.
Next we cut two more leaves and we glue them all to the sticks that are lined to form the feathers.
- Seguimos pegando las plumas entre los conos, le ponemos silicona caliente para que se adhieran más rápido.
- We continue to glue the feathers between the cones, we put hot silicone on it so that they adhere faster.
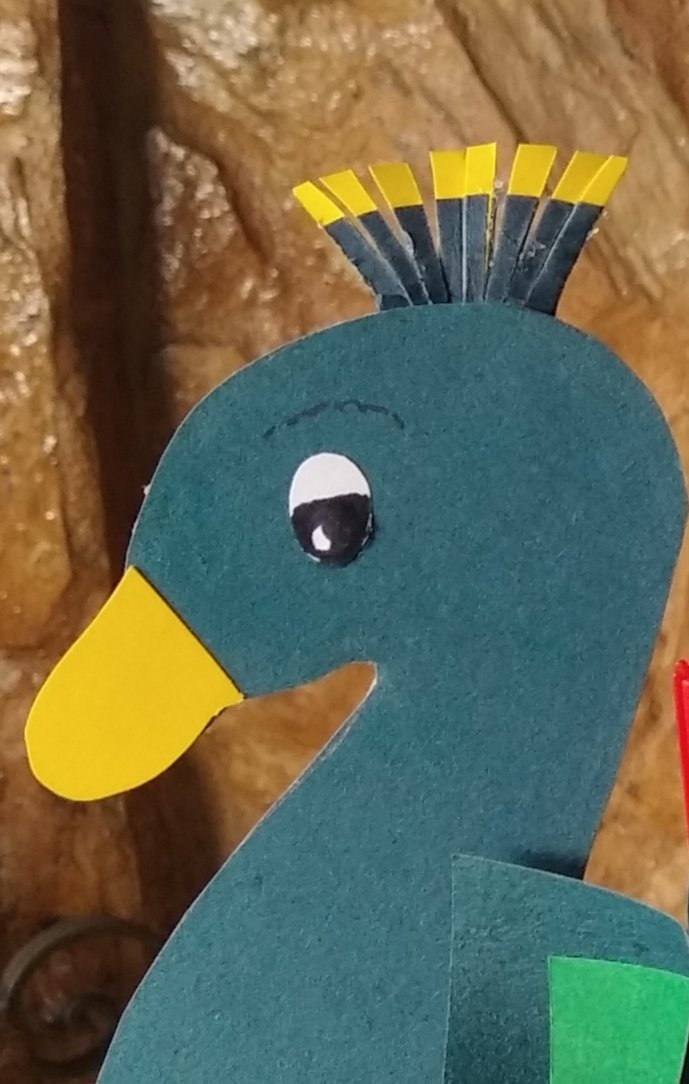
Por último, cortamos un piquito de color amarillo y le colocamos un ojito a nuestro lindo portalápices de pavo real.
Finally, we cut a yellow beak and put an eye on our cute peacock pencil holder.
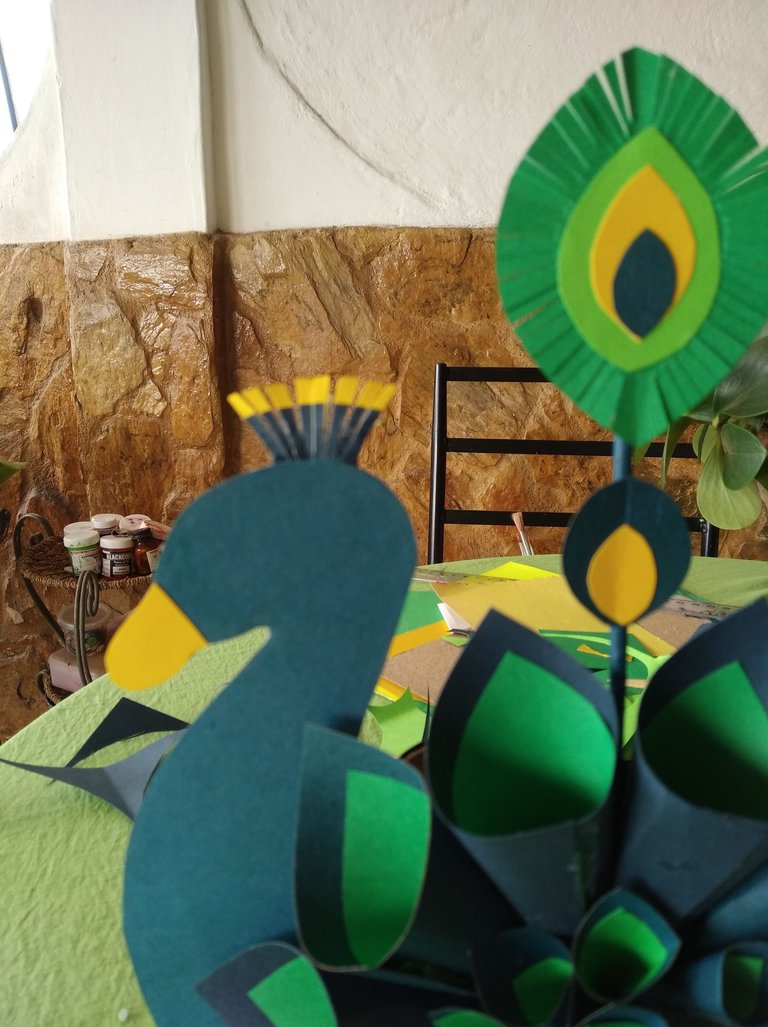
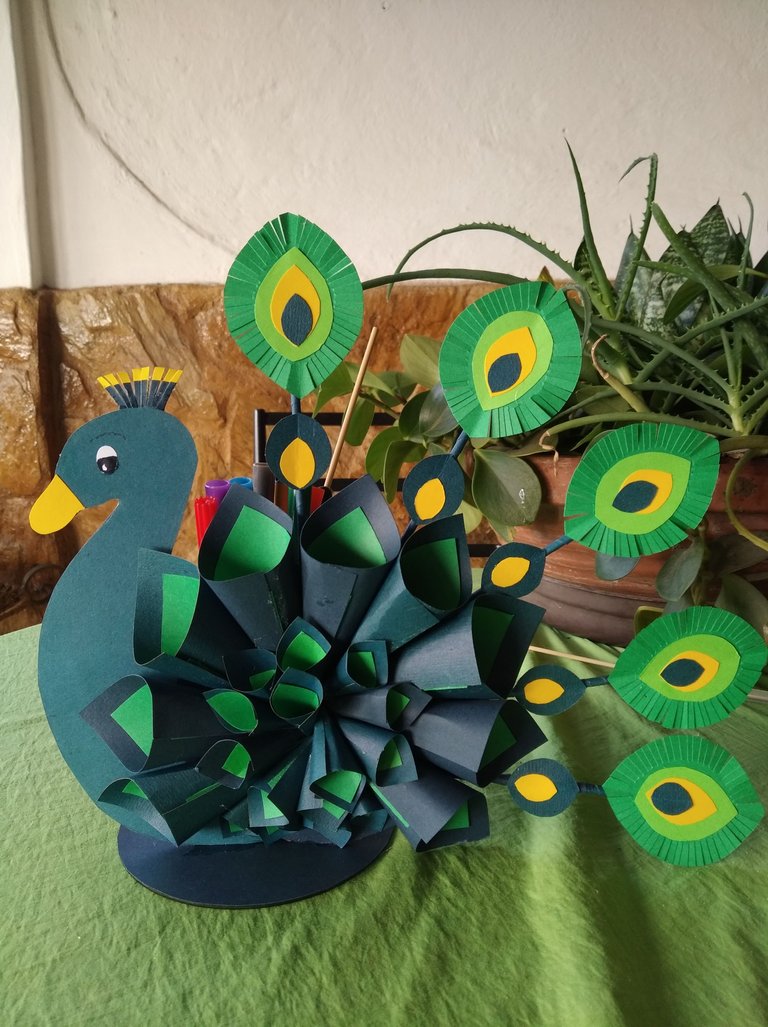
This colorful and spectacular peacock can be placed in your special workplace, in your office or on your desk, I hope you liked my project. Thank you very much for visiting my blog, greetings.
Éste colorido y espectacular pavo real lo puedes colocar en tú lugar especial de trabajo, en tú oficina o en tú escritorio, espero te haya gustado mi proyecto. Muchas gracias por visitar mí blog, saludos.