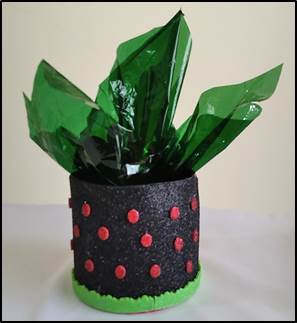
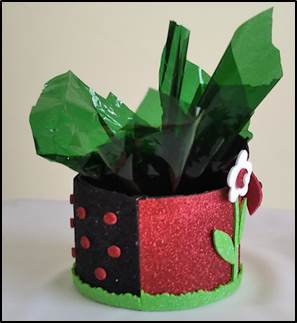
Greetings #hive friends. Today I want to share with you how to make a party favors for a ladybug, ideal to decorate and give at our parties.

Materiales:
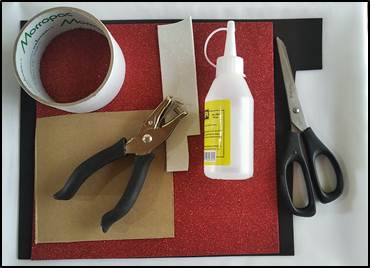
- Foami de colores
- Silicón
- Tijeras
- Cartón
- Cilindro de cartón
Materials:
- Colorful foam
- Silicone
- Pair of scissors
- Paperboard
- Cardboard cylinder
Paso a paso:
Dibujamos la mariquita y la flor y luego la trasladamos al foami a sus respectivos colores.
Step by Step:
We draw the ladybug and the flower and then transfer it to the foami in their respective colors.

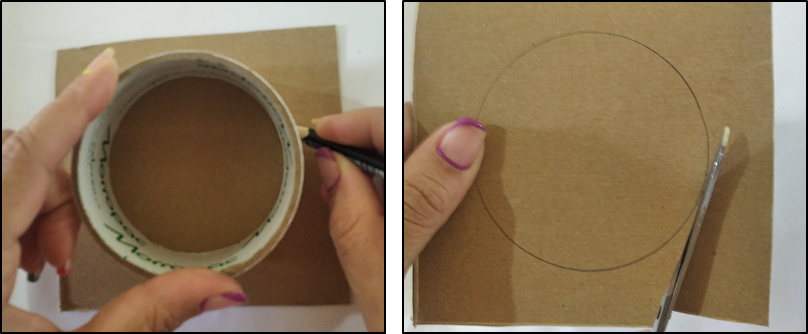
Para hacer la base del cotillón utilizaremos el cilindro de cartón y en la parte inferior recortamos un círculo en cartón del mismo tamaño para cerrarlo.
To make the base of the party favors we will use the cardboard cylinder and in the lower part we cut out a cardboard circle of the same size to close it.
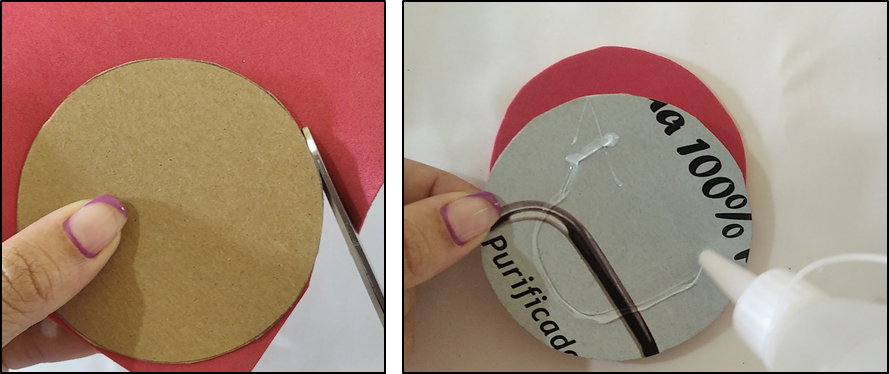
Luego recortamos dos círculos de foami y los pegamos por ambos lados.
Then we cut out two foam circles and glue them on both sides.
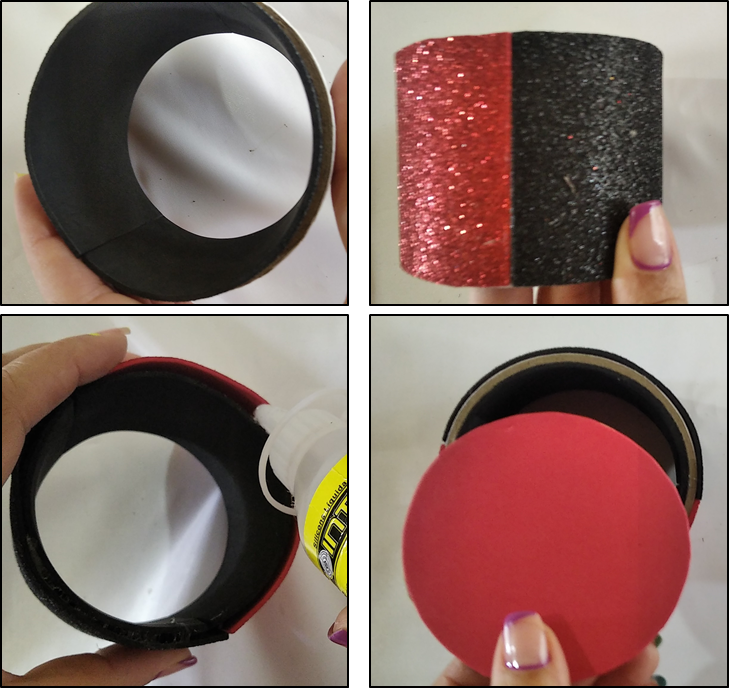
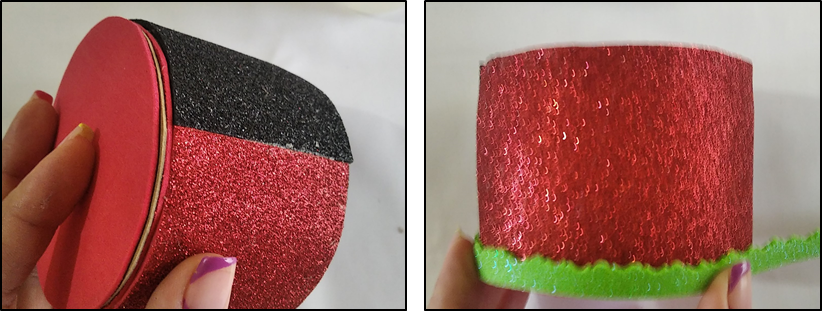
Cortamos tres tiras del foami para forrar el cilindro, la parte interna la forramos de negro y la parte externa la mitad en negra y la otra mitad en roja. Luego pegamos el círculo al cilindro ya forrado.
We cut three strips of the foam to line the cylinder, the inner part is lined with black and the external part is half black and the other half red. Then we glue the circle to the already lined cylinder.
Con una tijera de formas recortamos una tira en verde y la colocamos en la parte inferior del cotillón.
With a shape scissors we cut a strip in green and place it at the bottom of the party favors.
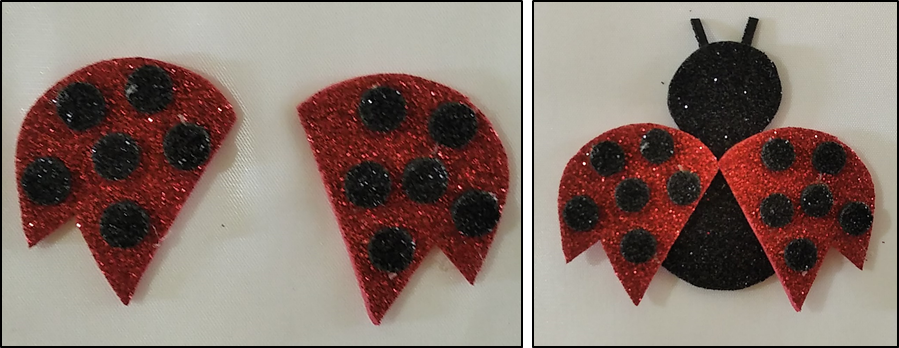
Con el perforador corté los círculos para colocarlos en las alas de la mariquita, luego las pegué al cuerpo junto con las antenas.
With the hole punch I cut out the circles to place on the ladybug's wings, then glued them to the body along with the antennae.
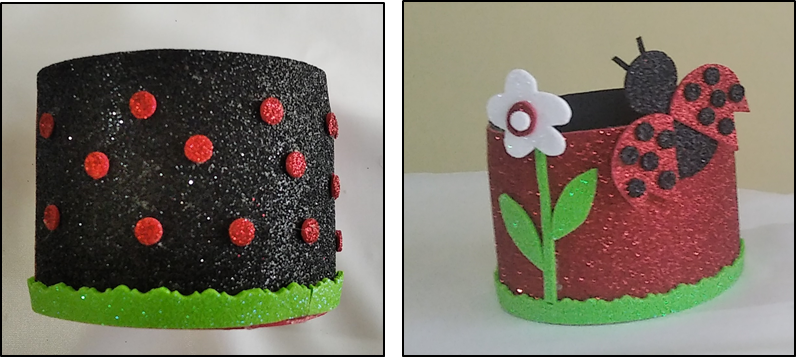
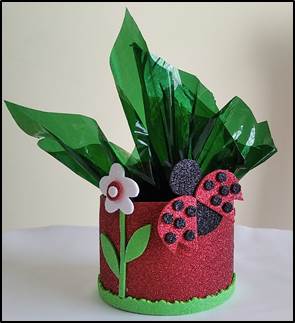
Con el silicón pegamos la flor y la mariquita, en el reverso del cotillón pegamos pequeños círculos rojos.
With the silicone we glue the flower and the ladybug, on the back of the party favors we glue small red circles.

This is simple yet creative. I like that you used recycled materials in this DIY. !discovery 10
Thanks, we can make beautiful projects with simple things.
This post was shared and voted inside the discord by the curators team of discovery-it
Join our community! hive-193212
Discovery-it is also a Witness, vote for us here
Delegate to us for passive income. Check our 80% fee-back Program
Your post has been voted as a part of Encouragement program. Keep up the good work!
Use Ecency daily to boost your growth on platform!
Support Ecency
Vote for Proposal
Delegate HP and earn more