Hello nest lovers, how are you ?? I wish you all well and have a nice day.
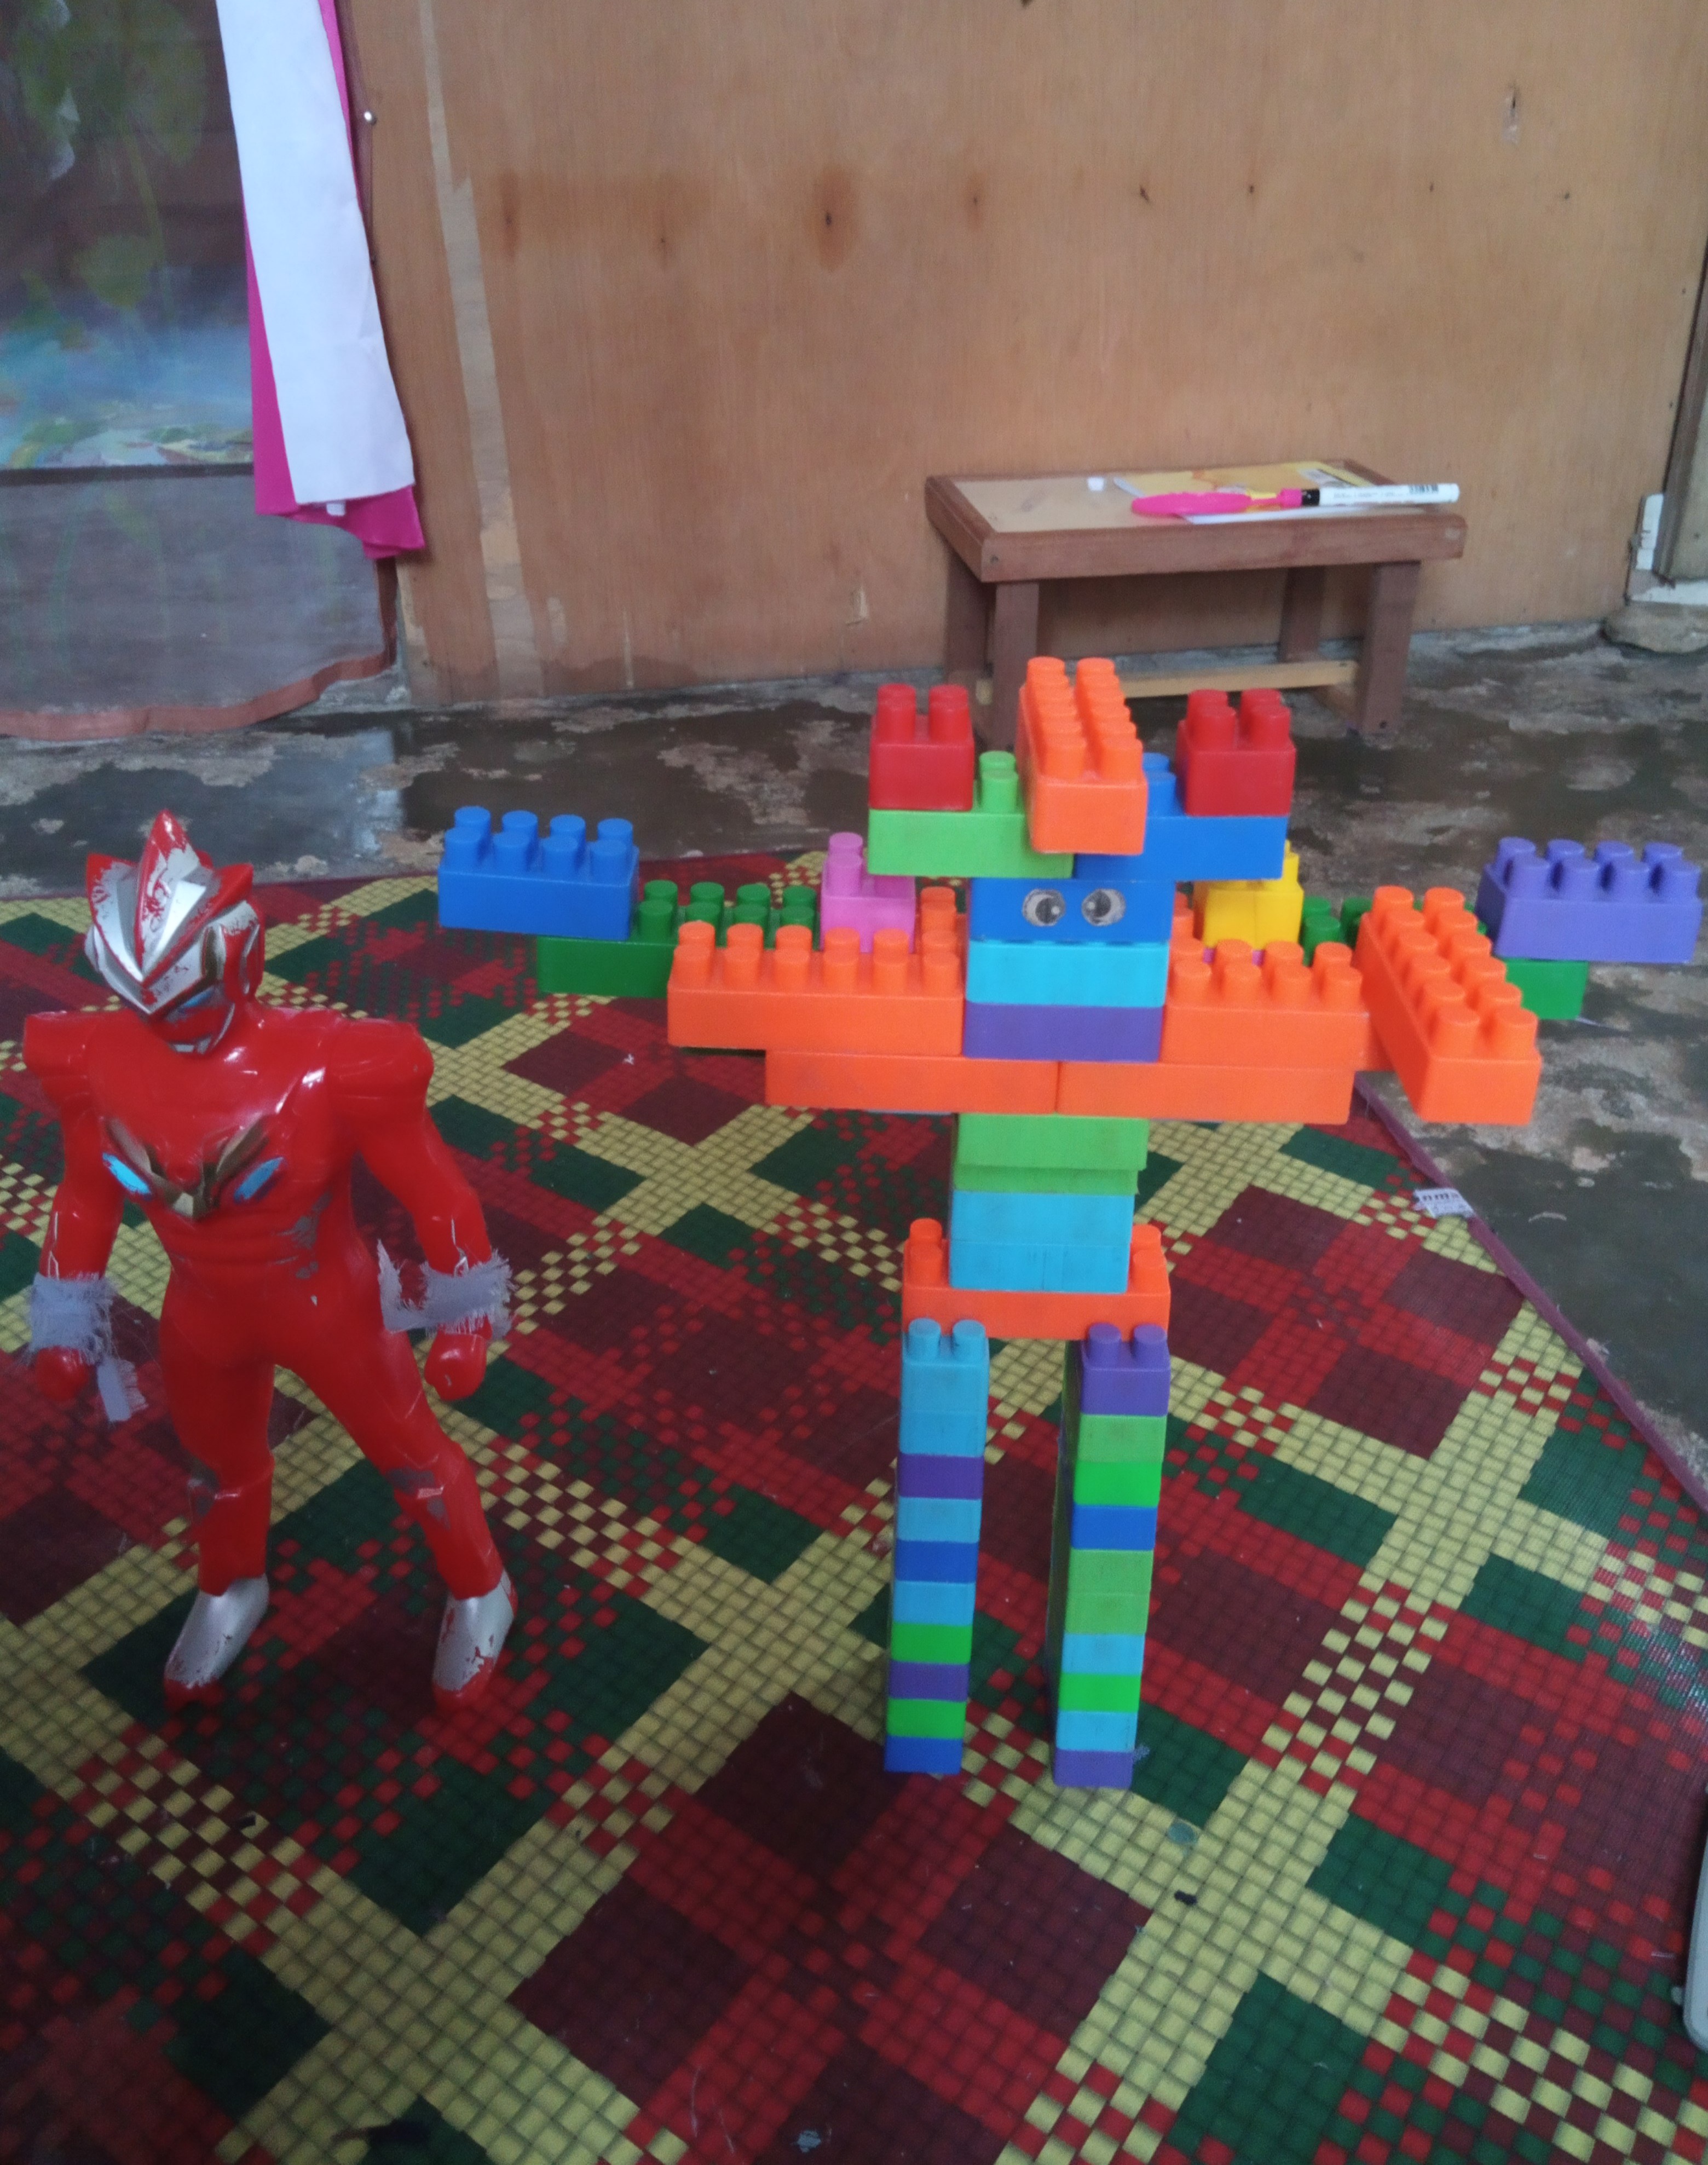
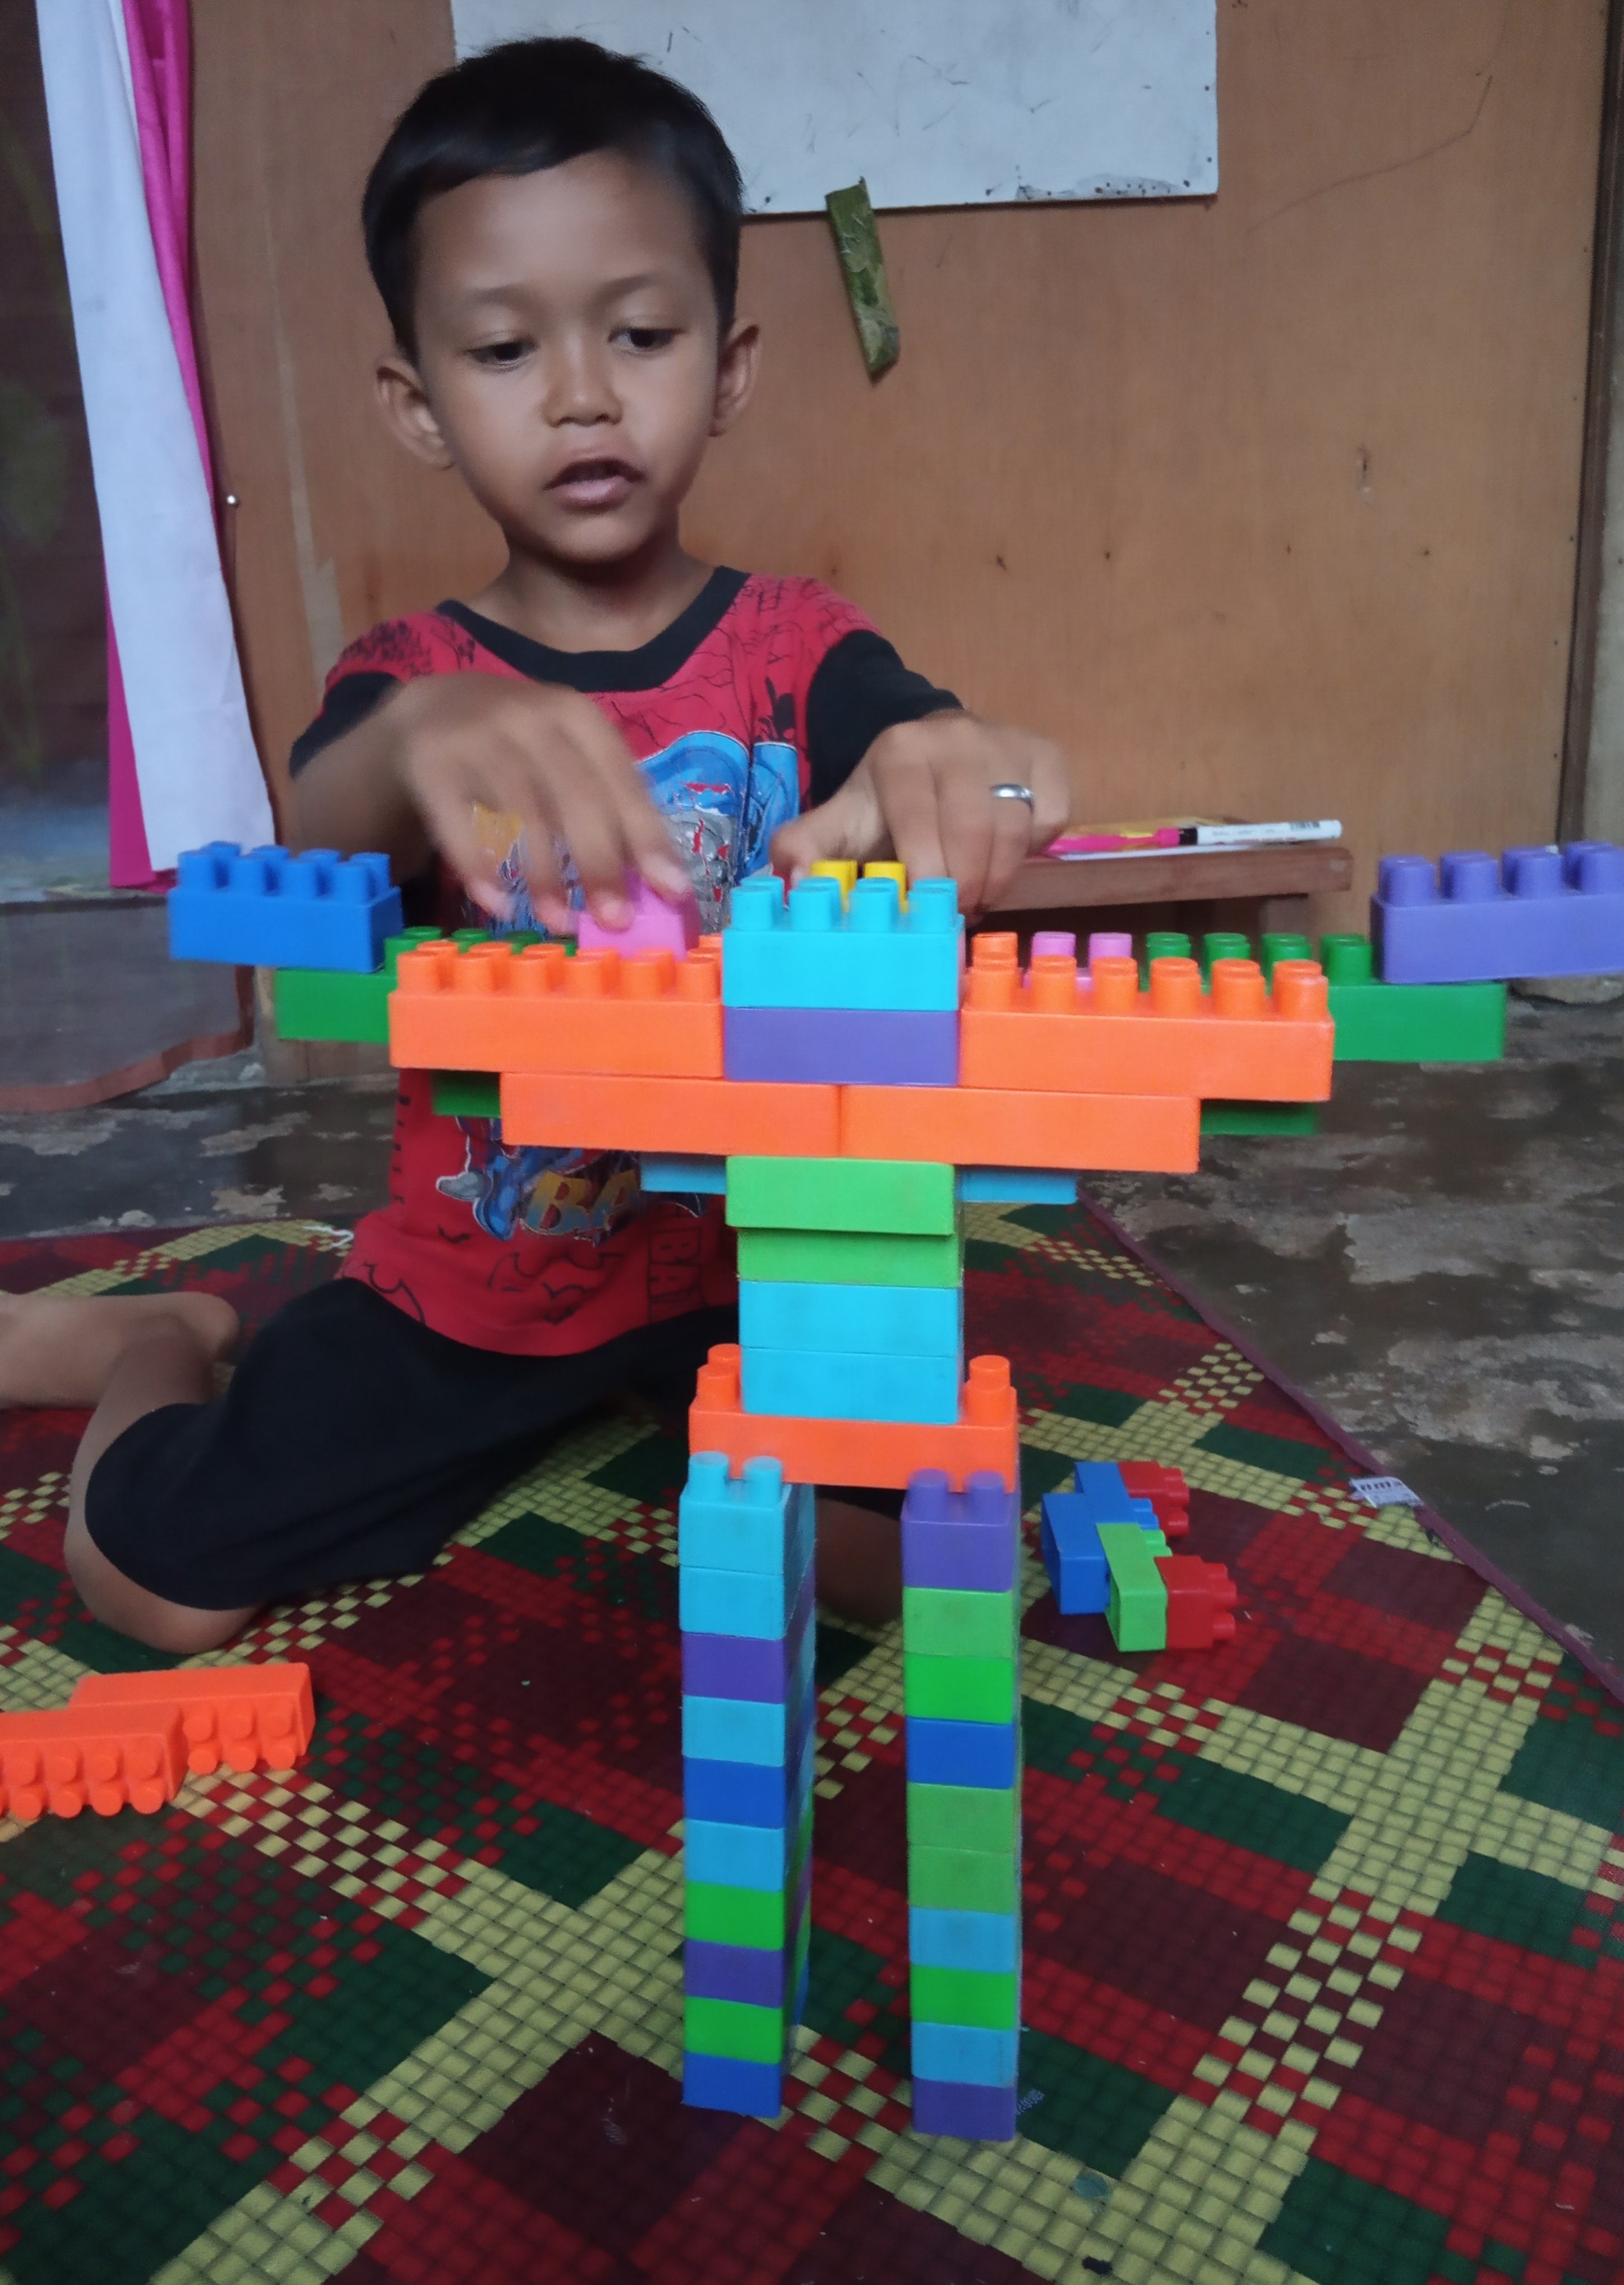
On this occasion I want to share with you all how my son assembles a robot with his favorite block toy. He can spend hours with his block toys. He will arrange the blocks according to his wishes. Various characters are strung together using blocks.
Happiness always radiates from the look on his face when he manages to create new shapes with block toys. I am very lucky to be able to present the toy. Because toys have a very positive influence on brain development and thought patterns. His brain will work when he starts touching the toy. He will think about what toys to make today? How to make?
How many blocks are needed?
That's very good for the child's brain.
On this occasion, I will share how my son made a block robot.
The first step
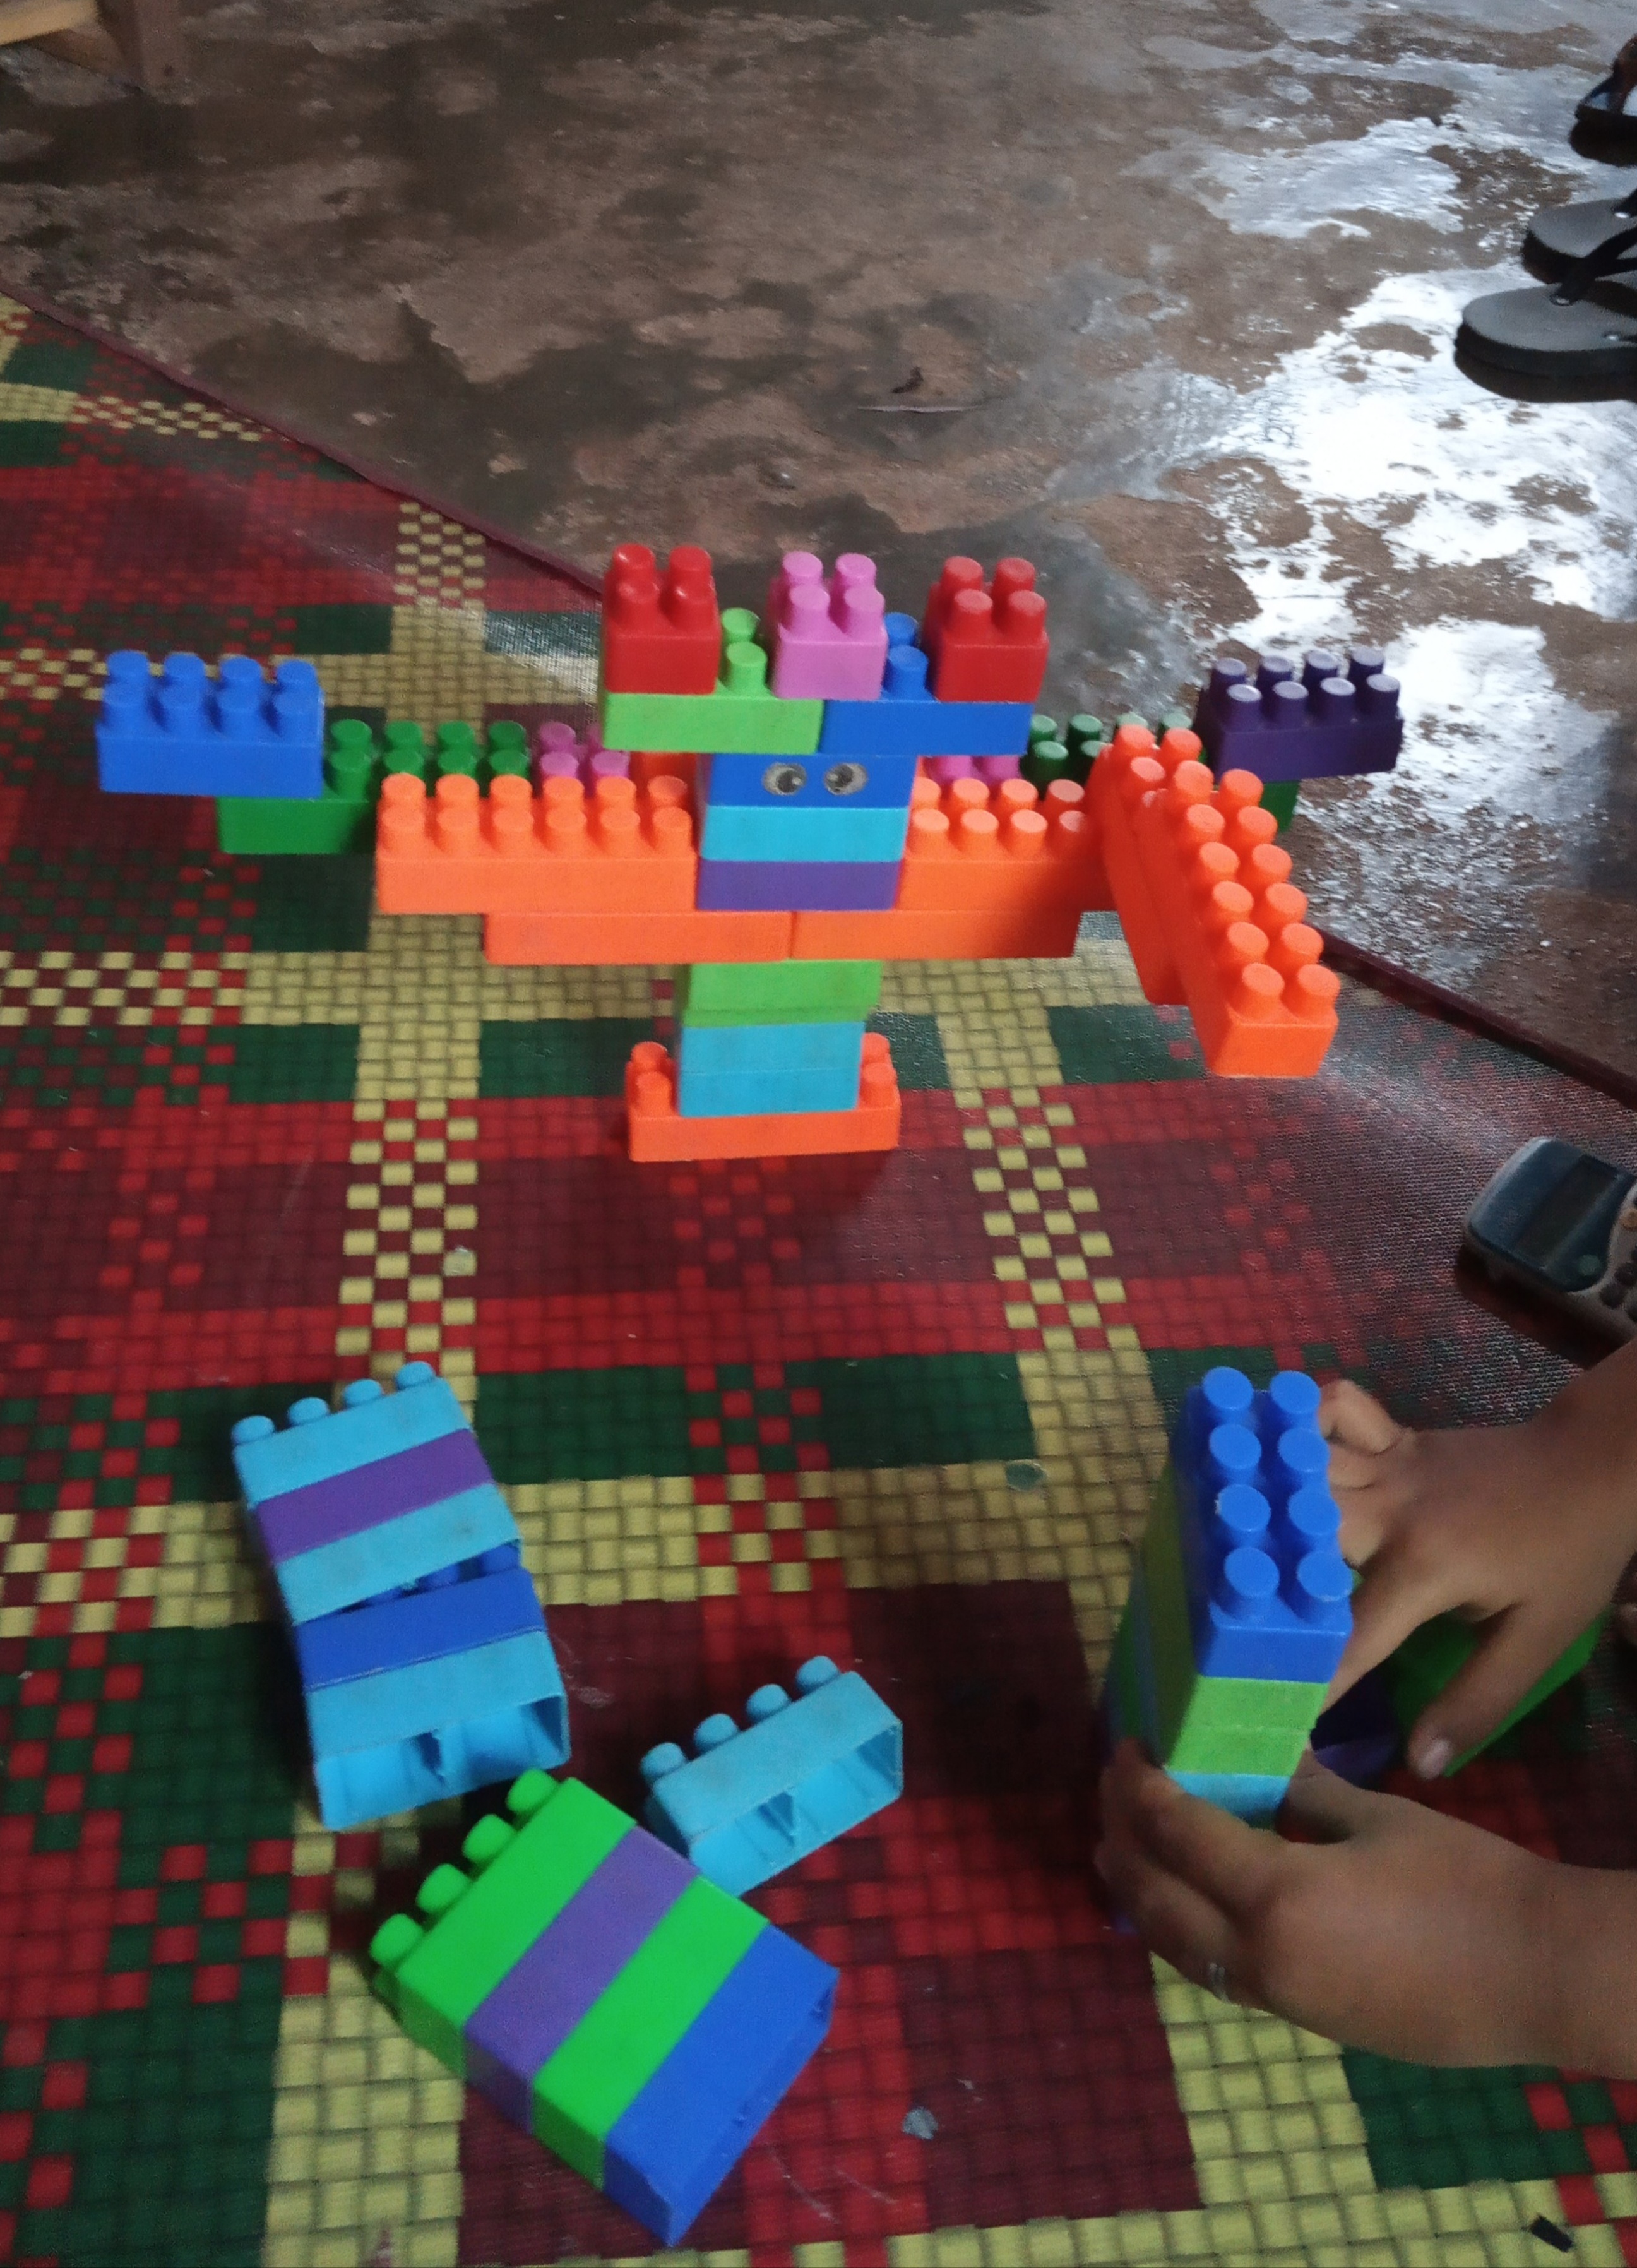
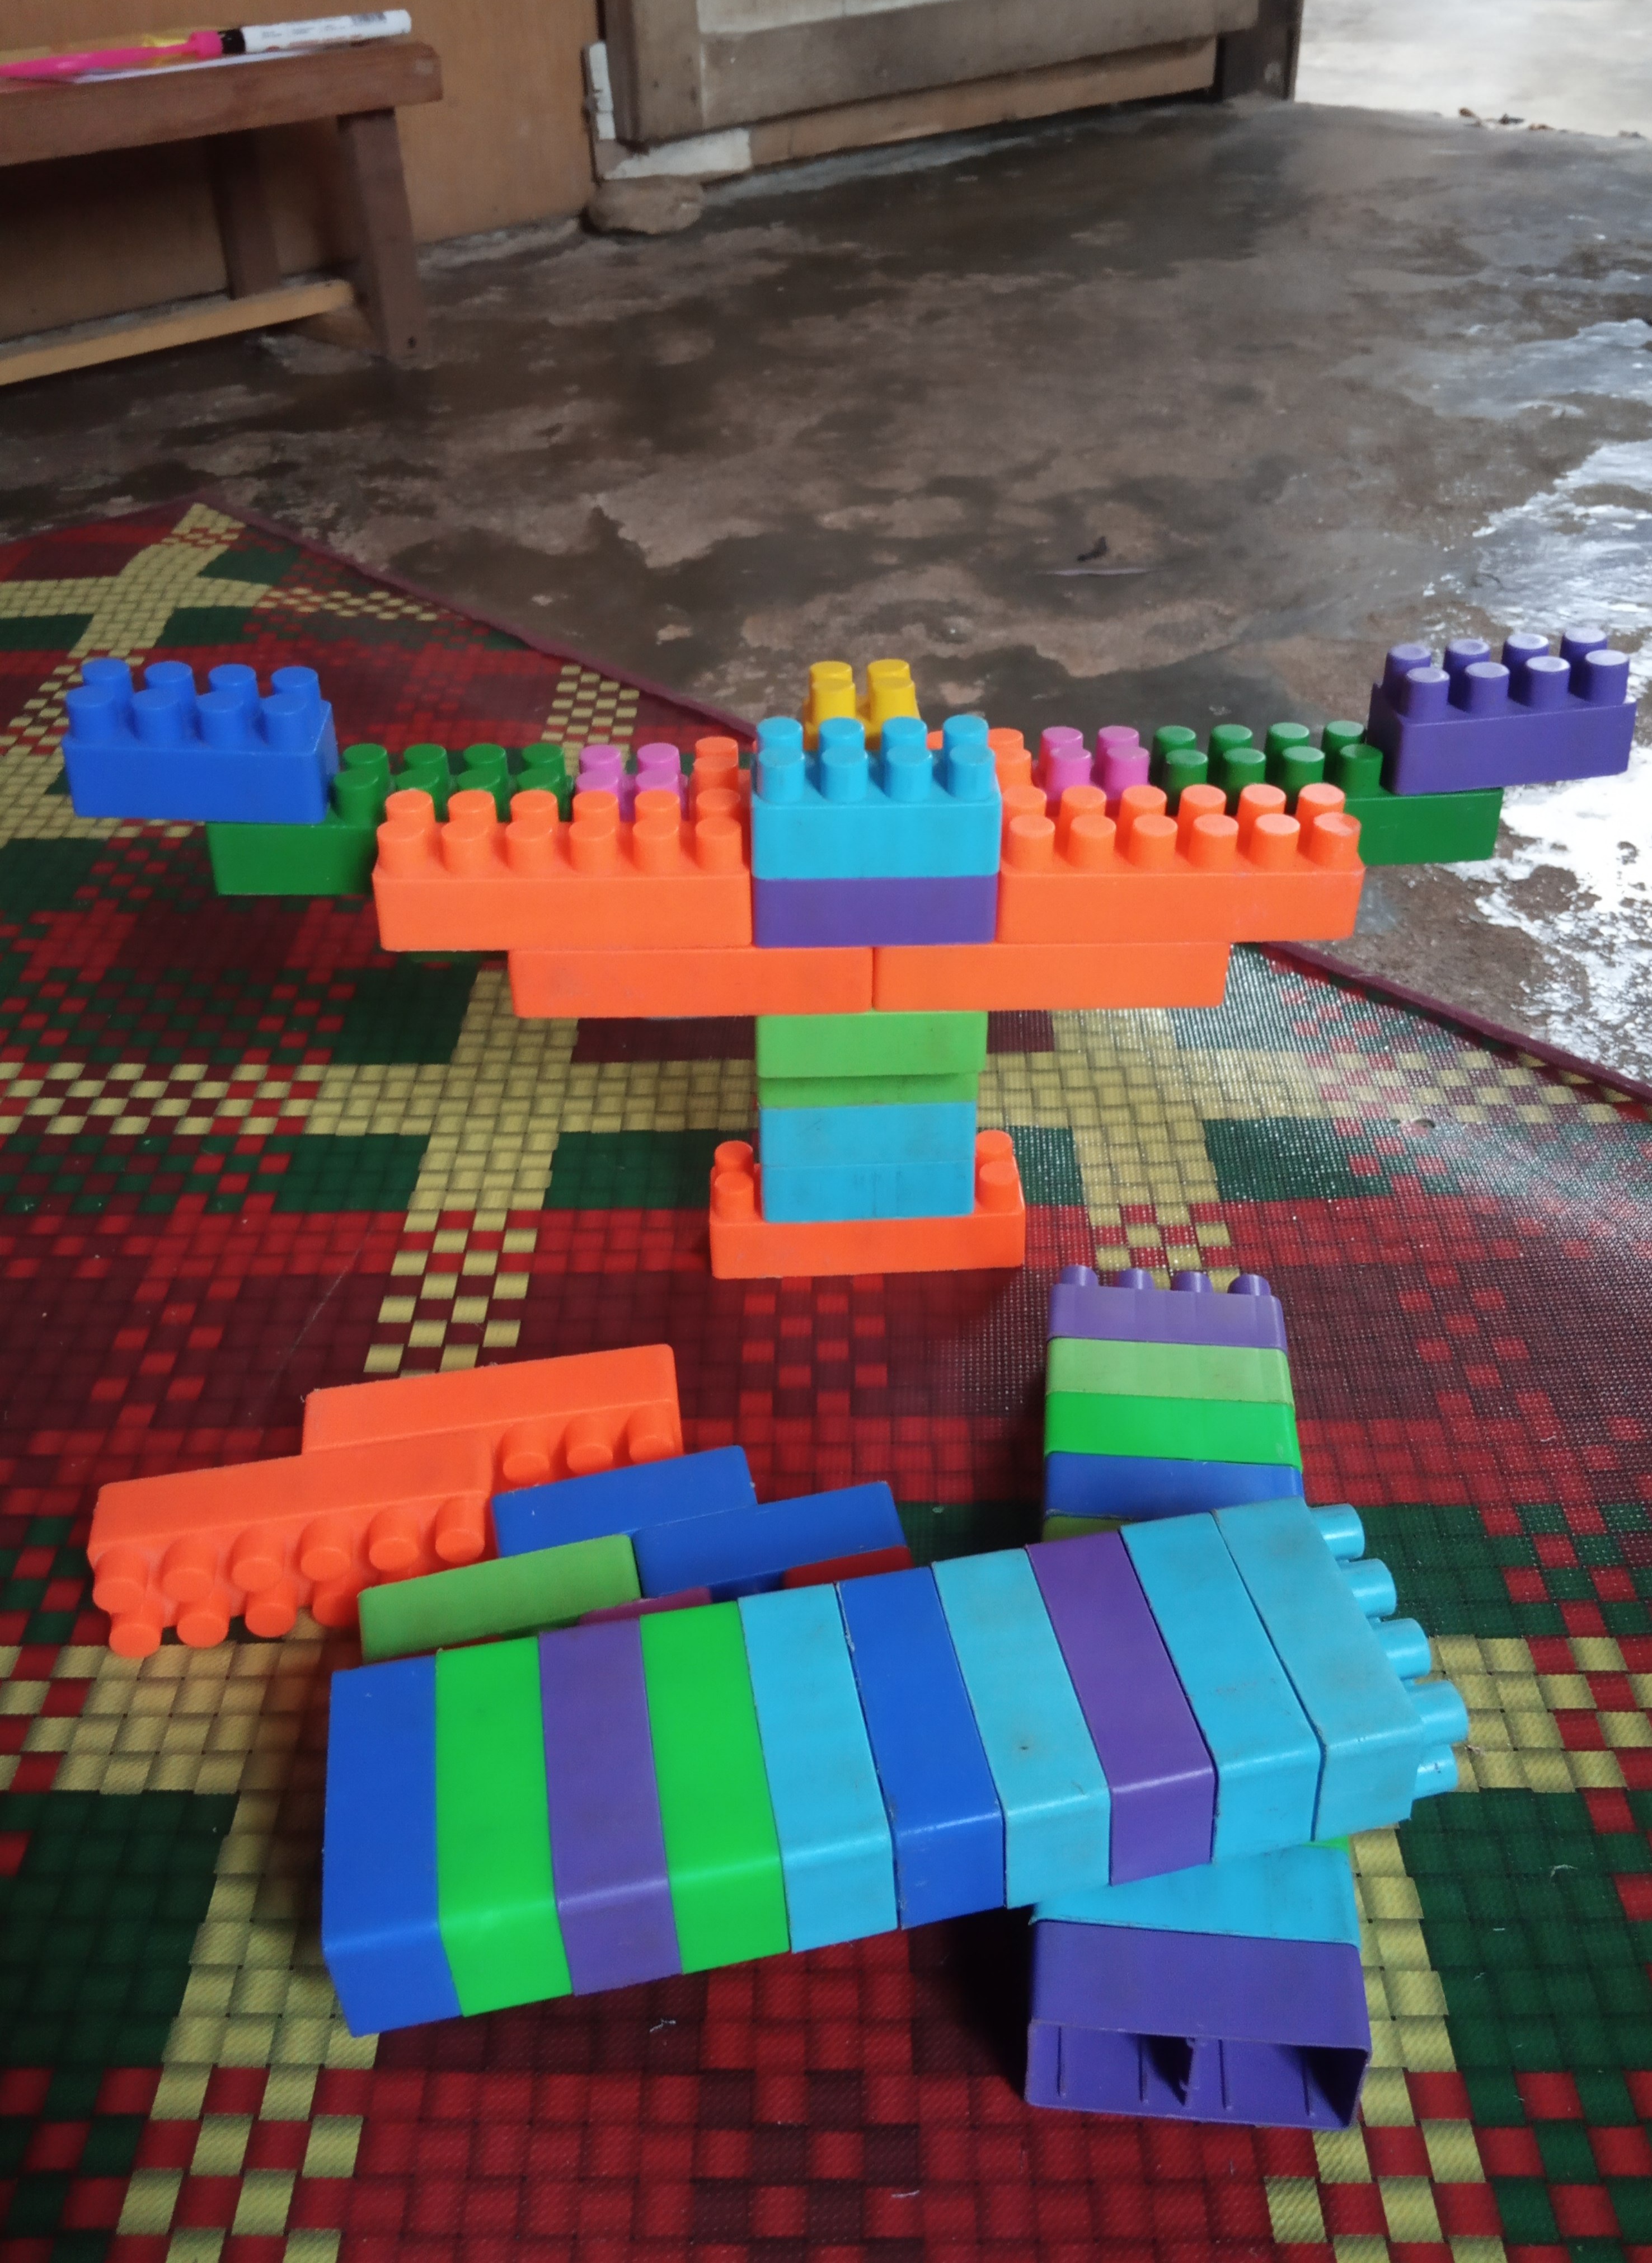
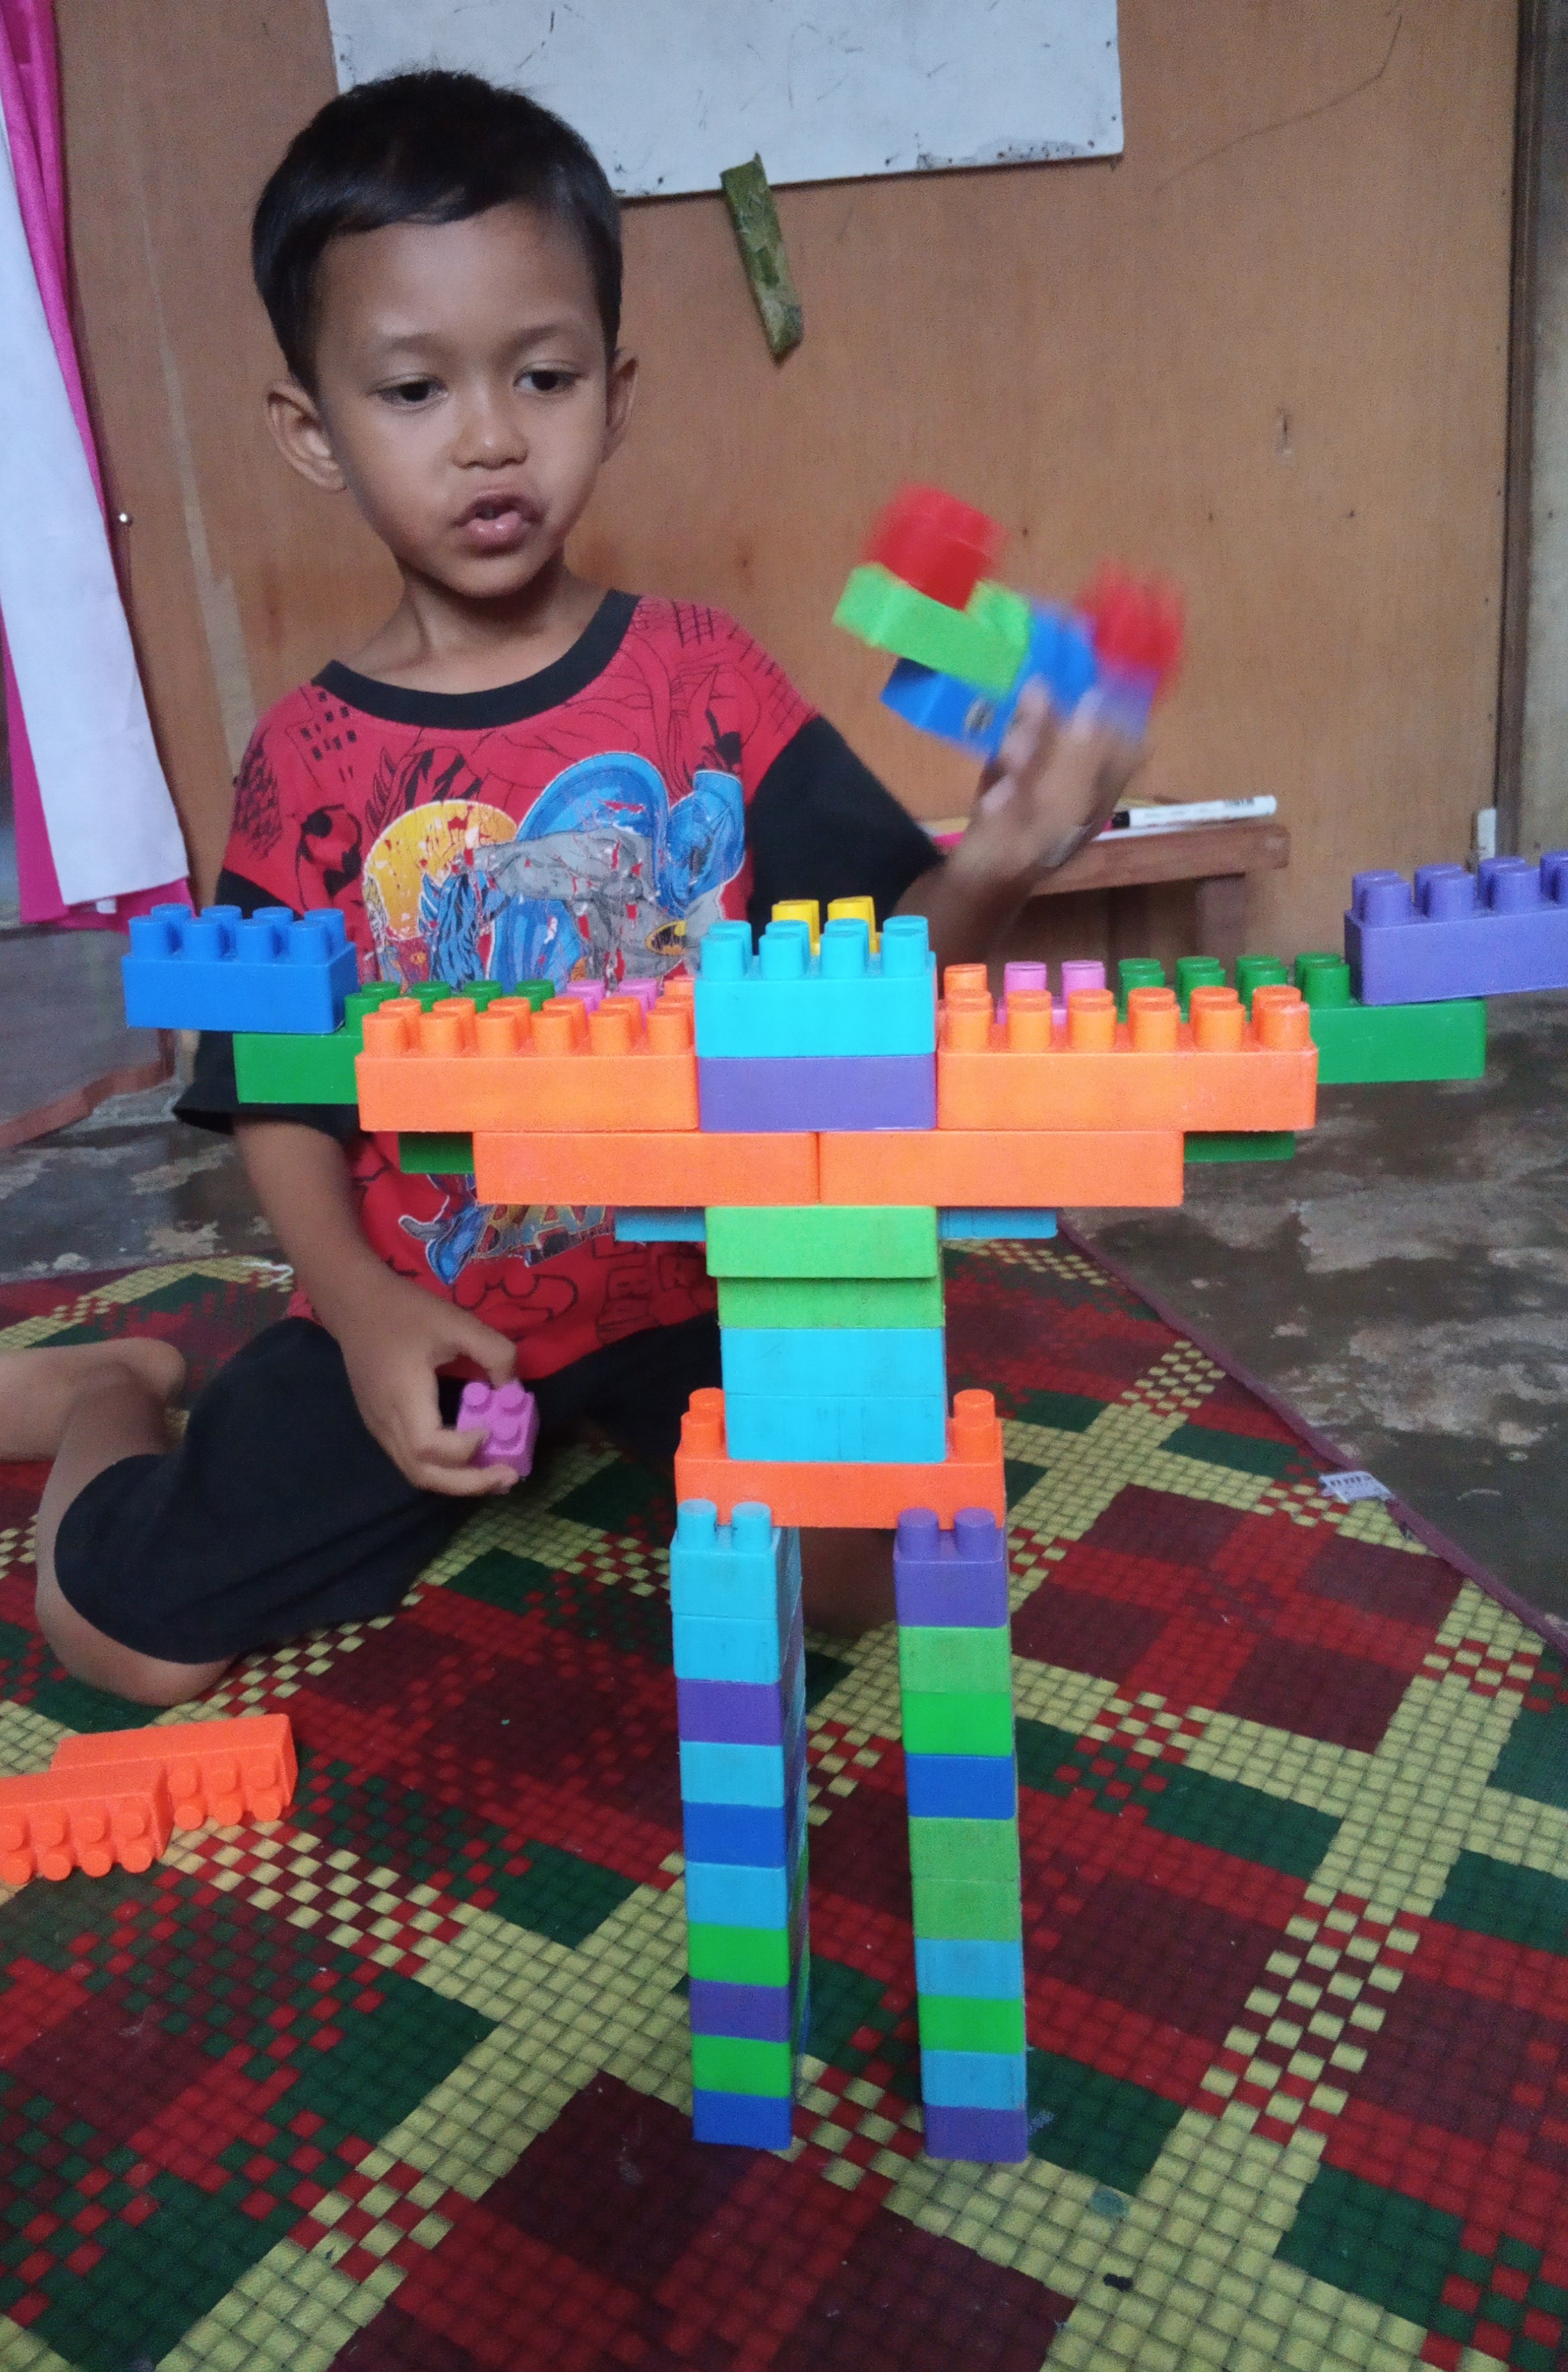
To build a robot, the first step my son takes is assembling body parts. He uses small, medium and long blocks for the body and hands.
Second stage
Next he will adjust our legs using medium blocks.
Third step
In the last section he made a head. This is the final stage in the process of building my kid's block robot.
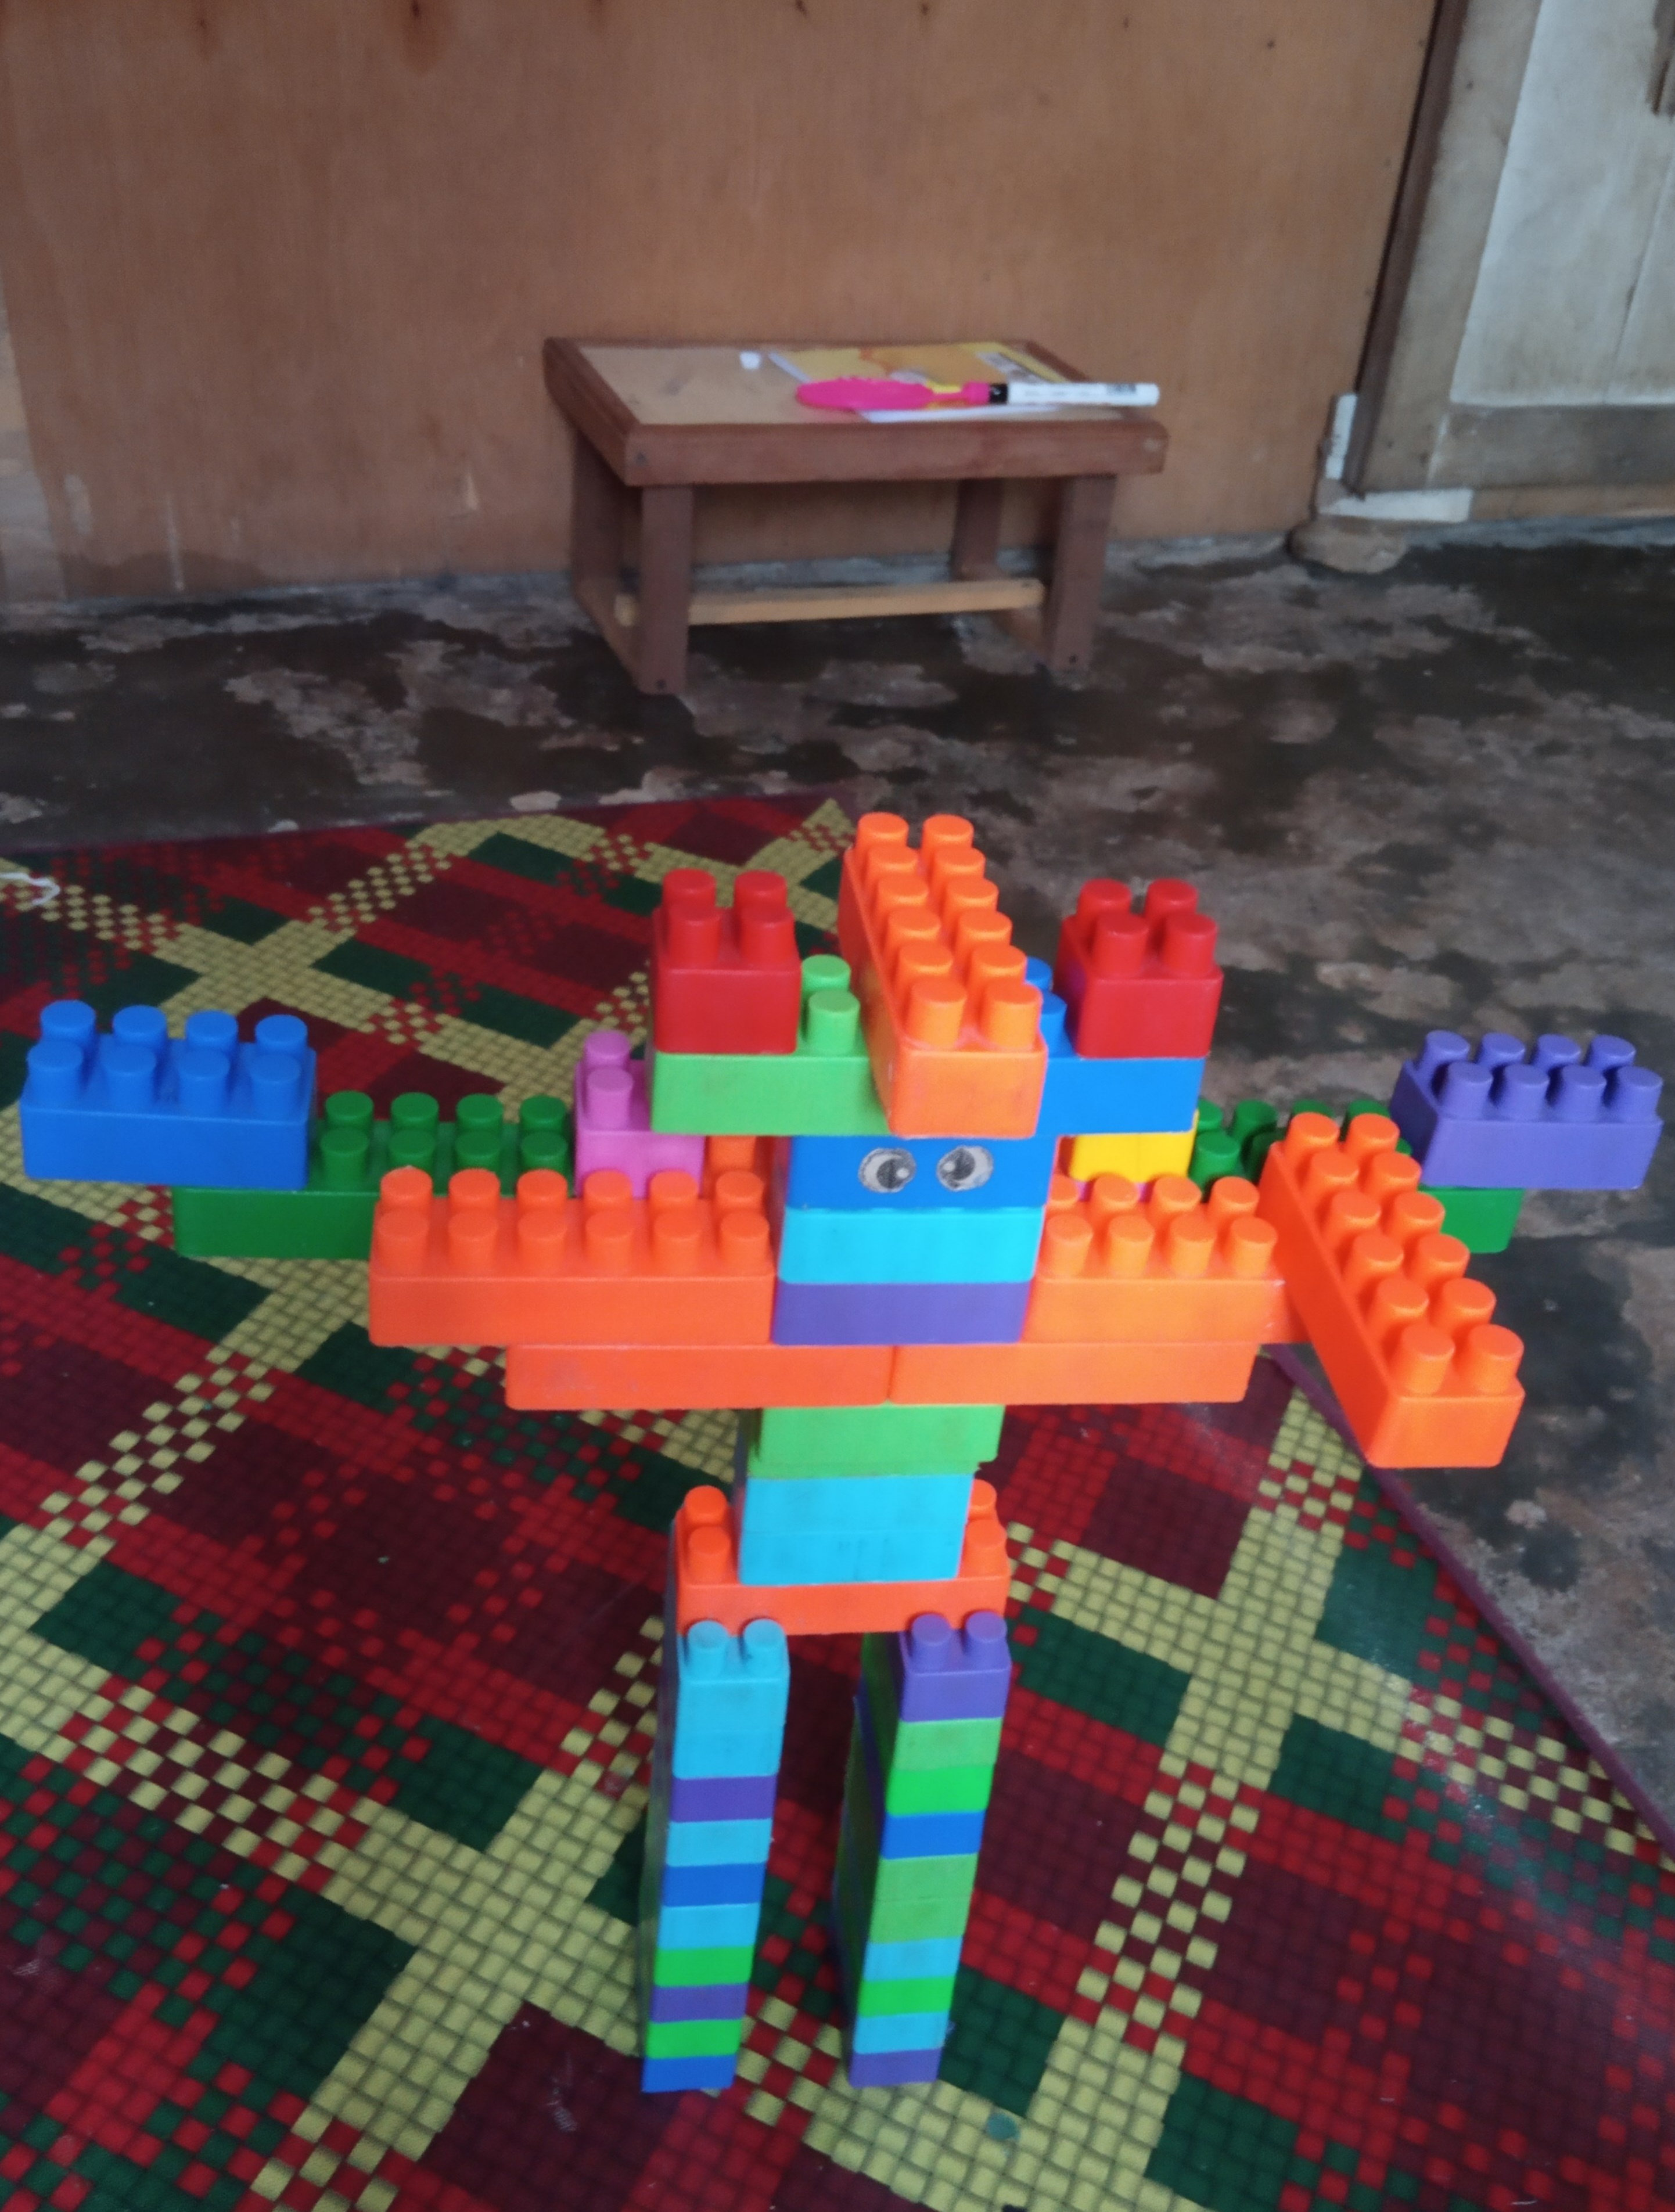
Those are the steps to make the children's version of the block robot. Hope you guys like it. See you at another time.
All photos I took using the Redmi 6A smartphone.
Thank you for stopping by on my blog.