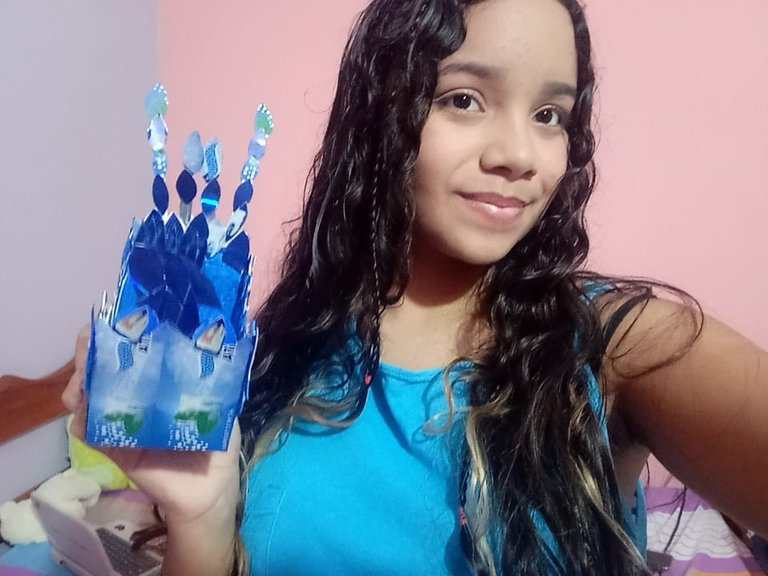
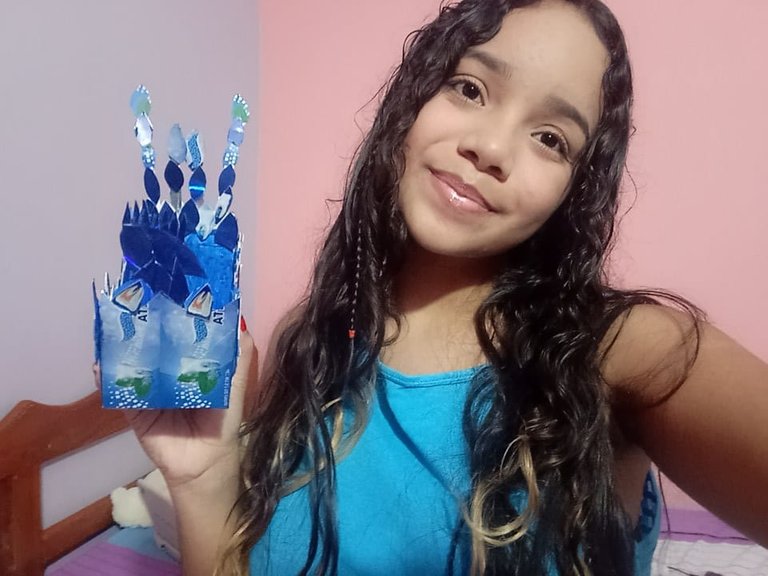
Saludos amigos hoy les presento por #iniciativa cómo hacer portafosfoto en forma de pavo real con una caja de bombillos y cajas de crema dental, es que me encanta los colores de esta caja azul y las guardo para utilizar sus lindos detalles.
Greetings friends, today I present to you by #initiative how to make a peacock-shaped photo holder with a box of light bulbs and boxes of toothpaste, I love the colors of this blue box and I save them to use their beautiful details.
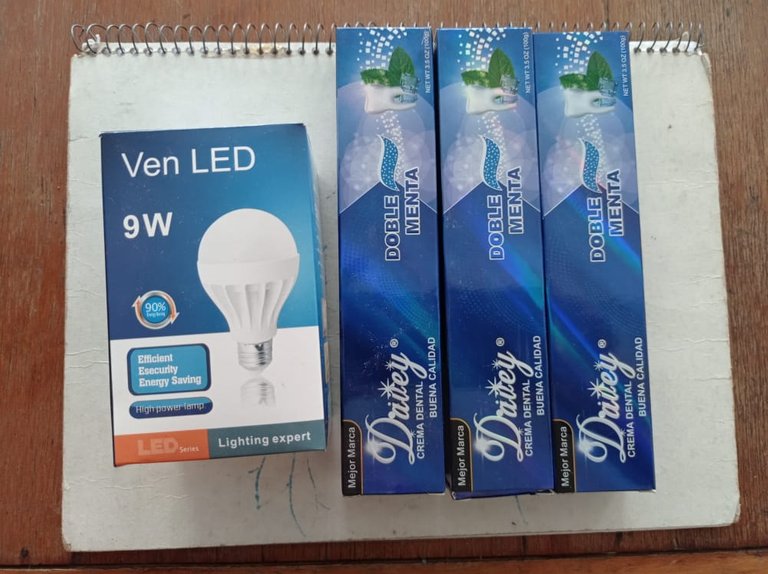
Materiales: / Materials:
1 caja de bombillo / 1 box of light bulb
3 cajas de crema dental / 3 boxes of toothpaste
Tempera color azul rey / Royal blue tempera
Tijera y Pincel / Scissors and Brush
Pega / Job
Procedimiento: / Process:
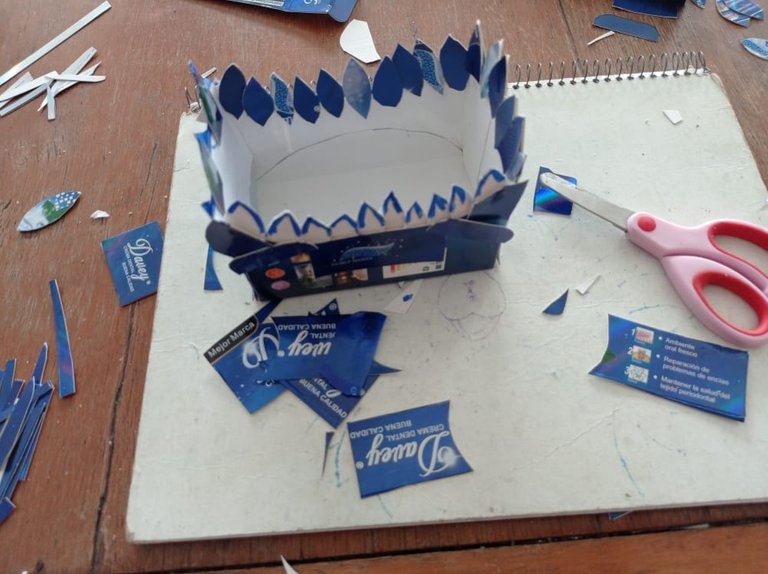
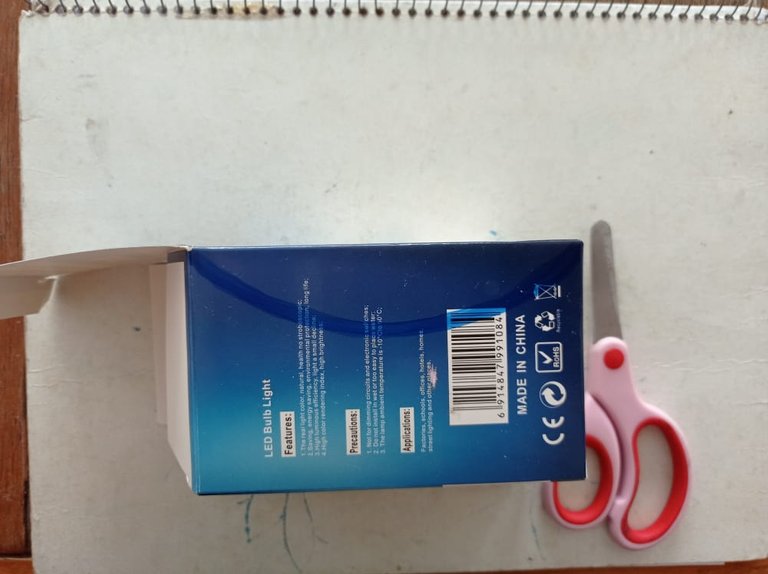
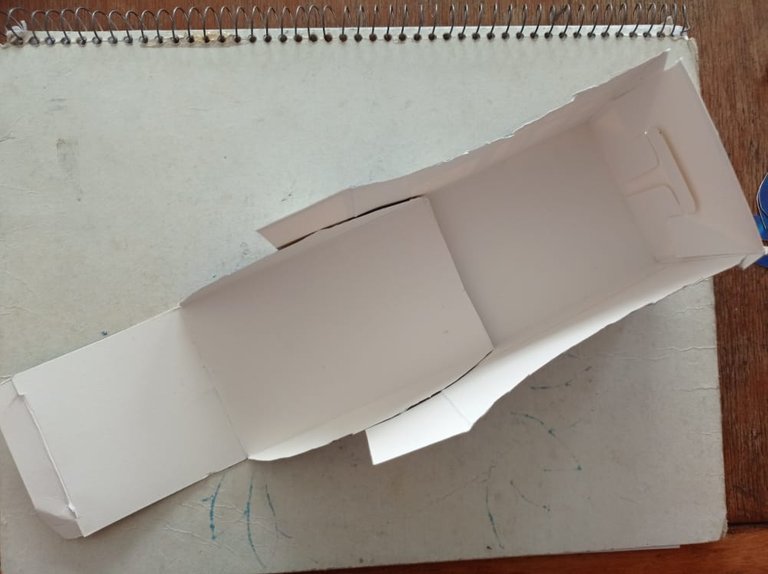
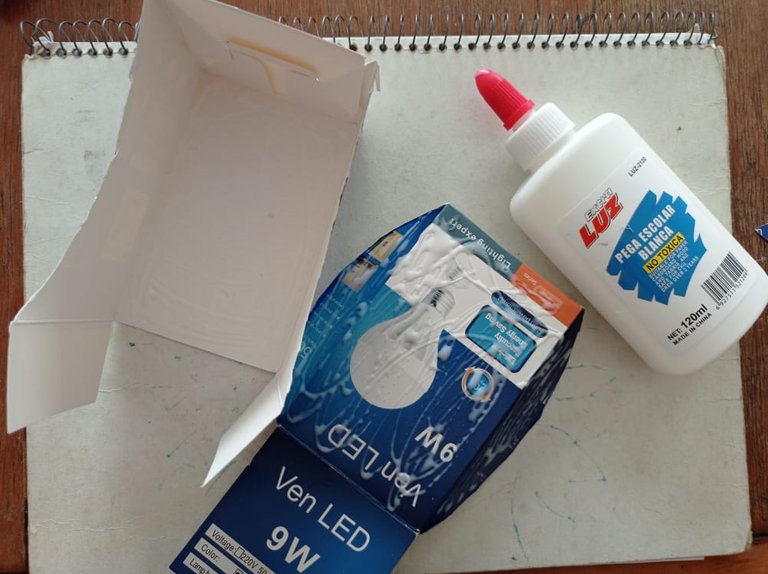
Tome la caja de bombillo y las tres de cajas dental, primero trabaje con la caja de bombillo para recortar tipo canoa, con lo que le recorte fortaleci la base, para eso fue necesario aplicar pega para pegarla.
Take the lightbulb box and the three dental boxes, first work with the lightbulb box to cut canoe type, with what cut it strengthened the base, for that it was necessary to apply glue to stick it.
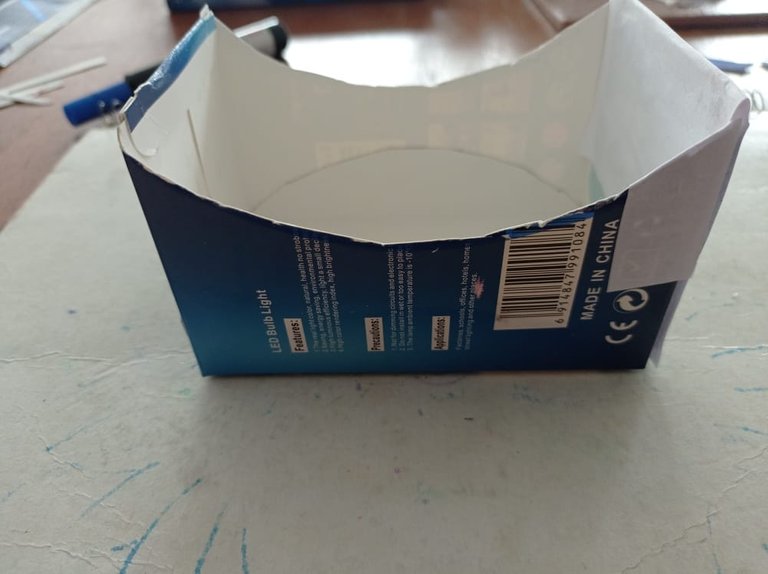
Una vez pegada y fuerte la caja de bombillo, procedi a abrir las 3 cajas de crema dental.
Once the light bulb box was glued and strong, I proceeded to open the 3 boxes of toothpaste.
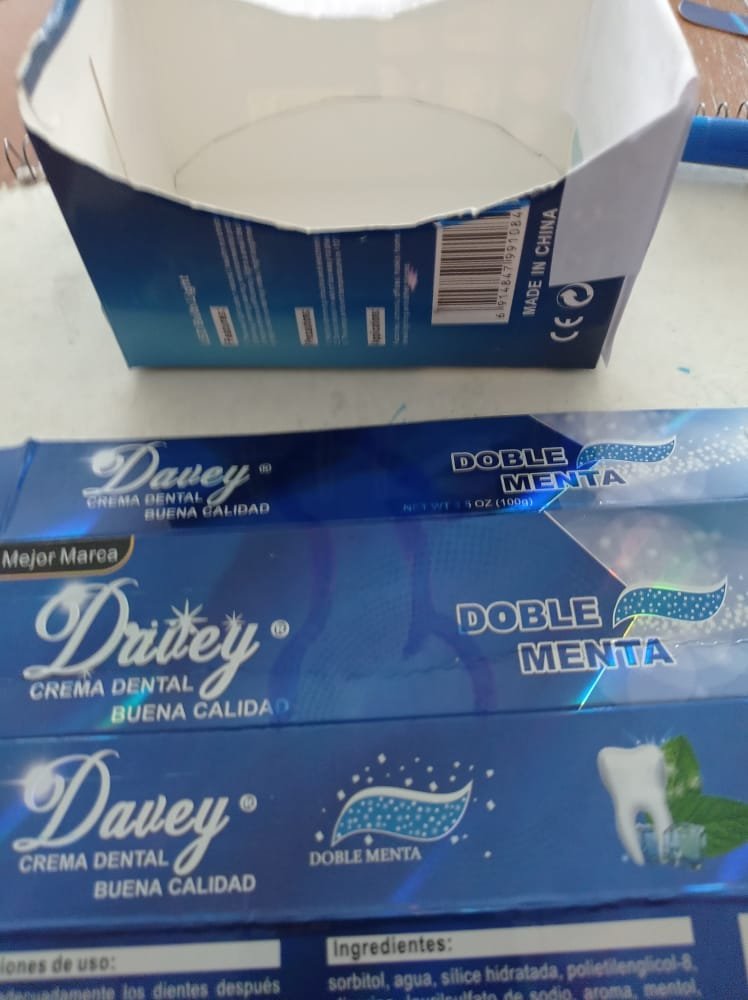
Recorte las partes de la caja de crema dental que me será util para forar la caja de bombillo al estilo de pavo real.
Cut out the parts of the toothpaste box that will be used to line the peacock-style light bulb box.
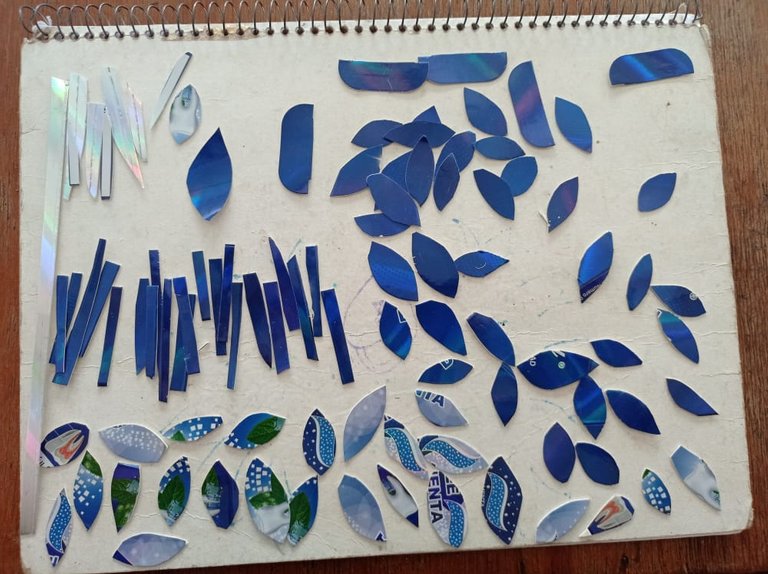
Luego empece a pegar las piezas, esto en realidad me llevo algo de tiempo en organizar las piezas tipo decoración, hasta saque la cabeza del pavo real y la cola. Por último tome el pincel y le aplique en las parte donde se mostraba el reverso de la caja, de tal manera que se vea todo azul y listo tengo mi portafosforo de pavo real listo.
Then I started gluing the pieces, this actually took me some time to organize the decoration-type pieces, I even took out the head of the peacock and the tail. Finally, I took the brush and applied it to the parts where the back of the box was shown, in such a way that it looks all blue and that's it. I have my peacock phosphor holder ready.
