HECHO A MANO es sinónimo de HECHO CON EL CORAZÓN
-Anónimo
HANDMADE is synonymous with MADE WITH THE HEART
-Anonymous
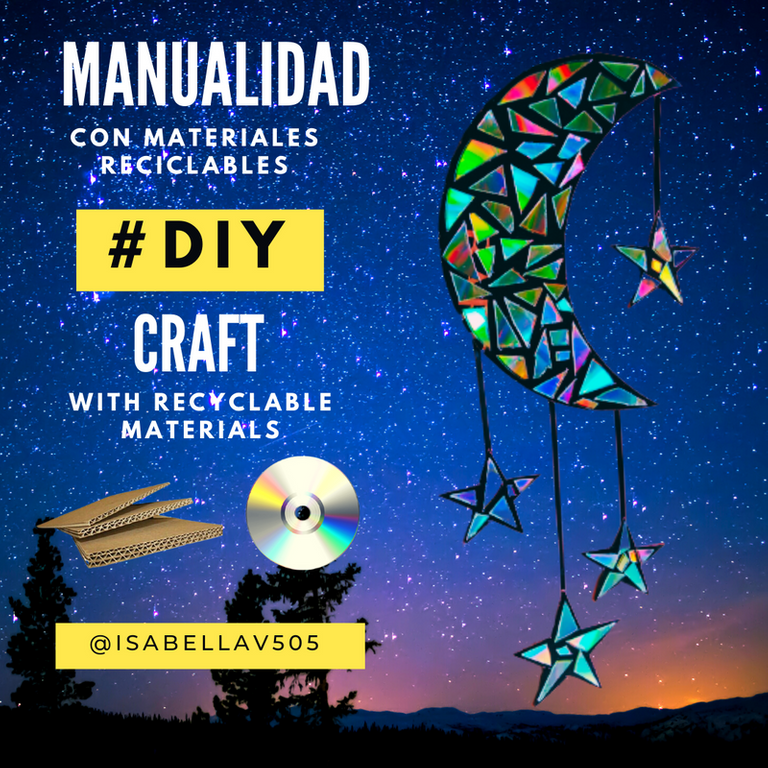
CanvaImagen diseñada por @isabellav505 en
Canva
Image designed by @isabellav505 on

Hello Hive community! I hope you are doing very well today. I am very happy that you have reached my post, I hope you like it.
Como pudieron haber notado, en esta publicación les compartiré una manualidad que realicé hace unos días. Debo aclarar que no soy una experta en esta área. Sin embargo, quedé absolutamente encantada con el resultado, así que los invito a continuar leyendo y comprobarlo por ustedes mismos, les prometo que no se decepcionarán.
As you may have noticed, in this post I will share with you a craft that I made a few days ago. I must clarify that I am not an expert in this area. However, I was absolutely delighted with the result, so I invite you to continue reading and see for yourself, I promise you will not be disappointed.
Lo mejor de todo es que el proceso es increíblemente sencillo y divertido. Además, como si todo lo mencionado anteriormente no fuera suficiente, los materiales utilizados para esta creativa y hermosa manualidad son reciclables y estoy muy segura que están al alcance de todos. ¡Así es! No tienes excusa para no intentarlo.
Best of all, the process is incredibly easy and fun. Also, as if all the above were not enough, the materials used for this creative and beautiful craft are recyclable and I am very sure that they are available to everyone. That's how it is! You have no excuse not to try.
Ahora bien, sin más preámbulos, a continuación les dejo las indicaciones a seguir.
Now, without further ado, here are the instructions to follow.
MATERIALS
- Regla o escalímetro.
- Tres (3) CDs (discos compactos) reciclados.
- Dos (2) láminas de cartón de 29 x 21 cm aproximadamente.
- Tijeras.
- Pegamento blanco.
- Cutter o exacto.
- Lápiz o marcador.
- Cinta delgada de medio metro de longitud (o varios trozos, lo importante es que cumplan con las medidas expresadas en el Paso 5) del color de su preferencia (las utilizadas fueron de color negro).
- Cinta adhesiva (opcional).
- Ruler or scale.
- Three (3) recycled CDs (compact discs).
- Two (2) cardboard sheets of ** 29 x 21 cm ** approximately.
- Pair of scissors.
- White glue.
- Cutter or exact.
- Pencil or marker.
- Thin ribbon half a meter in length (or several pieces, the important thing is that they comply with the measurements expressed in Step 5) of the color of your preference (those used were black).
- Adhesive tape (optional).
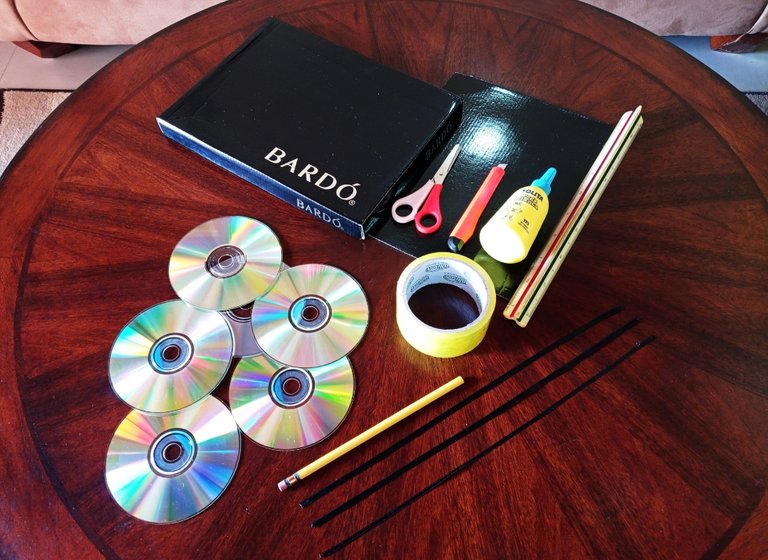
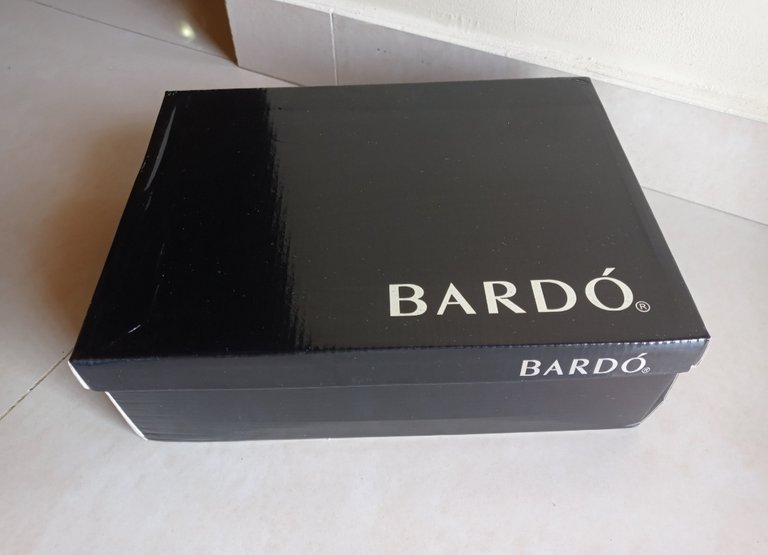
NOTE: To achieve an aesthetic finish, the cardboard to be used must be stained or painted, preferably a dark color so that the contrast is made. In my case, it was not necessary to paint it since it had a black shoe box, a material that I think is available to most. However, if you don't have this, you can paint the cardboard.
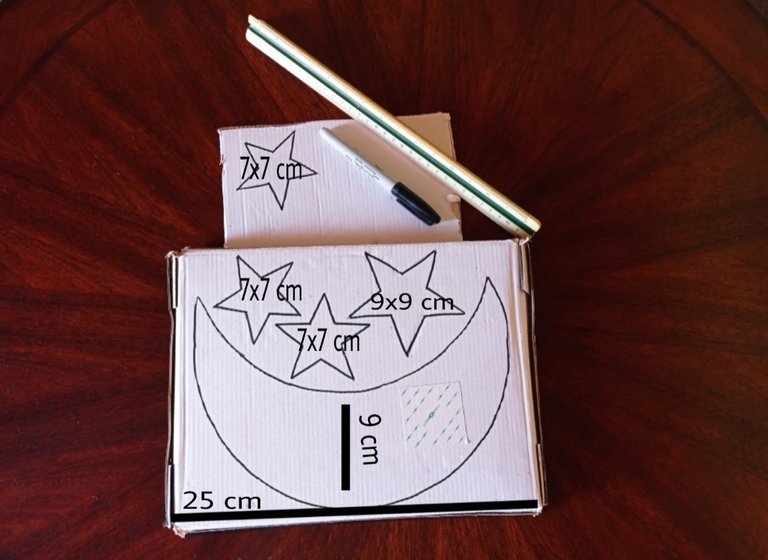
STEP #1
Using the cardboard and the marker. We proceed to trace on the back of the cardboard the shape of a moon ( 25 cm high and 9 cm wide in its largest area). Next, we draw the silhouette of four stars. Three of these will be the same size ( 7x7 cm ). While one will be larger ( 9x9 cm ).
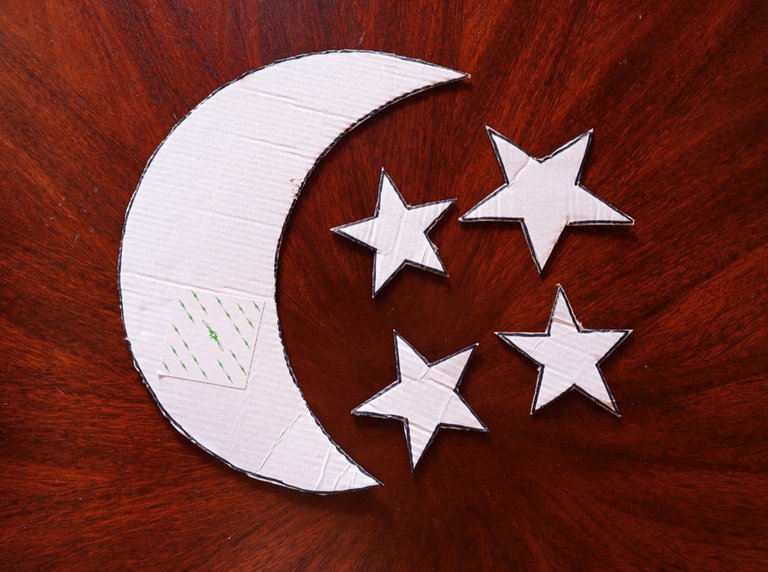
STEP #2
Then we cut out the figures.
STEP #3
Start to randomly cut pieces of the CDs with the help of the scissors or cutter, making sure that they fit in their respective cardboard figure.
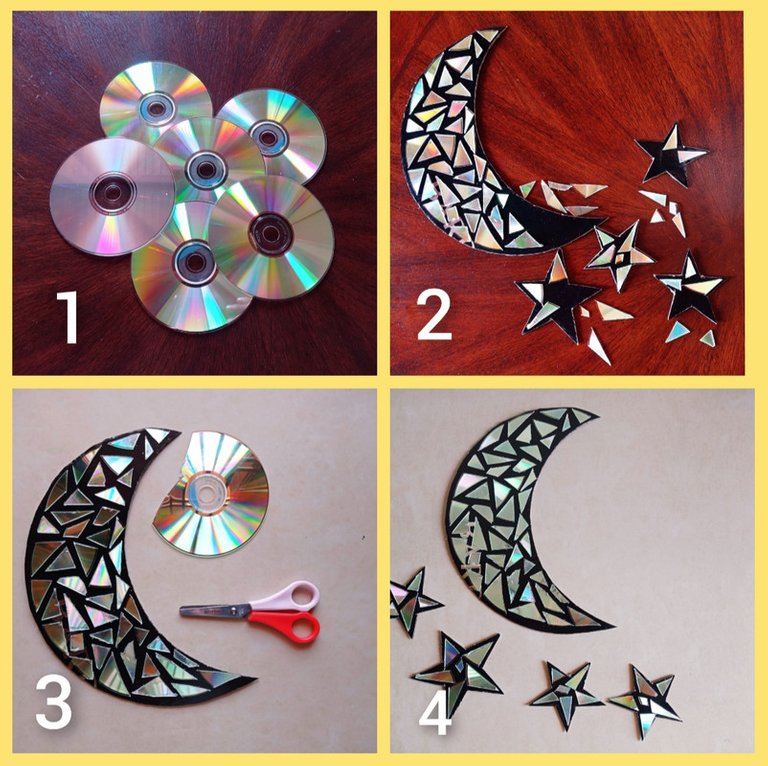
STEP #4
With the liquid glue we proceed to glue the previously cut pieces in the corresponding place.
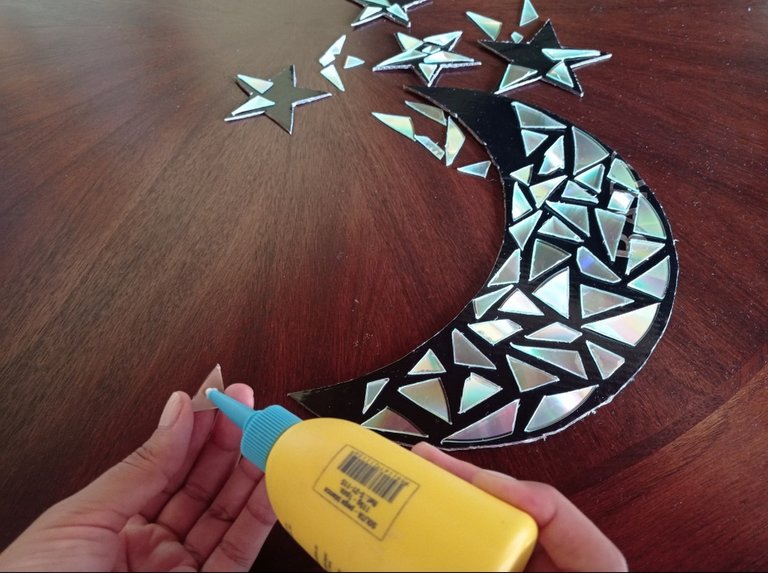
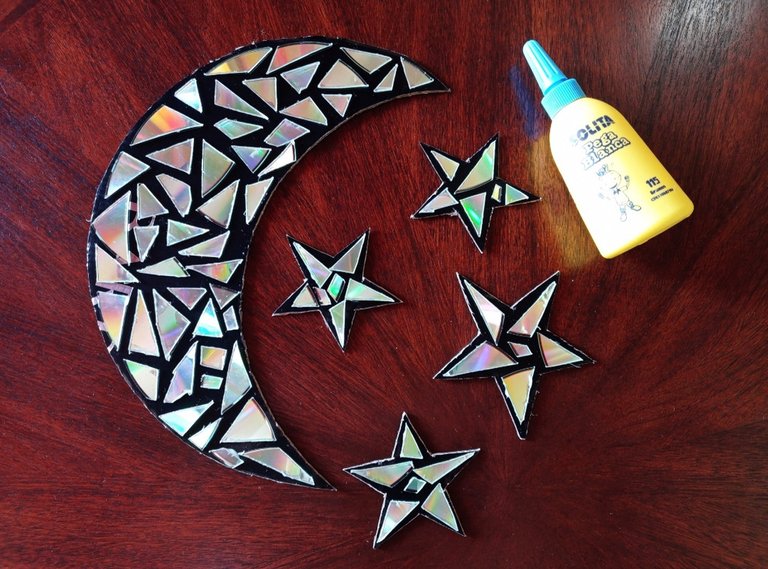
STEP #5
We cut out the pieces of ribbon. So we have four pieces left. Three will be the same length: 12 cm. While one will be 23 cm long.
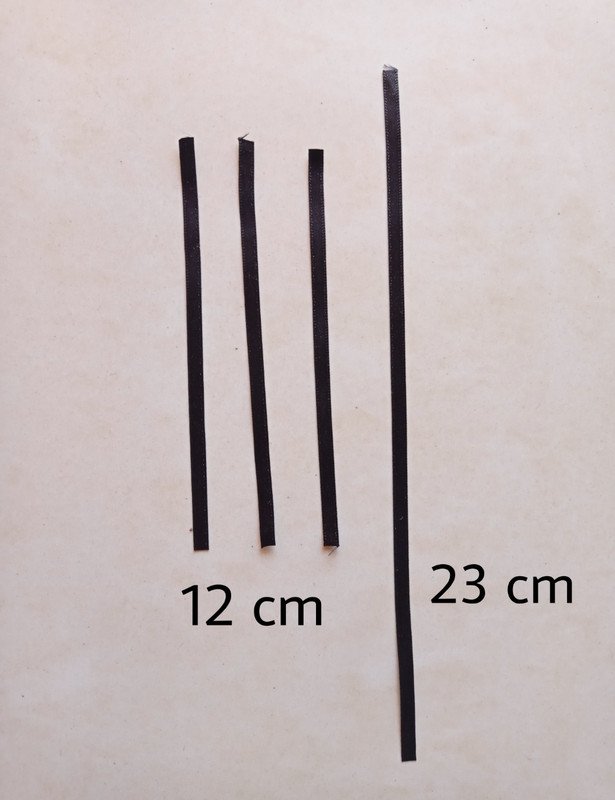
STEP #6
Glue the ribbons on the figures, in the respective places shown in the image.
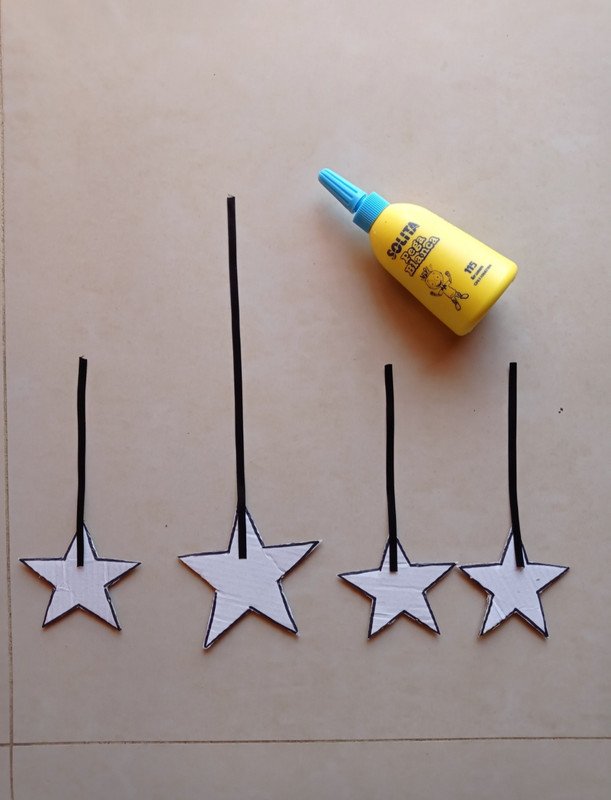

✨Finally, with this step the process would be finished! In my case, I used the adhesive tape to adhere the finished work to the wall.✨
A continuación, pueden apreciar el resultado final.
Now, you can then see the end result.
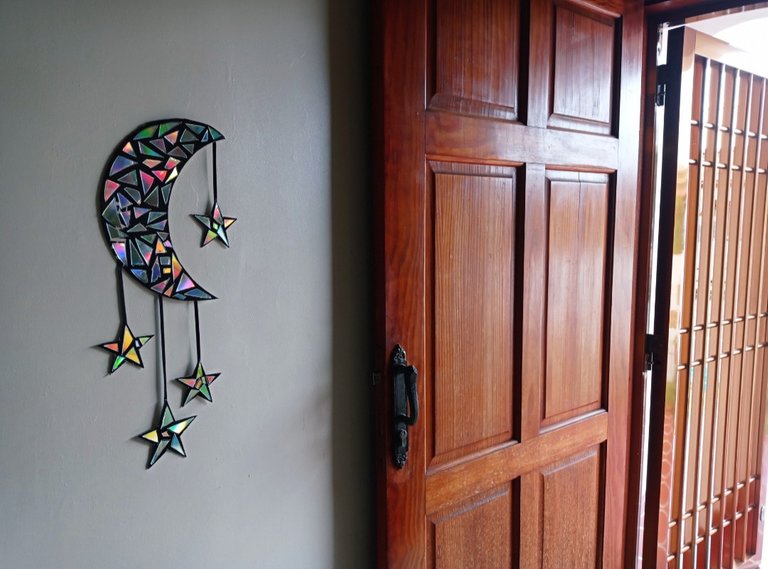
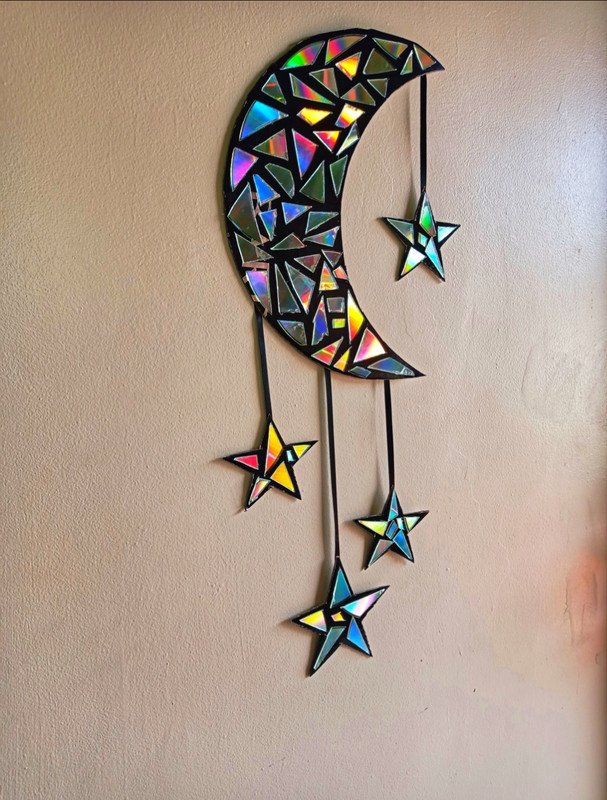
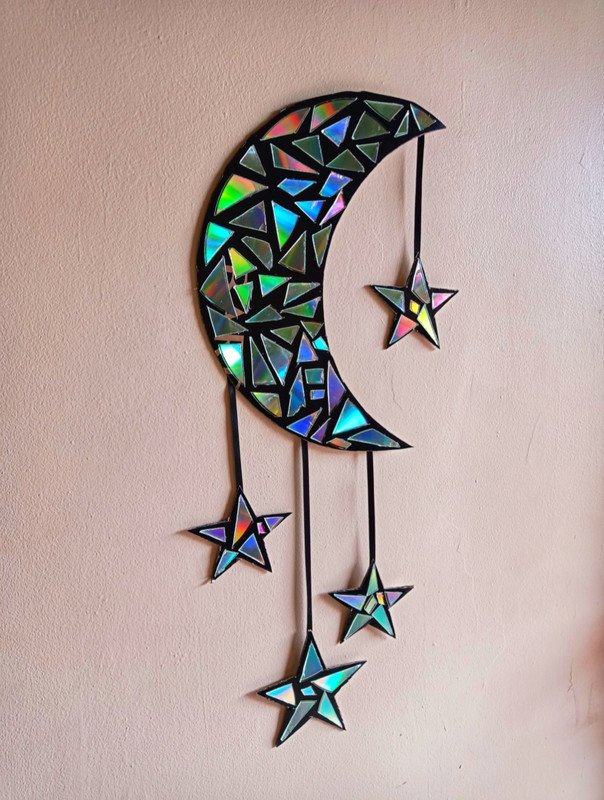
I love that spectacular reflection effect ✨🌈, produced by the sunset ☀️ lighting illuminating this beautiful craft. It can definitely be used as decoration, and it shows us that with a little creativity we can make beautiful objects with the materials at our fingertips 😁. I have seen many beautiful crafts on this platform like that of my friend @mayvil , who made maleficent wings also with recyclable materials some time ago.
¿A ustedes qué tal les pareció 🤔? ¡Cuéntenme 😆! ¿Les gustó cómo resultó esta creación hecha con cartón y CDs? Yo quedé asombrada con lo que se puede lograr utilizando dichos materiales ✨🌜🌟💿.
What do you think 😩? Tell me! Did you like how this creation made with cardboard and CDs turned out 😆? I was amazed at what can be achieved using these materials ✨🌜🌟💿.

TODAS LAS IMÁGENES UTILIZADAS SON DE MI PROPIEDAD.
ALL THE IMAGES USED ARE MY PROPERTY.
EL TEXTO ES ORIGINAL DE @isabellav505.
THE TEXT IS ORIGINAL FROM @isabellav505.



Congratulations @isabellav505! You have completed the following achievement on the Hive blockchain and have been rewarded with new badge(s) :
Your next target is to reach 300 upvotes.
You can view your badges on your board and compare yourself to others in the Ranking
If you no longer want to receive notifications, reply to this comment with the word
STOPSupport the HiveBuzz project. Vote for our proposal!
Me encantó, haré uno para Decorar mí cuarto
Eso te quedó demasiado hermoso parece de vidrio que gran creatividad me encanta y para decorar está especial se ve de lujo. Te felicito.
Muy bonito y creativo, pensar que bote cajas de cd's jajaja pudiendo hacer algo así y que me gustan las manualidad 🤦🏻♀️
Tranquila, que me sucedió lo mismo. Los que utilicé se los pedí a mi abuelo jeje 😂. Me salvó
Wow en serio está super genial. Eres muy talentosa y creativa y pensar que muchas veces tenemos cosas en casa que solo vemos como desechos o material inservible.
El paso a paso muy bien detallado y tu publicación sencillamente impecable. Sigue así ✌️
Muchísimas gracias por tu comentario, en verdad lo aprecio bastante ya que me saca una sonrisa cuando menos me lo espero. Saludoos 🥰💕
Me encantó esta manualidad, te quedó preciosa, tienes mucha creatividad y habilidad para que las manualidades te queden super lindas, todos puede decir eso XD.
Saludos!
Holaa, me alegra mucho que te haya gustado. Gracias amiga por tu comentario 💖💖💖 Un abrazo ✨🥰
🤗💫