¡Hola, amigos bienvenidos nuevamente a mi blog!
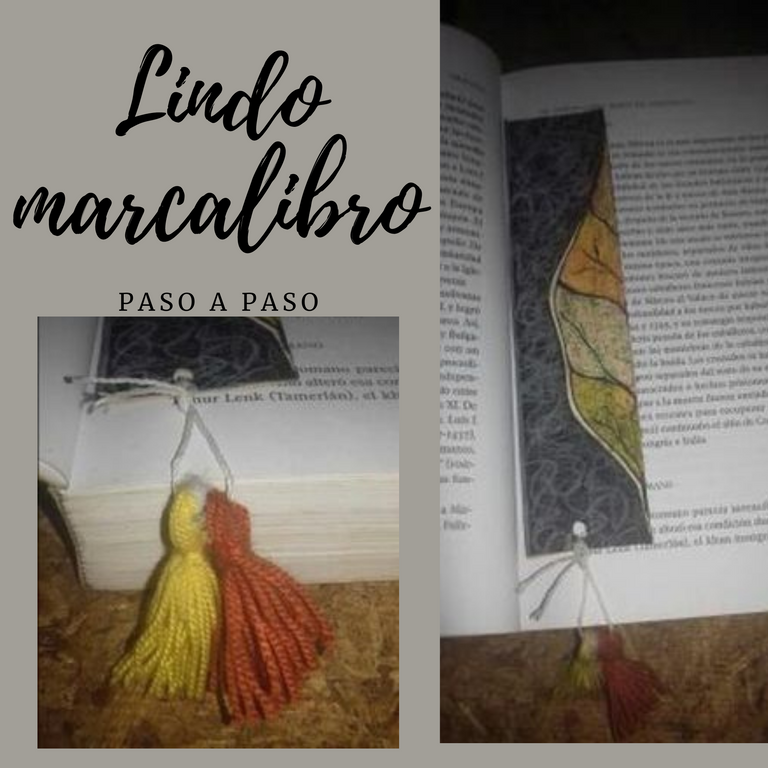
Hoy quiero compartir con ustedes el proceso de un lindo marcalibro que realice hace poco, espero les guste y se animen a realizar el suyo.
Today I want to share with you the process of a beautiful bookmark that I made recently, I hope you like it and are encouraged to make yours.
Materiales
- Cartulina blanca (preferiblemente) y negra.
- Tinta china o marcador negro punta extra-fina.
- Oleo pastel o crayones de cera.
- Lapiz, pega y tijera.
Materials
- White cardstock (preferably) and black.
- Chinese ink or extra-fine point black marker.
- Oil pastel or wax crayons.
- Pencil, glue and scissors.
Proceso / Process
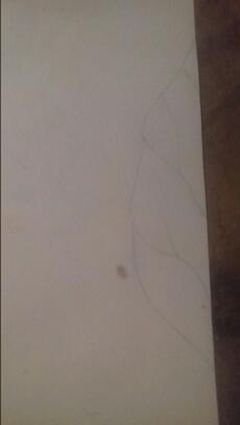
Para realizar este marcalibro decidí utilizar como motivo una hoja, o la mitad de ella. Es por ello que el primer paso fue dibujar la silueta de la hoja a lápiz, seguidamente procedo a marcar el contorno, en mi caso utilice tinta china y plumilla, pero si no cuentan con este material, pueden utilizar un marcador punta extrafina o rapidograf y el resultado sera el mismo.
To make this bookmark I decided to use a page as a motif, or half of it. That is why the first step was to draw the silhouette of the sheet in pencil, then I proceed to mark the outline, in my case I used India ink and a pen, but if you do not have this material, you can use an extra-fine tip marker or rapidograf and the result will be the same.
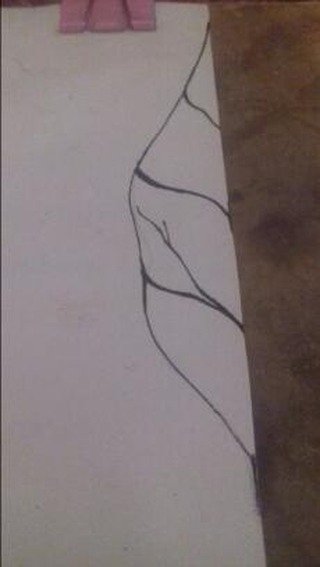
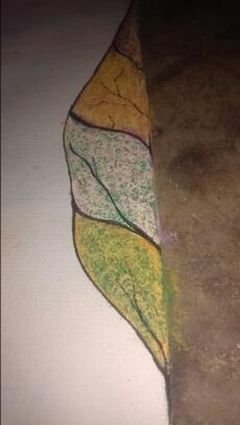
Luego comencé a colorear, esta vez con el oleo pastel, utilice esta técnica pues sabiendo utilizarla es posible obtener un resultado similar como al grabado. Para ello, debemos escoger tonos diferentes, en mi caso decidí utilizar 8 colores, primero utilice 4 y luego los otros que restaban. Pinte cada lado de la hoja con colores entre amarillos y naranjas para empezar, debemos colorear sin dejar ningún espacio en blanco, tal como muestro en la siguiente imagen.
Then I began to color, this time with pastel oil, I used this technique because knowing how to use it is possible to obtain a result similar to engraving. To do this, we must choose different tones, in my case I decided to use 8 colors, first use 4 and then the others that remained. Paint each side of the sheet with colors between yellow and orange to start, we must color without leaving any blank space, as I show in the following image.
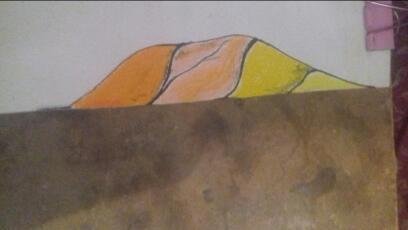
Ahora procedemos a colocar otra capa de color esta vez debe ser un tono más oscuro del que ya se había colocado. De igual forma debemos pintar todo el espacio. Ya luego con la punta de algún objeto, (aguja, un lapicero sin tinta, o algo similar) en mi caso utilice una plumilla, comenzamos a realizar formas sobre la superficie que coloreamos. El objetivo de esto es crear ciertas texturas y dejar ver el color esta al final. Tal como se muestra en la siguiente imagen.
Now we proceed to place another layer of color this time it must be a darker tone than the one that had already been placed. In the same way we must paint the entire space. Then with the tip of some object, (needle, a pen without ink, or something similar) in my case I used a pen, we began to make shapes on the surface that we colored. The goal of this is to create certain textures and show the color at the end. As shown in the following image.
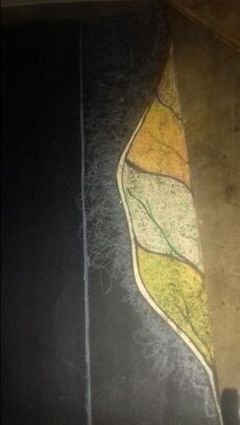
Después de tener lista la hoja procedí a cortar y pegarla sobre una cartulina negra, esta antes ya la había pegado sobre un trozo de cartón, para que el marcalibros no sea tan débil (ya es decisión de cada unos si utilizar el cartón o no). Al pegar la hoja, a la otra cartulina sentí que faltaba algo, así que decidí hacer un garabateo sobre toda la superficie, para que pudiese resaltar utilice color blanco.
After having the sheet ready, I proceeded to cut and paste it on a black card, this had already been glued on a piece of cardboard before, so that the bookmarks are not so weak (it is up to each one to decide whether to use the cardboard or not) . When I glued the sheet, to the other cardboard I felt that something was missing, so I decided to do a scribble on the entire surface, so that I could highlight it, use white.
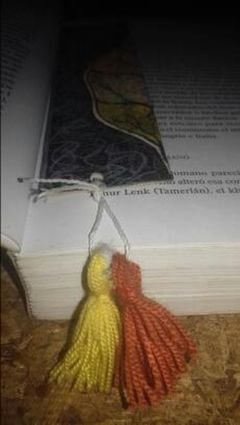
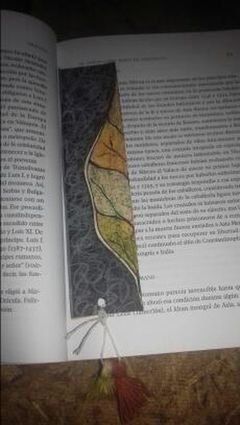
Ya para finalizar corte el rectángulo que enmarca al marcalibros, coloque un poco de pega blanca sobre toda la superficie y coloque un detalle en la parte inferior del mismo.
To finish, cut the rectangle that frames the bookmark, place a little white glue on the entire surface and place a detail at the bottom of it.
Espero les halla gustado mi post y se animen a hacer sus propios marcalibros.
Gracias por leer, espero sus sugerencias y apoyo como siempre.
Nos vemos en la próxima un abrazo.
I hope you liked my post and are encouraged to make your own bookmarks.
Thanks for reading, I look forward to your suggestions and support as always.