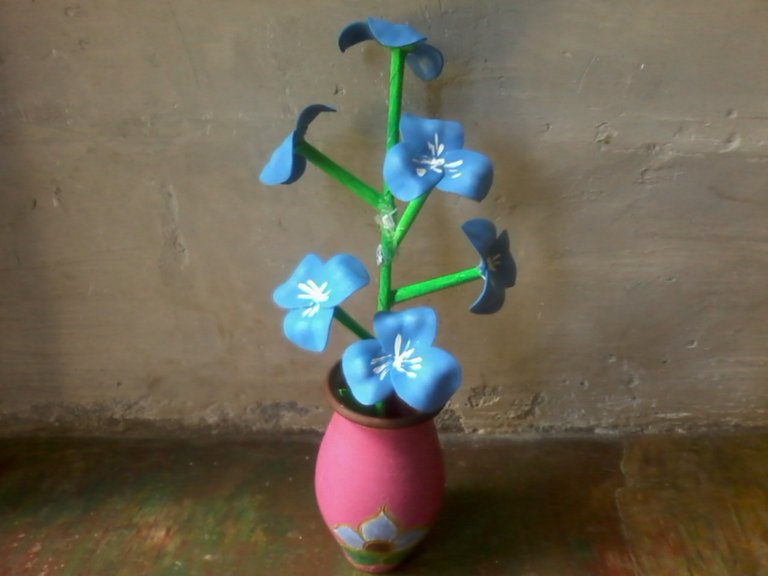
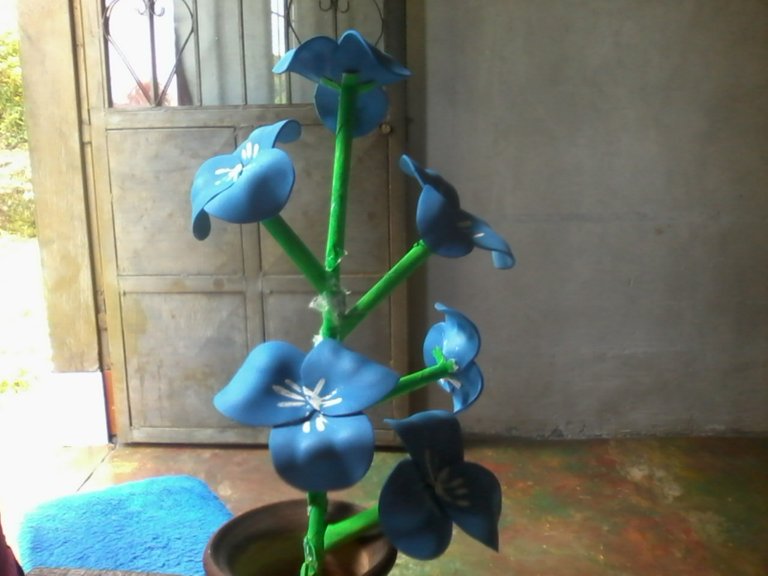
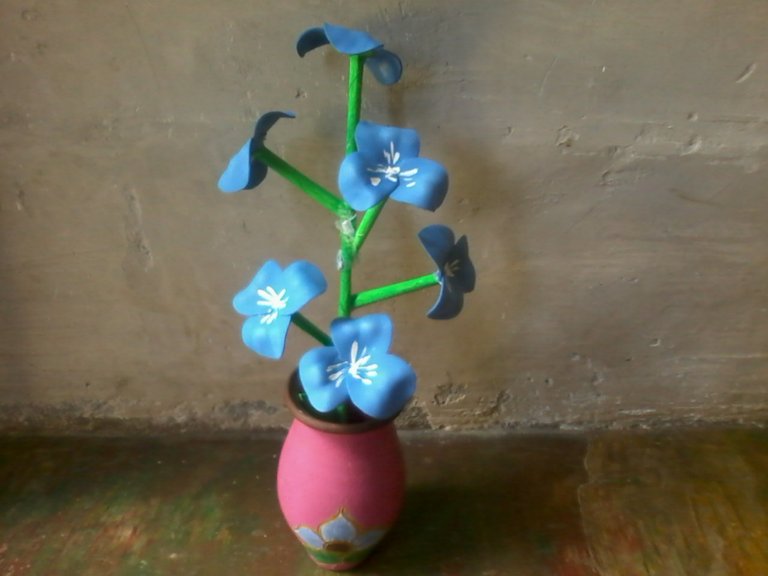
Hello to the entire creative community! For tonight I want to share with everyone this tutorial to make a beautiful bouquet of flowers, made with Foami that can be used to decorate any space in our home and which can be made with the colors of your preference.
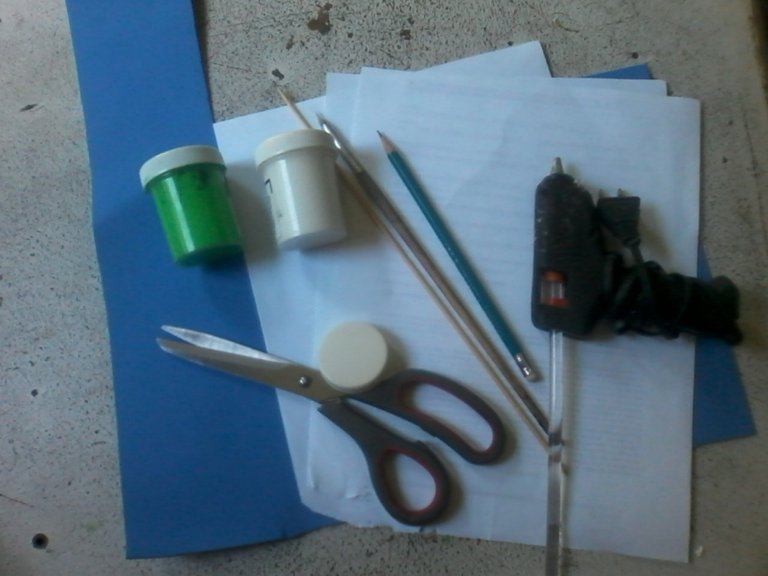
Materiales-Materials:
Retazos de Foami.
3 hojas recicladas.
1 palito de altura.
Lápiz.
Tijera.
Silicón.
Pinturas al frío.
Pincel.
Una tapa de envase redondo.
Plancha.
Patchwork of Foami.
3 recycled sheets.
1 tall stick.
Pencil.
Scissors.
Silicone
Cold paints.
Brush.
A round container lid.
Iron.
Pasos-Steps:
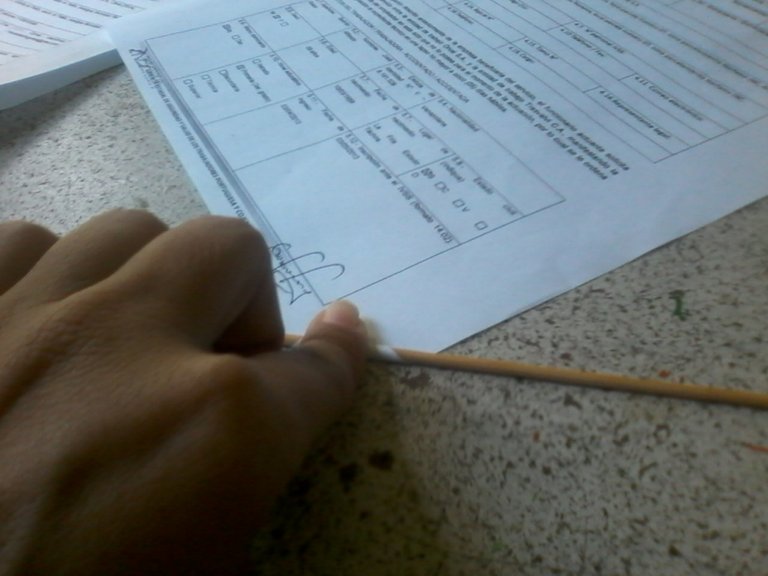
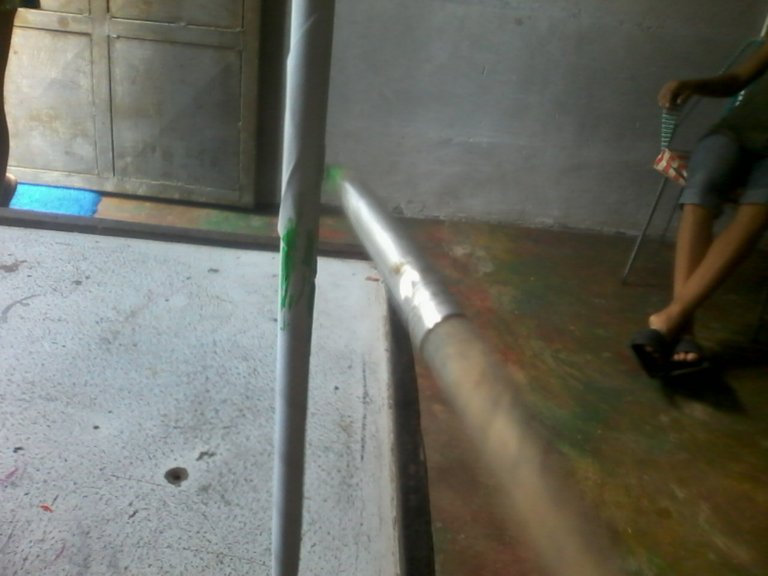
Roll the recycled sheet onto the tall stick to form three rolls.
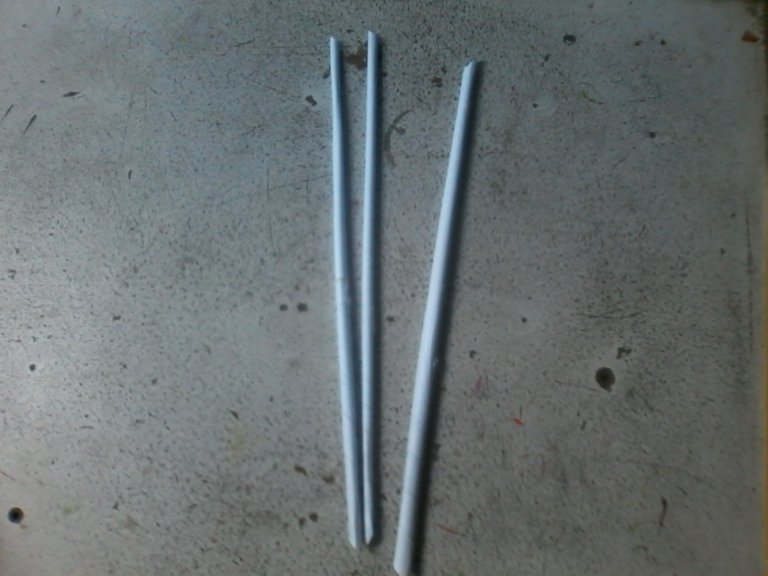
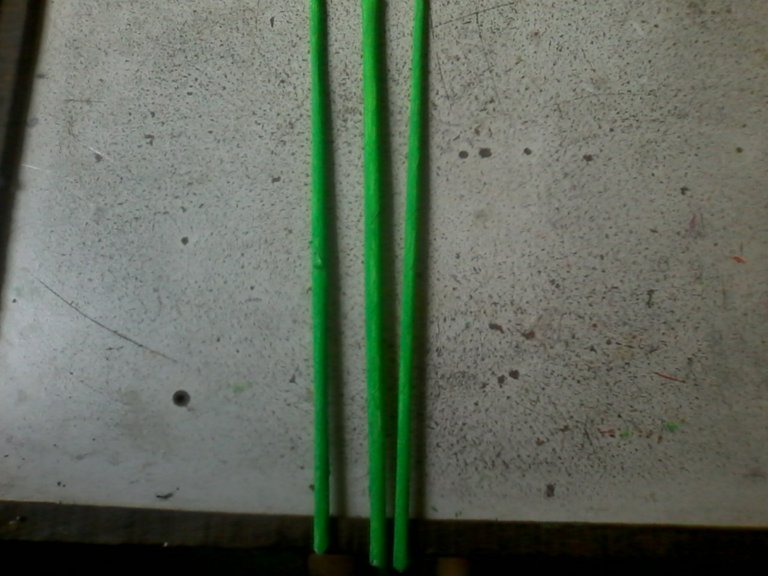
Color with green paint each one of them, which will be the branches of our flowers, we reserve.
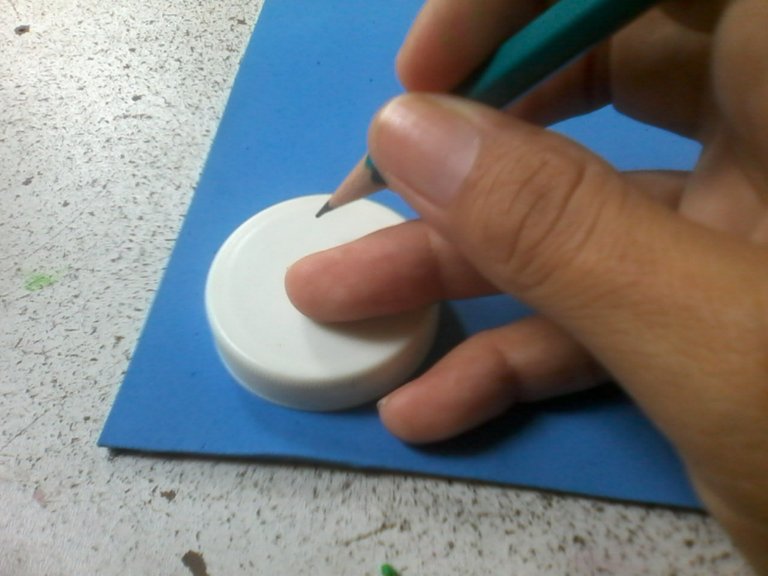
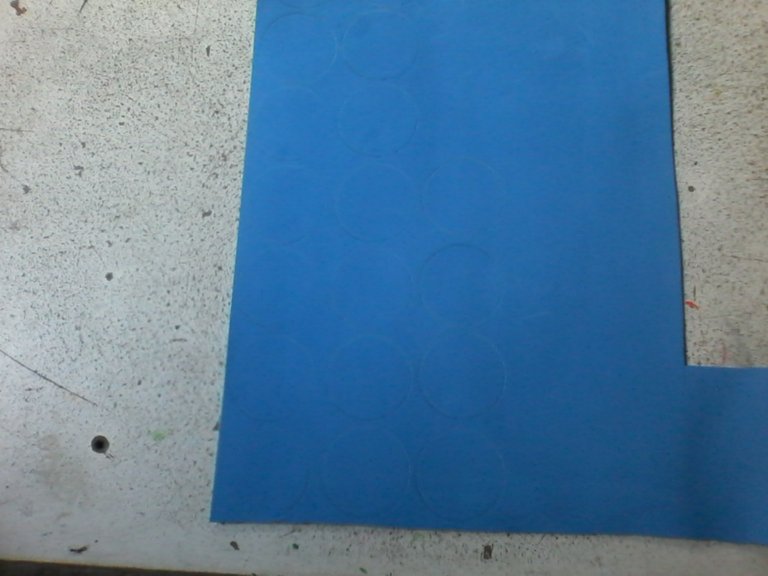
With the base of the lid we make 18 circles, cut and pass on the iron to give the petals a better shape.
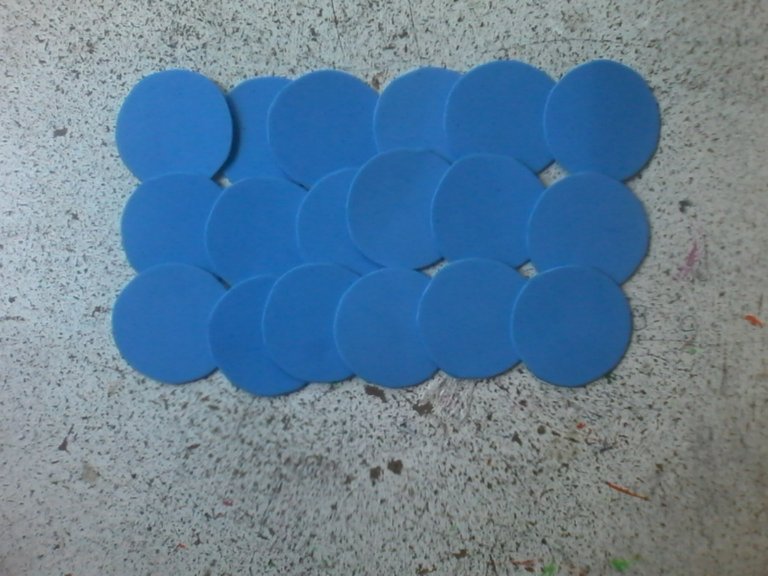
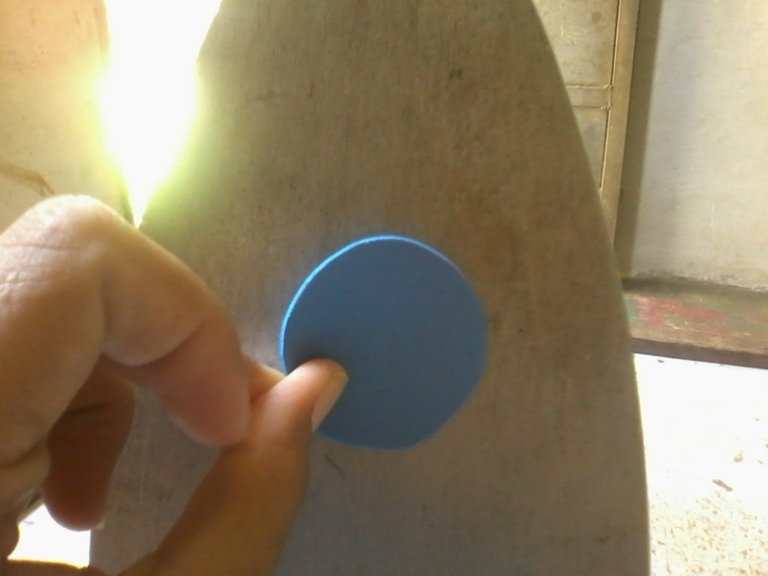
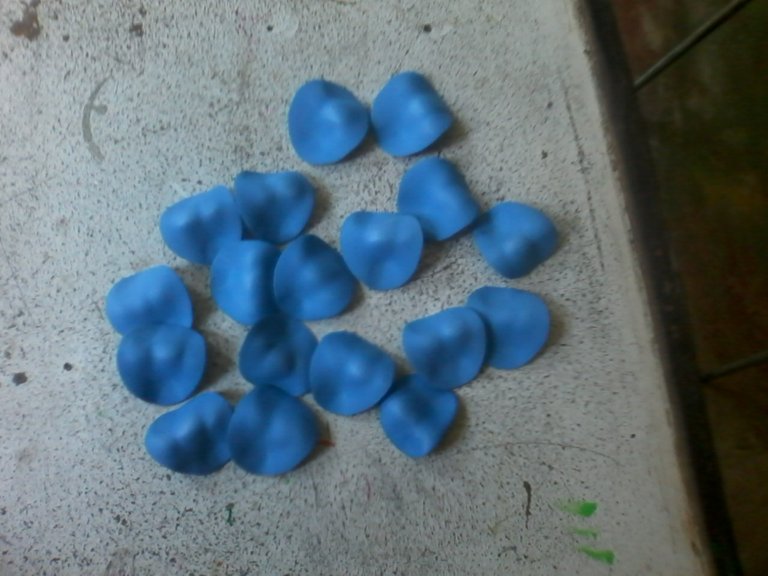
Glue three petals to form six groups, make the pistil to each of the flowers with white paint, let it dry.
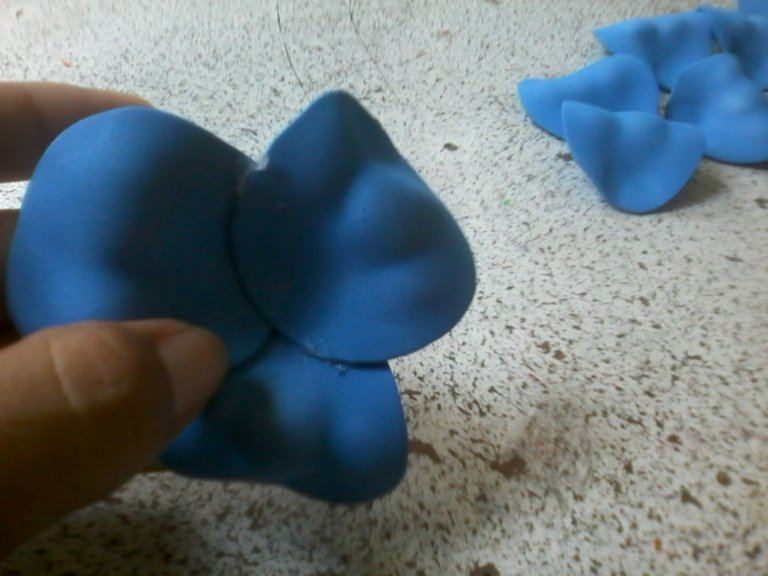
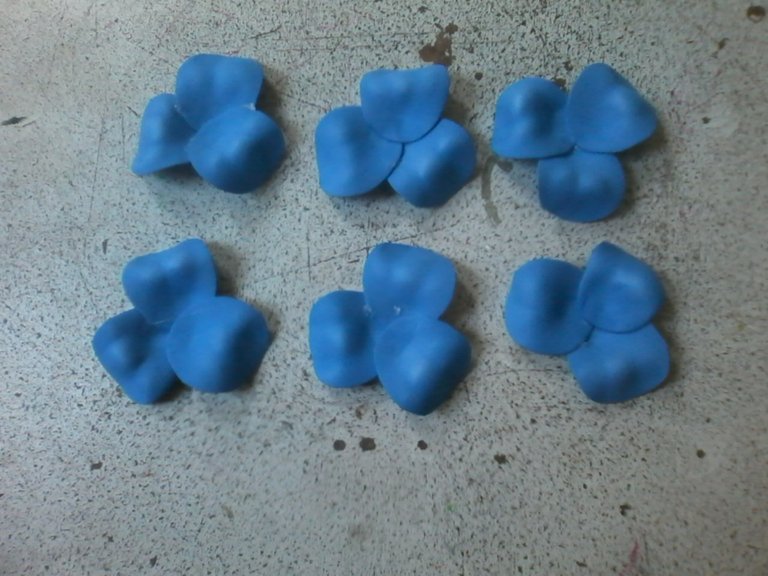
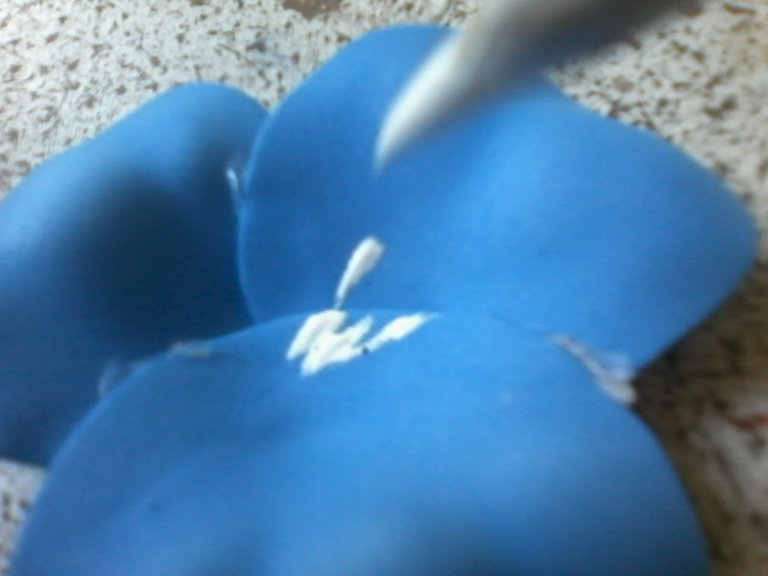
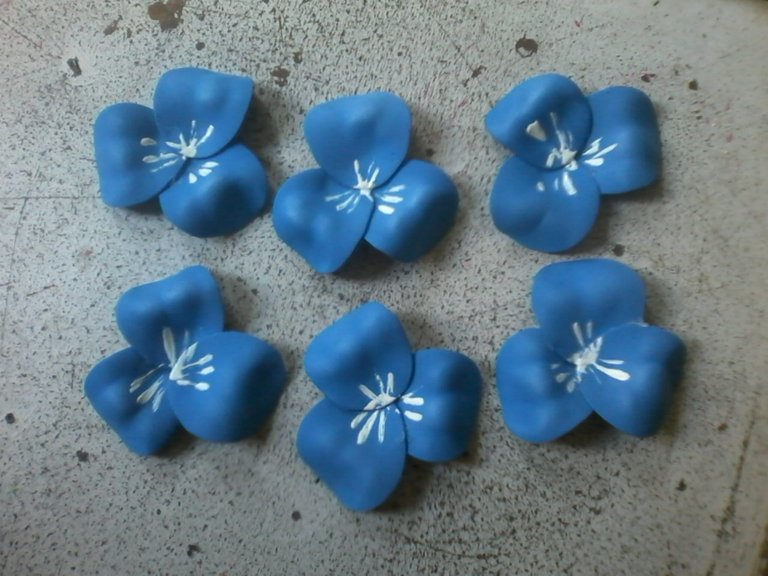
Cut two previously made rolls into three parts each and make a design on the tip to glue the flowers.
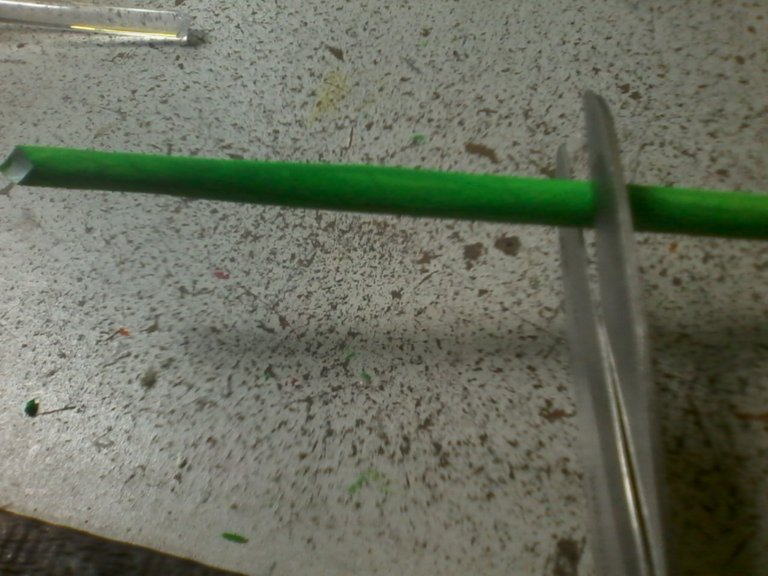
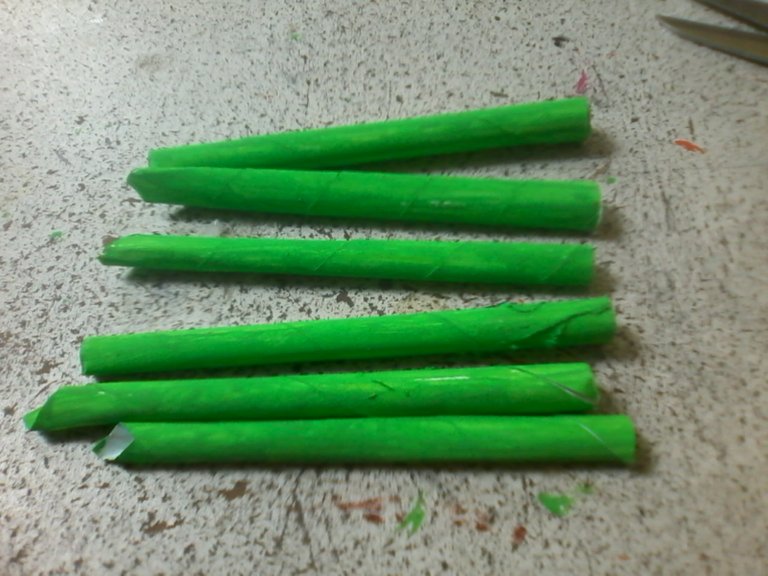
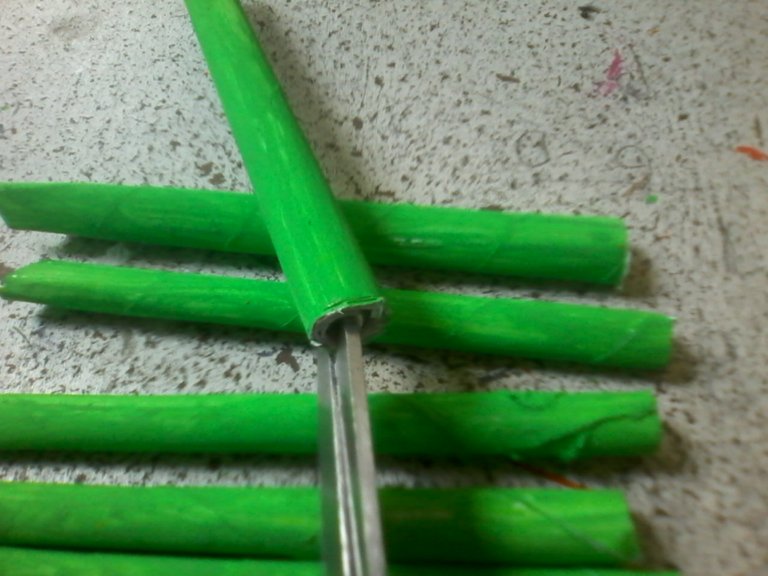
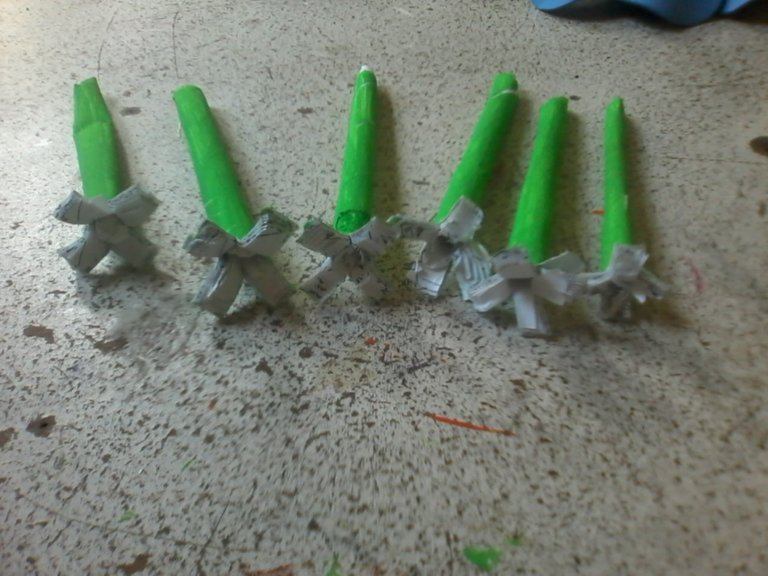
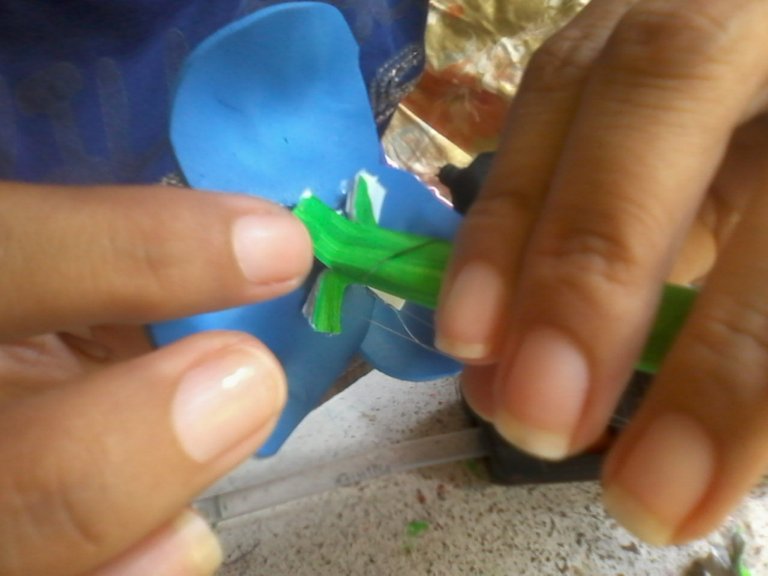
Begin to assemble the bouquet, introducing the first flower on the roll that was not cut and stick the rest around it.
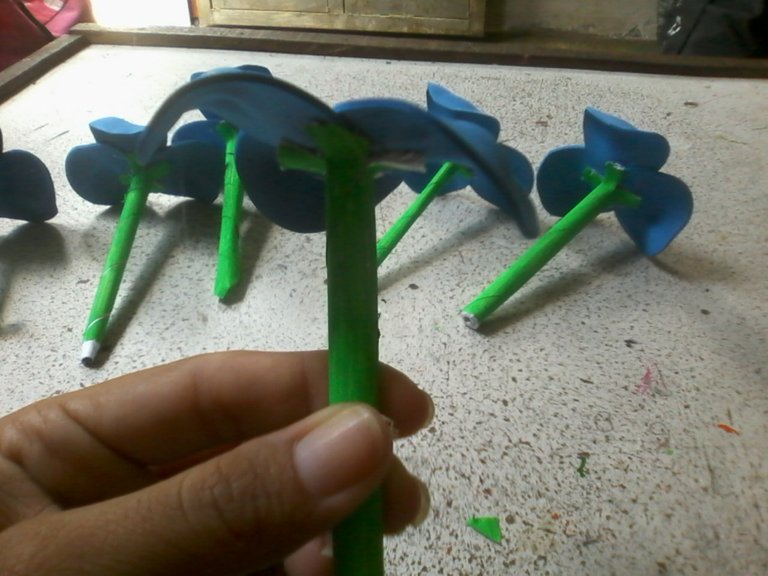
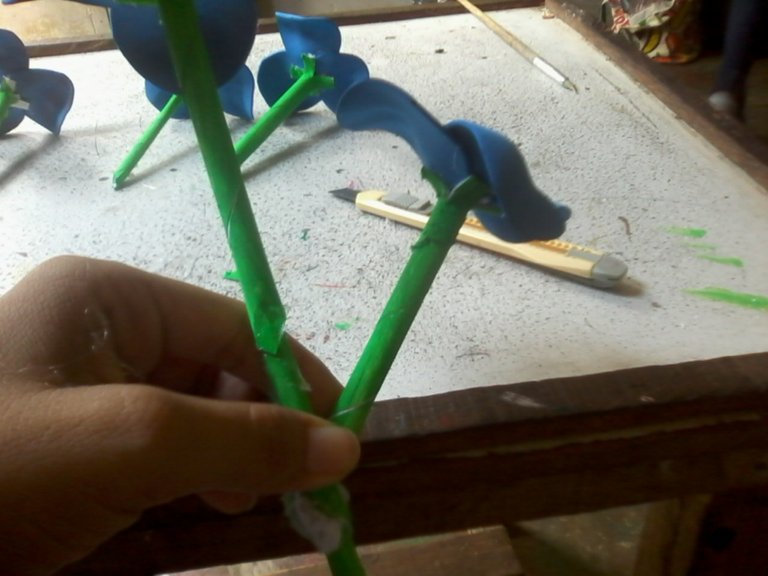
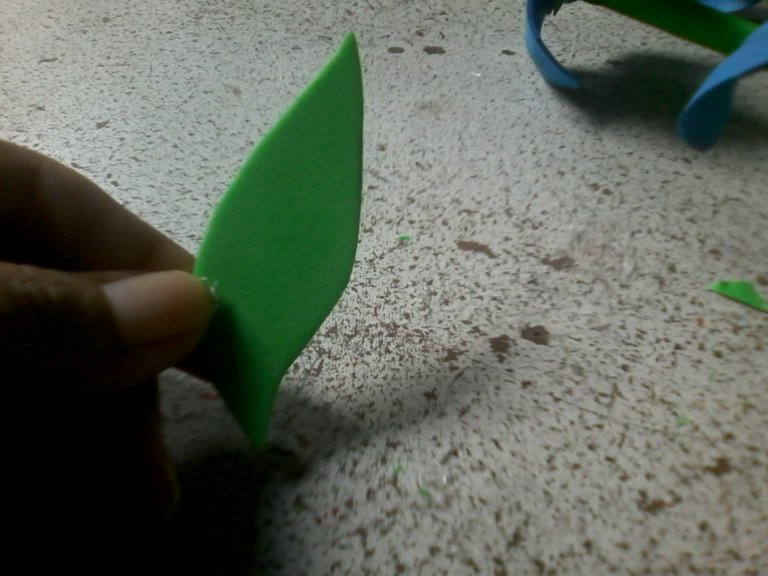
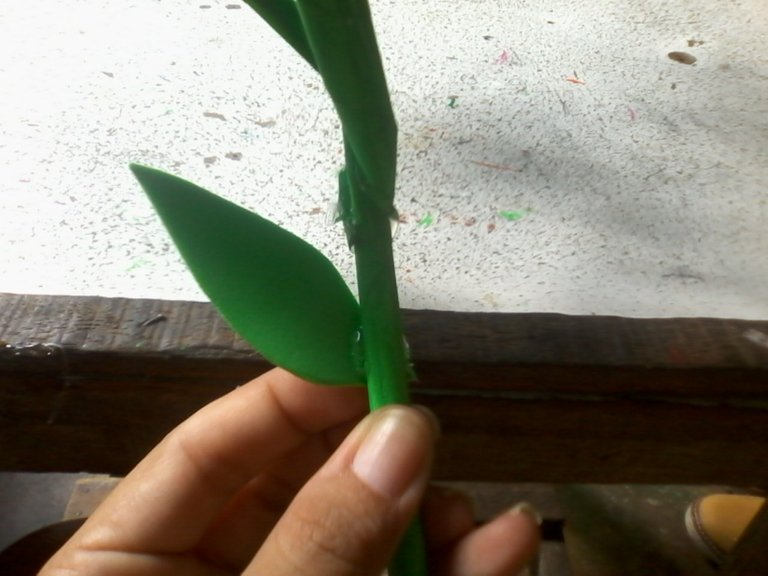
At the end we glue a small sheet of Foami and we have our bouquet of flowers ready.
Gracias por seguir y votar mis publicaciones.
Thank you for following and voting on my posts.

Amiga cómo estás muy bonito quedó tu creatividad de verdad q aya gente q valore de totoriales hechos a mano sigue siendo más saludos
¡Saludos! @loredana72 muchas gracias.
Veo que es fácil de hacer, aunque solo es verlo, porque sé que hacerlo es distinto y un poco complicado, sobre todo por el tamaño... Me gustaría lograr algo como esto pero de tamaño más grande a ver que tal me sale... Gracias por compartir este maravilloso post querida, es un placer. Saludos y bendiciones :)
Your content has been voted as a part of Encouragement program. Keep up the good work!
Use Ecency daily to boost your growth on platform!
Support Ecency
Vote for Proposal
Delegate HP and earn more
Wow, very creative. I like it.
Hola, está muy bello, tiene talento, aunque se ve que le llevó un poco de trabajo, pero el resultado fue estupendo,saludos y feliz noche!!
Thank you for sharing this amazing post on HIVE!
non-profit curation initiative!Your content got selected by our fellow curator @rezoanulvibes & you just received a little thank you via an upvote from our
You will be featured in one of our recurring curation compilations and on our pinterest boards! Both are aiming to offer you a stage to widen your audience within and outside of the DIY scene of hive.
Join the official DIYHub community on HIVE and show us more of your amazing work and feel free to connect with us and other DIYers via our discord server: https://discord.gg/mY5uCfQ !
If you want to support our goal to motivate other DIY/art/music/homesteading/... creators just delegate to us and earn 100% of your curation rewards!
Stay creative & hive on!