Bienvenidos a mi blog / Welcome to my blog
Hello dear community, today I will share with you the step by step of a pencil holder of a cute little bee super easy to make, and which can be done with the little ones of the house. I hope you like it.
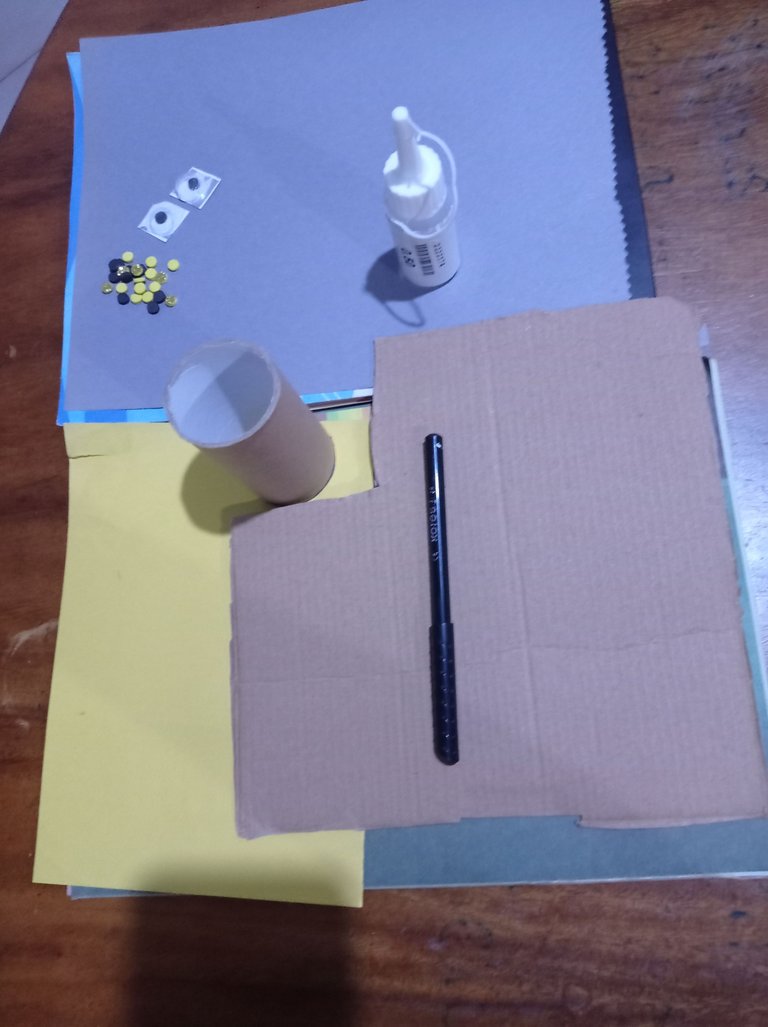
Materiales a utilizar / The materials to use:
- Tijera / Scissors
- Rollo de papel higiénico / Toilet paper roll
- Marcador negro / Black marker
- Lápiz / Pencil
- Silicón líquido / Liquid silicone
- Cartulina de construcción (amarilla, negra y gris) / - Construction paper (yellow, black and gray).
- Ojitos movibles / Movable eyes
- Cartón / Cardboard
- Regla / Rule
Paso a paso / Step by step
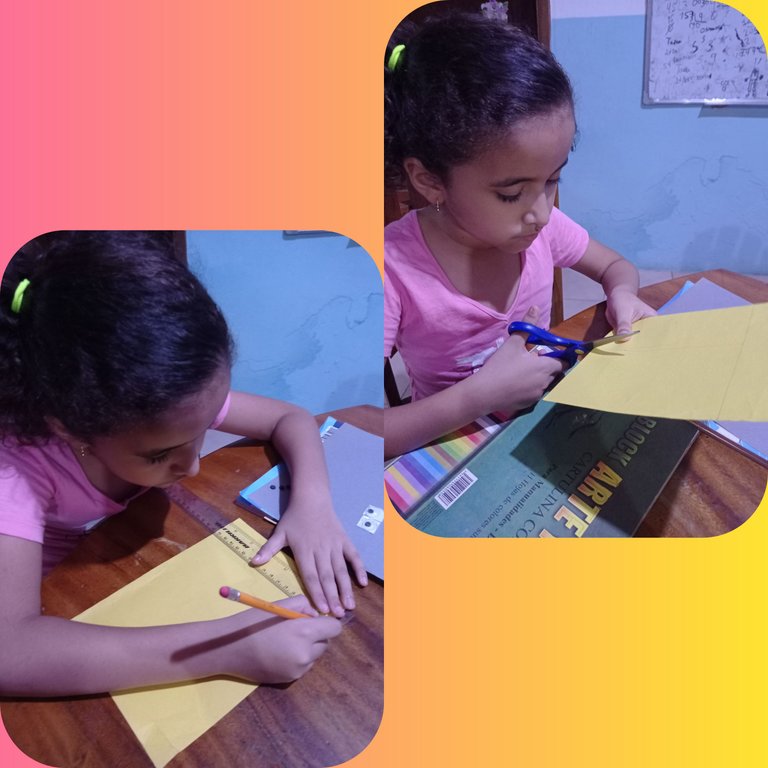
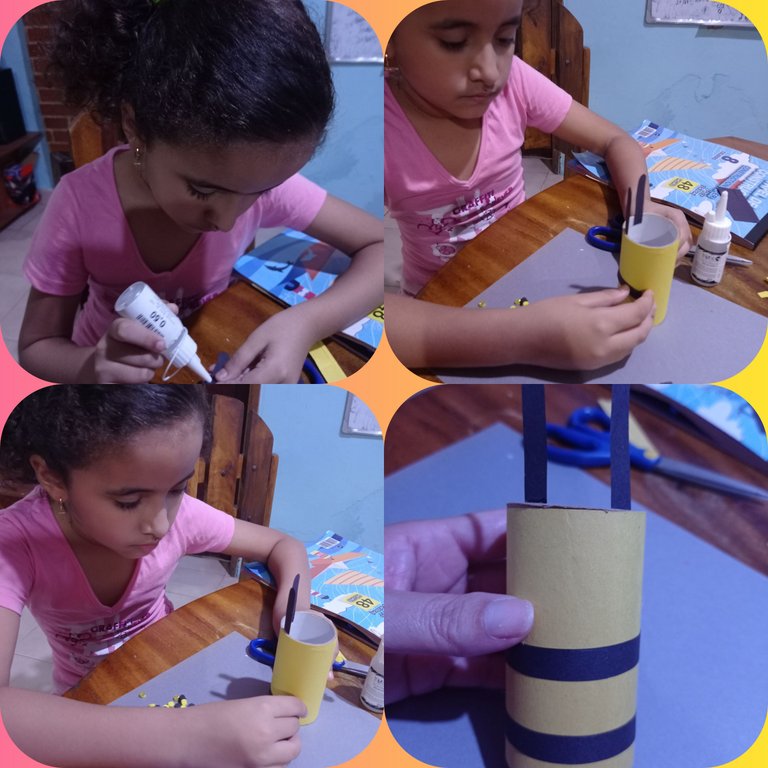
Marcamos la base del portalápices.
We mark the base of the pencil holder.
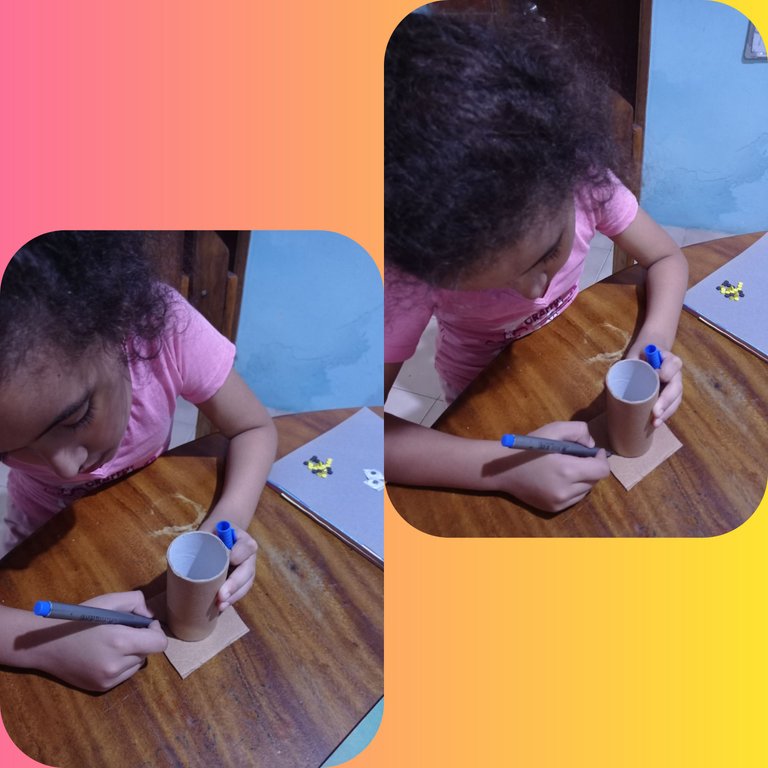
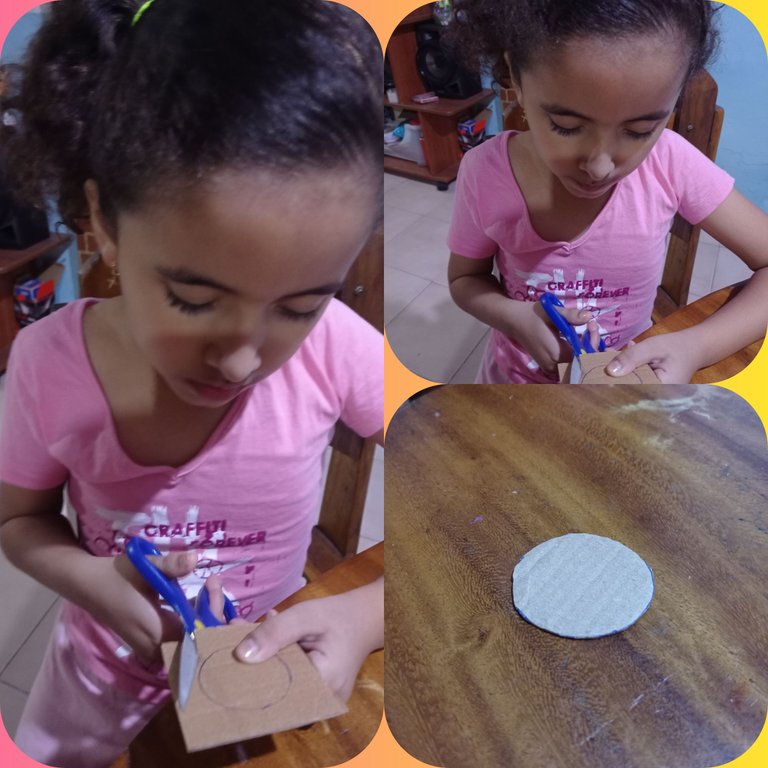
Luego recortamos la base del portalápices.
Then we cut out the base of the pencil holder.
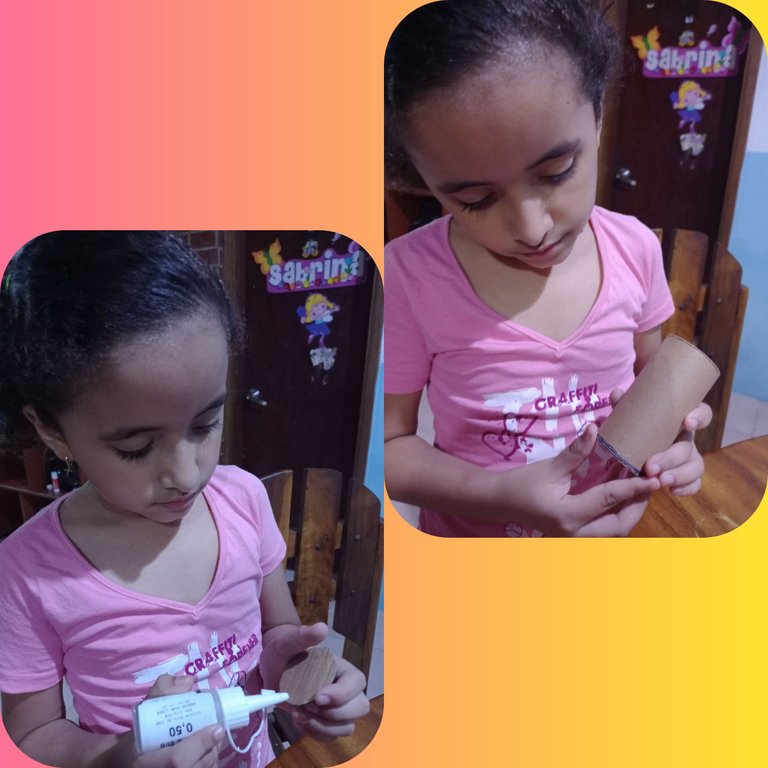
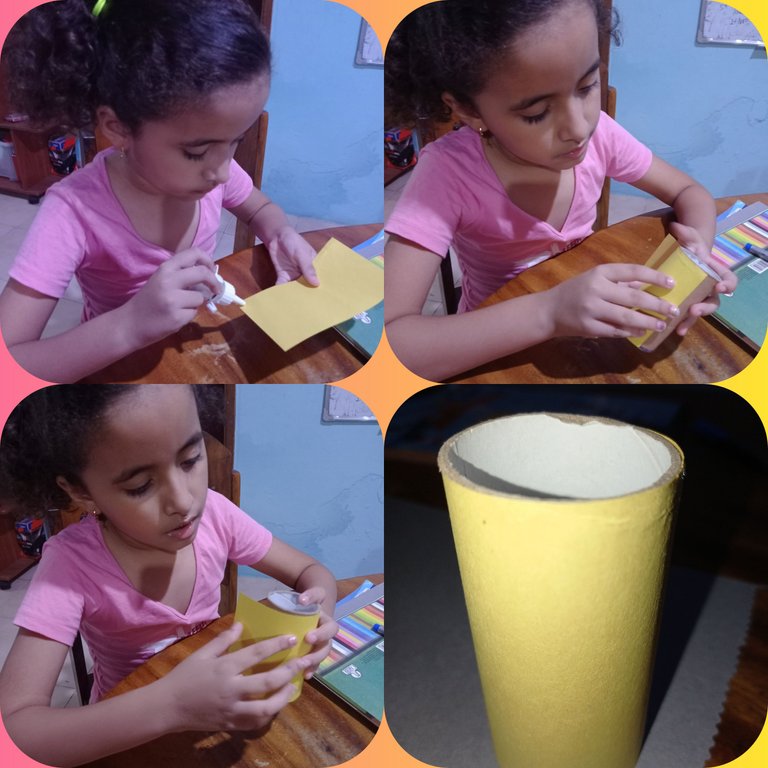
Pegamos la base del portalápices al rollo de papel higiénico.
Glue the base of the pencil holder to the toilet paper roll.
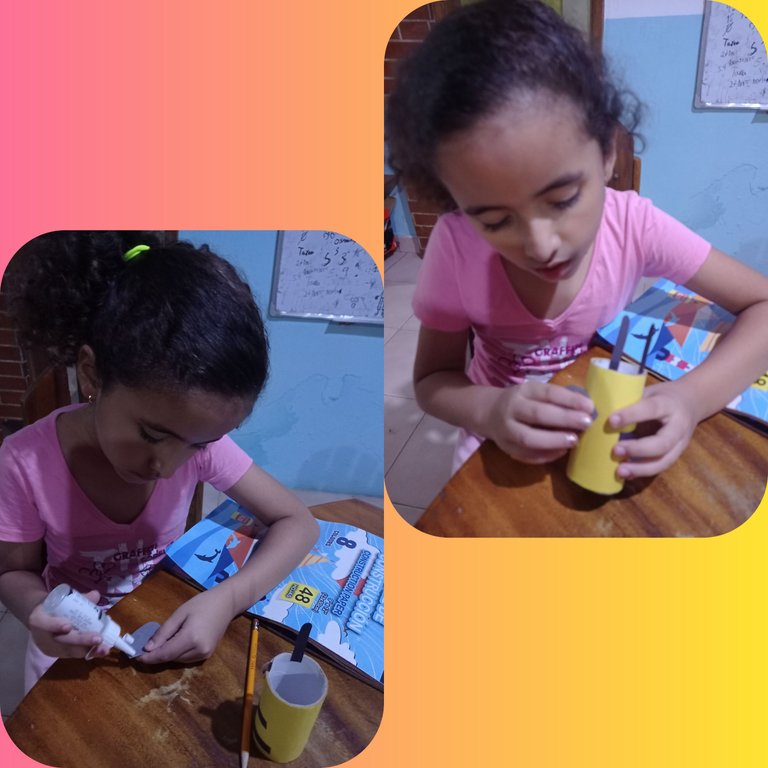
Medimos y cortamos el papel amarillo que cubrirá el rollo de papel higiénico.
We measure and cut the yellow paper that will cover the toilet paper roll.
Luego pegamos el papel amarillo al rollo de papel higiénico.
Then we glue the yellow paper to the toilet paper roll.
Luego con la cartulina negra recortamos las orejas de la abejita.
Then we glue the yellow paper to the toilet paper roll.

Pegamos las orejas a la abejita.
lue the ears to the bee.
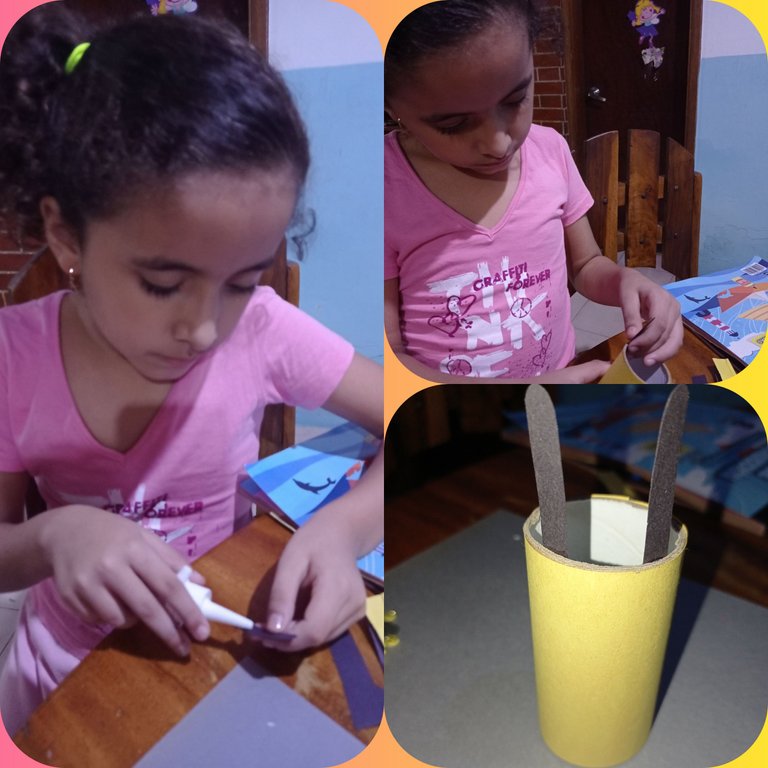
Luego recortamos dos tiras de color negra de un centímetro de ancho que la colocaremos al portalápices.
Then we cut two black strips of one centimeter wide that we will place in the pencil holder.
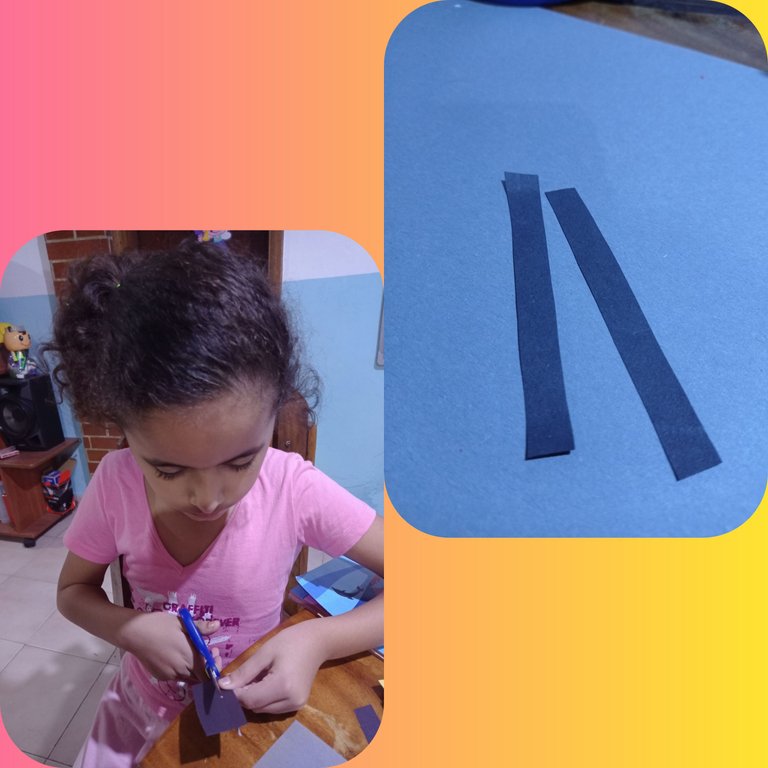
Pegamos las dos tiras como se muestra en la imagen.
Glue the two strips together as shown in the image.
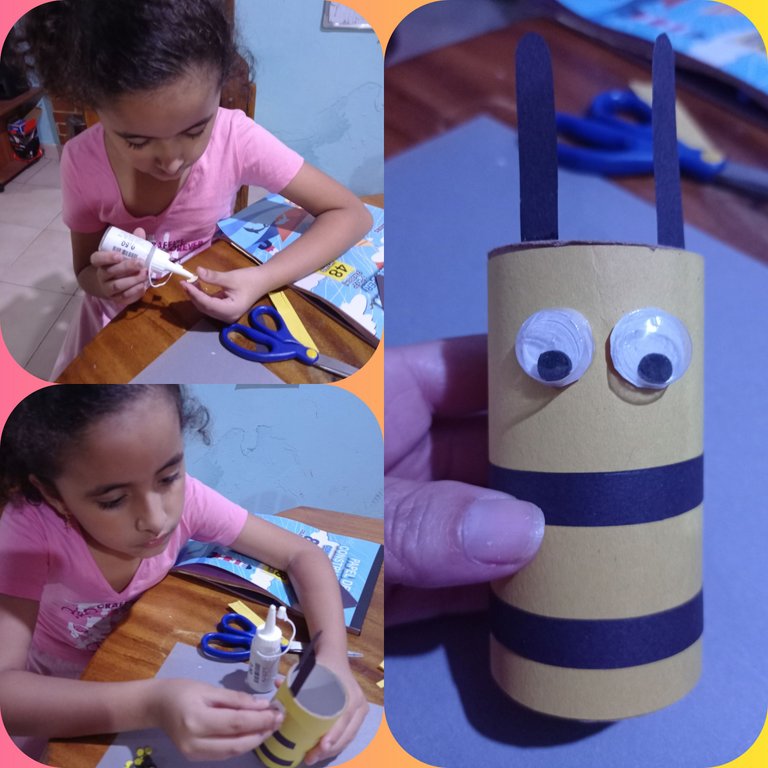
Luego le pegamos los ojitos movibles.
Then we glue the movable eyes.
Con la cartulina gris pintamos las alitas y las recortamos.
With the gray cardboard we paint the wings and cut them out.
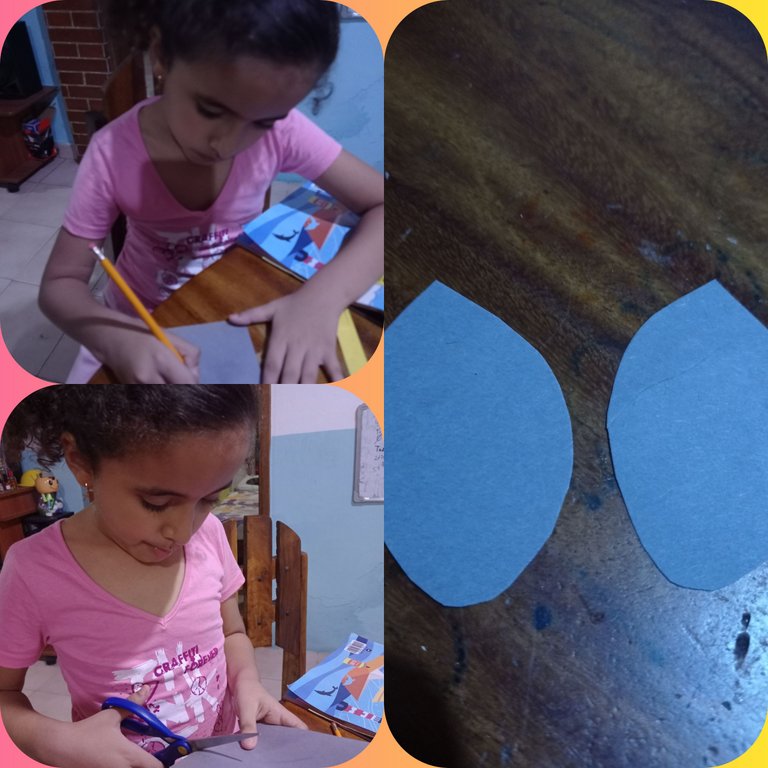
Pegamos las alitas.
Glue the wings.
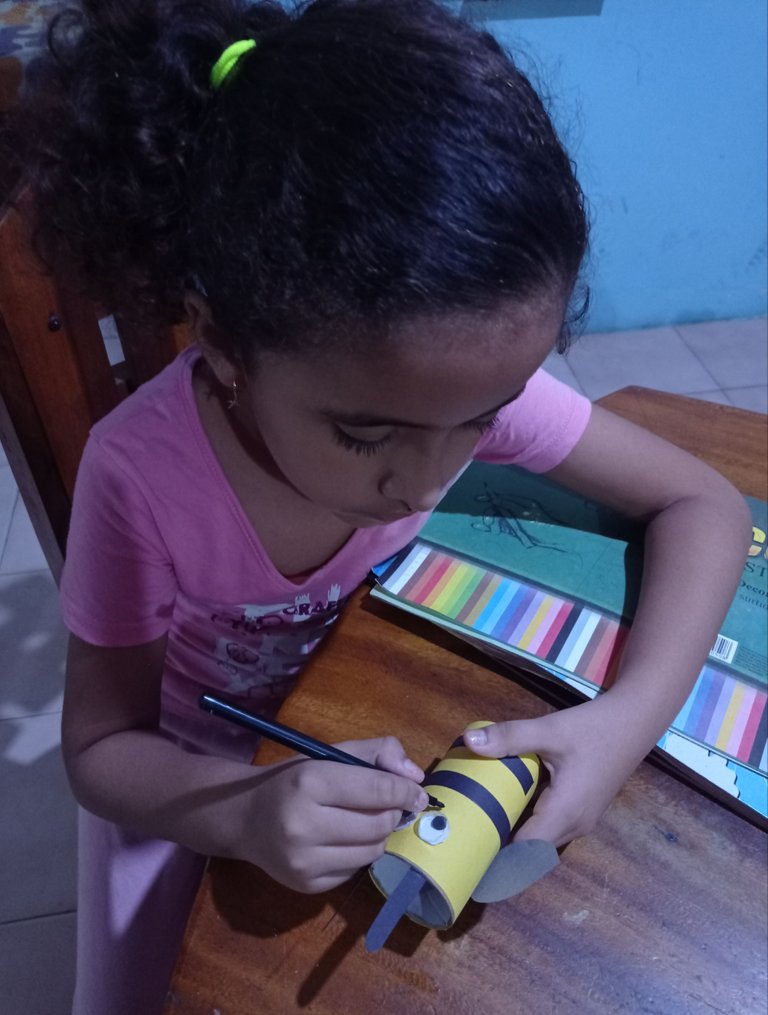
Le pintamos la boquita a la abejita con el marcador negro.
We painted the little bee's mouth with the black marker.
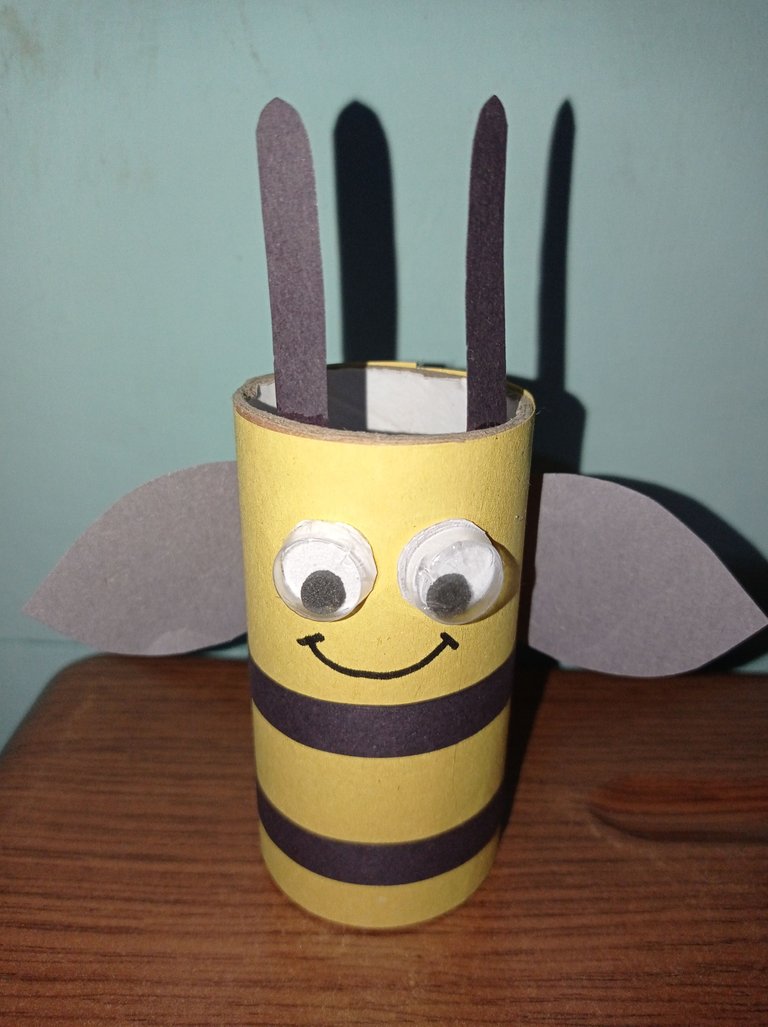
Así nos quedo el portalápices de una linda abejita / This is how we got the pencil holder of a cute little bee.
spanish build-it craft creativity tutorial palnet appreciator blocktrades mom neoxiam
The rewards earned on this comment will go directly to the people( @derppunk ) sharing the post on Twitter as long as they are registered with @poshtoken. Sign up at https://hiveposh.com.
Su post ha sido valorado por @goya