Desde que era bastante joven me gustaba hacer manualidades, recuerdo que cuando estaba en preparación para hacer la primera comunión; una de las actividades que realizamos eran obras con material reciclable, ya sean figuras de papel o cosas ma elaboradas. Lo cierto es que era lo que más me gustaba de todo ese proceso de aprendizaje y me lo disfruté muchísimo.
[eng]Since I was quite young I liked to do crafts, I remember when I was preparing to make my first communion; one of the activities we did were works with recyclable material, whether paper figures or more elaborate things. The truth is that it was what I liked the most of the whole learning process and I enjoyed it very much.
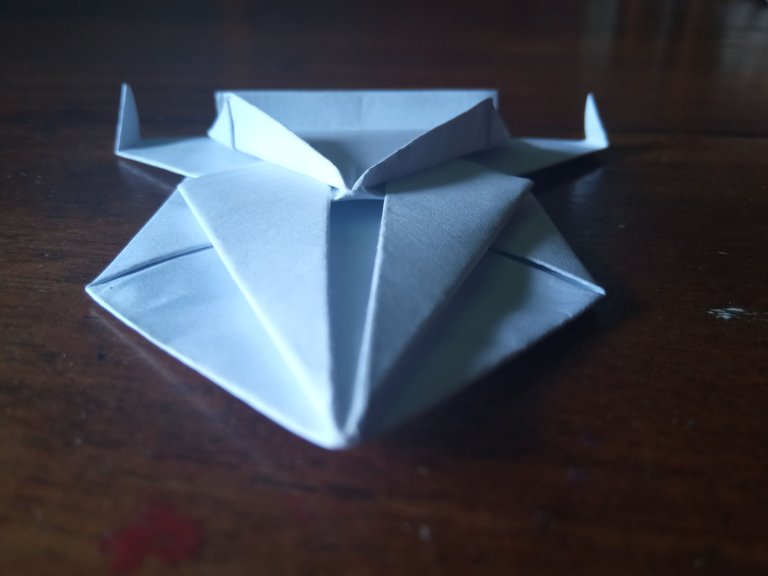
Con el tiempo siempre fui buscando alguna razón para seguir realizándolas, ya sea temporadas festivas o para colaborar para algún evento. Cuando inicié acá en Hive comencé algunos origami, todo surgió porque estaba enfermo y la verdad debía guardar el mayor reposo posible, así que no podía salir a tomar fotos para crear contenido referente a fotografía. El día de hoy les traigo un origami muy sencillo de hacer y la verdad uno bastante atractivo para los más pequeños de la casa, ya que podrán inventarse mil historias con esta nave espacial de papel.
[eng]Over time I was always looking for a reason to continue making them, either holiday seasons or to collaborate for an event. When I started here at Hive I started some origami, it all came about because I was sick and the truth is I had to keep as much rest as possible, so I could not go out to take pictures to create content related to photography. Today I bring you a very simple origami to make and the truth is a very attractive one for the little ones of the house, since they will be able to invent a thousand stories with this paper spaceship.
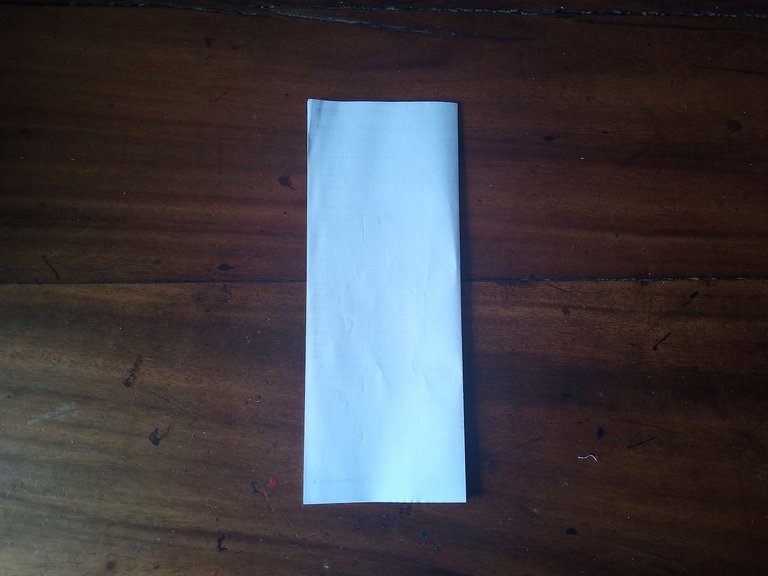
🔹Lo único que necesitaremos en una hoja de papel y las ganas de querer realizarlo. Lo primero en hacer es doblar la hoja en sentido vertical por la mitad.
[eng]The only thing we will need is a sheet of paper and the desire to do it. The first thing to do is to fold the sheet vertically in half.

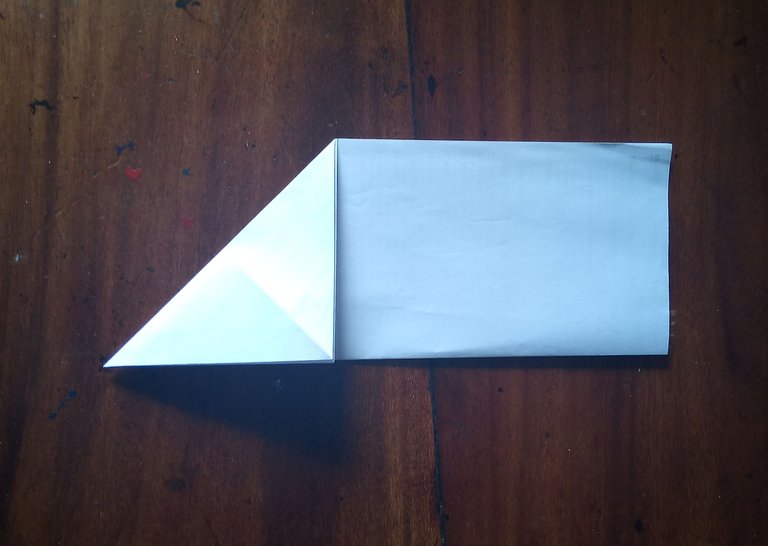
🔹Hecho esto vamos a doblar en forma de triángulo los extremos de un lado para ambas partes, como se muestra en las fotos.
[eng]Once this is done, we will fold in a triangle shape the ends of one side for both parts, as shown in the photos.
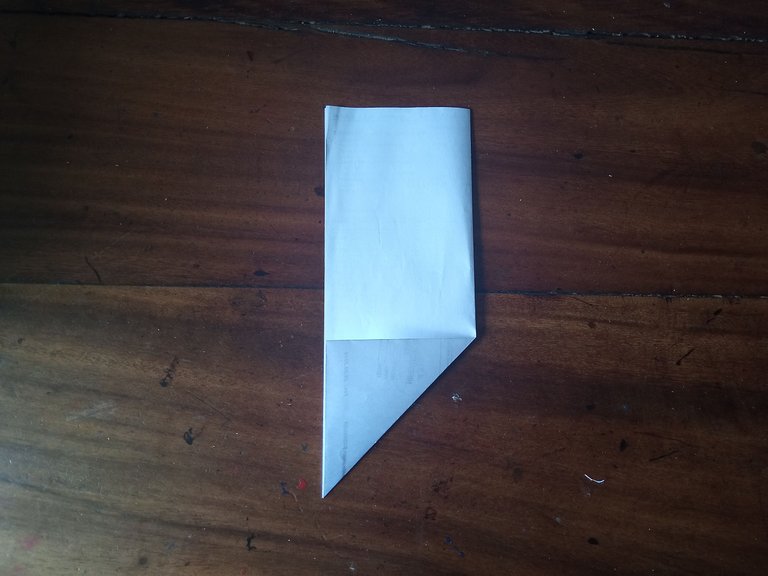
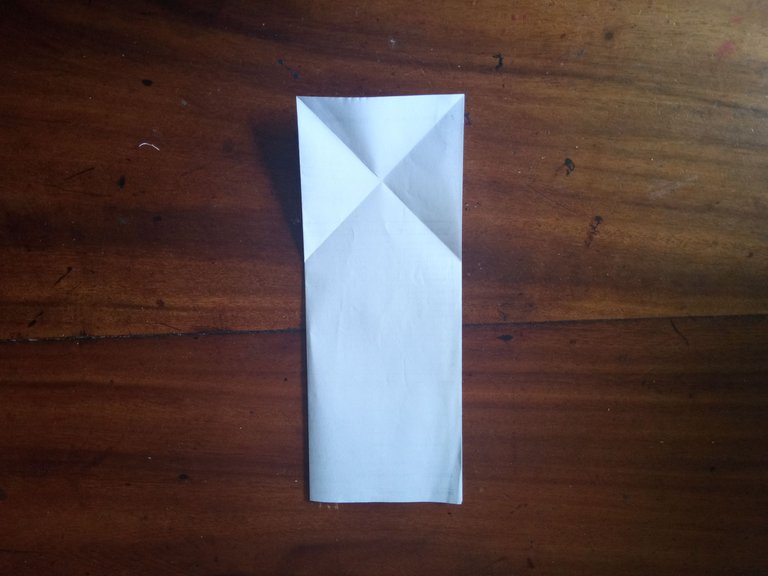
🔹Ahora buscaremos tener una forma de pirámide entre los doblés que hemos realizado para que nos queden de la siguiente manera.
[eng]Now we will try to have a pyramid shape between the folds that we have made so that they look like this.
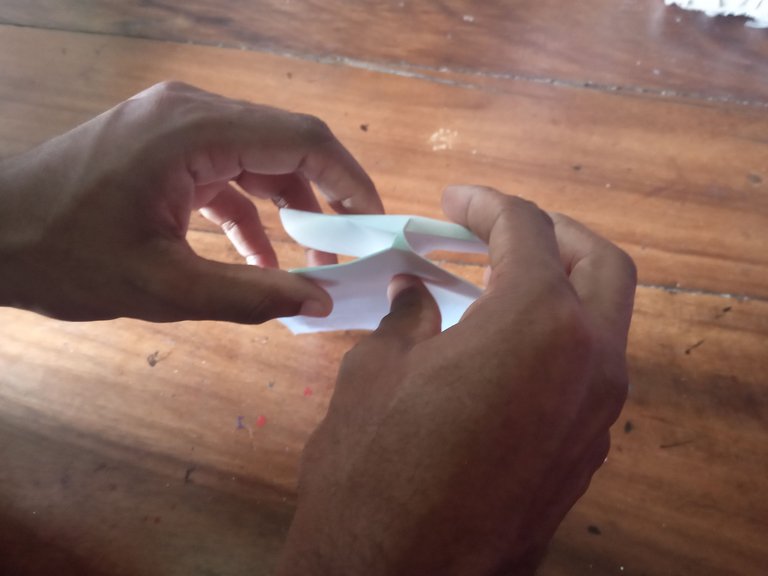
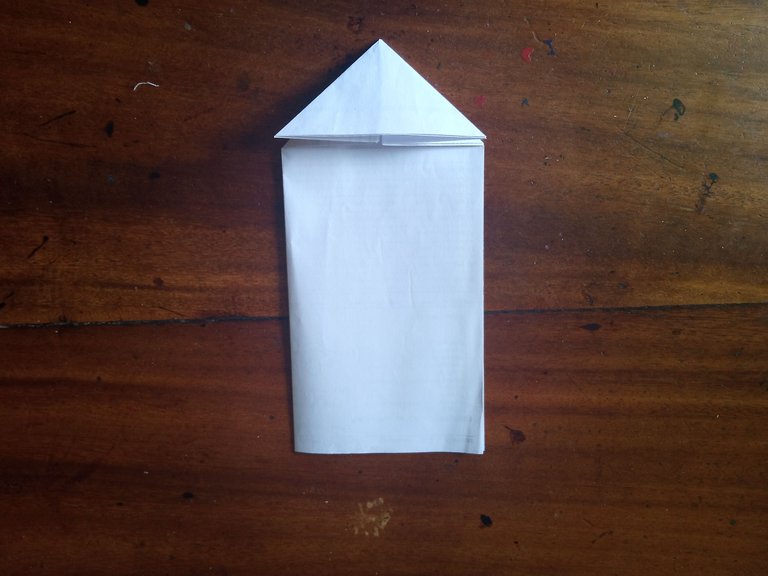
🔹Vamos a repetir el mismo proceso por el lado de abajo de la hoja.
[eng]We will repeat the same process on the underside of the sheet.
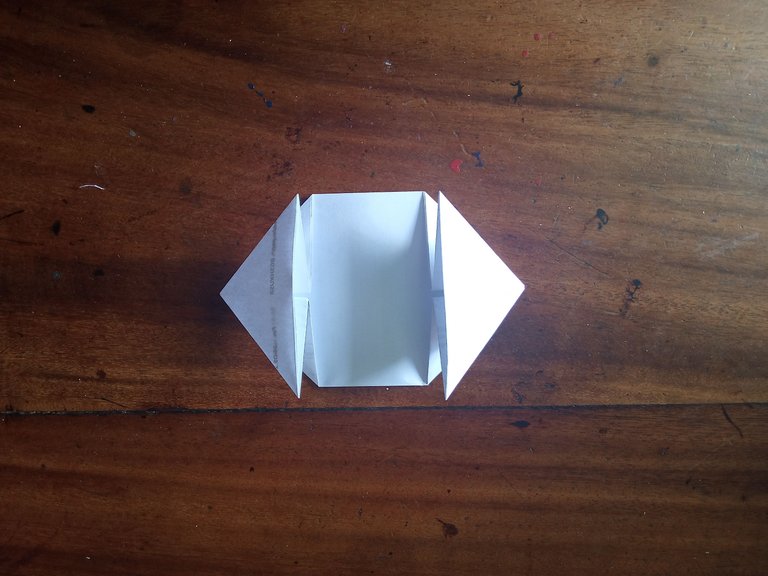
🔹Luego de haber realizado lo anterior, ahora vamos a echar hacia un lado las dos orejas que tenemos de la pirámide para poder doblar el extremo hacia adentro, justamente a la mitad como se ve en las imágenes. Repetimos el proceso por el otro lado.
[eng]After having done the above, now we are going to pull to one side the two ears that we have made of the pyramid to be able to fold the end inwards, just in the middle as shown in the pictures. Repeat the process on the other side.
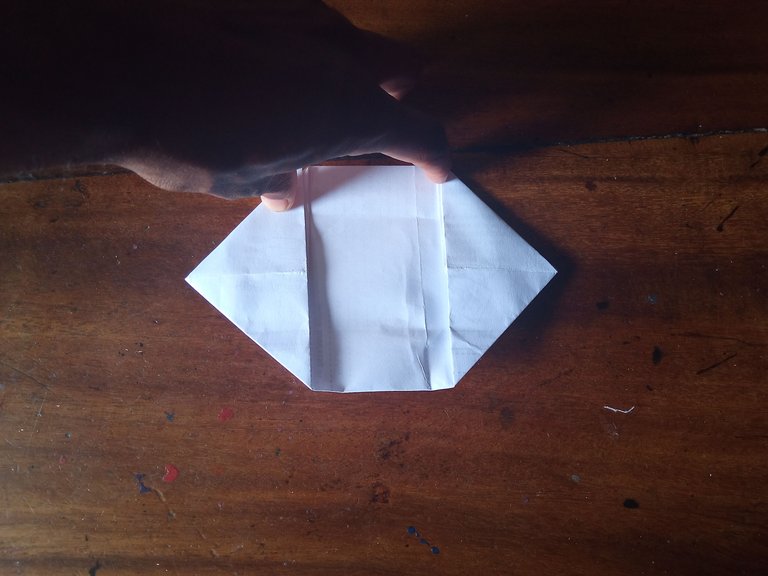
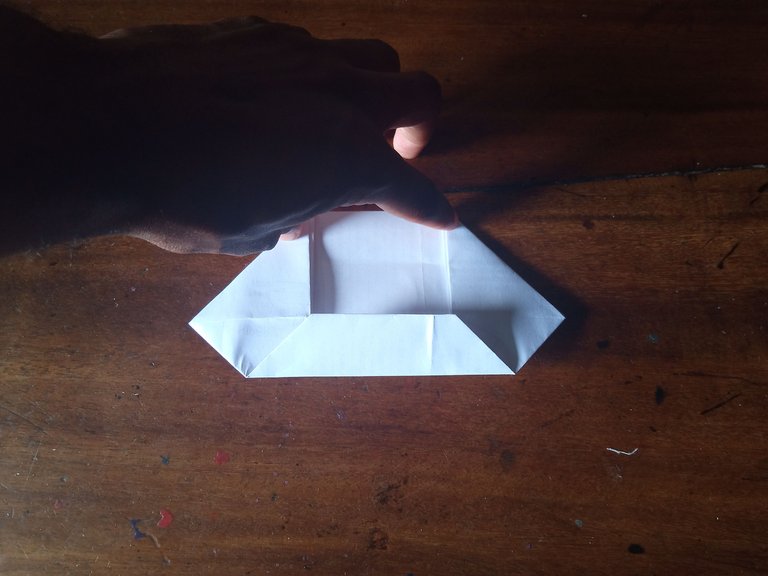
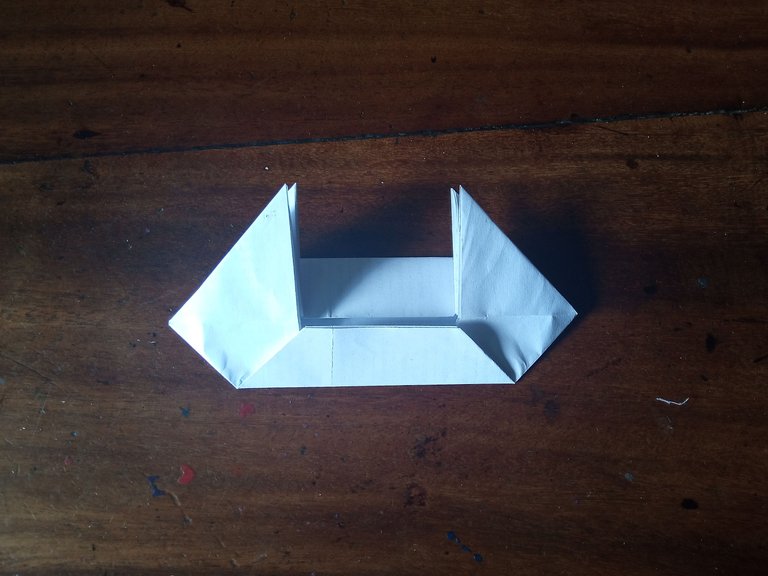
🔹Nos debería quedar de esta manera.
[eng]It should look like this.
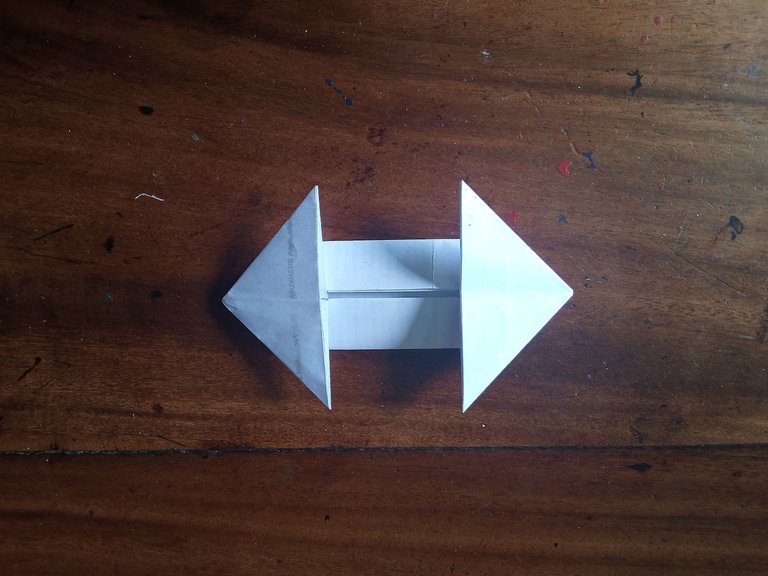
🔹Lo siguiente es doblar una de las puntas un poco más adelante del inicio de la otra, como se aprecia en la foto. Al hacer esto debemos apretar bastante duro.
[eng]The next thing to do is to bend one of the ends a little ahead of the beginning of the other, as shown in the photo. When doing this we must squeeze quite hard.
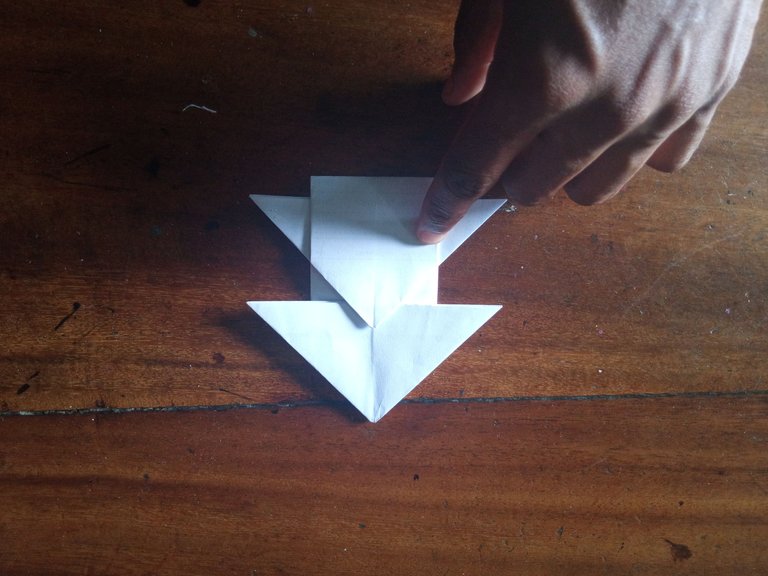
🔹En la punta de nuestra nave nos vamos a encontrar con dos orejitas las cuales vamos a doblar hacia abajo en manera diagonal. Luego de eso la vamos aguardar en los los huequitos que tenemos justo abajo del límite a dónde quedaron las alas que doblamos anteriormente.
[eng]At the tip of our ship we will find two little ears which we will fold down diagonally. After that we are going to hold it in the little holes that we have just below the limit where the wings that we folded previously were.
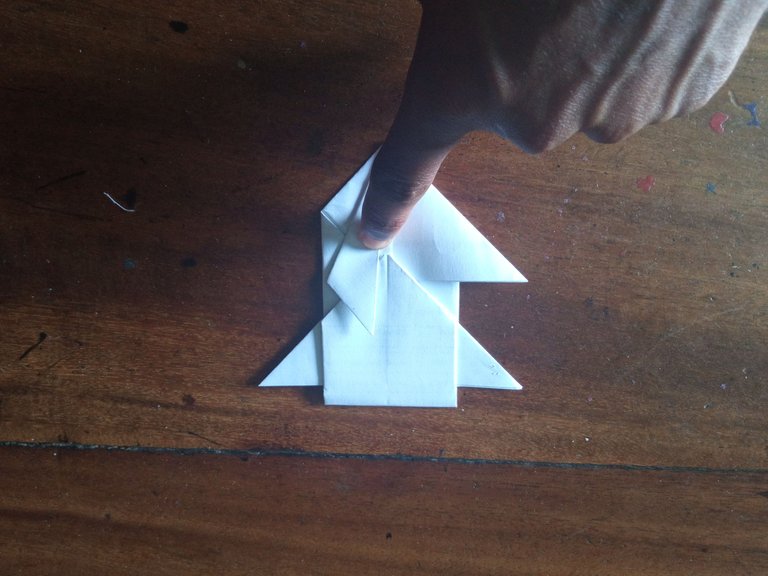
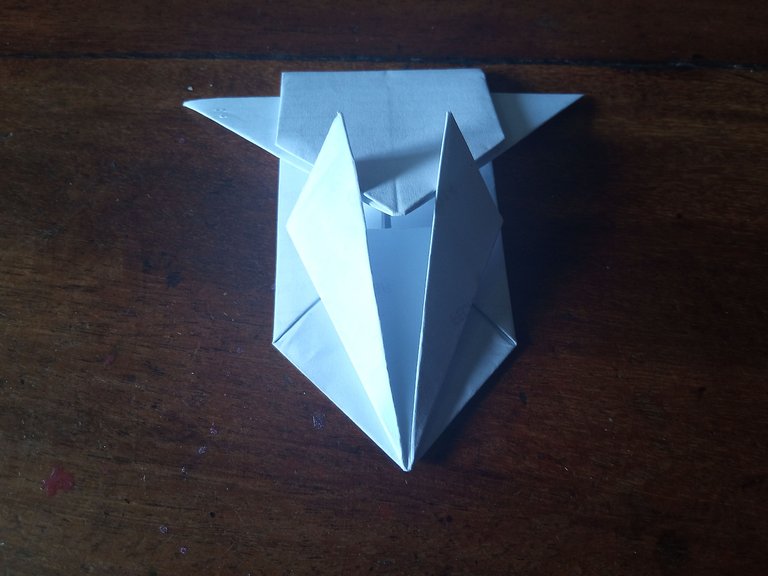
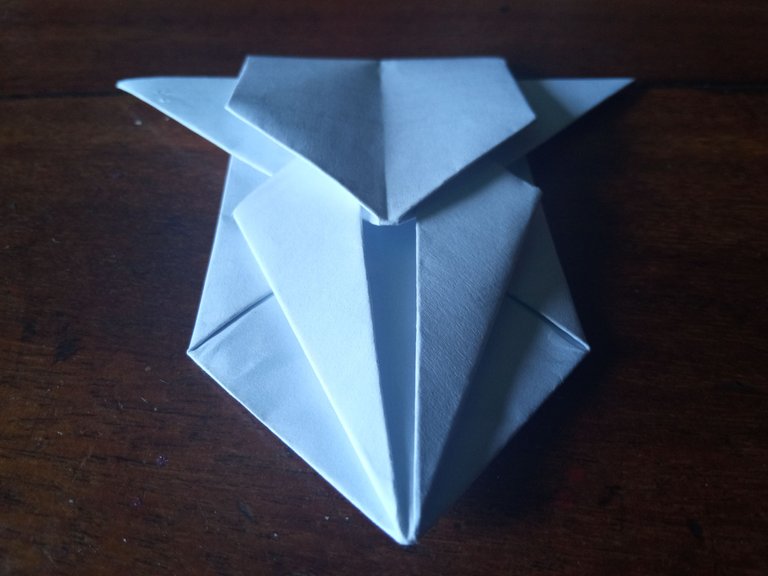
🔹Haremos ahora un alerón en la parte inferior, el límite no nos la va marcar ma misma forma de la nave; lo apretamos duro ya que el papel en este punto está bastante grueso.
[eng]We will now make an aileron at the bottom, the limit will not be marked by the shape of the ship itself; we press it hard because the paper at this point is quite thick.
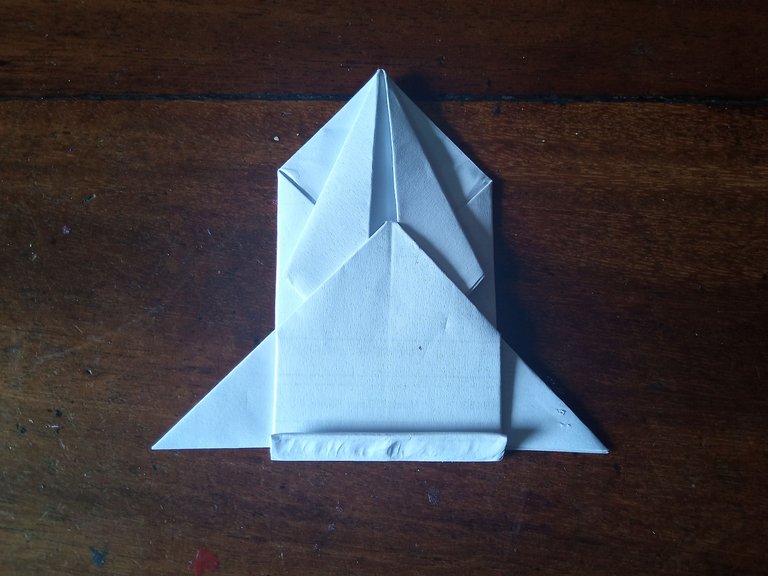
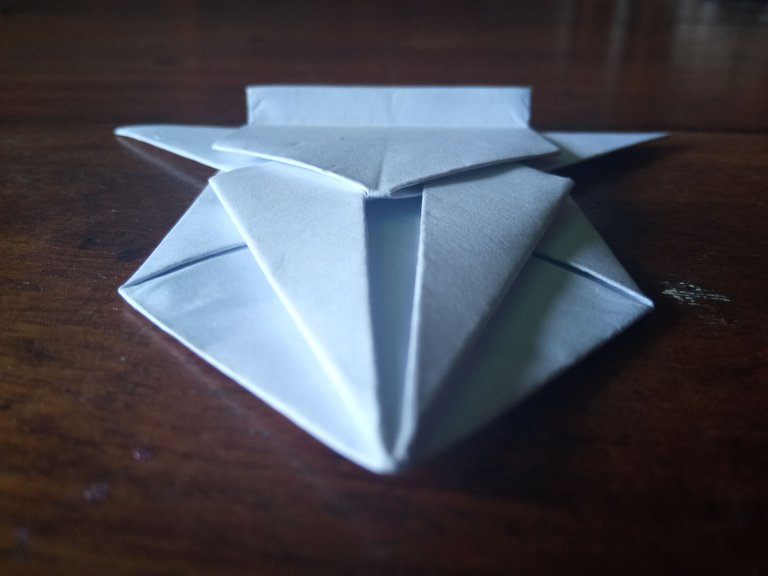
🔹Doblaremos hacia afuera los dos extremos del casco ubicado en la parte de arriba. Lo haremos de manera diagonal y apretando duro.
[eng]We will fold out the two ends of the hull located at the top. We will do it diagonally and squeezing hard.

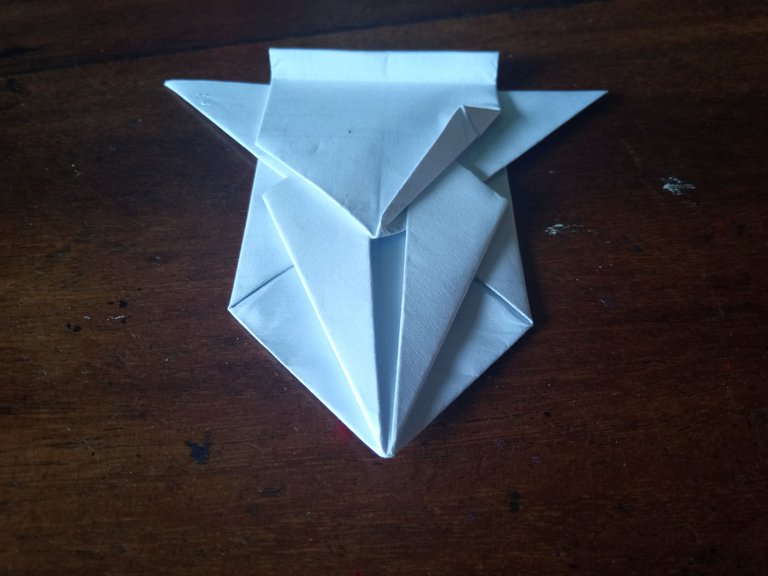
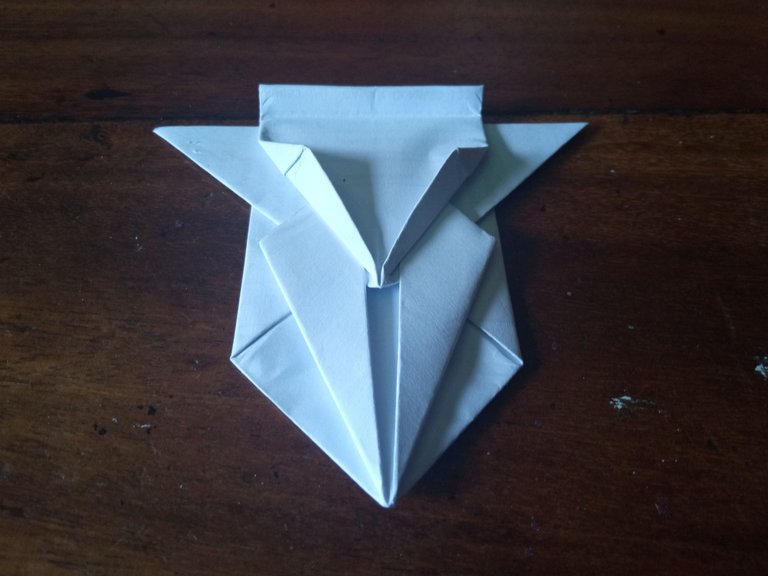
🔹Por último vamos a doblar las puntas de la ala de nuestra nave espacial un centímetro hacia adentro y las paramos para que al final obtengamos está forma bastante atractiva y galáctica.
[eng]Finally we are going to bend the wing tips of our spacecraft one centimeter inward and stop them so that at the end we get this quite attractive and galactic shape.
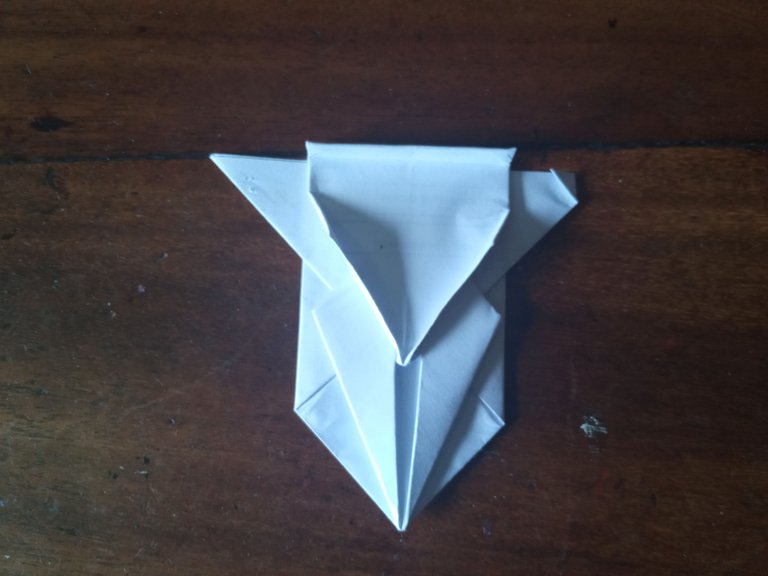
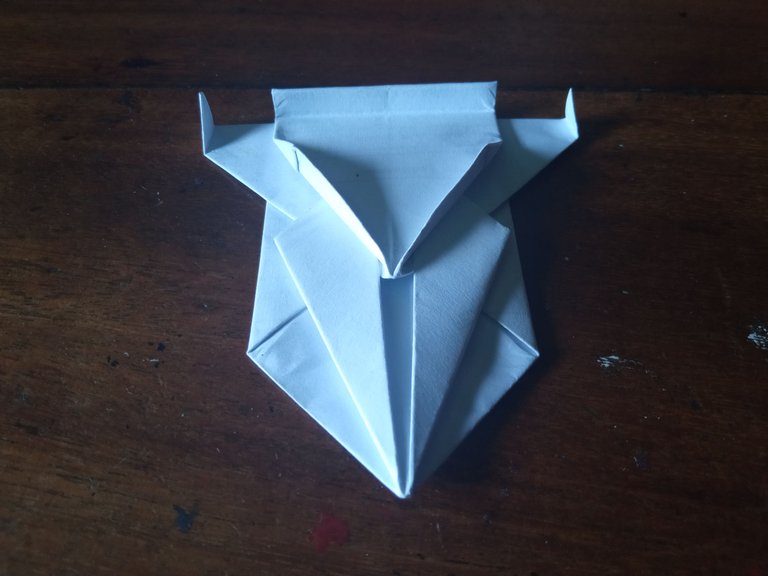
🔹Ahora le pedí el favor a mi sobrina que la pintara para darle un poco de vida y hacerla más interesante.
[eng]Now I asked my niece to paint it to give it some life and make it more interesting.
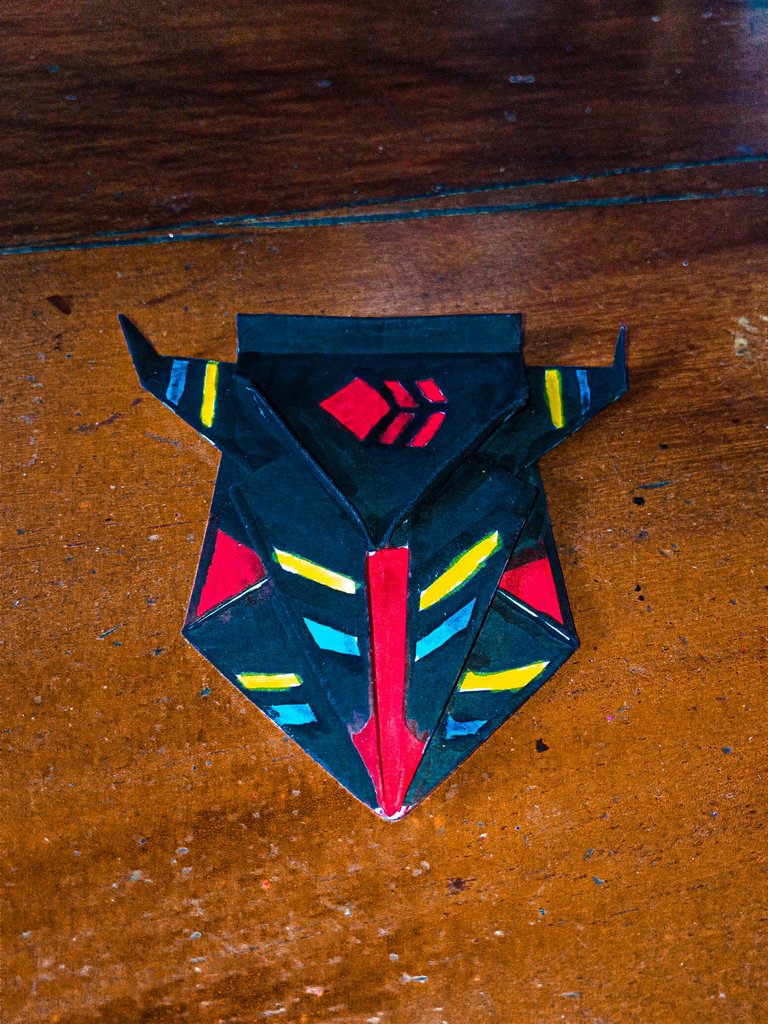
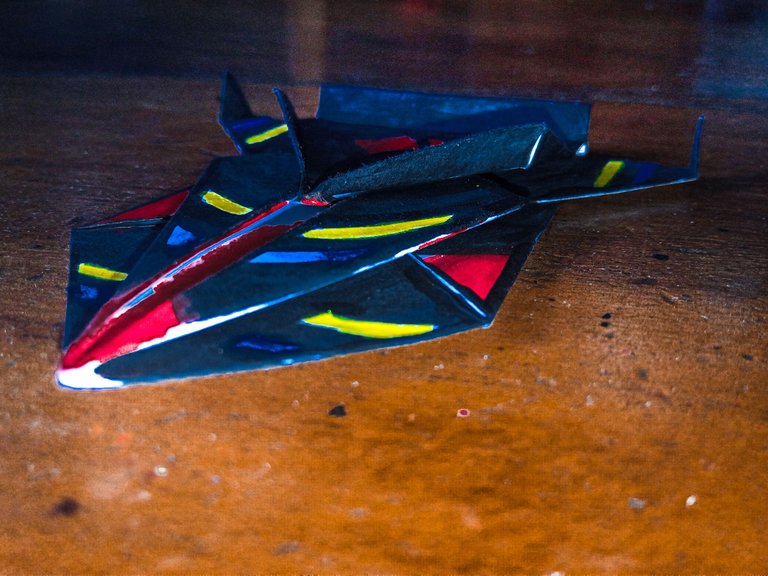
Cómo se pudieron dar cuenta es súper sencilla de realizar y estoy seguro que los más pequeños se van a divertir pero muchísimo con ella. Te invito a que la realices en casa y comentes sus resultados acá abajo en el post.
[eng]As you can see, it is very easy to make and I am sure that the little ones will have a lot of fun with it. I invite you to make it at home and comment on the results here below in the post.
Si te gusto esta públicación déjamelo saber en los comentarios. Sigue aportando tu granito de arena para que sigamos creciendo como comunidad y haciendo cosas muy interesantes. Que Dios me los bendiga siempre Hivers, hasta un próximo post.
[esp] If you liked this publication let me know in the comments. Keep contributing with your grain of sand so we can keep growing as a community and doing very interesting things. God bless you always Hivers, see you in the next post.

¡Quedó muy bien! Yo nunca fui bueno para hacer figuras con papel, en general soy muy malo para las manualidades. Me gustó que agregaste el logo de Hive y los colores están geniales. Parece una nave del juego F-Zero de Nintendo.
A mí siempre me han gustado las manualidades, cuando tengo un poco de tiempo libre me pongo con mi sobrina a enseñarle un poco y pasar un rato diferente. Si se parece mucho a ese juego jeje por eso me decidí hacerla. Gracias por comentar @eddiespino