Hola amigos #Hivers, feliz sábado para todos.
Hoy quiero compartir con ustedes un practico tutorial utilizando material reciclable ideal para decorar espacios en nuestra casa, esta idea creativa es fácil y económica de hacer espero puedan realizarla.
Hello friends #Hivers, happy Saturday to all.
Today I want to share with you a practical tutorial using recyclable material ideal for decorating spaces in our home, this creative idea is easy and inexpensive to make I hope you can do it.
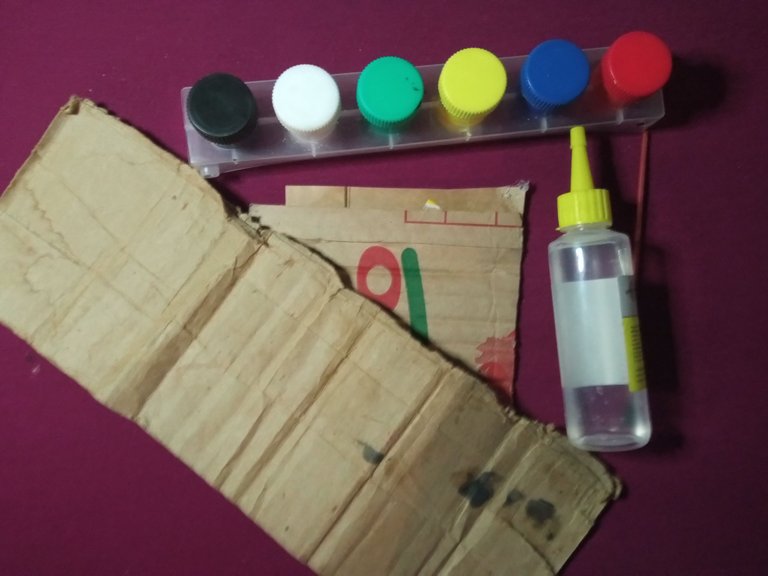
Materiales utilizados en la elaboración:
Cartón
Pegamento
Pintura
Pincel
Tijera
Materials used in the elaboration:
Cardboard
Glue
Paint
Brush
Scissors
Pasos a realizar | Steps to be taken
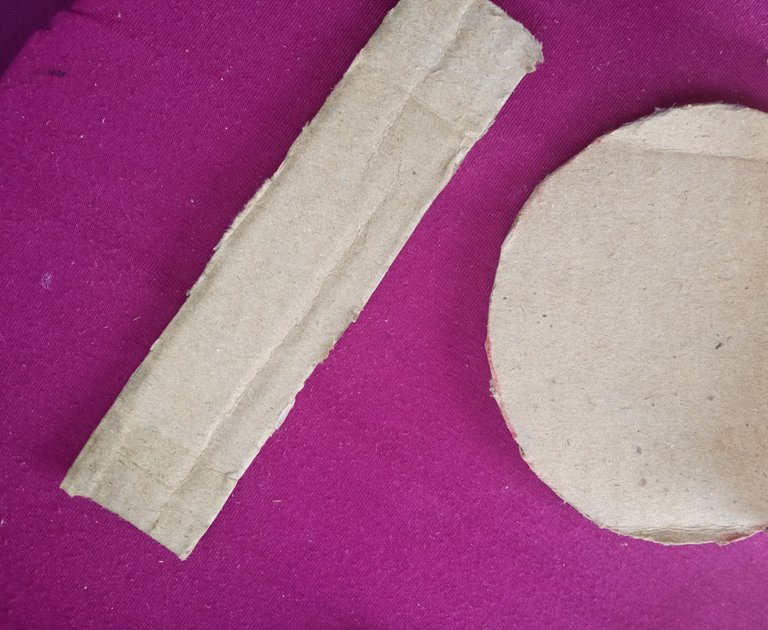
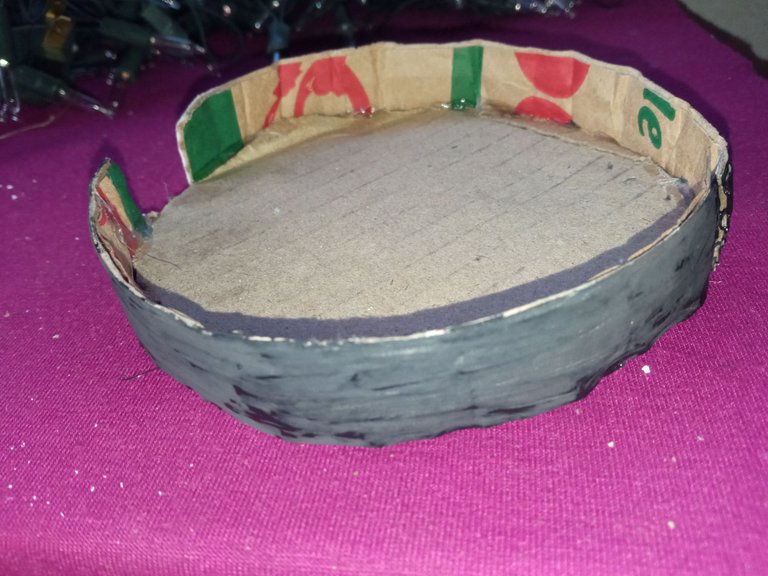
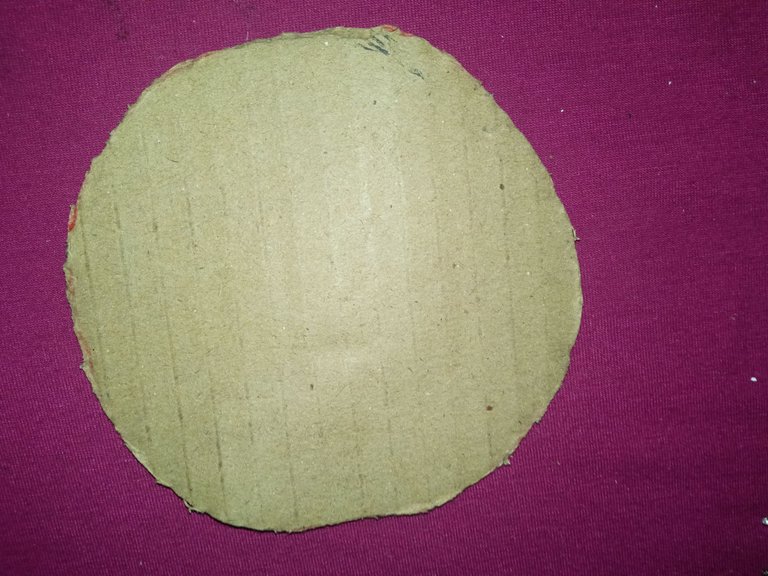
Comenzamos recortando un circulo de cartón y una tira.
We start by cutting out a cardboard circle and a strip.
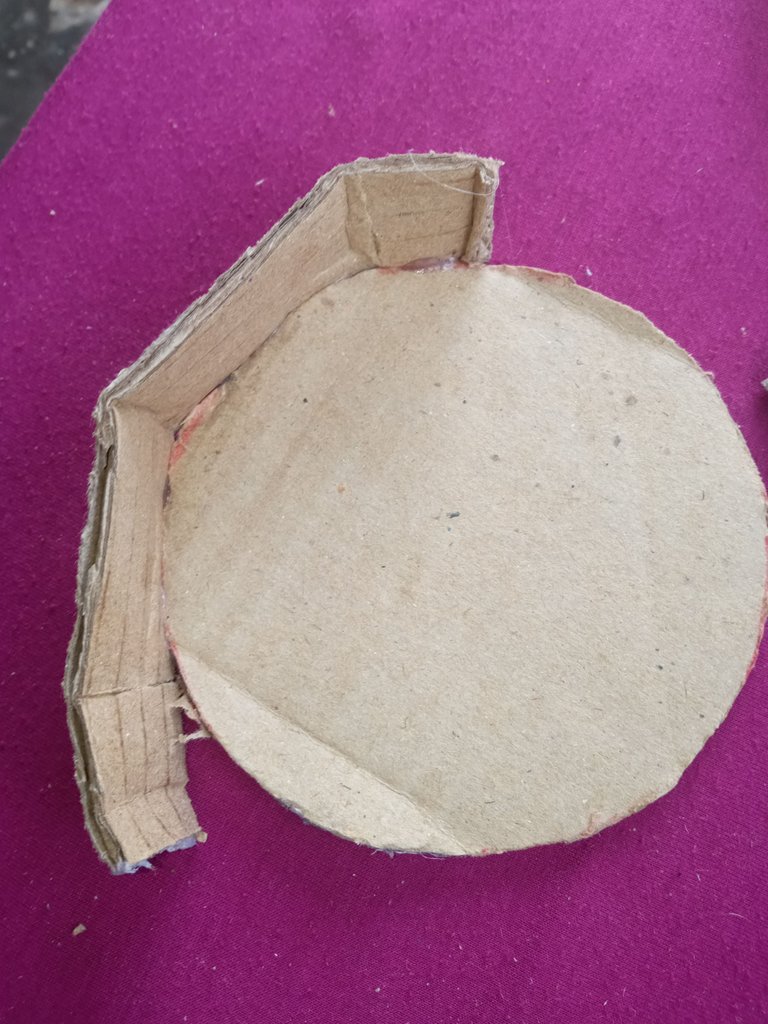
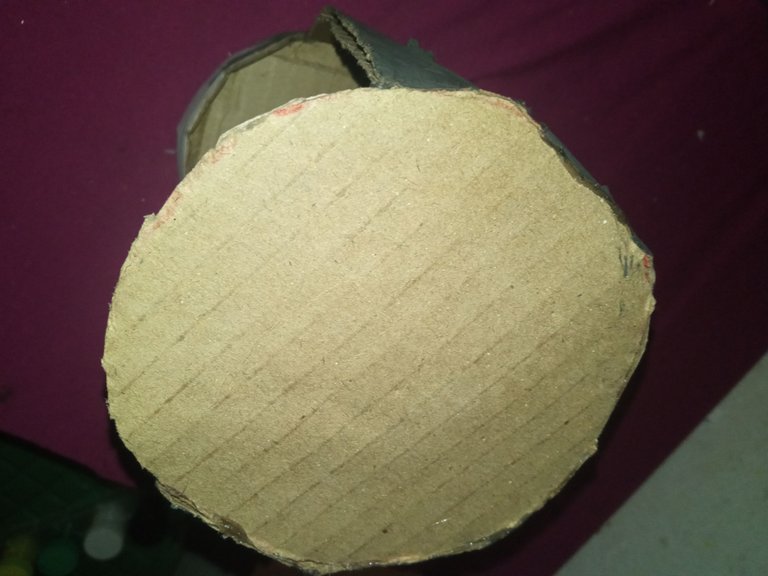
Pegamos la tira de cartón al circulo si vemos que no alcanza recortamos otra tira y pegamos.
Glue the cardboard strip to the circle if we see that it is not enough we cut another strip and glue it.
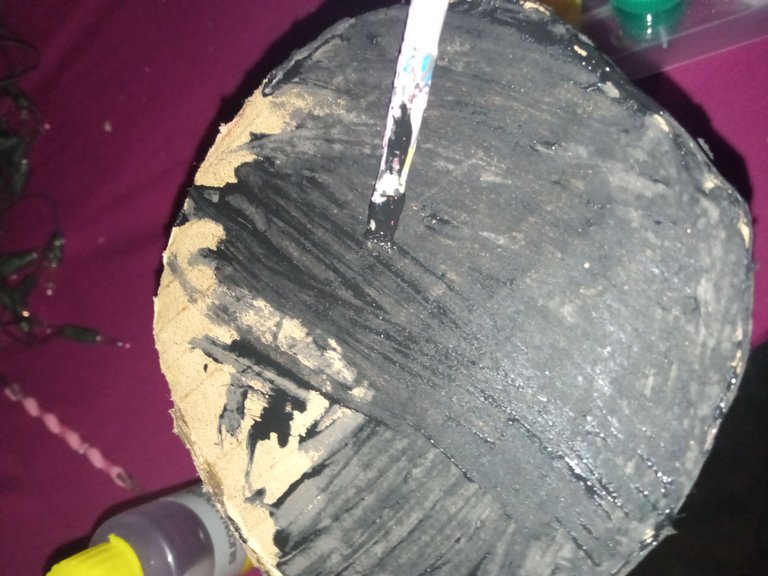
Pintamos la base realizada.
We paint the base.
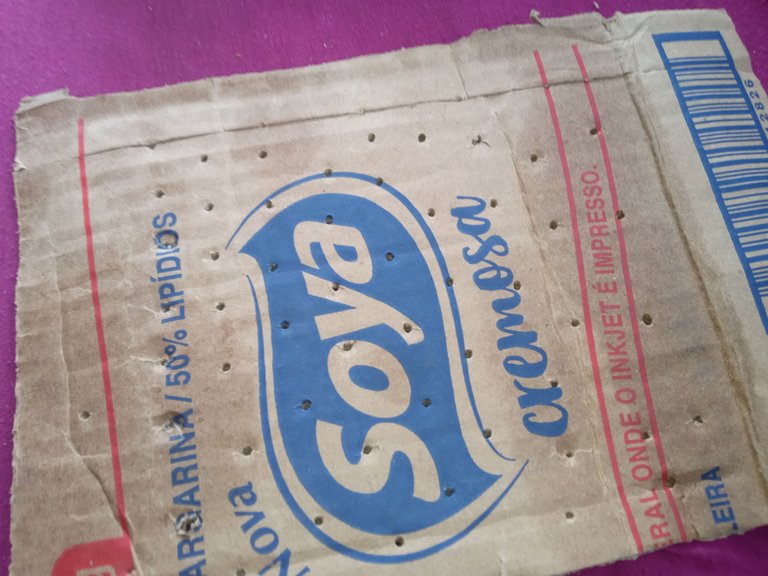
Recortamos un cuadro grande de cartón y hacemos unos pequeños agujeros en el Los agujeros los podemos hacer con la punta del pincel o con un objeto punzante).
We cut out a large cardboard square and make small holes in it (we can make the holes with the tip of a paintbrush or a sharp object).
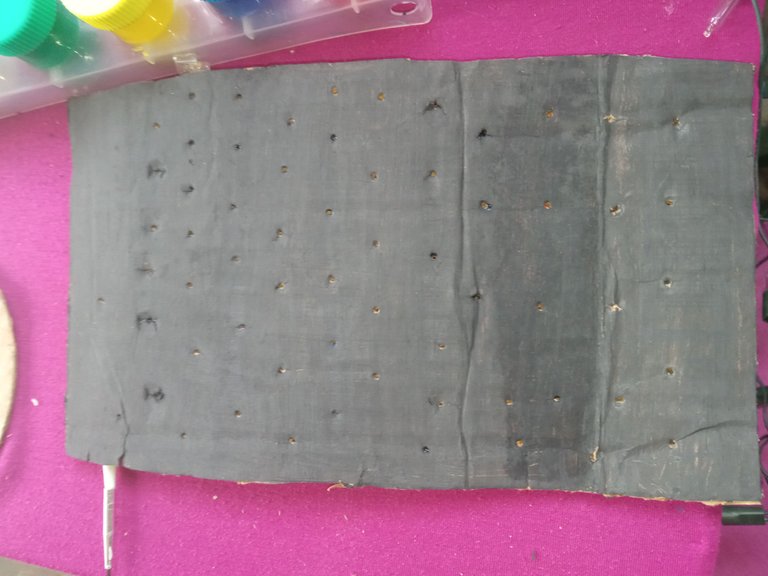
Pintamos el cuadro recortado de color de nuestra preferencia en mi caso utilice pintura negra.
We paint the cut out picture in the color of our preference, in my case I used black paint.
Pegamos el cuadro pintado en la base del circulo que hicimos anteriormente dejando un espacio abierto para luego introducir el bombillo.
Glue the painted picture on the base of the circle we made earlier, leaving an open space to insert the light bulb.
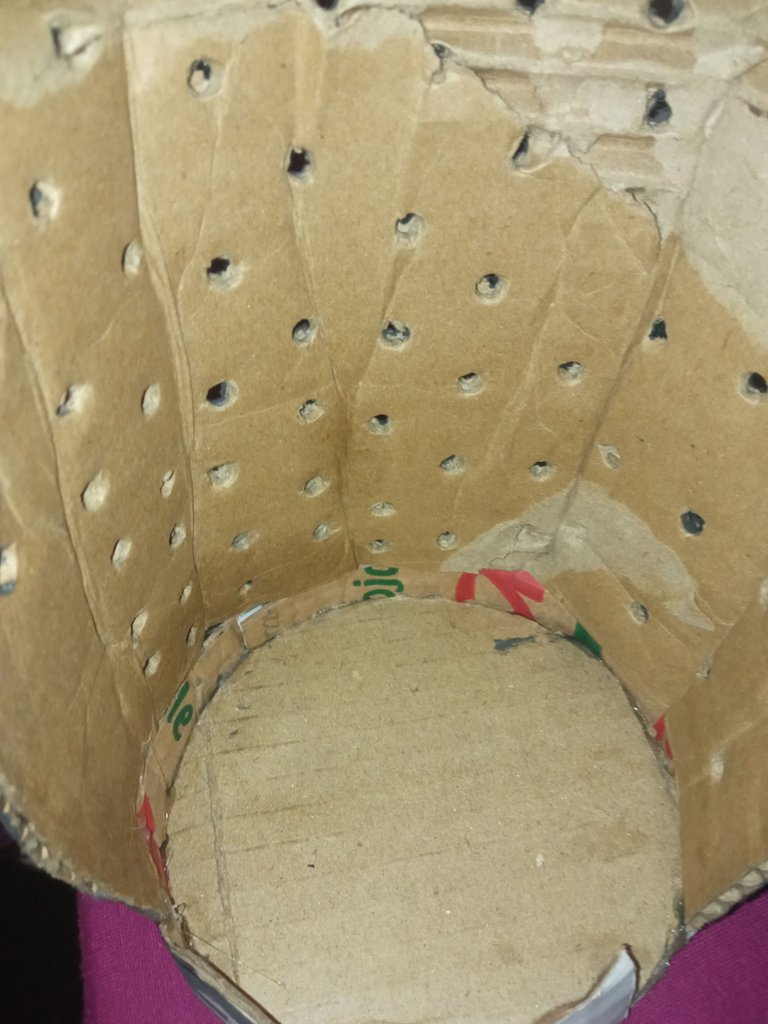
Recortamos un circulo de cartón del tamaño de la base.
Cut out a cardboard circle the size of the base.
Pegamos el circulo recortado en la base.
Glue the cut out circle on the base.
Pintamos el circulo pegado en la base.
We paint the circle glued on the base.
Para finalizar introducimos el bombillo en la base realizada.
Finally, we insert the bulb into the base.
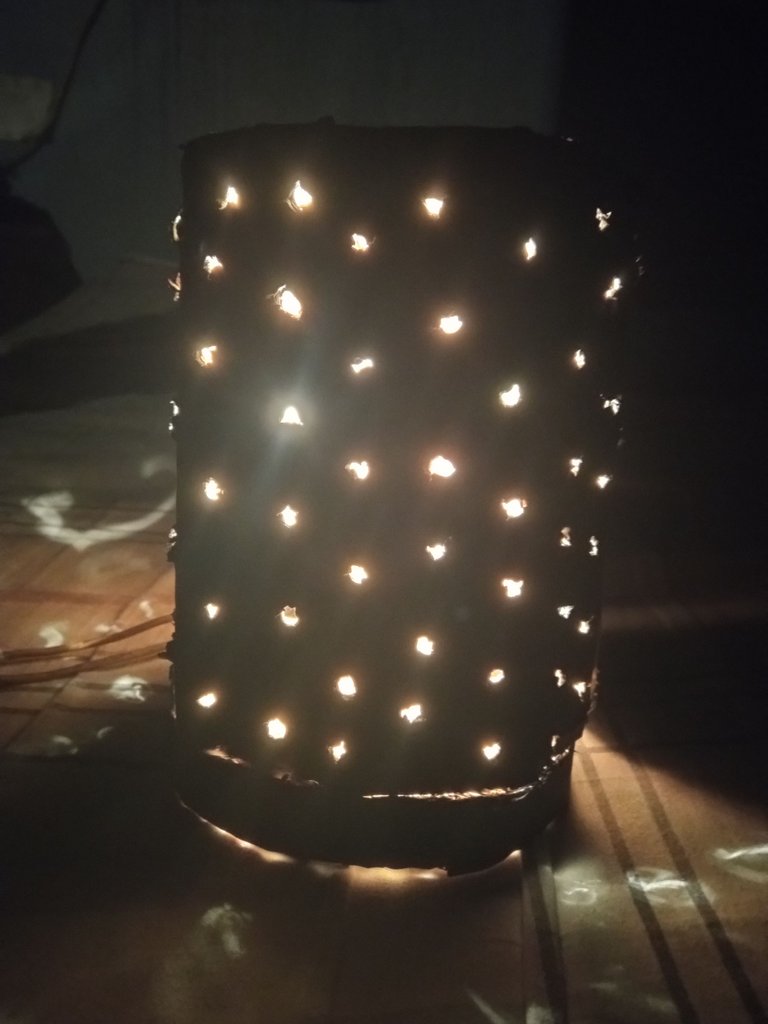
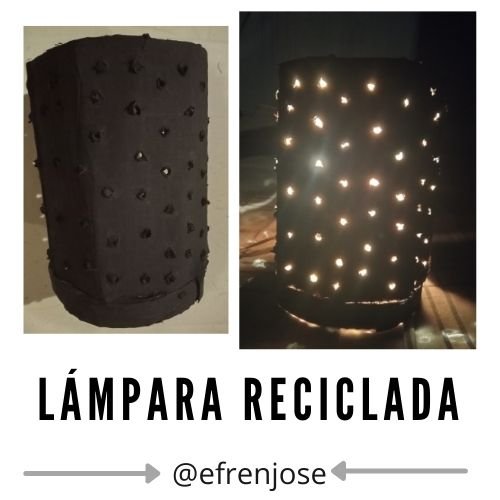
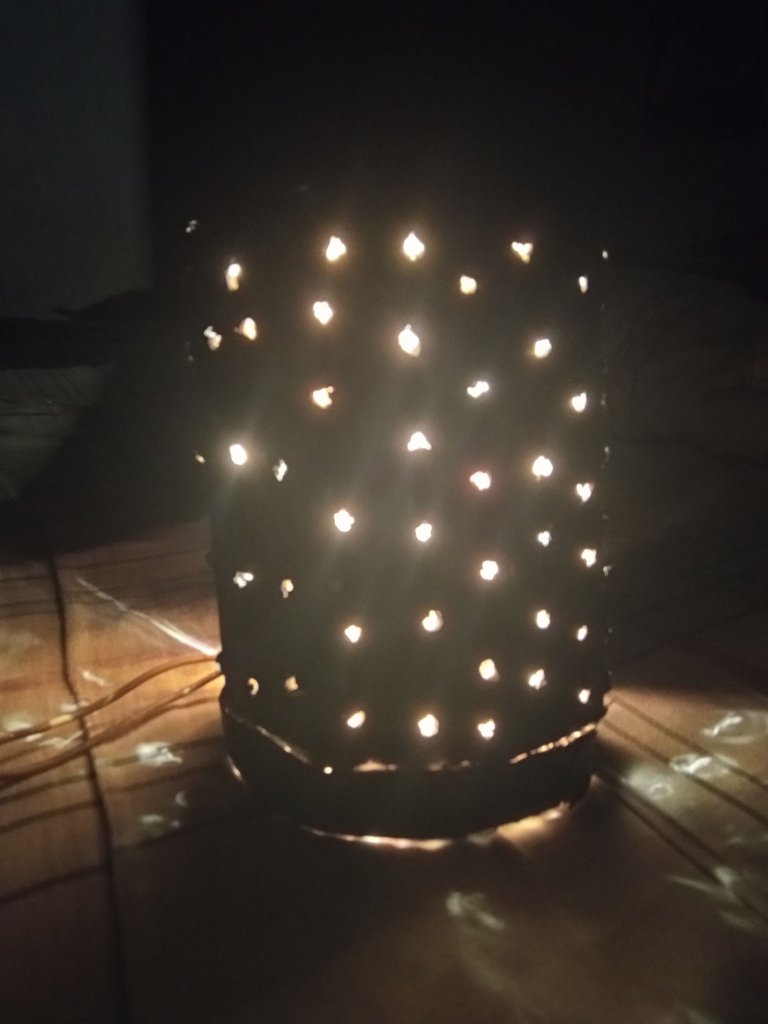
Este es el resultado final de nuestro practico trabajo del día de hoy:
This is the final result of our practical work today:
Espero les haya gustado esta idea, me despido hasta u próximo post. Nos vemos!
I hope you liked this idea, I'll say goodbye until my next post. See you soon!
Que creativa lámpara @efrenjose que increíble todo lo que podemos hacer reciclando, ese lámpara es ideal para decorar un cumpleaños. Saludos!
Gracias @diomara si, son tantas cosas que podemos crear utilizando material de provecho. Saludos!
Esa lámpara esta genial para decorar la habitación @efrenjose gracias por compartir tu post con nosotros!
Gracias, si quedaría muy bien allí también @rosilys20 Gracias a ti por visitar mi post!
Hermosa lámpara @efrenjose gracias por compartir.