Hi hivers - Hola hivers
How is my cute Hive community doing today? I hope you are having a nice day, today I bring you a new tutorial to make your most comfortable and beautiful straps for glasses or face masks and to remind you that on my Instagram page business I have many other models that are for sale and can be paid for with Hive or HBD, our valuable Blockchain currencies.
Many of us like metallic colors that combine with almost everything, in this case we are not only going to learn how to make a strap for lenses or face masks, we are going to learn the base winding to do wire work for the design of accessories, this it is my favorite technique.
¿Cómo se encuentra hoy mi linda comunidad de Hive? espero que estén pasando un día lindo, hoy les traigo un nuevo tutorial para realizar sus mas cómodas y hermosas correas para lentes o tapabocas y para recordarles que en mi pagina de Instagram empresarial tengo muchos otros modelos que están a la venta y pueden ser pagados con Hive o HBD, nuestra valiosas monedas de la Blockchain.
A muchas de nosotras nos gustan los colores metalizados que combinan con casi todo, en este caso no solo vamos a aprender como hacer una correa para lentes o tapabocas, vamos a aprender el entorchado base para hacer trabajos en alambrismo para el diseño de accesorios, esta es mi técnica favorita.
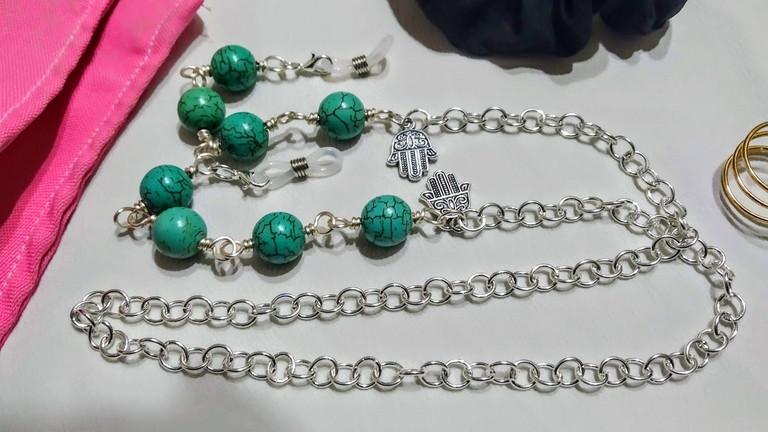
Materiales:
6 turquesas redondas grandes
3 metros de alambre para bisutería
3 dijes plateados de su elección
2 ganchos pico de loro plateados
70 cm de cadena plateada
2 gomas para lentes
pinzas: plana, entorchador, piqueta
Materials:
6 large round turquoise
3 meters of wire for jewelry
3 silver charms of your choice
2 silver parrot beak hooks
70 cm silver chain
2 lens rubbers
pliers: flat, twist, pick
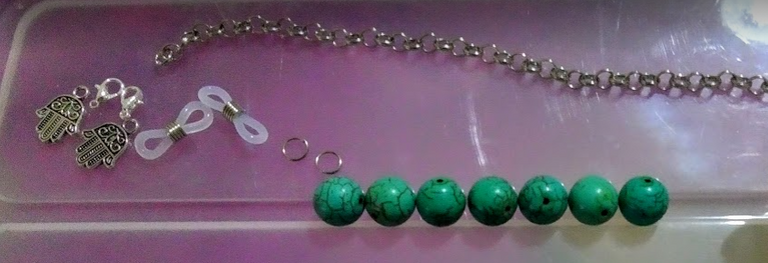
First step:
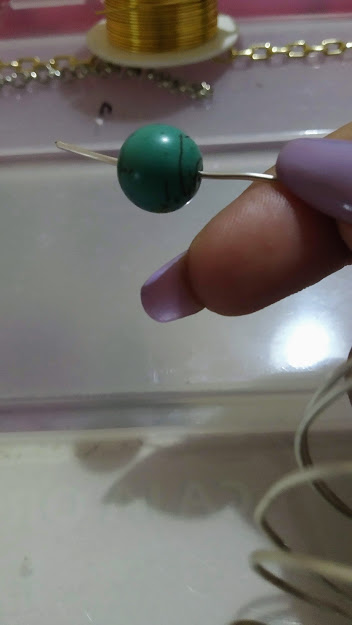
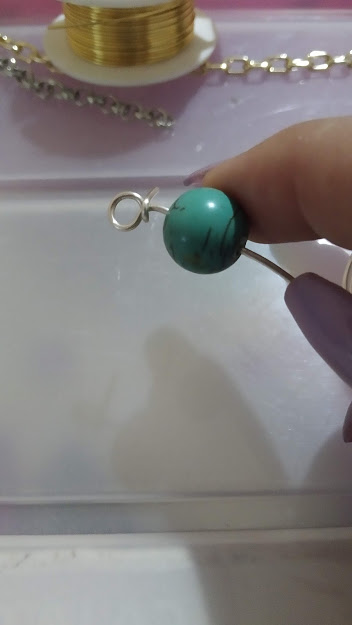
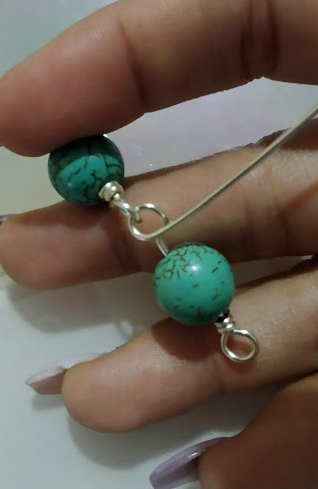
We are going to take our wire, and at one end we are going to introduce one of the turquoise, leaving approximately 5 cm from the tip, we make a 90 degree bend with the clamp, from that bend with the torch we are going to make a ring of a similar size of the chain ring, then the excess wire is going to be wound between the previously made ring and the turquoise one until achieving two complete turns, if there is excess wire, it is cut with the pickaxe.
Primer paso:
Vamos a tomar nuestro alambre, y por un extremo vamos a introducir una de las turquesas, dejando aproximadamente 5 cm de la punta hacemos con la pinza un doblez de 90 grados, a partir de ese doblez con el entorchador vamos a realizar una argolla de un tamaño similar de la argolla de la cadena, luego el alambre excedente vamos a enrollarlo entre la argolla realizada previamente y la turquesa hasta lograr dos vueltas completas, de haber excedente de alambre se corta con la piqueta.
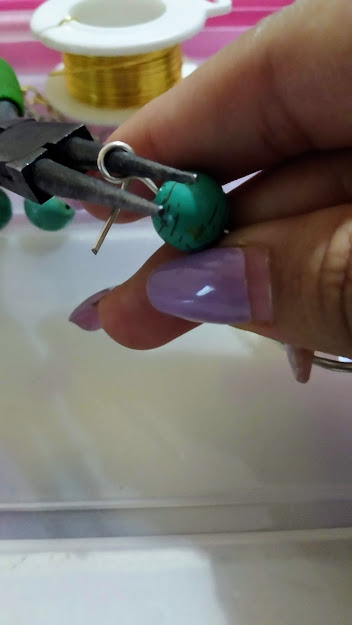
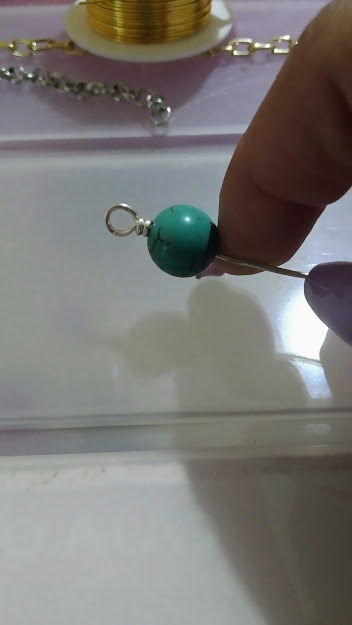
Second step:
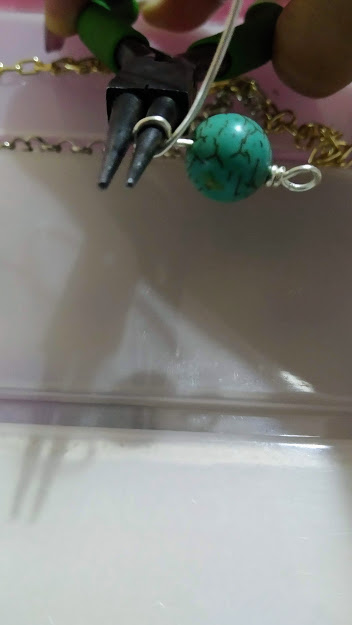
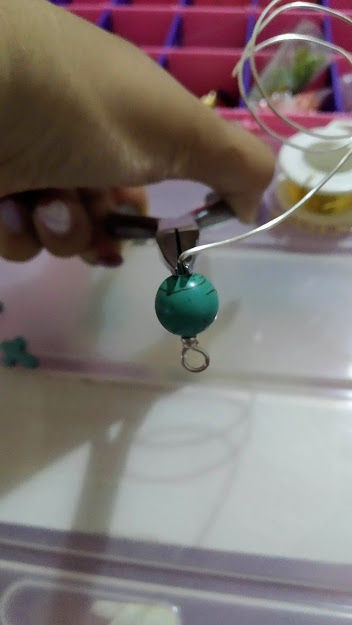
With the help of the flat clamp we are going to measure a space similar to the one at the other end where the two turns that seal the ring were made, there we are going to bend the wire at an angle of approximately 90 degrees, then we repeat the process with the twist making a full turn to achieve a ring similar to that of the opposite end, twist the two turns firmly and cut the excess.
We call this finished piece a link.
Segundo paso:
Con la ayuda de la pinza plana vamos a medir un espacio similar al del otro extremo donde se hicieron las dos vueltas que sellan la argolla, alli vamos a doblar el alambre en un angulo aproximado de 90 grados, luego repetimos el proceso con el entorchador haciendo una vuelta completa para lograr una argolla similar a la del extremo opuesto, entorchamos las dos vueltas firmemente y cortamos el excedente.
A esta pieza terminada le llamamos eslabon.


Third step:
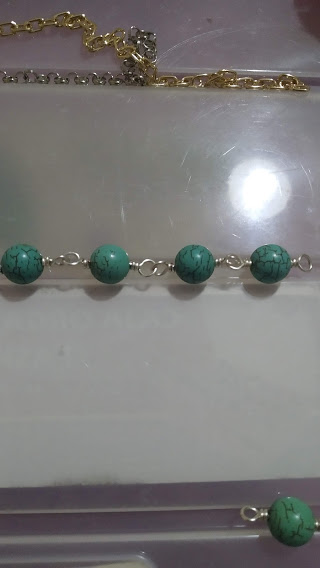
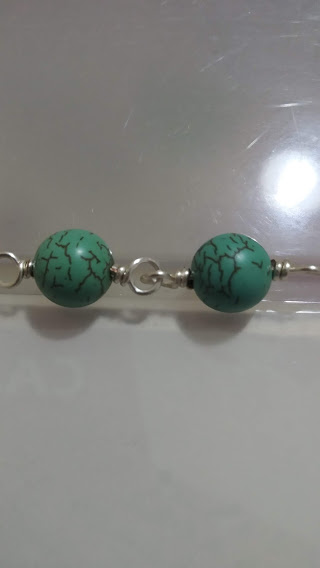
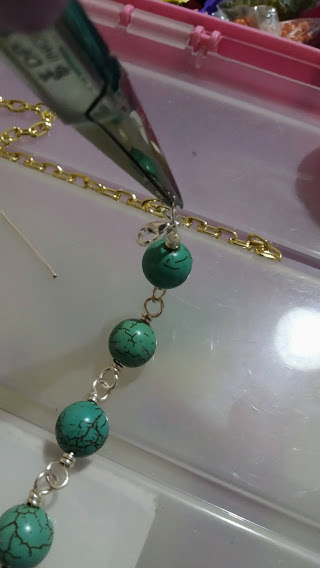
We repeat what we learned in step one, and when we continue to step two before sealing the ring we introduce the first link so that they are completely sealed, this will give our piece greater durability, making it practically impossible for it to break.
Then we are going to repeat this process until we have 4 links joined.
Tercer paso:
Repetimos lo aprendido en el paso uno, y cuando seguimos al paso dos antes de sellar la argolla introducimos el primer eslabón para que queden completamente sellados, esto le dará mayor durabilidad a nuestra pieza, haciendo prácticamente imposible que se rompa.
Luego vamos a repetir este proceso hasta tener 4 eslabones unidos.

Fourth step:
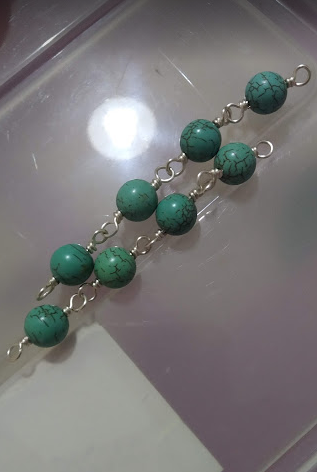
We are going to repeat step 3 until we have two equal pieces, each with four linked links, when both are ready, we are going to open two rings of the chain and leave them outside, with the rest of the chain we open the ring of one of the ends, we string the pendant there and one end of either of the two pieces of links, then we repeat this process at the other end of the chain, remaining as in the gif that you can see here below.
Cuarto paso:
Vamos a repetir el paso 3 hasta que tengamos dos piezas iguales, cada una con cuatro eslabones unidos, cuando ambas estén lista, vamos a abrir dos argollas de la cadena y las dejamos fuera, con el resto de la cadena abrimos la argolla de uno de los extremos, ensartamos allí el dije y un extremo de cualquiera de las dos piezas de eslabones, luego repetimos dicho proceso en el otro extremo de la cadena, quedando como en el gif que puedes ver aquí abajo.

Fifth step:
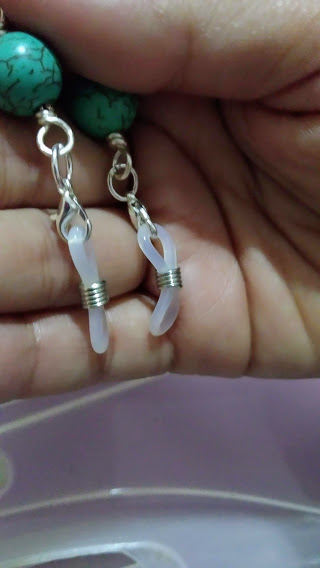
Here at the end of the link where the chain with the pendant is not, we are going to use one of the rings of the chain that we previously separated where we are going to add the hook and the piece of links, then we repeat this process with the other piece leaving like this complete the part that will hold the masks.
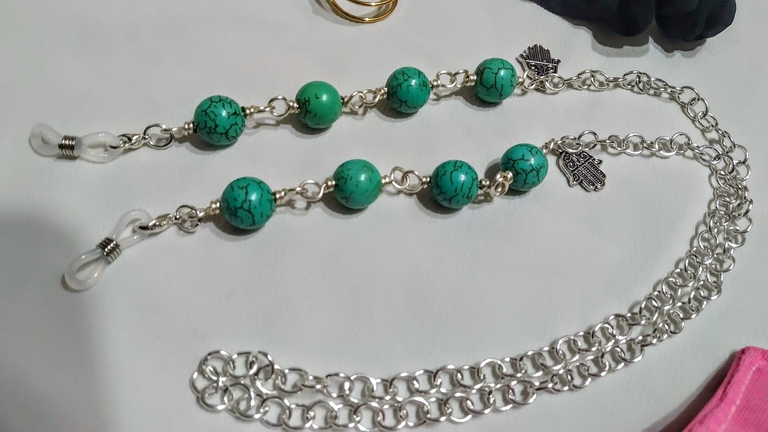
Then on those hooks we place the two lens gummies, and voila we already have a new mask or lens strap, ready to use or to sell.
Quinto paso:
Aquí en el extremo del eslabón donde no esta la cadena con el dije, vamos a utilizar una de las argollas de la cadena que separamos previamente donde vamos a agregar el gancho y la pieza de eslabones, luego repetimos este proceso con la otra pieza dejando así completa la parte que va a sostener los tapabocas.
Luego en esos ganchos colocamos las dos gomitas de lente, y listo ya tenemos una nueva correa de tapabocas o lentes, lista para usar o para vender.
Esto ha sido todo por hoy, si te gusta lo que hago, siente libertad de ayudarme a seguir
This has been all for today, if you like what I do, feel free to help me continue
Δ
https://www.paypal.me/carlagonz
Δ
El ingles no es mi idioma natal, me ayudo de traductores para realizar estos post
Todas las fotos son de mi propiedad tomadas con Xiaomi redmi 7
English it is not my native language, I help myself with translators to make these posts
All photos are my property taken with Xiaomi redmi 7

Muchas gracias por leer
Ten un bonito y feliz día
Con amor Carla Gonzalez Venezolana en Uruguay
Thanks so much for reading
Have a nice and happy day
With love Carla Gonzalez Venezolana in Uruguay


La correa esta muy linda, me encanto como explicas el paso a paso! Cuando salga iré comprando los materiales para hacer una.
esoo si la haces me etiquetas para verla! saludos!
Esta muy bonita la correa, y tu explicación excelente, gracias por compartir @carlagonz
muchas gracias! saludos!
quedo hermoso me encanta como esta organizado tu post, se entiende muy bien
Muchas gracias! un abrazo!
I love the color turquoise. Well, that is beautiful strap :)
hi! thanks for read, I also really like the turquoise color, a hug