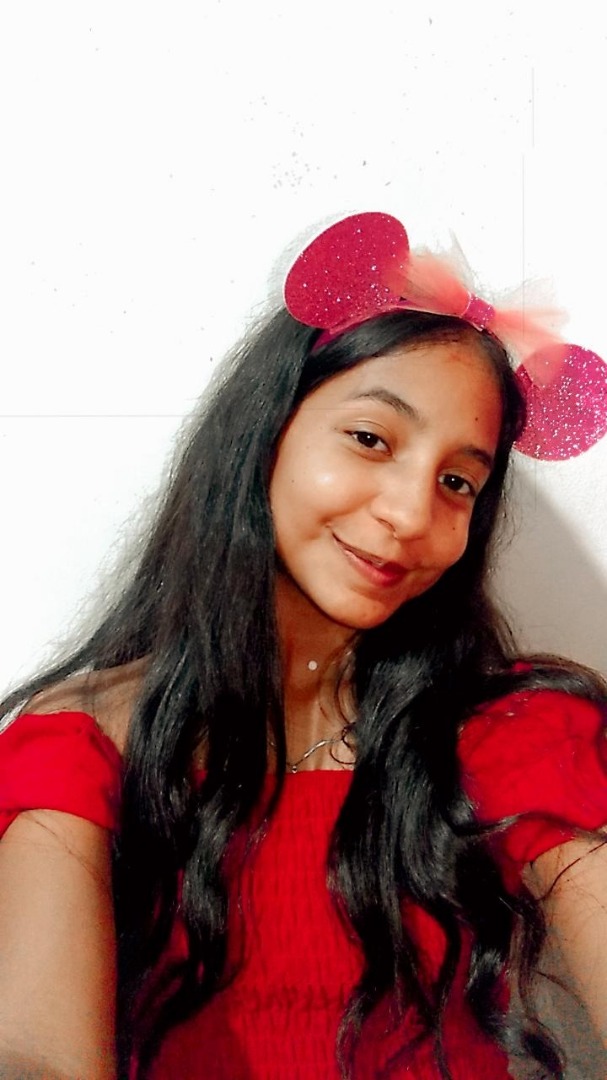
Holaa querido hive! Hoy les traigo un hermoso cintillo de MINNIE MOUSE para todas esas hermosas personas de esta comunidad Build-It. Este hermoso cintillo les puede servir para hacer un detallito, para la niña de la casa o para su primita, hermanita, sobrinita etc. Y lo mejor es que es completamente hecho con materiales que seguro tienes en casa. Bueno sin más que decir comencemos con este lindo cintillo!
Hello dear hive! Today I bring you a beautiful MINNIE MOUSE headband for all those beautiful people of this Build-It community, This beautiful headband can be useful to make a little detail or for the little girl of the house for your little cousin, sister, niece etc.. And the best thing is that it is completely made with materials that you surely have at home. Well, without further ado, let's start with this beautiful headband!

MATERIALES /MATERIALS
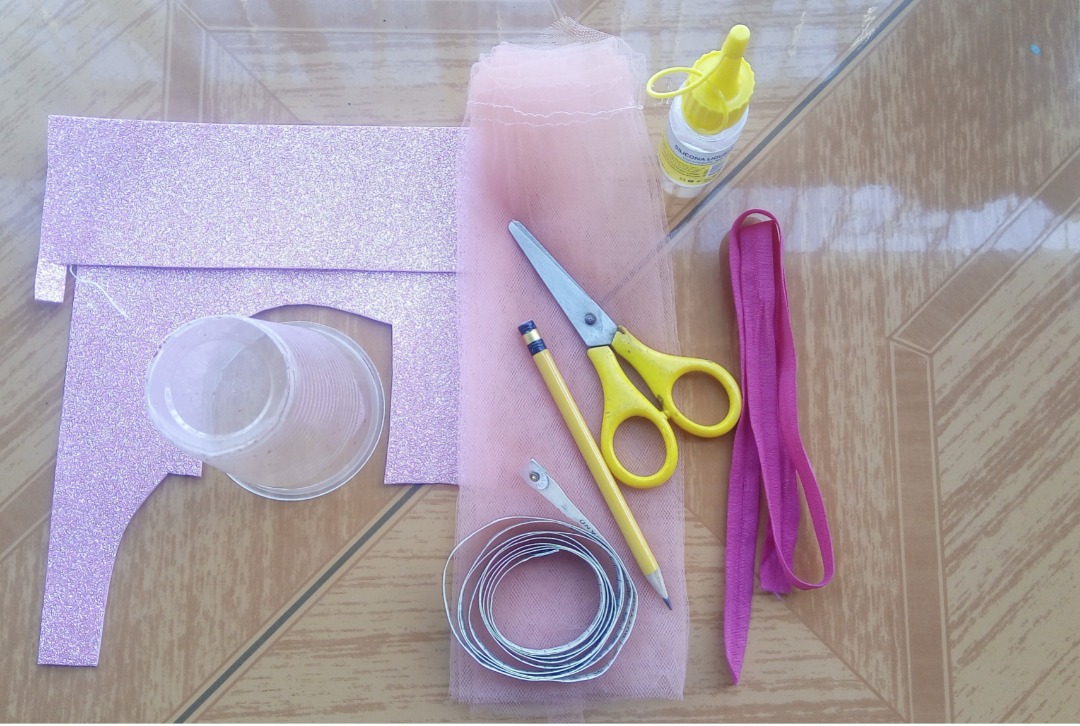

• Retazos de foamis del color de tu preferencia
• Cinta métrica
• Silicona liquida o silicona en barra
• Tijeras
• Lápiz
• Tul del color de tu preferencia
• Cinta elástica del color de tu preferencia
• Un vaso
•Pieces of foamis in the color of your choice•Measuring tape• Liquid silicone or silicone stick• Scissors• Pencil• Tulle in the color of your choice• Elastic tape in the color of your choice•A glass
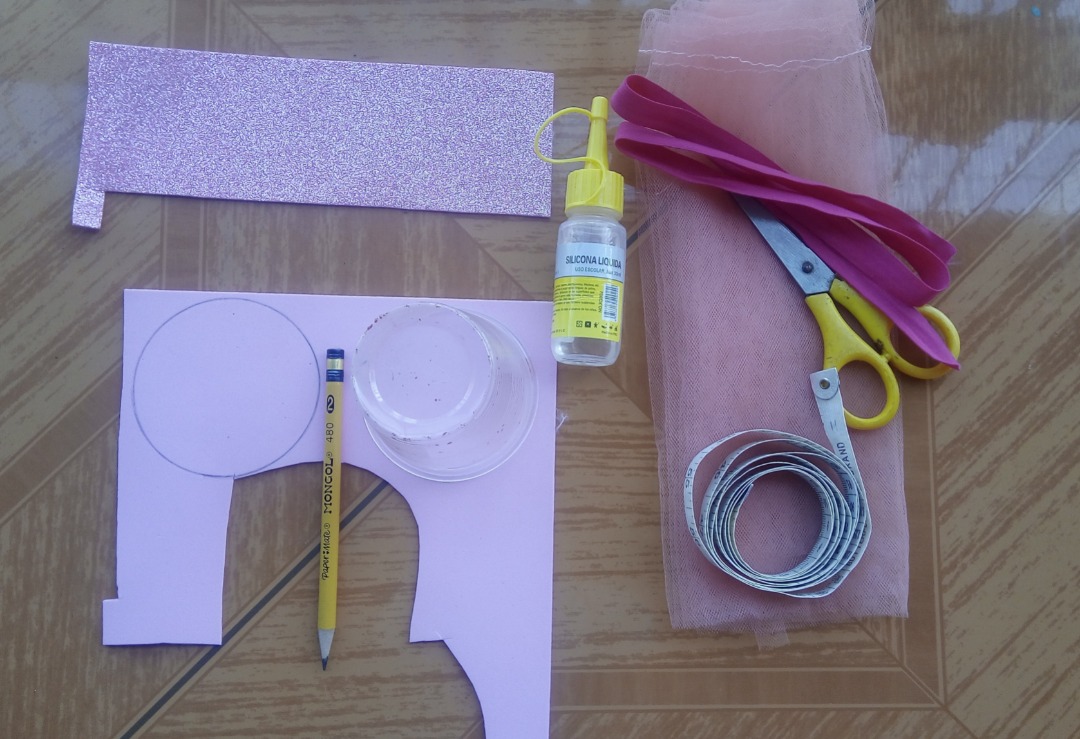
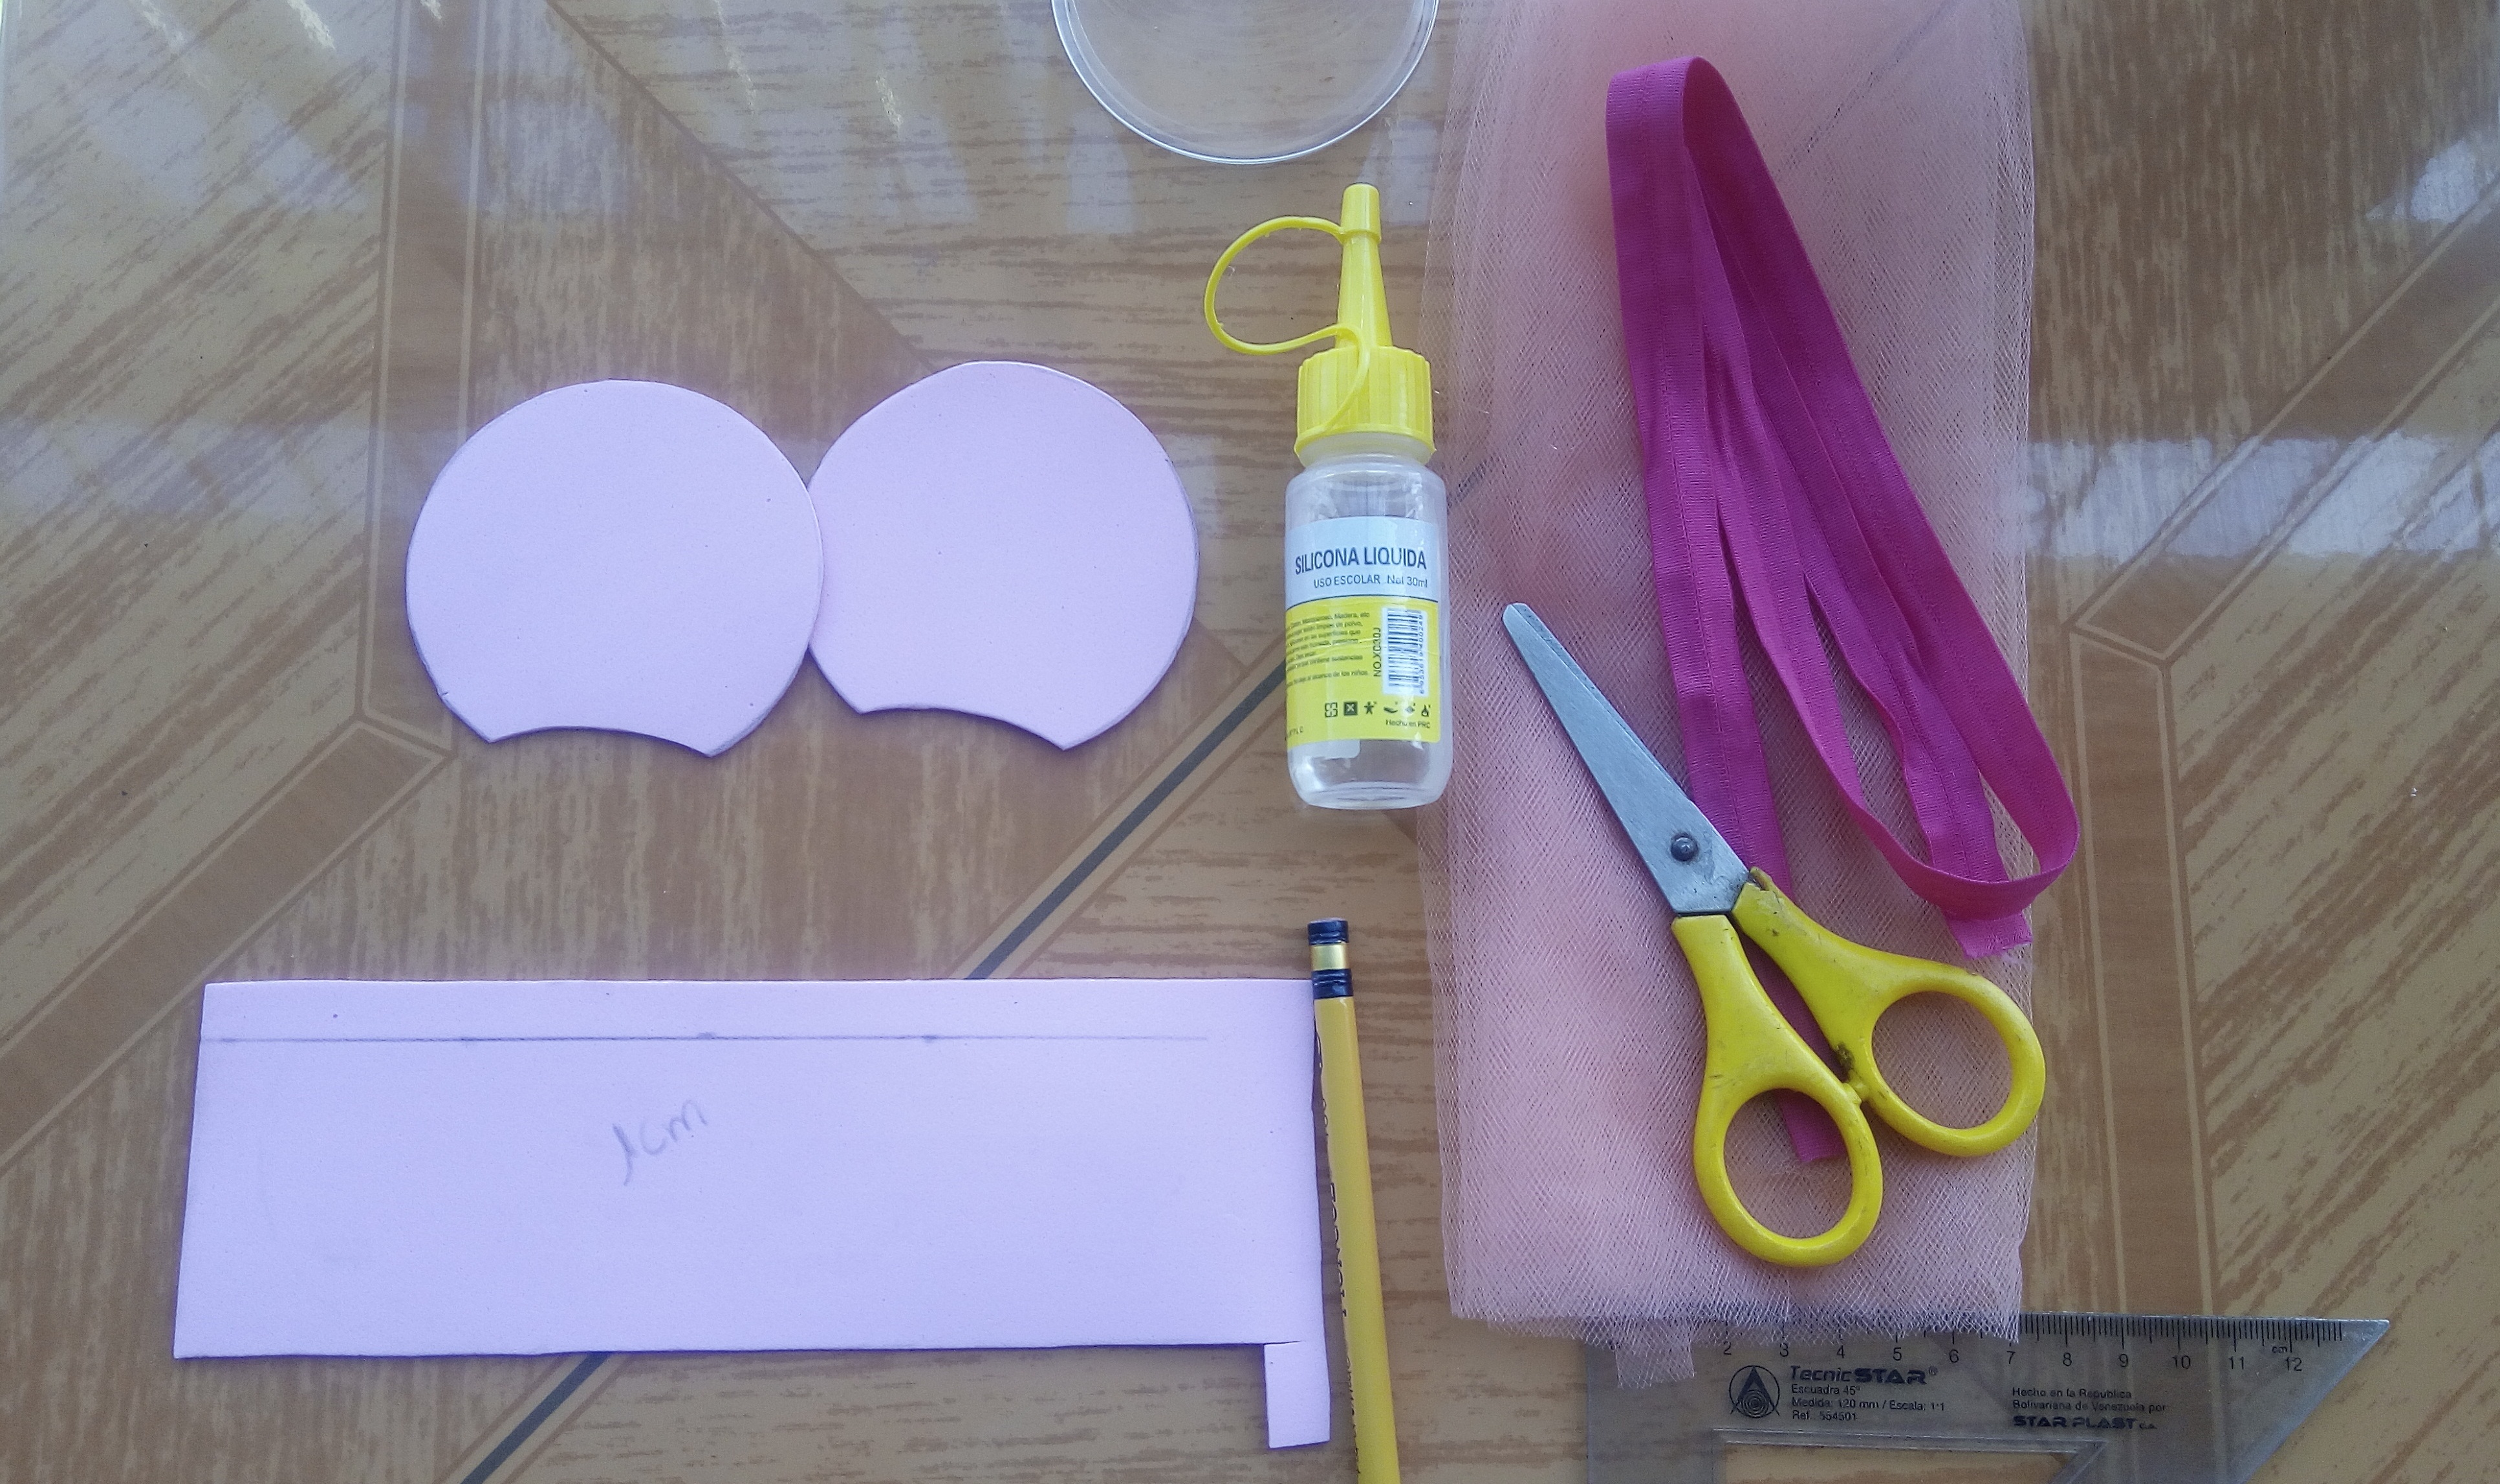
Con uno de los retazos de foamis que utilizamos vamos a hacer dos círculos utilizando un vaso para darle la forma, luego de ya tener los círculos pasamos a recortarlo.
With one of the pieces of foamis that we use we are going to make two circles using a glass to give it the shape, after having the circles we cut it out.
.jpeg)

.jpeg)

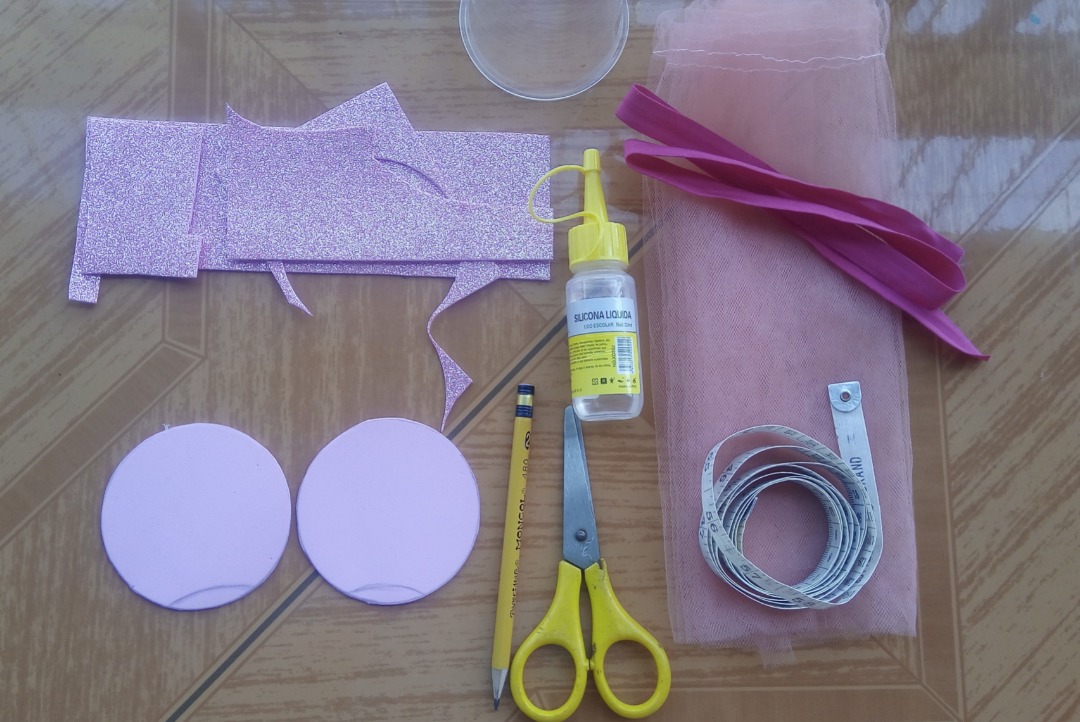
Luego por la parte trasera de nuestros círculos marcamos y recortamos un trocito como lo indica la foto.
Then on the back of our circles we mark and cut out a small piece as shown in the picture.
.jpeg)

El siguiente paso que vamos a realizar es que con otro de nuestros retazos de foamis vamos a realizar una tirita de un 1cm de ancho, lo recortamos y marcamos dos líneas de 4 cm cada una.
The next step we are going to do is that with another of our pieces of foamis we are going to make a strip of 1cm wide, cut it and mark two lines of 4 cm each.

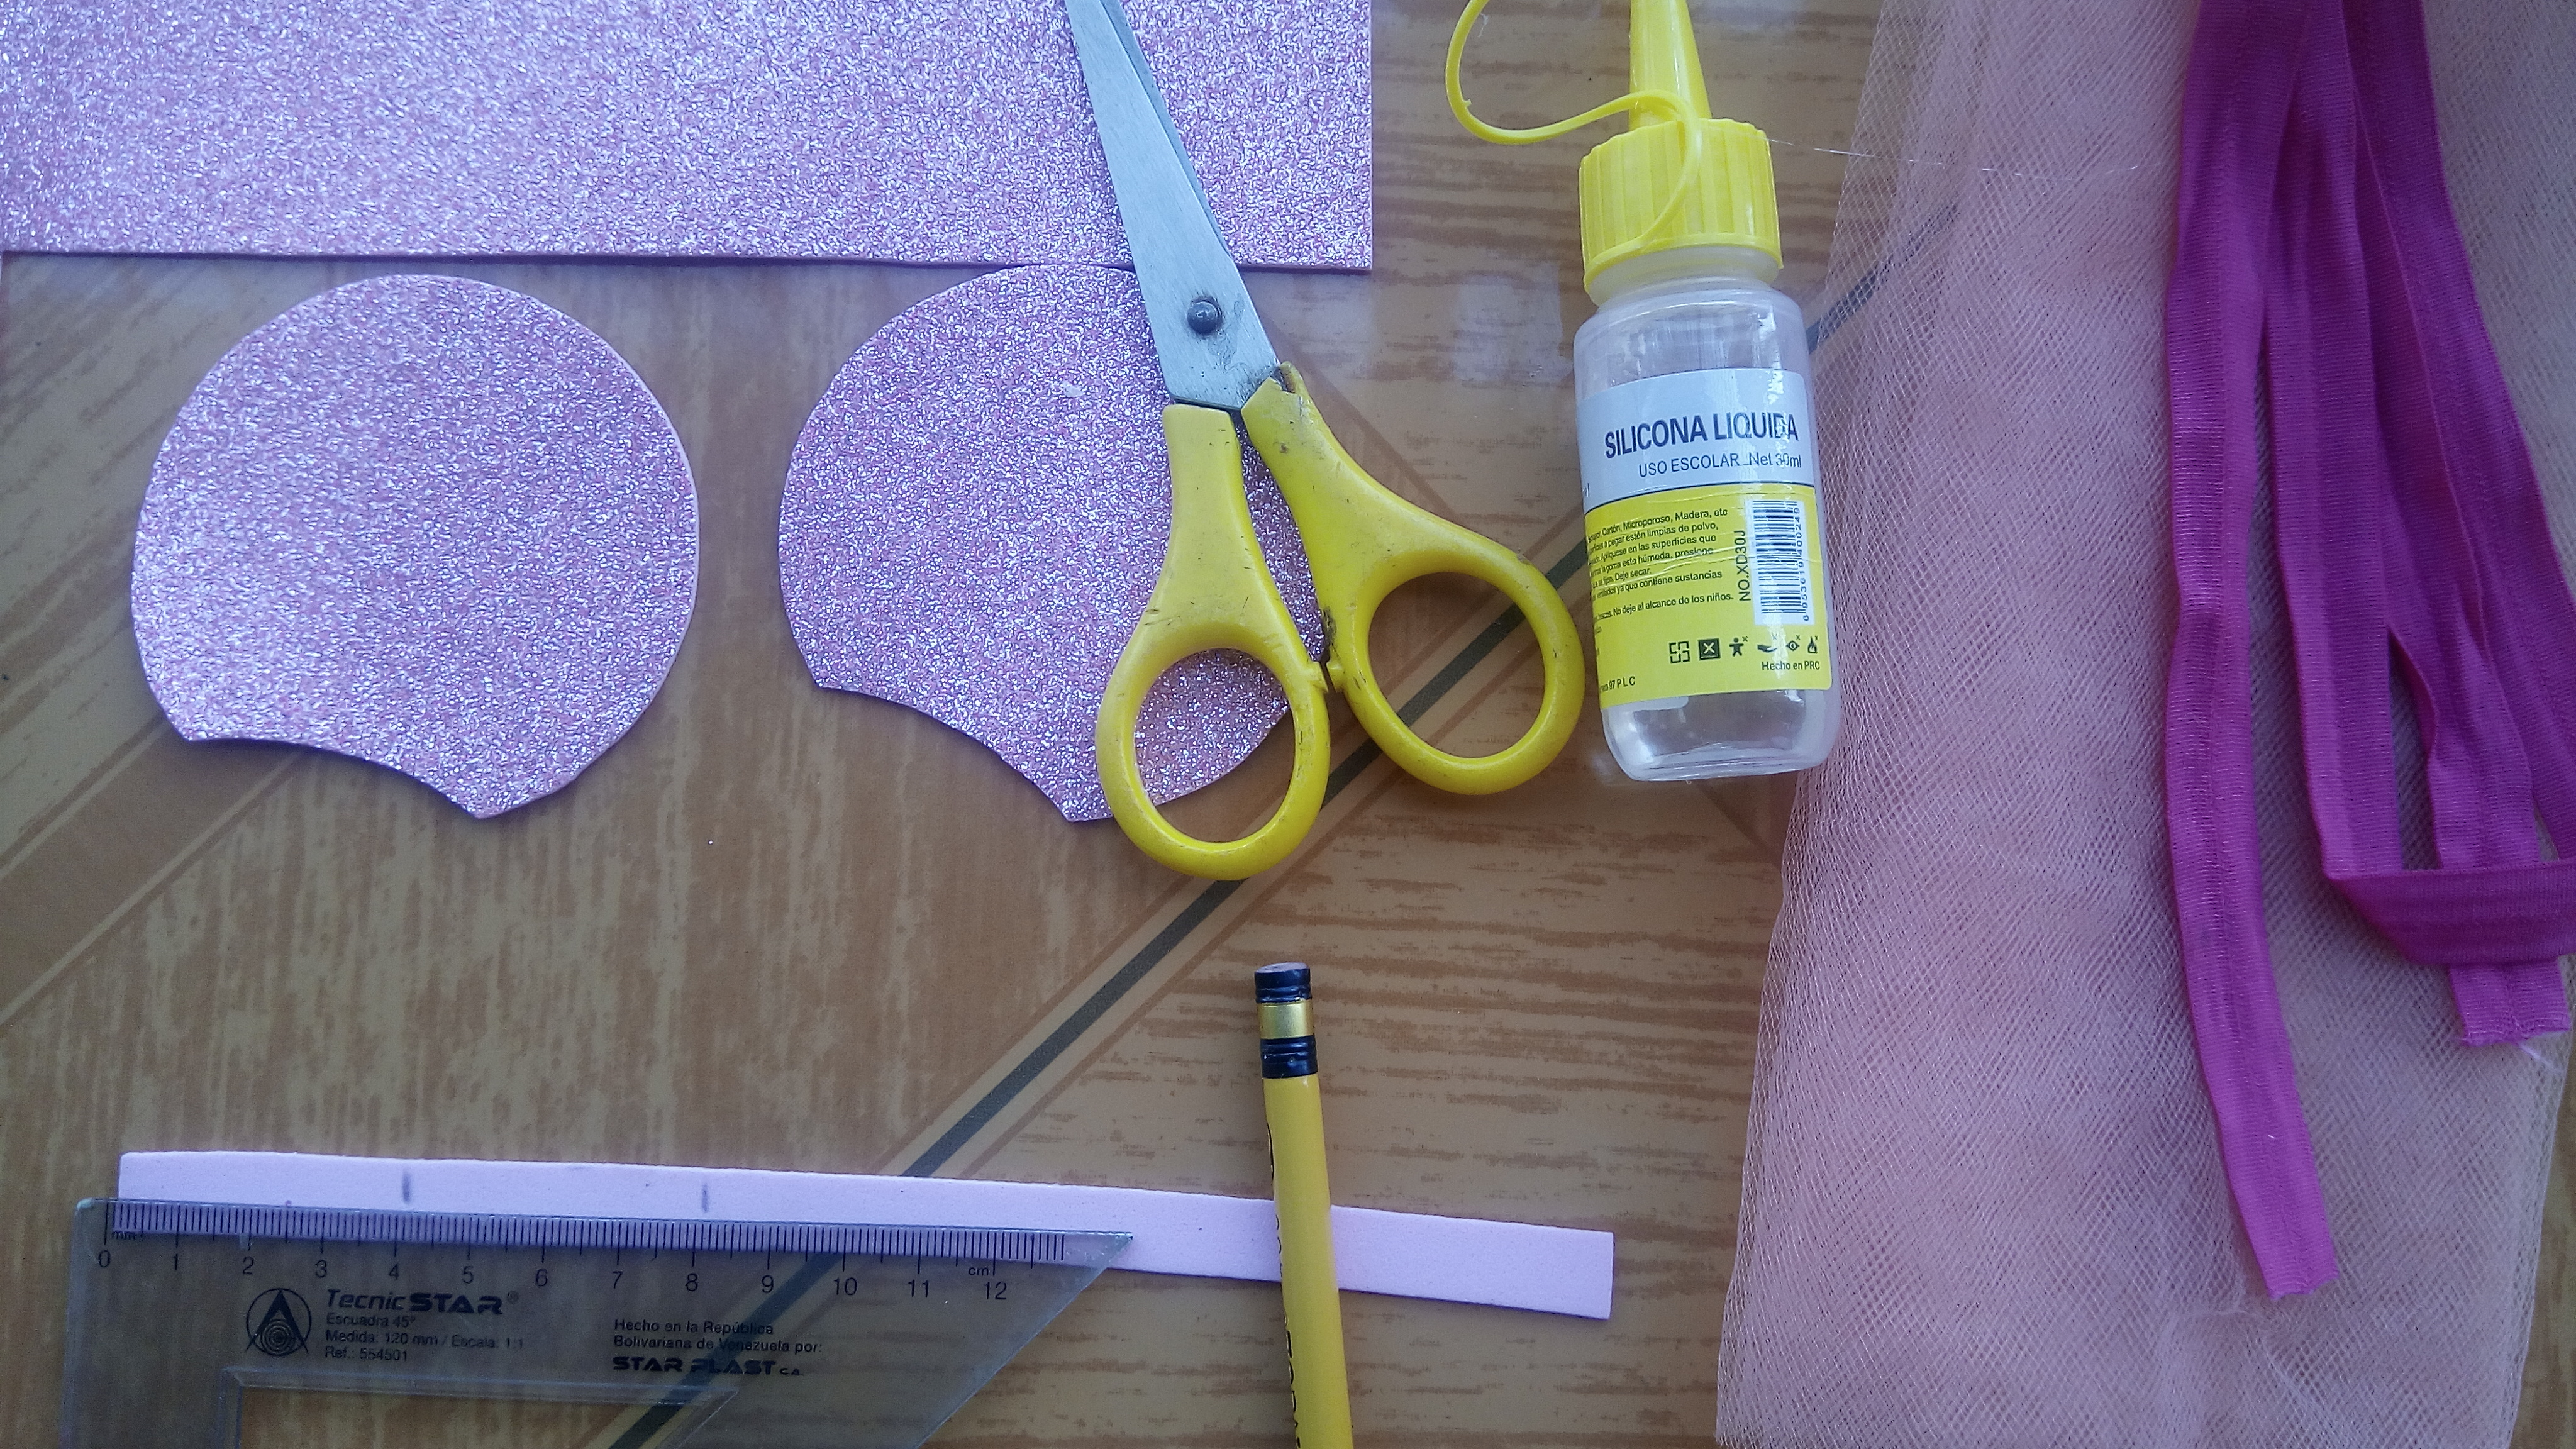

Ya marcadas las recortamos y las pegamos a nuestras orejitas.
We cut them out and glue them to our ears.


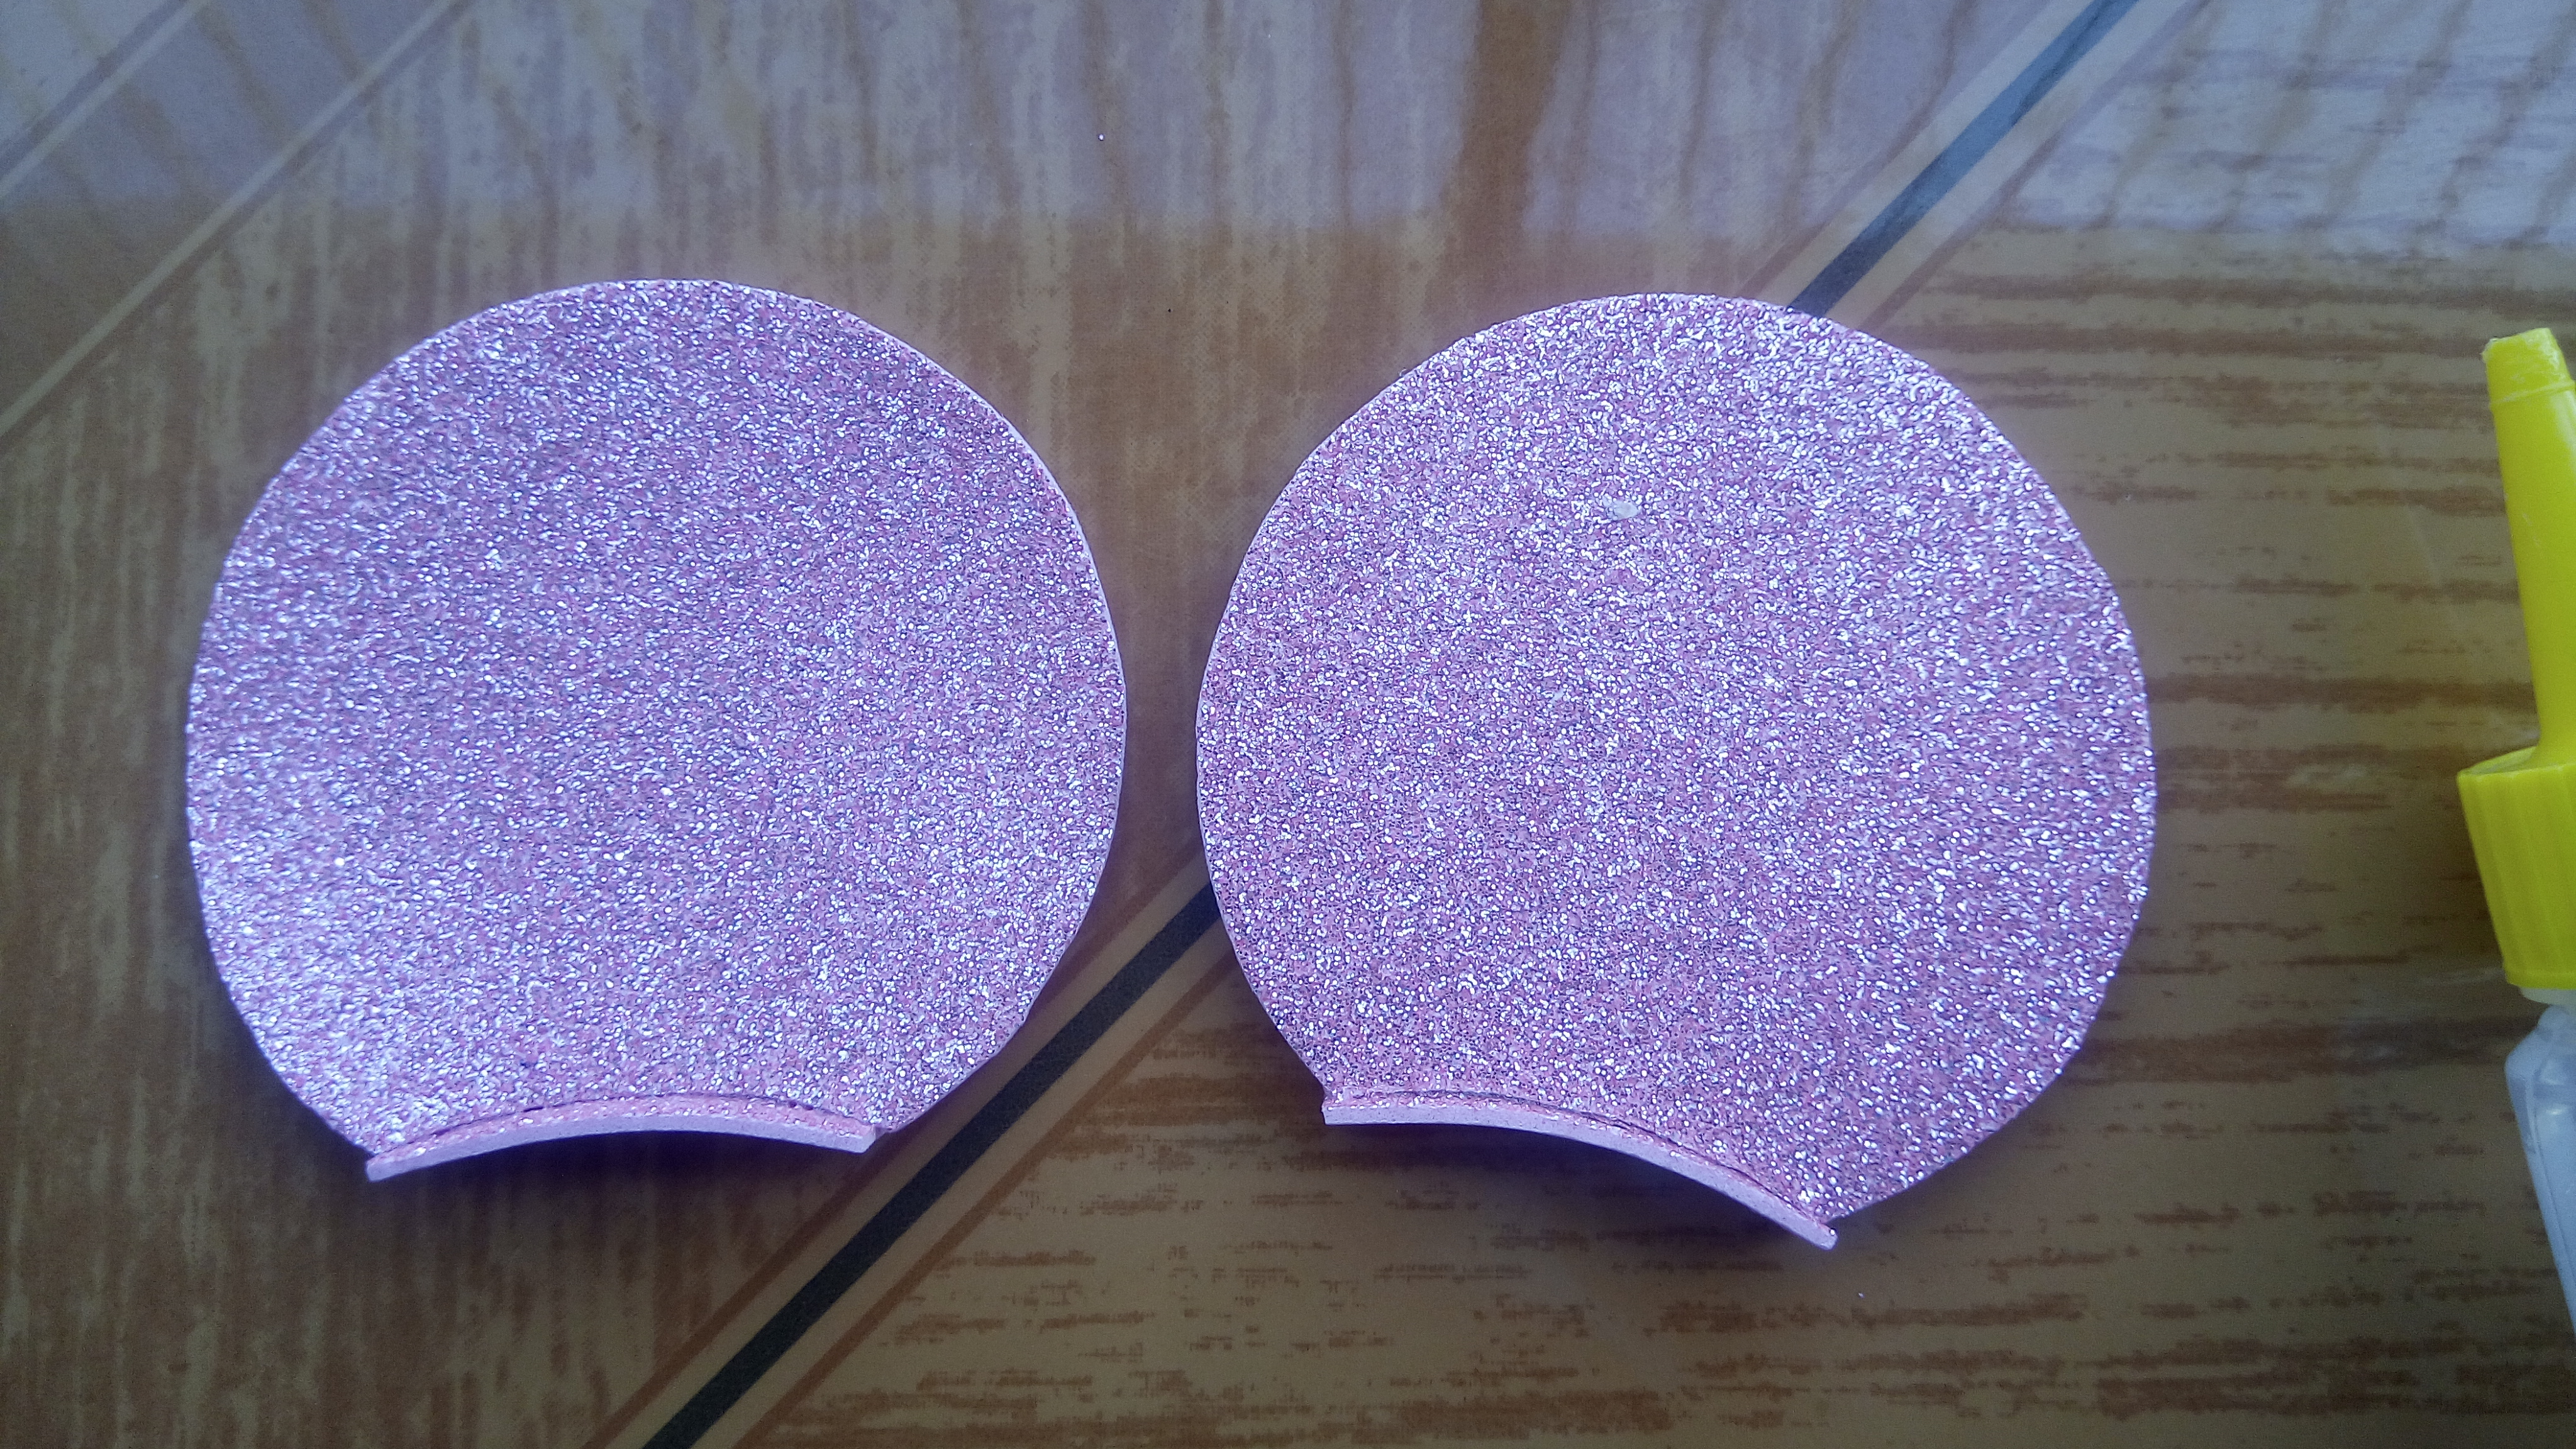

Lista nuestras orejitas vamos a marcar 41cm en nuestra cinta elástica, pegamos con silicona esquina con esquina.
List our ears, we will mark 41cm on our elastic tape, we glue with silicone corner to corner.
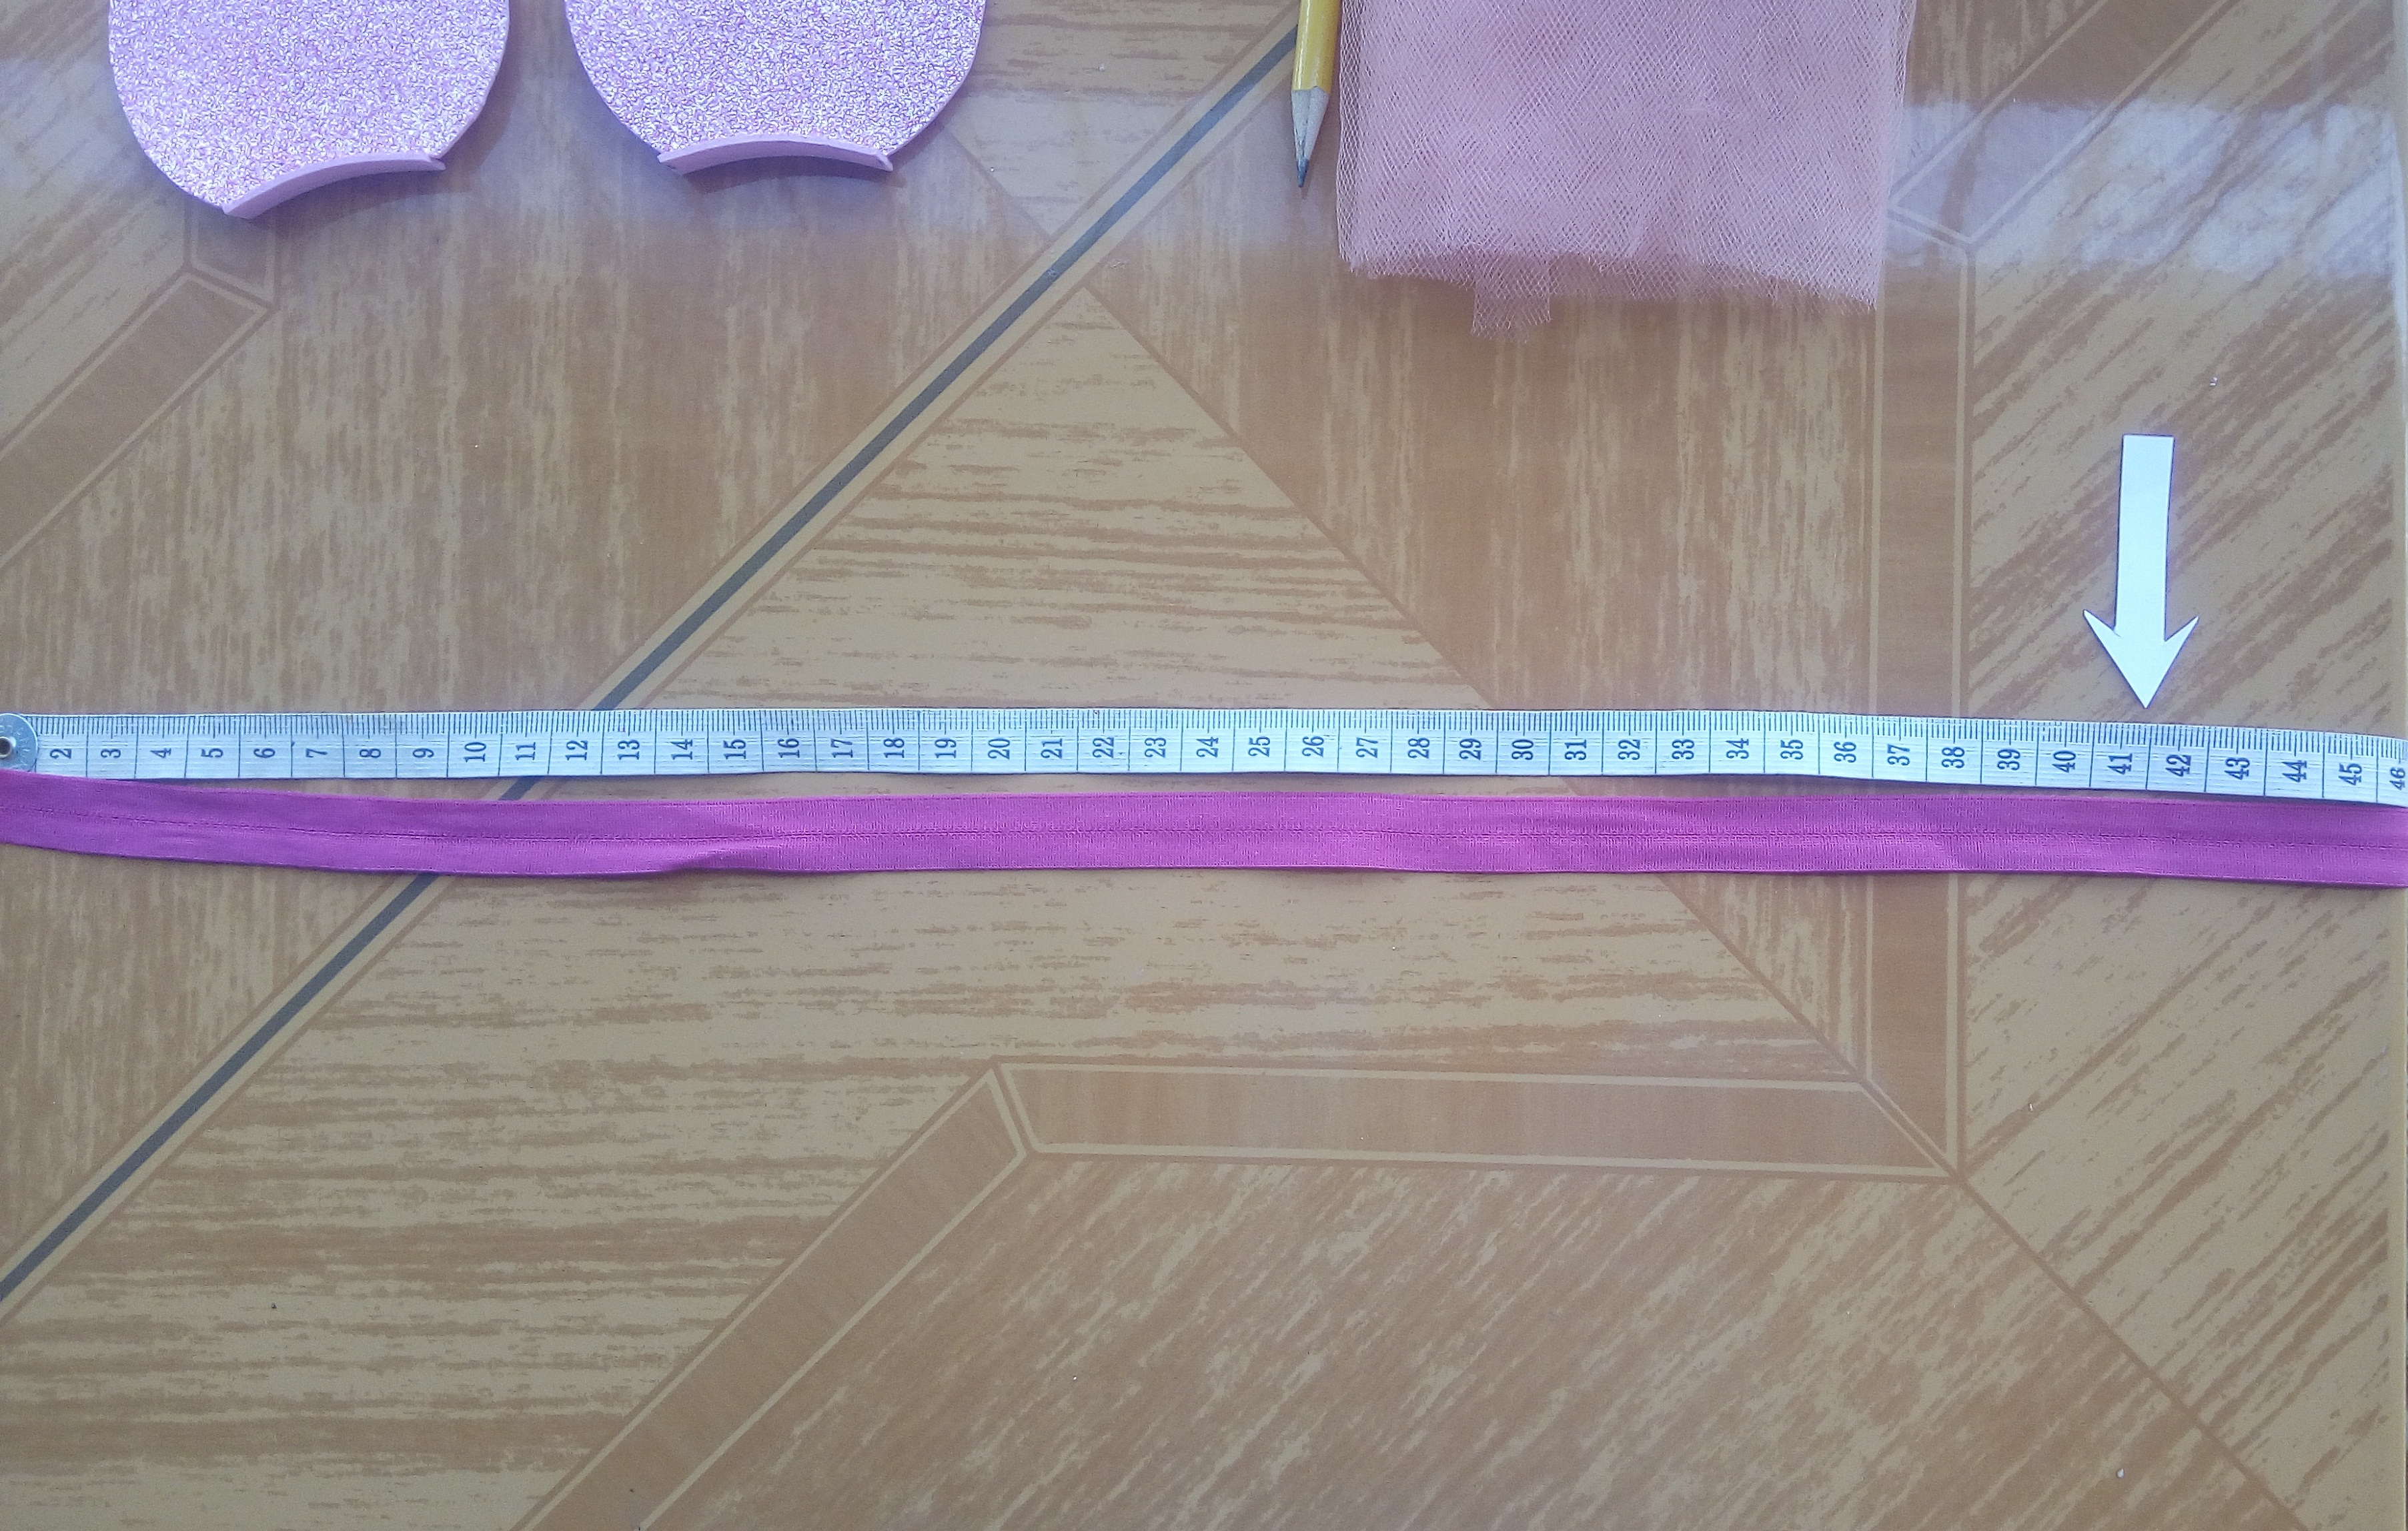

Ya teniendo las esquinas pegadas, vamos a proceder a tomar las medidas donde irán ubicadas las orejitas, como vemos en la imagen marcamos desde el centro a mano derecha 3cm y lo mismo haremos hacia la izquierda.
After having the corners glued, we will proceed to take the measurements where the ears will be located, as we see in the image we mark from the center to the right 3cm and do the same to the left.
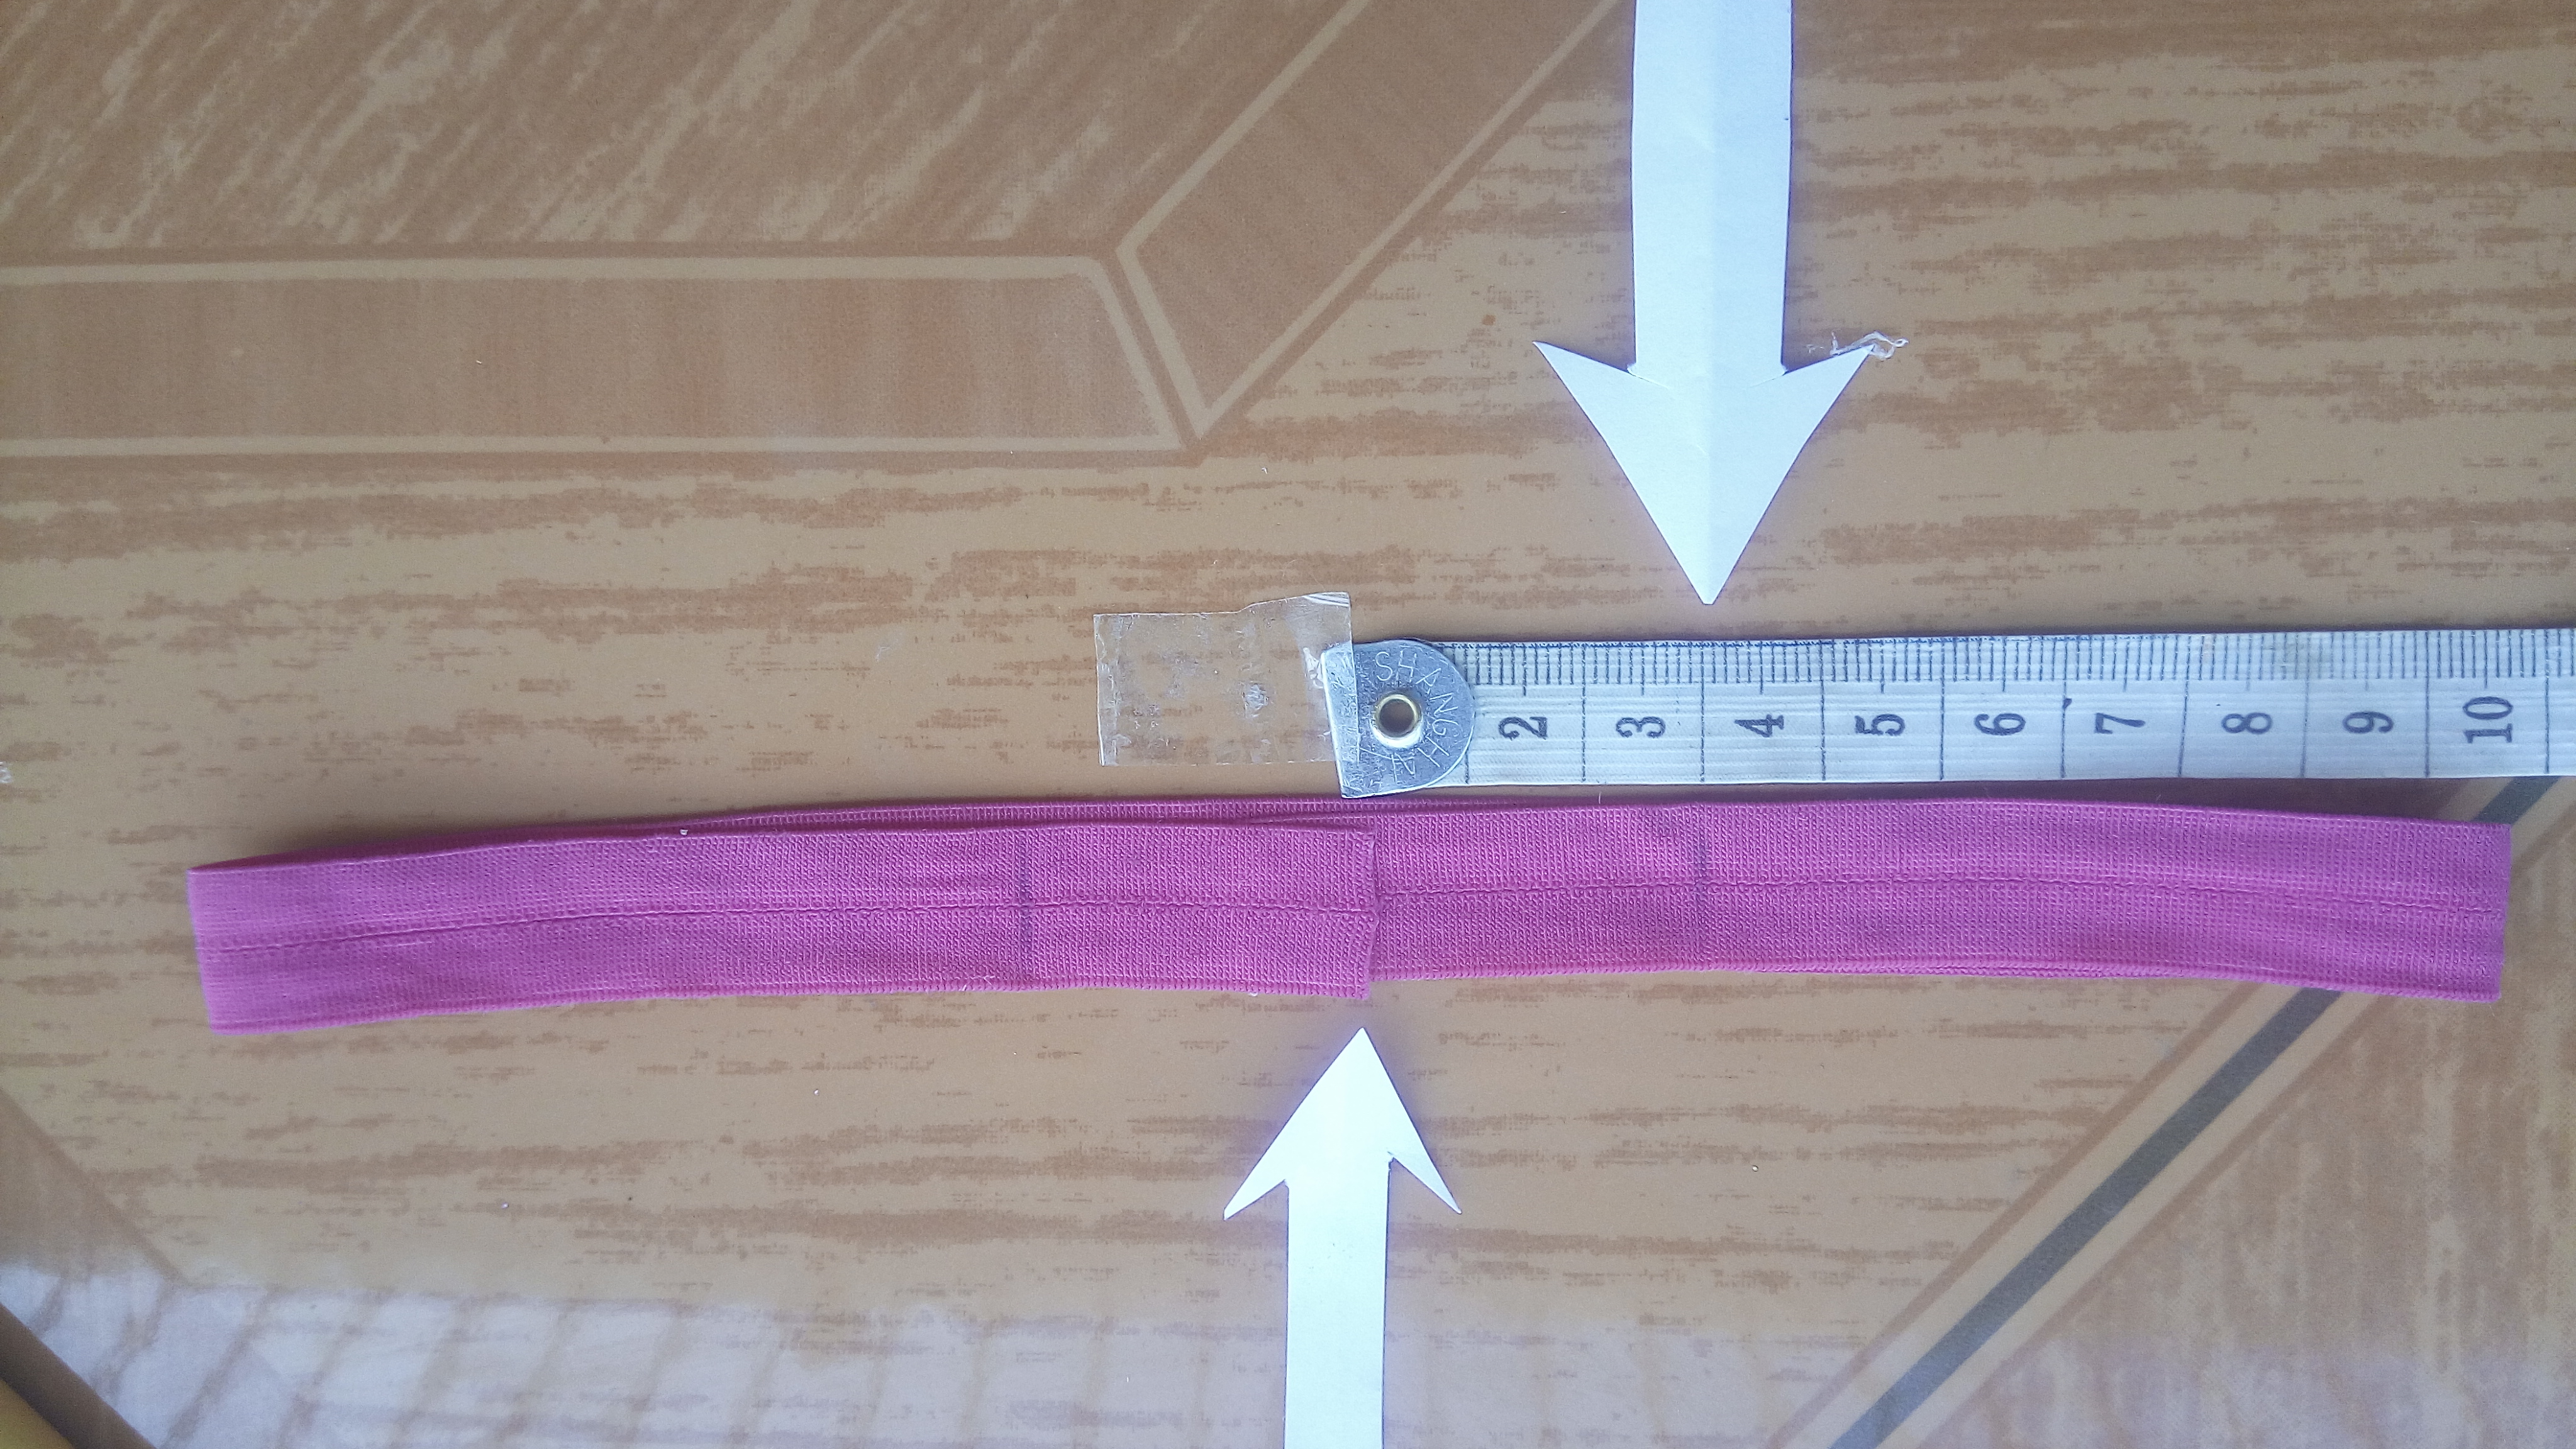

allí en la marquita que hicimos vamos a pegar con un poquito de silicona nuestras orejitas.
There in the little mark we made we will stick with a little bit of silicone our little ears.


Ahora sí, vamos a hacer nuestro lasito. Procedemos a utilizar un trozo de nuestro tul y lo doblamos a la mitad y tiene que dar 17 cm.
Now we are going to make our lasso. We proceed to use a piece of our tulle and fold it in half and it has to give 17 cm.


Luego volvemos a doblar a la mitad y lo cortamos.
Then fold it in half again and cut it.
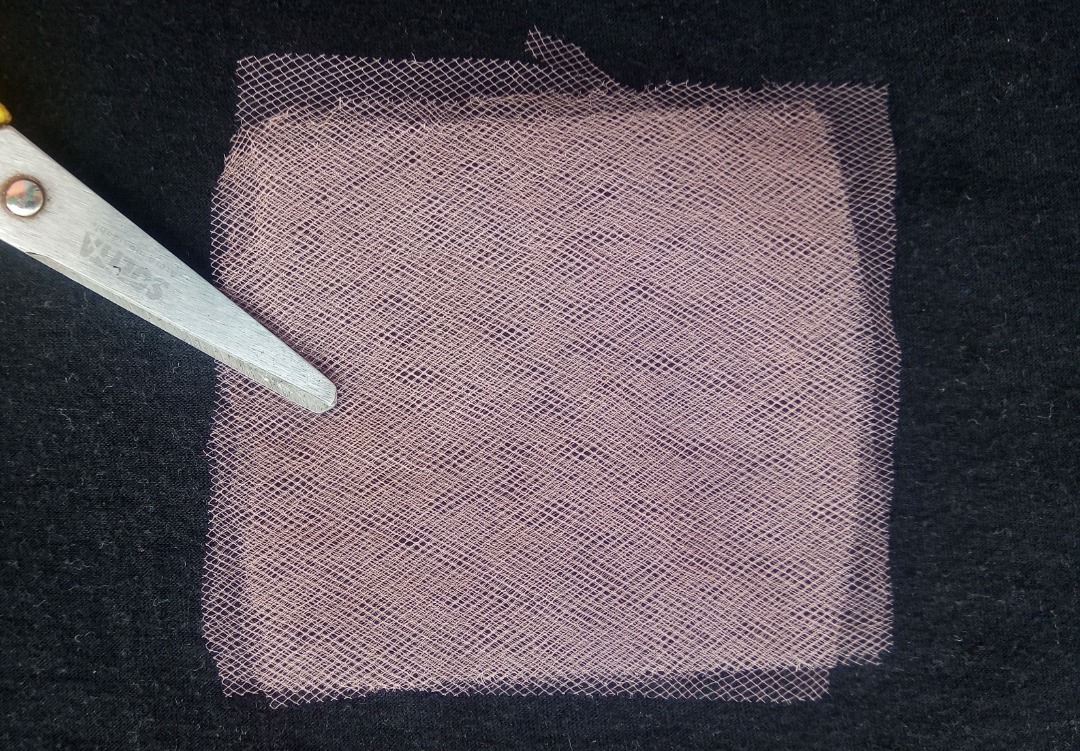

Y doblamos haciendo una especie de lasito y con el mismo tul agarramos una tiritas y lo amarramos como se muestra en la imagen.
And we fold it making a kind of lasso and with the same tulle we grab a strip and tie it as shown in the image.


Tomamos nuestro cintillo y en la mitad entre ojera con oreja colocamos un poco de silicona y pegamos nuestro lasito.
Take our headband and place a little silicone in the middle between the eye and the ear and glue our lashing.


Con otro pedacito de nuestro foamis vamos a realizar una tirita de 1cm y procedemos a recortarlo.
With another piece of our foamis we are going to make a 1cm strip and proceed to cut it out.
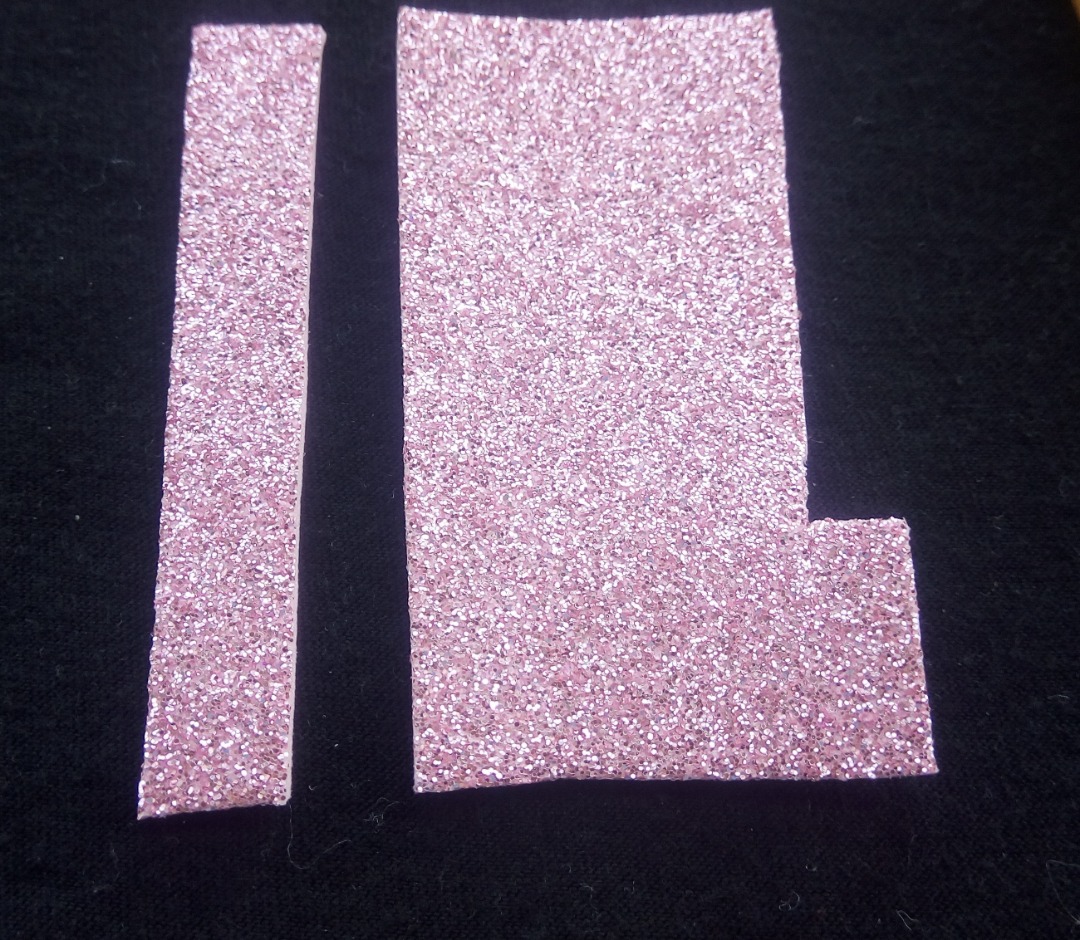

con nuestra tirita, vamos a rodear nuestro lasito de la manera como vemos en la foto.
with our band-aid, we will surround our lasito as shown in the picture.
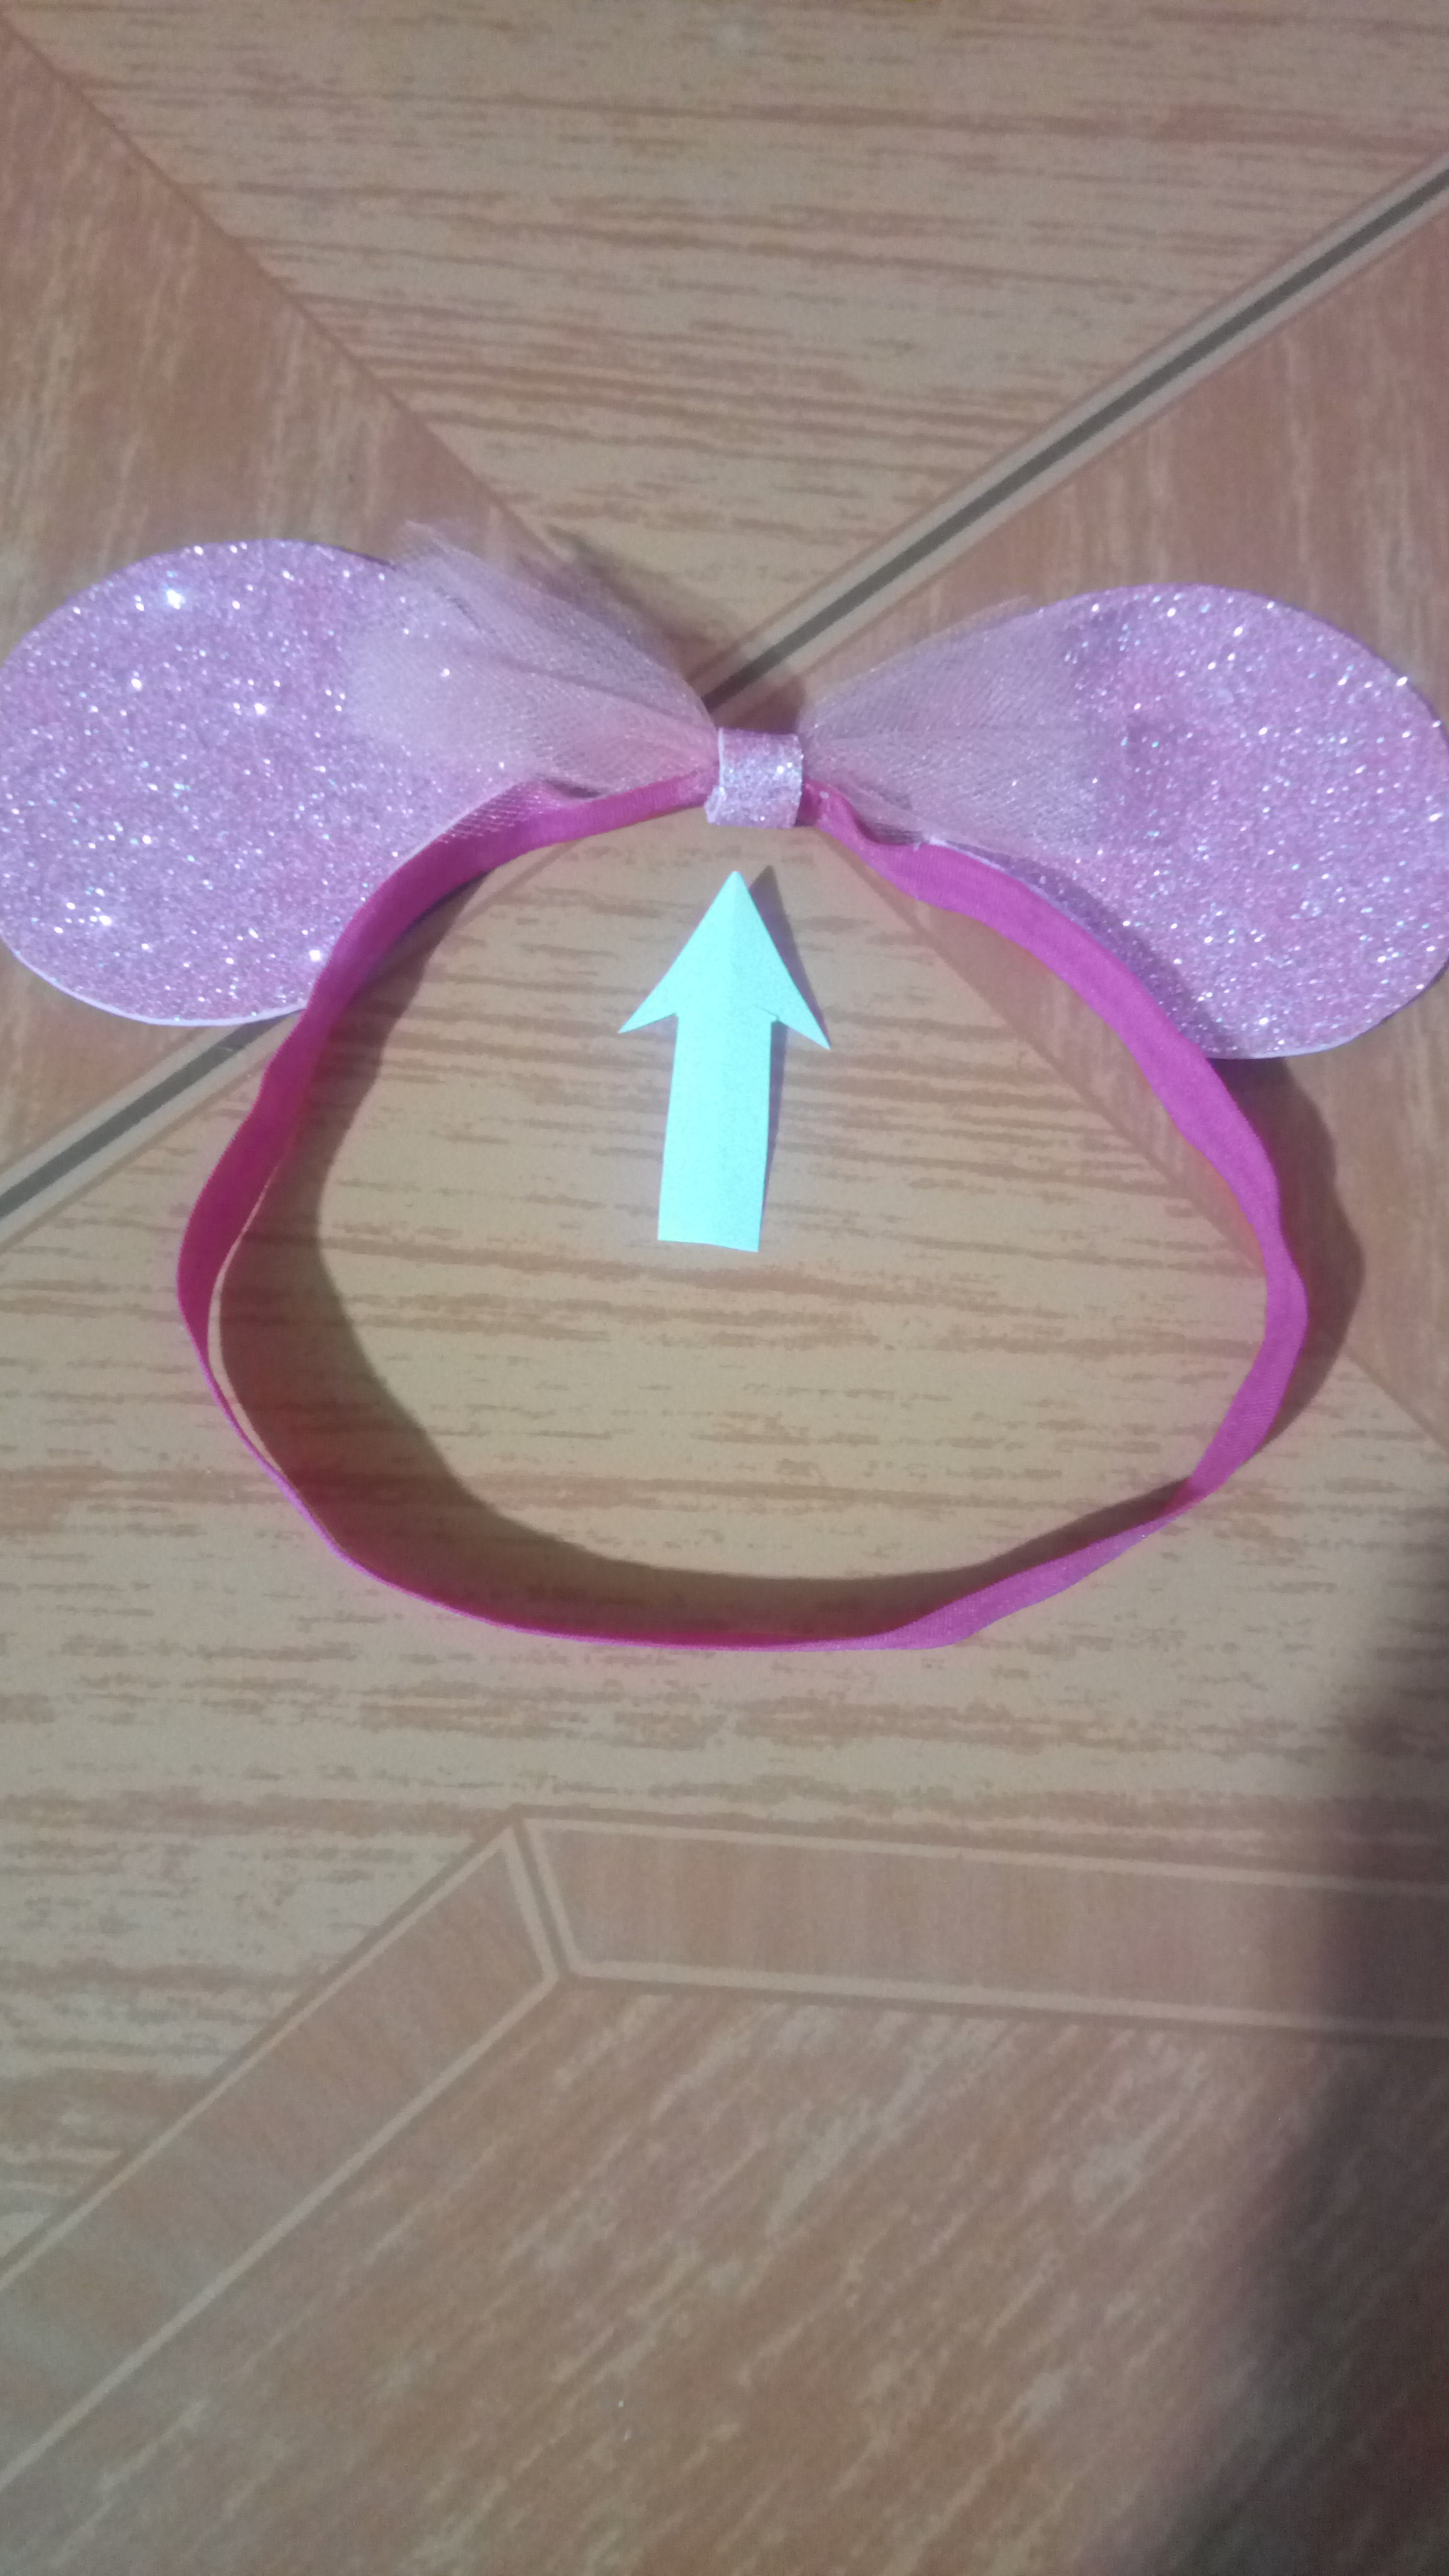

Y LISTO!! Así de sencillo y con materiales que seguro tenemos en casa, obtenemos un hermoso cintillo!
AND READY! So simple and with materials that we surely have at home, we get a beautiful headband


hope you liked it and that you can try it, kisses and hugs. A thousand blessings. Las fotos son de mi autoria tomadas con mi celular. photos are of my authorship taken with my cell phone. El separador fue realizado en las herramientas de Power Point 2007. The separator was made in PowerPoint 2007 tools.
Really nice! Thanks for sharing with us!
!discovery 25
thank you very much!! for nothing, I made it with a lot of love for all of you 💗.
This post was shared and voted inside the discord by the curators team of discovery-it
Join our community! hive-193212
Discovery-it is also a Witness, vote for us here
Delegate to us for passive income. Check our 80% fee-back Program
Que hermoso cintillo le voy a mostrar este Post a mí hermana para intentar uno para mí sobrinita de 4 años. Besos mí Camí linda .🎀
Gracias! Que linda eres ❤️ Mil bendiciones.
Congratulations @camiv09! You have completed the following achievement on the Hive blockchain and have been rewarded with new badge(s) :
Your next target is to reach 100 upvotes.
You can view your badges on your board and compare yourself to others in the Ranking
If you no longer want to receive notifications, reply to this comment with the word
STOPCheck out the last post from @hivebuzz:
Support the HiveBuzz project. Vote for our proposal!