Welcome to my blog
Bienvenidos a mi blog
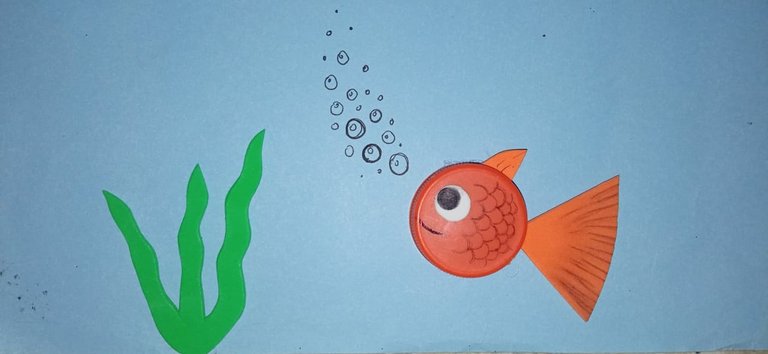
Good friends of Hive, we will make a beautiful marine painting with recycled materials to decorate the most special places in our home. I hope you like it, without more to say, let's start!
Buenas amigos de Hive,elaboraremos un bello cuadro marino con materiales reciclados para adornas los lugares mas especiales de nuestra casa. Espero sea de tu agrado, sin más que decir ¡¡¡Comencemos!!!
The materials we will use are as follows:
Los materiales que usaremos serán los siguientes:
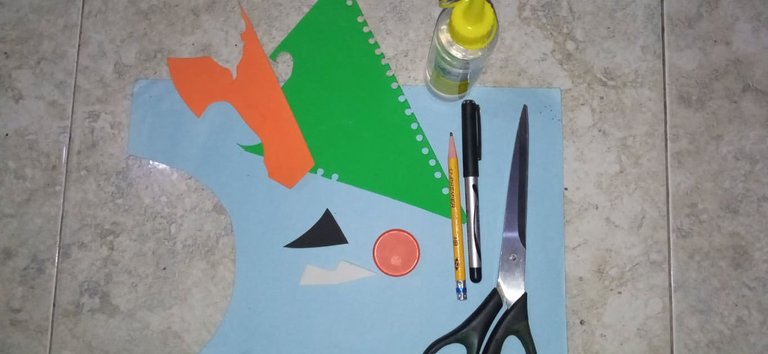
Materials:
- Cardboard
- Foami
- Silicone
- Pencil
- Plastic lid
- Marker
Materiales
- Cartulina
- Foami
- Silicón
- Lápiz
- Tapa plástica
- Marcador
PROCEDURES // PROCEDIMIENTOS:
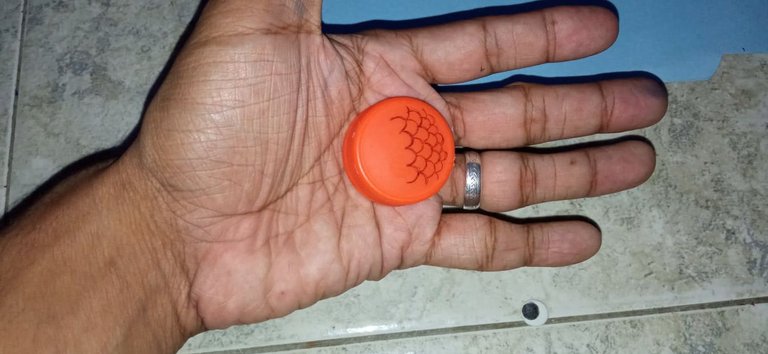
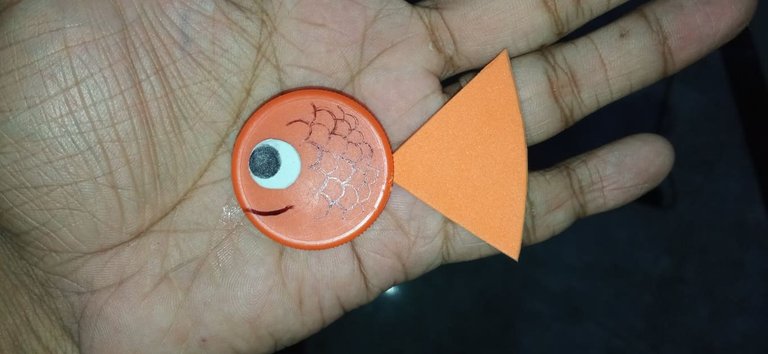
STEP #1: We mark on the plastic cover some lines simulating the scales of a fish.
PASO #1: Marcamos en la tapa plástica unas lineas simulando las escamas de un pescado.
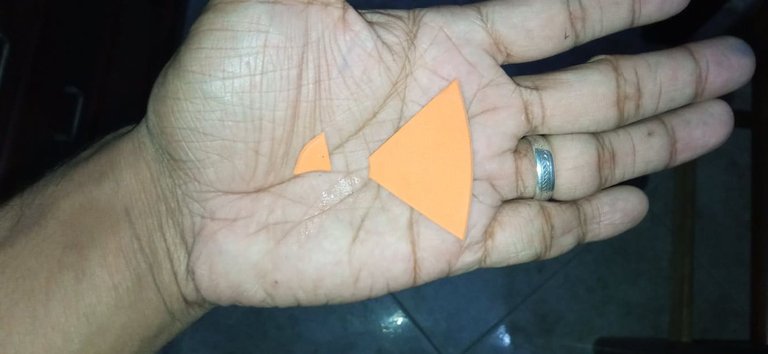
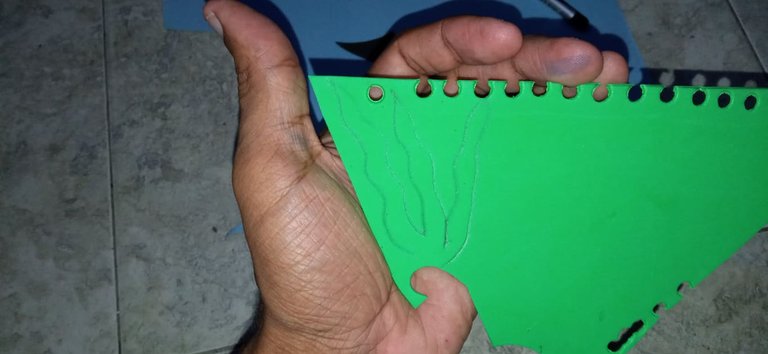
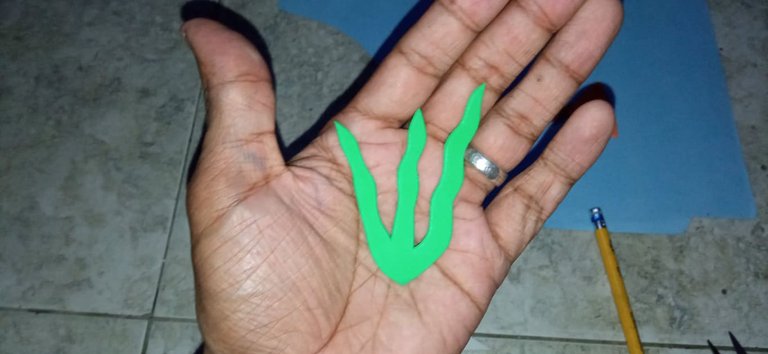
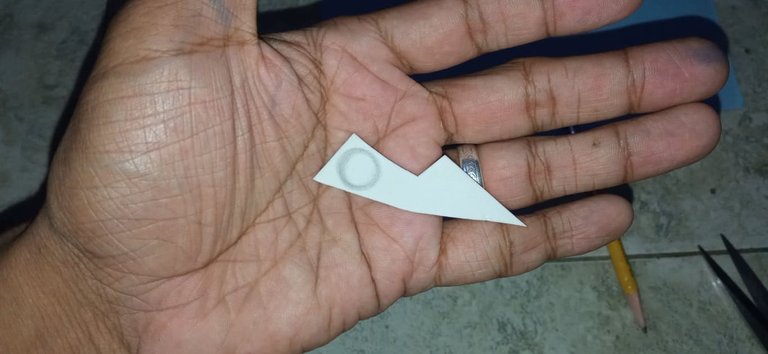
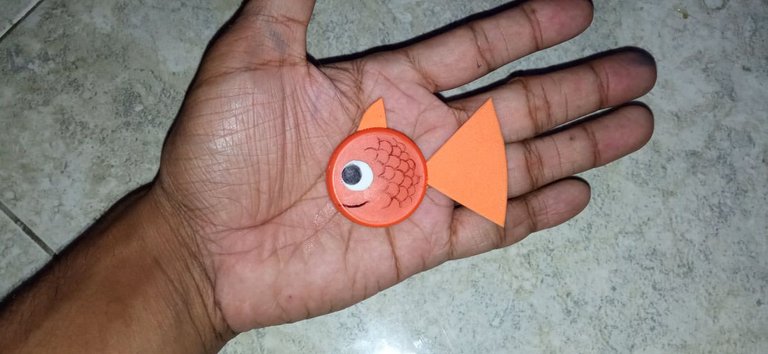
STEP #2: We mark and cut out 2 triangles (fins and tail of the fish), seaweed and eye of the fish, with a marker we paint the black of the eye.
PASO #2: Marcamos y recortamos 2 triángulos (aletas y cola del pescado), algas y ojo del pez, con un marcador pintamos lo negro del ojo.
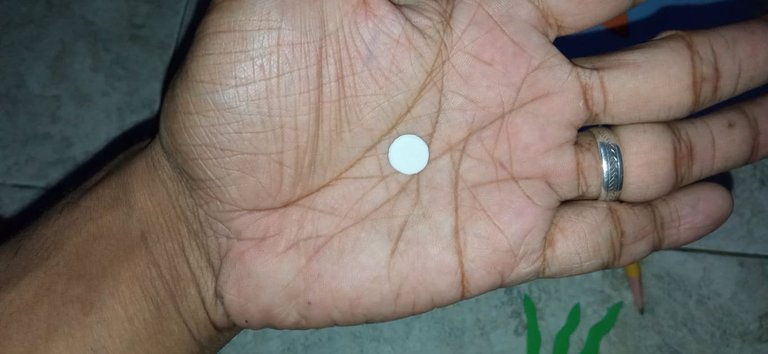
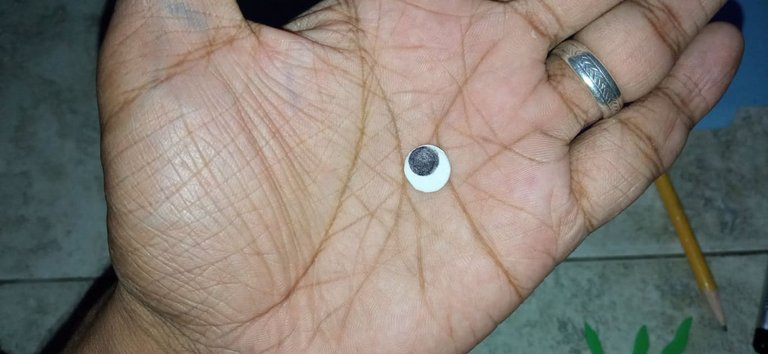
STEP #3: We glue the eye or fins to our fish.
PASO #3: Pegamos el ojo u las aletas a nuestro pez.
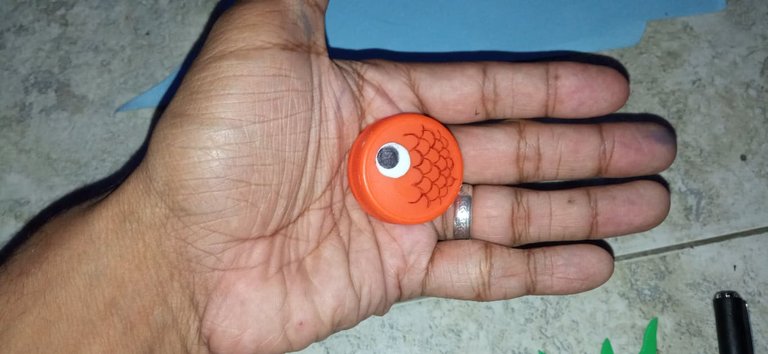
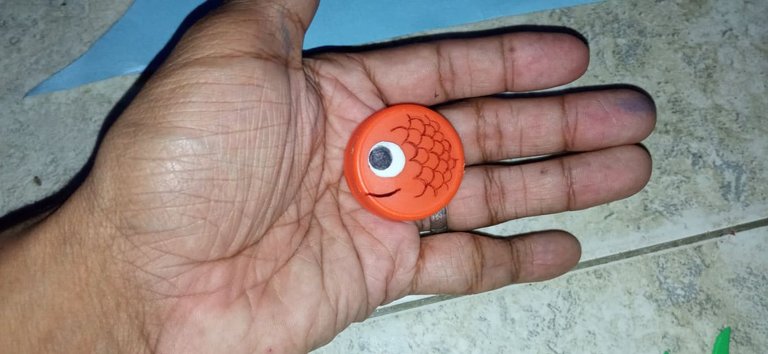
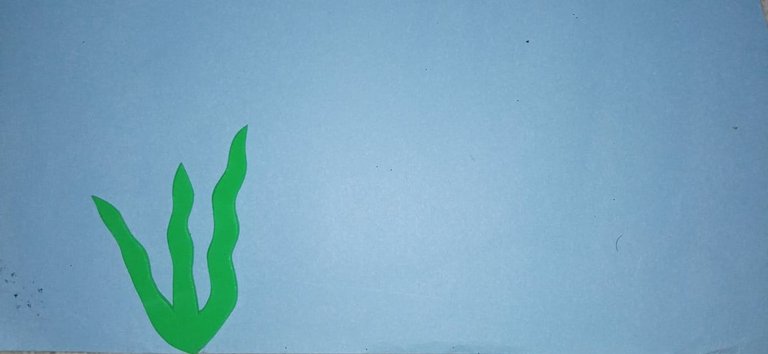
STEP #4: We glue on a light blue cardboard, the algae, the fish and add details such as bubbles.
PASO #4: Pegamos en una cartulina azul claro , las algas, el pez y agregamos detalles como las burbujas.
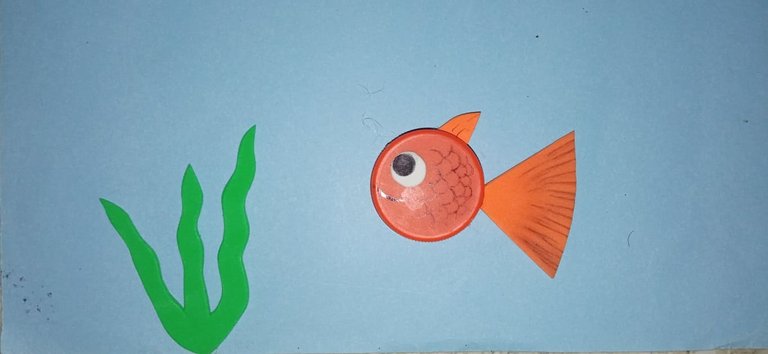

And so we finish our beautiful marine painting.
Y así damos por terminado nuestro bello cuadro.
If you have any questions, suggestions or recommendations, let me know in the comments. I will be happy to read them.
Alguna duda, sugerencia o recomendación, déjamelas saber en los comentarios. Estaré encantado de leerte.
Thank you for visiting my blog and I hope you like the material. See you next time.
Gracias por visitar mi blog y espero que el material sea de su agrado. Nos vemos la próxima publicación.

RESOURCES USED
Photograph taken by Redmi note 8
Crop and edit images in Paint
Banner created in PowerPoint 2010
Screenshots taken by Lightshot
RECURSOS UTILIZADOS
Fotografía tomadas por Redmi note 8
Recorte y edición de imágenes Paint
Banner creado en PowerPoint 2010
Capturas de pantalla realizadas por Lightshot
