Prior to now, the last time I picked up a crochet pin and some wool was at least 8 years ago—there’s no way my skills aren’t rusty. But I was thinking, and I decided that it was time to come out of the closet and revive this hobby of mine.
I wish I had pictures of the cute purses I made back then in secondary school, but unfortunately I didn’t have a phone back then.
Well, I’ve had my eyes on this amazing community for a while now. Every time I come across amazing crochet projects from here, I feel left out because I know that I can and would want to recreate them.
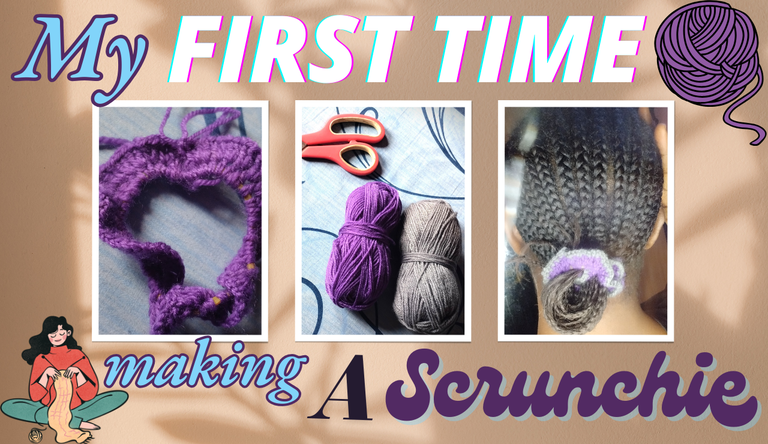
Designed my Image using Canva
So I finally got myself off the couch and took me to the market to go get some yarn and crochet pins. Let’s not talk about the prices on these things because what!? A crochet pin has no business being 300 Naira, or 0.178 dollars. That's, by the way, though.
After snooping around on the crochet part of YouTube, I settled on making a scrunchie. Scratch that, I attempted to make a scrunchie😭. Now you might take a look at the final outcome of my project and say, “Girl, I know what a scrunchie is, and that ain’t no scrunchie.”.
And you know what? You’d be right😩😭. But I ask that you give me some grace, as this is my first time doing something like this in years. Over time, I believe I will get better.
Without further ado, let’s get this rolling.
SUPPLIES
We will need;
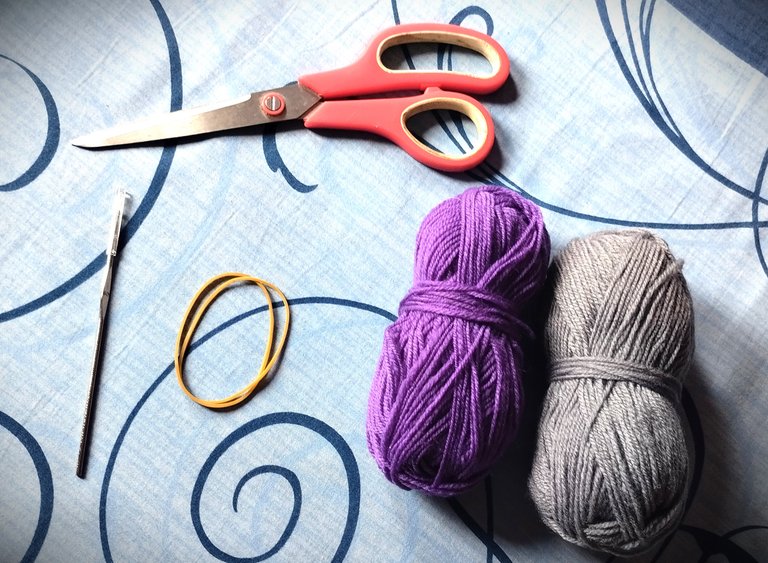
- Yarn/wool of two different colors of your choice
- A pair of scissors
- A hair band (preferable) or a rubber band
- A crochet pin
PROCEDURE
(Pardon my lingo)
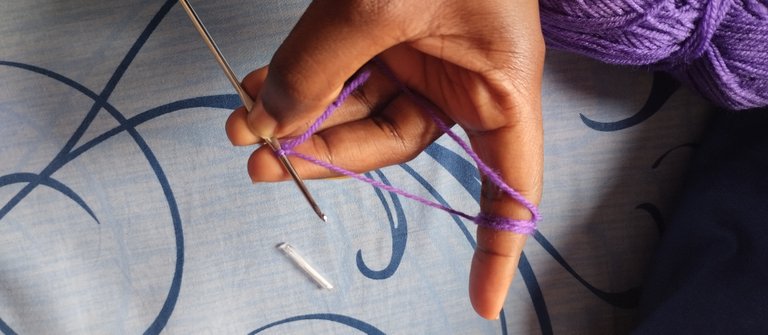
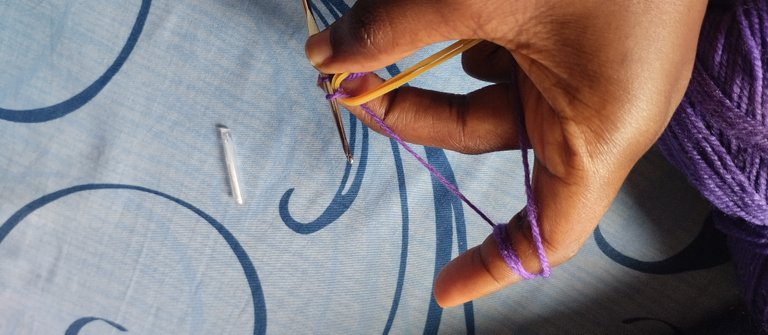
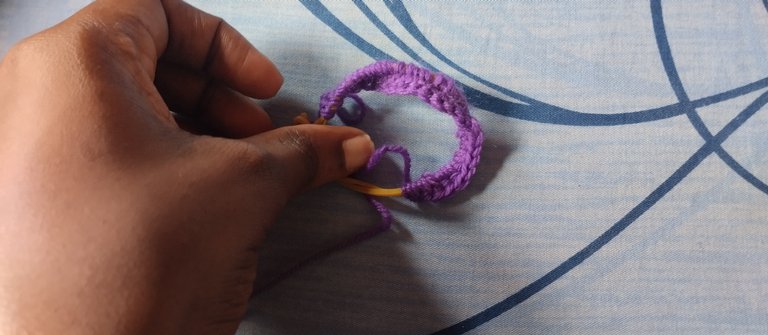
I started by making a stitch around my rubber bands. Just a simple stitch all around it under I got to the end.
 |  |  |
|---|---|---|
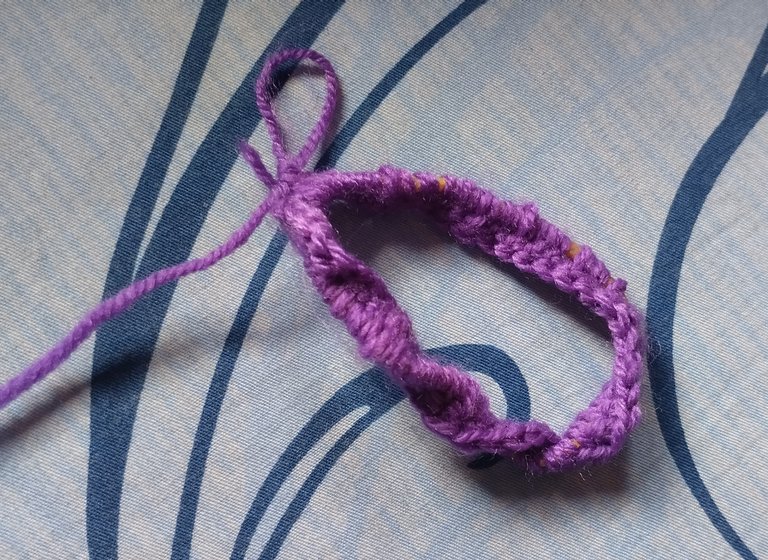
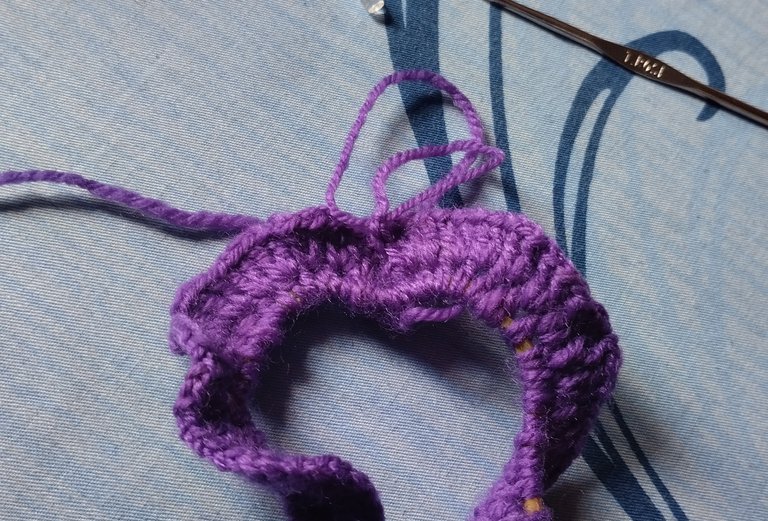
After this, I crocheted four columns upwards and then joined the last column to the next stitch I made around the rubber bands.
 |  |  |
|---|---|---|
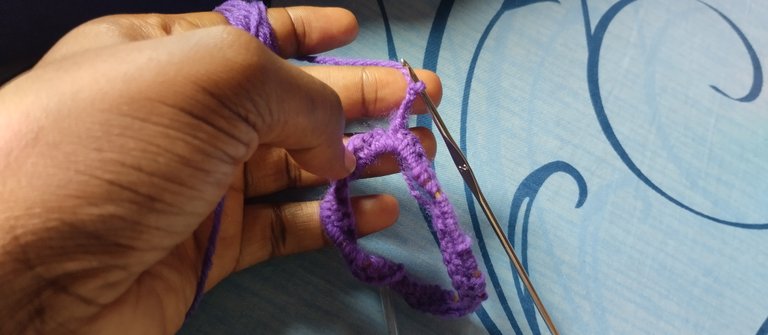
I then did two crochets in one row, an extra independent column, and then moved onto the next row to repeat the two crochets. I did them all around the row connecting with the rubber band.
 |  |
|---|---|
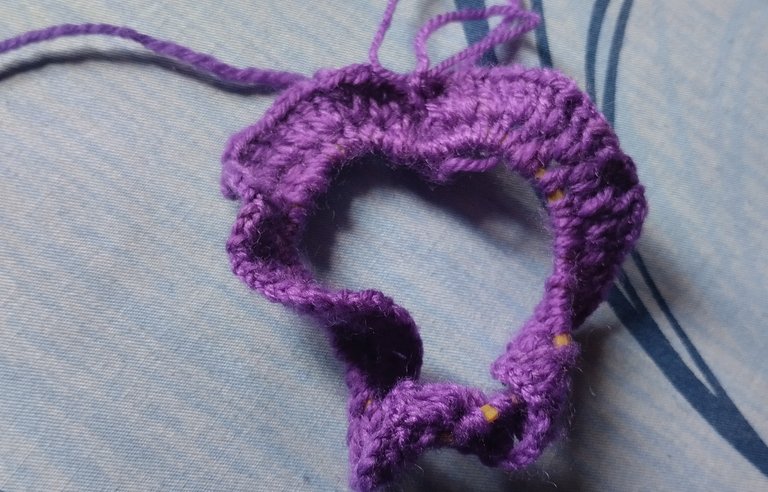
After this was when I started to notice that my rows were twisting onto each other. Now I think the mistake I made here was using rubber bands instead of an elastic hairband (that’s what the lady used in the tutorial video, but I didn’t have any with me).
Ideally, the double crochets in one row are supposed to come out as frilly, resembling an actual scrunchie. But because mine twisted a lot, the frillyness is obvious.
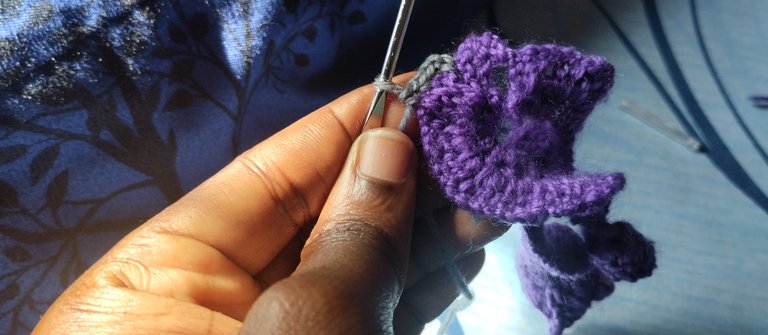
When done with the double crochets, I cut the purple wool and then inserted the grey one. I knitted a layer of the grey wool around the rim of each row of the purple scrunchie to give it a pop of color.
 |  |
|---|---|
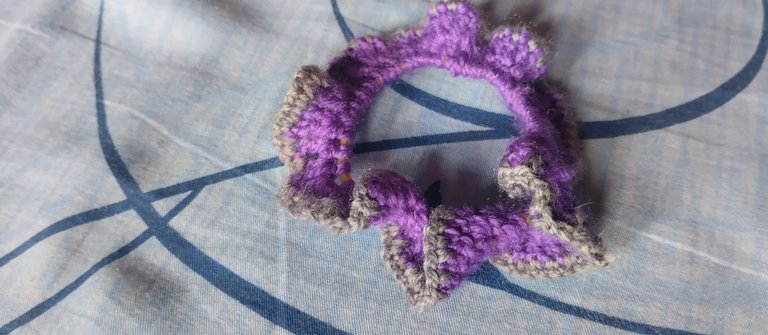
And having finished that, this was the result. That’s really it.
I do plan to redo it using a hairband next so it will hopefully come out right.
I hope you were able to take away something valuable from this!
Naa, you didn’t make any mistake using rubber bands. I make my scrunchies with rubber bands and they come out fine.
Maybe you should make sure you have large coverage of the band? And then you add one more double crochet in each stitch making 3 in a stitch and no Independent crochet. This will give it the ruffle you want.
Oh okay
Alright thank you so much for the tips. Yours is really cute, and bigger with more ruffles. That's definitely a scrunchie!
Are they two separate scrunchies or did you join two in one?
They are two separate scrunchies.
that looks great, you are amazing thanks a lot for sharing. keep up the good work.
Thank you so much DIY hub🤗
Congratulations @zitalove! You have completed the following achievement on the Hive blockchain And have been rewarded with New badge(s)
Your next target is to reach 200 posts.
You can view your badges on your board and compare yourself to others in the Ranking
If you no longer want to receive notifications, reply to this comment with the word
STOPBeautiful scrunchie
Thank you so much Idara
Hand skills are never forgotten, it's just a matter of picking them up and practicing them once again haha. This project looks good, and surely as you get more you'll get better at it. Thanks for sharing :)
Thanks for the encouraging words Laura🙏
I definitely plan to keep practicing so I can get it right, and to dibble my hands into other projects as well.
Thanks once again
Beautiful 😍😍
Thank you Sommy
Welcome 🤗
The scrunchie is looking good, with time you'll be perfect. Hands kills can never be forgotten.
Thank you so much dear🤗
You're welcome