¡Hola comunidad de Hive!
Hello Hive community!
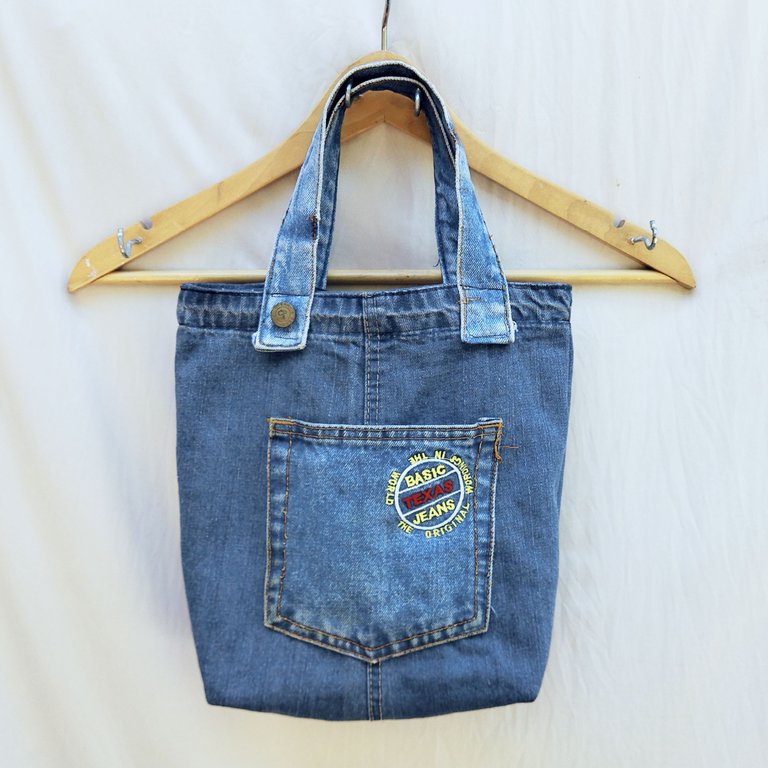
Hola queridos amantes de la costura, espero estén bien, feliz mitad de semana para todos. Estoy muy feliz y contenta de poder participar es este concurso, que por cierto me ha encantó mucho los trabajos que han realizado. Yo soy fanática de este tipo de tela y siempre que arreglo algún pantalón de jean no dudo en guardar los retazos que me quedan, es por eso que decidí participar haciendo un lindo bolso de mano hecho con retazos de jeans viejos, es una manera muy útil de reciclar pues conviertes algo que podría ser basura para muchos en un obra de arte, así que acá les dejo mi paso a paso y espero que les guste.
Hello dear sewing lovers, I hope you are well, happy midweek to all of you. I am very happy and glad to be able to participate in this contest, which by the way I have really loved the work you have done. I am a fan of this type of fabric and whenever I fix some jeans I do not hesitate to save the scraps that I have left, that's why I decided to participate by making a nice handbag made with scraps of old jeans, it is a very useful way to recycle because you turn something that could be trash for many in a work of art, so here I leave my step by step and I hope you like it.
Necesitaremos || We will need
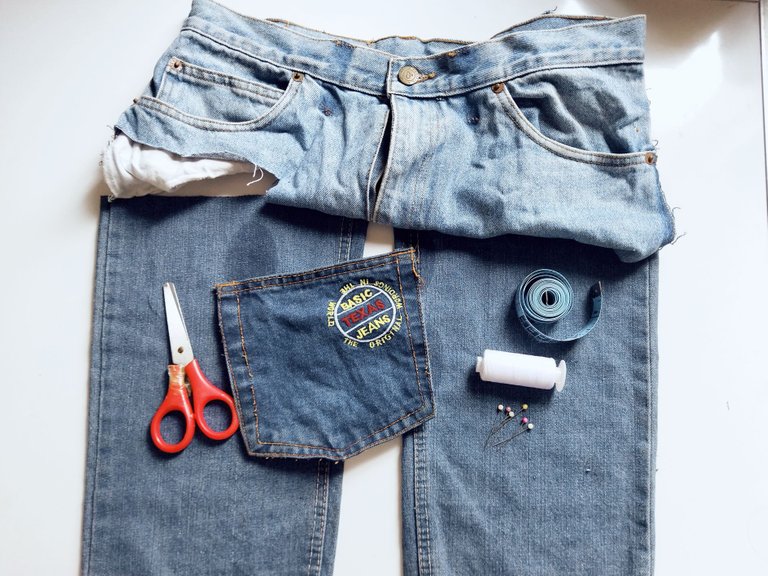
- 2 piernas de un jean
- 1 pretina de jean
- Hilo negro
- Un bolsillo reciclado
- Cinta métrica
- Alfileres
- Retazos de jean
- Aguja y máquina de coser
- 2 jean legs
- 1 jean waistband
- Black thread
- One recycled pocket
- Tape measure
- Pins
- Denim scraps
- Needle and sewing machine
Paso 1 || Step 1
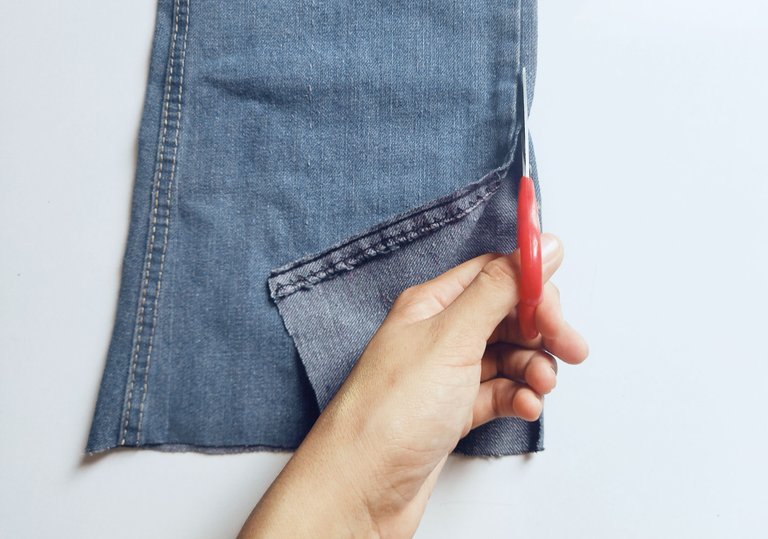
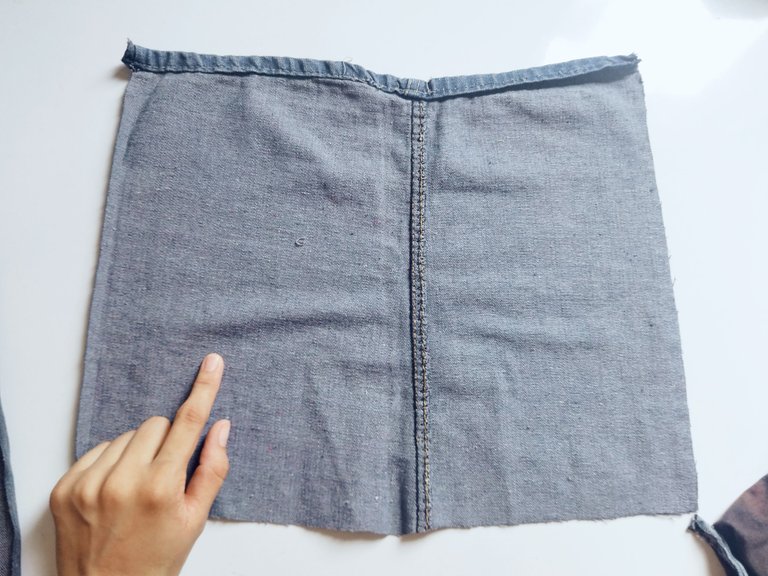
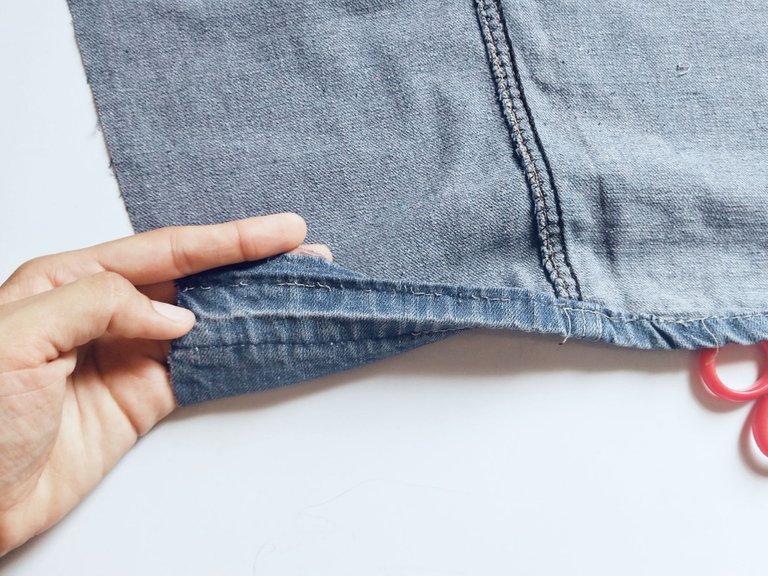
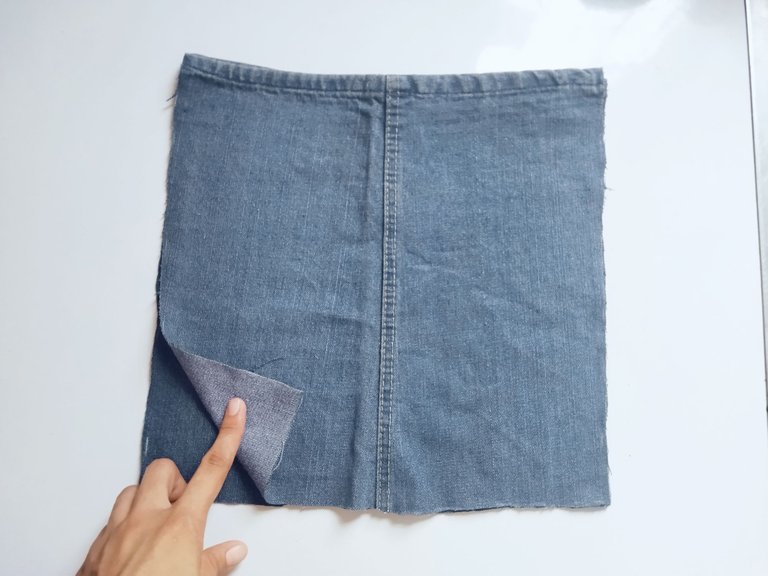
El primer paso para comenzar a realizar este lindo bolso será abrir las piernas del pantalón jean, corte la costura externa, hice lo mismo en la otra pierna, luego procedí a descoser el ruedo del las piernas (aquí si tarde un poco en descoser las dos piernas), luego de tener los ruedos descosidos, medí los dos lados para que estuvieran iguales 32 cm de ancho por 38 cm de alto.
The first step to start making this nice bag will be to open the legs of the jeans, cut the outer seam, I did the same on the other leg, then I proceeded to unpick the hem of the legs (here it took a little time to unpick the two legs), after having the hems unpicked, I measured the two sides to be equal 32 cm wide by 38 cm high.
Paso 2 || Step 2
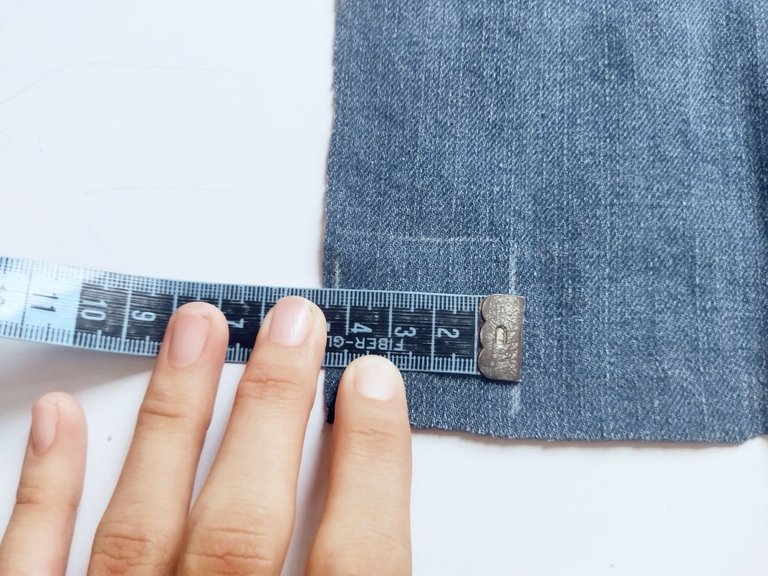
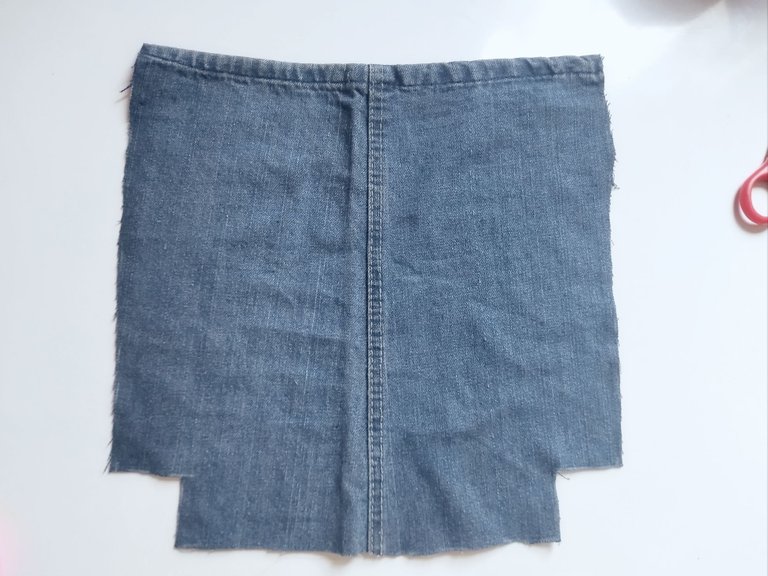
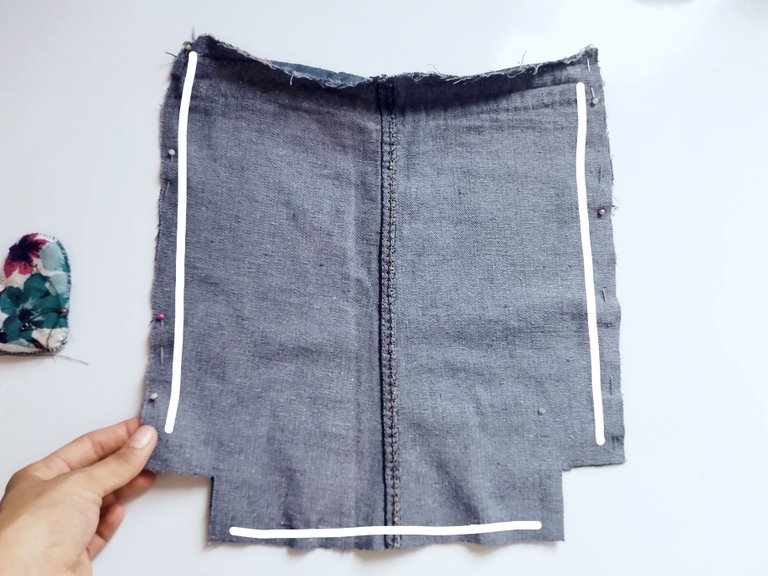
Ahora en esta parte vamos a marcar un cuadrados de 4cm × 4cm en la esquinas de la parte posterior como te muestro en la imagen. Cortamos estos cuadrados en las dos piezas y enfrentamos los derechos para coser, antes de ir a la máquina sujeté la piezas con alfileres, cosemos los lados y la parte de abajo.
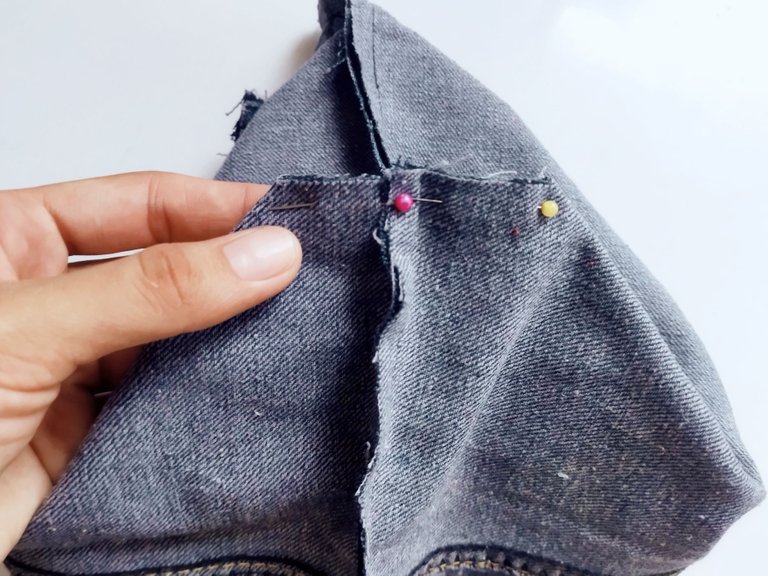
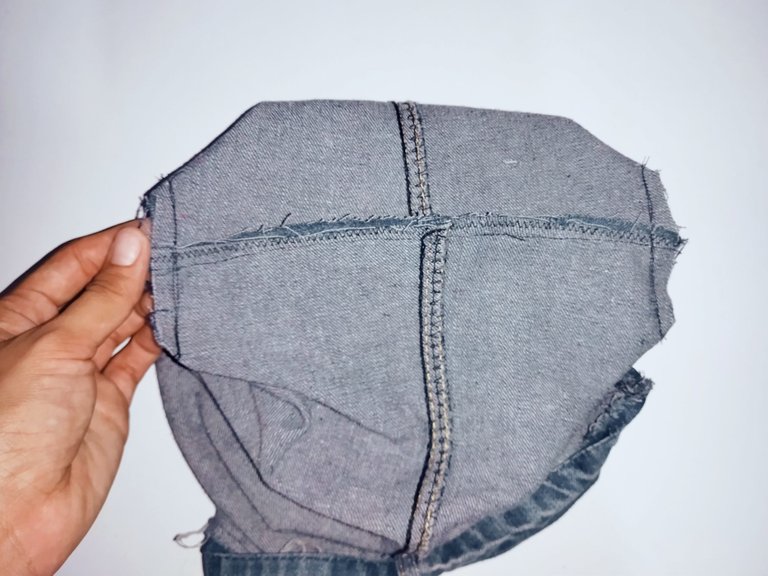
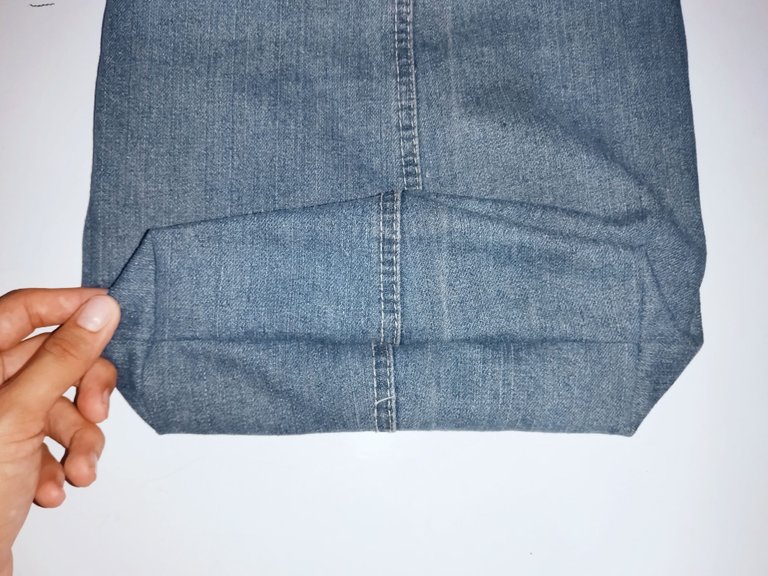
Luego de haber cosido todo vamos sujetar con alfileres la parte de los cuadrados que no están cosidos, uniendo una línea de costura con la otra. Vamos a la máquina pasamos costura doble y luego volteamos.
Now in this part we are going to mark a 4cm × 4cm squares in the corners of the back as I show you in the picture. We cut these squares in the two pieces and face the right sides to sew, before going to the machine I pinned the pieces, we sew the sides and the bottom.
After sewing everything together, we will pin the part of the squares that are not sewn, joining one line of stitching with the other. We go to the machine we pass double stitching and then we turn over.
Paso 3 || Step 3
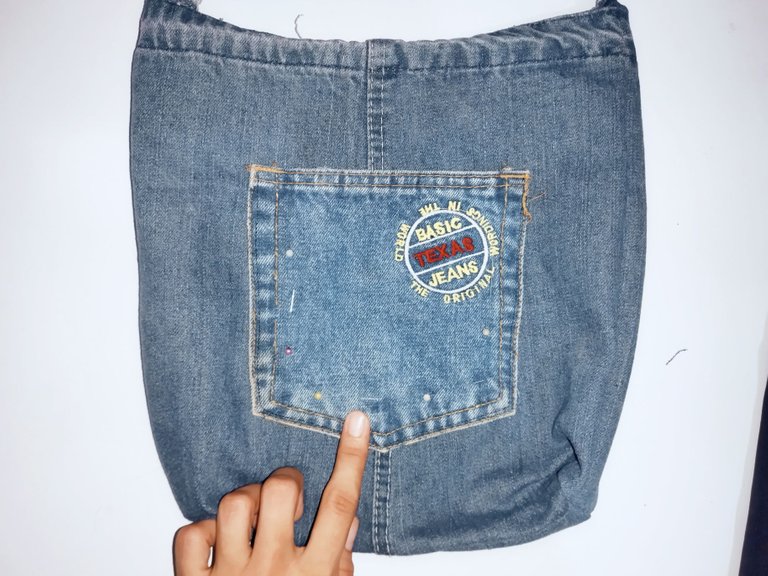
Ubiqué el bolsillo en el centro del bolso y lo cosí con mucho cuidado para que no se me moviera y fuera a quedar torcido lo sujeté con alfileres y lo lleve a la máquina de coser.
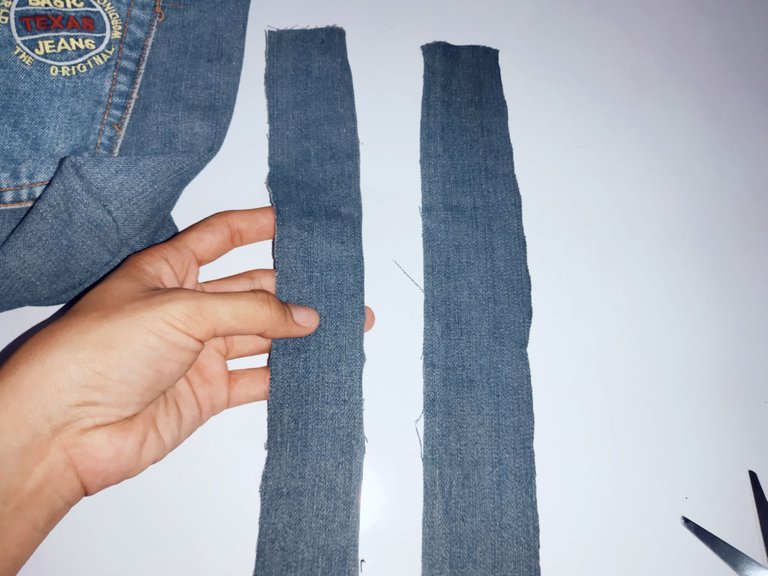
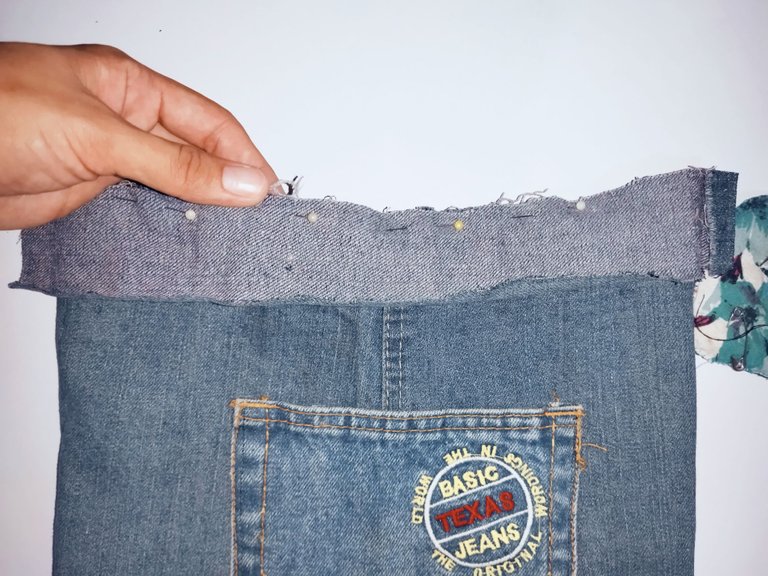
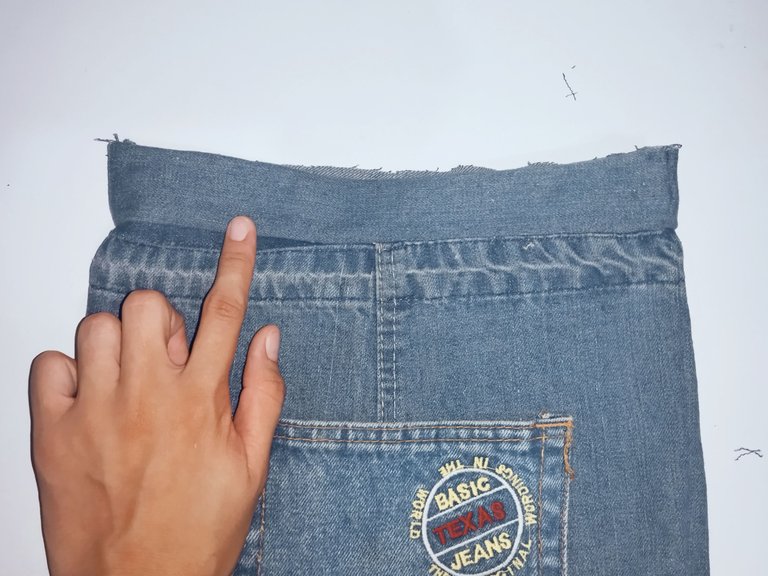
Ahora cortamos dos tiras de 6cm de ancho y del largo del contorno del bolso para posteriormente colocarlas enfrentando los derechos como te muestro en la imagen (en mi casa tuve que empatar las tiras), ahora llevamos la tira hacia arriba y quedaría así. ☝️☝️☝️
I placed the pocket in the center of the bag and sewed it very carefully so that it would not move or get twisted, I pinned it and took it to the sewing machine.
Now we cut two strips of 6cm wide and the length of the contour of the bag to later place them facing the rights as I show you in the image (in my house I had to tie the strips), now we take the strip up and it would look like this. ☝️☝️☝️
Paso 4 || Step 4
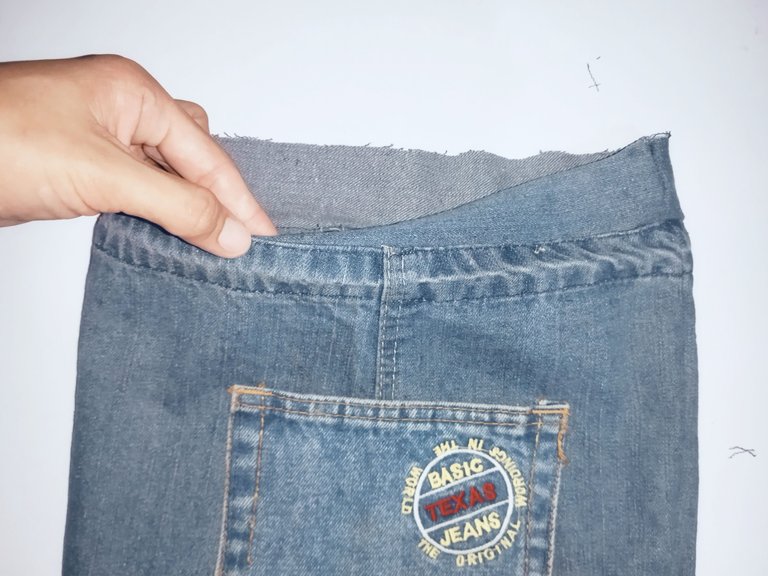
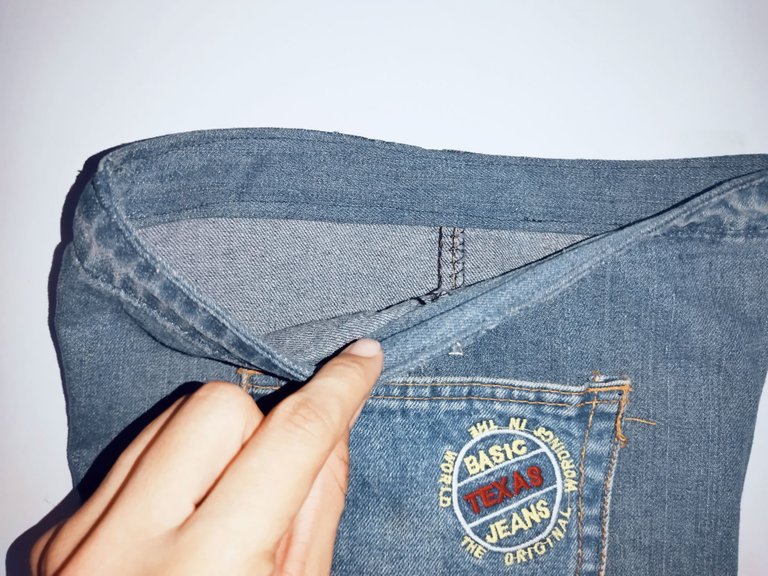
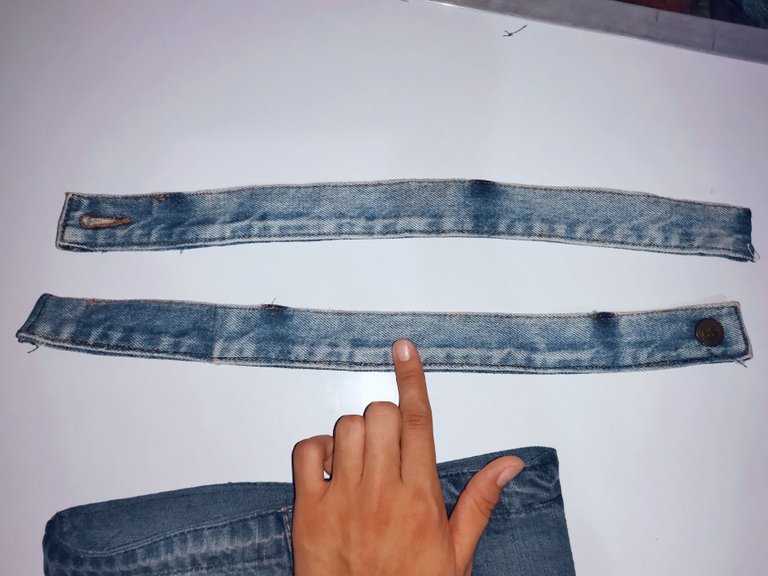
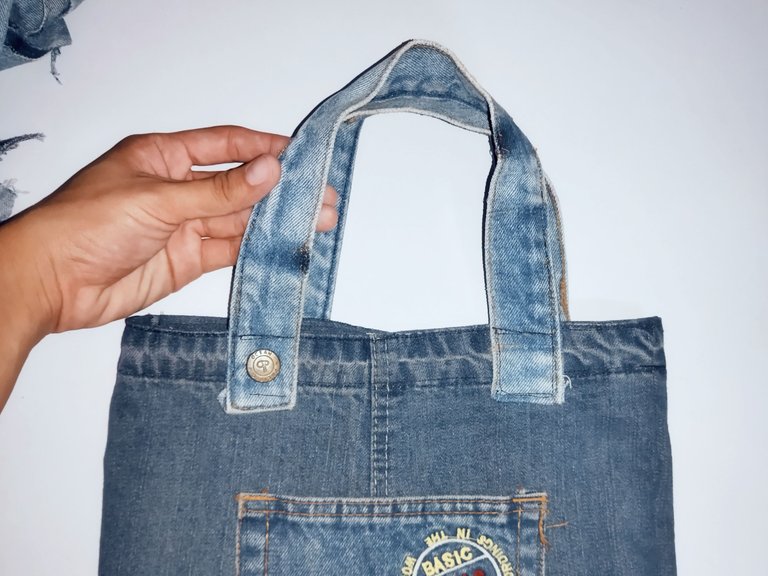
Doblamos la tira hacía adentro y colocamos alfileres en el orilla para luego coser, proseguí doblando la tira también en la parte interna. Cómo últimos detalles sacamos la pretina del pantalón jean que serán las asas del bolso (ufff descoser la pretina fue todo un reto, debemos tener paciencia para esto), corté la pretina en dos para hacer las dos asas, las cosí por el lado externo del bolso.
We folded the strip inwards and placed pins on the edge to sew later, I continued folding the strip also on the inside. As last details we took out the waistband of the jeans that will be the handles of the bag (ufff unpicking the waistband was a challenge, we must have patience for this), I cut the waistband in two to make the two handles, I sewed them on the outer side of the bag.
Resultado final.
Final result.
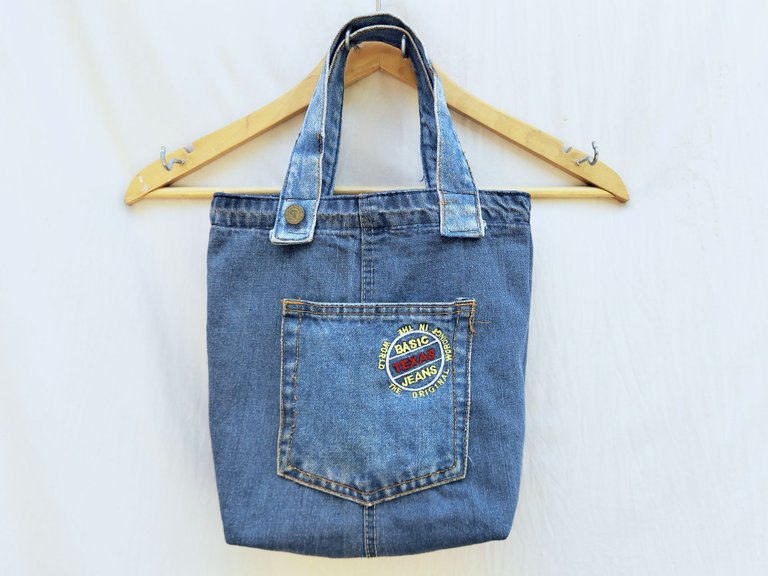

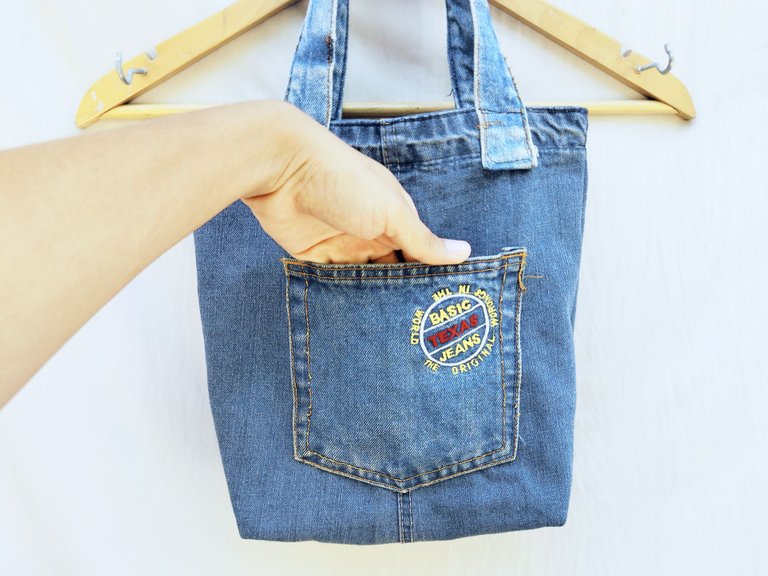
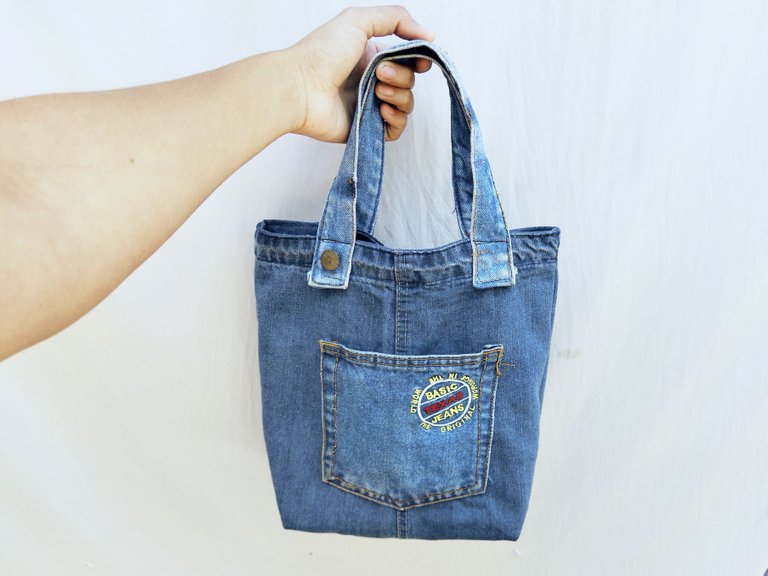
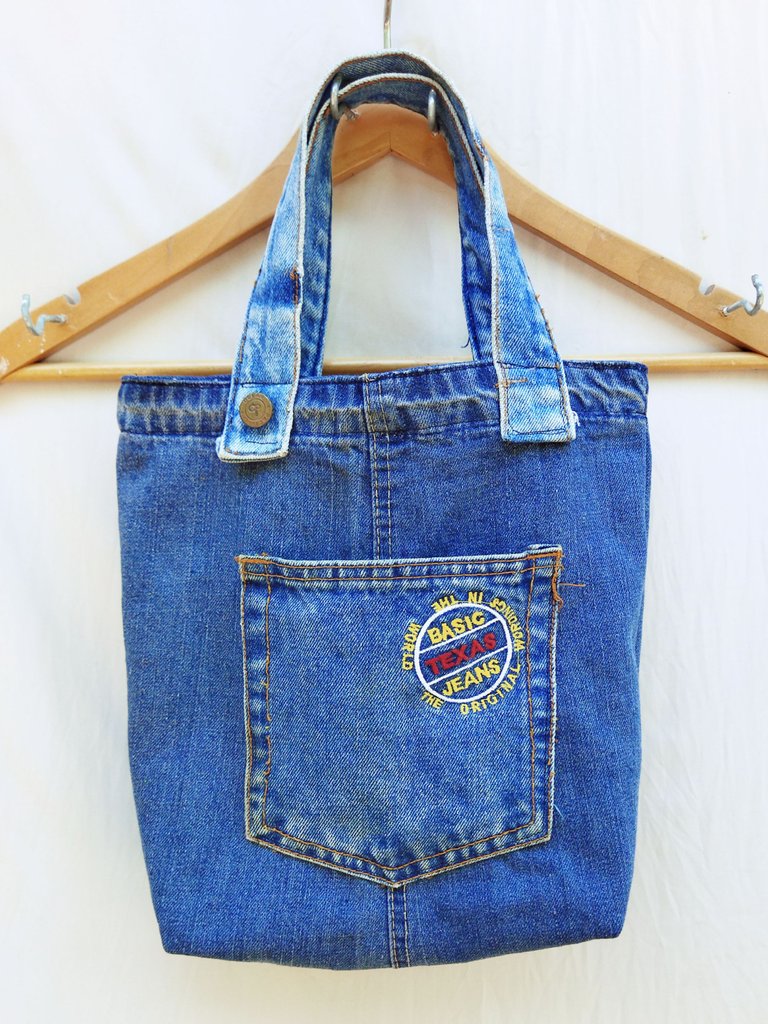
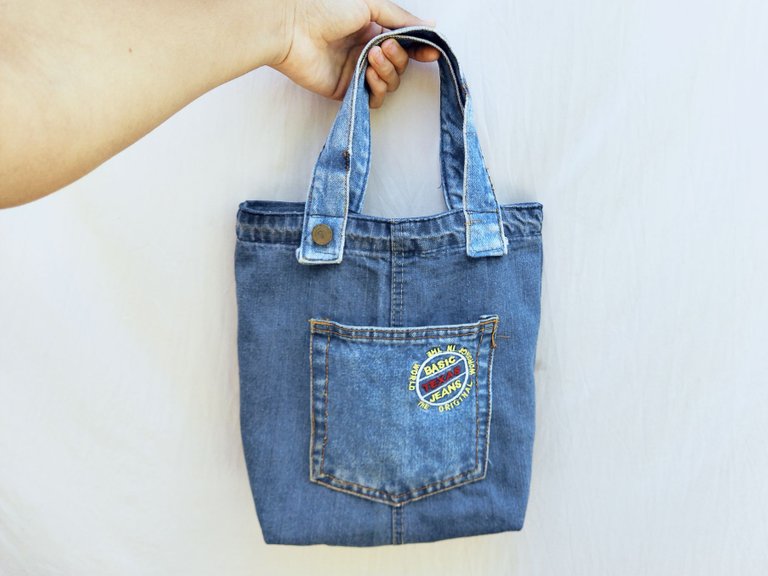
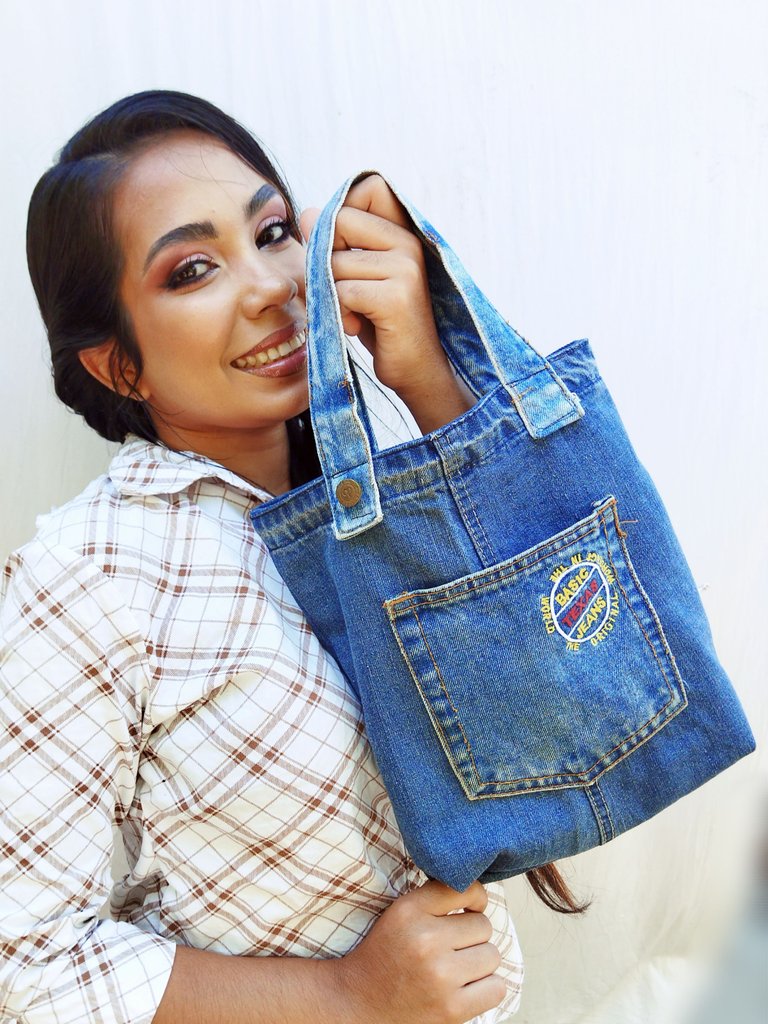
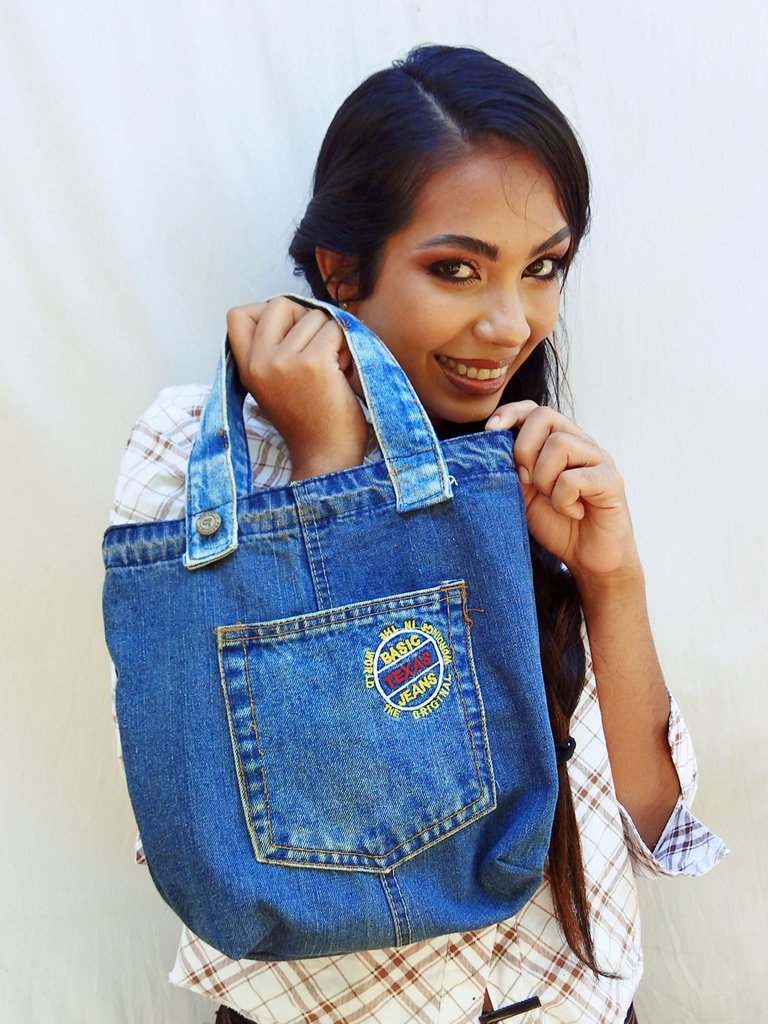
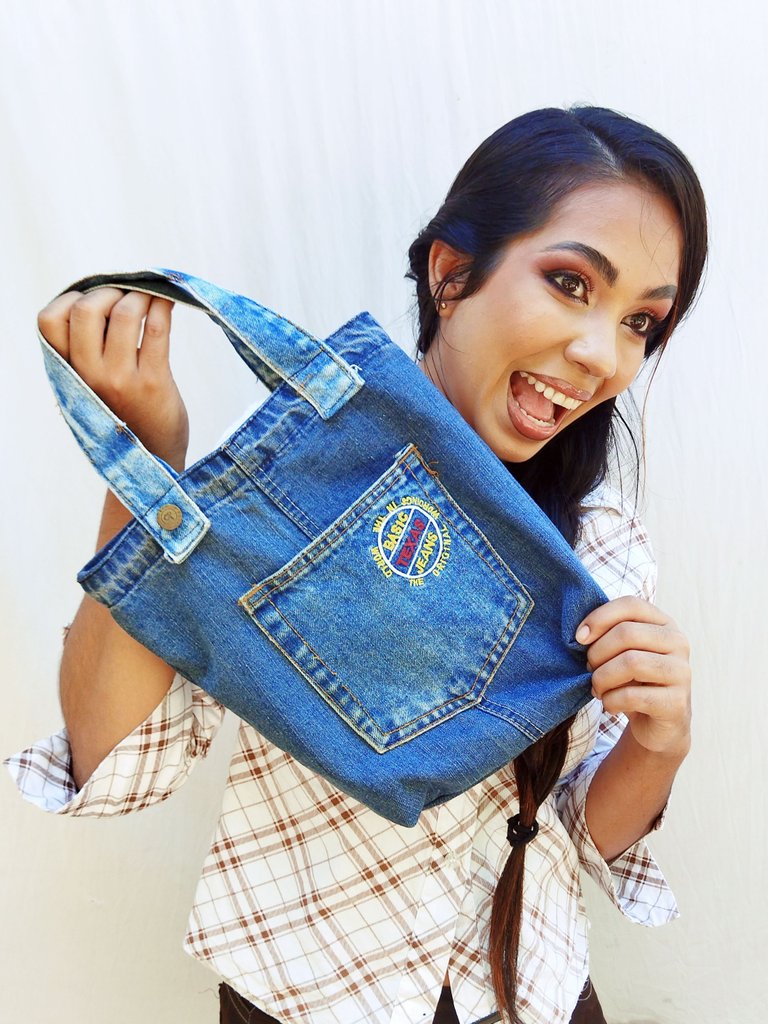
Éste fué el resultado final de este lindo bolso, le pedí a mi amiga Andrea que posará con el bolso para la cámara, creo que le gustó y a mí también me fascinó como quedó este bolso, la verdad es que trabajar con jeans siempre es una buena opción, les deseo mucha suerte a todos en el concurso. Espero que les hay gustado y si llegaste hasta aquí mil gracias por leer mi post ❤️🥰 un fuerte abrazo.
This was the final result of this cute bag, I asked my friend Andrea to pose with the bag for the camera, I think she liked it and I was also fascinated by how this bag turned out, the truth is that working with jeans is always a good option, I wish you all good luck in the contest. I hope you liked it and if you got this far thank you very much for reading my post ❤️🥰 a big hug.
All images are my property / Todas las imágenes son de mi propiedad
Camera: Xiaomi Redmi 9T.
Translation: Deepl.com
So creative
Muy creativo tu proyecto para nuestro concurso, suerte
Gracias 😁 por tu comentario 👍🏻👍🏻👍🏻
Me encanta tu proyecto,eres muy talentosa,tu arma más poderosa es el arte de la costura. Hermoso.
Gracias 😊😊😊
Very nice results! The jeans pocket looks great on your new bag! I love your photo shoot at the end. You are very beautiful ~ 🤗
Te quedó muy lindo el bolso, saludos.
Hola, gracias por tu comentario 😊😊
Este trabajo está muy práctico y hermoso! Te felicito hiciste un bello trabajo. Suerte en el concurso!
Gracias, si me encantó como quedó este bolso y es súper práctico. Saludos🤗🤗🤗
Wow this is so beautiful, really attractive thanks for sharing
Thanks ♥️♥️♥️
Creative and i love the result, congrats!
Muy bello te quedó y las fotos están muy lindas 😍.
Gracias 😁🤩🤩 saludos!
Eres una dura, te quedó bellísimo. Sigue Yuli, sigue :D
Gracias 😊😊 me sonrojo!
Que gran trabajo amiga😍
Gracias 😊😀♥️♥️
Hola @yulilemus02 gracias por unirte al concurso.
Me encantó el diseño y la forma que le diste al bolso. Te felicito por presentarnos un paso a paso muy bonito y organizado, las fotos quedaron genial. Saludos.
Gracias 😊♥️ que bien que le haya gustado, la idea de concurso me pareció genial, gracias por inspirarnos. ♥️♥️