¡Hola comunidad de Hive!
Hello Hive community!
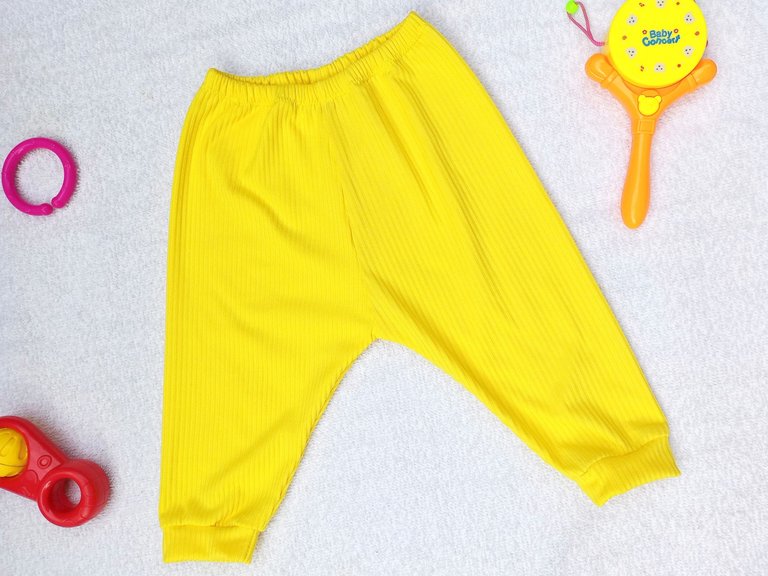
Hola queridos Needleworkers, feliz jueves, espero se encuentren de maravilla 🤗♥️ está semana tenga algunos trabajos que tengo que terminar sí o sí, en esta oportunidad les traigo la confección de un tierno mono para bebé en color amarillo pollito 🐥 y por qué amarillo pollito? - pues mi prima Valentina tuvo un bebé, se llama Aaron y este próximo 8 de Julio cumple su segundo mes de vida, su mami quiere hacerle unas fotos temáticas para su cumple mes, así que me puso la difícil tarea de confeccionarle un traje de pollito 🐥 así que digamos que está es la parte 1 de tres, pues estaré elaborando tres piezas, pantalón, camisa y gorro, estoy muy emocionada con este proyecto y ya quiero ver cómo queda.
Hello dear Needleworkers, happy Thursday, I hope you are feeling great 🤗♥️ this week I have some work that I have to finish, this time I bring you the making of a cute baby jumpsuit in chick yellow 🐥 and why chick yellow? - because my cousin Valentina had a baby, his name is Aaron and this coming July 8 will be his second month of life, his mommy wants to do some themed photos for his birthday month, so she gave me the difficult task of making him a chick suit 🐥 so let's say that this is part 1 of three, because I will be making three pieces, pants, shirt and hat, I am very excited about this project and I want to see how it looks like.
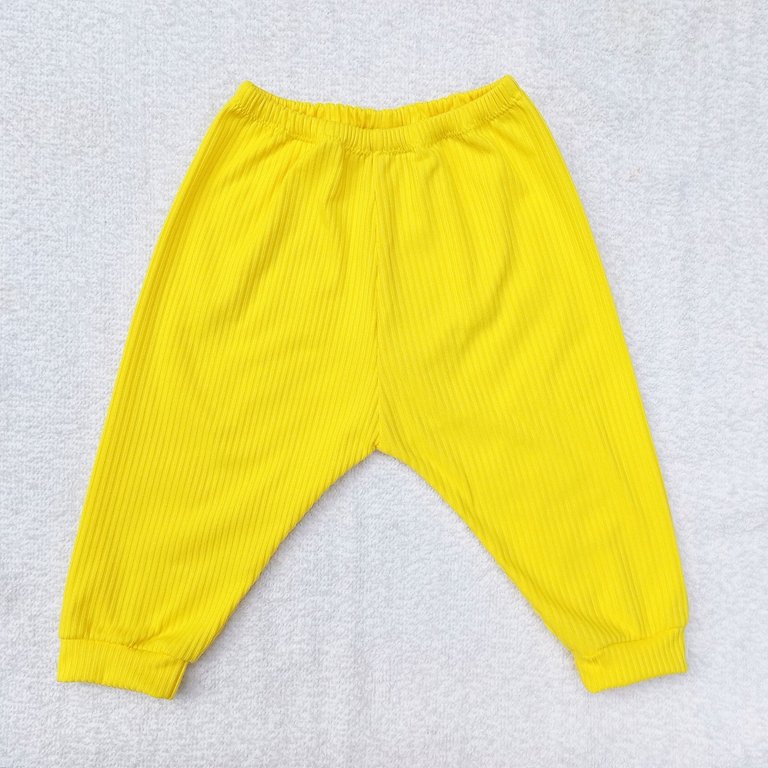
Estuve trabajando con la tela micro rib en este caso amarillo, así que luego de juntar hilo, tela, agujas, me puse a trabajar y puede culminar este lindo mono que les muestro a continuación.
I've been working with the micro rib fabric in this case yellow, so after gathering thread, fabric, needles, I got to work and can culminate this nice monkey that I show you below.
🧵🧷🧵🧷🧵🧷🧵🧷🧵🧷🧵🧷🧵🧷🧵🧷🧵
Necesitaremos || We will need
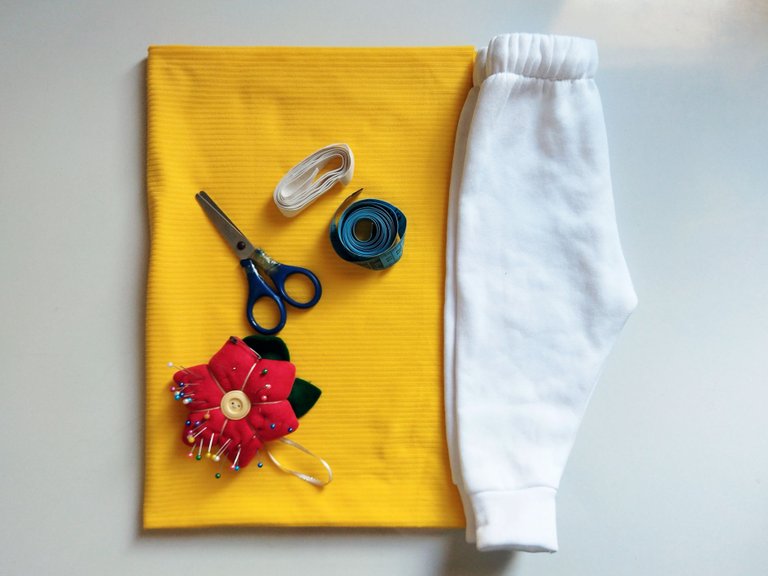
- Medio metro de tela micro rib amarillo
- Hilo amarillo
- Alfileres
- Tijera
- Elástica
- Cinta métrica
- Pantalón de patrón
- Aguja y máquina de coser
- Half meter of yellow micro rib fabric
- Yellow thread
- Pins
- Scissors
- Elastic band
- Tape measure
- Pattern pants
- Needle and sewing machine
🧵🧷🧵🧷🧵🧷🧵🧷🧵🧷🧵🧷🧵🧷🧵🧷🧵
Paso 1 || Step 1
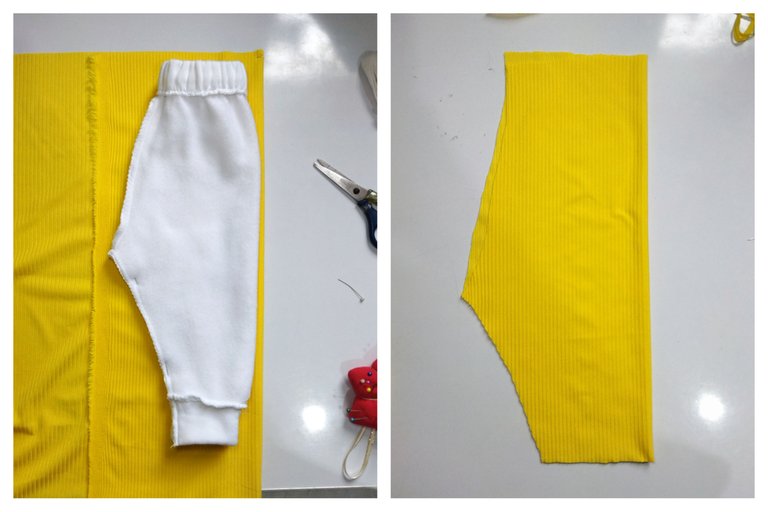
Extendemos la tela en un superficie plana, luego colocamos el pantalón modelo sobre la tela dejando los costados en el doblez de la misma, vamos a cortar de la tela colocando el lado que más estira en dirección horizontal, cortamos las piezas dejando 1cm de margen de costura, para este pantalón necesitamos sacar dos piezas.
👀 ¡¡¡OJO!!!👀 Cuando cortemos las piezas traseras debemos de tener en cuenta que el tiro trasero es más largo que el delantero.
- We spread the fabric on a flat surface, then we place the model pants on the fabric leaving the sides on the fold of the fabric, we are going to cut from the fabric placing the side that stretches the most in horizontal direction, we cut the pieces leaving 1cm seam allowance, for this pants we need to take out two pieces.
- When we cut the back pieces we must take into account that the back pull is longer than the front one.
Paso 2 || Step 2
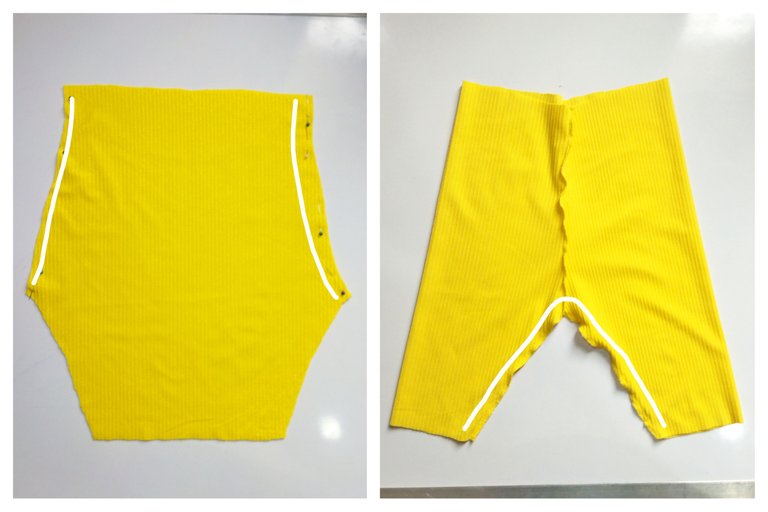
Comenzamos a coser y nos toca unir los tiro del pantalón, colocamos las piezas enfrentando derecho con derecho y sujetamos con alfileres, procedemos a pasar costura recta y luego zigzag rematando la costura.
Ahora enfrentamos el tiro delantero con el trasero y pasamos costura para formar las piernas del pantalón.
- We begin to sew and it's time to join the trouser legs, we place the pieces facing right to right and fasten with pins, we proceed to pass straight stitching and then zigzag finishing the seam.
- Now we face the front and back seams and sew to form the legs of the pants.
Paso 3 || Step 3
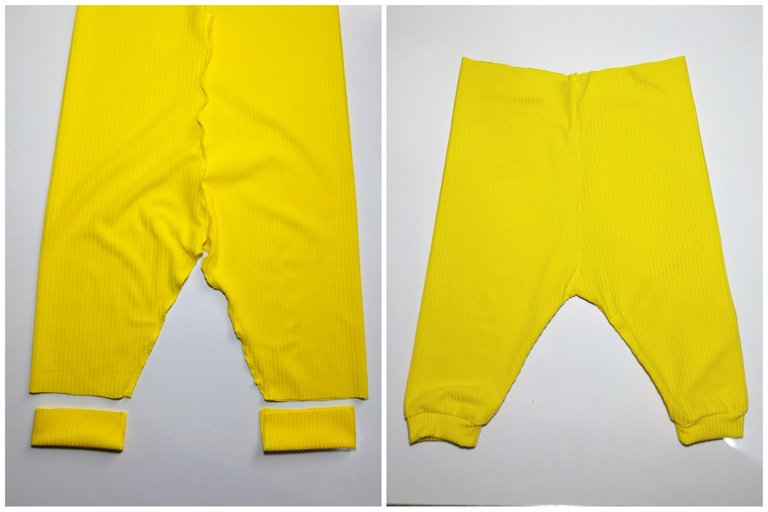
- Corté una tira de 7 cm de ancho y 16 de largo, uní sus puntas haciendo un anillo y la doblé a la mitad y luego la cosí al ruedo de las piernas del pantalón.
- I cut a strip 7 cm wide and 16 cm long, joined its ends making a ring and folded it in half and then sewed it to the hem of the trouser legs.
Paso 4 || Step 4
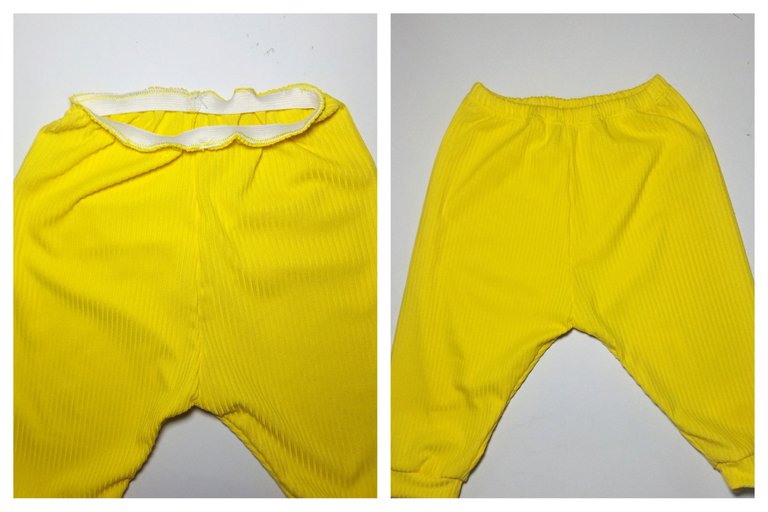
- Ya teniendo los tiros y las piernas terminadas, vamos a cortamos 28 centímetros de elástica y la cosemos en las puntas para formar un círculo, la forma en la que yo coso la elástica es la siguiente, divido este círculo de elástica en cuatro (los marco con alfileres) y luego voy a la pretina del pantalón y sujeto la elástica a la costura de los tiros y a las mitades del contorno de la cintura, cosemos la elástica con zigzag y vamos estirando hasta llegar a los cuatro puntos, la elástica va cosida en el revés del pantalón, por último dobló hacia dentro o sea hacia el revés del short y vuelvo a pasar costura en zigzag.
- Once the straps and legs are finished, we cut 28 centimeters of elastic and sew it at the ends to form a circle, the way I sew the elastic is as follows, I divide this circle of elastic in four (I mark them with pins) and then I go to the waistband of the pants and attach the elastic to the seam of the straps and to the halves of the waistband contour, I sew the elastic with zigzag and stretch it until we reach the four stitches, the elastic is sewn on the back of the pants, finally I fold it inwards or towards the back of the shorts and I sew again with zigzag stitching.
Resultado final.
Final result.
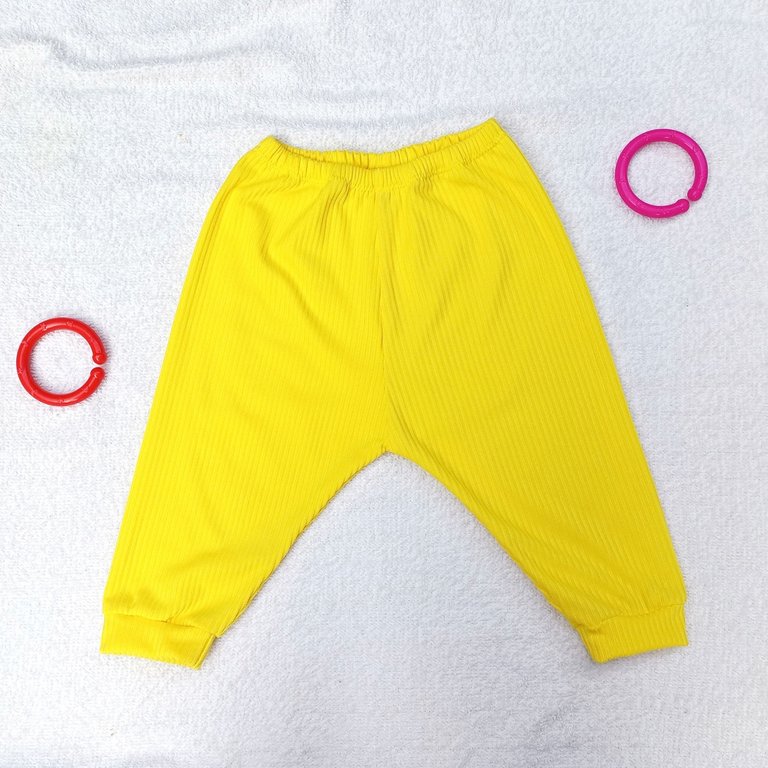
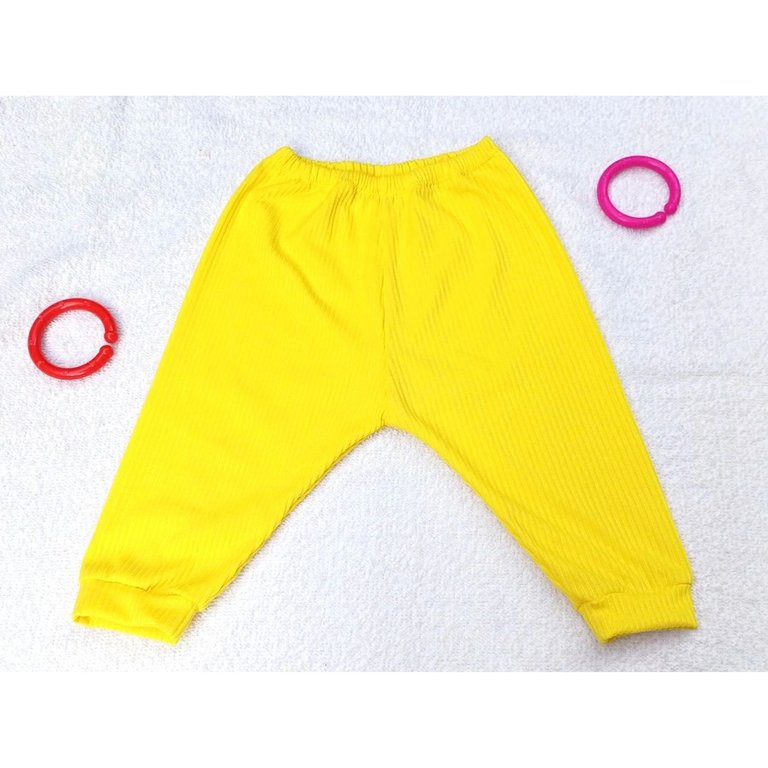
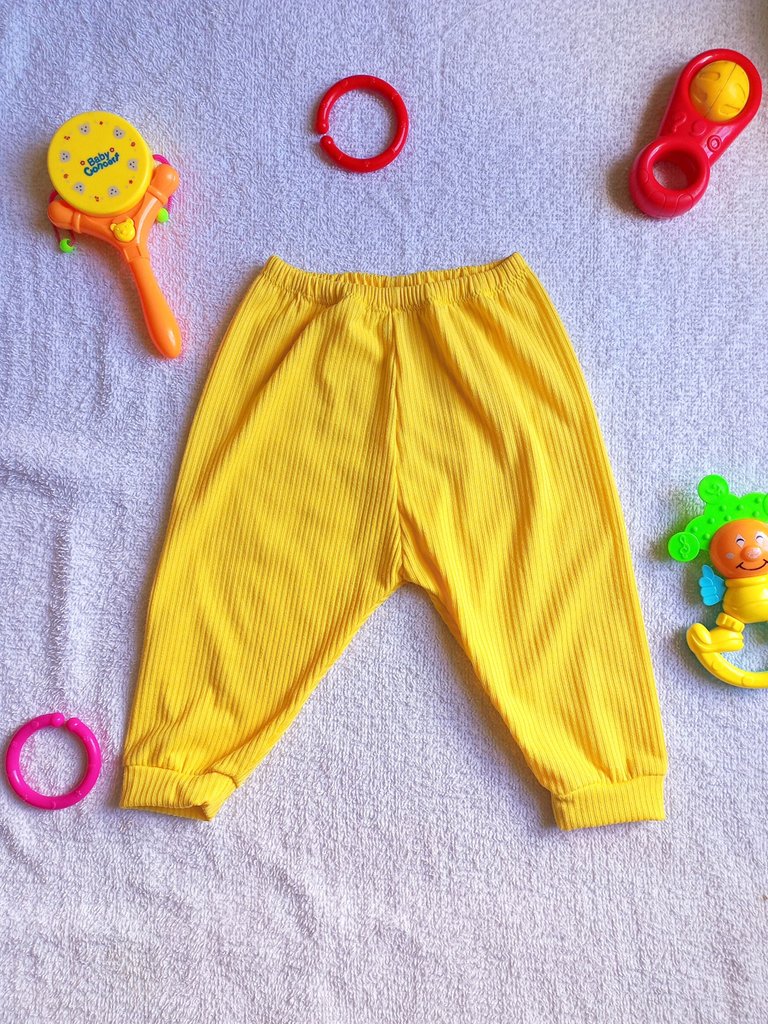
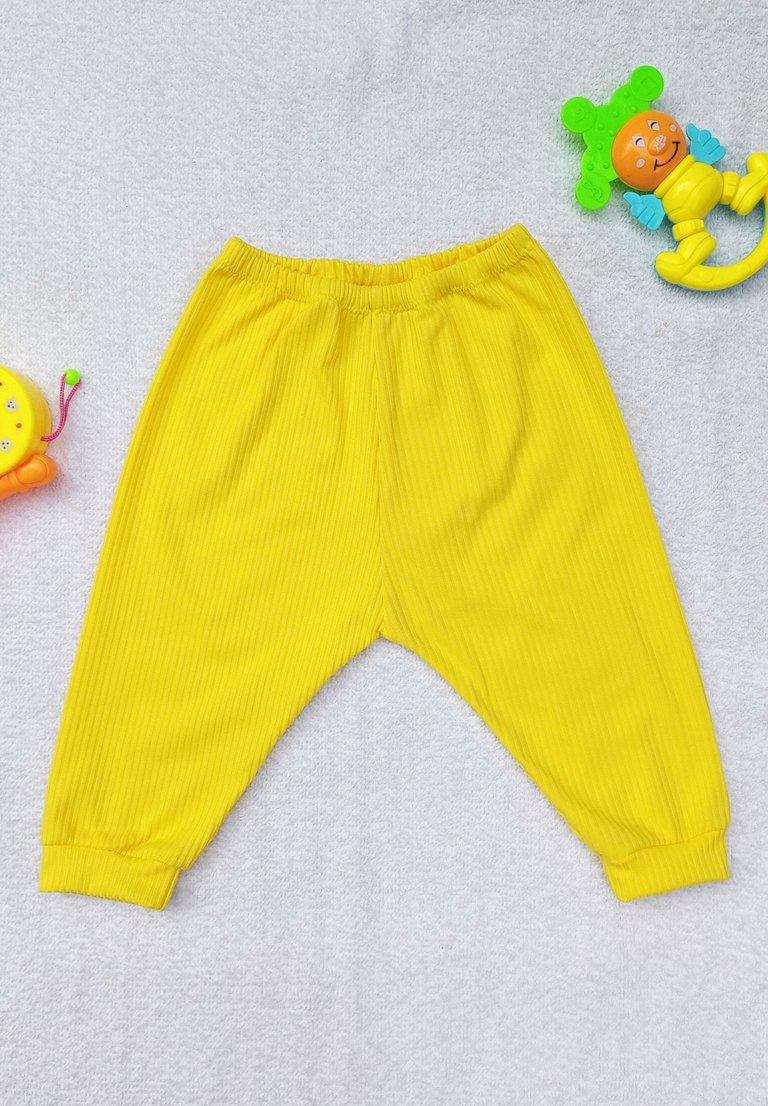
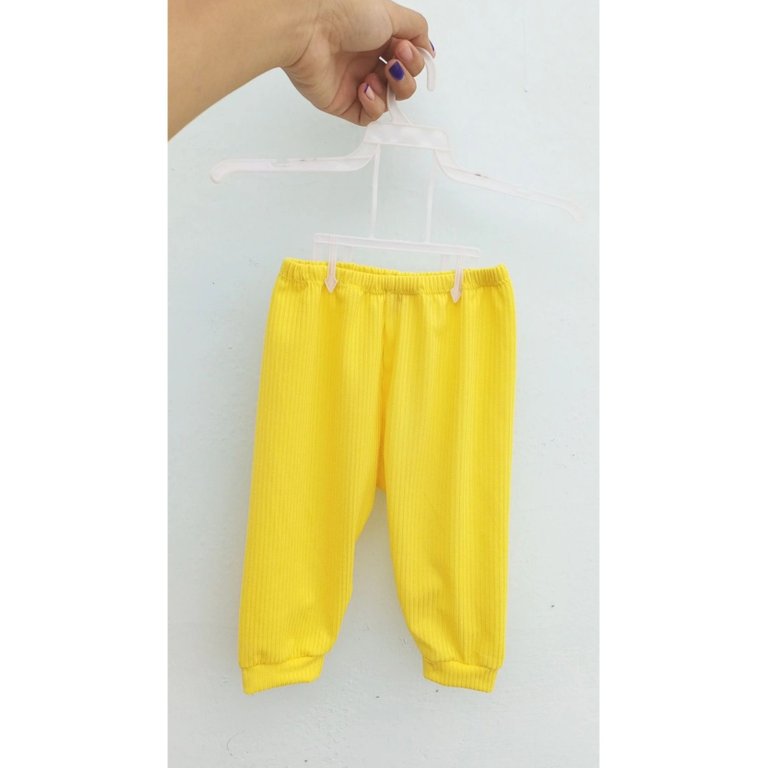
Así quedó el resultado final de este tierno monito amarillo, quedé muy contenta con el resultado y les tengo que decir que es muy fácil de hacer, ya quiero terminar las otras piezas para poder mostrarles el outfit completo. Espero de corazón que les hay gustado y si has llegado hasta aquí mil gracias por leer mi post ❤️🥰 un fuerte abrazo. Nos leemos luego.
This is the final result of this cute yellow monkey, I was very happy with the result and I have to tell you that it is very easy to make, I want to finish the other pieces to show you the complete outfit. I hope you liked it and if you have come this far thank you very much for reading my post ❤️🥰 a big hug. See you later.
All images are my property / Todas las imágenes son de mi propiedad
Camera: Xiaomi Redmi 9T.
Translation: Deepl.com
Hermoso trabajo!
Gracias 😁😌
Thank you for sharing this amazing post on HIVE!
non-profit curation initiative!Your content got selected by our fellow curator @hafizullah & you just received a little thank you via an upvote from our
You will be featured in one of our recurring curation compilations and on our pinterest boards! Both are aiming to offer you a stage to widen your audience within and outside of the DIY scene of hive.
Join the official DIYHub community on HIVE and show us more of your amazing work and feel free to connect with us and other DIYers via our discord server: https://discord.gg/mY5uCfQ !
If you want to support our goal to motivate other DIY/art/music/homesteading/... creators just delegate to us and earn 100% of your curation rewards!
Stay creative & hive on!
Beautiful @yulilemus02 thanks for sharing @yulilemus02
@smilestitches thanks ♥️❤️😁🥰
Ese color me encantó. Me gusta también los pantalones así sin costura en los lados🤭. Gran trabajo mi Yuliiiiii
Gracias mi @afrikablr 💞❤️
Que hermoso esta quedando el atuendo para los 2 meses del bebe pollito, de segur quedara hermoso, esperare para ver las siguientes piezas.
Buen trabajo.
Saludos.Hola amiga @yulilemus02
@hetyg hola, por fortuna ya lo he terminado, que bien que te haya gustado el pantalón, gracias por tu comentario ☺️☺️