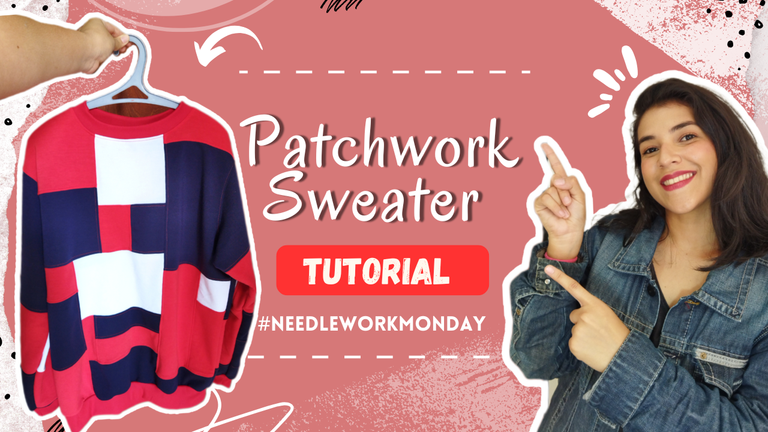
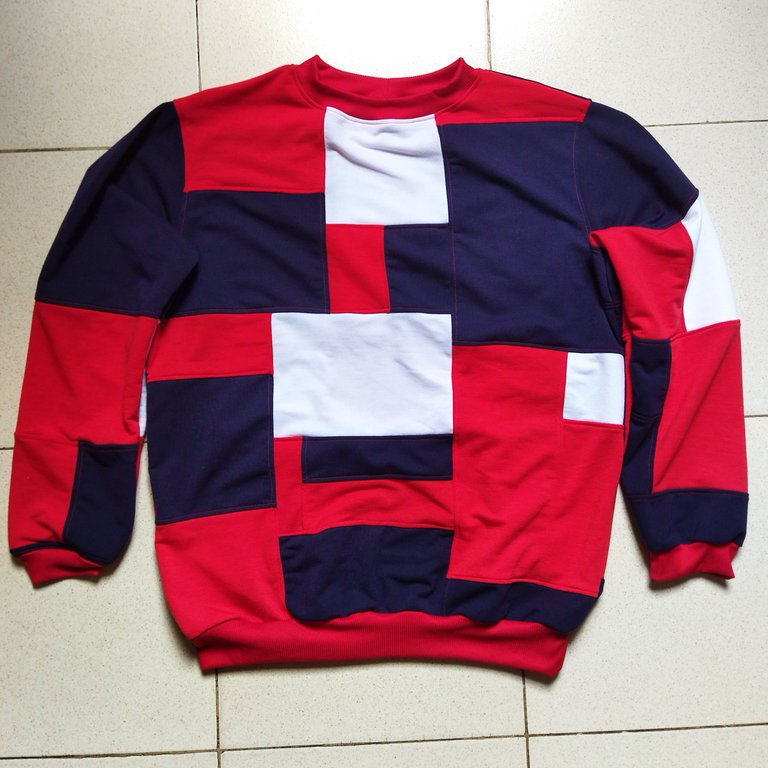
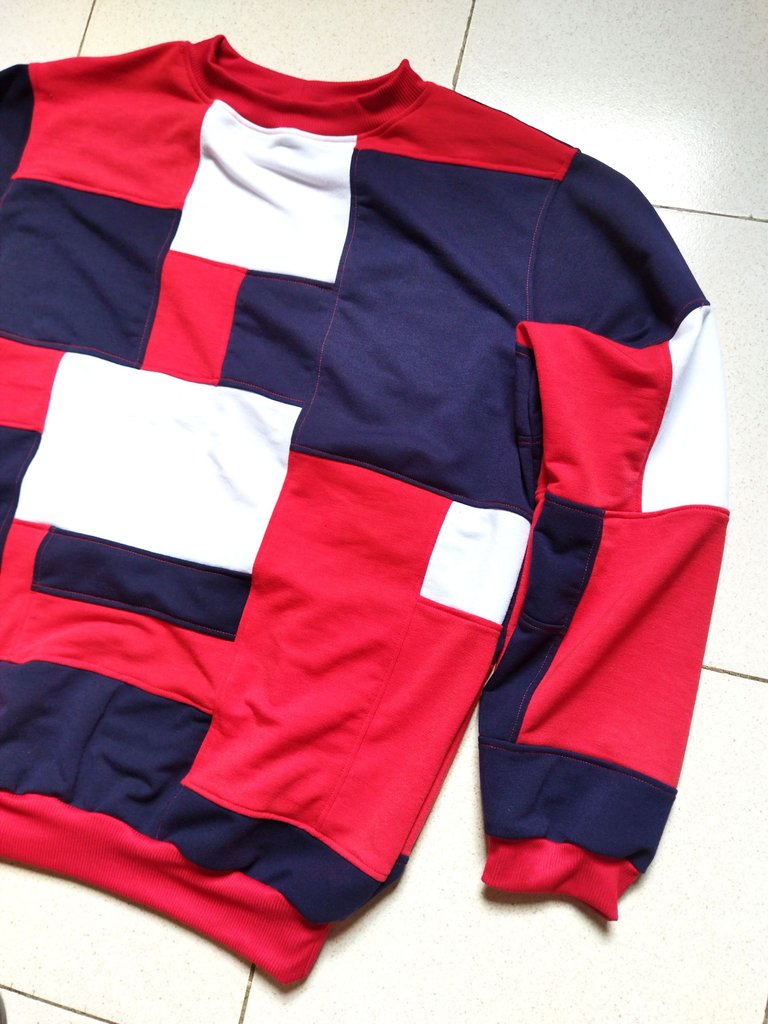
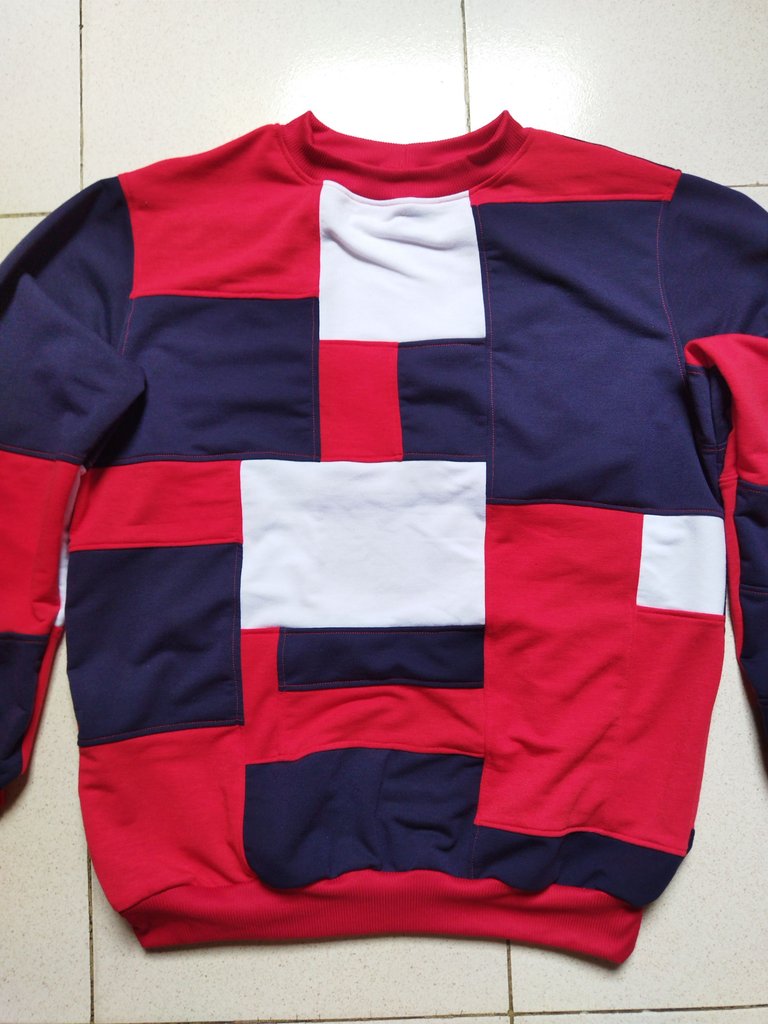
Saludos queridos amantes de la costura, espero se encuentren de maravilla y estén teniendo una excelente comienzo de semana, feliz lunes de agujas para todos. Hace unos días les compartí un post hablándoles sobre un nuevo proyecto de costura en el que estaba trabajando, hoy les muestro la segunda parte del proceso y como quedo este hermosísimo suéter que terminé ayer, todo una semana trabajando en el 😱 cabe resaltar que al día solo tengo Paco tiempo para dedicarme a la costura, pero a pesar de que este suéter llevó bastante trabajo amé totalmente el resultado final, sin mas habladuría acompañame a ver el proceso.
Greetings dear sewing lovers, I hope you are feeling wonderful and are having a great start of the week, happy needle Monday to all. A few days ago I shared a post telling you about a new sewing project I was working on, today I show you the second part of the process and how this beautiful sweater I finished yesterday, a whole week working on it 😱 it should be noted that I only have Paco time to dedicate to sewing, but even though this sweater took a lot of work I totally loved the final result, without more talk, come with me to see the process.
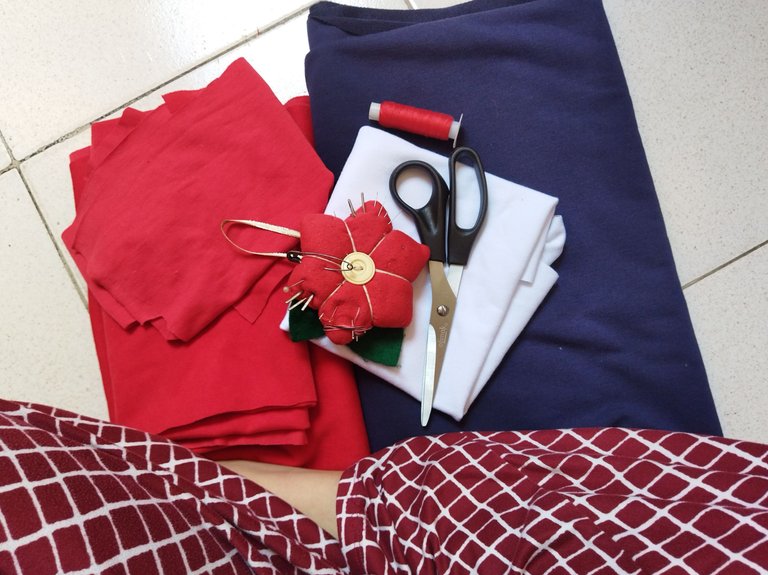
Para realizar este proyecto utilicé:
- Tela Terry Spun
- Tela micro rib
- Hilo a tono
- Tijera
- Cinta métrica
- Alfileres
To make this project I used:
- Terry Spunbond fabric
- Micro rib fabric
- Matching thread
- Scissors
- Tape measure
- Pins
Paso a paso || Step to step
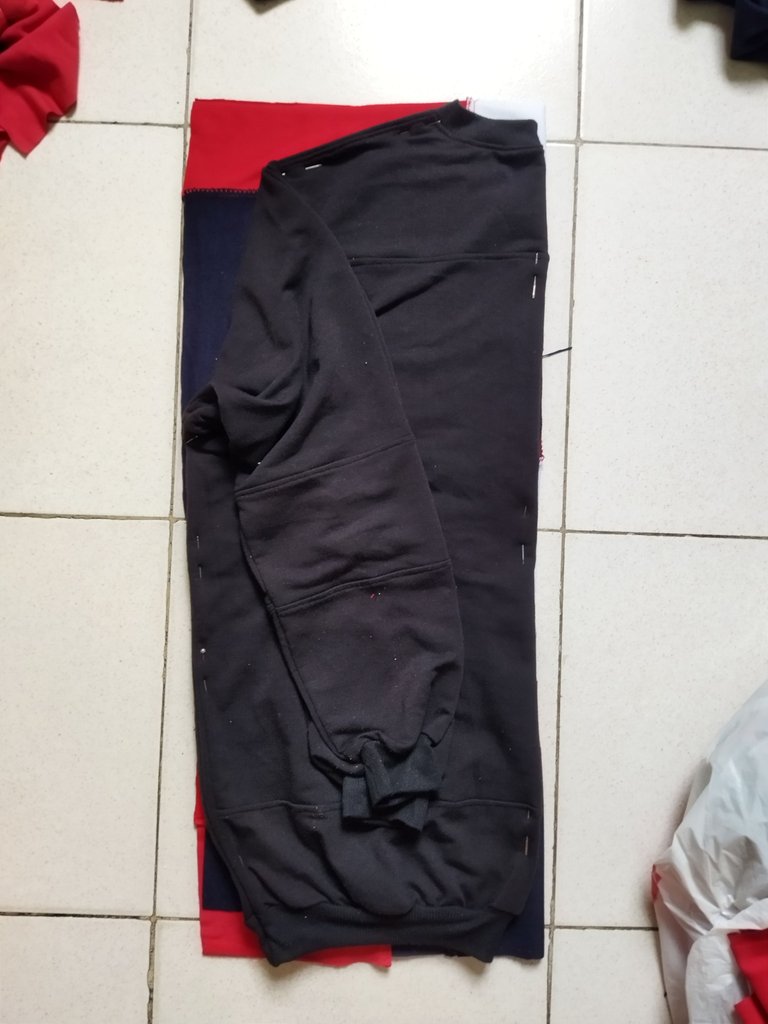
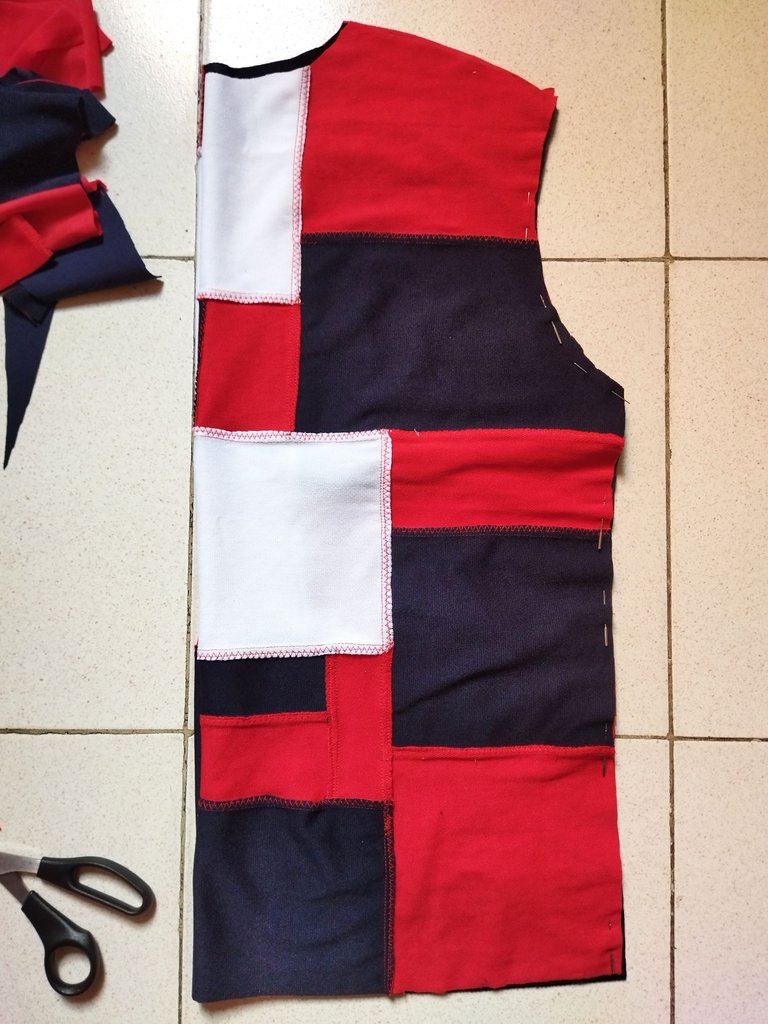
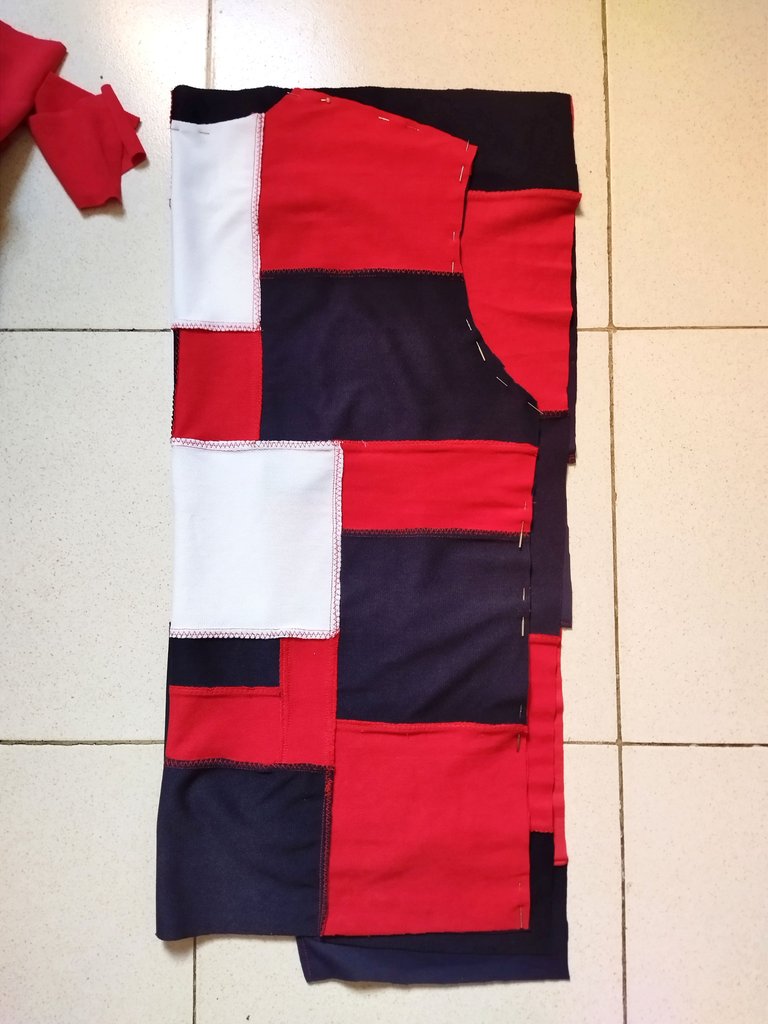
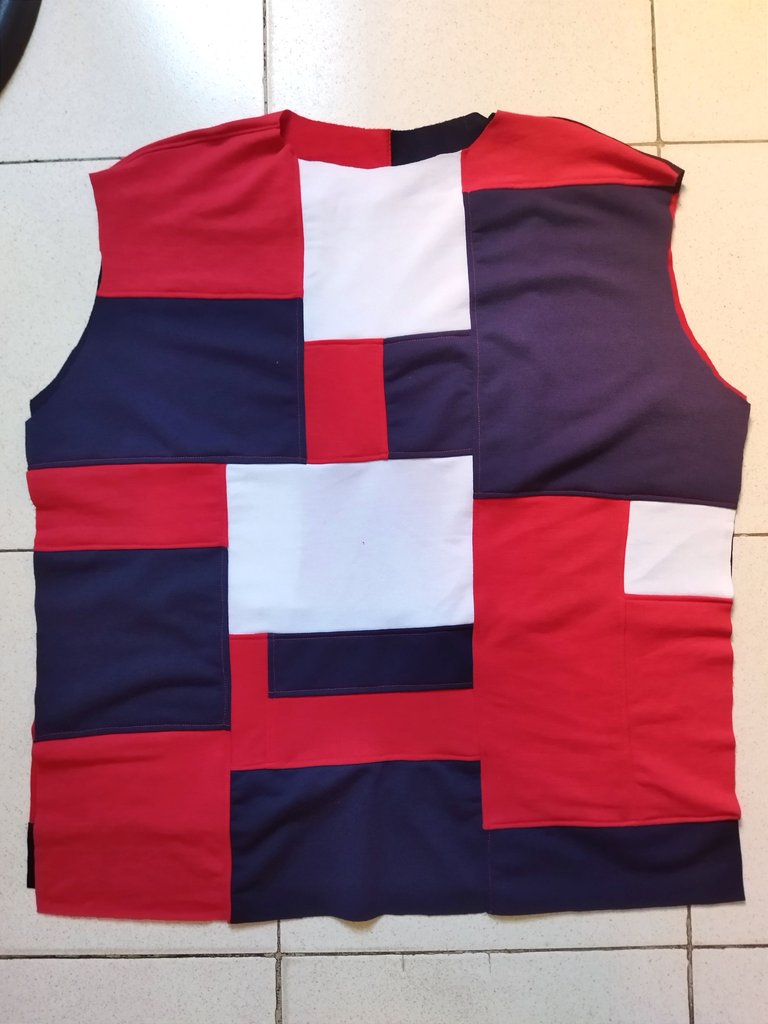
En el post pasado les comenté como es todo el proceso para hacer los parches y como los uní uno por uno hasta crear un retazo lo suficientemente grande para poder sacar las piezas del suéter, como patrón usé un suéter que había hecho anteriormente y me guíe para sacar las piezas una delantera y una trasera, también corte las mangas para comenzar a coser.
In the last post I told you how is the whole process to make the patches and how I joined them one by one to create a patch big enough to get the pieces of the sweater, as a pattern I used a sweater that I had made before and I was guided to get the pieces one front and one back, I also cut the sleeves to start sewing.
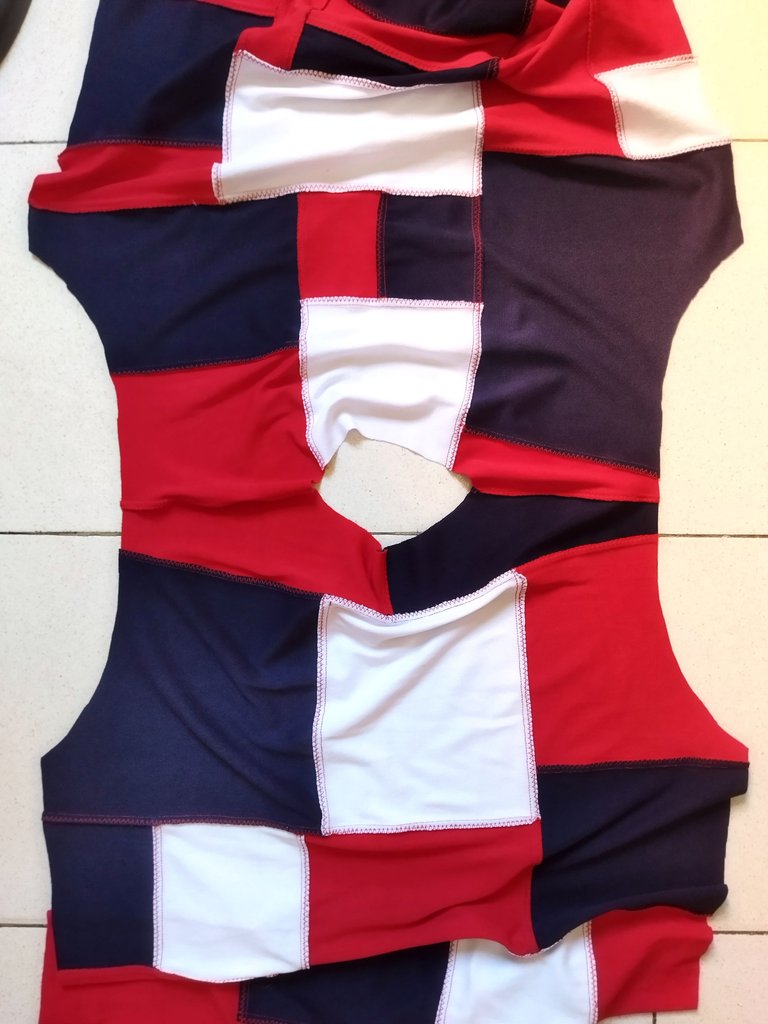
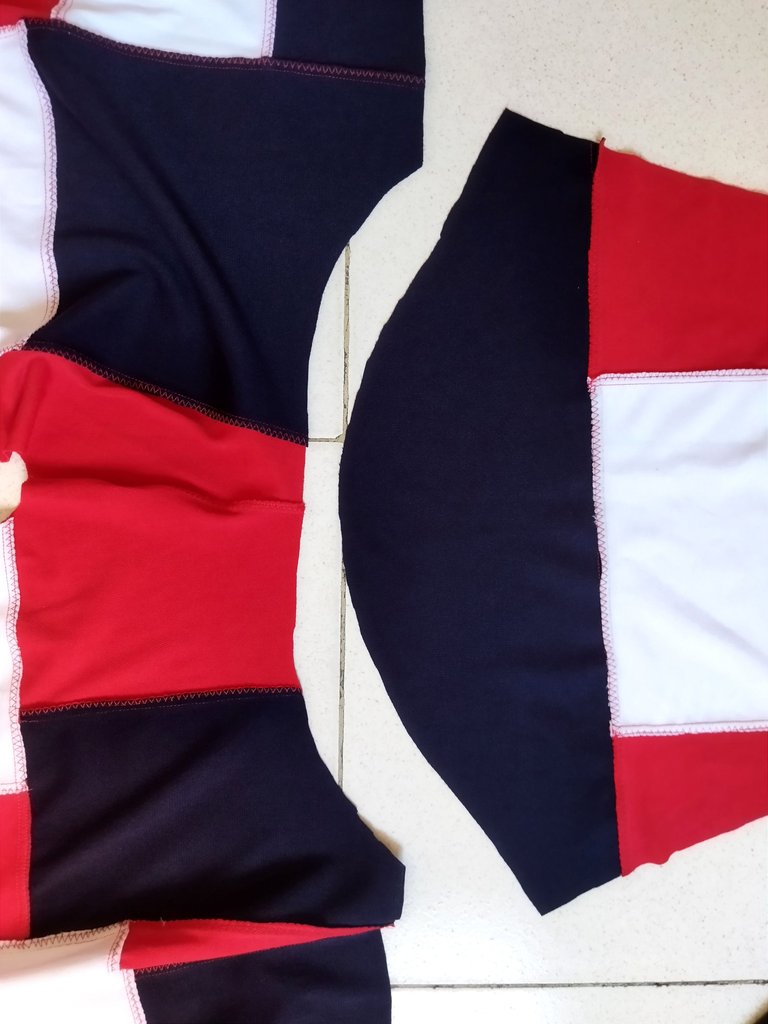
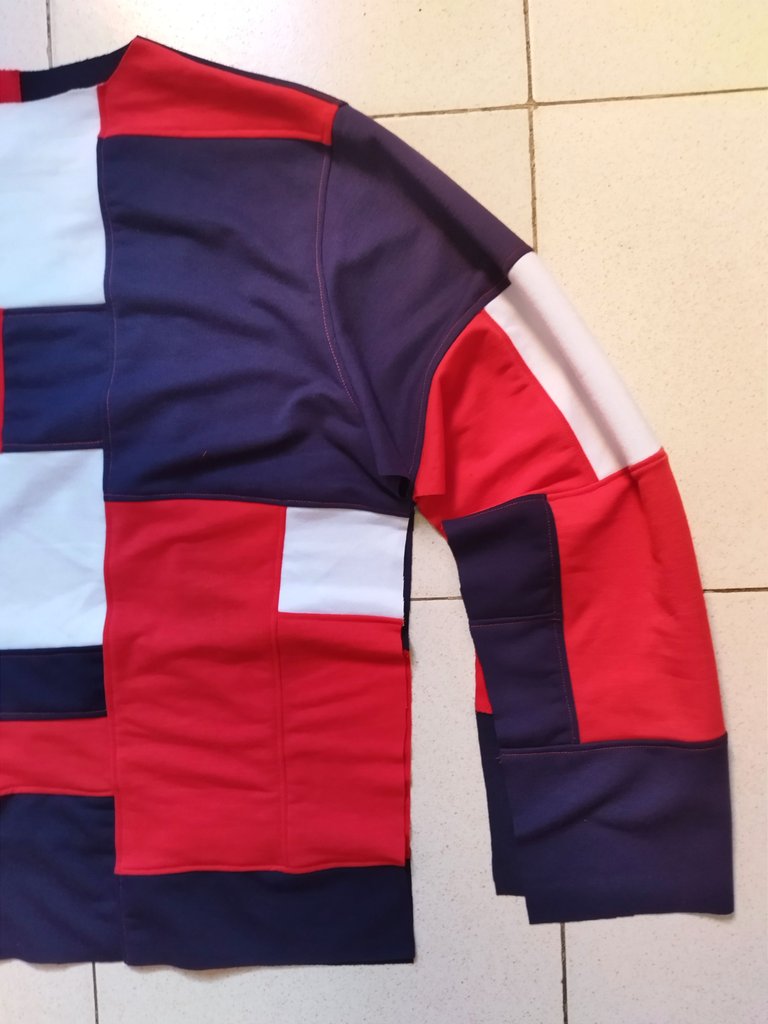
Comencé cosiendo los hombros del suéter para luego unir las mangas a la sisa, aquí las mangas me quedaron un poco anchas así que tuve que cortar unos centímetros que quedaban extra, proseguí cosiendo los costados del suéter desde las mangas hasta los laterales y ya casi tenemos el suéter listo es que siempre lo digo lo que me toma más tiempo de este tipo de suéteres es unir todos los retazos. 🤭
I started sewing the shoulders of the sweater to then join the sleeves to the armhole, here the sleeves were a little wide so I had to cut a few centimeters that were extra, I continued sewing the sides of the sweater from the sleeves to the sides and we almost have the sweater ready is that I always say what takes me more time of this type of sweater is to join all the scraps. 🤭
 |  |  |
|---|
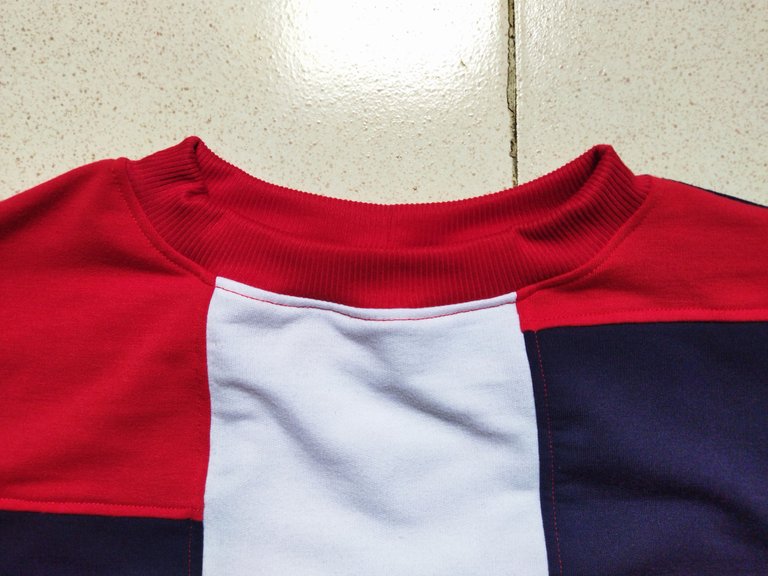
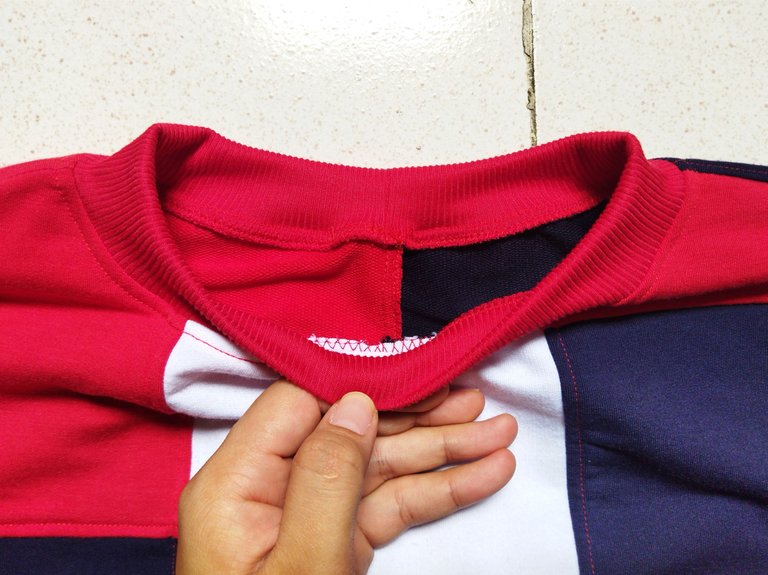
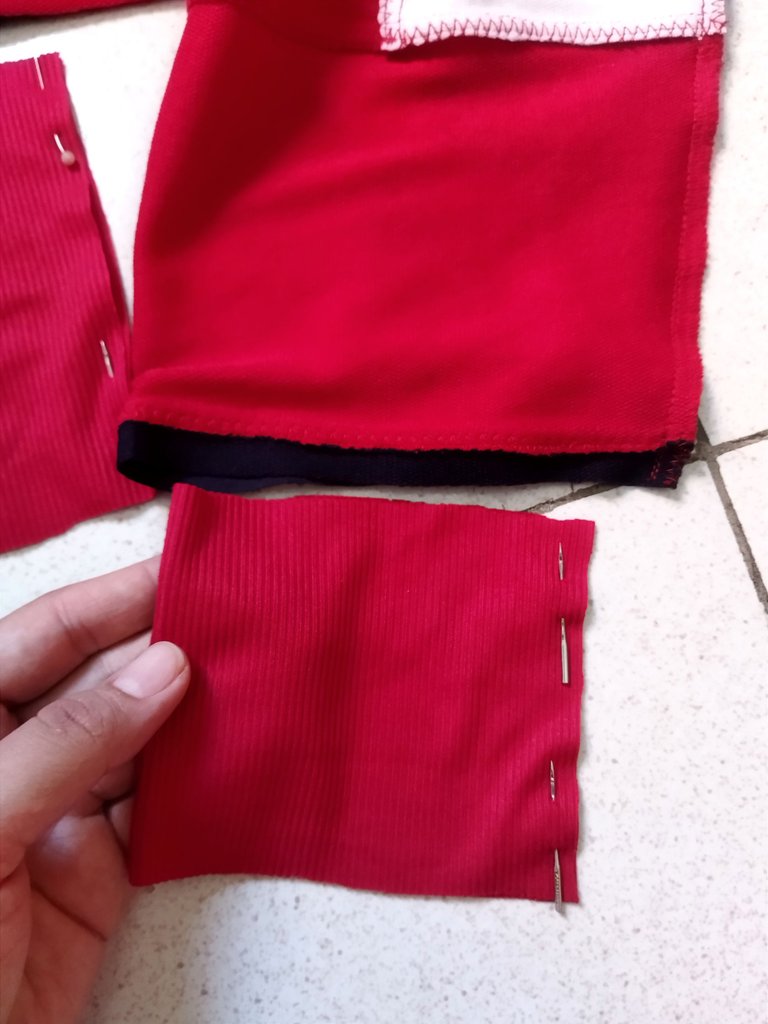
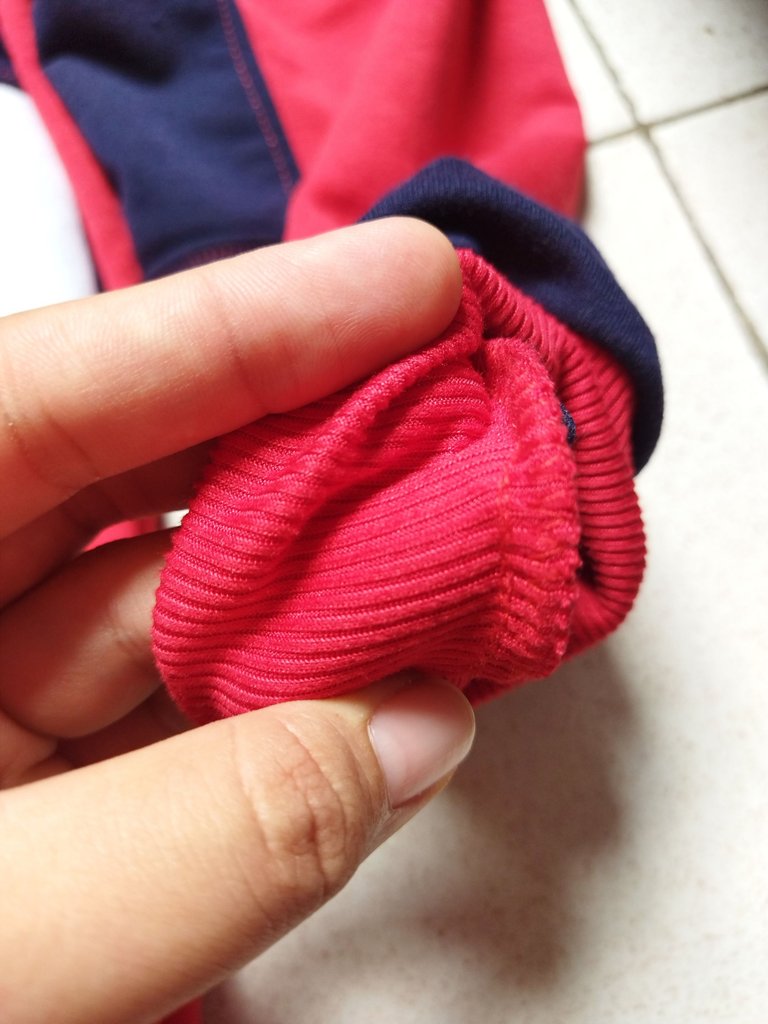
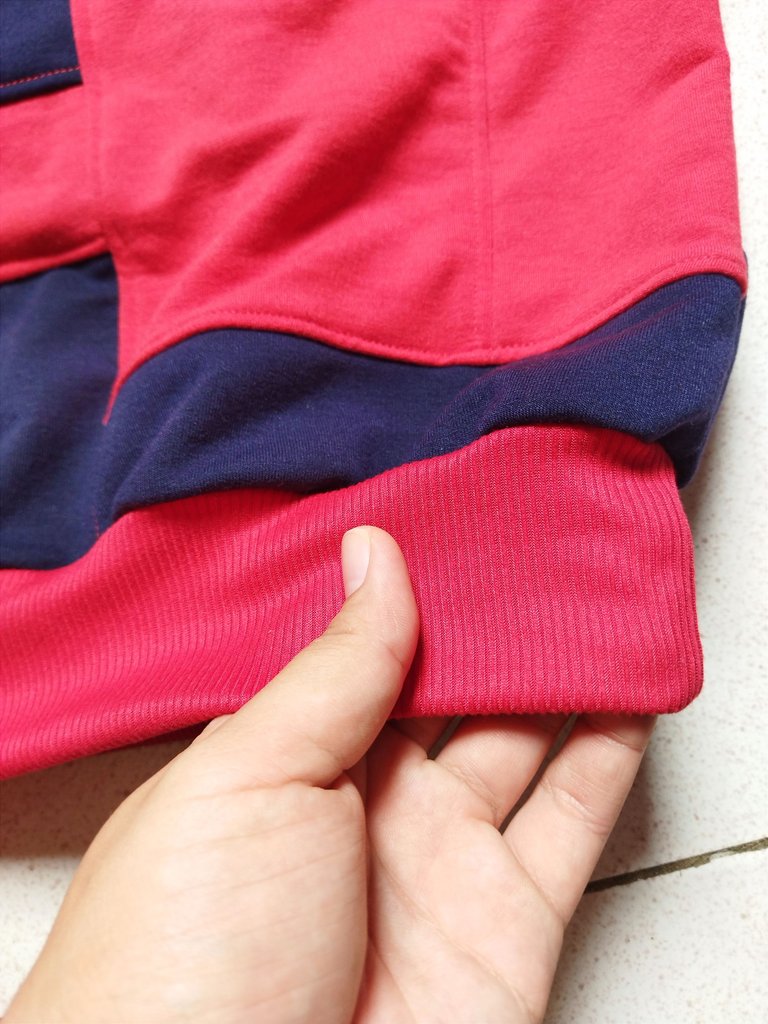
Para coser el cuello usé una tira de 4 cm de ancho para hacer el bies, cosí ayudándome con alfileres para que la tela no se moviera, es este caso para hacer los toques finales usé micho rib que con su textura acanalada queda muy bien para los puños y el contorno del suéter, y con estas últimas costura quedó listo este suéter de retazos, sin dudas es bastante trabajo pero el resultado vale totalmente la pena, ¿qué tal les pareció este nuevo trabajo? Los leo en los comentarios 😊 gracias por leerme, ¡Hasta luego!
To sew the neck I used a 4 cm wide strip to make the bias, I sewed helping me with pins so that the fabric does not move, in this case to make the final touches I used micho rib that with its ribbed texture is very good for the cuffs and the contour of the sweater, and with these last seams was ready this patchwork sweater, without a doubt it is quite work but the result is totally worth it, how did you like this new work? I'll read you in the comments 😊 thanks for reading me, see you later!
¡Gracias por leerme, hasta luego!
Thank you for reading me, see you later !


Camera: Xiaomi Redmi 9T. | Separadores: Aquí | Edition: CANVA | Translation: Deepl.com