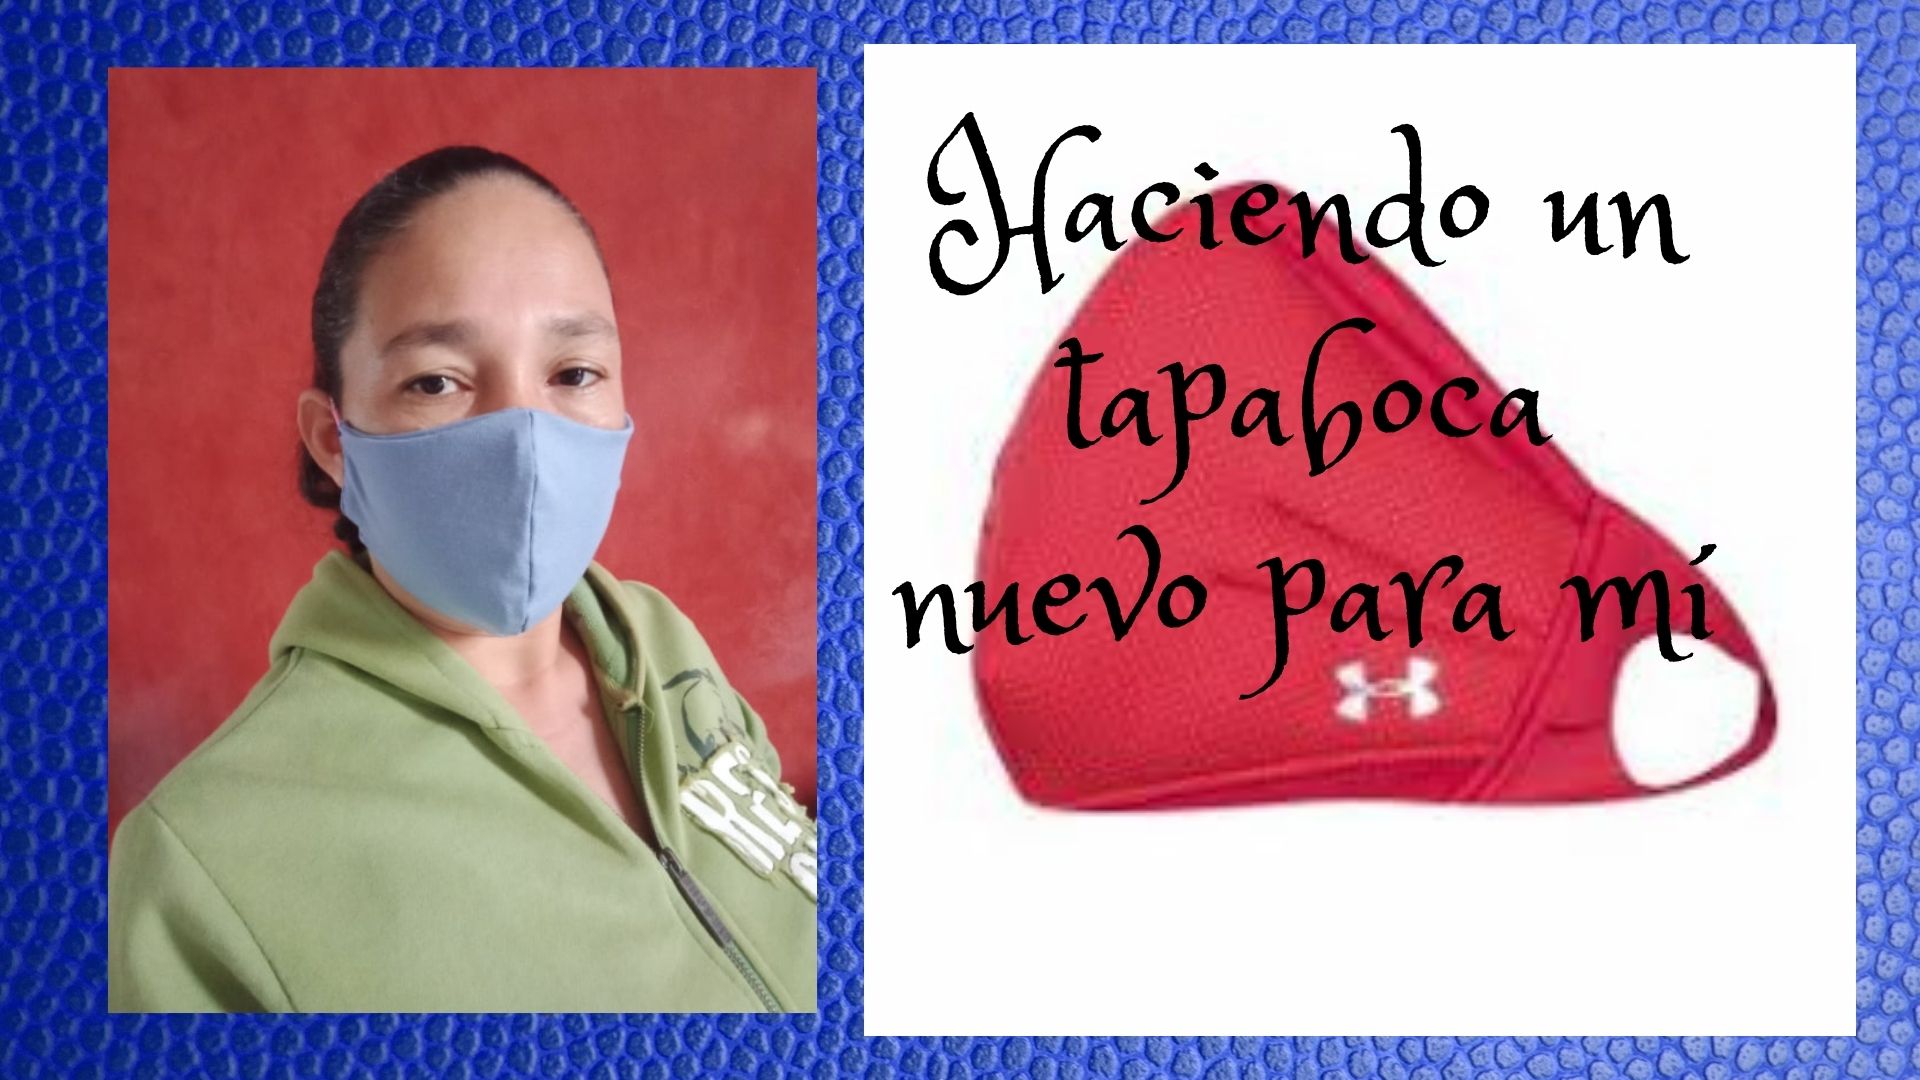
 Hola a todos, espero se encuentren muy bien, feliz de estar compartiendo con todos ustedes en esta gran comunidad, hoy les quiero compartir un nuevo tapabocas que hice para mí con retazo de tela, aunque ya muchos pensarán que ya esta pandemia está pasando y que ya no es necesario el uso del tapabocas como cuando todo esto empezó, pues dejeme decirle que está equivocado, todavía hay personas muriendo por esta enfermedad así que nosotros sigamos haciendo nuestro trabajo, sigamos usando el tapabocas lo cual es necesario para salir a cualquier lugar, a continuación les mostraré el paso a paso.
Hello everyone, I hope you are very well, happy to be sharing with all of you in this great community, today I want to share a new mask that I made for me with a piece of fabric, although many will think that this pandemic is passing and that it is no longer necessary to use the mask as when all this started, well let me tell you that you are wrong, there are still people dying from this disease so let's keep doing our job, keep using the mask which is necessary to go anywhere, then I will show you the step by step

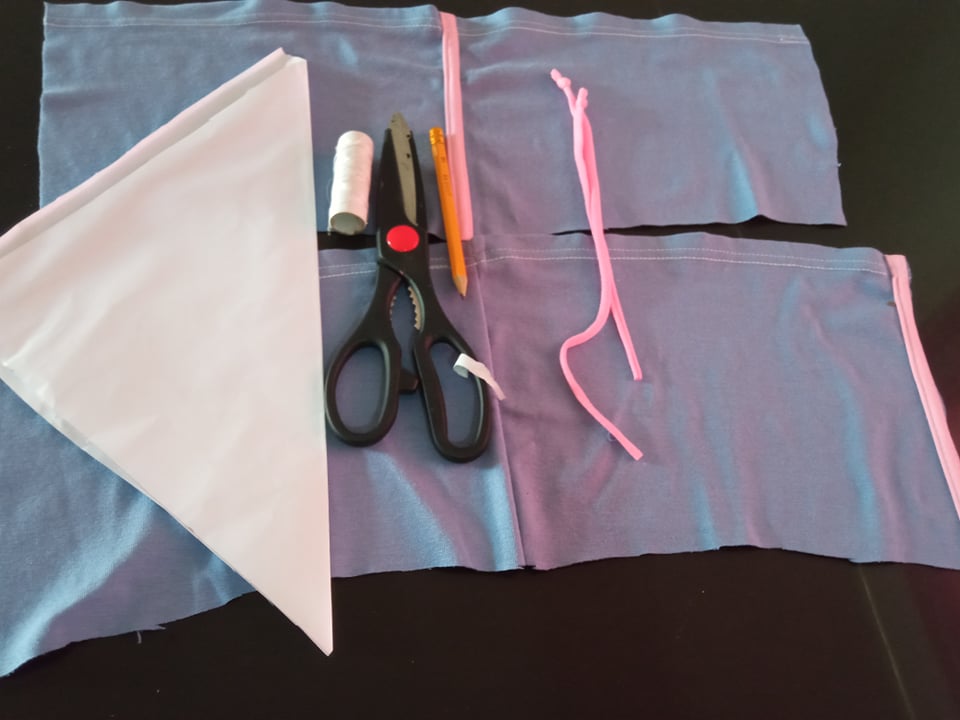
- Los materiales a utilizar son:
- Hoja de papel.
- Lápiz.
- Tijera.
- Hilo de coser.
- Aguja de coser.
- Retazos de tela de cualquier color.
- Tiras de elástica.
- The materials to be used are:
- Sheet of paper.
- Pencil.
- Scissors.
- Sewing thread.
- Sewing needle.
- Fabric scraps of any color.
- Strips of elastic.

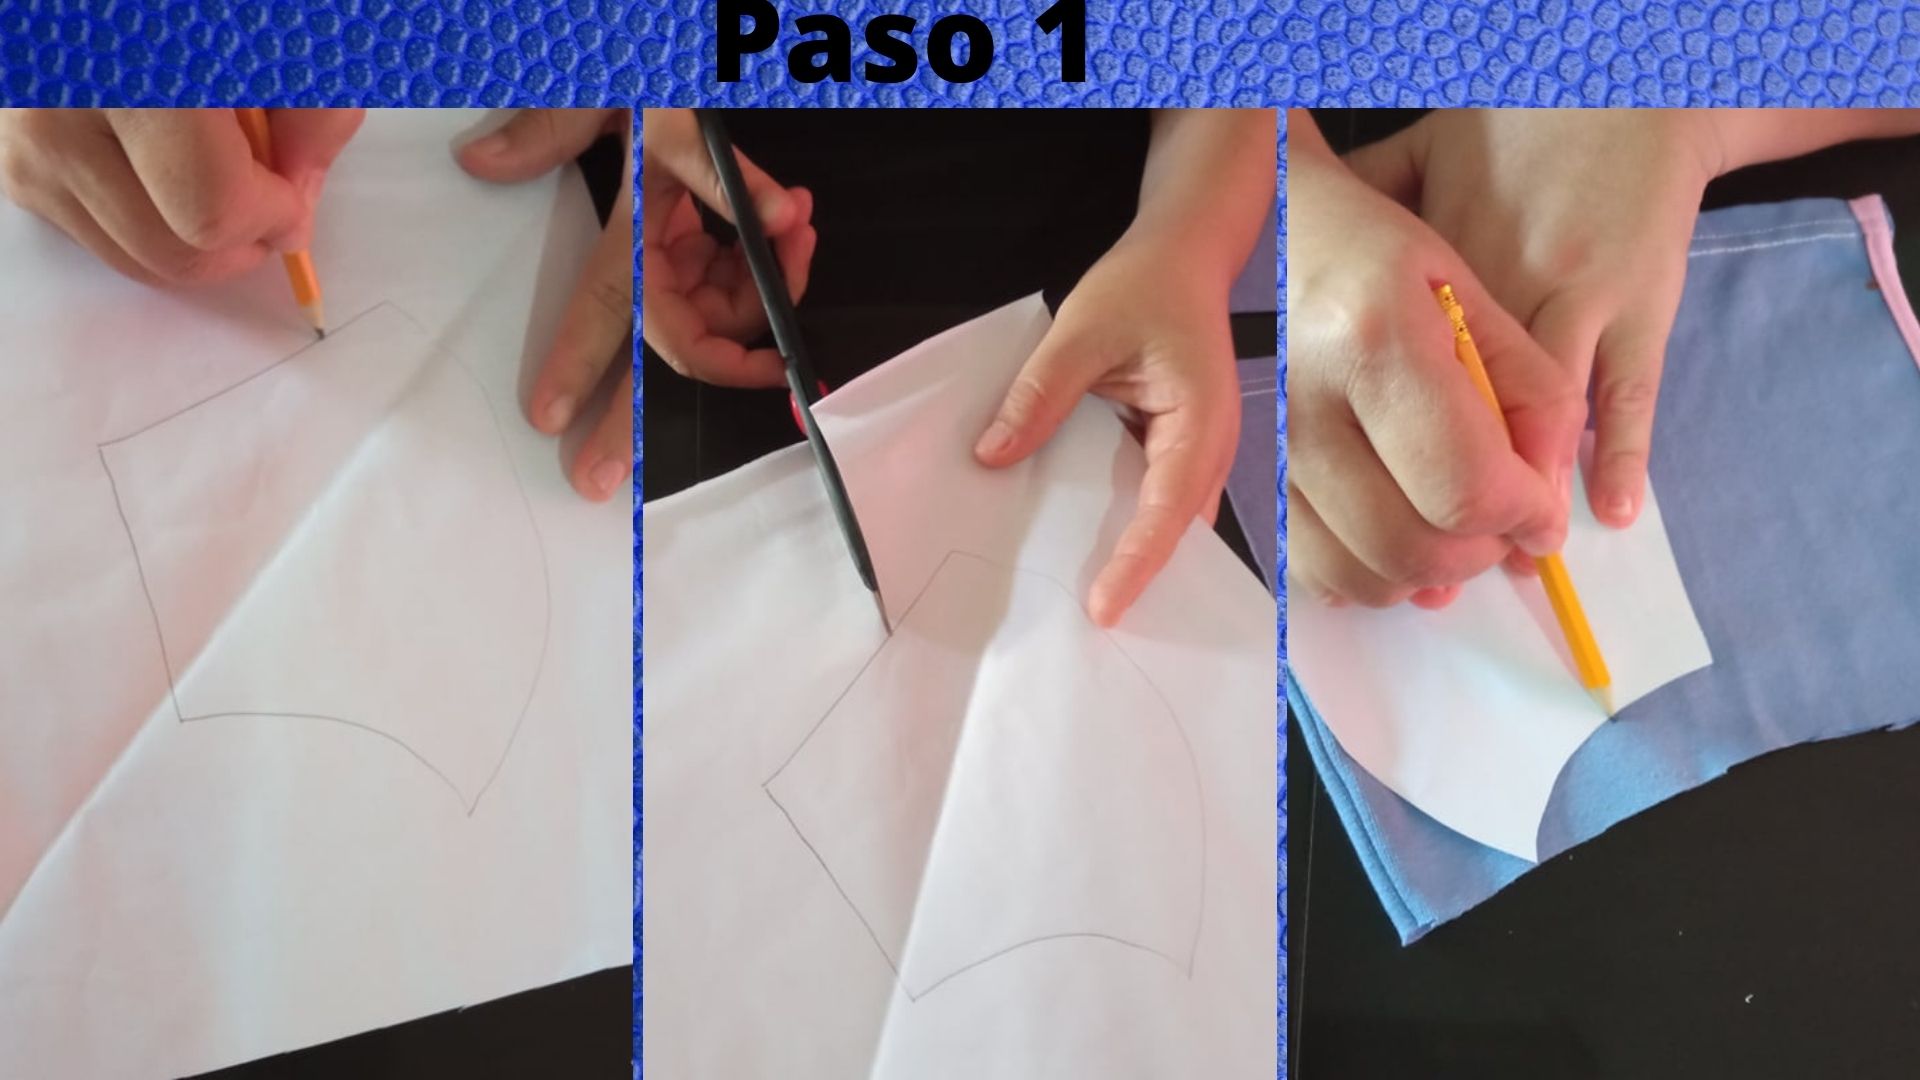
- Paso 1: Primeramente debemos dibujar el patrón del tapaboca en la hoja de papel, luego recortamos y posteriormente dibujamos dicho patrón en el retazo de tela a utilizar.
- Step 1: First, we must draw the pattern of the mouthpiece on the sheet of paper, then we cut it out and draw the pattern on the piece of fabric to be used.

.jpg)
- Paso 2: Una vez dibujado el patrón en la tela, cabe destacar que la tela tiene que estar doble, procedemos a cortar hasta sacar 4 partes iguales, una vez que tengamos esas 4 partes, tomamos 2 partes iguales y las cosemos por la pare del frente, así como muestra la tercera imágen.
- Step 2: Once the pattern is drawn on the fabric, it should be noted that the fabric has to be doubled, proceed to cut until we get 4 equal parts, once we have these 4 parts, we take 2 equal parts and sew them on the front side, as shown in the third image.

.jpg)
- Paso 3: Una vez cosido las 2 partes, las abrimos, y las colocamos derecho con derecho, cosiendo primeramente la parte de arriba y la parte de abajo dejando los extremos sin coser, y luego volteamos del lado derecho.
- Step 3: Once the 2 parts are sewn, we open them, and place them right sides together, sewing first the top and the bottom, leaving the ends unsewn, and then we turn them right side out.

.jpg)
- Paso 4: Luego que ya tenemos el tapabocas del lado derecho, procedemos a doblar uno de los extremos 1 cm hacía adentro, introducimos la tira de elástica y luego comenzamos a coser, esto debe hacerse en ambos extremos, lo cual sería el ultimo paso para culminar con la realización del tapaboca.
- Step 4: After we already have the mouthpiece on the right side, we proceed to fold one of the ends 1 cm inward, we introduce the elastic strip and then begin to sew, this should be done at both ends, which would be the last step to culminate with the realization of the mouthpiece.
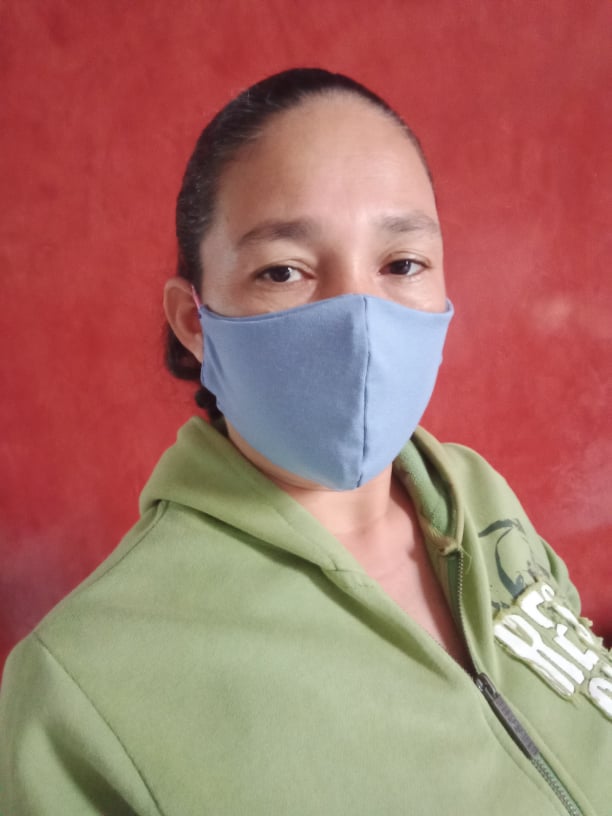
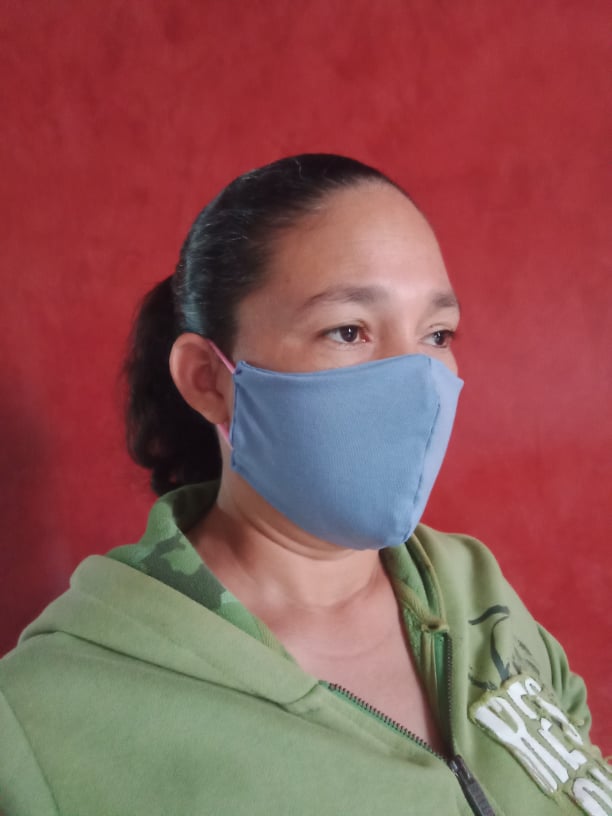
 Aqui tenemos nuestro resultado final.
Here we have our final result.
 Todas las fotos son de mi autoría, y editadas desde canva.
All photos are of my authorship, and edited from canva.




.jpg)

.jpg)

.jpg)


Congratulations @yannet80! You have completed the following achievement on the Hive blockchain and have been rewarded with new badge(s) :
Your next target is to reach 4250 upvotes.
You can view your badges on your board and compare yourself to others in the Ranking
If you no longer want to receive notifications, reply to this comment with the word
STOPCheck out the last post from @hivebuzz:
Congratulations, your post has been upvoted by @dsc-r2cornell, which is the curating account for @R2cornell's Discord Community. Enhorabuena, su "post" ha sido "up-voted" por @dsc-r2cornell, que es la "cuenta curating" de la Comunidad de la Discordia de @R2cornell.