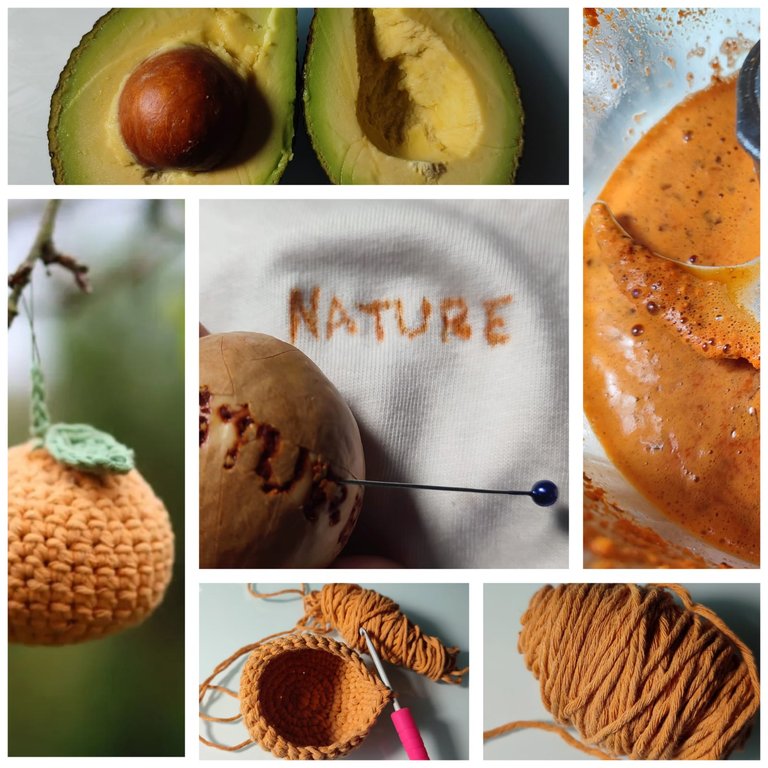

(Colours not enhanced)
Avocado is one of my favourite fruits—not just because it’s delicious but because it brings back so many memories. It reminds me of a keepsake my mum made: tiny baby clothes for me and my siblings, all marked with burnt orange avocado writing. There were five of us, and my mum kept a big sackful of these little cotton clothes.

The avocado also reminds me of the giant avocado tree in my nan’s backyard, always full of fruit. During my childhood, I loved picking and eating avocados fresh from that tree. Those days spent enjoying the fruit, and my mum’s special and unique avocado markings on our clothes are memories I treasure deeply.
One day, my mum showed me how she made those markings, and I was amazed. All she needed was an avocado seed and a needle. She explained that this was how people used to mark clothes so they wouldn’t get mixed up.
I thought you might find this interesting, so here’s how to try it yourself:
Avocado Fabric Marking
Materials Needed:
Fresh avocado seeds
A needle
The cotton fabric you want to mark
Instructions:
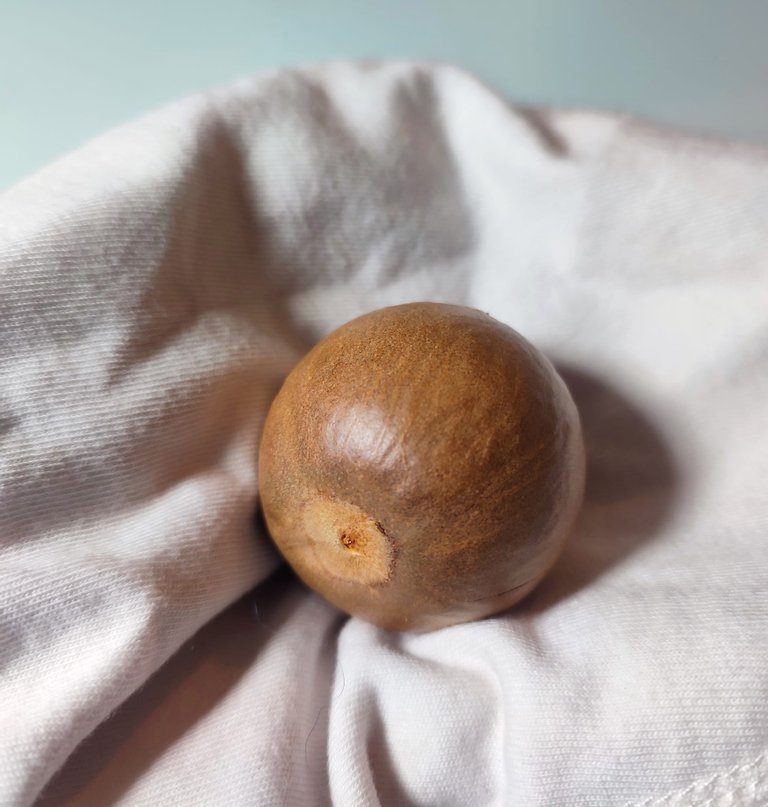
Take the part of the fabric you want to mark and place the avocado seed.
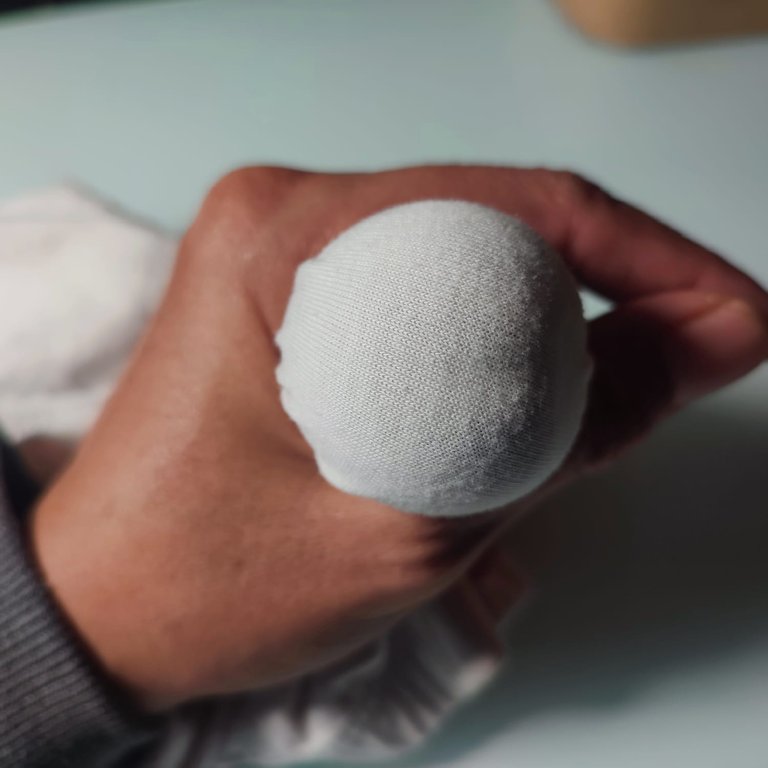
Wrap it tightly around an avocado seed.
Hold the fabric and avocado tightly.
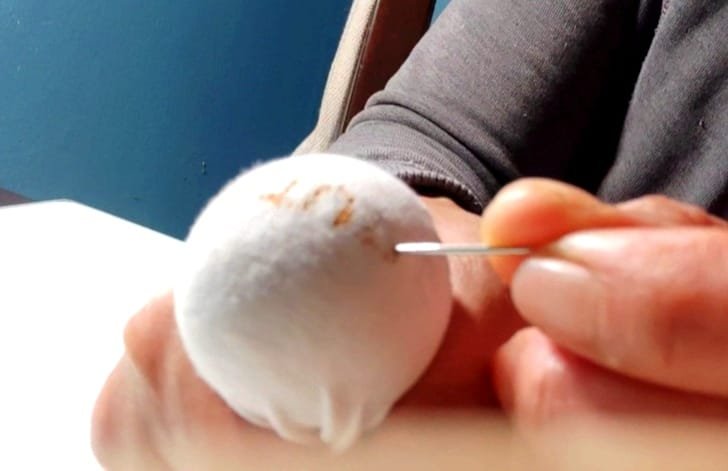

Using the needle, start piercing gently, forming the letters or design you want on the fabric.
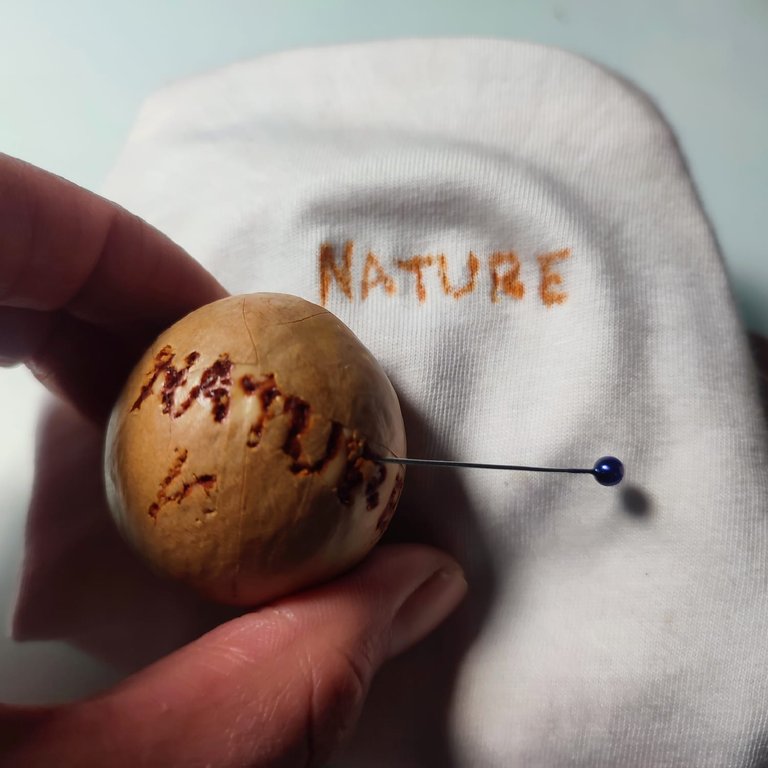
After piercing, wait a few seconds, and the writing will darken as the tannins from the avocado set in.
I don’t want this knowledge to fade, so I’m sharing it here. Hardly anyone does this anymore, and I hope you can give it a try.
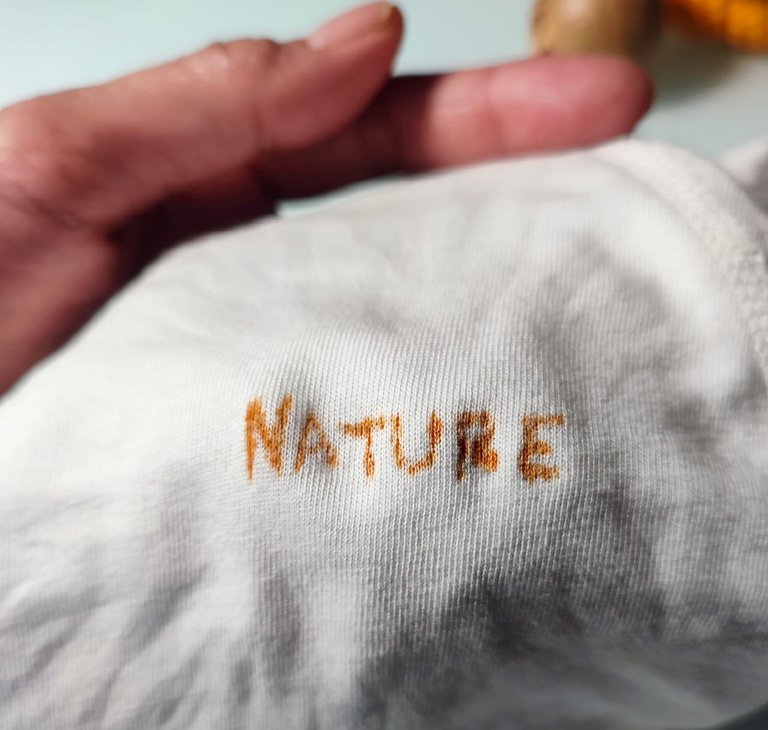
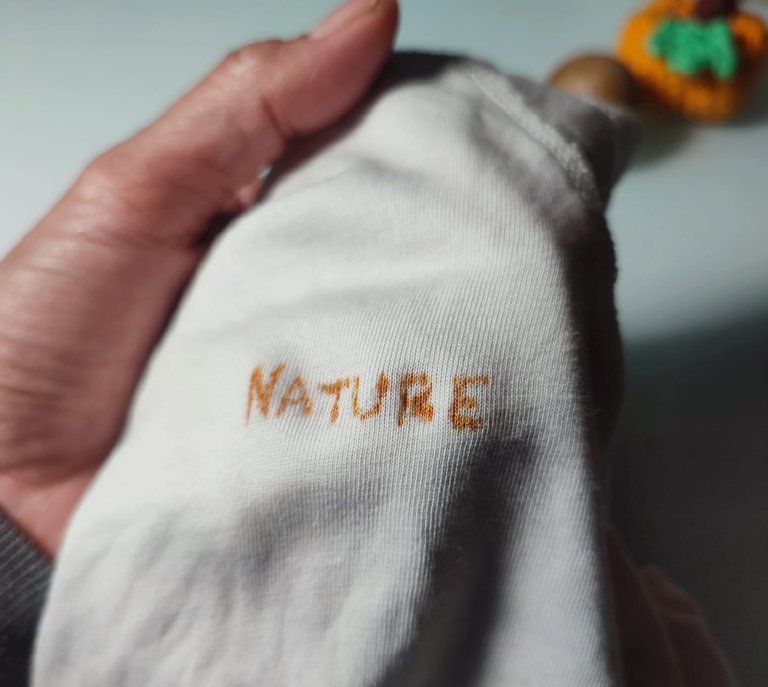
The avocado mark stays permanently and doesn’t fade, making it perfect for labelling items. I used this technique to mark school kits, and even my scrub suits at work, so my things never got swapped with others.
Last night, I decided to explore even more of what avocado can do, and I tried using it as a dye!
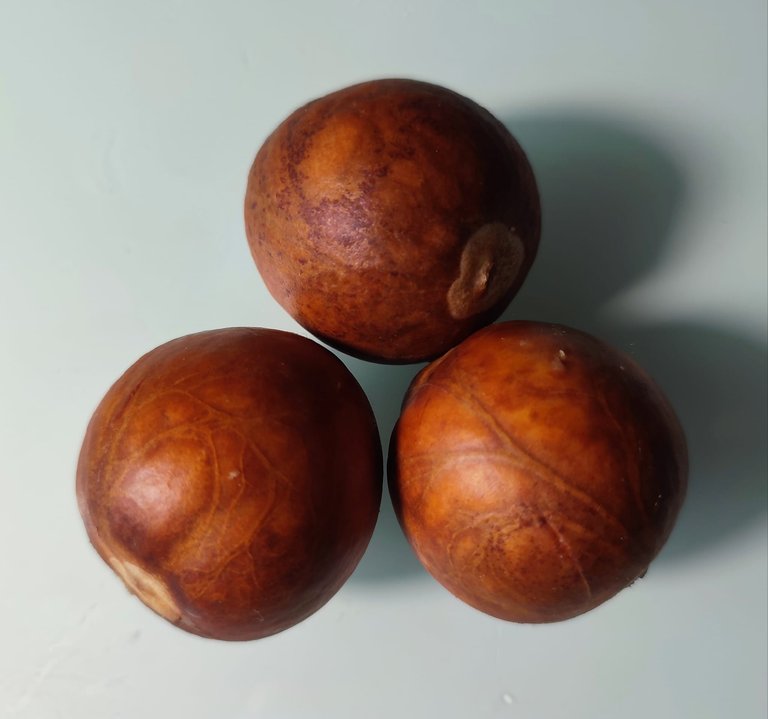
I saved the avocado seeds.

I soaked the yarn in a mordant, which is water and alum (optional). This helps fix the dye on the fabric, making it more permanent and resistant to fading. Use 10-15% of the weight of the yarn or fabric.
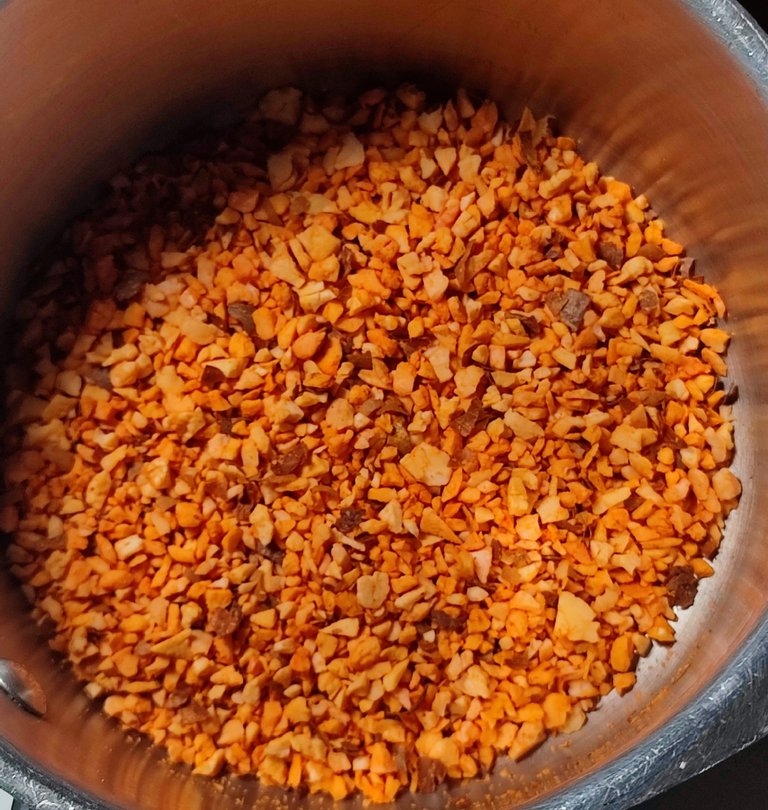

Then, I blended avocado seeds. Adding the water extracts the colour. I did not heat it to keep its vibrant colour. Adding vinegar makes it more vibrant, but I prefer the earthy, rusty, burnt look.
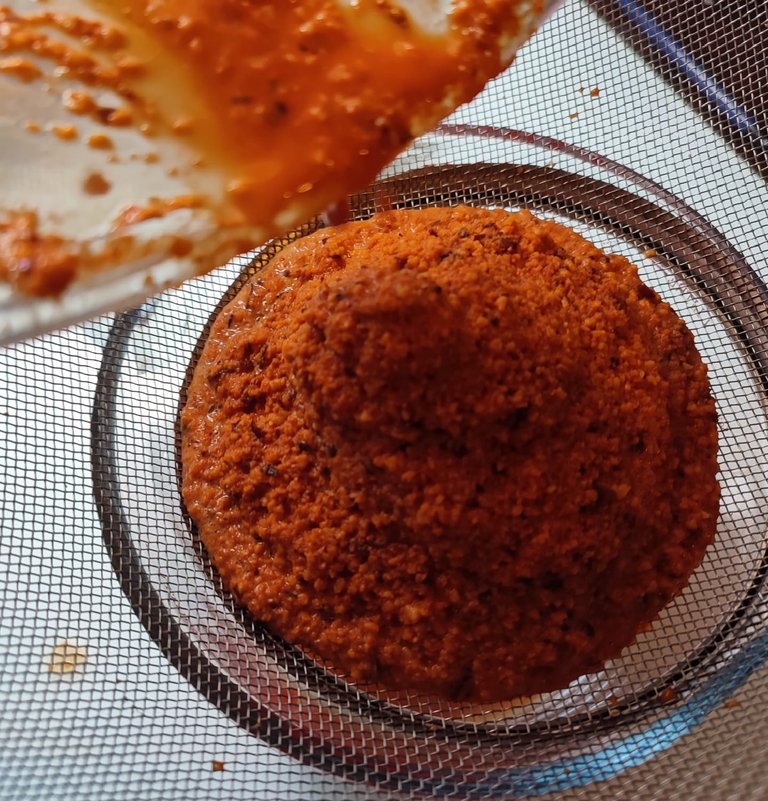

I strained.
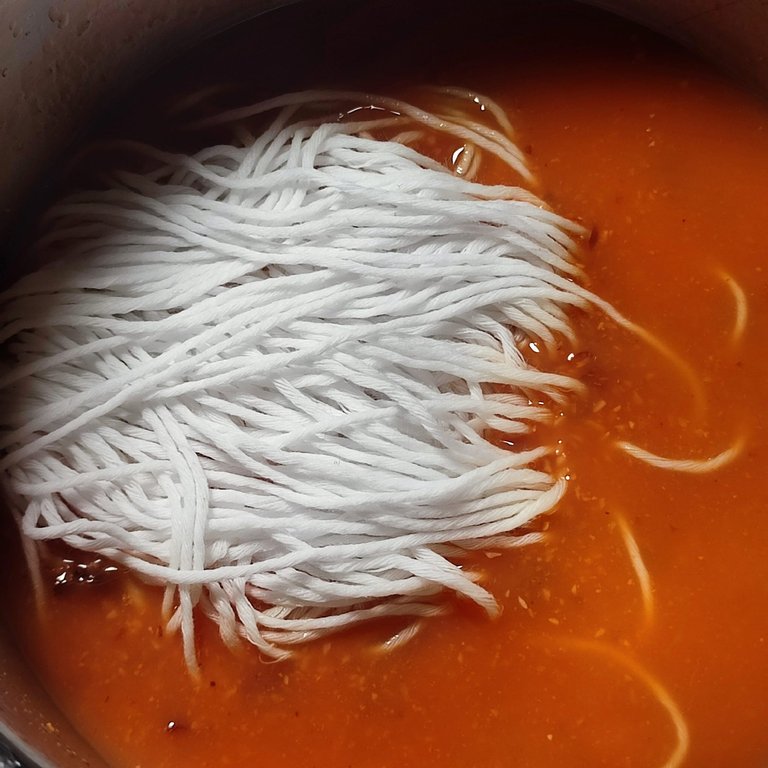
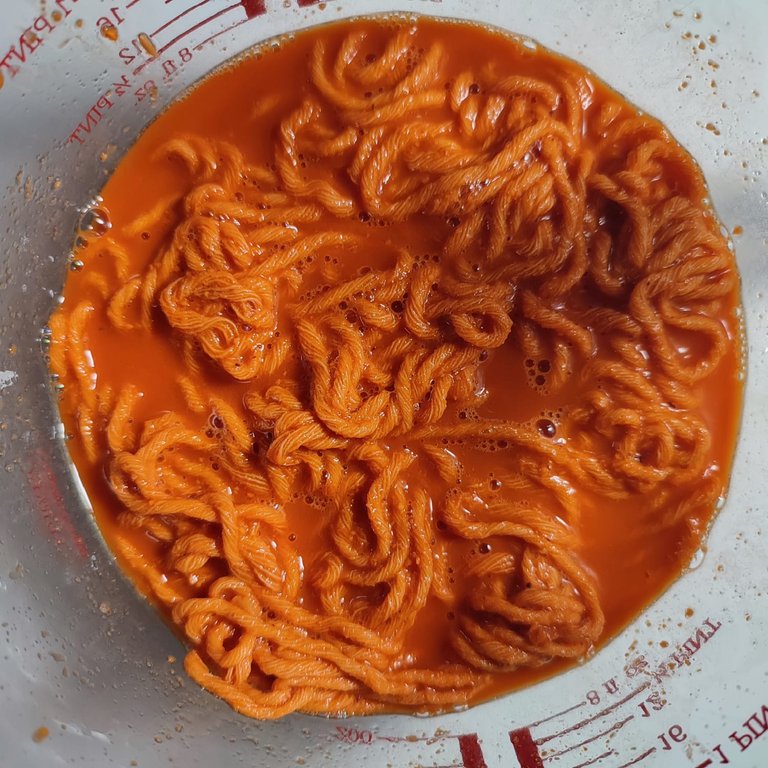
Then, I soaked the yarn overnight.
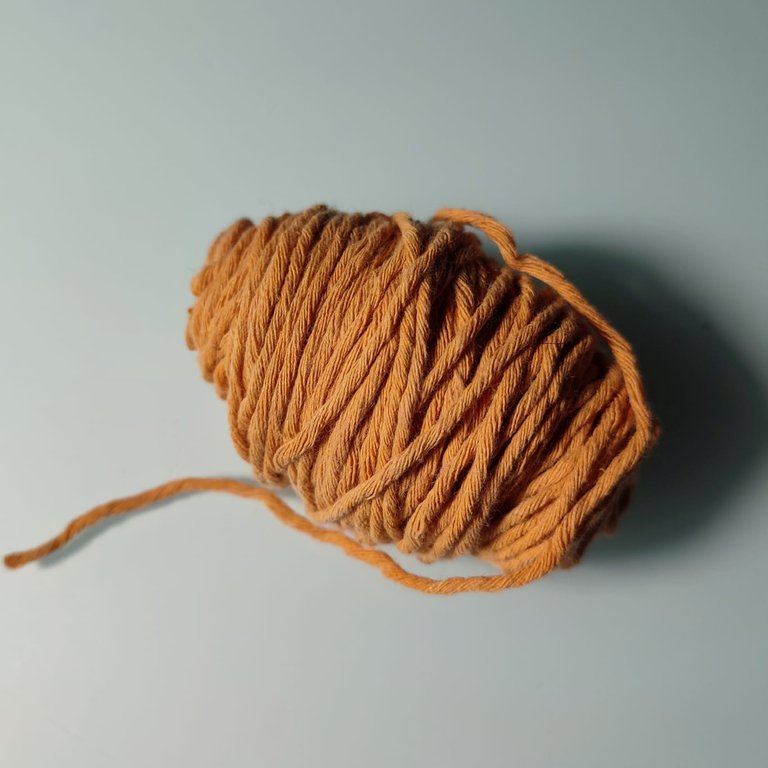
Then I rinsed and dried it.
I was amazed at how the seeds imparted an earthy, soft, burnt orange colour like my imprint.
I was inspired to craft something.
I thought of imitating an orange fruit in this beautiful earthy colour.
🍊
Amigurumi Orange Pattern
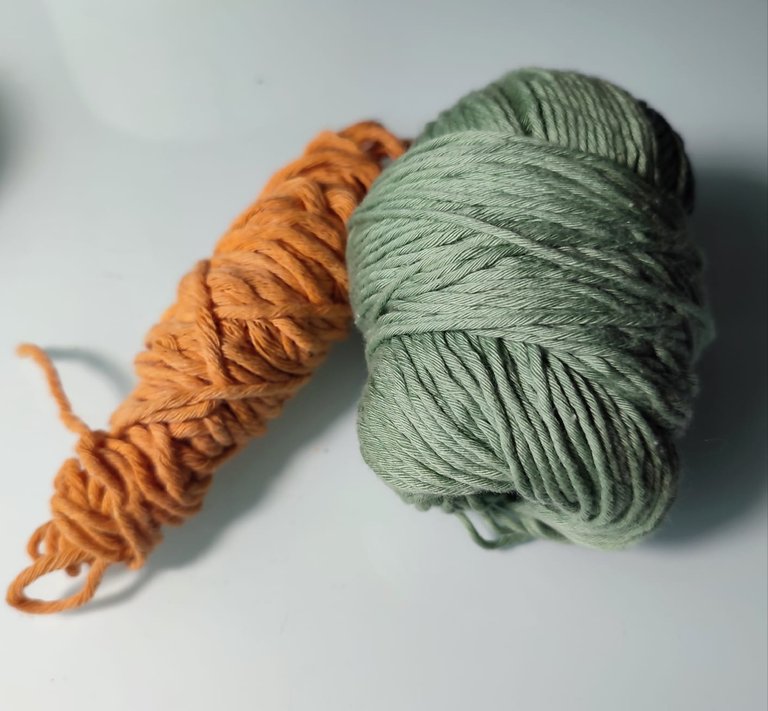
Materials
Orange yarn (for the body)
Green yarn (for leaf and stem)
3.0 mm crochet hook (or appropriate size for your yarn)
Scissors
Tapestry needle
Fiberfill stuffing
Stitches Used
Magic Ring: Starting round for circular items.
Single Crochet (sc): Basic stitch.
Increase (inc): 2 single crochets in the same stitch.
Decrease (dec): 1 single crochet over two stitches.
Instructions:
Orange Body 🍊
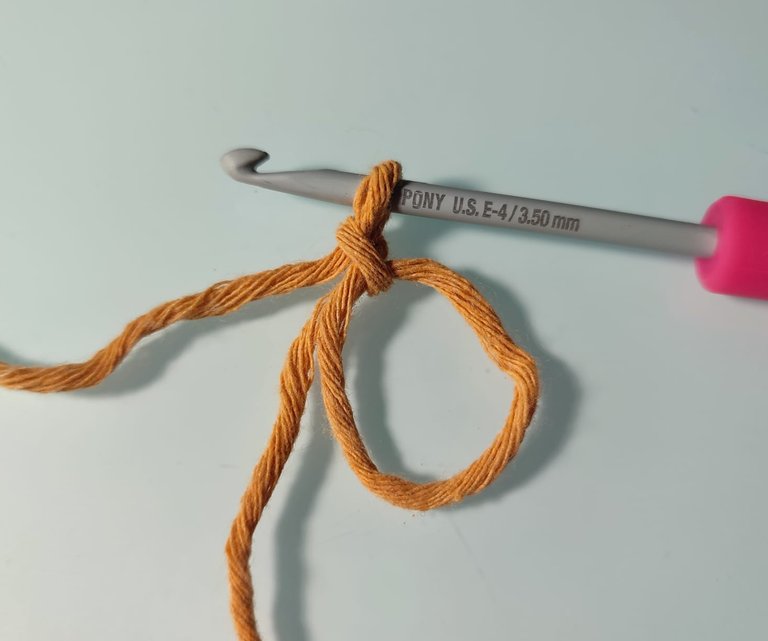
Round 1: With orange yarn, make a magic ring. Work 6 sc into the ring. (6 sts)
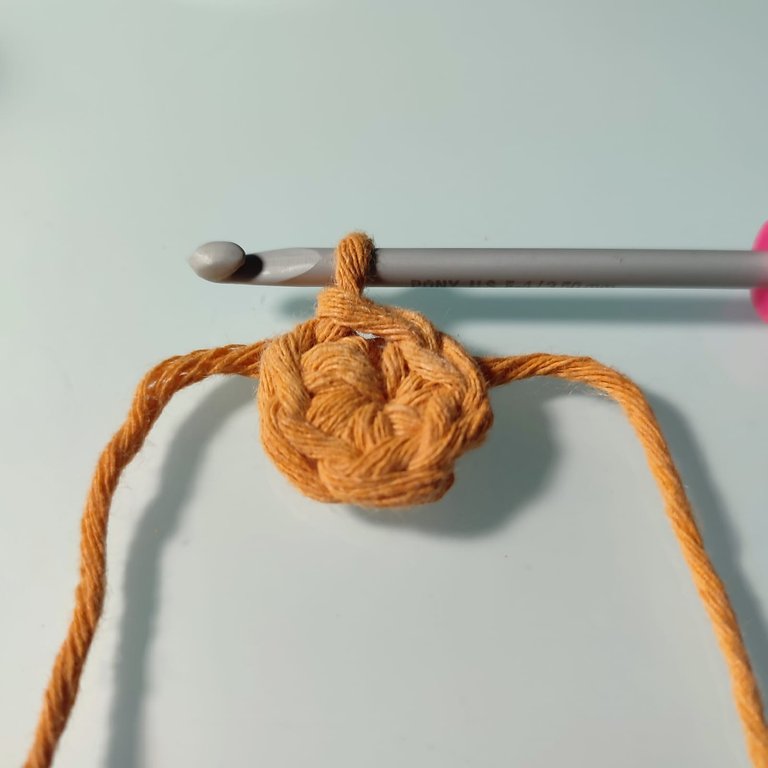
Round 2: Inc in each stitch around. (12 sts)

Round 3: Sc in next stitch, inc in next stitch - repeat around. (18 sts)
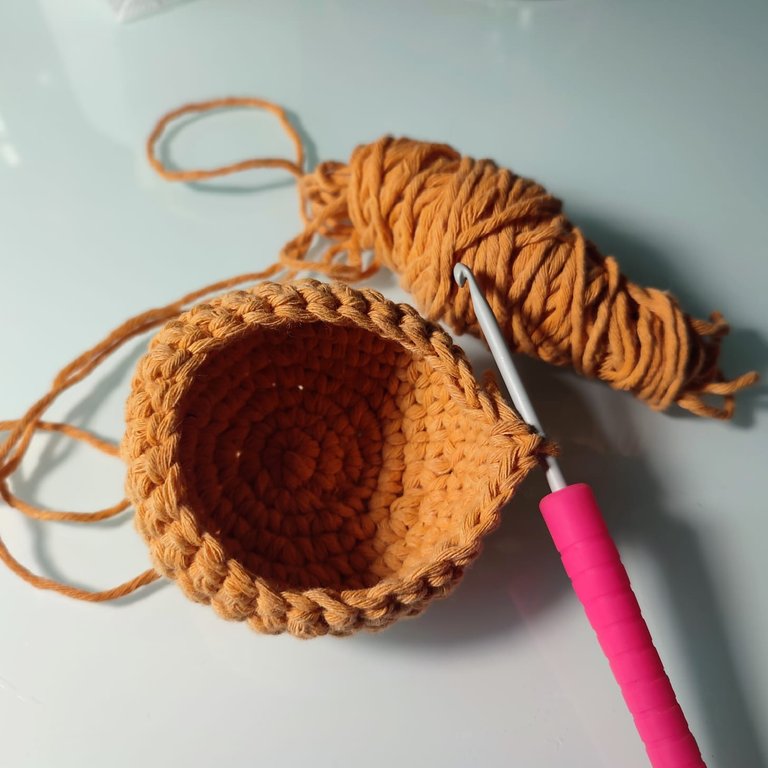
Round 4: Sc in next 2 stitches, inc in next stitch - repeat around. (24 sts)
Round 5: Sc in next 3 stitches, inc in next stitch - repeat around. (30 sts)
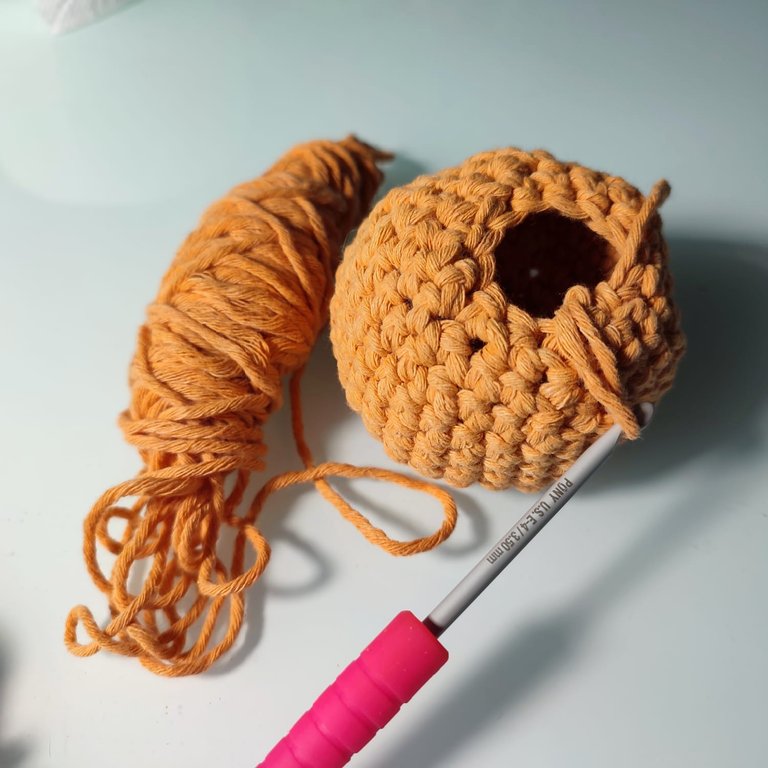
Rounds 6-10: Sc in each stitch around. (30 sts)
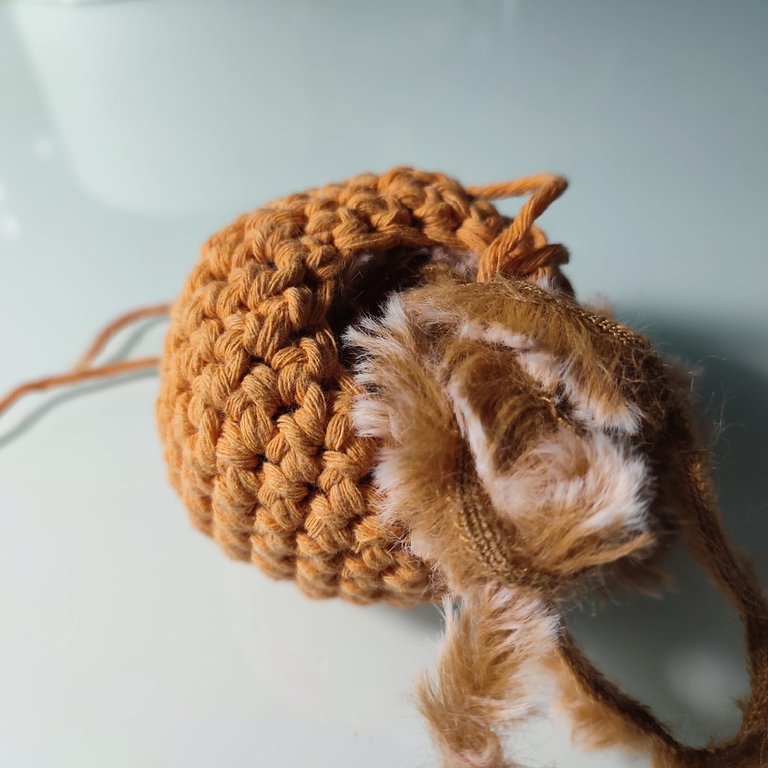
Round 11: Sc in next 3 stitches, dec in next stitch - repeat around. (24 sts)
Round 12: Sc in next 2 stitches, dec in next stitch - repeat around. (18 sts)

Fill the orange body with stuffing.
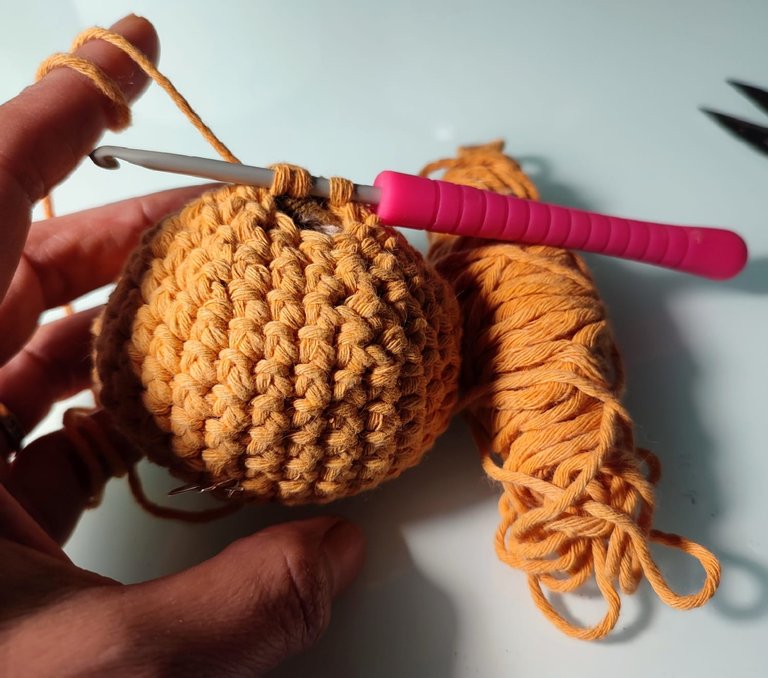
Round 13: Sc in next stitch, dec in next stitch - repeat around. (12 sts)
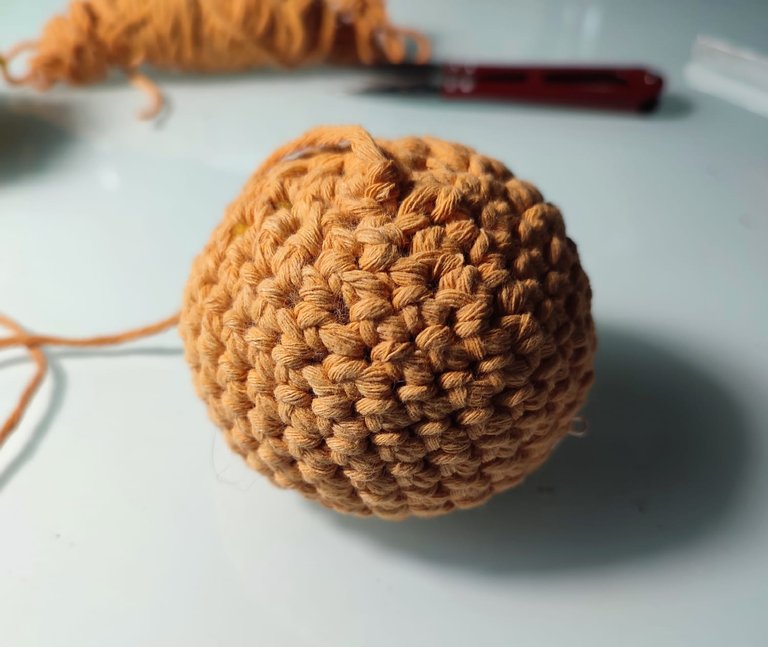
Round 14: Dec around until closed. Fasten off, leaving a long tail. Sew any gaps closed.
Leaf 🍃

With green yarn, chain 7.
Starting in the second chain from the hook:
Sc in the first chain,
Hdc in the next,
Dc in each of the next 2 chains,
Hdc in the next chain,
Sc in the last chain.
Work around to the other side of the foundation chain to create the other side:
Sc, hdc, dc in next 2, hdc, sc.
Slip stitch into the starting chain to close. Fasten off, leaving a tail for sewing.
Stem 🍂
With green yarn, chain 4.
Starting from the second chain from the hook, slip stitch in each chain back to the beginning.
Fasten off, leaving a tail for sewing.
Assembly 🧵

Sew the leaf and stem to the top of the orange.
Weave in any loose ends.
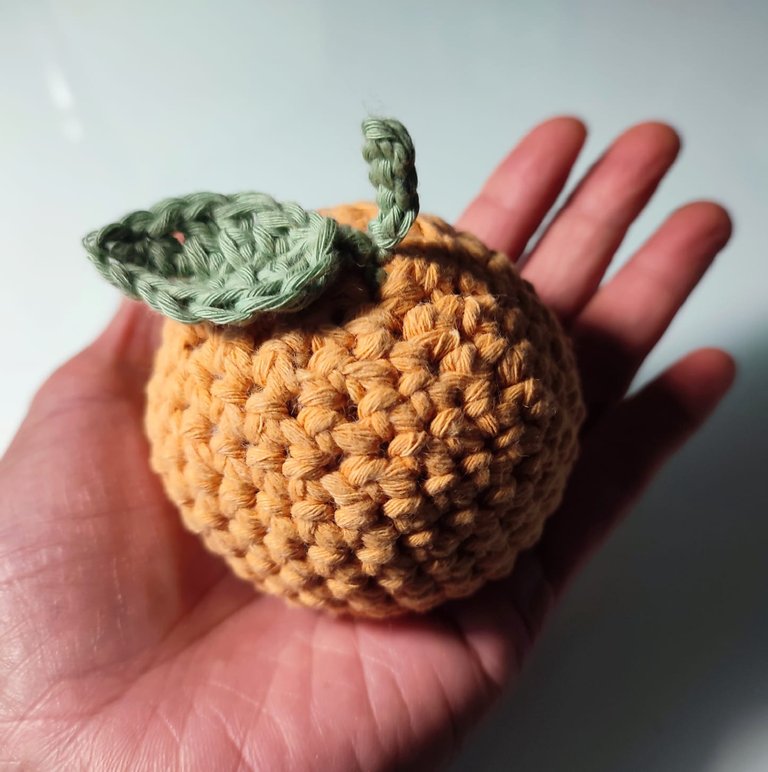
Done!

I really like the earthy colour of this avocado dye, and it paired well with the earthy green. Now, I am inspired to do more projects with this, as it keeps the essence of family tradition alive in a new way.
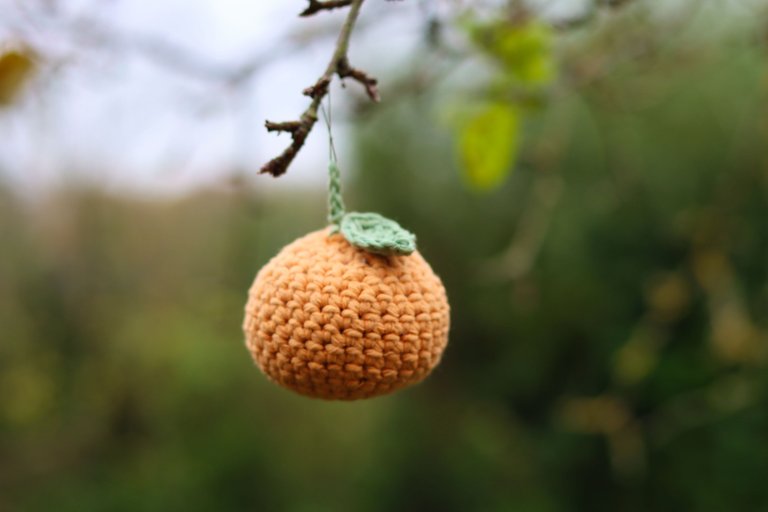
I hope I have inspired you to try them and have fun.
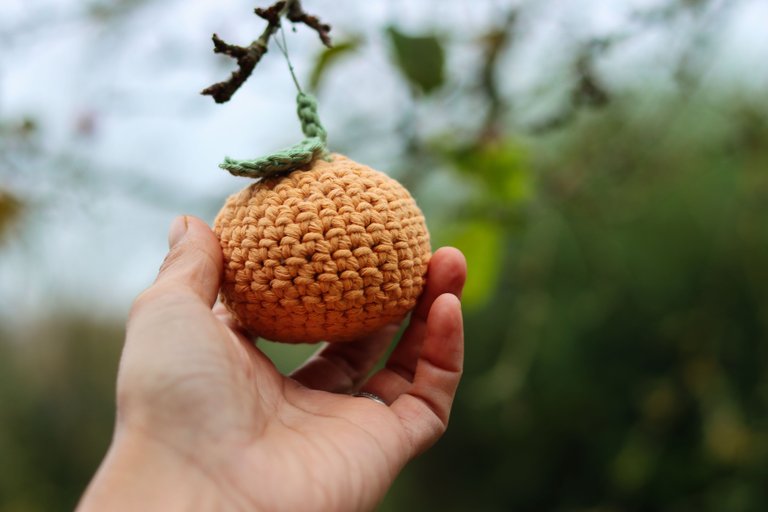
A lovely day to all!
Happy Needleworking Monday, everyone.
Mariah 🥑🍊💚
The rewards earned on this comment will go directly to the people( @theworldaroundme ) sharing the post on Reddit as long as they are registered with @poshtoken. Sign up at https://hiveposh.com. Otherwise, rewards go to the author of the blog post.
How fabulous! Avocado stones are always so beautiful, it's lovely to have other uses for them.
No way! An organic way to create a dye, this is so amazing. This is really informative ha, I had no idea that an avocado seed can do that. No chemicals or whatsoever, just avocado seeds. Its amazing that we can do that. Thanks for sharing such valuable information. I will save this, who knows, I might try it too someday 🤩🤩🤩🤩. It's 10000/10 for me! Amazing 🤩🤩✨
It's worth trying; there are plenty of avocados there. You are welcome. Good luck and enjoy. 😊💗
Esto es un gran descubrimiento, me encanta la idea. Gracias por compartir
Tanto las letras como esta fruta a crochet, con la tinta del aguacate te han quedado genial.
This is a great discovery, I love the idea. Thank you for sharing
Both the letters and this crocheted fruit, with the avocado ink have turned out great for you.
Thank you 😊🩷
Wow, this is cool!I know a little about using things from nature to dye stuff but I didn't know that using an avocado seed can lookike this! I gotta try this next time. Thanks for the informative post 😁
Wow! I have to say that I have learned a lot from this post. Thanks so much for sharing this experience with us.
You're welcome 😊🩷