ENGLISH CONTENT
Hello to all the members of this community and lovers of sewing! In a week or so, I will attend a small event that will take place in the city and motivated by it, I have made the decision to finally make one of the cosplay (costume set in a character from a series or movie), which I had planned for years, since I had bought the fabric and had it saved 😆
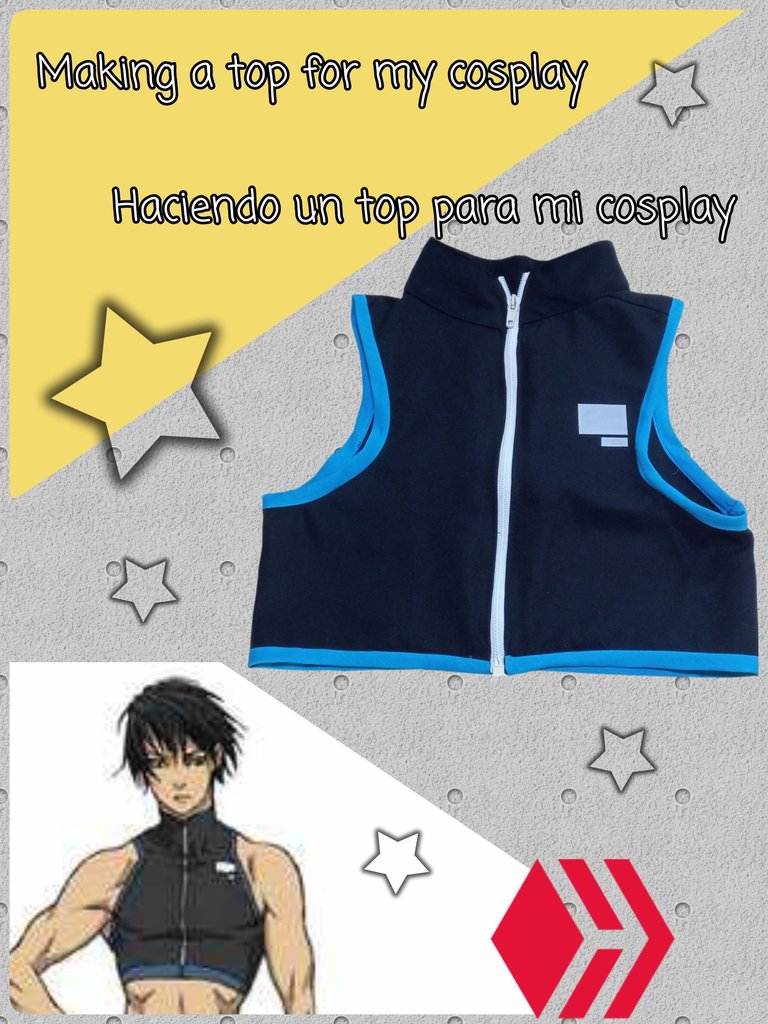
The costume I'll be wearing is pretty simple, as it consists of a sleeveless top and tight pants. The fabric I bought at the time, I now consider not to be the most appropriate for the project, but I decided to use it anyway or else I was never going to do that cosplay (even less now that I'm looking at new series and I'm delighted with the costumes I want to make).
 |  |  |
|---|
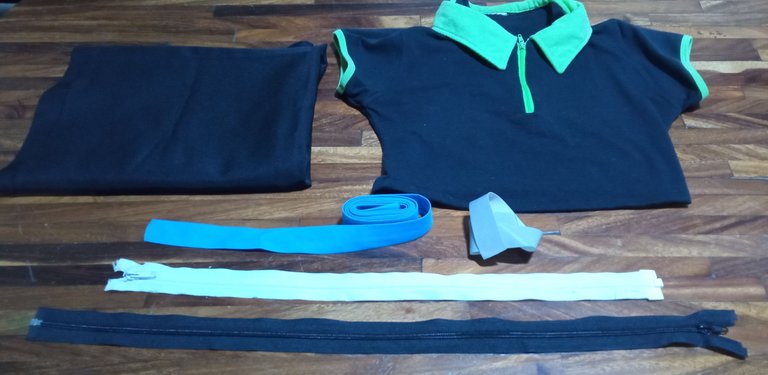
The materials I had available to make this top were half a meter of black fabric (I don't know the name of it, I thought it was gabardine, but it turns out it's not), jacket zippers, bias and a piece of reflective tape for details. As a pattern, I used a top from my wardrobe.
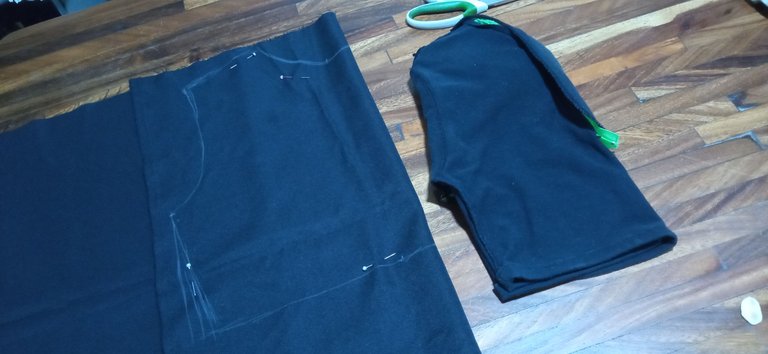
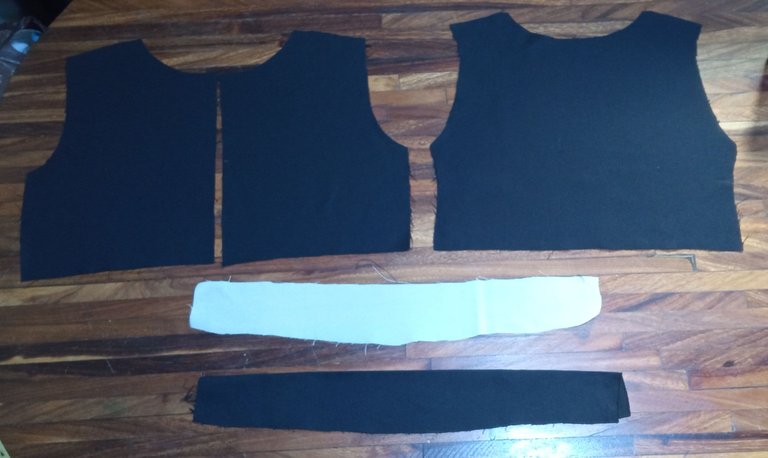
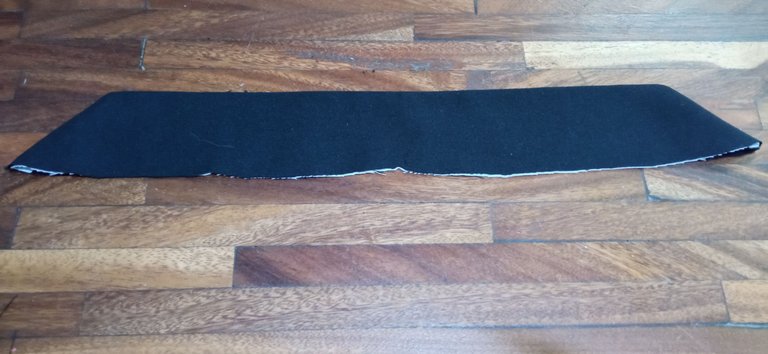
Using the garment from my wardrobe as a pattern, I marked and cut out the front and back pieces on the fabric. I also cut out the pieces corresponding to the collar, cutting an extra piece out of canvas.
 |  |
|---|
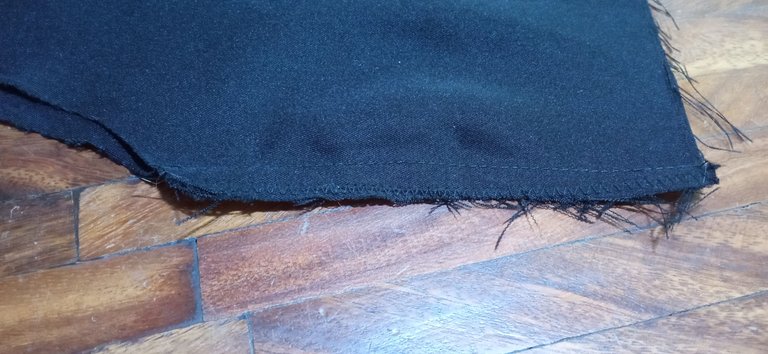
When it was time to take it to the machine, I sewed the front and back pieces together, across the shoulder area and sides, using a straight seam and a zigzag seam as a safety seam.
 |  |
|---|
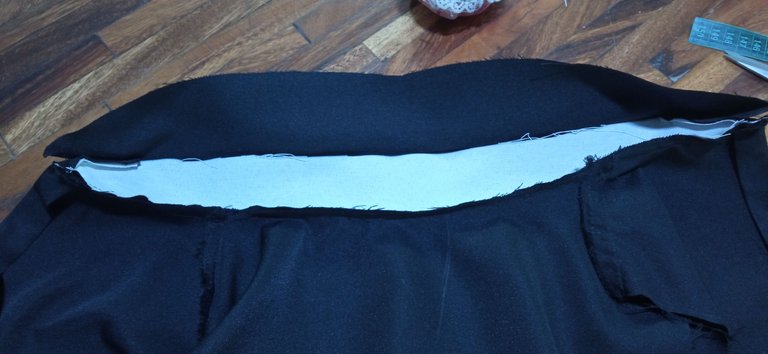
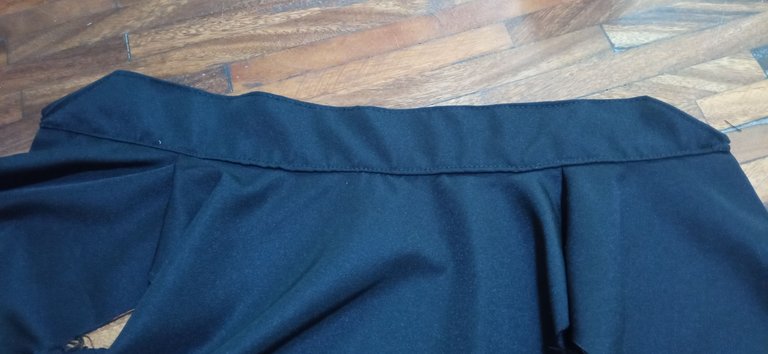
Then, I proceeded to attach the neck to the top.
 |  |
|---|
 |  |
|---|
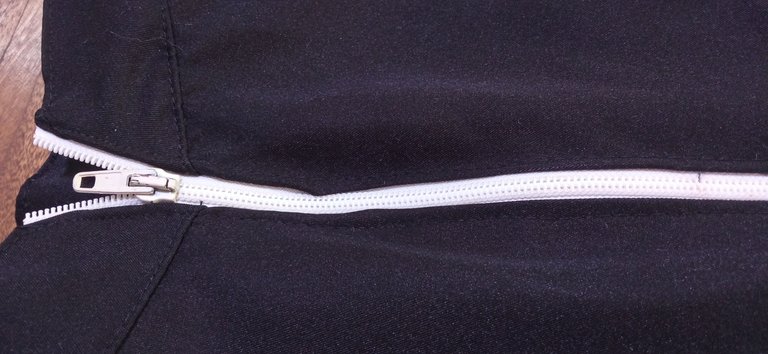
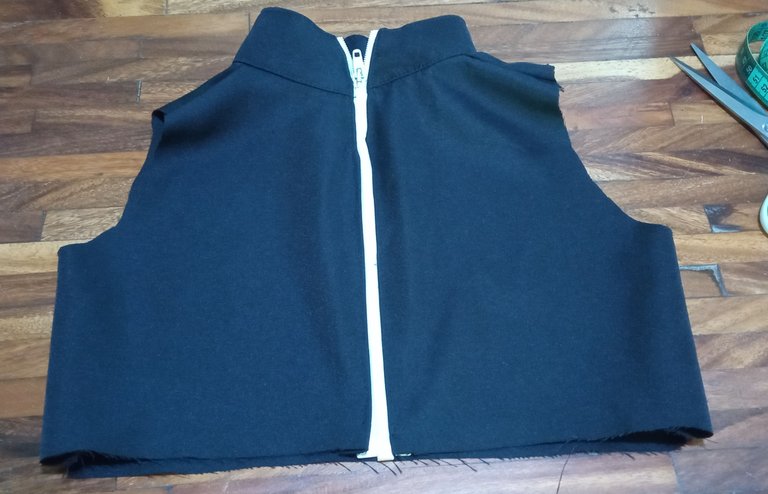
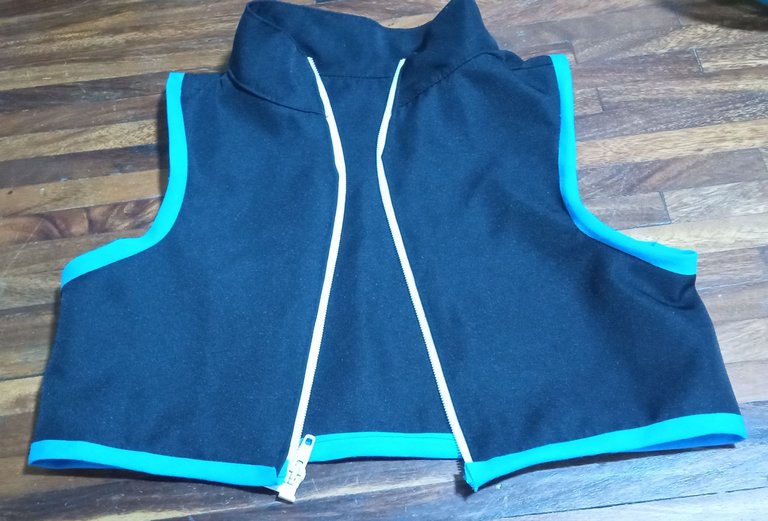
Originally, I had purchased a black jacket zipper for this project. But I decided to use a white jacket zipper that my mother had given me (she got it from some discarded clothing) instead, as I thought it would look better on her. I sewed the zipper around the edges so that the top would close through it.
 |  |
|---|
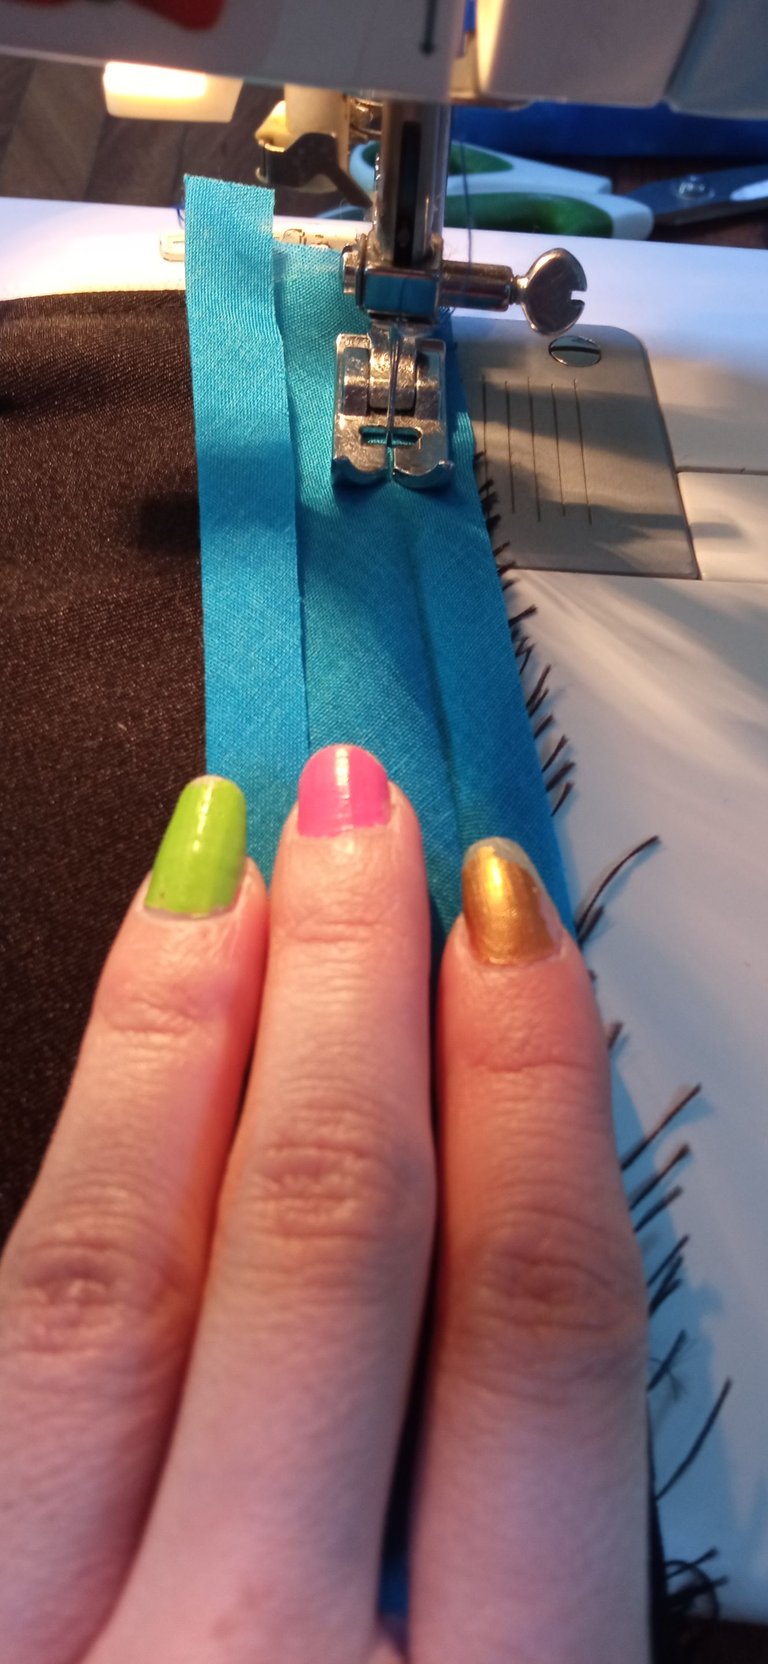
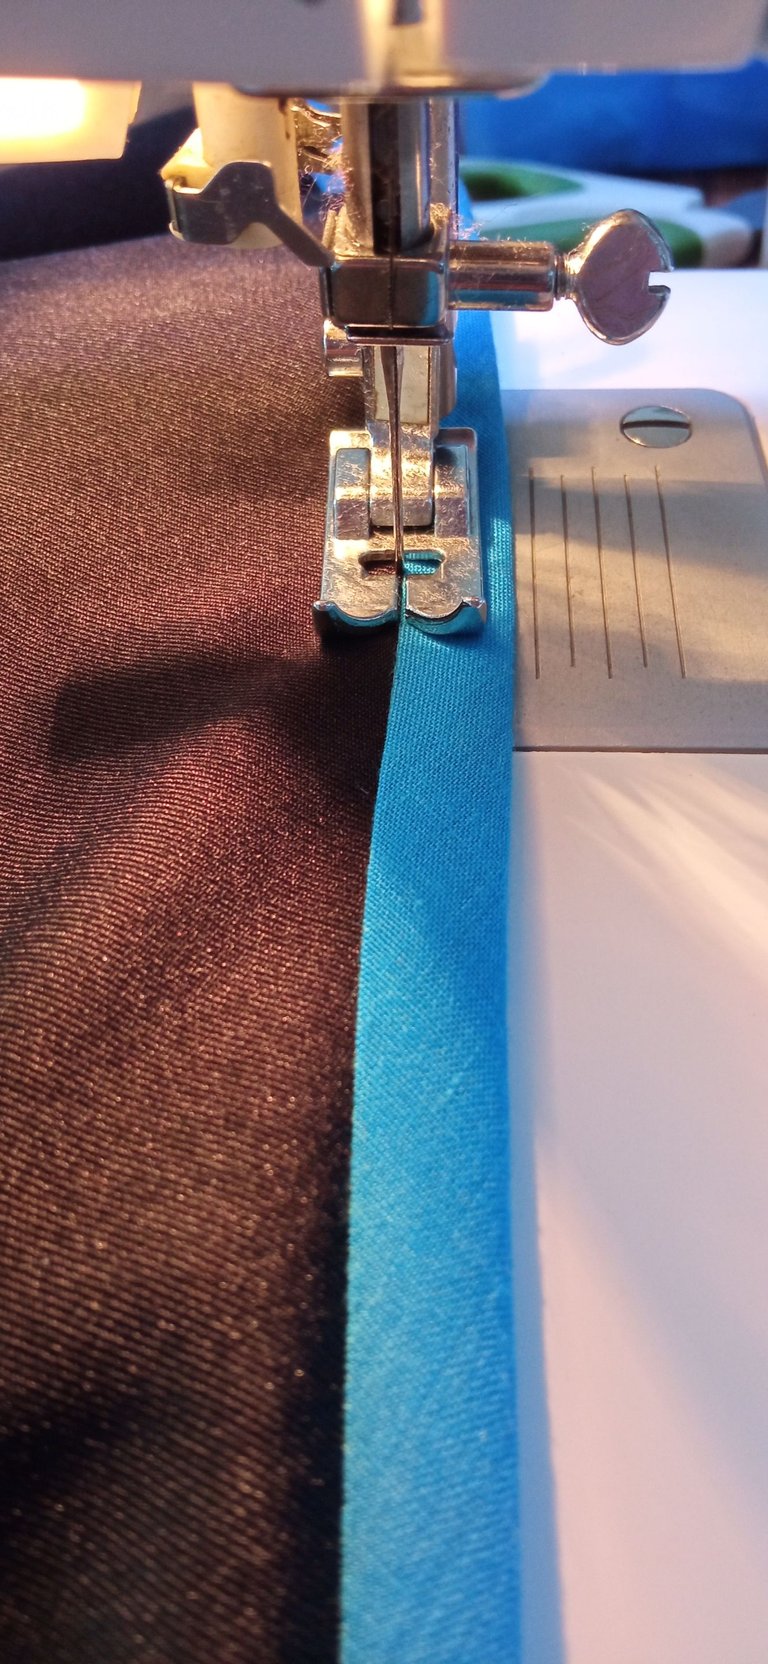
For the edges of the armhole and the top itself, I used a blue bias tape. I hadn't sewn bias tape for years and I remembered my time in the sewing workshop where I used a lot of bias tape when making aprons.
 |  |  |
|---|
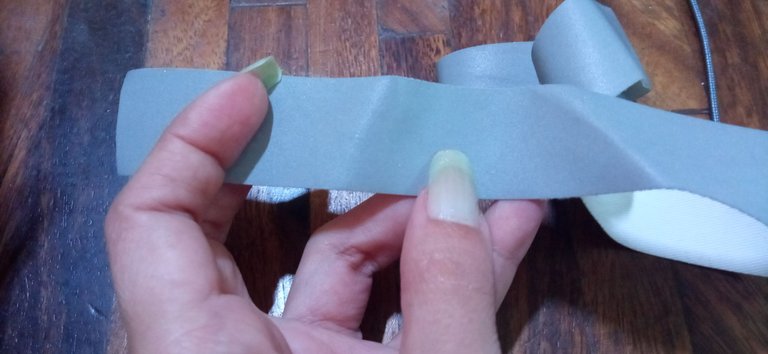
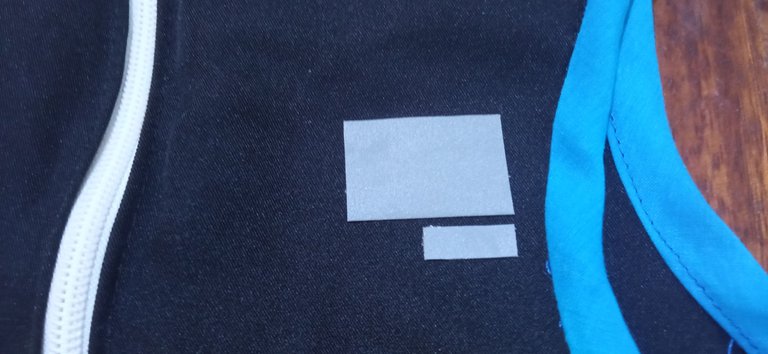
To make the detail on the top that looks like a kind of identification plate, I used a small piece of reflective tape, gluing it with a little liquid silicone.
 |  |
|---|
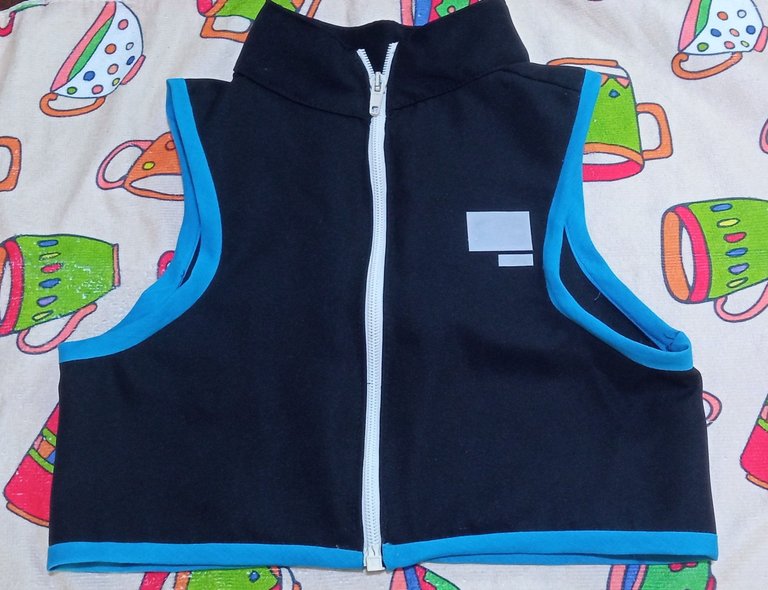
So the top was ready. It wasn't perfect, but at least I feel accomplished in finally making this outfit 😊
Thank you very much for visiting my post. I hope you found it interesting.
Until next time!

CONTENIDO EN ESPAÑOL
¡Hola a todos los integrantes de ésta comunidad y amantes de la costura! Dentro de una semana más o menos, asistiré a un pequeño evento que se realizará en la ciudad y motivada por ello, he tomado la decisión de por fin realizar uno de los cosplay (traje ambientado en un personaje de serie o película), que tenía planeado desde hace años, ya que había comprado la tela y la tenía guardada 😆
El traje que llevaré es bastante sencillo, ya que se compone de un top sin mangas y un pantalón ajustado. La tela que compré en su momento, ahora considero que no es la más adecuada para el proyecto, pero decidí utilizarla igualmente o de lo contrario, no iba a hacer ese cosplay nunca (menos ahora que ando mirando series nuevas y estoy encantada con los trajes que deseo realizar).
| | |
|---|
Los materiales que tenía disposición para elaborar éste top, era medio metro de tela negra (cuyo nombre no sé, pensé que era gabardina, pero resulta que no lo es), cierres de chaqueta, sesgo y una pedazo de cinta reflectante para los detalles. Como patrón, utilicé un top de mi guardarropa.
Utilizando la prenda de mi guardarropa como patrón, marqué y corté en la tela lo que serían las piezas delanteras y la trasera. Así como las piezas correspondientes al cuello, cortando una pieza extra en liencillo.
| |
|---|
A la hora de llevarlo a la máquina, cosí las piezas delanteras y trasera, a través de la zona de los hombros y de los costados, utilizando una costura recta y una en zig zag, como costura de seguridad.
| |
|---|
Luego, procedí a anexar el cuello al top.
| |
|---|
| |
|---|
Originalmente, había comprado un cierre para chaqueta de color negro, para éste proyecto. Pero decidí utilizar mejor, un cierre para chaqueta de color blanco que mi madre me había dado (lo sacó de alguna prenda que desechó), ya que consideré que le quedaría mejor. Cosí el cierre en los bordes, de modo que el top, se cerrase a través de él.
| |
|---|
Para los bordes de la sisa y del mismo top, utilicé un sesgo de color azul. Tenía años sin coser sesgo y recordé mi temporada en el taller de costura en donde utilizaba bastante sesgo a la hora de hacer delantales.
| | |
|---|
Para realizar el detalle del top que parece que es una especie de placa de identificación, utilicé un pedacito de cinta reflectante, pegándola con un poquito de silicón líquido.
| |
|---|
De ésta forma, el top estuvo listo. No quedó perfecto, pero al menos me siento realizada al ir haciendo por fin, éste traje 😊
Muchas gracias por haber visitado mi publicación. Espero que les haya parecido interesante.
¡Hasta una próxima oportunidad!

Congratulations, your post has been curated by @dsc-r2cornell. You can use the tag #R2cornell. Also, find us on Discord
Felicitaciones, su publicación ha sido votada por @ dsc-r2cornell. Puedes usar el tag #R2cornell. También, nos puedes encontrar en Discord
Que interesante la inspiración que has tenido, hasta pudiera ser usada en otra ocasión, a parte del evento.
Saludos.
It is stylish, elegant, and beautiful. It shows your skills in doing something like this. Nice work! Keep it up!