ENGLISH CONTENT
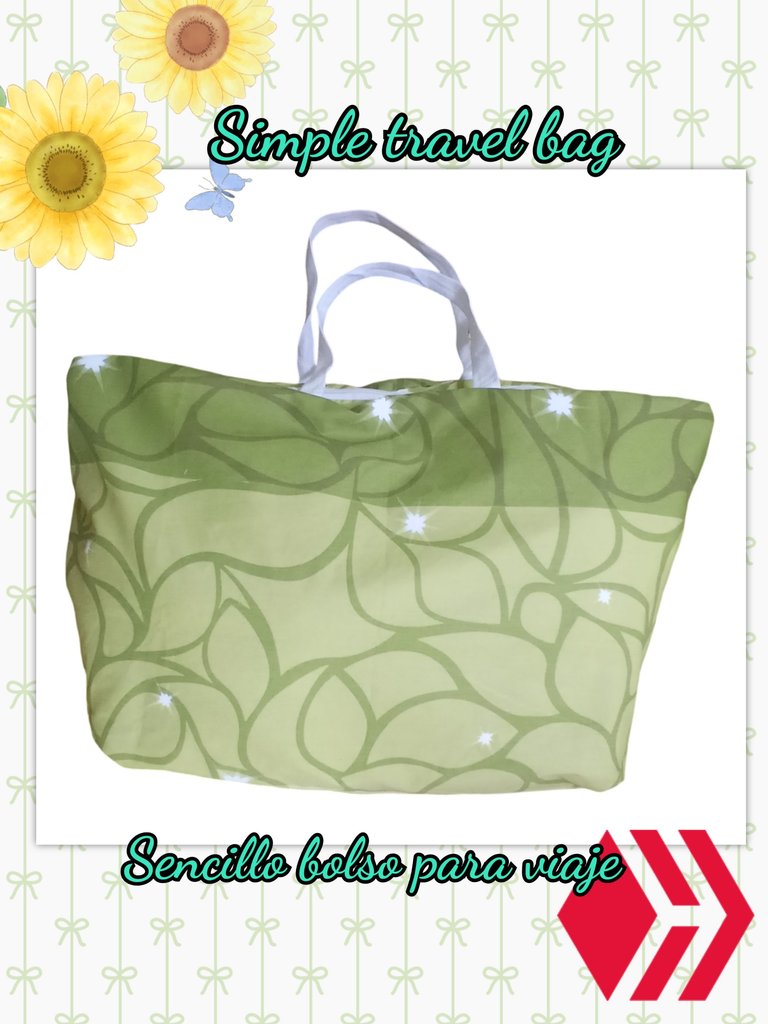
Hello to all the members of this community and sewing lovers! In a few days I will be going on a trip and I urgently needed an extra bag to carry some things, since normally, apart from the backpack that I put on my back, I always end up carrying a black bag in my hand with whatever ends up left outside haha being a seamstress, that situation could not continue, so, after searching through my sewing materials, I found everything I needed to put together a bag that was spacious enough.
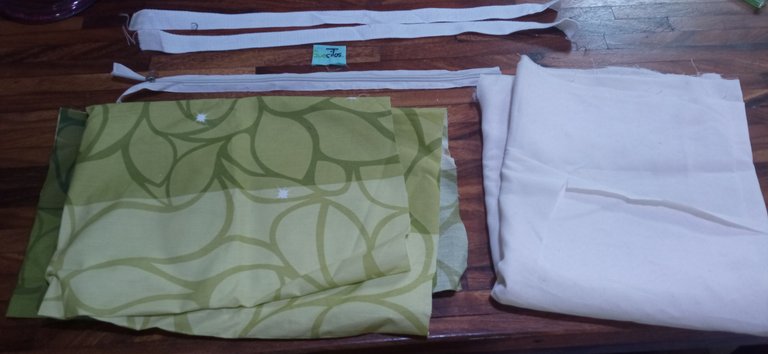
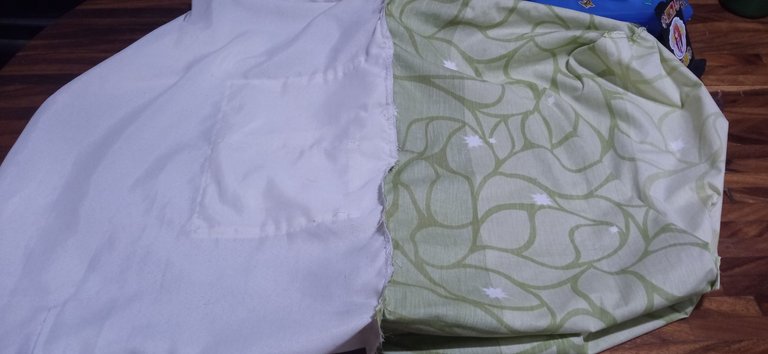
The fabric I used was a scrap of sheet fabric that I had left over from the time I made sheets to sell. I fell in love with that green fabric and I always wanted to make something for myself (the time has come 😎), for the lining, I used an equally resistant fabric that I think is called linen, as well as some handles from a bag I had recently changed, an old zipper that my mother removed a long time ago from a bag she discarded and of course, a label with my brand 😉
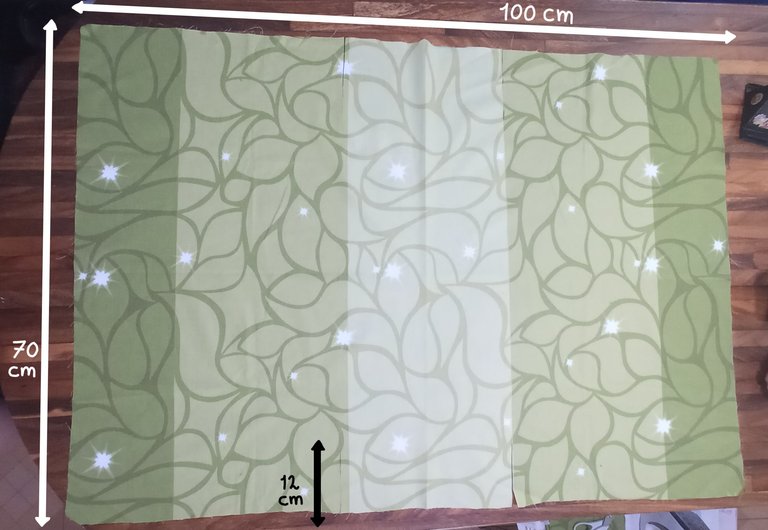
With these materials at my disposal, I got to work. I didn't have a model in mind to make, nor patterns, nor anything like that. I had been drawn to the model of a bag that I had seen on a reel on Instagram, but it needed extra closures, so I discarded that beautiful model and opted to make the best use of the scrap of fabric I had, as well as the rest of the materials. The fabric measurements were approximately 100 cm (1m) x 70 cm, to which I made 4 cuts of 12 cm high to delimit what would be the base of the bag.
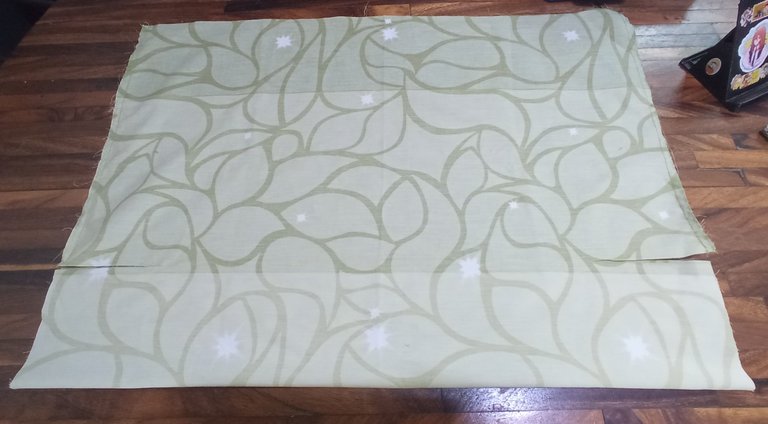
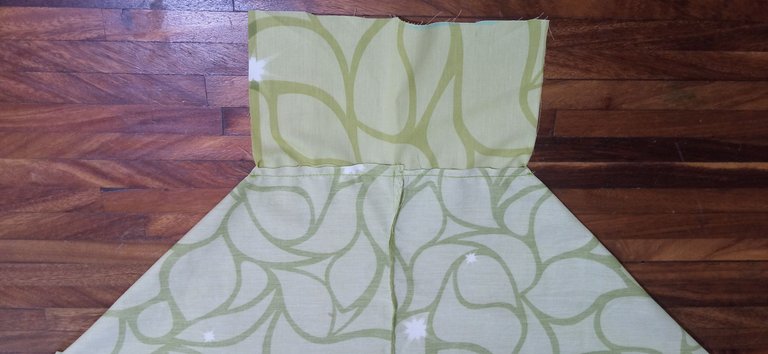
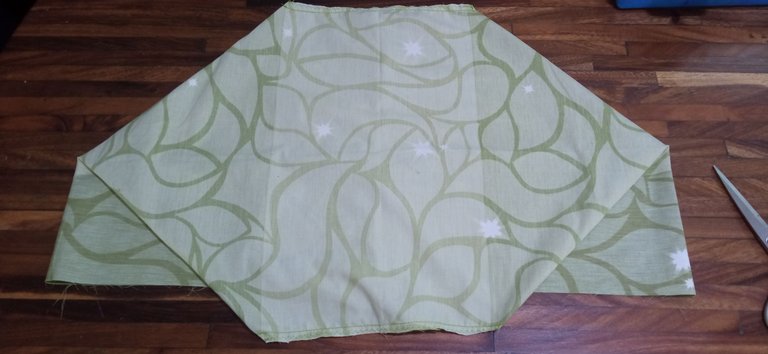
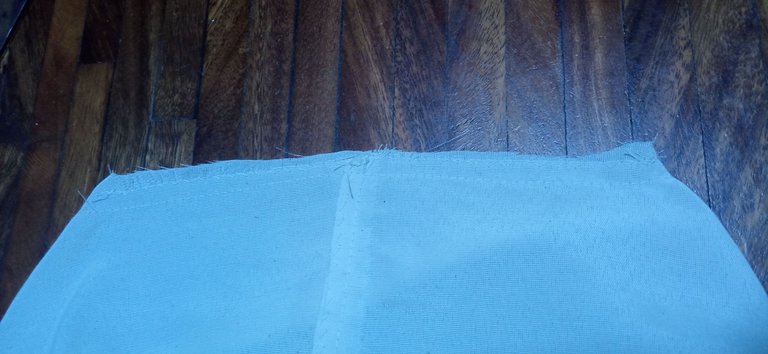
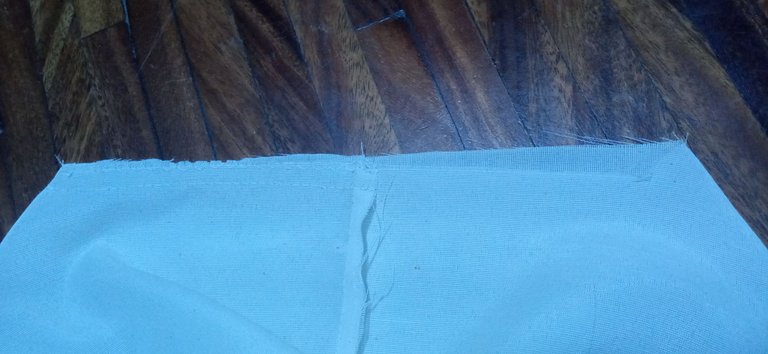
Then, I folded the fabric and sewed the sides up to the cut line, leaving an open opening on both sides. Thanks to this unstitched space, I was able to fold the piece as seen in the second image and proceeded to sew a straight seam; I did the same on the other side. When I cut off the excess, the part corresponding to the base of the bag looked like in the third photograph.
 |  |  |
|---|
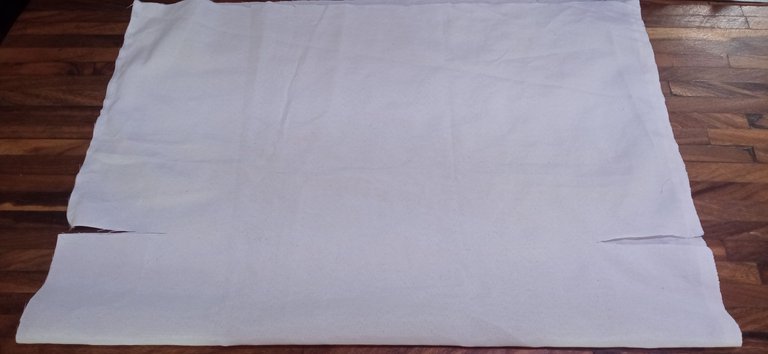
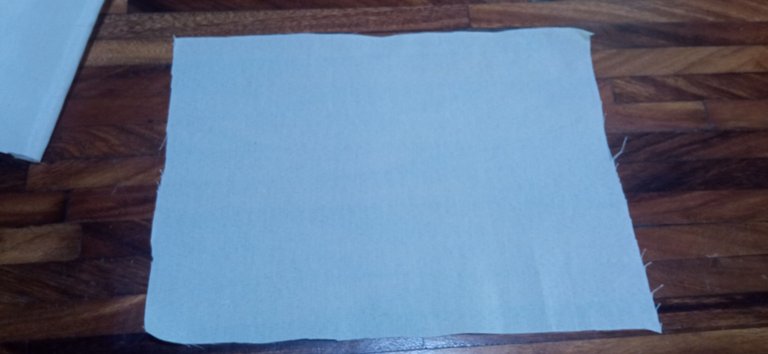
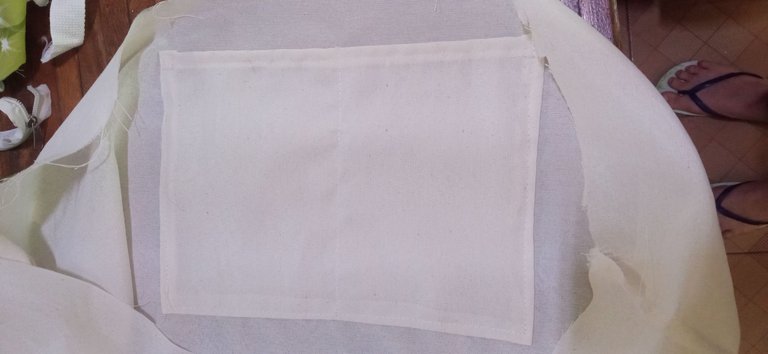
Using the lining fabric, I cut a piece with the same dimensions and only sewed the sides, leaving the opening corresponding to the base open (so that I could turn the piece over). I also cut a rectangular piece to sew a pocket on the inside of the bag's lining piece. I sewed it and made a division in the middle so that it would be a double pocket and avoid it being just a huge pocket that "spills out" when you put things in it.
 |  |  |
|---|
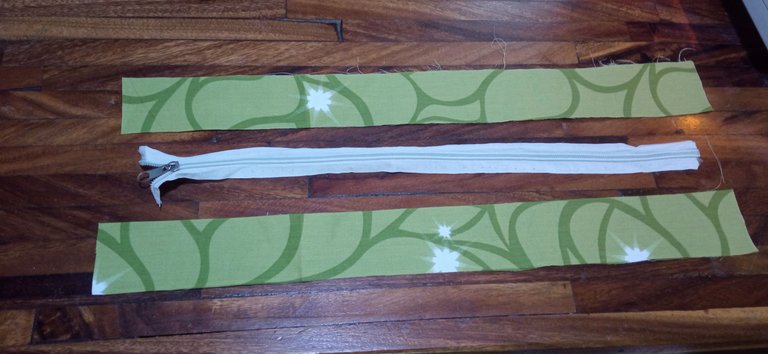
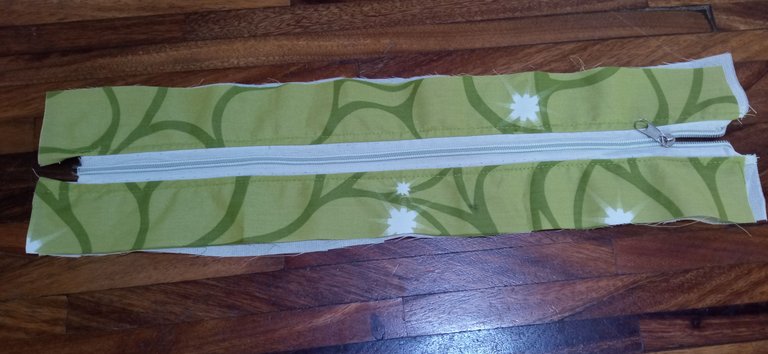
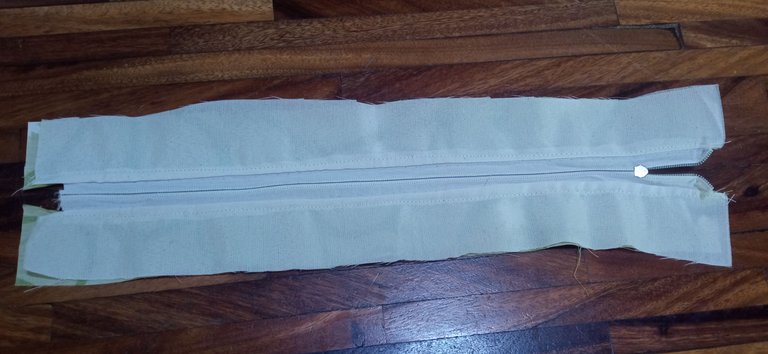
The clasp I had was about 45 cm long, so I cut some pieces of fabric that were about that length and a width that I thought would be suitable for when I attached the handles. I sewed the clasp to the fabric and also added some tatting to the back of the piece.
 |  |  |
|---|
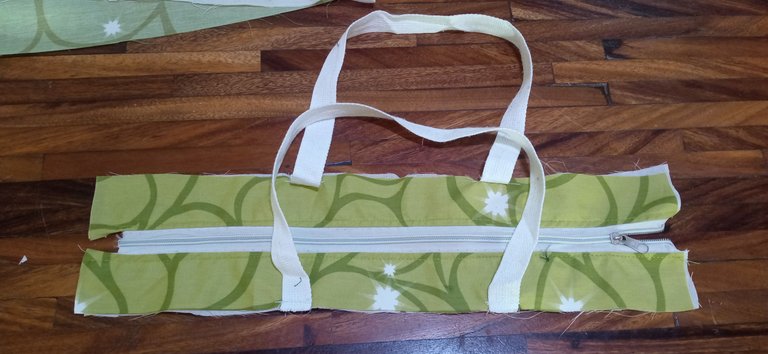
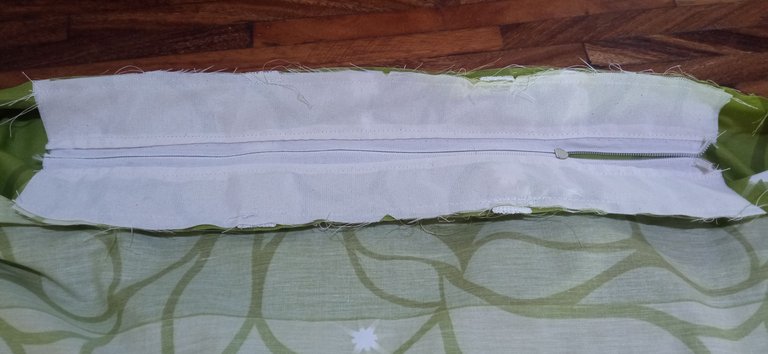
I added the handles by measuring from the center of the piece, checking that it would fit well when I put it on my shoulder. Later, I attached this closure piece with the handles, on the top of the bag piece, facing right sides together.
 |  |
|---|
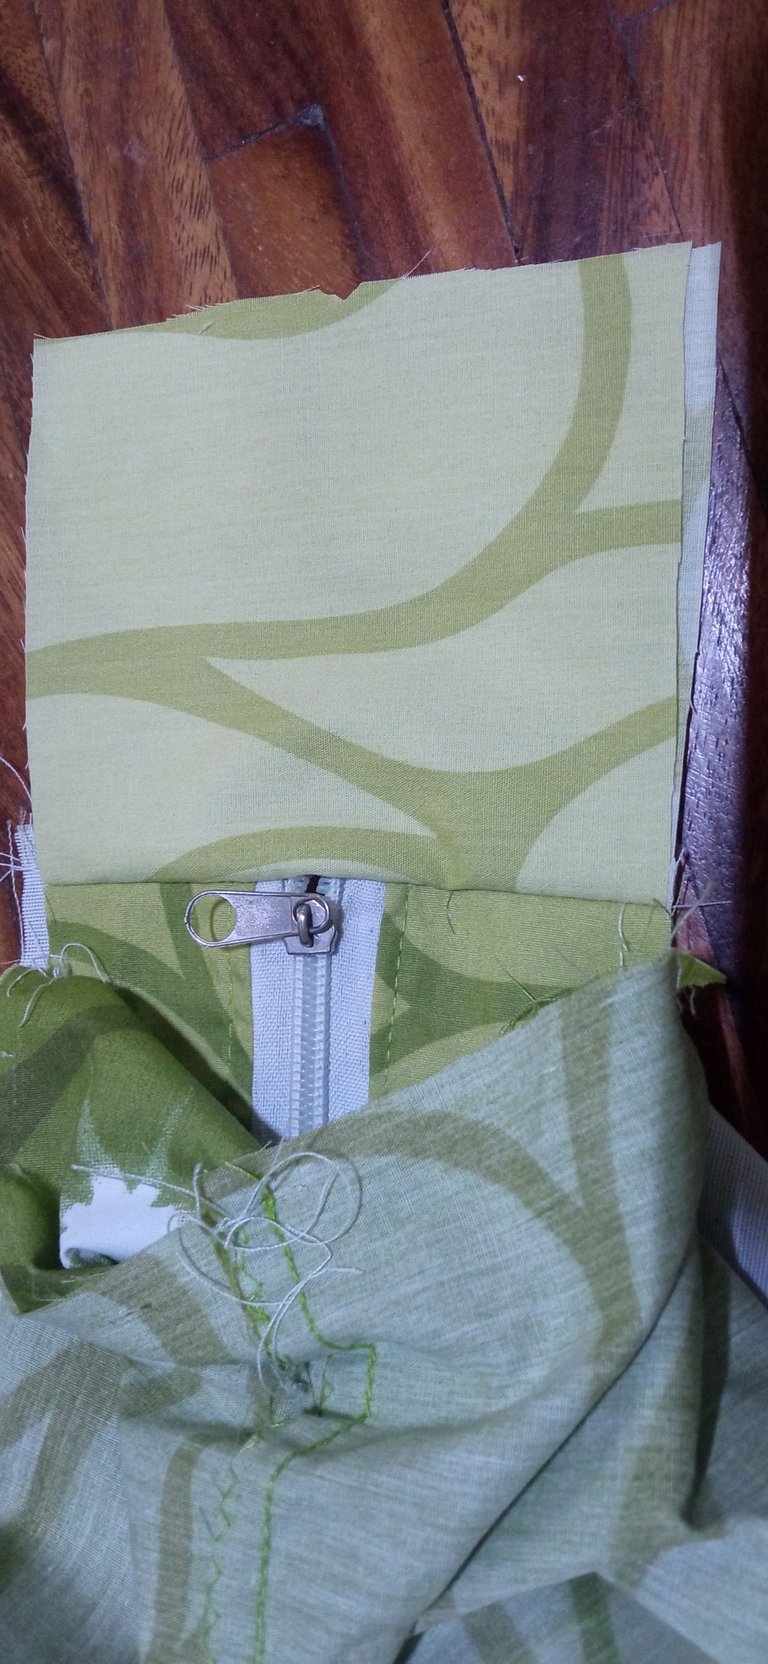
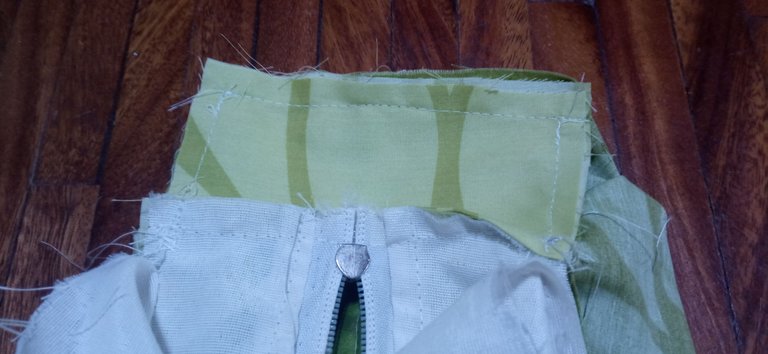
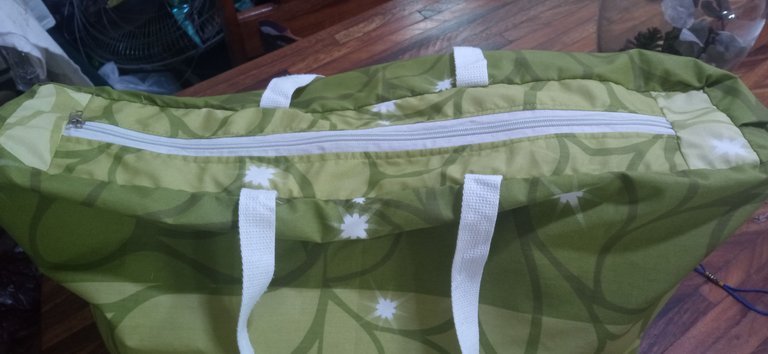
Since the bag was wider than the piece that had the closure, I cut a couple of small rectangles to cover the space and also reinforce the beginning and end of the closure. This way, I was able to fit both pieces together and finish closing completely.
 |  |
|---|
Next, I joined the main piece of the bag and the lining all around the edge, right sides together. Using the openings I left in the lining piece, I proceeded to turn the bag inside out.
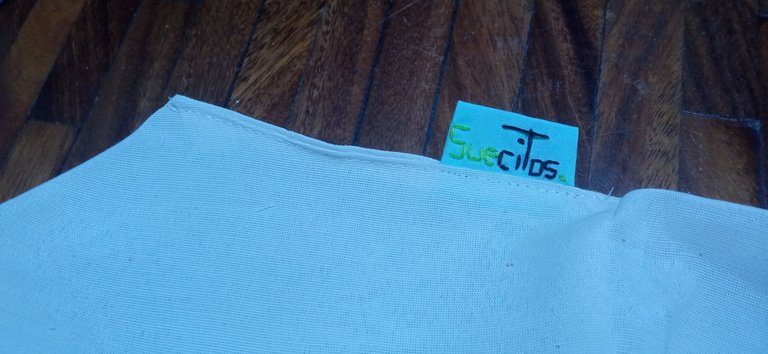
Finally I closed the opening where I had turned the bag over, taking advantage of the opportunity to sew the label.
 |  |  |
|---|
This way the bag was ready ✨
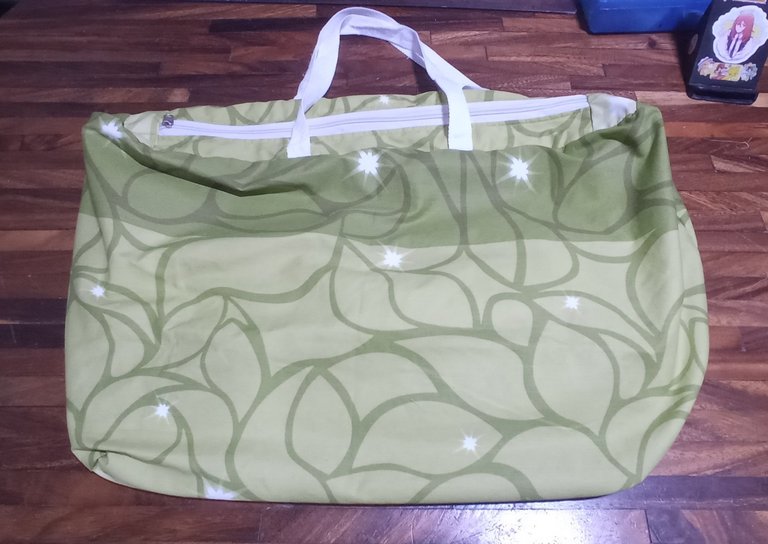
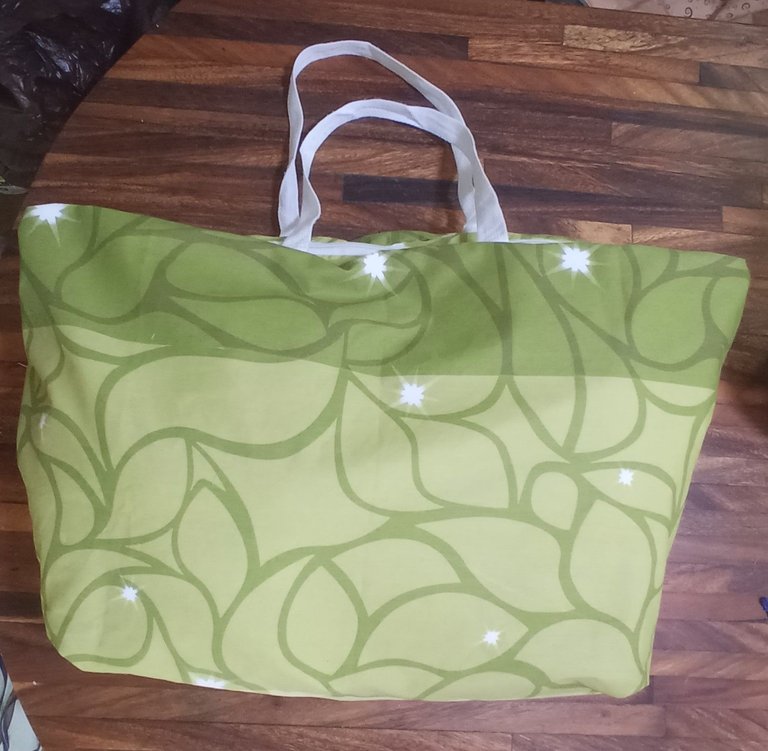
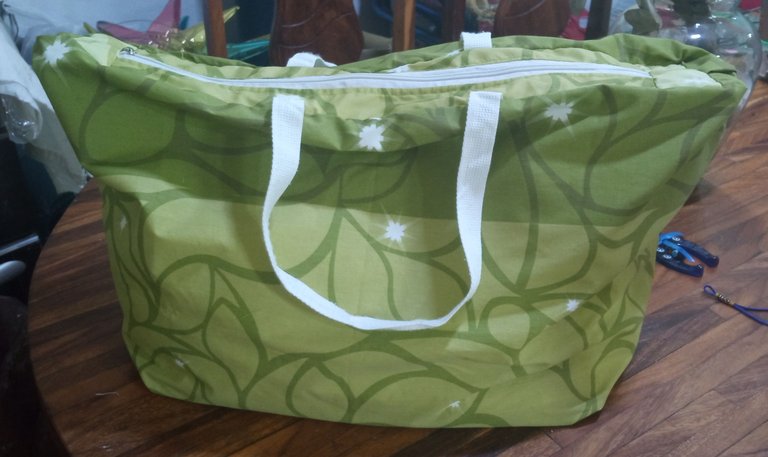
I really liked how it turned out because not only does it fit the things I was going to carry outside the backpack, but I also have room for a couple more things. I'm planning to put a rectangular base of thick interfacing or a piece of cardboard on it later, but for the trip, it works perfectly and the best thing of all is that I was able to use that beautiful fabric for myself 😊
 |  |  |
|---|
Thank you very much for visiting my post. I hope you found it interesting.
Until next time!

CONTENIDO EN ESPAÑOL
¡Hola a todos los integrantes de ésta comunidad y amantes de la costura! Dentro de unos días saldré de viaje y necesitaba con urgencia un bolso extra para llevar algunas cosas, ya que normalmente aparte del morral que me coloco en la espalda, siempre acabo llevando una bolsa negra en la mano con aquello que termina quedando por fuera jaja siendo costurera, esa situación no podía continuar, así que, luego de buscar entre mis materiales de costura, hallé todo lo necesario para armar un bolso lo suficientemente espacioso.

La tela que utilicé fue un retazo de tela de sábana que me quedó del tiempo en que hice sábanas para vender. Me enamoré de esa tela de color verde y siempre quise hacerme algo para mi uso (llegó el momento 😎), para el forro, usé una tela igual de resistente que creo que se llama liencillo, así como aproveché unas asas de un bolso que había cambiado recientemente, un cierre viejo que mi madre extrajo hace tiempo de un bolso que desechó y por supuesto, una etiqueta con mi marca 😉

Con estos materiales a disposición, me puse manos a la obra. No tenía un modelo en mente para realizar, ni patrones, ni nada de eso. Me había llamado la atención el modelo de un bolso que había visto en un reel por Instagram, pero necesitaba cierres extras, así que descarté ese hermoso modelo y opté por aprovechar lo mejor que podía el retazo de tela que tenía, así como el resto de los materiales. Las medidas de la tela eran de 100 cm (1m) x 70 cm aproximadamente, a la cual, le realicé 4 cortes de 12 cm de alto para delimitar lo que sería la base del bolso.

Luego, doblé la tela y cosí en los laterales hasta la línea de los cortes, dejando una abertura abierta en ambos lados. Gracias a éste espacio sin coser, pude doblar la pieza como se ve en la segunda imagen y procedí a realizar una costura recta; hice lo mismo en el otro lado. Al cortar los excedentes, la parte correspondiente a la base del bolso, se veía como en la tercera fotografía.
 |  |  |
|---|
Con el liencillo o tela de forro, corté una pieza con las mismas dimensiones y sólo cosí en los laterales, dejando la abertura correspondiente a la base, abierta (para que me permitiera voltear la pieza). Además, corté una pieza rectangular para coser un bolsillo en la parte interna de la pieza del forro del bolso. La cosí y le hice una división en el medio para que fuese un bolsillo doble y evitar que fuese simplemente un bolsillo enorme que se "desparrama" al meterle cosas.
 |  |  |
|---|
El cierre que tenía era de unos 45 cm de largo, así que corté unas piezas de tela de más o menos ese mismo largo y un ancho que consideré adecuado para cuando le colocase las asas. cosí el cierre a la tela y le añadí también liencillo en la parte posterior de la pieza.
 |  |  |
|---|
Añadí las asas midiendo desde el centro de la pieza, verificando que quedase bien a la hora de colocármelo en el hombro. Posteriormente, anexé ésta pieza del cierre con las asas, en la parte superior de la pieza del bolso, enfrentando derecho con derecho.
 |  |
|---|
Dado que el bolso era más ancho que la pieza que tenía el cierre, corté un par de rectángulos pequeños para poder cubrir el espacio y de paso, poder reforzar el inicio y término del cierre. De ésta forma, pude calzar ambas piezas y terminar de cerrar por completo.
 |  |
|---|
Seguidamente, uní la pieza principal del bolso y el forro por todo el borde, enfrentando derecho con derecho. Gracias a las aberturas que dejé en la pieza del forro, procedí a voltear el bolso.

Finalmente cerré la abertura por dónde había volteado el bolso, aprovechando de coser la etiqueta.
 |  |  |
|---|
De ésta forma, el bolso estuvo listo ✨

Me gustó mucho como quedó porque no sólo caben las cosas que iba a llevar fuera del morral, sino que también me queda espacio para un par de cosas más. Tengo pensado luego colocarle una base rectangular de entretela gruesa o un pedazo de cartón, pero para el viaje, me sirve perfectamente y lo mejor de todo es que pude usar esa hermosa tela para mí 😊
 |  |  |
|---|
Muchas gracias por haber visitado mi publicación. Espero que les haya parecido interesante.
¡Hasta una próxima oportunidad!

It is nice and beautiful. Good to see how you made this one. It shows your talent. Well done!
I fell in love with the fabric years ago, so I'm glad to finally have something I can use with it and it turned out better than I imagined 😌 Thank you so much for the support, I'm glad you liked the bag 🤗💚
jajaja, me hiciste recordar el popular dicho: Casa de herrero, cuchillo de palo.
Fue una muy buena idea, y el cierre resolverá ese problema de que se vea lo que no deseas.
Esta fabulosa.
Jajaja Confirmo totalmente, ese dicho aplica conmigo porque hay muchas cosas que necesito que puedo fabricarlas, pero siempre hay algún material faltante o son tantos proyectos que acaban acumulándose 😆 Pero ahora que ya estoy volviendo el coser un hábito (confieso que hasta hace poco, me estresaba el pensar en usar la máquina), tengo pensado realizar aquellas cosas que realmente necesito, así sea poco a poco. El viaje que tengo cercano fue una buena excusa para hacerme ese bolso y demostrarme que puedo fabricar lo que quiera 😌 El cierre quedó muchísimo mejor de lo que pude haber imaginado, siempre suelo cometer errores y las piezas me quedan raras, pero me sorprendió como quedó de bueno (porque sí, estuve a punto de hacer un bolso sin cierre para no complicarme la existencia 😆), reitero que hacer este proyecto me elevó la confianza en la costura y me sienti imparable jaja 😎 Muchas gracias por acercarte a ver mi bolsito y por dejarme tu opinión 😘💚
Es un proyecto de mucha utilidad, es una ventaja que puedas hacer tu propio bolso de viajes. Gracias por compartir tu proceso creativo.
Feliz inicio de semana 🤗
Definitivamente, uno de mis deseos es poder llevar mis materiales de dibujo a los parques para poder sentarme un rato a garabatear, pero no tenía un bolso para trasladar mis cosas, hasta ahora que pude fabricar éste 😌 Sin duda una de las mejores decisiones que he tomado, fue la de aprender a coser 😊 Muchas gracias por haber visitado mi publicación y por comentar ¡Igualmente, que tengas una semana maravillosa! 🤗💚
Congratulations, your post has been curated by @dsc-r2cornell. You can use the tag #R2cornell. Also, find us on Discord
Felicitaciones, su publicación ha sido votada por @ dsc-r2cornell. Puedes usar el tag #R2cornell. También, nos puedes encontrar en Discord
Te quedo estupendo, me encanto las asas y el diseño. ¡Felicidades!!
Es que, esa tela es preciosa, como amante del verde lo confirmo 😊 Por suerte guardo todo lo que pueda tener utilidad, porque esas asas acabaron en el lugar apropiado 😆 Muchas gracias por haber visitado mi publicación y por tu opinión 😘💚
Wow this is so beautiful
I love the fabric you used in creating this amazing bag.
I've seen many different patterns of sheet fabric since then, but until now, I've never seen fabric as beautiful as this. I'm glad I had enough left over to be able to put this bag together and show it off 😌 Thank you so much for visiting my post and for commenting! 😉💚
No sabía que eras costurera!! Quedó genial el bolso. Felicitaciones!!
!HUESO
!PGM
Pues, ya lo sabes jaja podría decirse que sé de todo un poco y ahora que tengo la oportunidad, estoy retomando mi conocimiento en costura y aprendiendo cosas nuevas 😌 Muchísimas gracias, me alegra que te haya gustado el resultado final 🤗💚