I completed my first quilt! I think I can finally stop joking that I can't sew in a straight line.
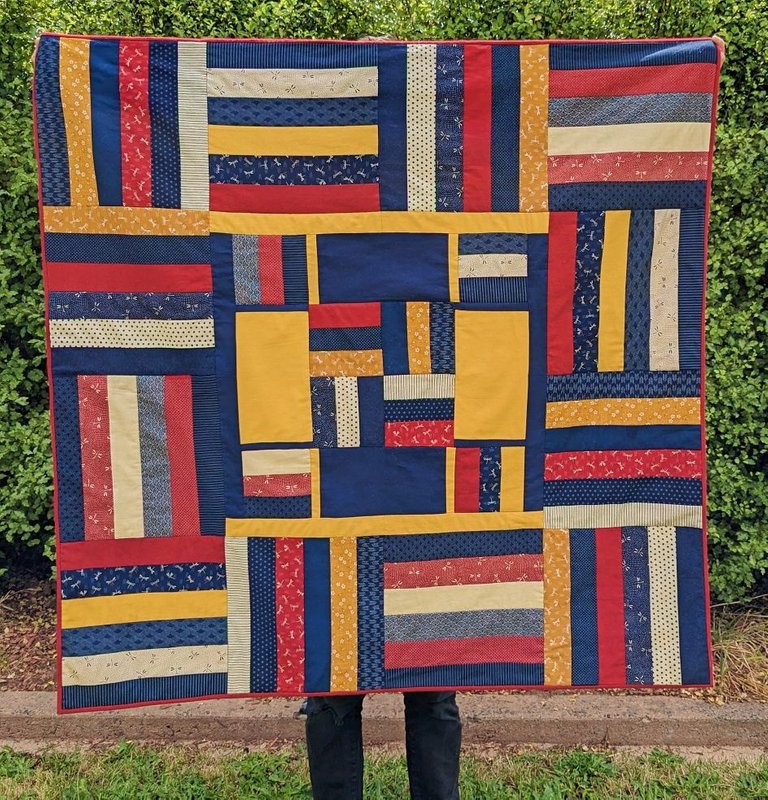 > The finished quilt
This quilting journey began in late April with a chance encounter with admiration of this completed quilt. I'm a huge fan of blue and at the time I was working on a sashiko embroidery so the Japanese theme appealed to me. The only reason I was in the quilting shop was to buy white embroidery thread.
The shop assistant said it was all made with a jelly roll and a great entry project just sew together the precut fabric strips with a quarter-inch foot.
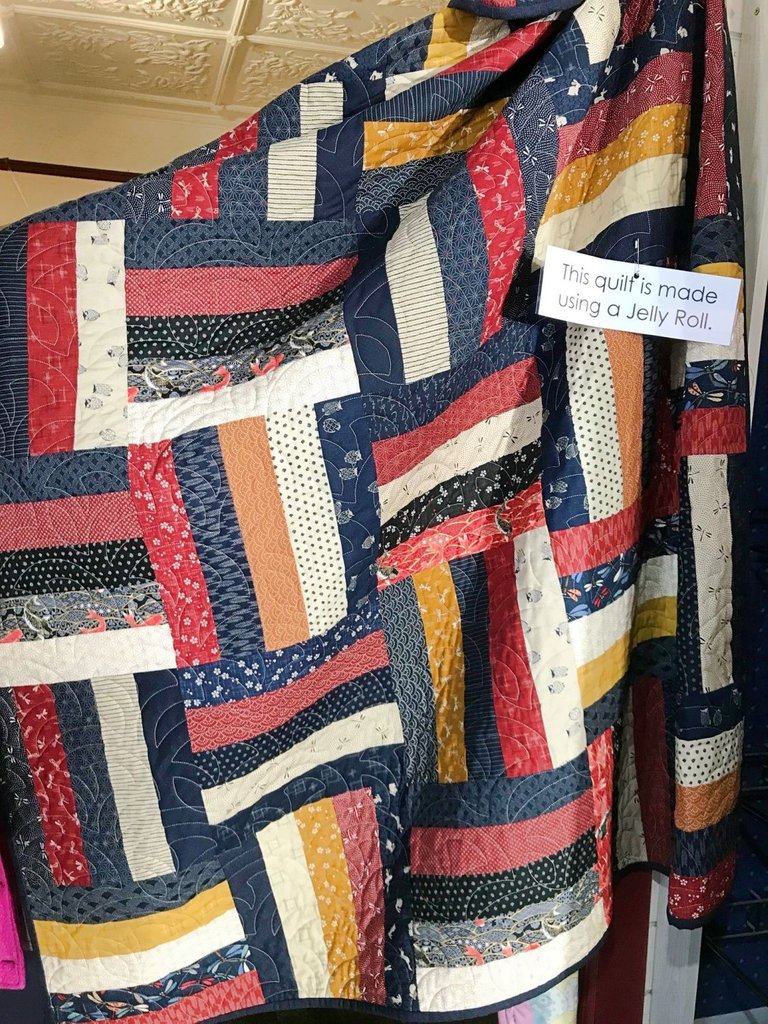 > The inspiration
An impulse purchase? Sure, but I'll try anything once.
Sewing began in September by disregarding the instructions to use five strips to make 20 squares and therefore a square quilt because there were a few strips that didn't quite suit my style. So rather than four squares of five strips I ended up with three squares styles of six strips. As a quilting novice, I was unaware this would create a weird shape 3 x 6 blocks didn't create a nice big spread.
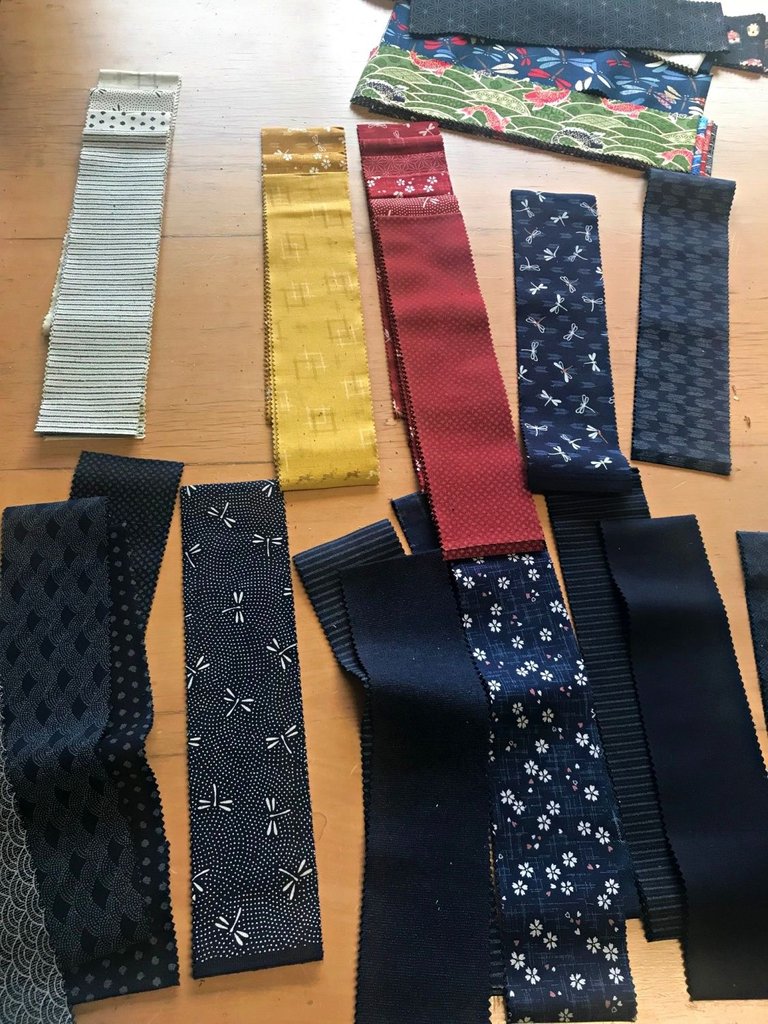
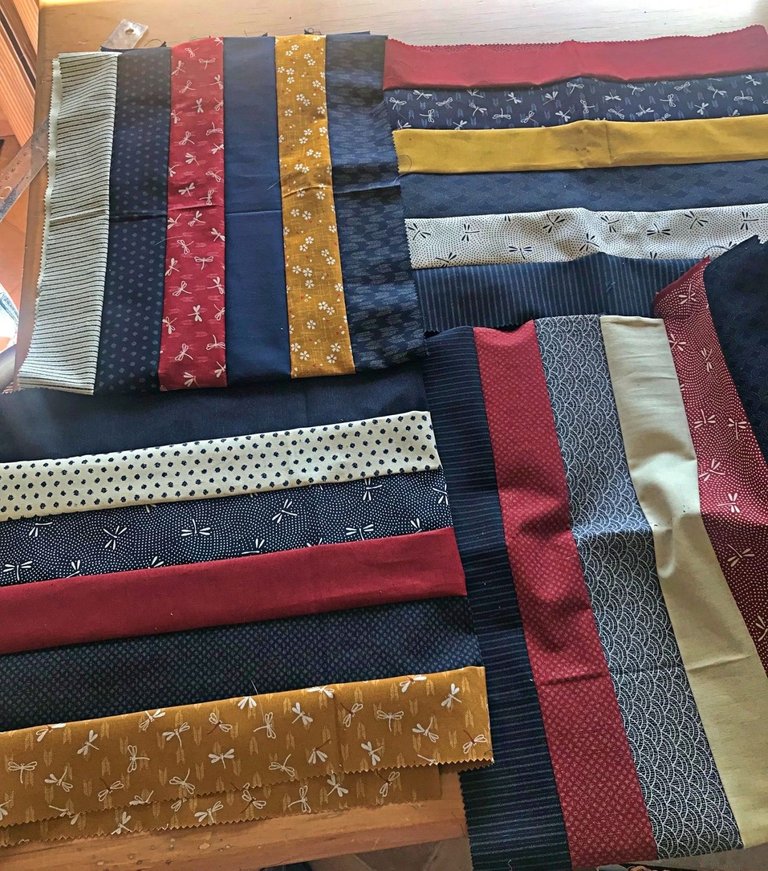
Cue the challenge to fill the gaps, option 1 corner squares or option 2 centre feature. I did have some small leftover joined strips which became the mini squares and the seed for my back fill.
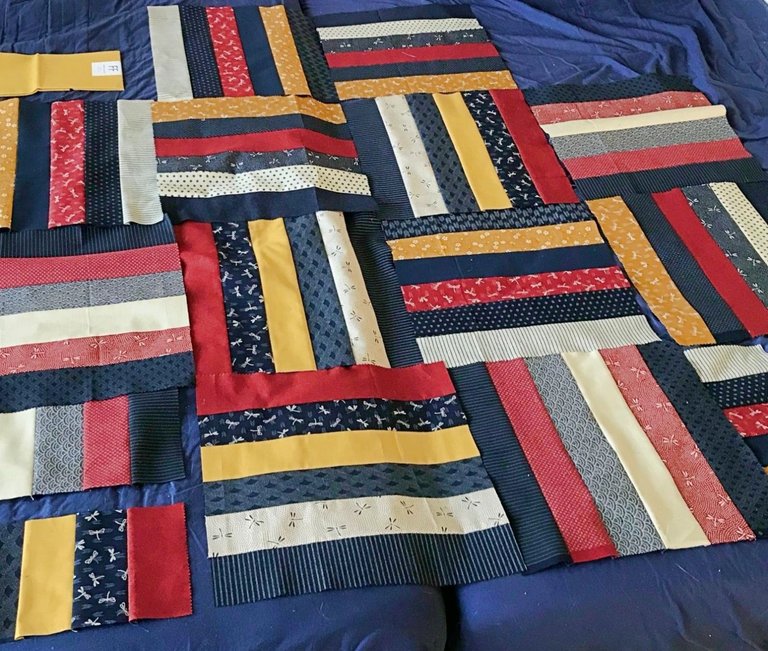
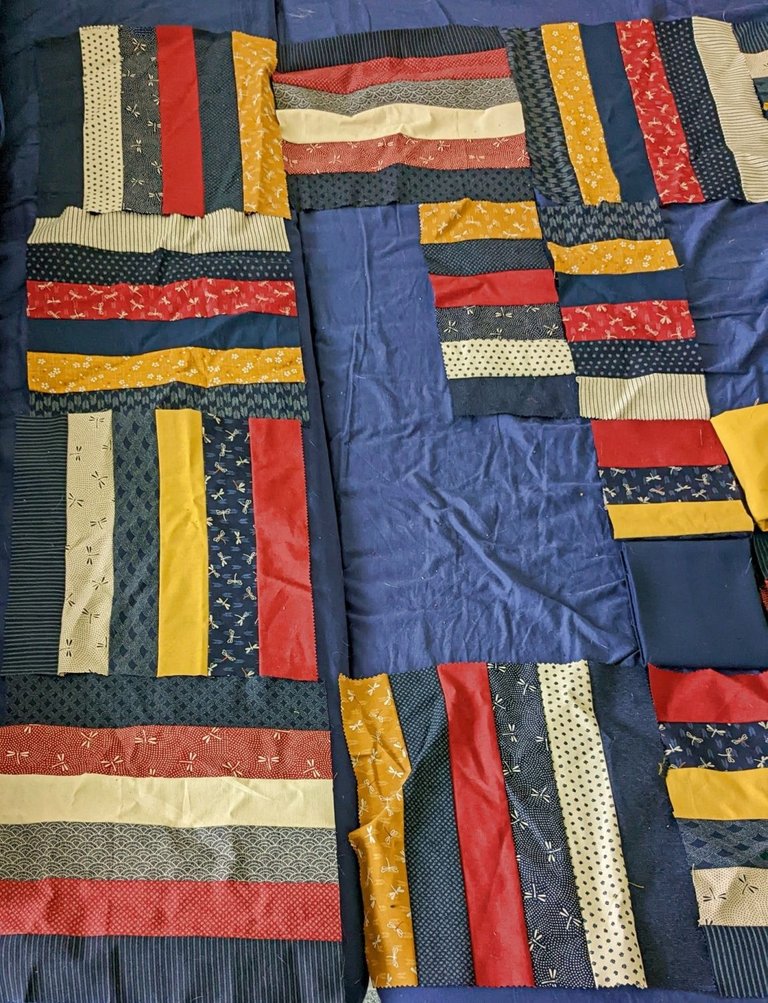 > Arrangements
The next lesson to be learnt was blocking these odd shapes to create a square. I didn't know that you really don't go around interior corners and spent a while pondering how to align the fabric to make it work. Somehow I realised I needed to cover the length and created a piecing plan, measuring and cutting as I went because I still hadn't fully understood the seam calculations.
Proud first quilt moment, the top is finished! A trip back to the quilt shop for the backing fabric, binding and wool batting.
Another rookie mistake, my top was too wide for a single fabric piece back! So more sewing to make something wide enough. Not a problem, just a speed bump to getting it finished. As the pattern has a direction I decided to put a centre seam so it could flow either way.
With a red border and some yellow corner squares the back was finished in time for rookie mistake number four, the backing is generally made larger than the top. Oops. I decided to make this one work now because the design with the corner squares needs to be even on all sides to make sense.
Basted and to the machine! Wow, stitching in the ditch with a walking foot is boring! I'm all about visible progress and this basically has none. I switched from yellow bottom thread to navy to hide some of the imperfect block seams where they don't quite line up. Then tied off and buried all the threads which is more satisfying than the quilting because you can see them disappear!
I was intimidated at the thought of making my own binding, but the shop assistant convinced me it was the only way and actually pretty easy. After playing with different widths I choose 2 and a quarter inches and made the binding, deciding to reverse the backing fabric to have a hint of white rather than full pattern to avoid directionality issues.
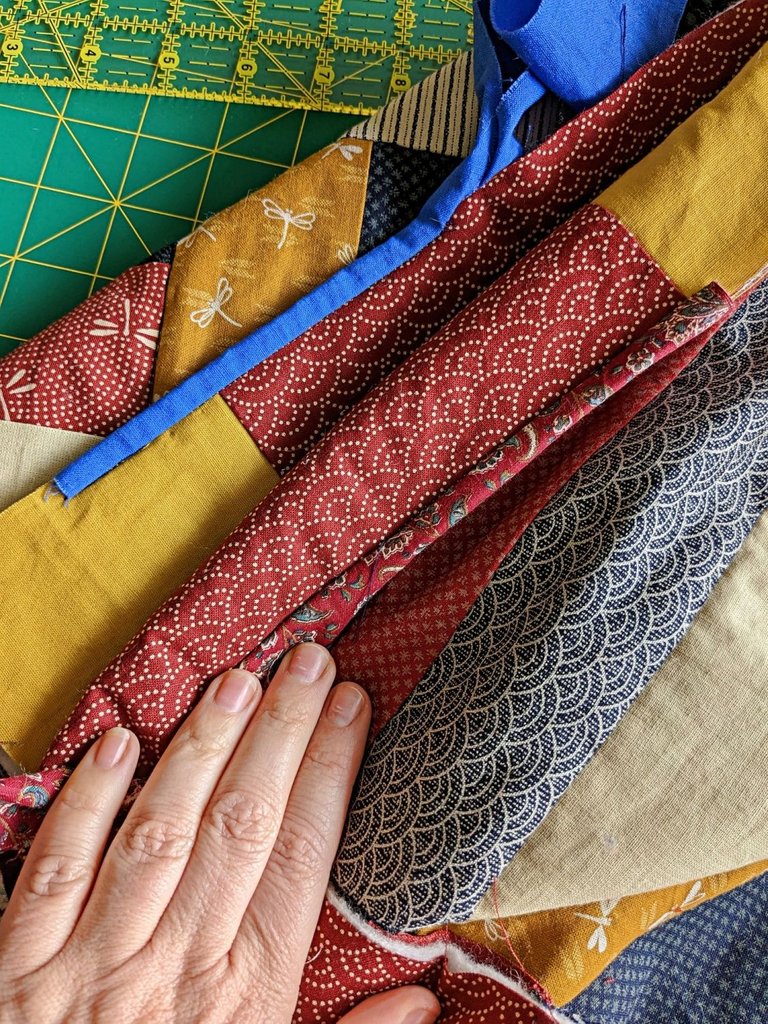 > Testing binding size
I tried stitching the binding into the ditch but my can't sew in a straight line came back and it looked horrible so instead, I hand-finished taking about two hours.
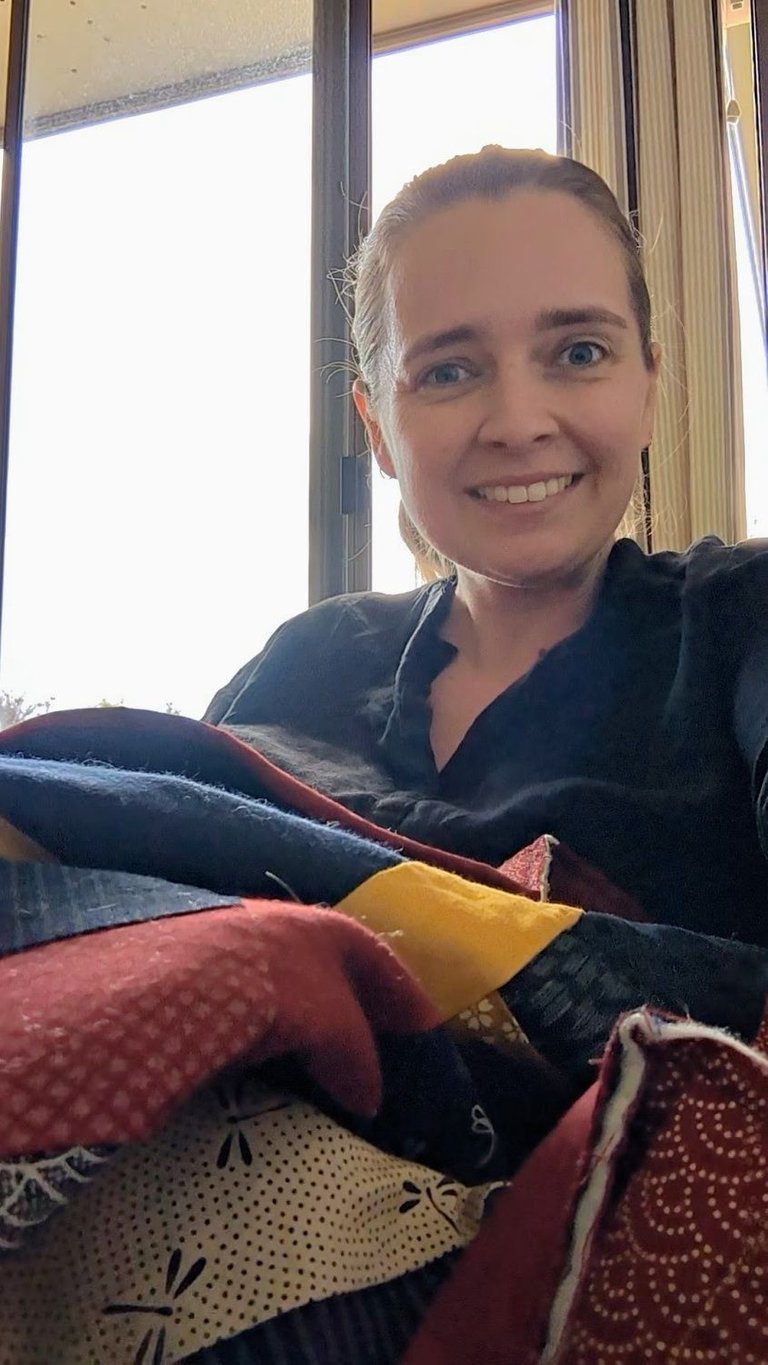 > Almost finished
A huge thanks to educators on YouTube.
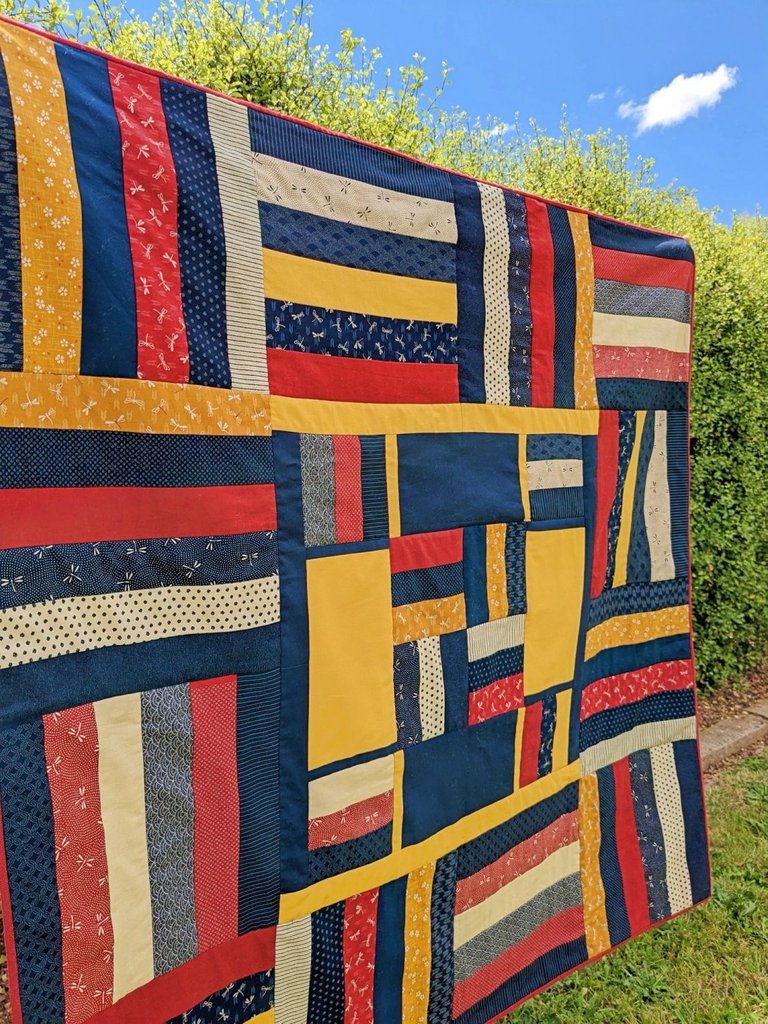 > The front
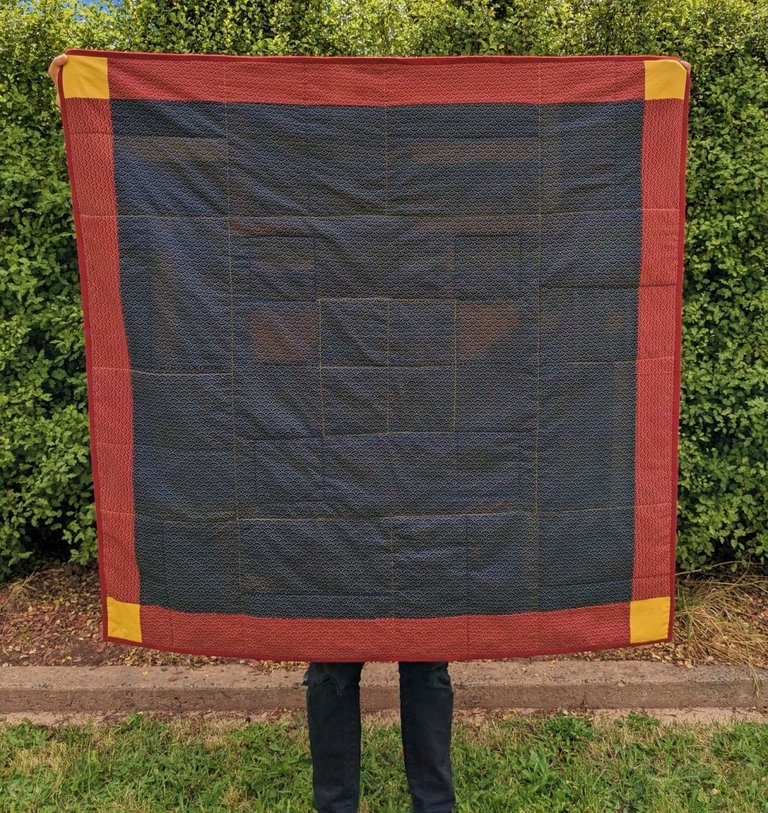 > The back
New tools mastered.
- Quarter-inch sewing foot, hello my new friend. How have I not known about this foot before? I already had it in my kit so it must have come with the sewing machine
- Walking foot, I'd always wondered what the contraption was and what you might use it for! Another in the 'it came with the machine' category.
- Quilting ruler and rotary cutter, these came in over halfway through the project, I've been bitten by the quilting bug so may as well stop using the measuring tape and scissors (I may have never finished the project if I didn't buy these to be honest).
- Ironing corner, I finally set up the iron and ironing board in a place that doesn't need to be moved, the joy of a laundry room.
To say I'm pleased with myself would be an understatement. To say I've gotten the quilting bug would also be an understatement! Plans for quilting projects two and three are underway and fabric for projects four, five and six may also have been secured!
Happy to be back crafting, back blogging and back to finding amazing work in the Needlework Monday community
That's absolutely stunning!!! I can't sew so it impresses me even more. Love the colours. Wow?
Thanks, that was one of the best things about the jelly roll, the colour was already done by someone with my colour theory than me. :)
@springworth Beautiful creation, the combination of colors and shapes is spectacular, thanks for sharing, a big hug 🤗
Thanks @anamariag looking forward to snuggling under it when winter arrives down under. I'm sure the colours will keep me cheerful
@springworth Very well thought out that color thing 😂, you're already assured to be beautifully comfortable and snuggled. Cheers 😊
This is one of the most beautiful things I will see today.
Gosh it is so impressing to see how you have blend all the squares.
I know that am very bad at sewing edges and getting to do quilt will be very challenging for me..
Its good to see this...
Well done dear @springworth 💃💖❤💛
Thanks @monica-ene deciding the arrangement of the squares was one of the most fun but also the most challenging parts!
It's an art work. I'm happy to see Sashiko patterns :) Quilting is one of the things I must try. I list it on my Needlework Bucket list :)
Thanks @akipponn I love Sashiko, I have another project that I finished a while ago but maybe I'll share that on a blog soon.
This quilt is absolutely beautiful! Congratulations on such an achievement! I love that front angle photo you show at the end. The colors, the design and even the back part is all just fantastic. It’s good to be proud of such an accomplishment.
Thanks so much for sharing this milestone with us ~ 🎉😉
Thanks @crosheille I think I'll have lots more quilt posts in future. So glad I bought that first jelly roll
You’re welcome ~ ☺️
That's awesome! I love the colours and the pattern, and you can definitely sew in a straight line :) Looks very professional and impressive!