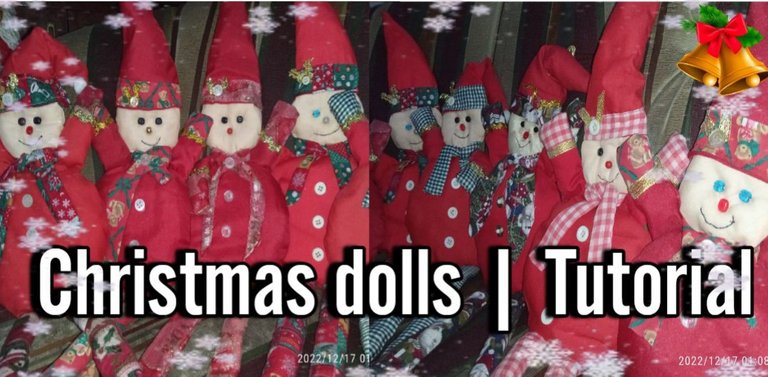
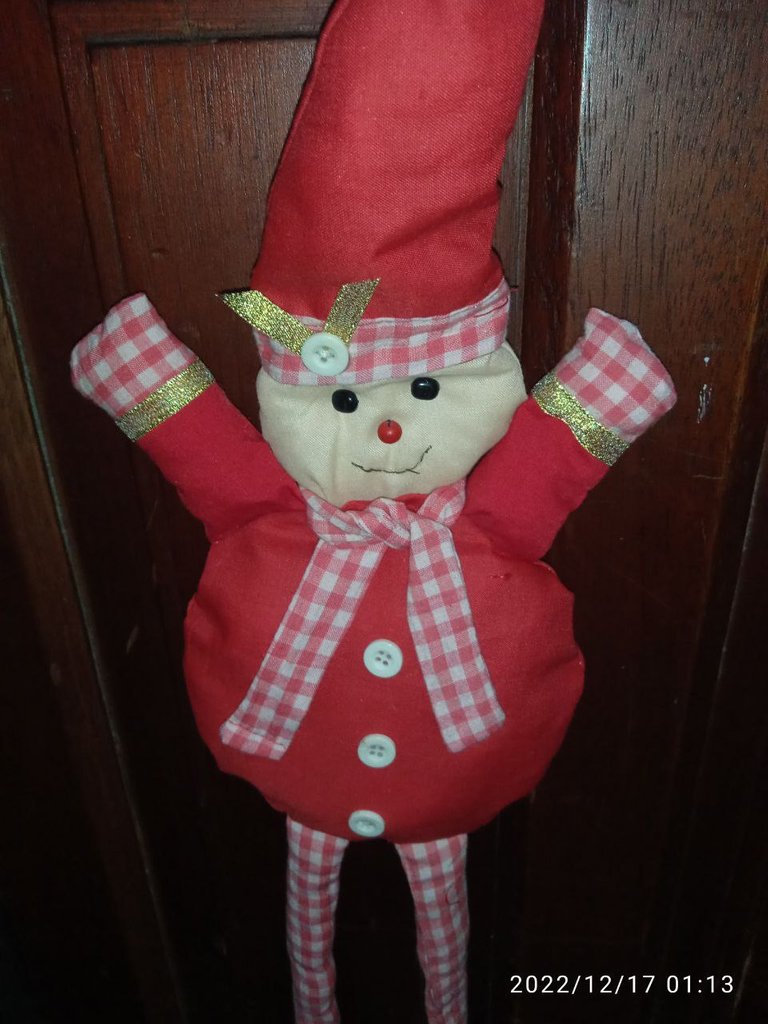
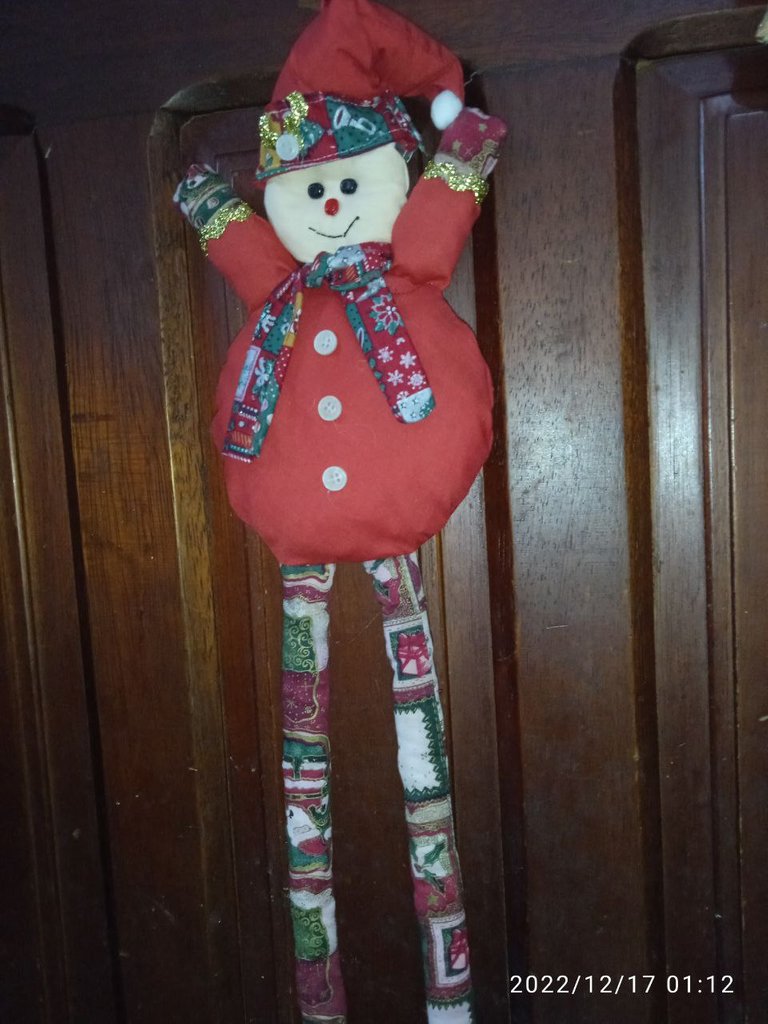
This time as I said I bring you how to make some cute Christmas dolls, they are very useful to decorate any corner of your house and of course, also your Christmas tree, my mom usually put them on the doors of the rooms (place 3 in each) and that makes them stand out even more, they are so cute that you can give them as a gift to someone sjksjs, I must emphasize that the patterns of these dolls were passed to my mom by a neighbor (1 year ago) and since then neither of us have stopped making these dolls jskdjkdjd, in total we have made about 24 dolls and we have given away 12, I love to give people things that I make myself, I always make them with love and affection, I wanted to bring you the tutorial of these dolls, but to be honest I had not had time for absolutely nothing, we are in the most beautiful time of the year and believe me I am enjoying it to the fullest (so it is impossible for me to publish) but I promise you that this week I will be completely active .... ! !
Now, let's see how to make these cute dolls.
Hola mis queridos hivers, espero que la estén pasando de maravilla, primero que todo les deseo una feliz navidad ¿Cómo la pasaron este 24 de diciembre? Espero que muy bien, disfrutando de esas ricas hallacas SJSKJSKSJS. Hoy les traigo un pequeño tutorial de como hacer un lindo muñeco navideño, no hay nada mejor que realizar manualidades navideñas en la época de navidad, por lo general me encanta todo lo que tenga que ver con manualidades, pero me gusta mucho más si se trata de aguja e hilo JSKJSDKD.
En esta ocasión como les había dicho les traigo como hacer unos lindos muñecos navideños, son muy útiles para decorar en cualquier rincón de tu casa y claro como no, también tu arbolito navideño, mi mamá los suele colocar en las puertas de los cuartos (coloca 3 en cada una) y eso hace que resalten aún más, además quedan tan lindos que se los puedes obsequiar a alguien sjksjs, debo recalcar que los patrones de estos muñecos se los pasó una vecina a mi mamá (hace 1 año) y desde entonces ninguna de las dos hemos parado de hacer estos muñecos jskdjkdjd, en total hemos hecho como 24 muñecos y hemos regalado 12, me encanta regalarle a las personas cosas que yo misma elaboro, siempre las hago con mucho amor y cariño, hace tiempo que les quería traer el tutorial de estos muñecos, pero siéndoles sincera no había tenido tiempo de absolutamente nada, estamos en la época más linda del año y créanme que la estoy disfrutando al máximo (por lo cual se me hace imposible publicar) pero les prometo que esta semana estaré completamente activa…!!
Ahora sí, veamos cómo elaborar estos lindos muñecos.
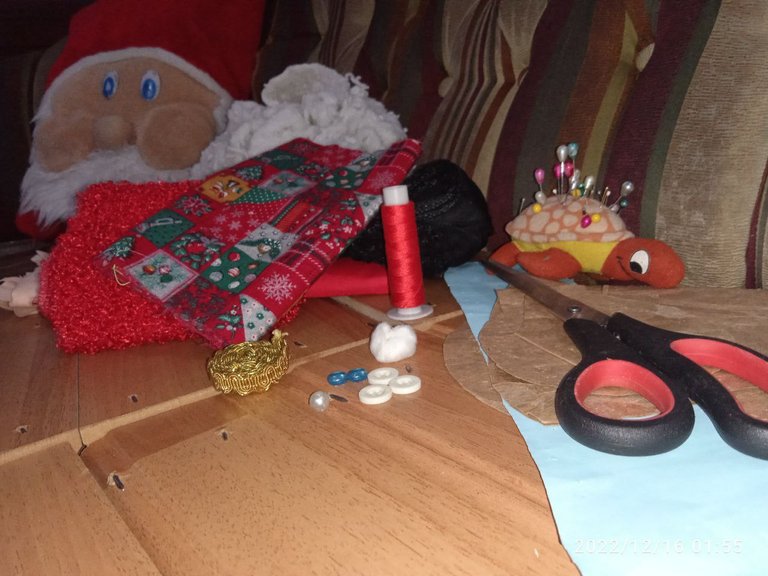
Materials:
- Christmas fabric (whichever you prefer).
- Black fabric.
- Red fabric.
- Beige fabric.
- Stuffing.
- Red thread.
- 3 white buttons.
- 2 black stones (in my case I ran out of black ones, so I used blue ones).
- 1 white stone (it can also be red).
- Decorative ribbon for costumes.
- Scissors.
- Holders (they are needles that help us to hold).
- Patterns.
Materiales:
- Tela navideña (la que usted prefiera).
- Tela negra.
- Tela roja.
- Tela color beige.
- Relleno.
- Hilo color rojo.
- 3 botones de color blanco.
- 2 piedras de color negro (en mi caso se me acabaron las negras, así que utilice azules).
- 1 piedra de color blanco (también puede ser de color rojo).
- Cinta decorativa para disfraces.
- Tijeras.
- Sostenedores (son agujas que nos ayudan a sostener).
- Patrones.
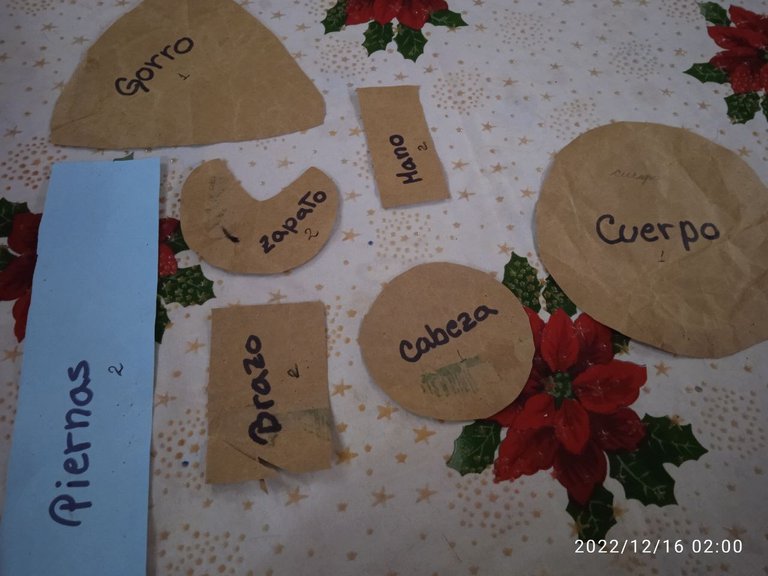
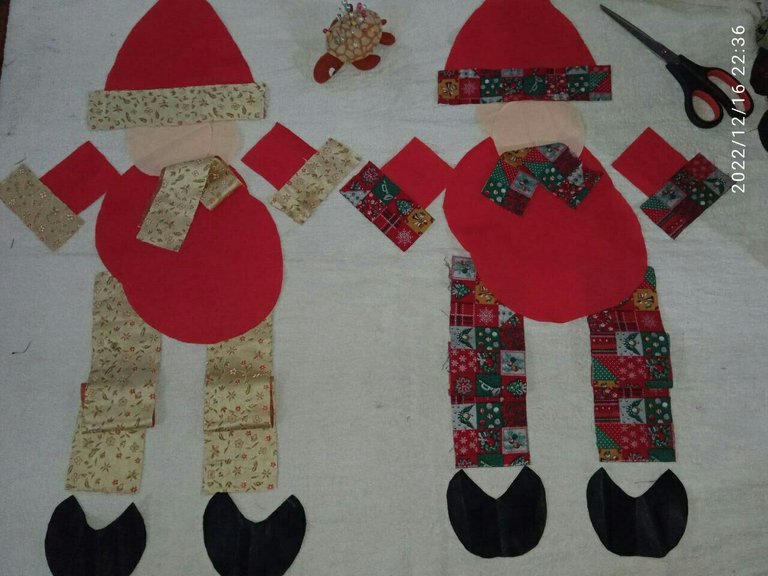
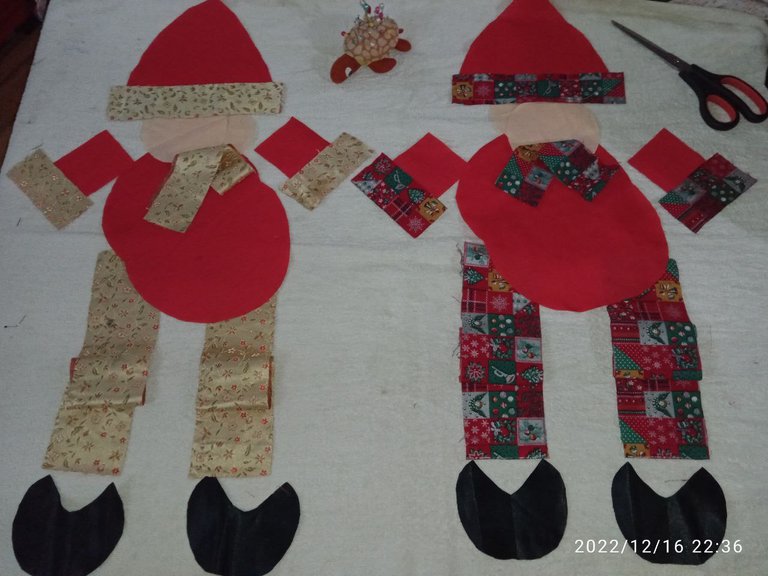
The first thing we are going to do are the patterns, as I had told you the patterns were passed from my neighbor to my mom so the only thing she did was tracing, they are easy to make and the measures can be modified to your liking, for the part of the head we cut a circle of 11 cm in diameter, for the part of the cap we cut a triangle of 19 x 22 cm and when cutting we do it rounding, for the part of the body we cut a circle of 18 cm in diameter, for the part of the arms we cut a rectangle of 11 x 7.5 cm, for the part of the hands we cut a rectangle of 11 x 5.3 cm, for the part of the legs we cut a rectangle of 33.5 x 8 cm, for the part of the shoes we cut a circle of 11 cm in diameter and then fold it in half and remove 3 centimeters, in addition we will cut two strips of 5 x 25 cm.
Lo primero que vamos a realizar son los patrones, como les había dicho los patrones se los paso mi vecina a mi mamá por lo cual lo único que hizo fue calquear, son fáciles de hacer y las medidas las pueden modificar a su gusto, para la parte de la cabeza cortamos un círculo de 11 cm de diámetro, para la parte del gorro cortamos un triángulo de 19 x 22 cm y al momento de cortar lo hacemos redondeando, para la parte del cuerpo cortamos un círculo de 18 cm de diámetro, para la parte de los brazos cortamos un rectángulo de 11 x 7,5 cm, para la parte de las manos cortamos un rectángulo de 11 x 5,3 cm, para la parte de las piernas cortamos un rectángulo de 33,5 x 8 cm, para la parte de los zapatos cortamos un círculo de 11 cm de diámetro para luego doblarlo a la mitad y quitarle 3 centímetros, adicional cortaremos dos tiras de 5 x 25 cm.
 |  |
|---|
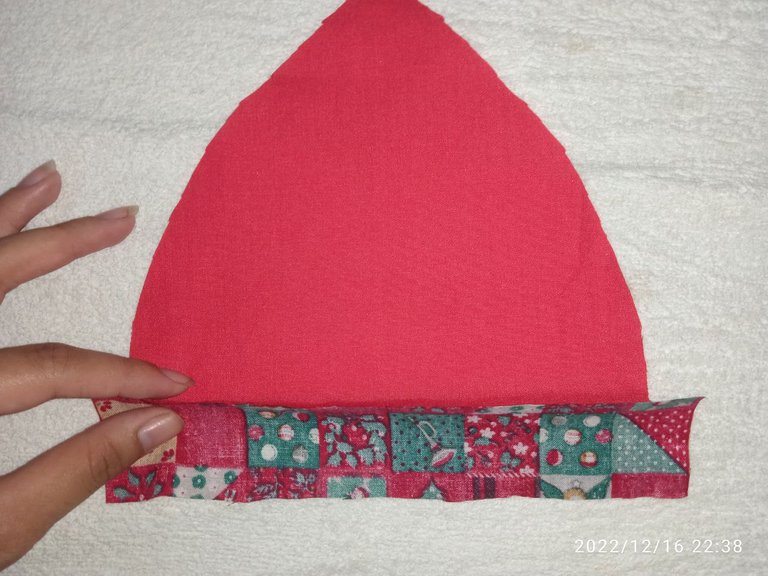
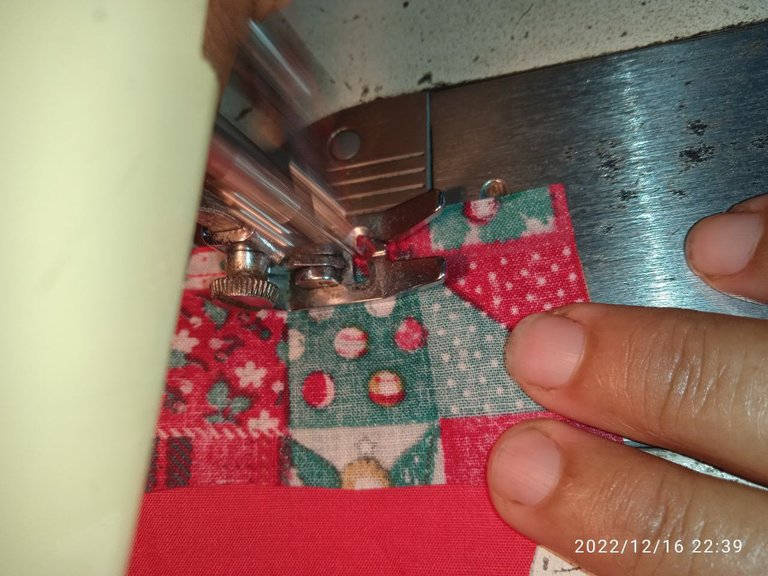
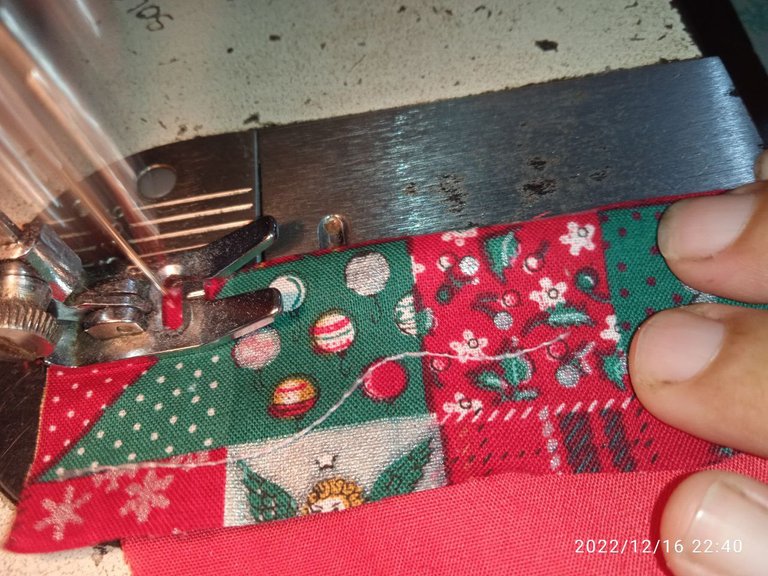
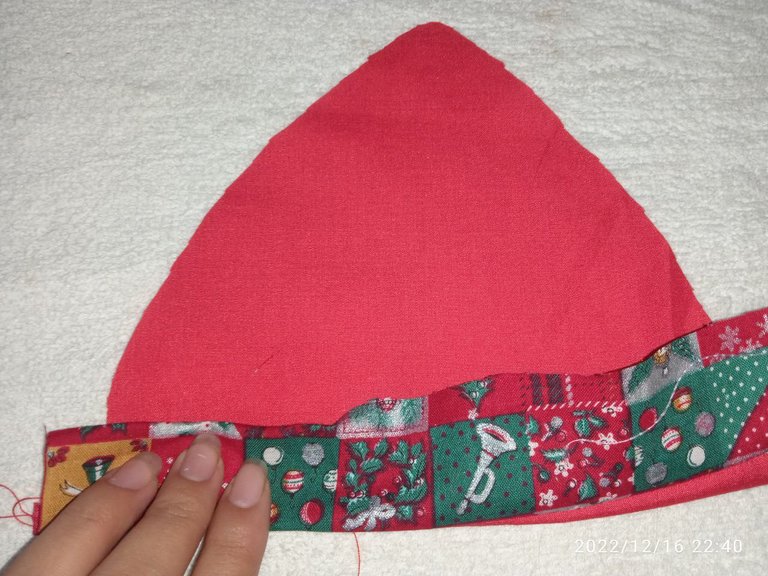
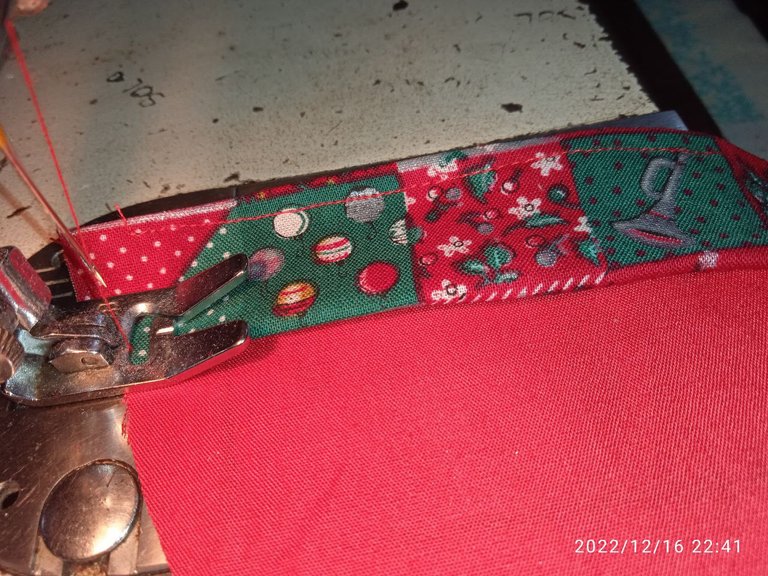
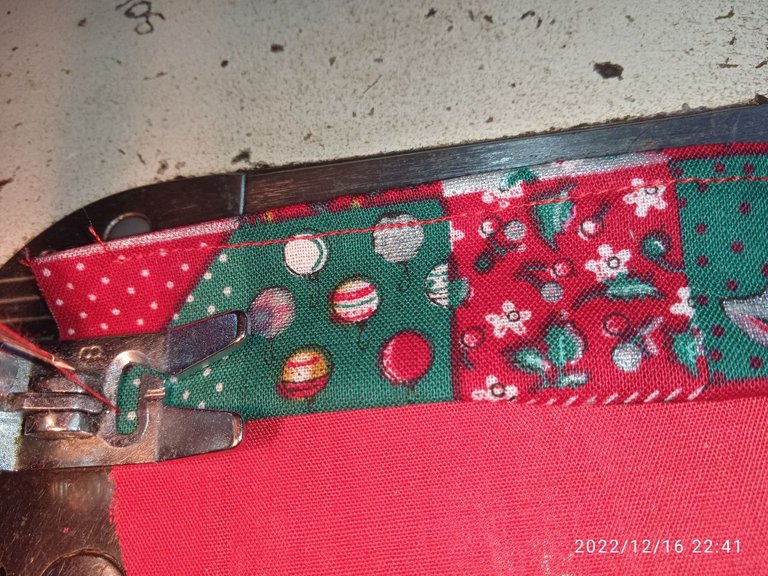
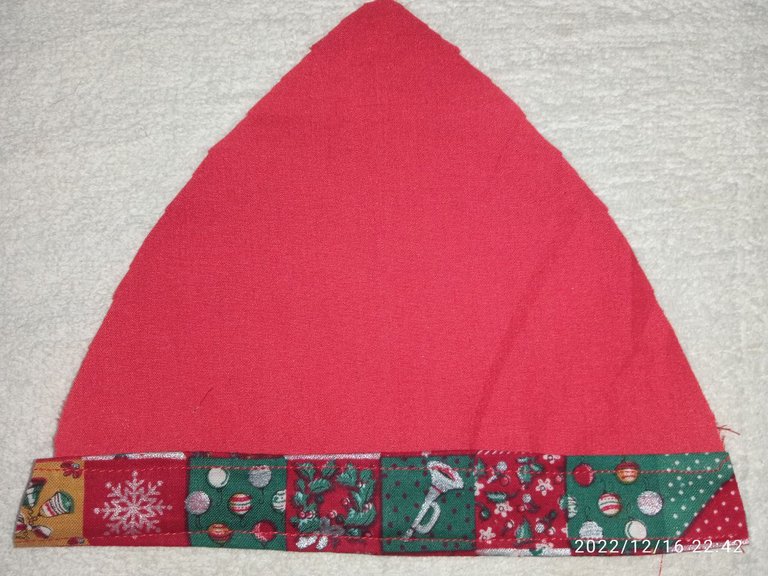
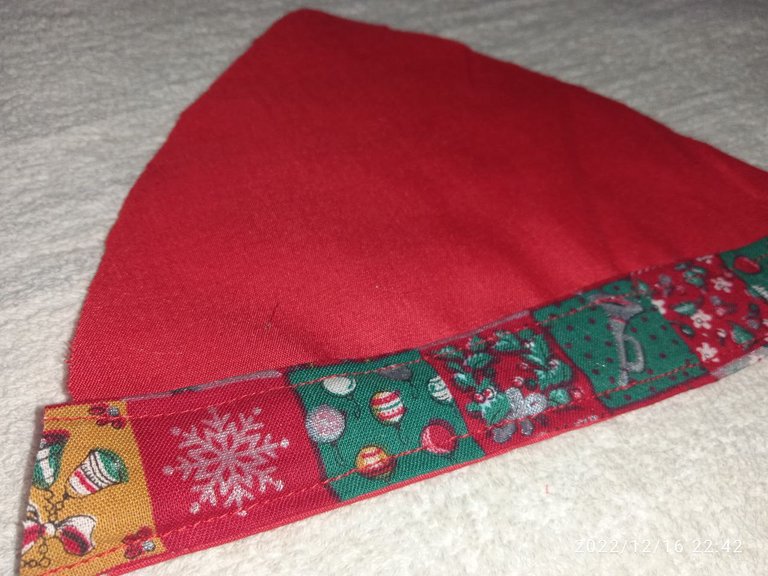
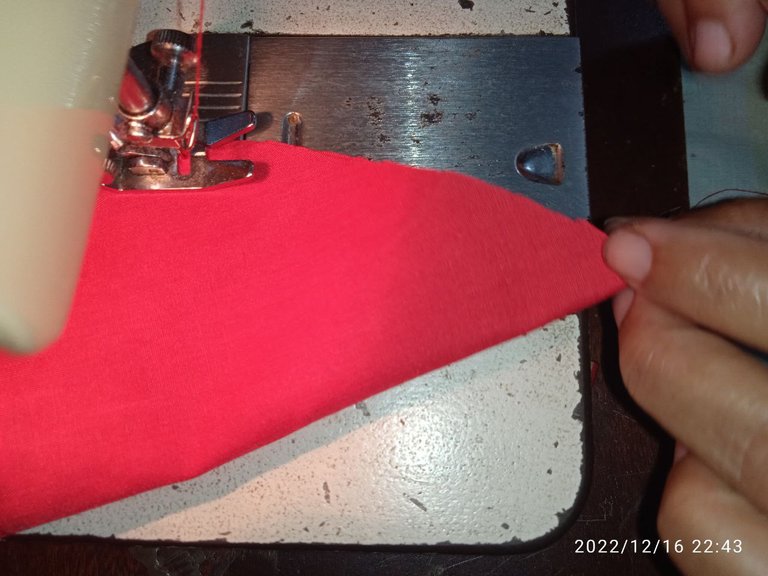
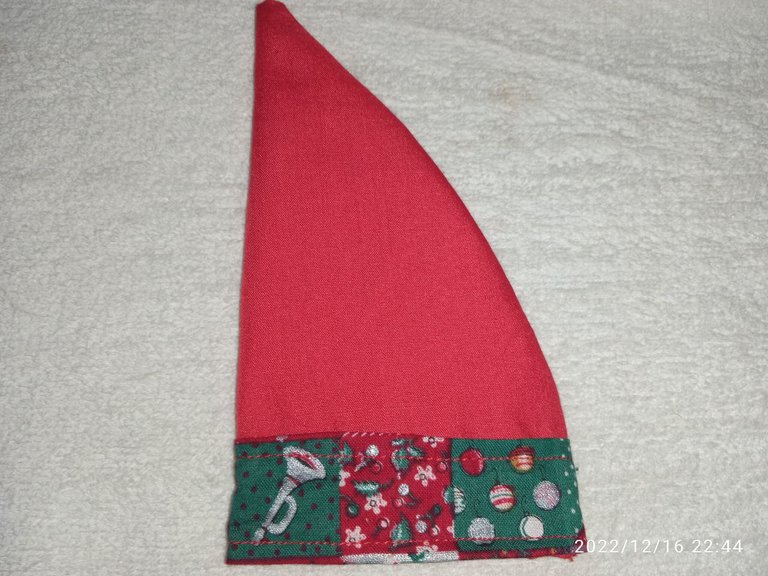
We will start from the top down, so let's start with the hat, the first thing we will do is to take one of the extra strips we cut and place it face down on the bottom of our hat (no matter if it sticks out), once we have it there we will sew all over the bottom as shown in the picture, once sewn we will turn it around and finish by sewing on top, at once we will sew the top part with 1 cm inside, and to finish we fold the whole hat in half (remembering to leave the front part inside, so that the seam is inside and not outside), we sew all around the edge remembering to always leave 1 cm of seam and finally we fill. Ready!!! We have our hat.
Empezaremos desde arriba hacia abajo, así que empecemos con el gorro, lo primero que haremos será tomar una de las tiras adicionales que cortamos y colocarla boca abajo en la parte de abajo de nuestro gorro (no importa si sobresale), ya teniéndola allí coseremos en toda la parte de abajo tal como se muestra en la imagen, una vez cosida le daremos la vuelta y rematamos cosiéndole por encima, de una vez coseremos la parte de arriba con 1 cm para adentro, y para terminar doblamos todo el gorro a la mitad (recordando dejar la parte del frente por dentro, para que la costura quede por dentro y no por fuera), cosemos por toda la orilla recordando siempre dejar 1 cm de costura y por último rellenamos. ¡¡Listo!! Tenemos nuestro gorro.
 |  |
|---|
 |  |
|---|
 |  |
|---|
 |  |
|---|
 |  |
|---|
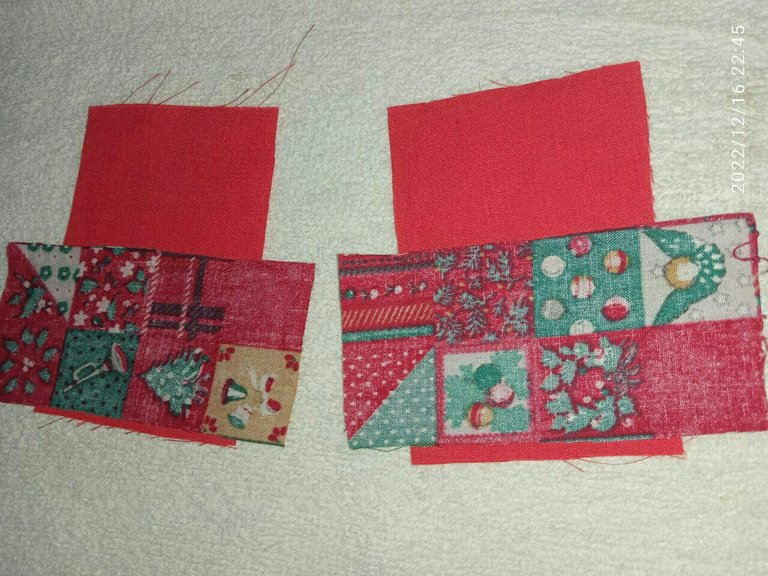
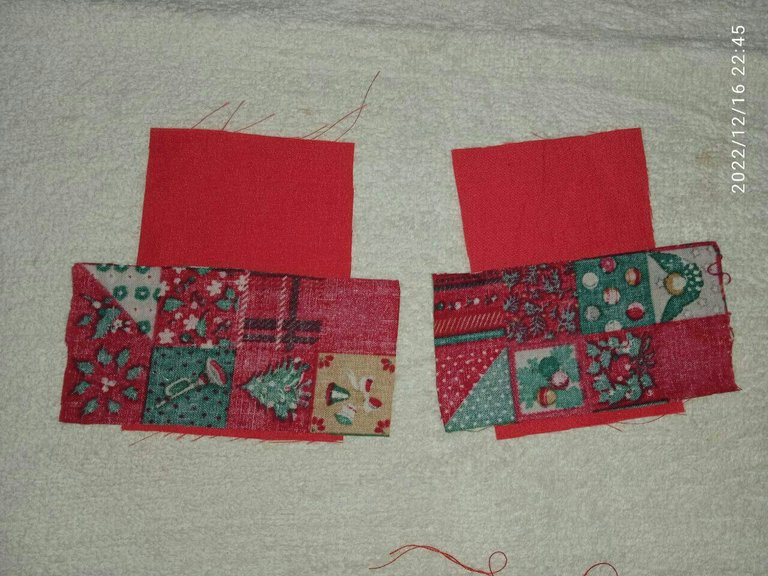
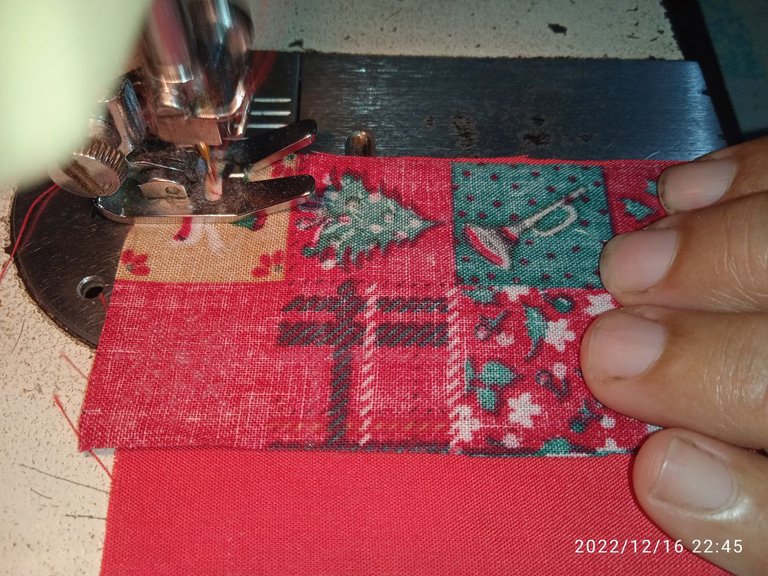
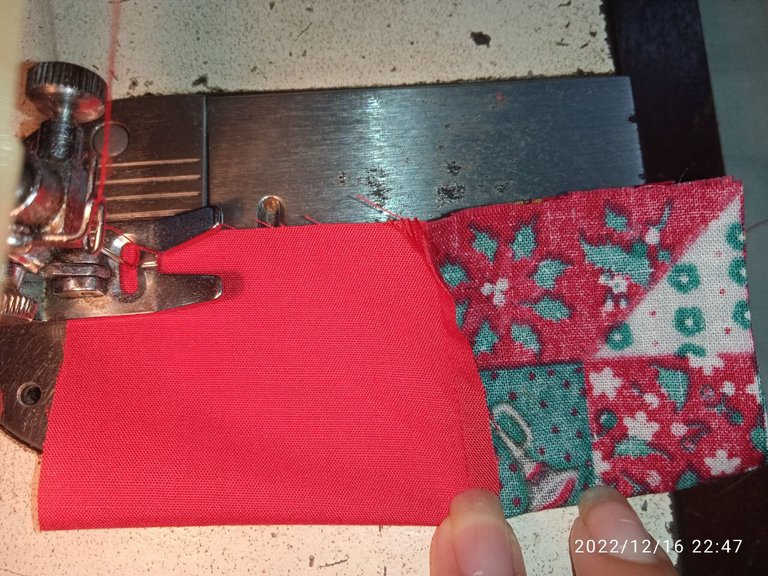
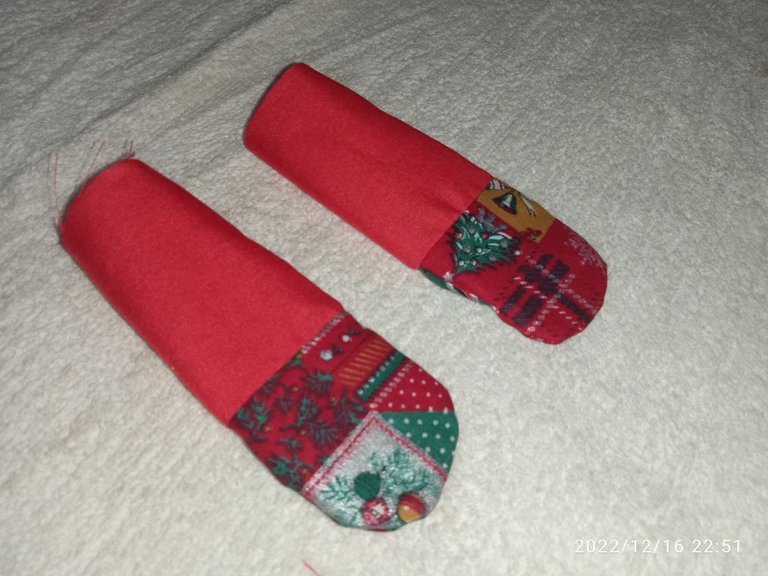
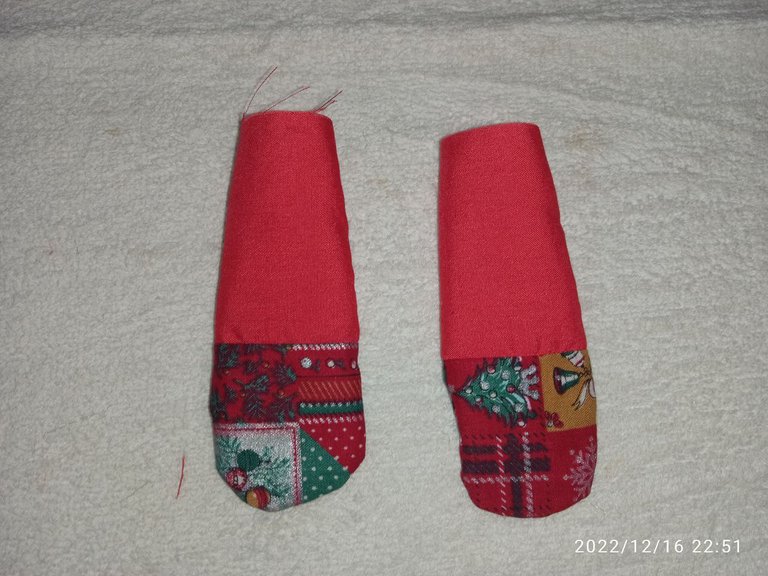
Now it's time for the hands and arms, in this step we will basically join these two, remember I told you that the arms were 11 x 7.5 and the hands 11 x 5.3, well in this step we join the 11 cm parts and we would have a rectangle which we will sew all around the edge always leaving the centimeter of seam, then we turn them over and they are like little arms, finally we fill them.
Ahora les toca a las manos y los brazos, en este paso básicamente uniremos estos dos, recuerdan que les dije que los brazos eran 11 x 7,5 y las manos 11 x 5,3, pues en este paso se unen las parte de 11 cm y nos quedaría un rectángulo el cual vamos a coser por toda la orilla dejando siempre el centímetro de costura, luego se les da la vuelta y quedan como unos bracitos, por último rellenamos.
 |  |
|---|
 |  |
|---|
 |  |
|---|
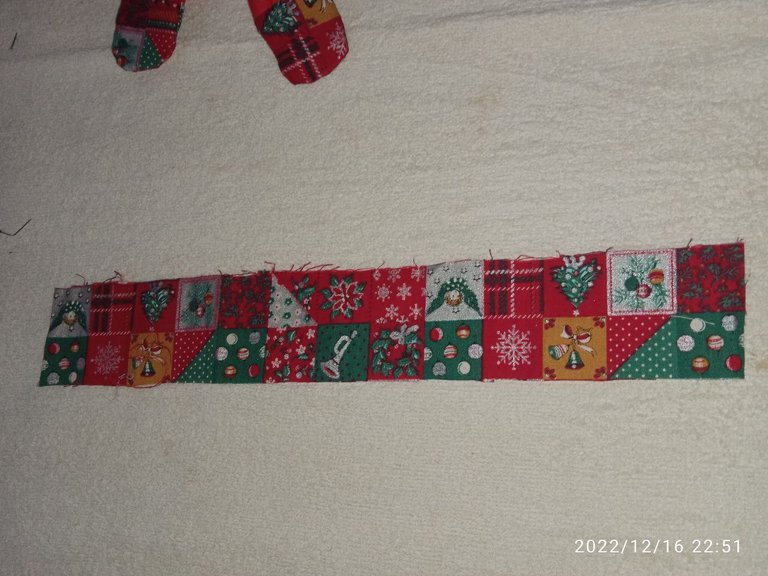
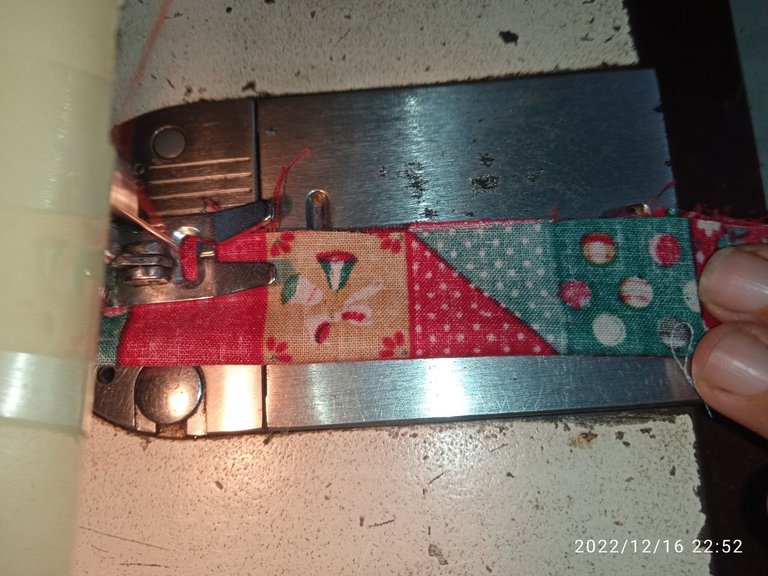
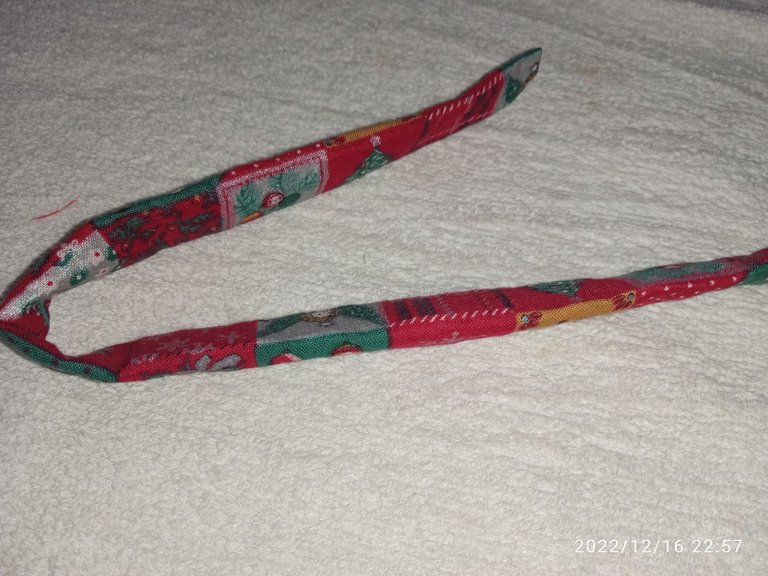
For the part of the scarf we will use the other strip that we have left over, this we will fold it in half leaving the design, then we pass a stitch all around it except one of the faces below so that this will serve us at the time of flipping, once flipped we give a finish to the sides to make it firmer, and ready we have our scarf.
Para la parte de la bufanda utilizaremos la otra tira que nos sobra, está la doblaremos a la mitad dejando el diseño, luego pasamos una puntada a todo su alrededor menos a una de las caras de abajo para que este nos sirva al momento de voltear, una vez volteado le damos un remate a los lados para que nos quede más firme, y listo tenemos nuestra bufanda.
 |  |
|---|
 |  |
|---|
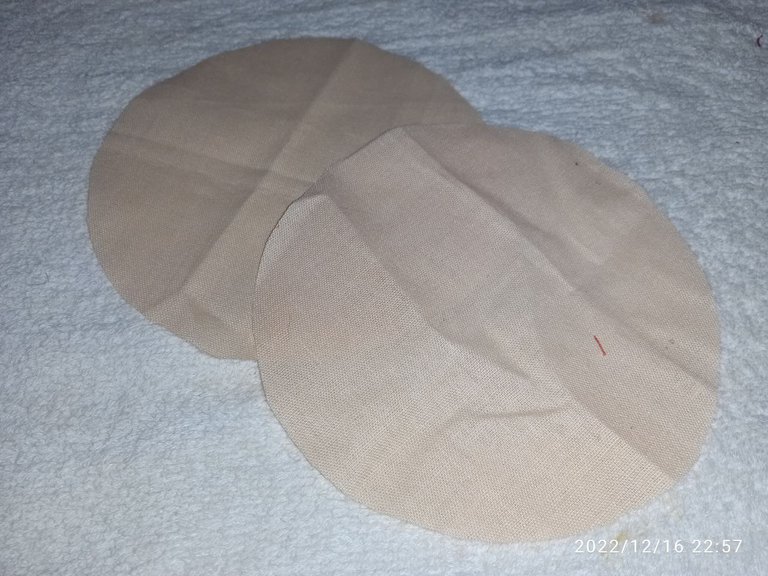
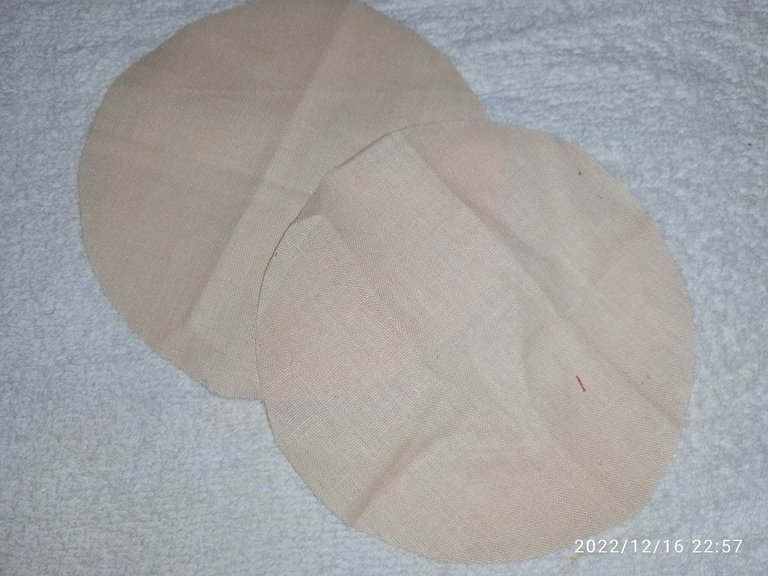
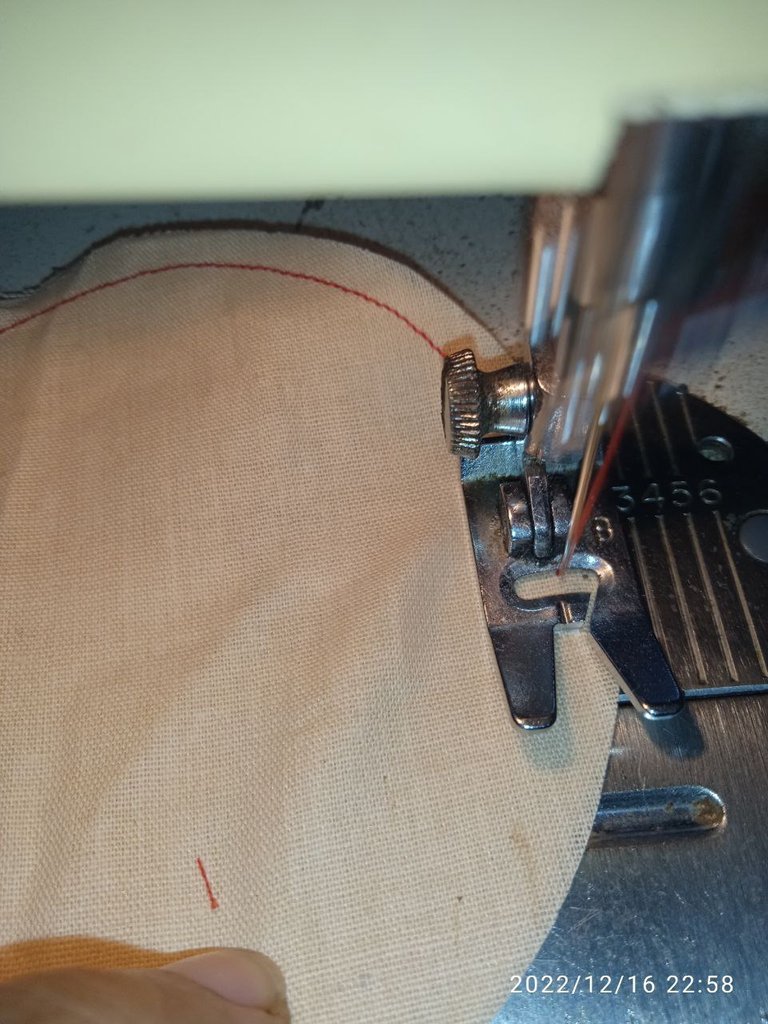
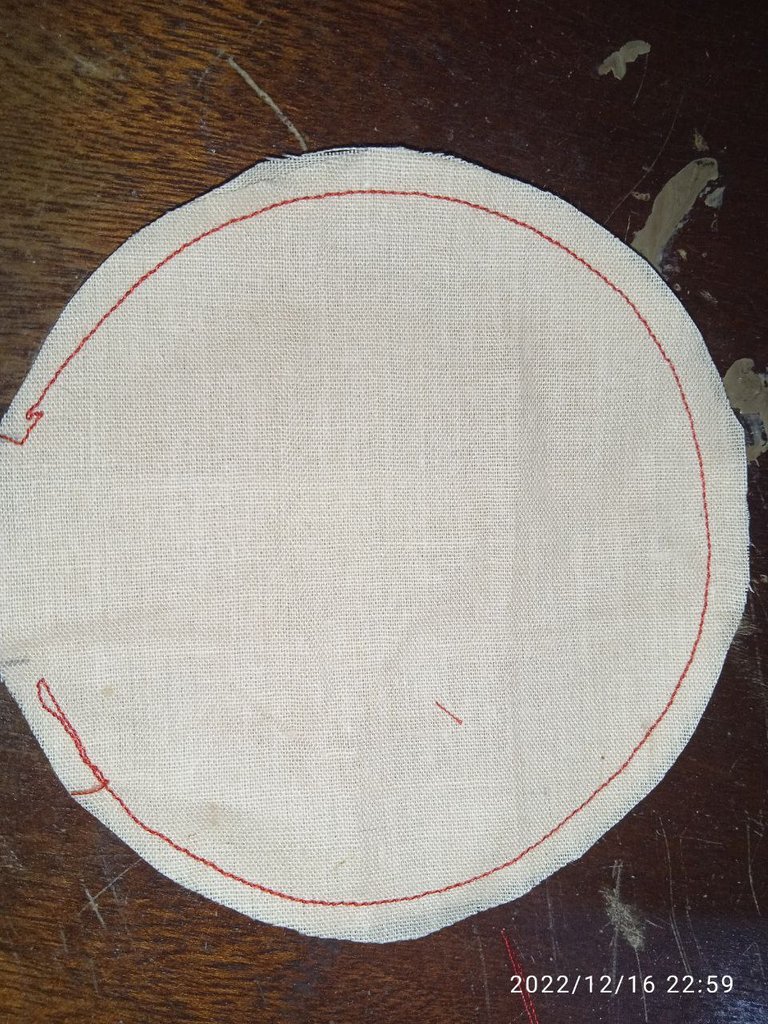
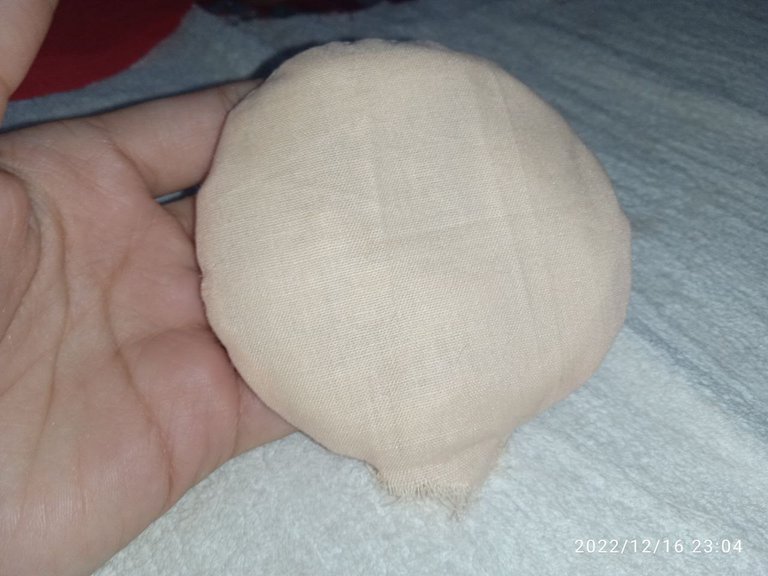
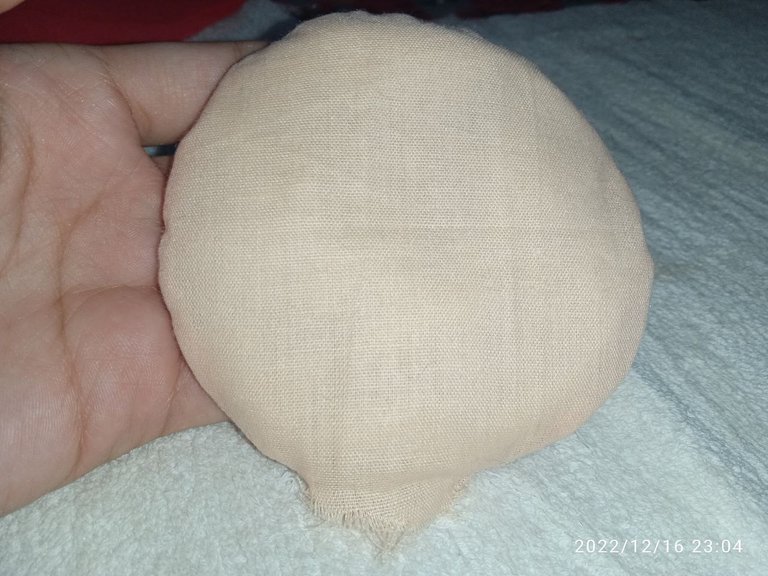
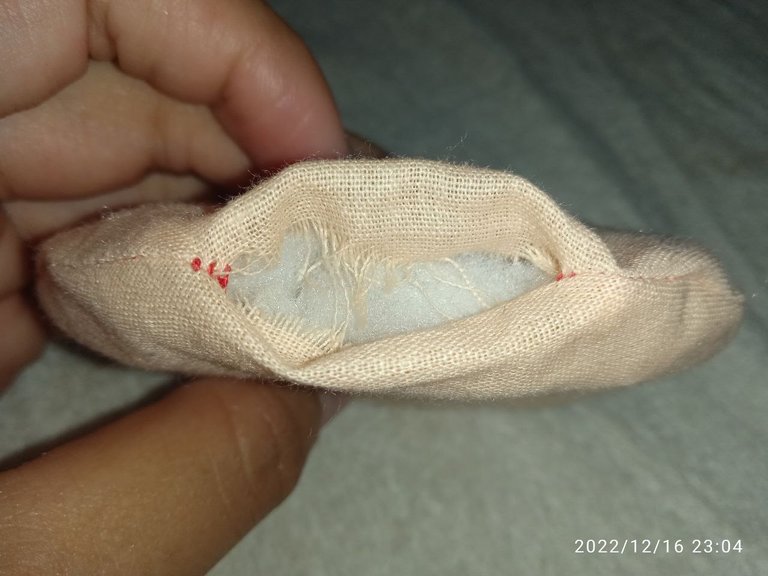
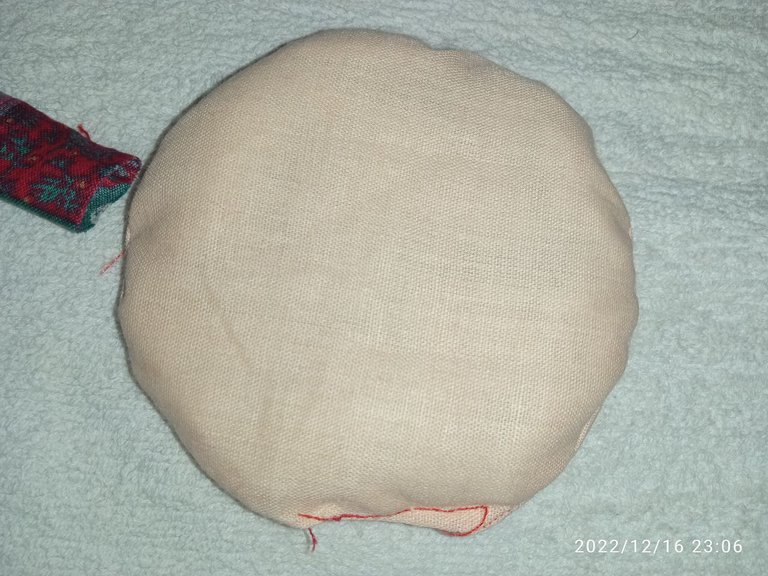
Now it's time for the head part, in this part we cut the pattern twice, in order to obtain two circles. Once we have the two circles we join them together and sew all around leaving a space to turn it around, then we proceed to fill it and finally we close it.
Ahora nos toca la parte de la cabeza, en esta parte cortamos dos veces el patrón, para así obtener dos círculos. Ya teniendo los dos círculos los unimos y cosemos a todo su alrededor dejando un espacio para poder darle la vuelta, luego procedemos a rellenarlo y por último lo cerramos.
 |  |
|---|
 |  |
|---|
 |  |
|---|
 |  |
|---|
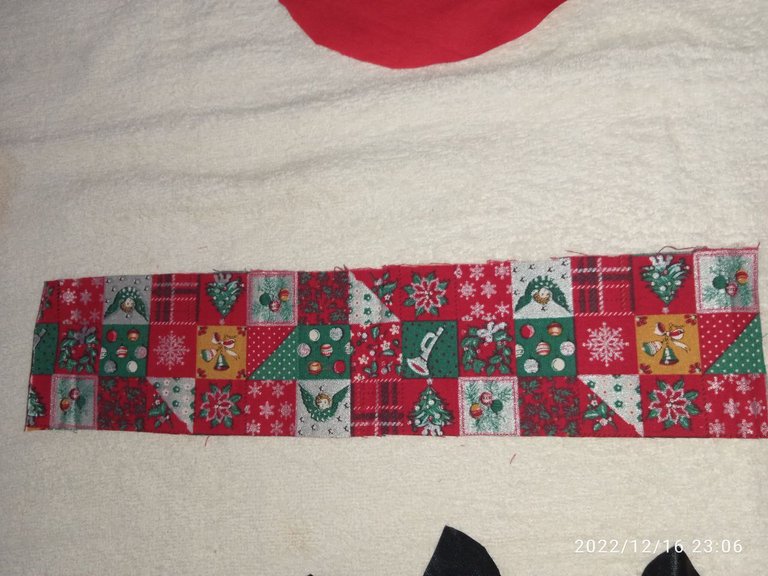
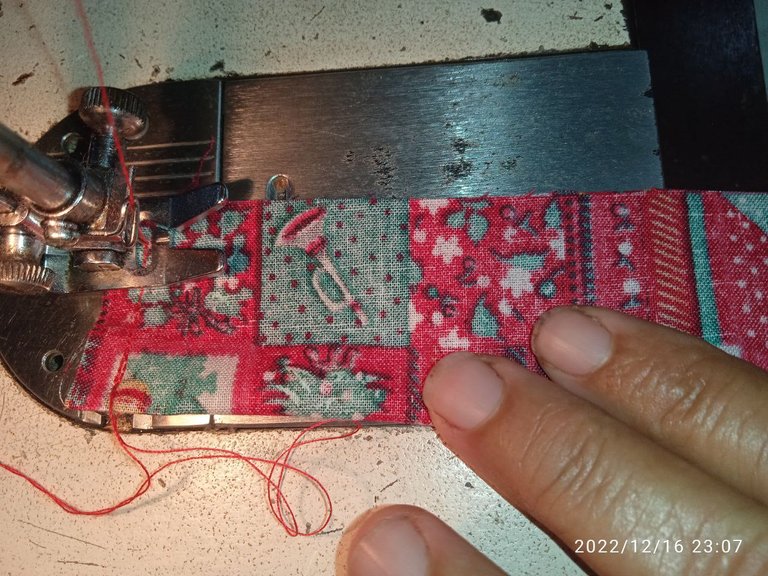
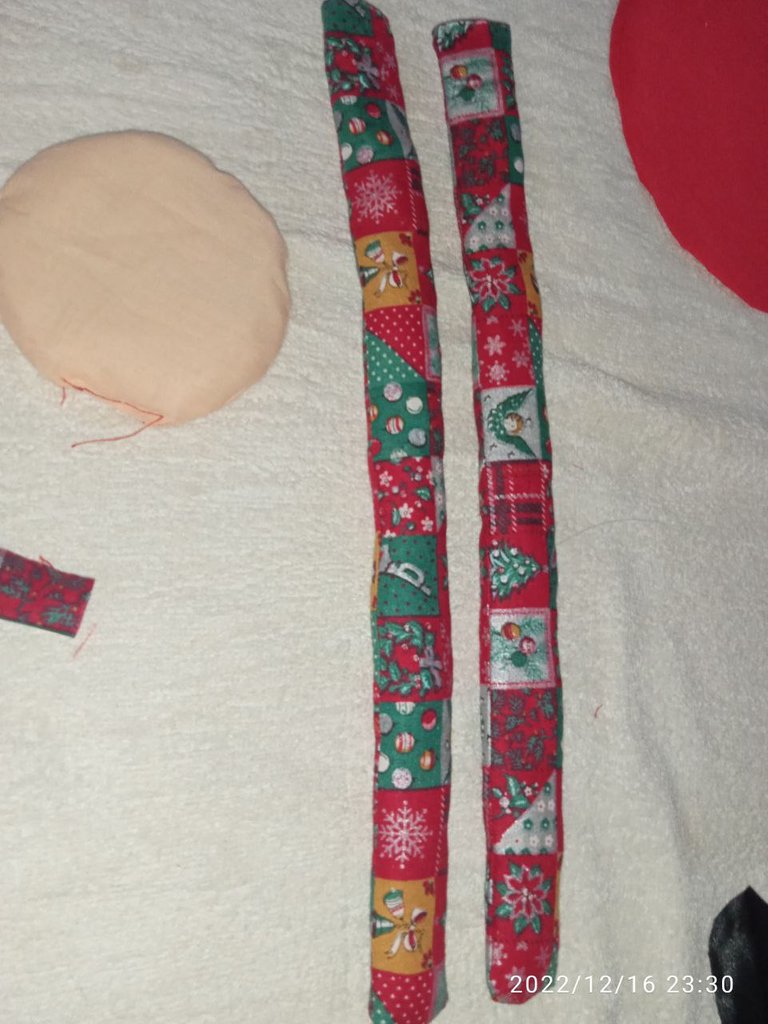
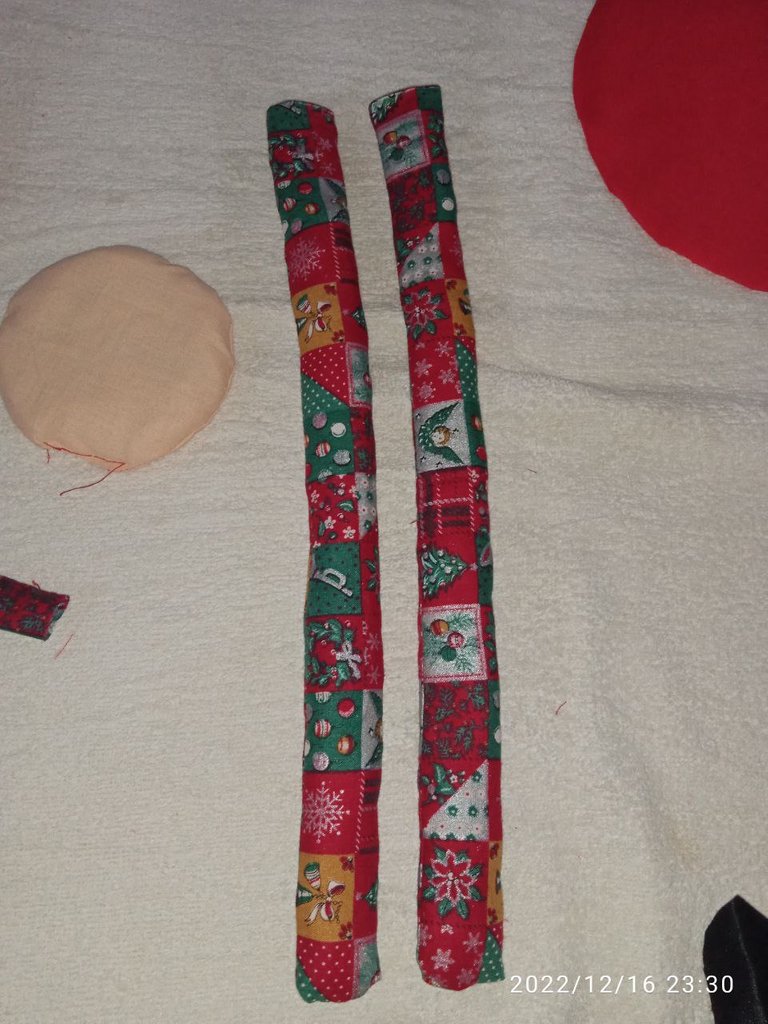
Now come the legs, in this step we only have to fold them in half (leaving inside the part of the design), then we sew it to the sides leaving an unstitched side that will be there that we will turn around, then we fill them.
Ahora vienen las piernas, en este paso solo hay que doblarlos a la mitad (dejando por dentro la parte del diseño), luego lo cosemos a los lados dejando un lado sin coser que será por ahí que daremos la vuelta, luego las rellenamos.
 |  |
|---|
 |  |
|---|
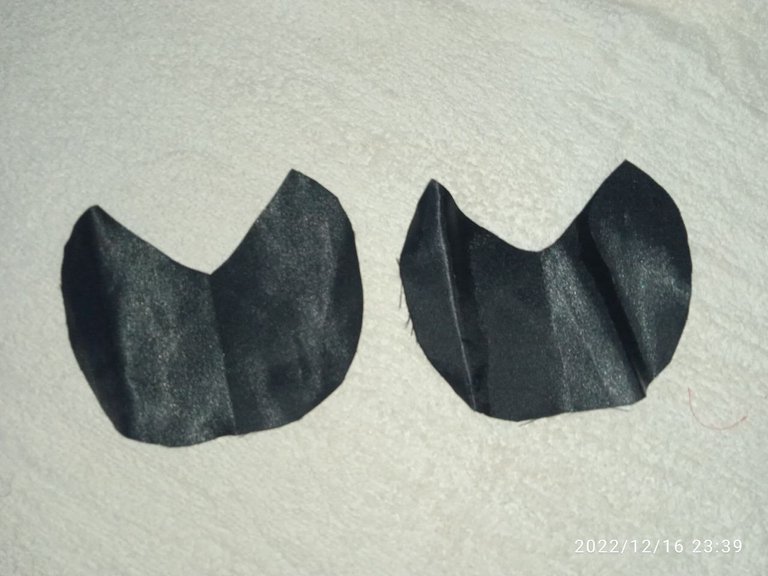
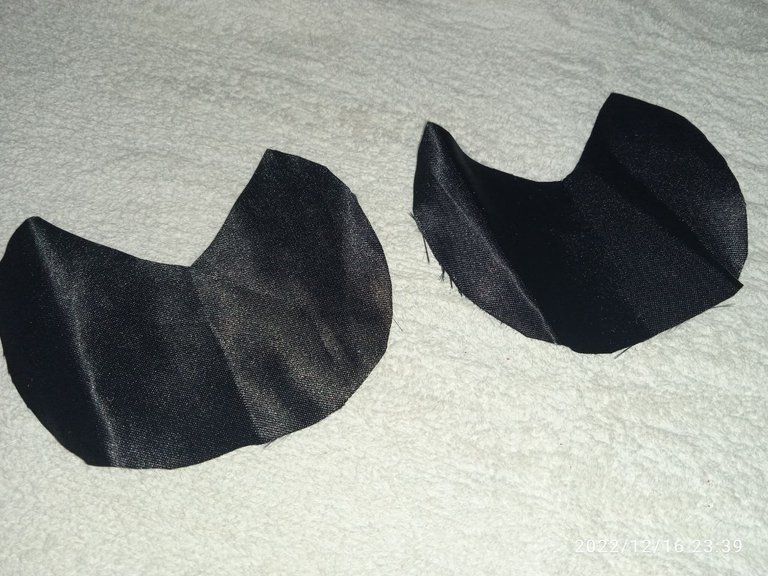
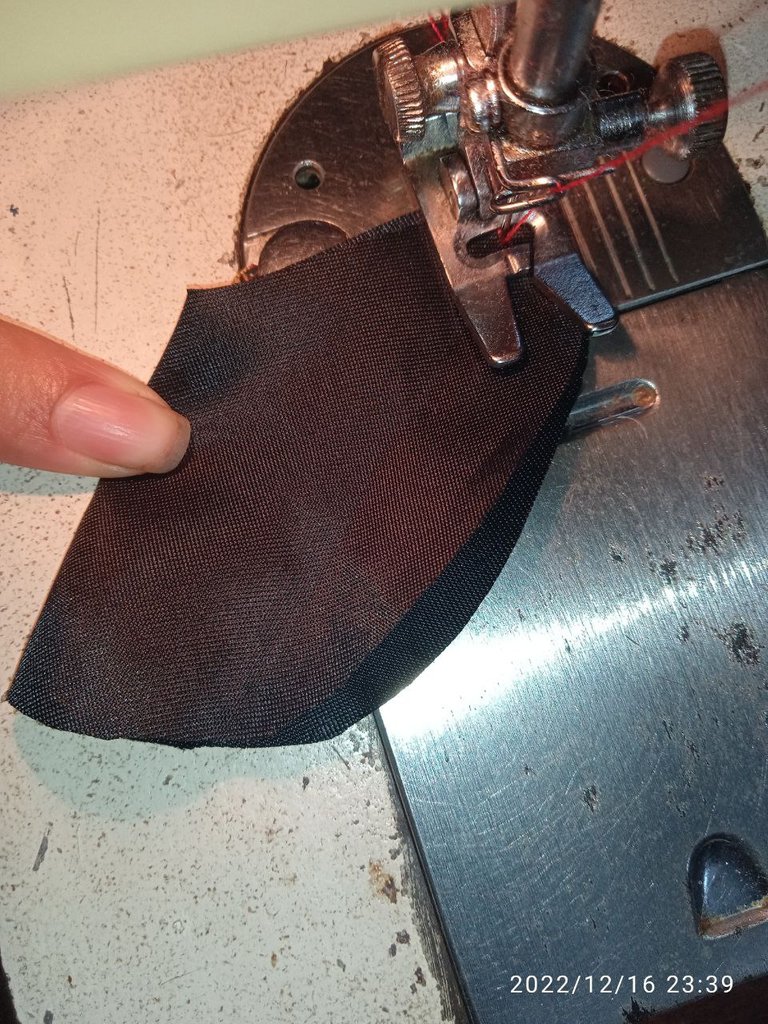
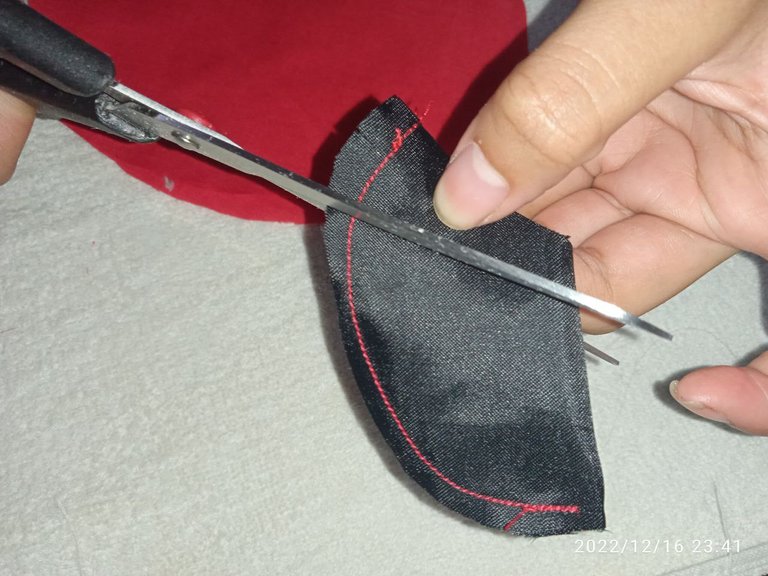
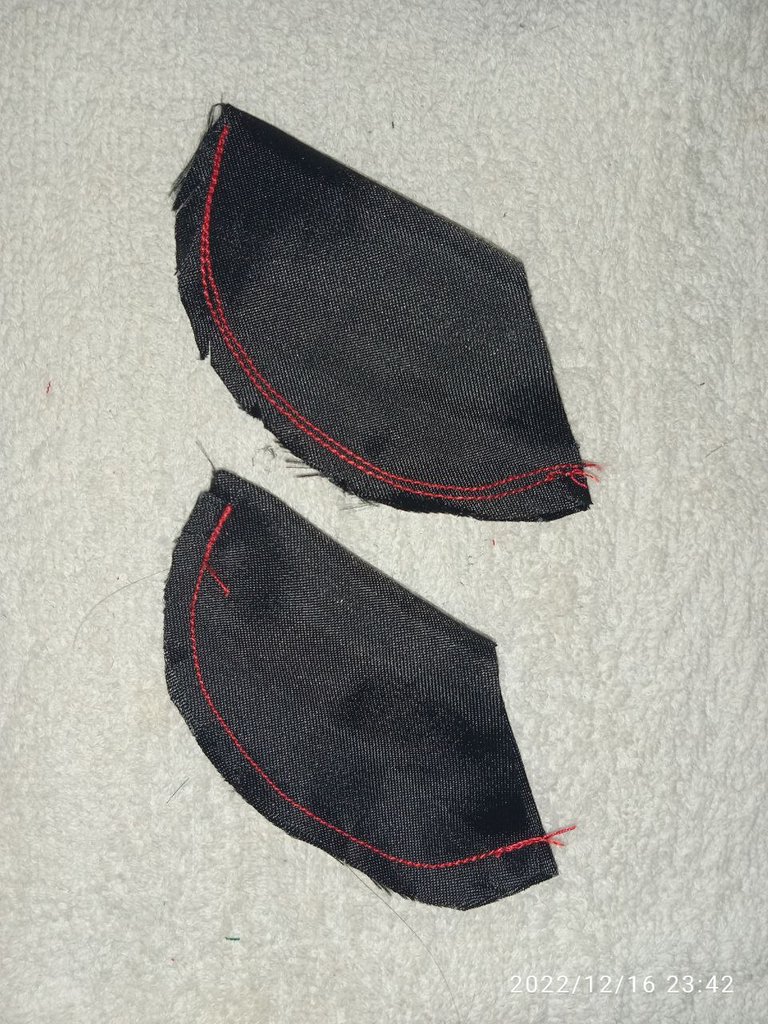
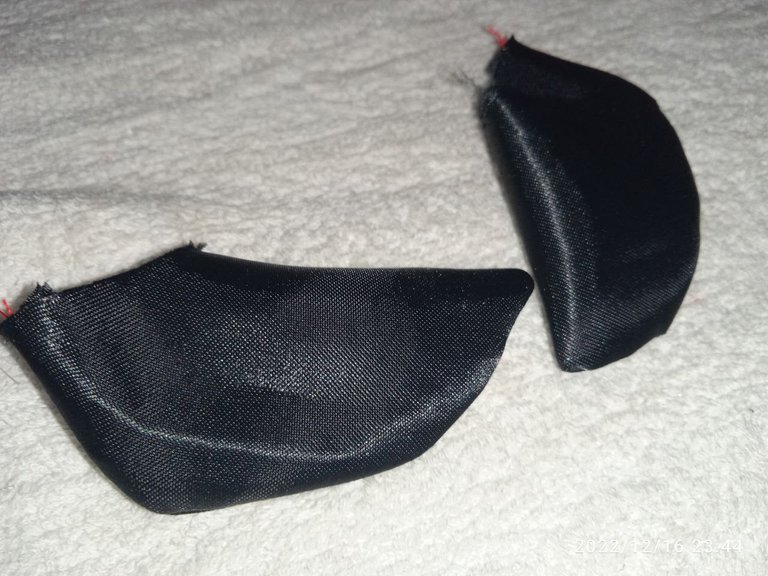
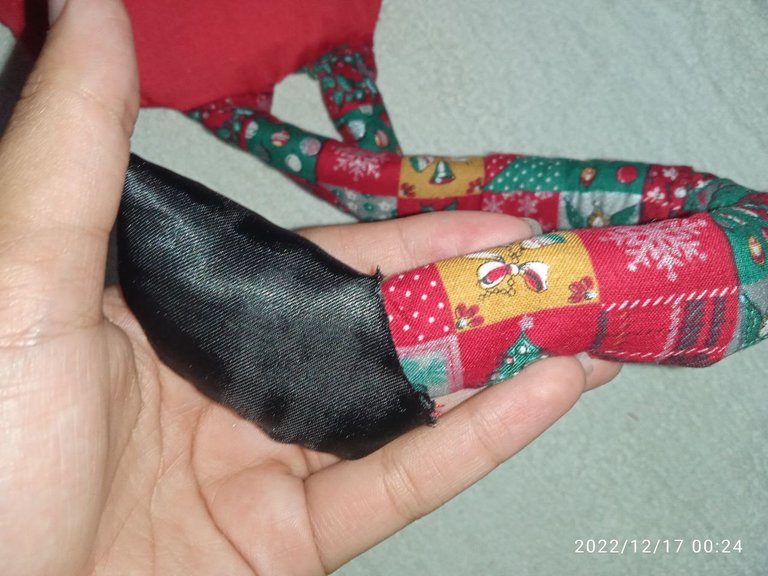
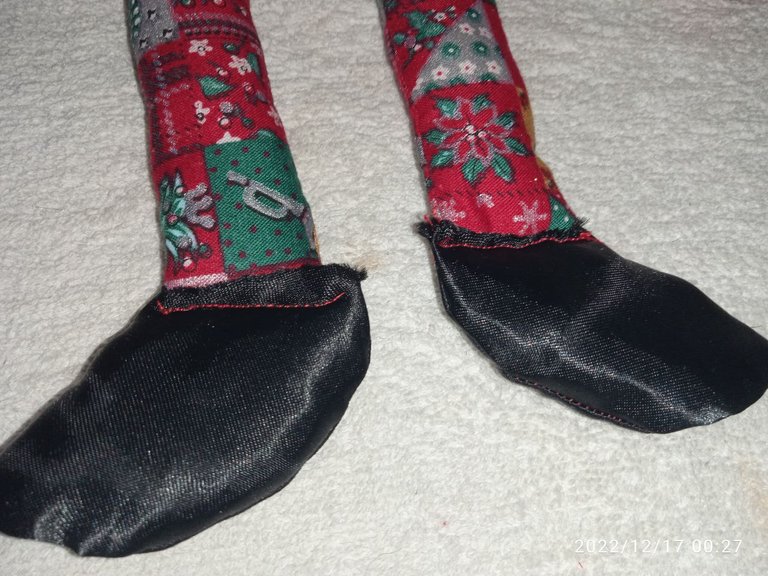
For the shoes we will fold it in half and sew it as shown in the pictures, once sewn we make some cuts on the sides (without reaching the seam) to have a better shape when turning, then we turn and stuff.
Para los zapatos doblaremos a la mitad y lo coseremos tal como se muestra en las imágenes, una vez cosido le hacemos unas cortadas a los lados (sin llegar a la costura) para así tener una mejor forma al momento de voltear, luego volteamos y rellenamos.
 |  |
|---|
 |  |
|---|
 |  |
|---|
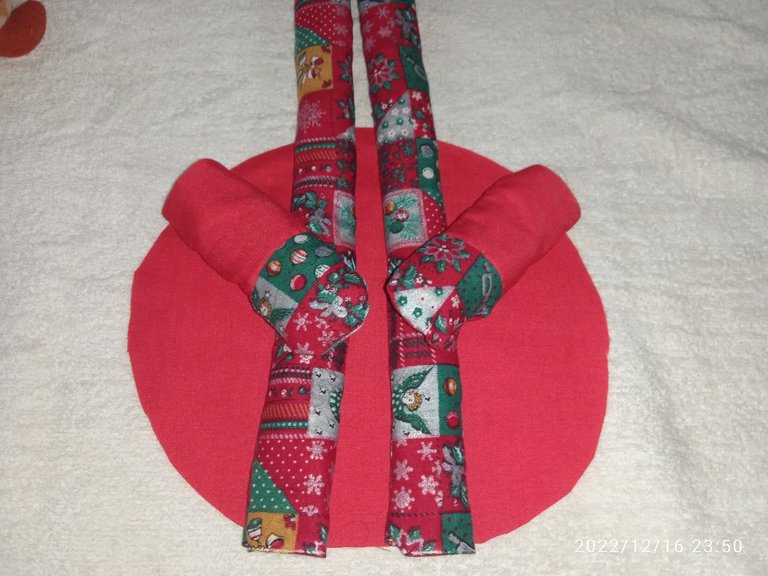
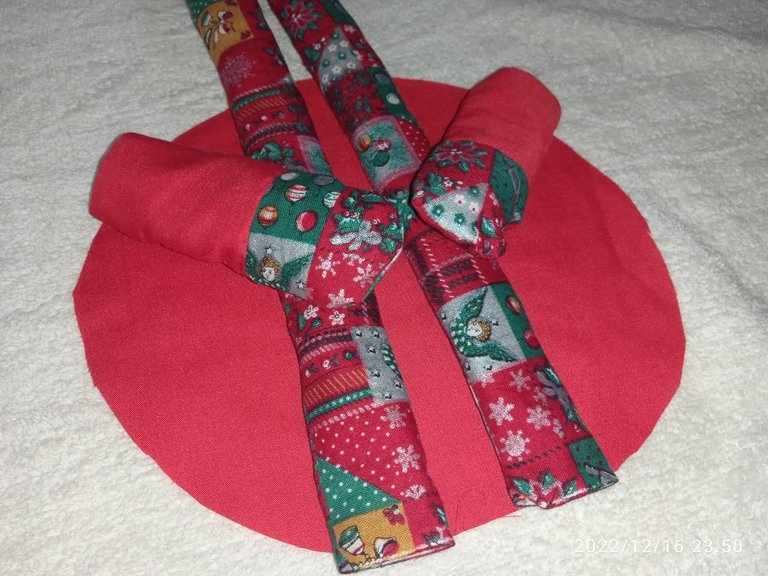
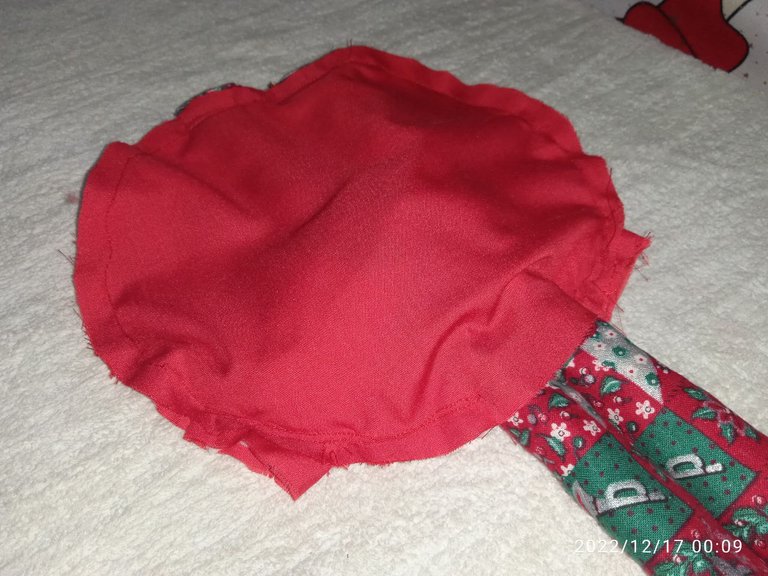
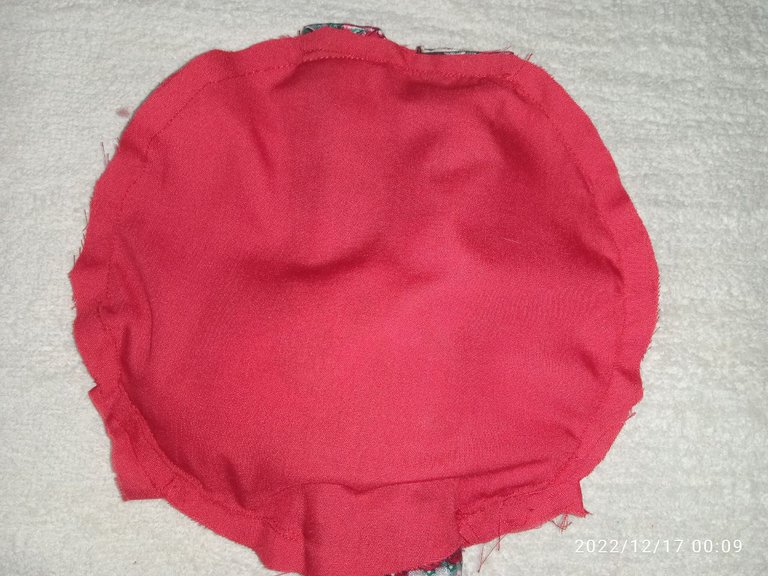
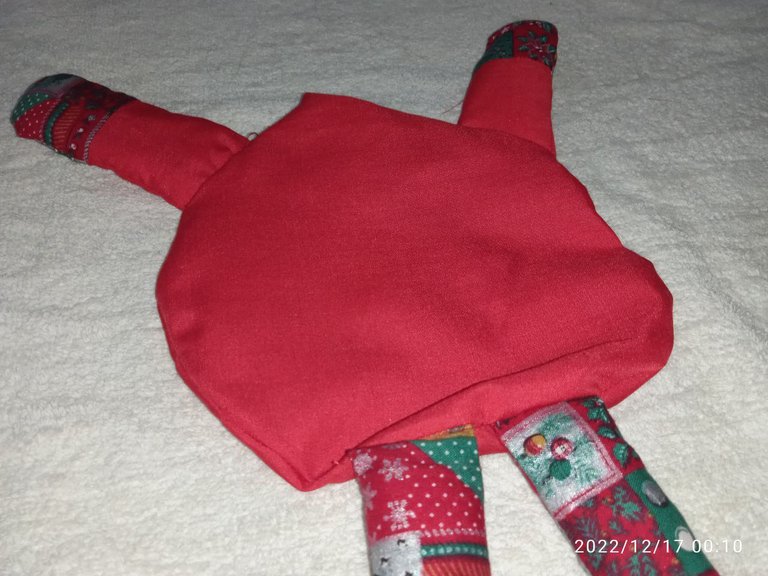
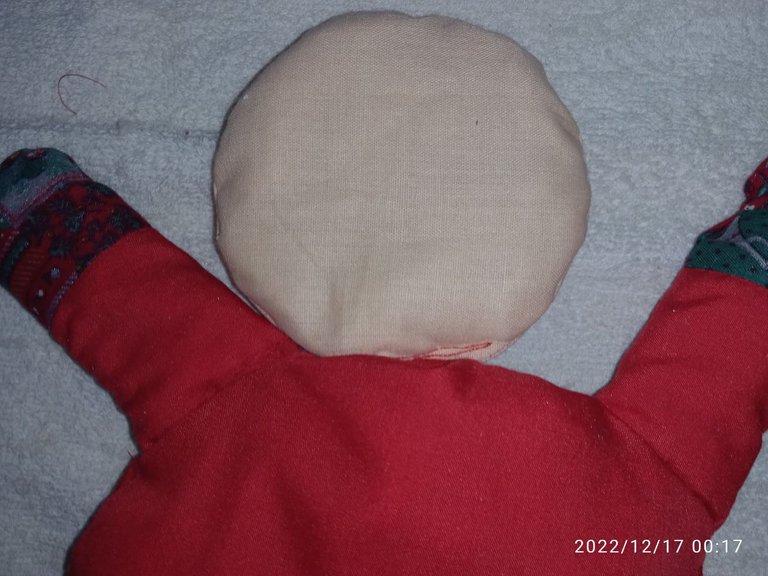
Now the assembly of his body, in this step the arms and legs are placed in one of the parts of the body and then the other part is placed on top as shown in the pictures, then sew and turn them over, once you have it like this proceed to fill until it is like a tummy and finally to close the head will stick in the same hole, for the legs at the end we will sew the shoes with a straight line.
Ahora el ensamblado de su cuerpo, en este paso se colocan los brazos y las piernas en una de las partes del cuerpo y luego se le coloca la otra parte por encima tal como se muestra en las imágenes, luego se cose y se las da la vuelta, una vez ya lo tengas así procederemos a rellenar hasta que quede como una barriguita y por último para cerrar le pegaremos la cabeza en ese mismo orificio, para las piernas al final les coseremos los zapatos con una línea recta.
 |  |
|---|
 |  |
|---|
 |  |
|---|
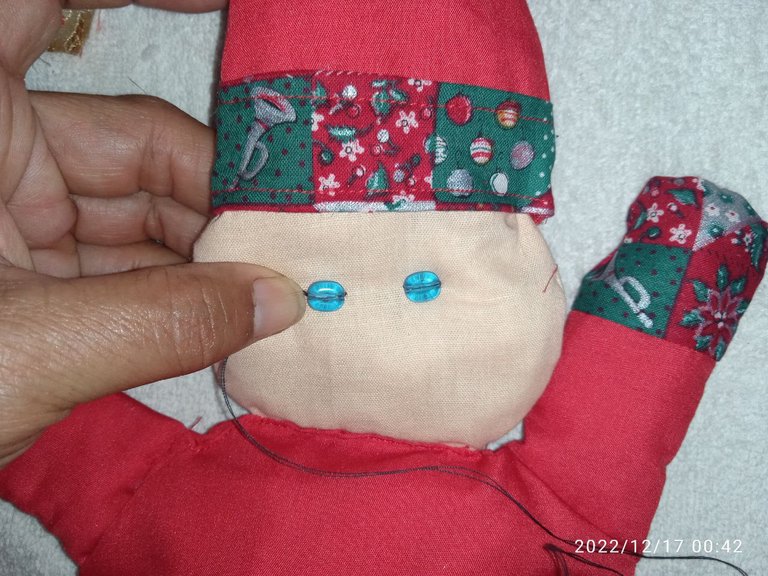
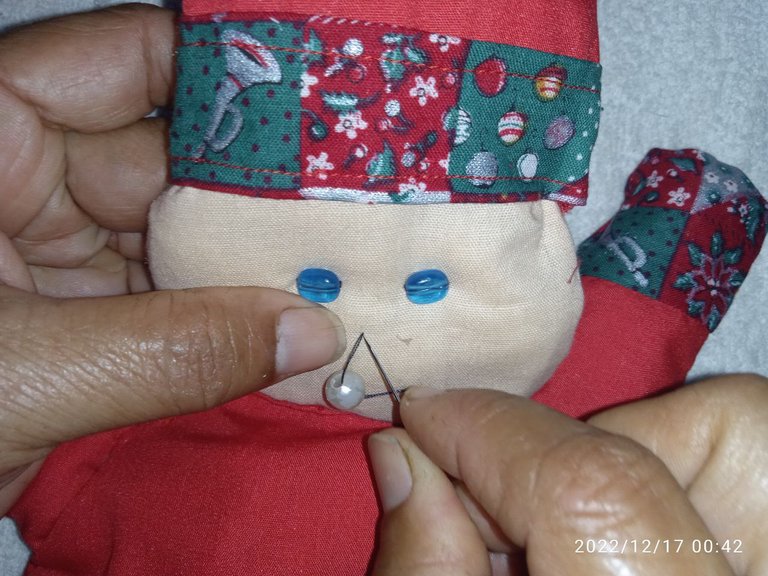
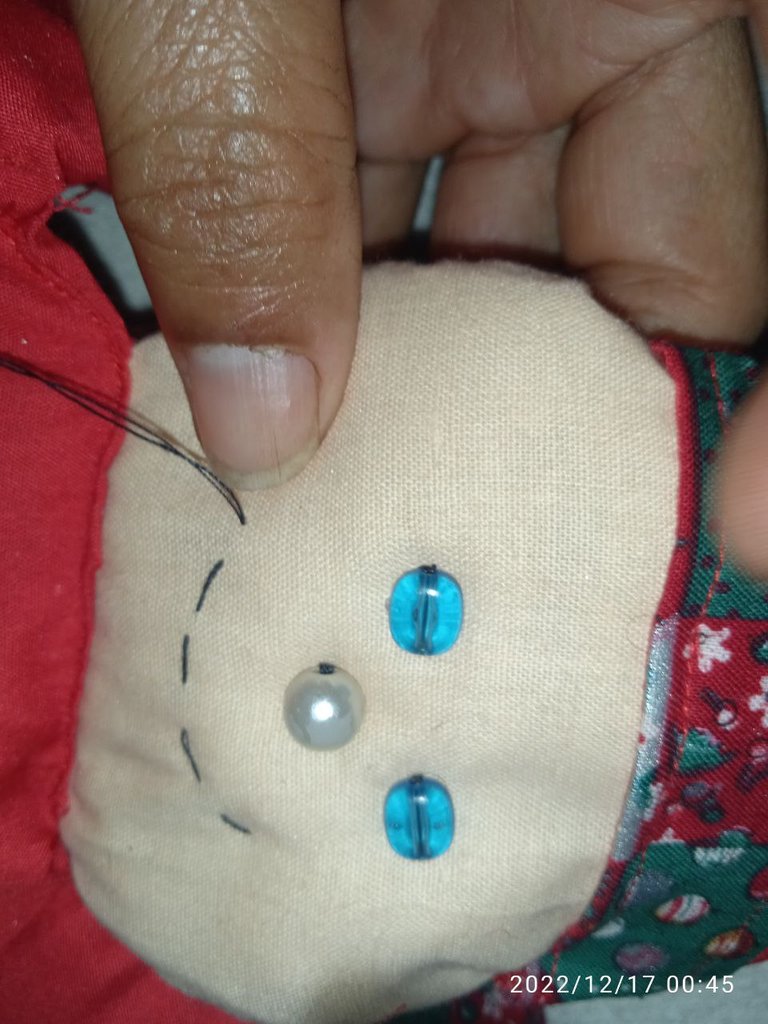
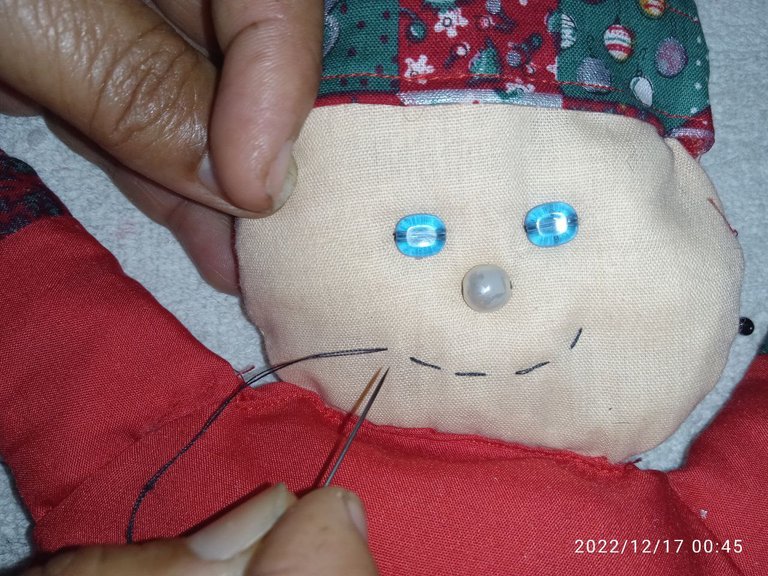
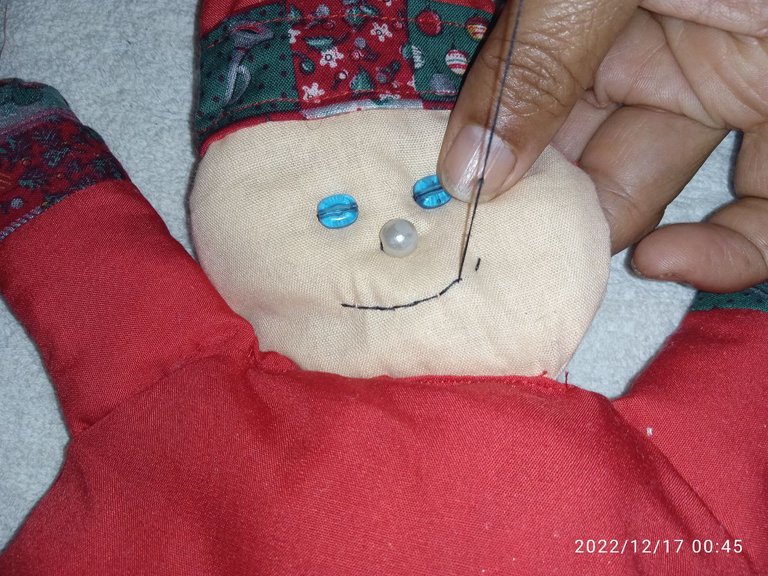
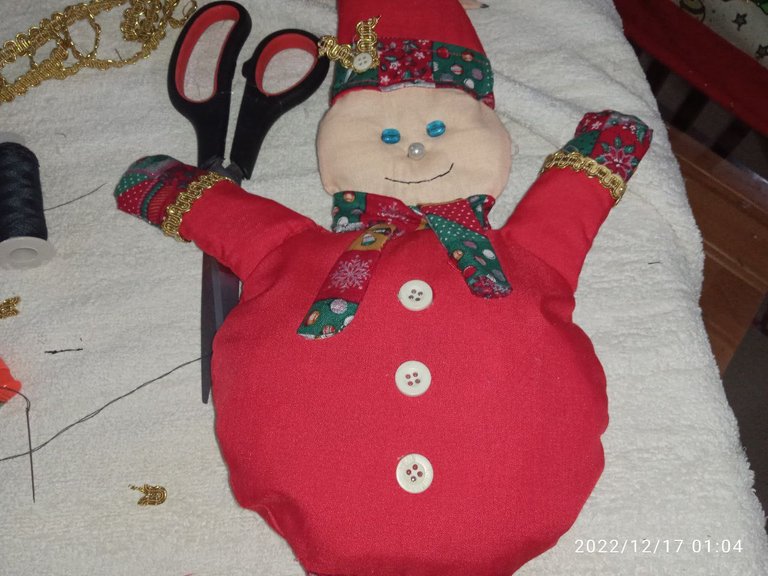
For the face of our doll what we will do is sew the eyes with the help of a sewing needle, then we will sew his nose and finally we will make a mouth with the same thread.
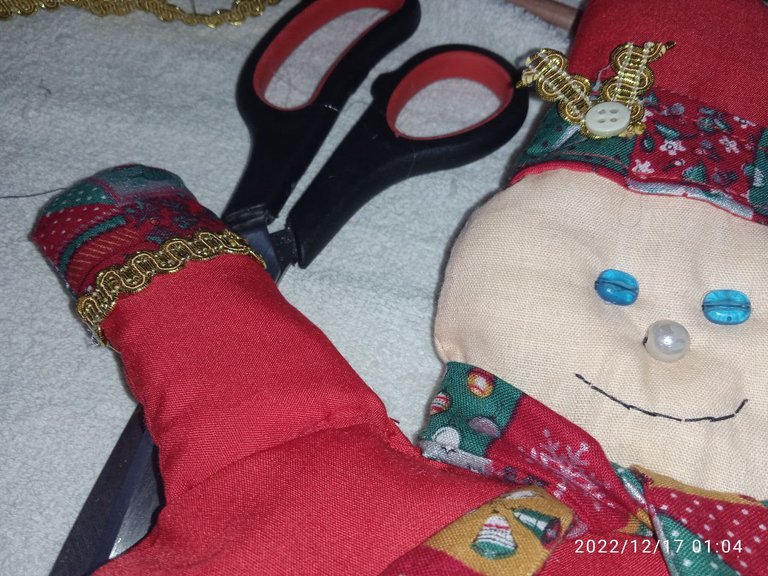
To cover the imperfections I glued with hot silicone decorative costume tape around the arms and shoes, in addition I made a little fix on his hat.
Para la cara de nuestro muñequito lo que haremos será coser los ojitos con la ayuda de una aguja de coser, luego le coseremos su nariz y por último le haremos una boca con el mismo hilo.
Para tapar las imperfecciones le pegué con silicona caliente cinta decorativa de disfraces alrededor de los brazos y de los zapatos, adicional le hice un arreglito en su gorro.
 |  |
|---|
 |  |
|---|
 |  |
|---|
 |  |
|---|
 |  |
|---|
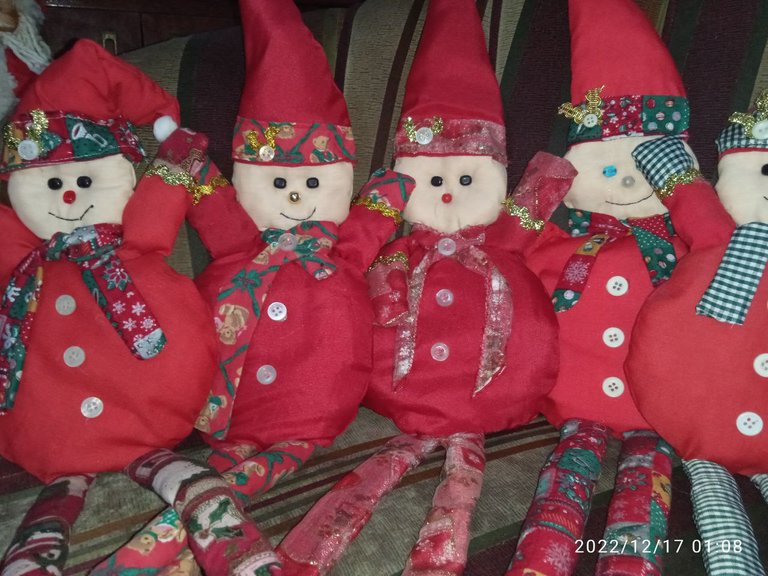
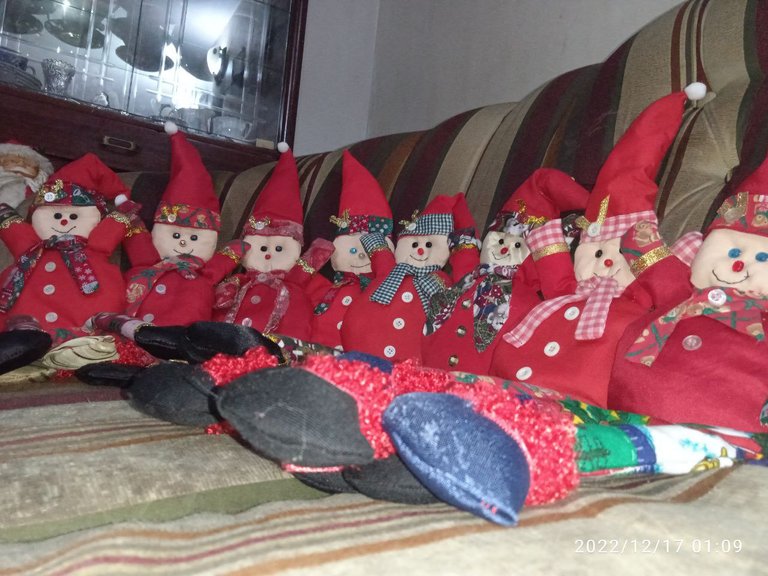
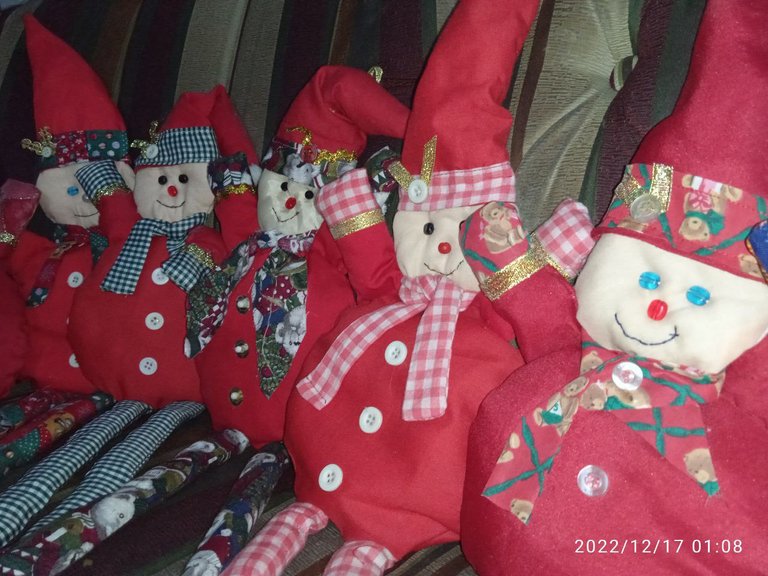
Ready!!! This has been the whole procedure to make these cute dolls, they do not take long to make and are very easy and economical, as I said, they can be used to decorate any corner of your house and give a very nice touch.
¡¡Listo!! Este ha sido todo el procedimiento para realizar estos lindos muñecos, no son tardados de hacer y son muy fáciles y económicos, como les había dicho, sirven para decorar cualquier rincón de tu casa y le dan un toque muy lindo.
 |  |
|---|
 |  |
|---|
 |  |
|---|
I hope you liked my content, thank you for your time and support, I wish you a nice evening, I'll be reading you!!! Chauuuu.
Espero les haya gustado mi contenido, agradezco su tiempo y apoyo, les deseo una linda noche, los estaré leyendo!!! Chauuuu.
Credits
Pictures taken by my dad's phone a Xiaomi Redmi 9C.
The banner was edited with PicsArt.
Fotografías tomadas por el teléfono de mi papá un Xiaomi Redmi 9C.
El banner fue editado con PicsArt.
Congratulations @solecitosalazar! You have completed the following achievement on the Hive blockchain And have been rewarded with New badge(s)
Your next payout target is 1000 HP.
The unit is Hive Power equivalent because post and comment rewards can be split into HP and HBD
You can view your badges on your board and compare yourself to others in the Ranking
If you no longer want to receive notifications, reply to this comment with the word
STOPCheck out our last posts:
Support the HiveBuzz project. Vote for our proposal!
Hola 🙋 yo soy Lelys. Me han encantado los muñecos de navidad que nos presentas, se hacen rápido y lucen muy bien para esta temporada.
Que sigas pasando lindos días de fiestas. Feliz Navidad ⛄
Holiii. Me alegra mucho que te haya gustado mi contenido, espero poder traerles muchos más, con más temáticas.
Saludos!!
Hola Sol. Que bueno que vos y tu mamá puedan hacer todo este ejército de muñecos jaja. Seguro van a estar por todos lados decorando todo. Me gustaron todos los detalles que tienen, sin dudas un gran trabajo y dedicación.
Gracias por compartir tu proyecto en la comunidad Needle Work Monday. Espero que tengan un buen fin de año.
¡Saludos ❤️!
Holaaa
Un ejército de muñecos jsksjsk, que gracioso suena JSKSJSKSJ. Créame que nos han sacado de apuros al momento de decorar, aunque mi casa parece la casa de Santa JSKJSSK, hasta el televisor está forrado sjdkdjk. Me alegra mucho que te haya gustado mi contenido.
Espero que tenga un lindo fin de año.
Saludos!!<3
Thank you for sharing this post on HIVE!
Your content got selected by our fellow curator semarekha & you just received a little thank you upvote from us for your great work! Your post will be featured in one of our recurring compilations which are aiming to offer you a stage to widen your audience within the DIY scene of Hive. Stay creative & HIVE ON!
Please vote for our hive witness <3
Hi, thank you so much for your help, believe me I will continue to be very creative as often as I can. Have a nice end of the year.
Greetings!!!<3
Me gustan mucho! Ojalá los hubiese visto antes, siempre quiero decorar con peluches navideños en mi casa pero la verdad es que están bien costosos en las tiendas :(
Me alegra que te haya gustado mi contenido jsjsjs. Me hubiera encantado publicarlos antes, así le hubiera dado tiempo de hacer algunos, será para la próxima. Una de las razones por la cual los realizamos fue porque en las tiendas están muy costosos o no son muy bonitos, pero anímese hacer para el año que viene, entre mas mejor jskdjd. Gracias por su comentario.
¡Saludos!<3