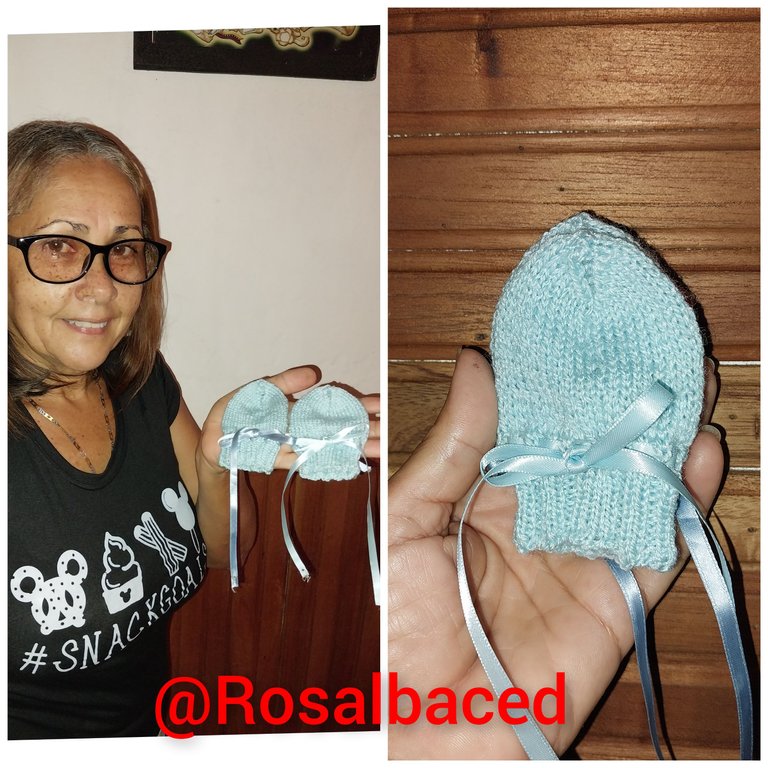
Hello my dear #hive community, I hope you are having an excellent day full of lots of positivity and always with God's blessing 🙏. This time I am going to show you How to make a pair of 4 needle knitted Mittens for a newborn🛀.
as you see always wanting to show you what I love to do with yarn, but this time I am working with anti-allergic yarn, to be part of a little baby who is still in his mommy's tummy🤰.
Join me to see the step by step so you can be encouraged to make it.
Hola mi querida comunidad de #hive, Espero estén pasando un excelente día lleno de mucha positividad y siempre con la bendición de Dios 🙏. En esta ocasión les voy a mostrar Cómo hacer un par de Manoplas tejidas en 4 agujas para un recién nacido🛀.
como ustedes ven siempre queriendo mostrárle lo que me encanta hacer con hilo, pero en esta oportunidad estoy trabajando con estambre antialérgico, para formar parte de un bebecito que todavía está en la barriga de su mamita🤰.
Acompáñame a ver el paso a paso para que te animes a realizarlo.
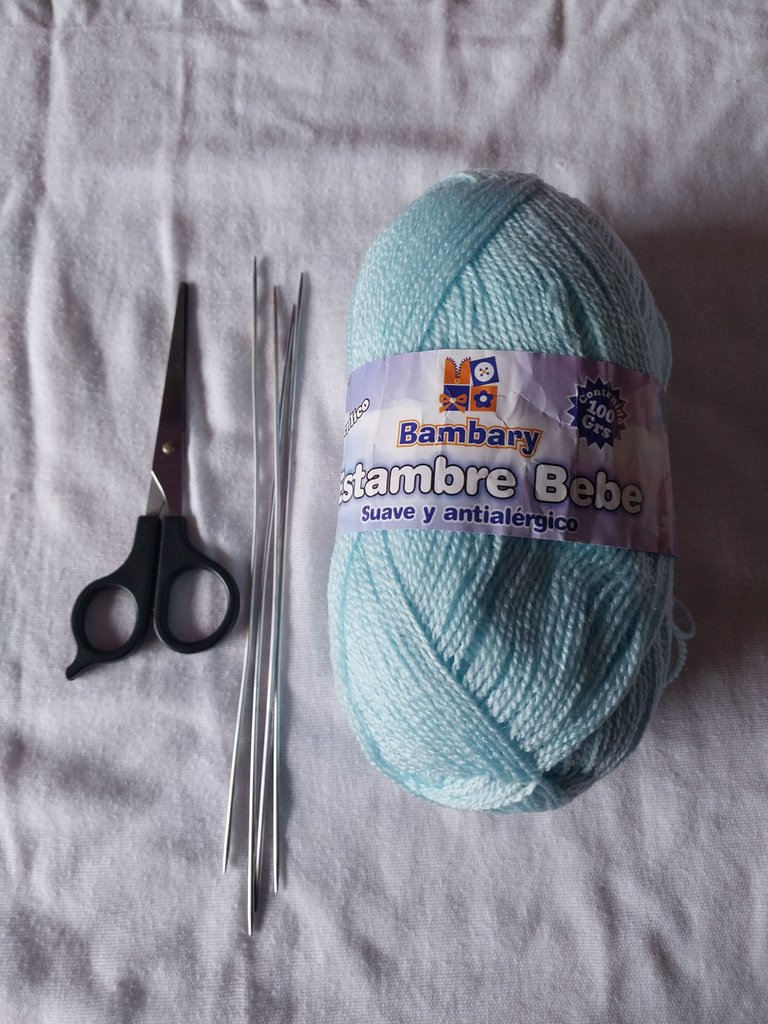
Materials:
Light blue yarn.
Scissors.
Four needles.
One meter of ribbon.
Materiales:
Estambre color azul claro.
Tijera.
Cuatro Agujas.
Un metro de cinta.
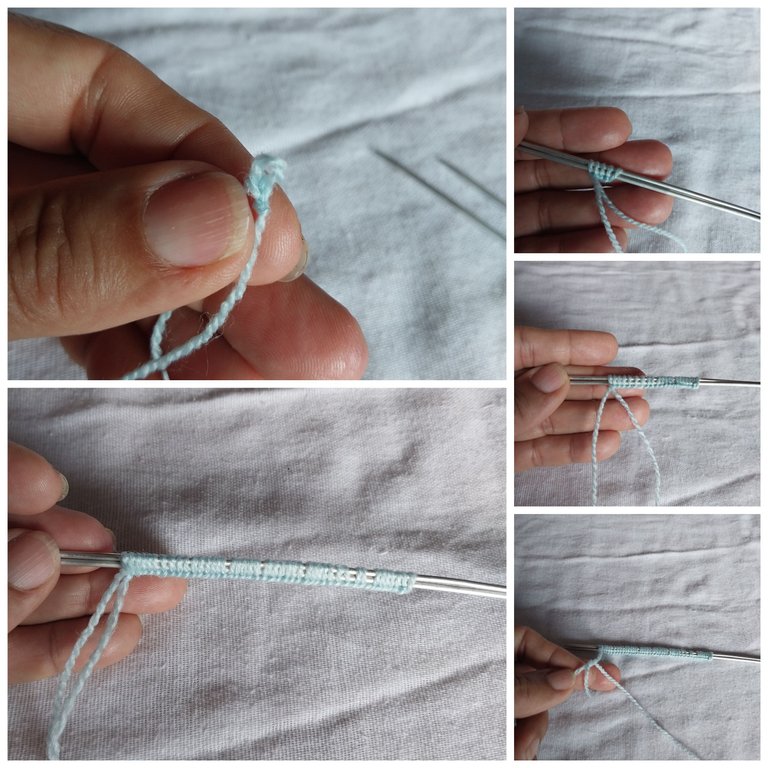
Step 1
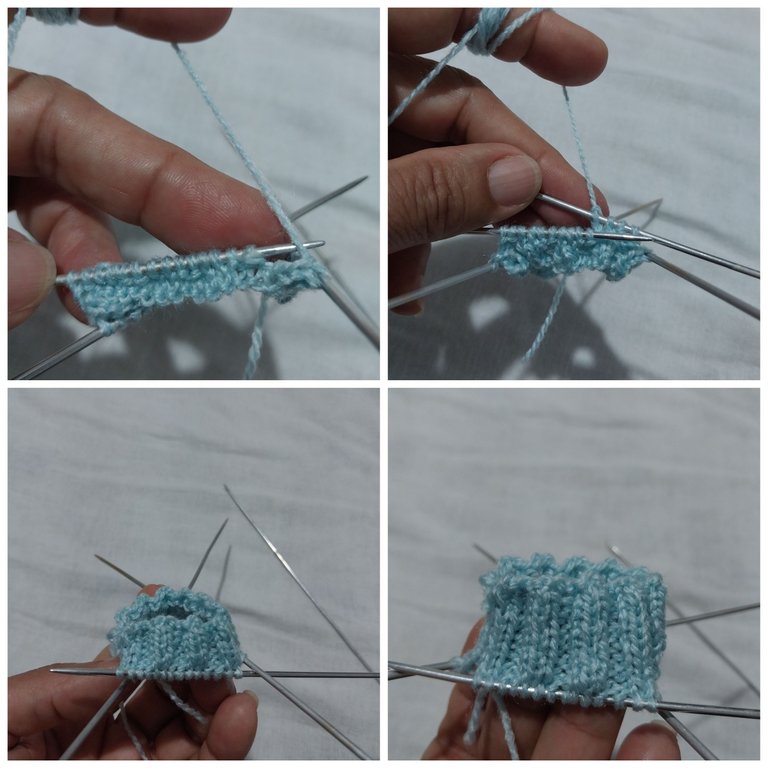
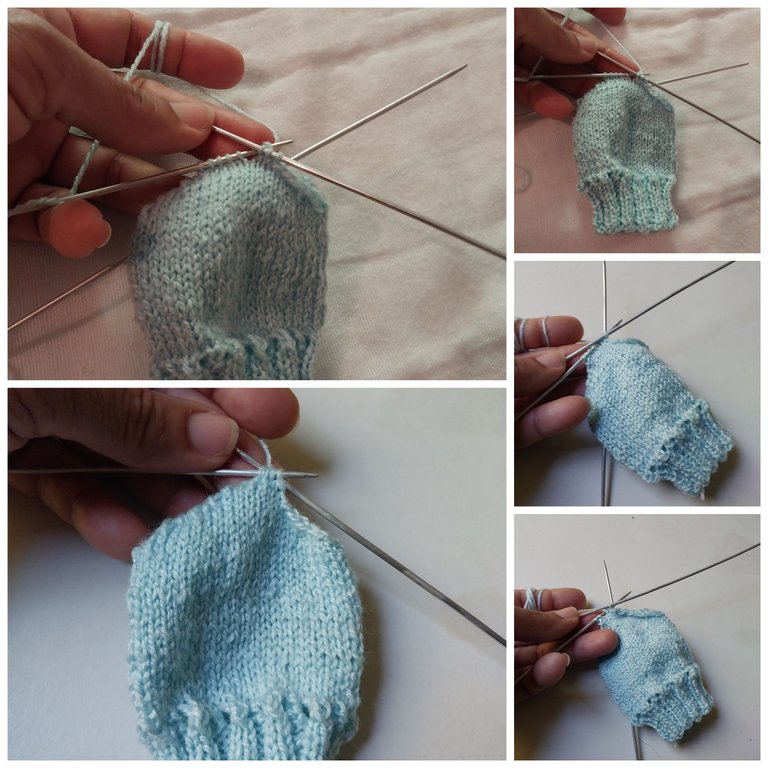
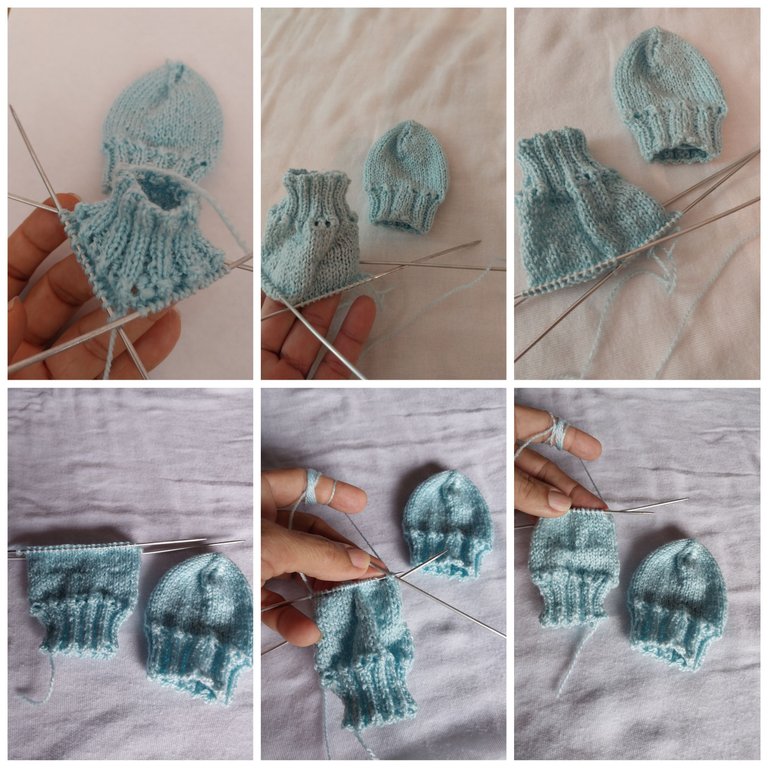
We take the length of the yarn to make a ring, we place it on 2 of the 4 needles that we are going to use and we begin to assemble the 42 stitches, we tie a knot to ensure that it does not come undone.
Paso 1
Tomamos el largo del estambre para realizar un aro, lo colocamos en 2 de las agujas de las 4 que vamos a utilizar y comenzamos a montar los 42 puntos, se le hace un nudo para asegurar que no se desate.
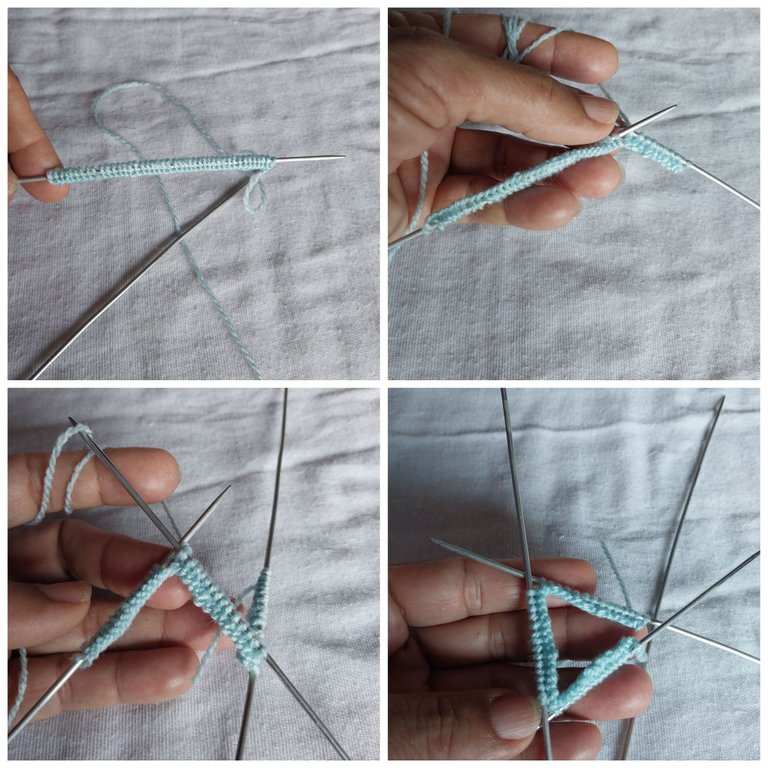
Step 2
We pull one of the needles where the stitches are mounted and begin to share 14 stitches on each of the needles. We knit a single loop.
Paso 2
Jalamos una de las agujas dónde están montados los puntos y comenzamos a compartir 14 puntos en cada una de las agujas, Ya compartida tejemos una vuelta toda sencilla.
Step 3
We continue the next round with two singles and two purl stitches, and in this way we obtain the desired size.
Paso 3
Seguimos la siguiente vuelta con dos sencillos y dos revés, y así va saliendo el famoso punto elástico de esa manera obtenemos el tamaño deseado.
Step 4
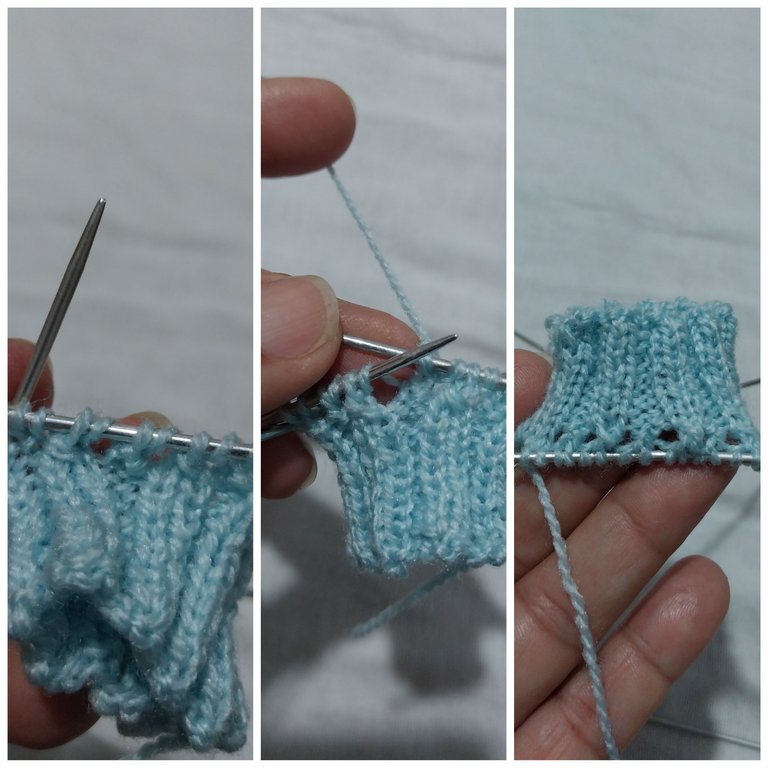
We start the next loop by making a loop two together, a loop two together, a loop two together, and so on until the end of the loop, then we pull it to the right side to obtain the ribbon pass-through of our mittens.
Paso 4
Empezamos la siguiente vuelta haciendo una lazada dos juntos,una lazada dos juntos, una lazada dos juntos, asi seguimos sucesivamente hasta terminar la vuelta, luego se saca al derecho para obtener el pasa cinta de nuestras manoplas.
Step 5
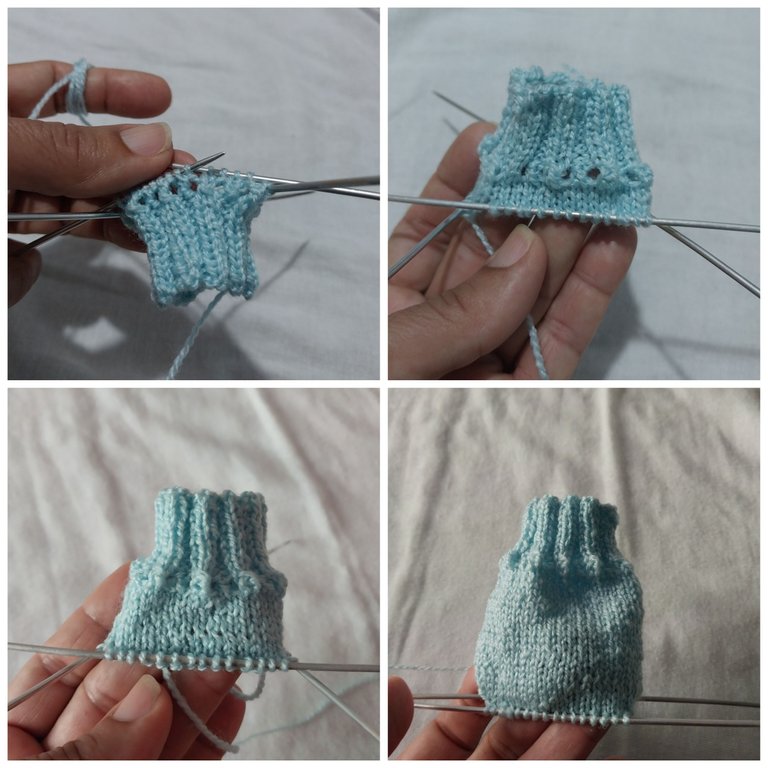
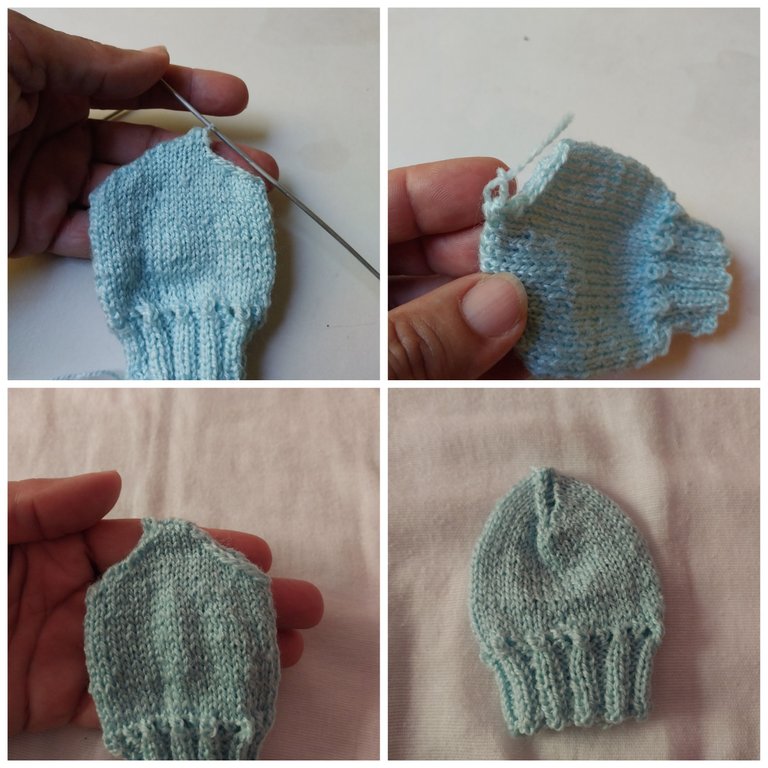
Continue knitting all the way to the right to make the part of the little hand until you get the size you want.
Paso 5
Continuamos tejiendo todos al derecho para realizar la parte de la manito hasta obtener el tamaño q desees.
Step 6
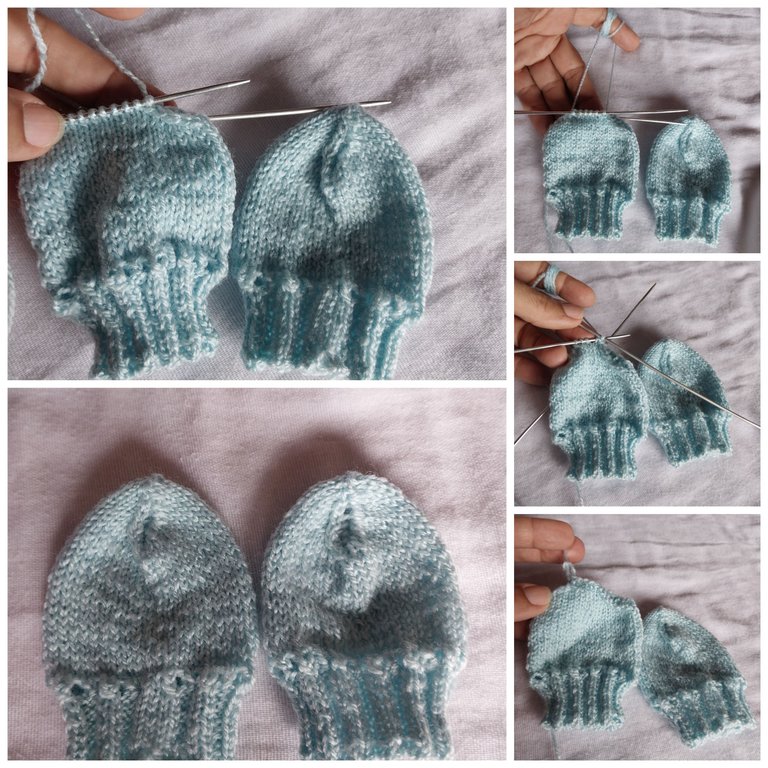
Once the size of the hand has been obtained, we place the stitches on two needles only to continue reducing one stitch on each side, and so we continue reducing until we reach the last reduction.Paso 6
Ya obtenido el tamaño de la manito, colocamos los puntos en Solo dos agujas para continuar reduciendo un punto de cada lado, Y así seguimos reduciendo hasta llegar a la última reducción.
Step 7
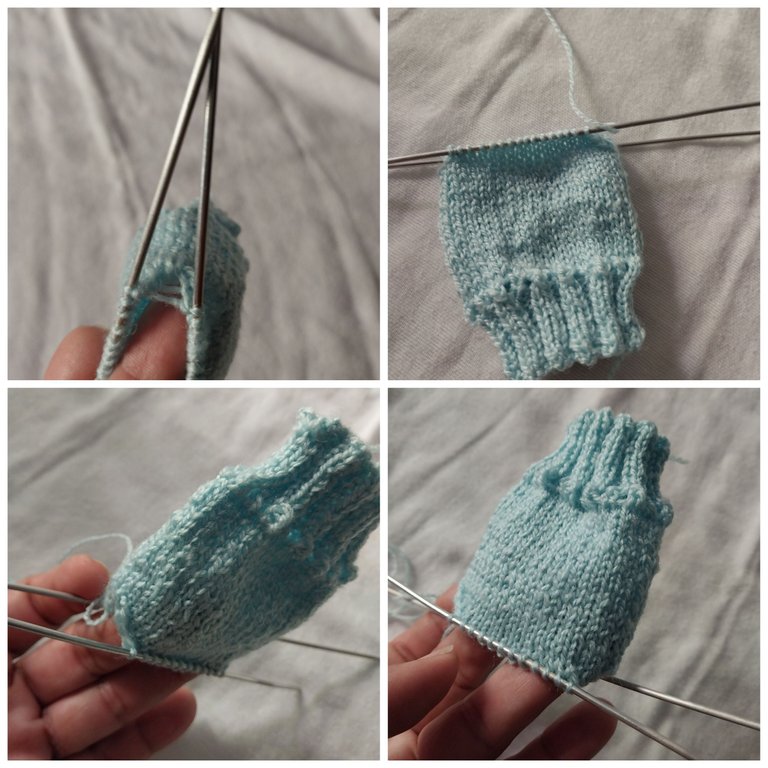
We begin to close the end of the mitten with a single crochet, we return it to the next needle and we take it again with another stitch that we call a double crochet, and so we continue knitting until we close the whole end of the mitten.Paso 7
Comenzamos a cerrar la punta de la manopla con un sencillo lo regresamos a la siguiente aguja y lo volvemos a tomar con otro punto que lo llamamos un doble, Y así seguimos Tejiendo hasta cerrar toda la punta.
Step 8
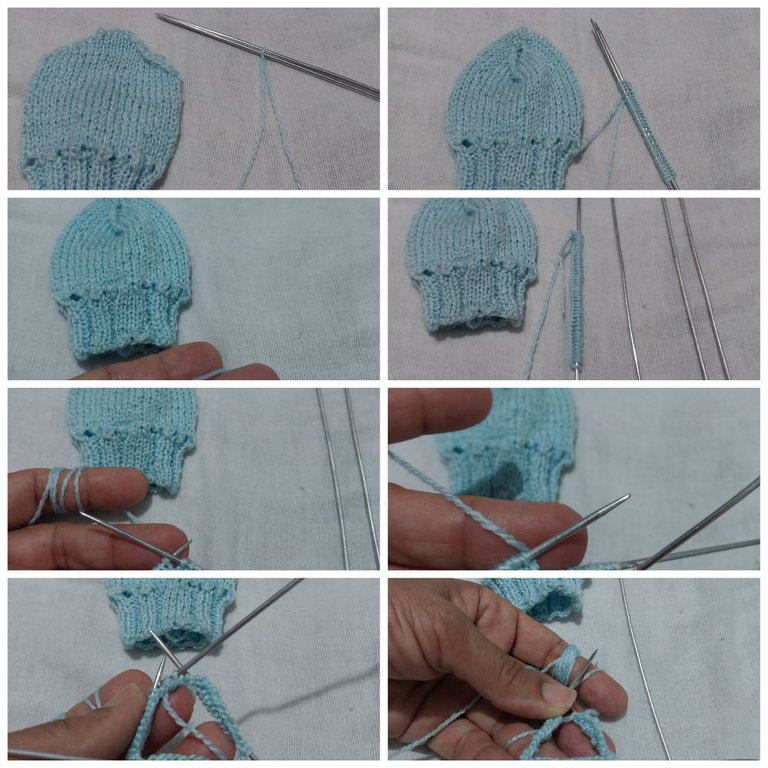
When we finish closing the end of the mitten, we cut the yarn and insert the yarn piece in the ring to secure it with a knot.Paso 8
Al terminar de cerrar la punta de la manopla cortamos el estambre y en el aro le introducimos el pedacito de estambre para asegurarlo con un nudito.
Step 9
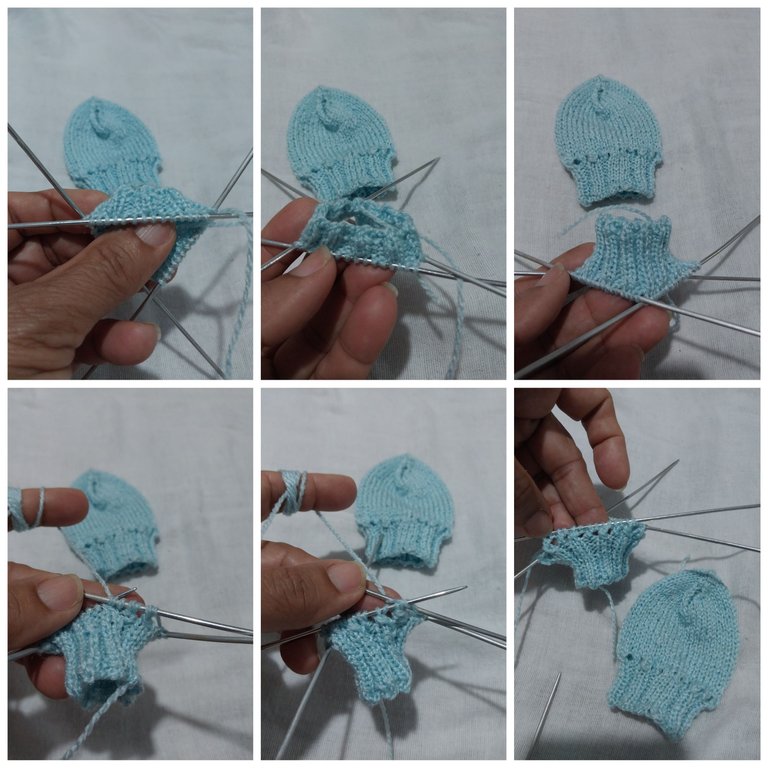
We are going to apply the same procedure of the first mitten to make the companion and thus obtain the pair of mittens for our baby on the way.Paso 9
Vamos a aplicar el mismo procedimiento de la primera manopla para hacer la compañera y así obtener el par de manoplas para nuestro bebé que viene en camino.
Step 10
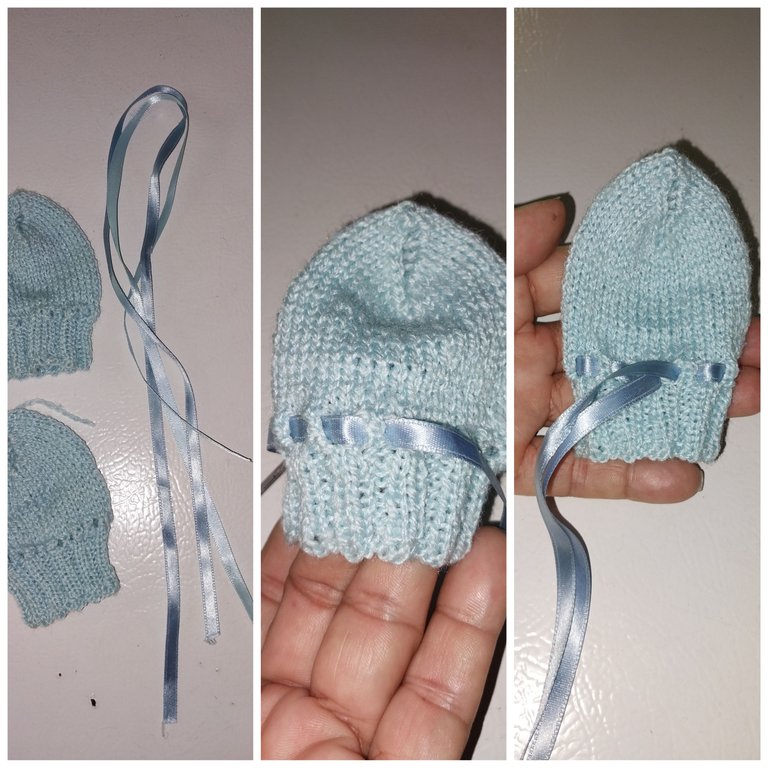
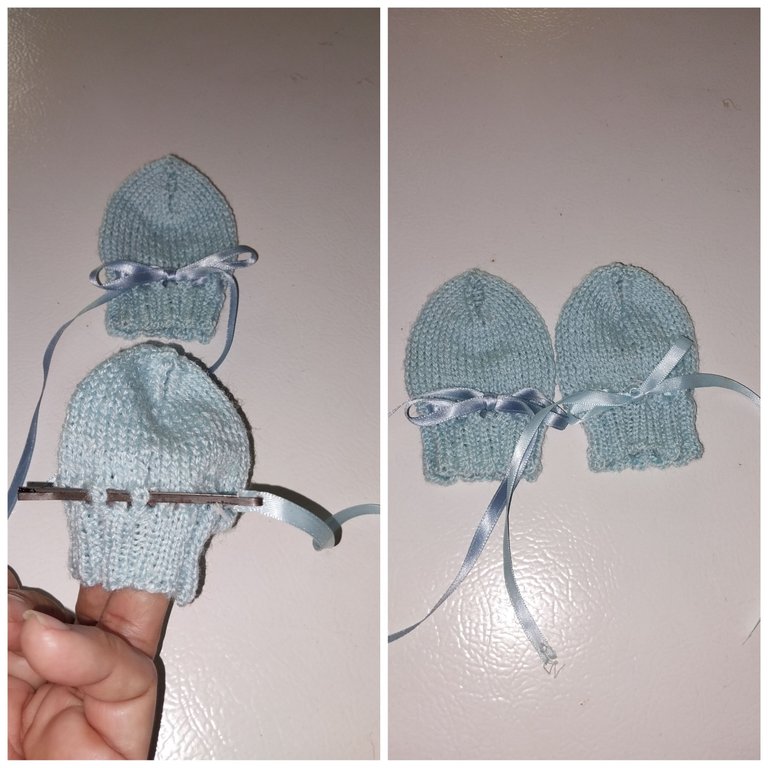
Once finished the pair of mittens we proceed to place the ribbon of the color of your choice in this case I put it in the same color the sky blue or light blue as we want to call it, half a meter of tape is placed on each mitten with a hook of hair and a knot is made and after the knot is made a loop and so we finished making our pair of mittens for babies.
The time to make this pair of mittens was two days.Paso 10
Ya terminado el par de manoplas procedemos a colocarle la cinta del color de tu preferencia en este caso yo se la coloque del mismo color el azul cielo o azul clarito como lo querramos llamar,se le coloca medio metro de cinta en cada manopla con un gancho de cabello y se le hace un nudito y después del nudito se le hace un lazo y así culminamos de realizar nuestro par de manoplas para bebés.
El tiempo para realizar este par de Manoplas fue de dos dias.
Waoo! quedé realmente impresionada pues es la primera vez que veo tejer con 4 agujas.
Es increible como logras crear algo tan tierno y hermoso, te felicito.
Gracias por compartir tu proceso creativo con nosotros.
Saludos y bendiciones.
Gracias por tan bellas palabras. Amen. Saludos cargado de cariño.
Que lindo!!! Gracias por compartir, se ve que es un poco complejo,te felicito por tu creación.Saludos 🤗
Graciasss amiga. Animate y veras los resultados. Saludos.
A pesar que no se tejer pero ni una cadeneta, quedé enamorada de este trabajo, gracias por compartir
Gracias por agradarle con mi trabajo. Feliz tarde.
Congratulations @rosalbaced! You received a personal badge!
You can view your badges on your board and compare yourself to others in the Ranking
Check out the last post from @hivebuzz:
Support the HiveBuzz project. Vote for our proposal!
Dear @rosalbaced, we need your help!
The Hivebuzz proposal already got important support from the community. However, it lost its funding a few days ago when the HBD stabilizer proposal rose above it.
May we ask you to support it so our team can continue its work?
You can do it on Peakd, Ecency, or using HiveSigner.
https://peakd.com/me/proposals/199
All votes are helpful and yours will be much appreciated.
Thank you!