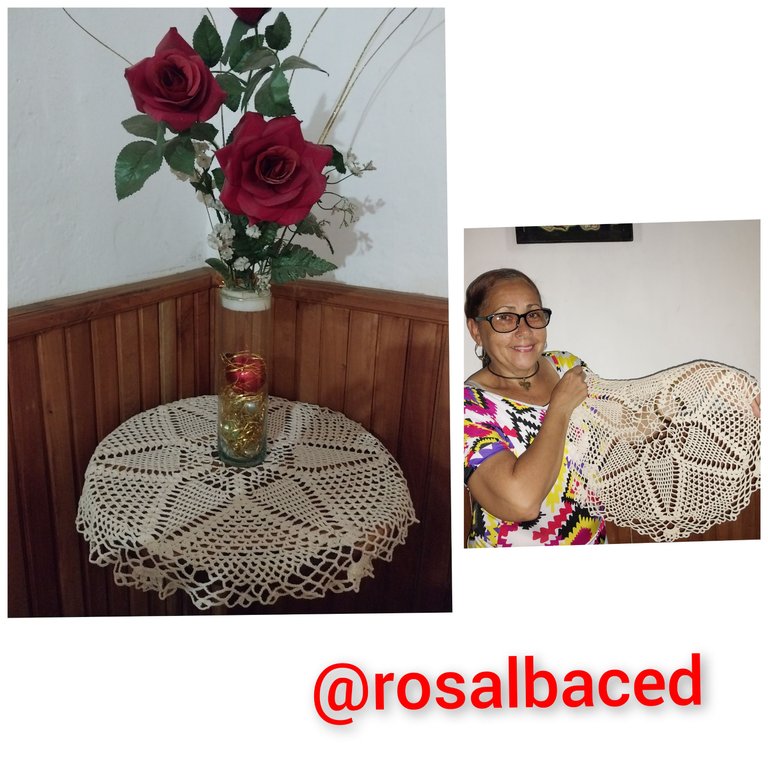
Hola mi querida comunidad de #Hive, un saludo🖐 virtual a toda mi familia 👪 y fanáticos del tejido, espero estén pasando un excelente domingo familiar lleno de grandes bendiciones. Hoy voy a compartir con ustedes la realización de un tapete o pañito tejido como les parezca mejor llamarlo.
Hello my dear #Hive community, a virtual greeting🖐 to all my family 👪 and knitting fans, I hope you are having an excellent family Sunday full of great blessings. Today I'm going to share with you the making of a knitted mat or scarf as you see fit to call it.
Los tapetes o pañitos tejidos a crochet son maravillosos y además muy sencillos y fáciles de realizar mientras te concentres en el 🌏 mundo del tejido, porque hay que tener tiempo y mucha dedicación para ir obteniendo los resultados que nos gusta obtener al finalizar nuestra labor. Es por eso q nos encanta decorar nuestros hogares de manera elegante.
The crocheted rugs or handkerchiefs are wonderful and also very simple and easy to make as long as you concentrate on the 🌏 world of knitting, because you have to have time and dedication to get the results that we like to get at the end of our work. That's why we love to decorate our homes in an elegant way.
Que nuestro Padre Celestial nos siga bendiciendo nuestras mágicas manos, para seguir realizando y mostrandoles lo que nos encanta hacer.quédate para que leas el paso a paso y te entusiasmes a tejer.
May our Heavenly Father continue to bless our magic hands, to continue making and showing you what we love to do. Stay to read the step by step and get excited to knit.
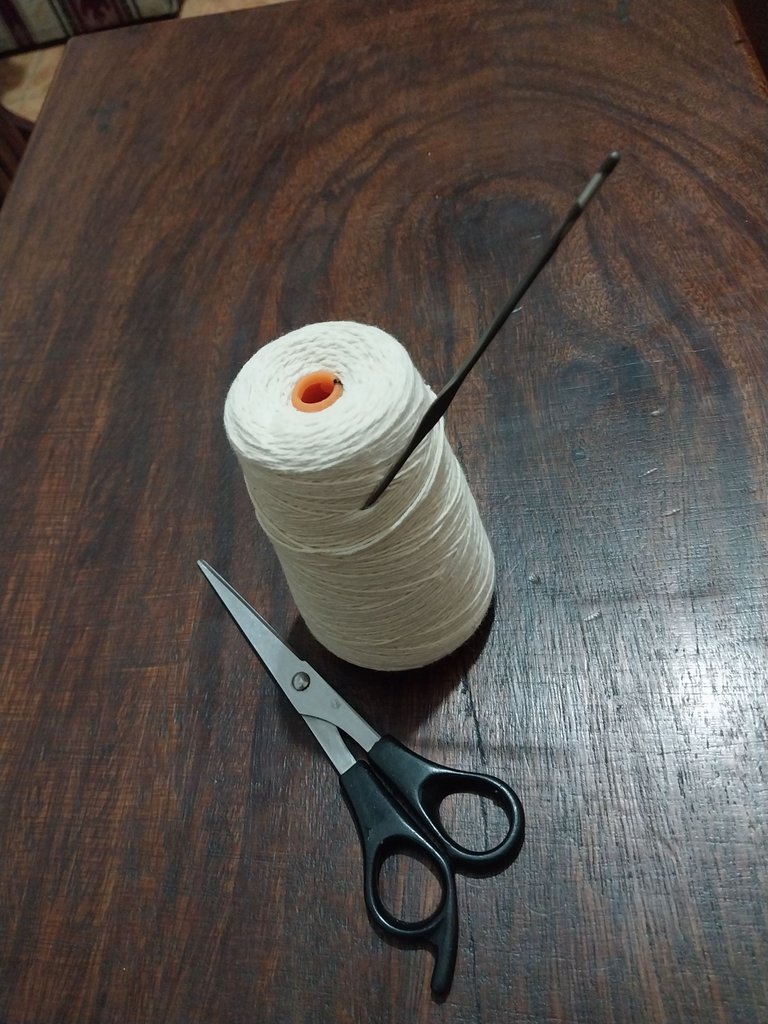
Materiales:
-Hilo beis.
-Estuche N0 02.
-Tijera.
Materials:
-Beige thread.
-Case N0 02.
-Scissors.
Paso No.1
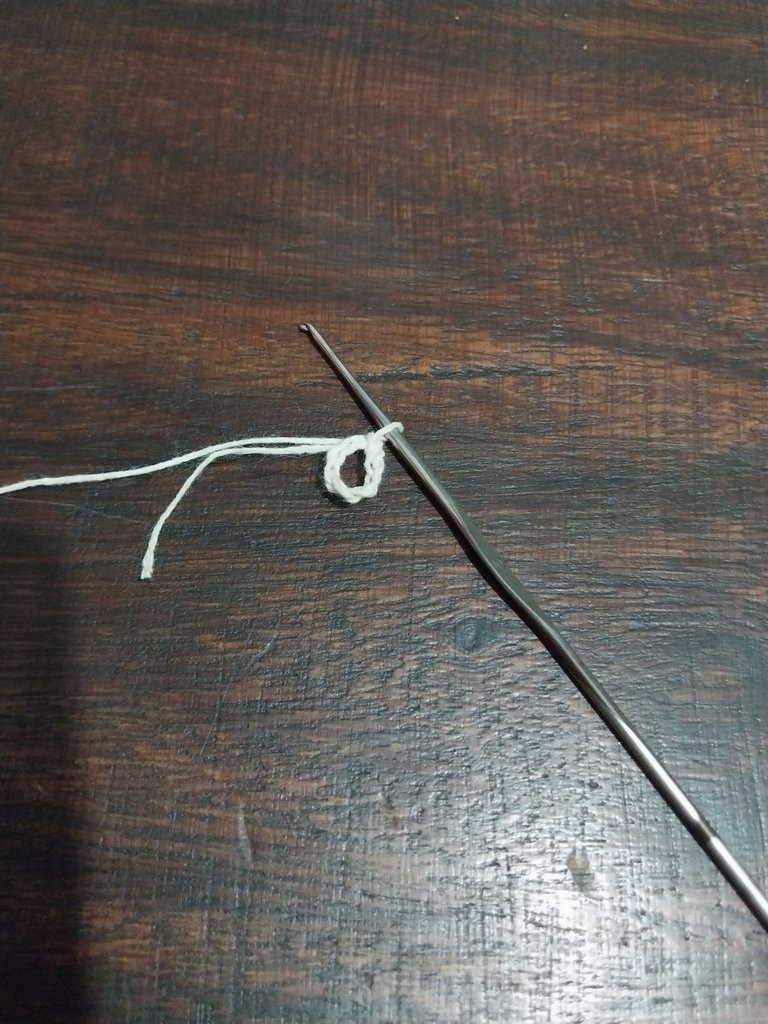
comenzamos realizando una cadena de 8 puntos y la cerramos con un punto deslizado.
Step No.1
We start by making a chain of 8 stitches and close it with a slip stitch.
( )
)
Paso No.2
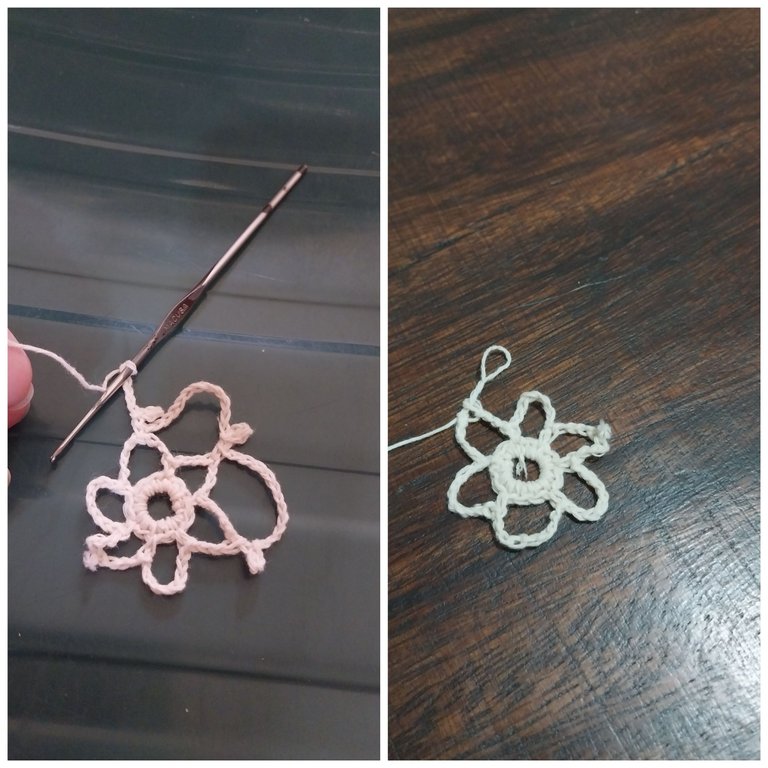
dejemos alrededor del aro una puerta de medio punto y al finalizar se cierra con un punto deslizado punto Y continuamos con la tercera vuelta haciendo una cadena de 8 puntos y se cierra en el tercer.seguimos Tejiendo 8 puntos y volvemos a cerrar con punto deslizado dejando un punto en el medio del aro,seguimos así hasta culminar la vuelta que cerramos con un punto deslizado.
Step No.2
We leave around the hoop a half stitch door and at the end we close it with a slip stitch. And we continue with the third row making a chain of 8 stitches and we close it in the third stitch. And we continue knitting 8 stitches and we close again with a slip stitch leaving a stitch in the middle of the ring, and we continue in this way until the end of the row that we close with a slip stitch.
(
Paso No.3
comenzamos Tejiendo doce puntos y se cierra con un medio punto en el medio del aro de la vuelta anterior, tejemos tres puntos y lo cerramos en el primer punto de los tres con un medio punto, Y seguimos Tejiendo los doce puntos se vuelven a colocar en el centro del aro anterior con un medio punto Y así seguimos Tejiendo hasta terminar la vuelta.
Step No.3
We start knitting twelve stitches and close with a half stitch in the middle of the ring of the previous row, we knit three stitches and close it in the first stitch of the three with a half stitch, and we continue knitting the twelve stitches are placed again in the center of the previous ring with a half stitch and so we continue knitting until the end of the row.
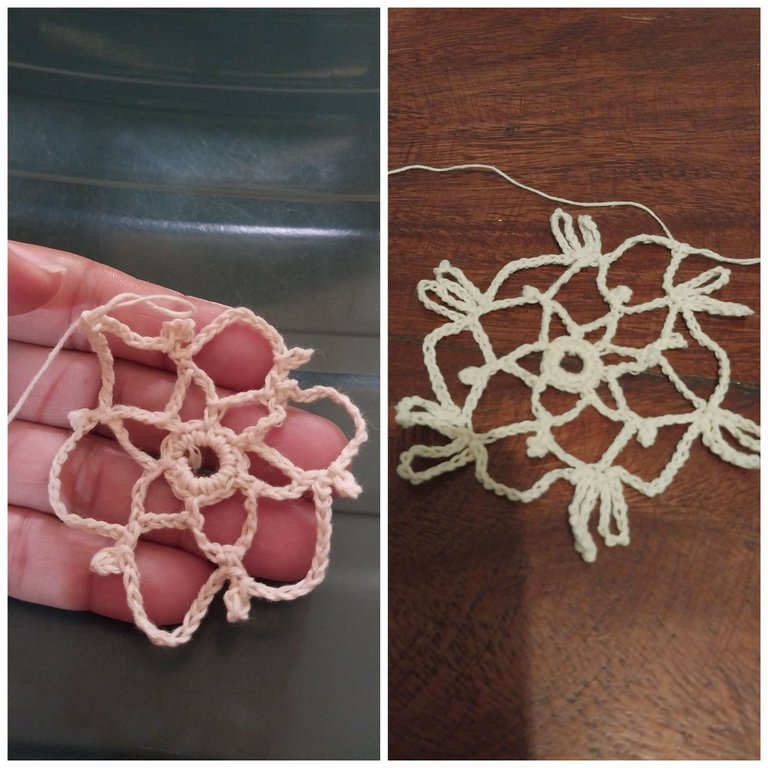
Paso No.4
seguimos Tejiendo la siguiente vuelta Tejiendo doce cadenas y con un medio punto la colocamos en el punto del lado y volvimos a tejer doce cadenas y se vuelve a cerrar con un medio punto en la siguiente cadena, se tejen doce cadenas más y se le coloca con un medio punto en el medio de la cadena de la vuelta anterior y así seguimos Tejiendo la vuelta hasta finalizarla.
Step No.4
We continue knitting the next row knitting twelve chains and with a half stitch we place it in the side stitch and we knit twelve chains again and we close it again with a half stitch in the next chain, we knit twelve more chains and we place it with a half stitch in the middle of the chain of the previous row and so we continue knitting the row until the end of the row.
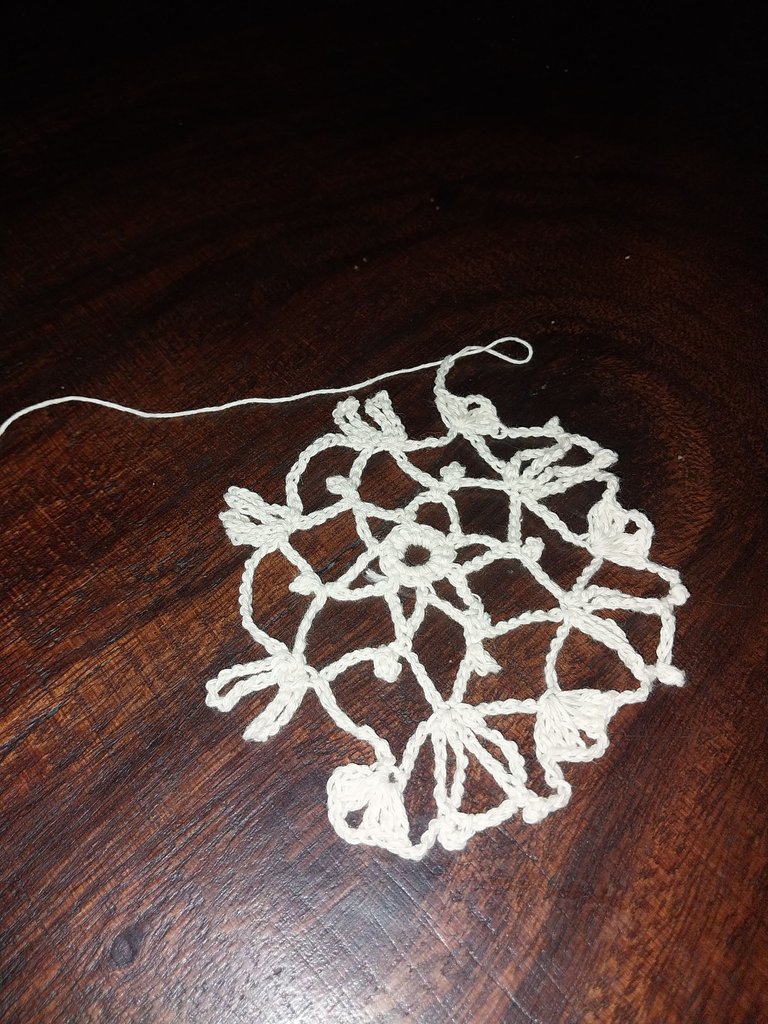
Paso No.5
comenzamos la siguiente vuelta con tres puntos altos y tejemos dos tachones luego tres cadenas y seguimos con tres puntos altos, luego tenemos tres cadenas y con un medio punto Lo colocamos en una de las cadenas de la vuelta anterior y se tejen tres cadenas más y se cierra con un medio punto en el otro aro y así seguimos hasta finalizar la vuelta y luego repetimos tres vueltas iguales.
Step No.5
We start the next row with three double crochet stitches and we knit two strips, then three chains and continue with three double crochets, then we have three chains and with a half stitch we place it in one of the chains of the previous row and we knit three more chains and close with a half stitch in the other ring and so we continue until the end of the row and then we repeat three equal rows.
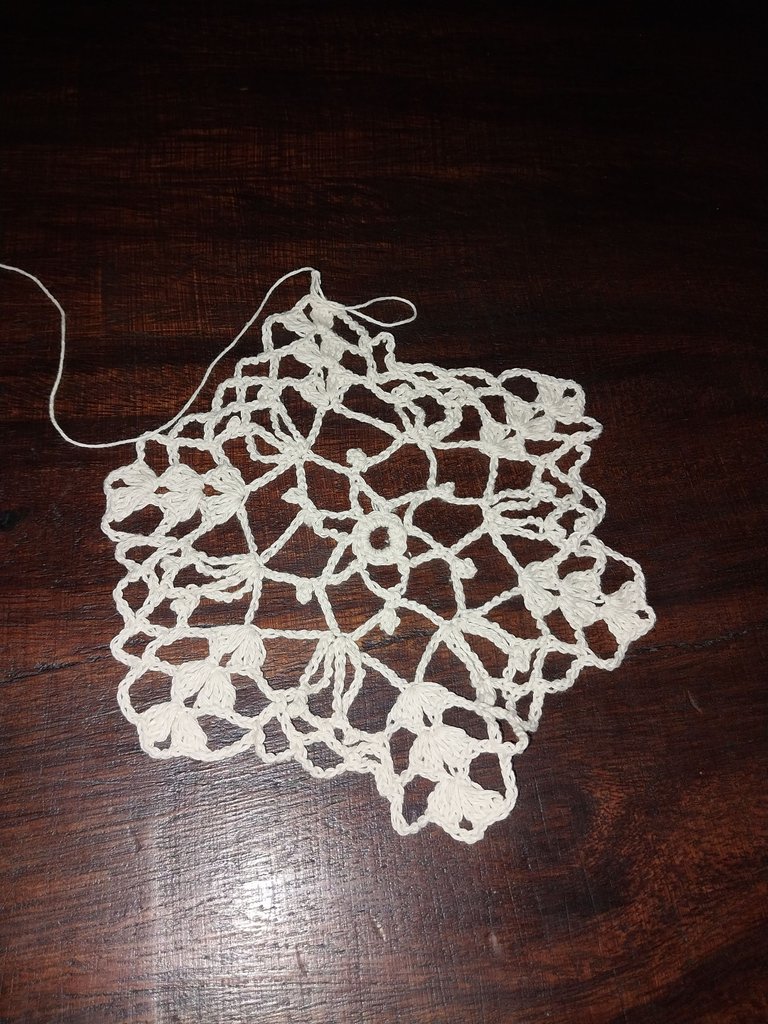
Paso No.6
tejemos la siguiente vuelta con tres puntos altos para hacer un tachón y se tejen dos tachones más, luego tres cadenas y seguimos con tres tachones, se tejen cuatro cadenas y un tachón en el medio de la vuelta anterior y así seguimos Tejiendo cuatro cadenas un tachón hasta tejer cinco cadenas, luego volvemos sobre el abanico a tejer tres tachones, tres cadenas y tres tachones más, y se vuelve a repetir hasta finalizar la vuelta que la cerramos con un punto deslizado. Y luego realizamos otra vuelta igual a la anterior, siempre cerrando la vuelta con un punto deslizado.
Step No.6
We knit the next row with three double crochet stitches to make a stud and knit two more studs, then three chains and continue with three studs, knit four chains and a stud in the middle of the previous row and so we continue knitting four chains and a stud until we knit five chains, then we return on the fan to knit three studs, three chains and three more studs, and repeat again until the end of the row that we close it with a slip stitch. And then we make another round the same as the previous one, always closing the round with a slip stitch.
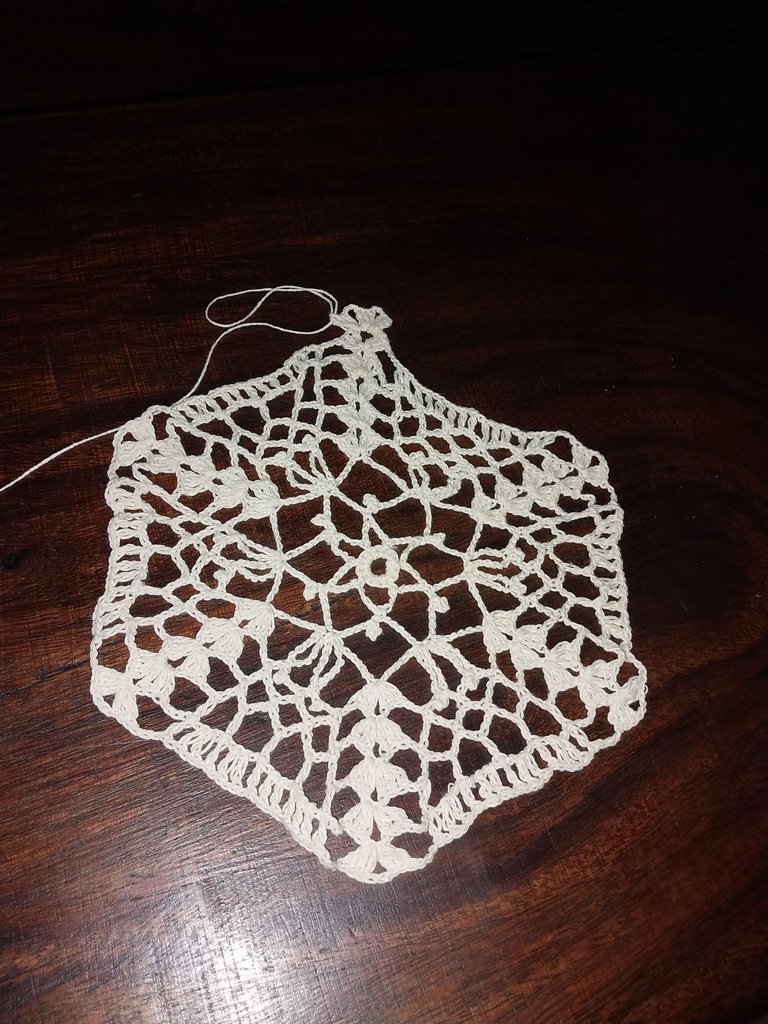
Paso No.7
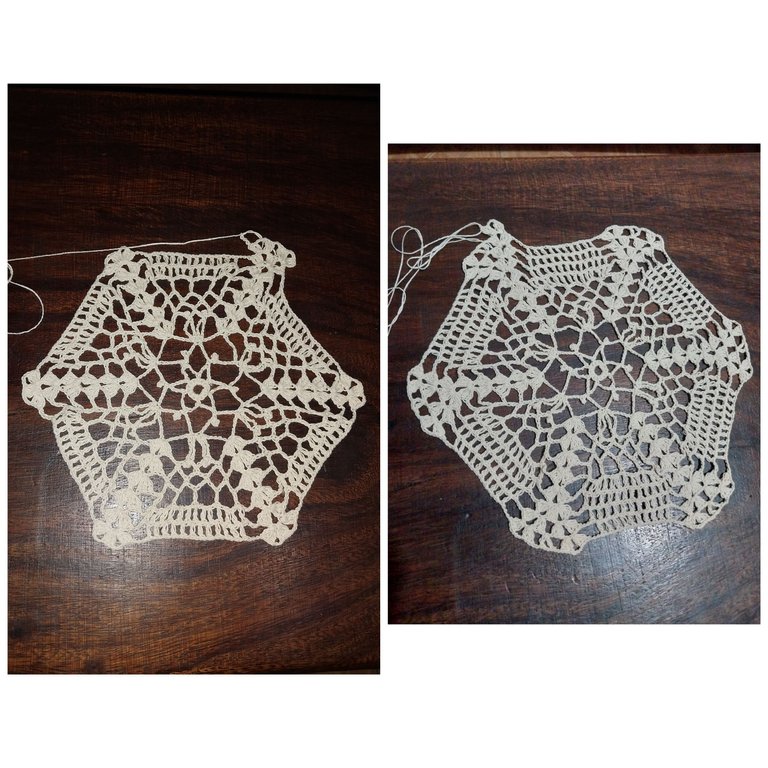
seguimos Tejiendo subiendo con tres puntos altos para realizar un abanico y se teje dos cadenas para hacer otro abanico en el siguiente de la vuelta anterior, se tejen tres cadenas y seguimos Tejiendo un Tachón una cadena sobre cada cadena de la vuelta anterior y así continuamos Tejiendo la vuelta hasta terminarla y la cerramos con un punto deslizado.
Step No.7
We continue knitting up with three high stitches to make a fan and we knit two chains to make another fan in the next chain of the previous row, we knit three chains and continue knitting one chain over each chain of the previous row and so we continue knitting the row until we finish it and we close it with a slip stitch.
Paso No.8
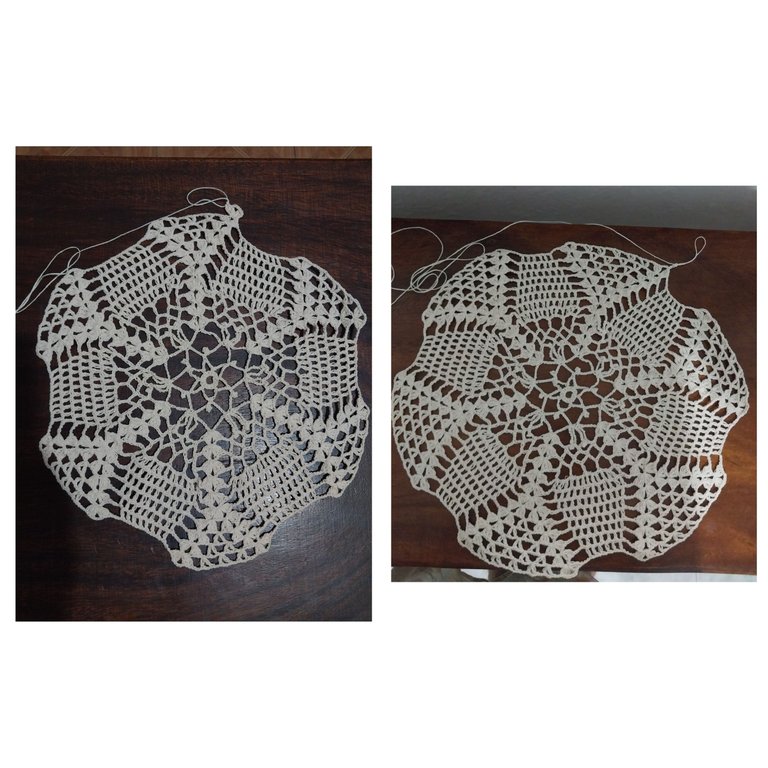
continuamos con la siguiente vuelta corrimos con tres medio puntos hasta llegar al centro del abanico para subir con tres cadenas y luego seguimos con dos tachones tres cadenas y otros tres tachones más para hacer un abanico, luego dos cadenas y en el centro de dos cadenas que están entre los dos abanicos aquí colocamos un tachón dos cadenas un tachón y lo colocamos en la misma cadena del tachón anterior y así seguimos Tejiendo el otro abanico sobre el de la vuelta anterior y continuamos hasta terminar la vuelta que la cerramos con un punto deslizado, y así le repetimos dos vueltas hacia arriba.
Step No.8
we continue with the next round we run with three half stitches until we reach the center of the fan to go up with three chains and then we continue with two studs three chains and another three more studs to make a fan, then two chains and in the center of two chains that are between the two fans here we place one stud two chains one stud and we place it in the same chain of the previous stud and so we continue knitting the other fan over the one of the previous row and we continue until we finish the row that we close it with a slipped stitch, and so we repeat two rows up.
Paso No.9
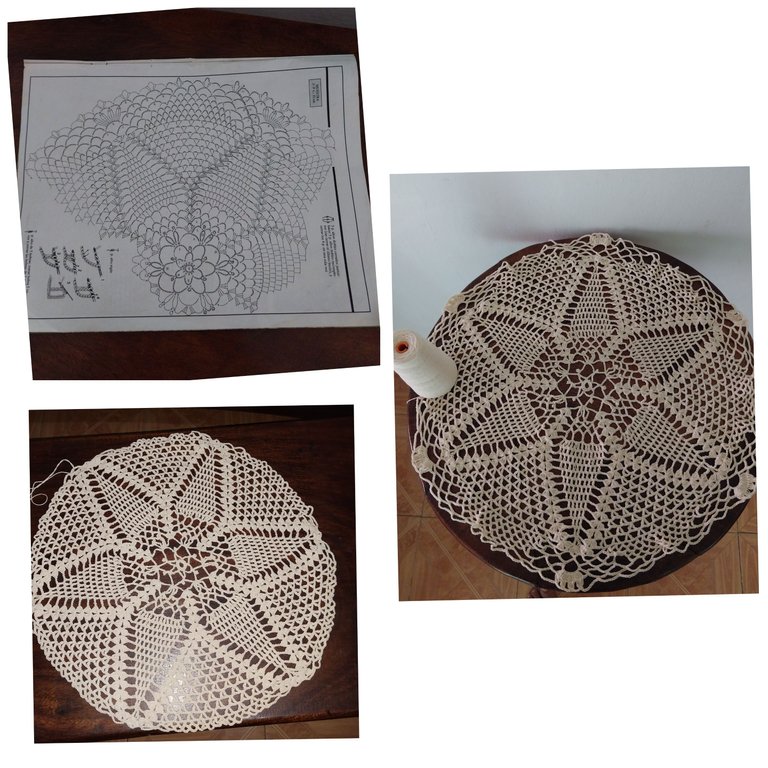
así continuamos tejiendo con la ayuda de patrones gráficos, hasta culminar con el tapete o pañito tejido.
Step No.9
We continue weaving with the help of graphic patterns, until we end up with the woven mat or handkerchief.
Que bonito le ha quedado. Tengo años que no tengo. Aunque nunca logre hacer uno dee estos siempre se me encoja el tejido jejeje.
Pero me ha entrado la curiosidad, por volver a empezar.
Excelente tutorial @rosalbaced
Te lo propones y lo logras, solo tienes q sentarte relajada y cuando empiece a engorar solo le aumentas una cadena y listo. Gracias amiga.
Gracias amiga, me lo voy a proponer hacerlo pronto. Voy a comenzar por algo sencillo.
Leer su tutorial me trajo a mi memoria que cuando era niña yo tejía, y realmente eso lo había borrado, ahora recuerdo que aprendimos a tejer con unas viejas revistas, dónde las indicaciones eran ilustradas, de repente ya ni existen. Pero si nos enseñó una vecina, nos explicaba y nos prestaba las revistas para hacer las tareas de tejido. Ella tejía tan bonito como usted. Un tapete grade , la mesa se ve regia.
Si amiga los manteles tejidos se ven bellisimos, ya tu tienes muchas nociones solo agarra hilo y agujas, listo a relajarse. Me alegra les guste mi trabajo.🤗
Le quedó precioso, me dieron ganas de tejer uno para la mesita de sala. Me gusta mucho su foto de presentación, se ve muy emocionada y disfrutando de su creación.
Me encanta hacerlo, anímate y no te arrepentiras amiga. Saludos
Thank you for sharing this amazing post on HIVE!
Your content got selected by our fellow curator @rezoanulvibes & you just received a little thank you via an upvote from our non-profit curation initiative!
You will be featured in one of our recurring curation compilations and on our pinterest boards! Both are aiming to offer you a stage to widen your audience within and outside of the DIY scene of hive.
Join the official DIYHub community on HIVE and show us more of your amazing work and feel free to connect with us and other DIYers via our discord server: https://discord.gg/mY5uCfQ !
If you want to support our goal to motivate other DIY/art/music/homesteading/... creators just delegate to us and earn 100% of your curation rewards!
Stay creative & hive on!
How did you even manage to come up with such an amazing design? It looks great and I think it will be good for parlor use.
Gracias por agradarte,atraves de estos patrones podemos hacer grandes creaciones.
Me agrada q les guste mi trabajo. Gracias.
Hola @rosalbaced, gracias por comaprtir este proyecto tan lindo en nuetra comunidad.
El tapete te ha quedado muy hermoso, me gustó mucho este patrón ya que se ve muy sencillo de elaborar,
Saludos!
Gracias amiga, me alegra mucho q les guste mi trabajo. 🤗