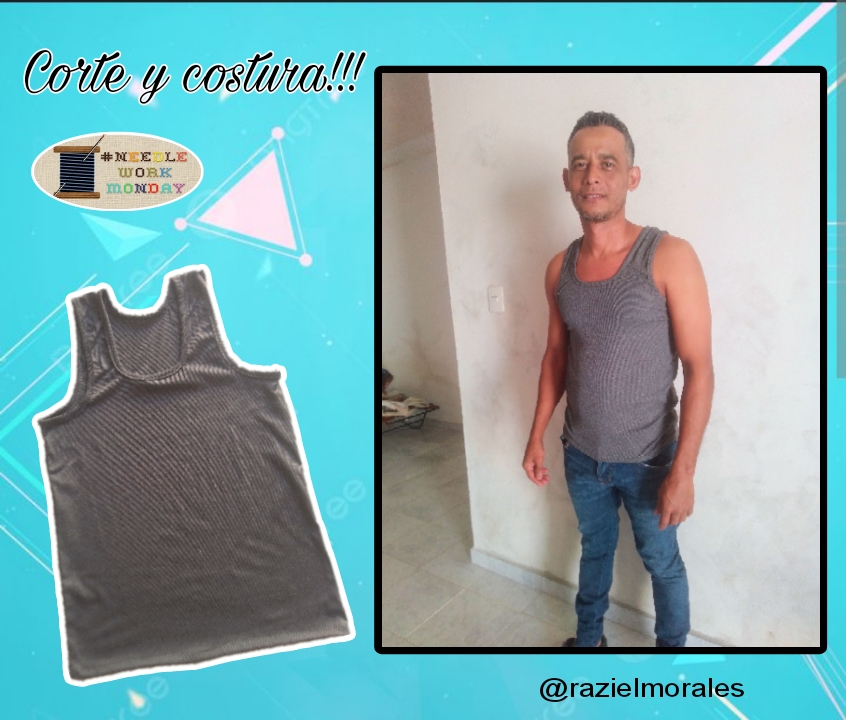
Feliz lunes de costura tengan todos, que Dios les bendiga y les regale una hermosa semana llena de momentos muy alegres, sean todos bienvenidos a un nuevo tutorial de corte y costura en esta oportunidad para caballeros.
No pase un fin de semana nada bien de salud, una gripe super fuerte me impidió tener los ánimos para coser, pero hoy en la mañana puede sacar un poquito de fuerzas para hacer una prenda muy sencilla de crear para poder hoy compartirles a ustedes... Se trata de una comoda franelilla o camiseta para caballeros, yo la conozco como guardacamisa ya que es una prenda que comúnmente usan los hombres abajo de la camisa, aunque también es la más utilizada para su hacer ejercicios debido a que generalmente son hechas de telas suaves de algodón, puede ser también una prenda para un día de playa y para los niños es ideal para llevar abajo de su uniforme escolar y en una tarde de juegos.. No cabe duda que es una prenda clásica, sumamente versátil, muy fresca y además su confección es súper rápida, acompañame te muestro como se hace.
Happy sewing Monday everyone, may God bless you and give you a beautiful week full of very happy moments, welcome to a new cutting and sewing tutorial this time for gentlemen.
I didn't spend a weekend in any good health, a super strong flu prevented me from having the courage to sew, but today in the morning I can get a little bit of strength to make a very simple garment to create so I can share with you today... It is a comfortable flannel or t-shirt for men, I know it as a shirt guard since it is a garment that men commonly wear under their shirt, although it is also the most used for their do exercises because they are generally made of fabrics soft cotton, it can also be a garment for a day at the beach and for children it is ideal to wear under their school uniform and on an afternoon of games. There is no doubt that it is a classic garment, extremely versatile, very fresh and In addition, its preparation is super fast, come with me and I'll show you how to do it.
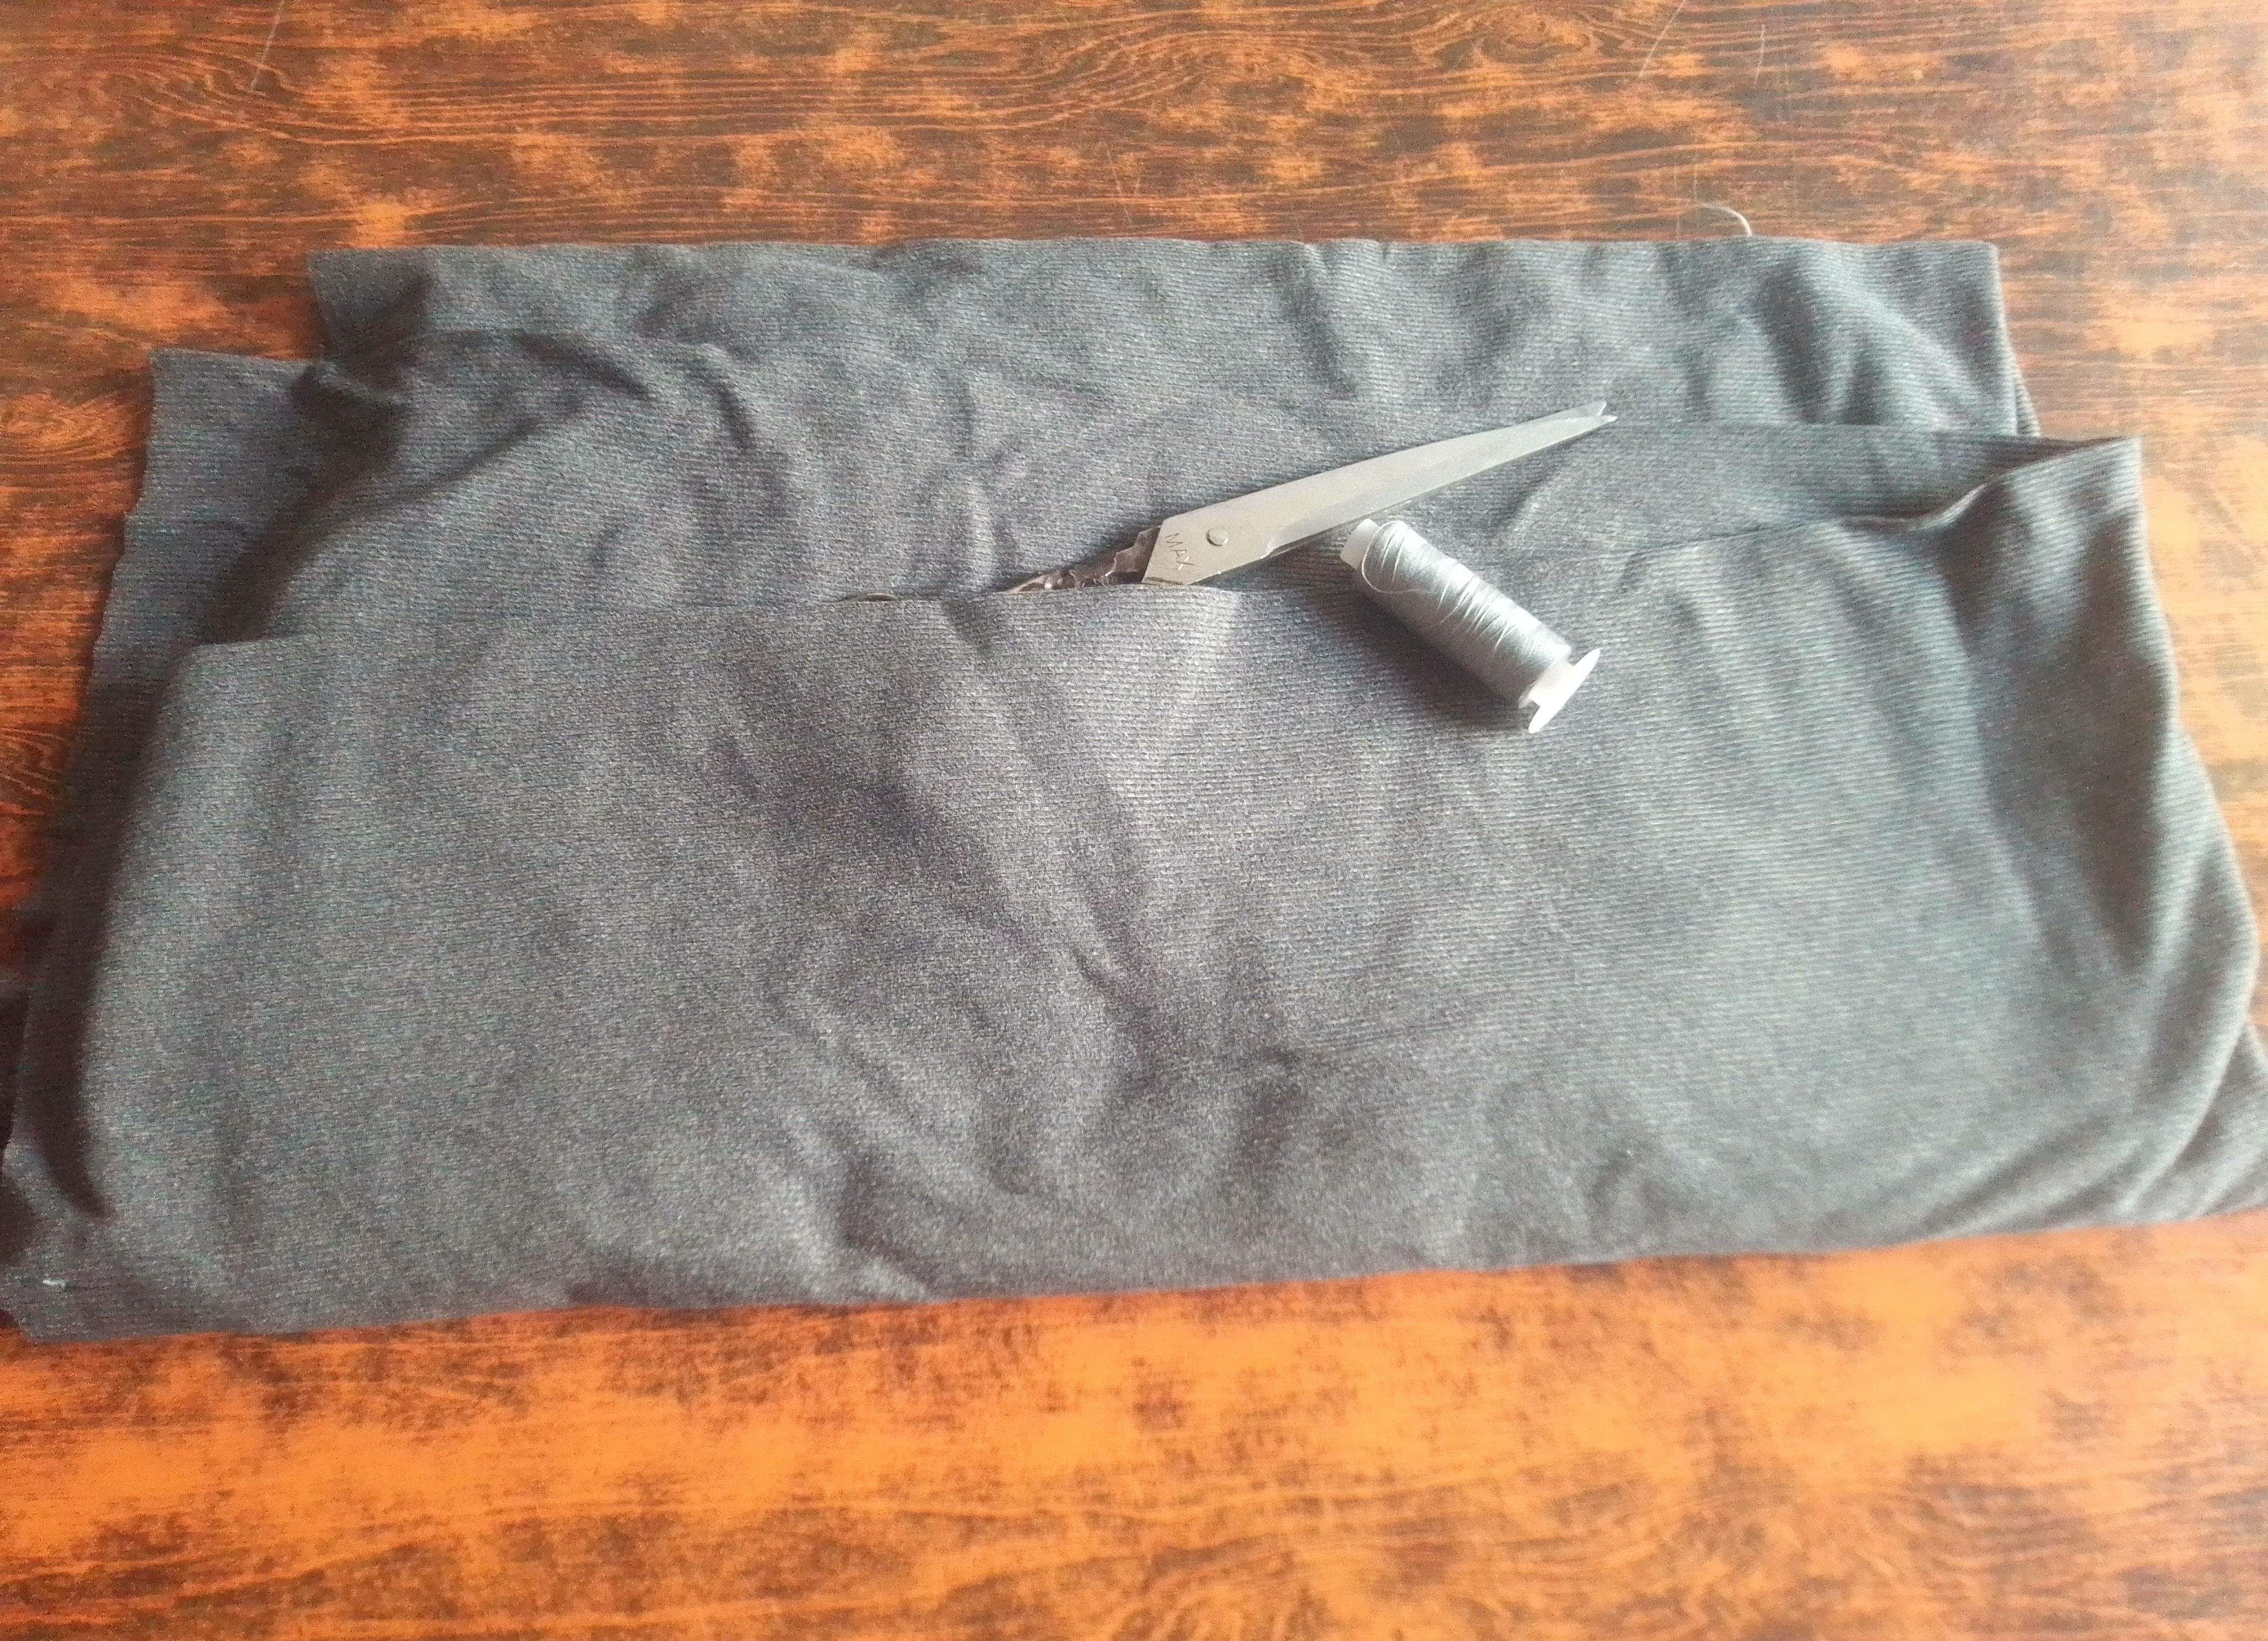
Materiales que necesitas:
- Tela de algodón .
- Tijeras.
- Hilo y aguja.
- Máquina de coser.
- Cotton fabric.
- Scissors.
- Thread and needle.
- Sewing machine.
(PROCEDIMIENTO)
Paso 01
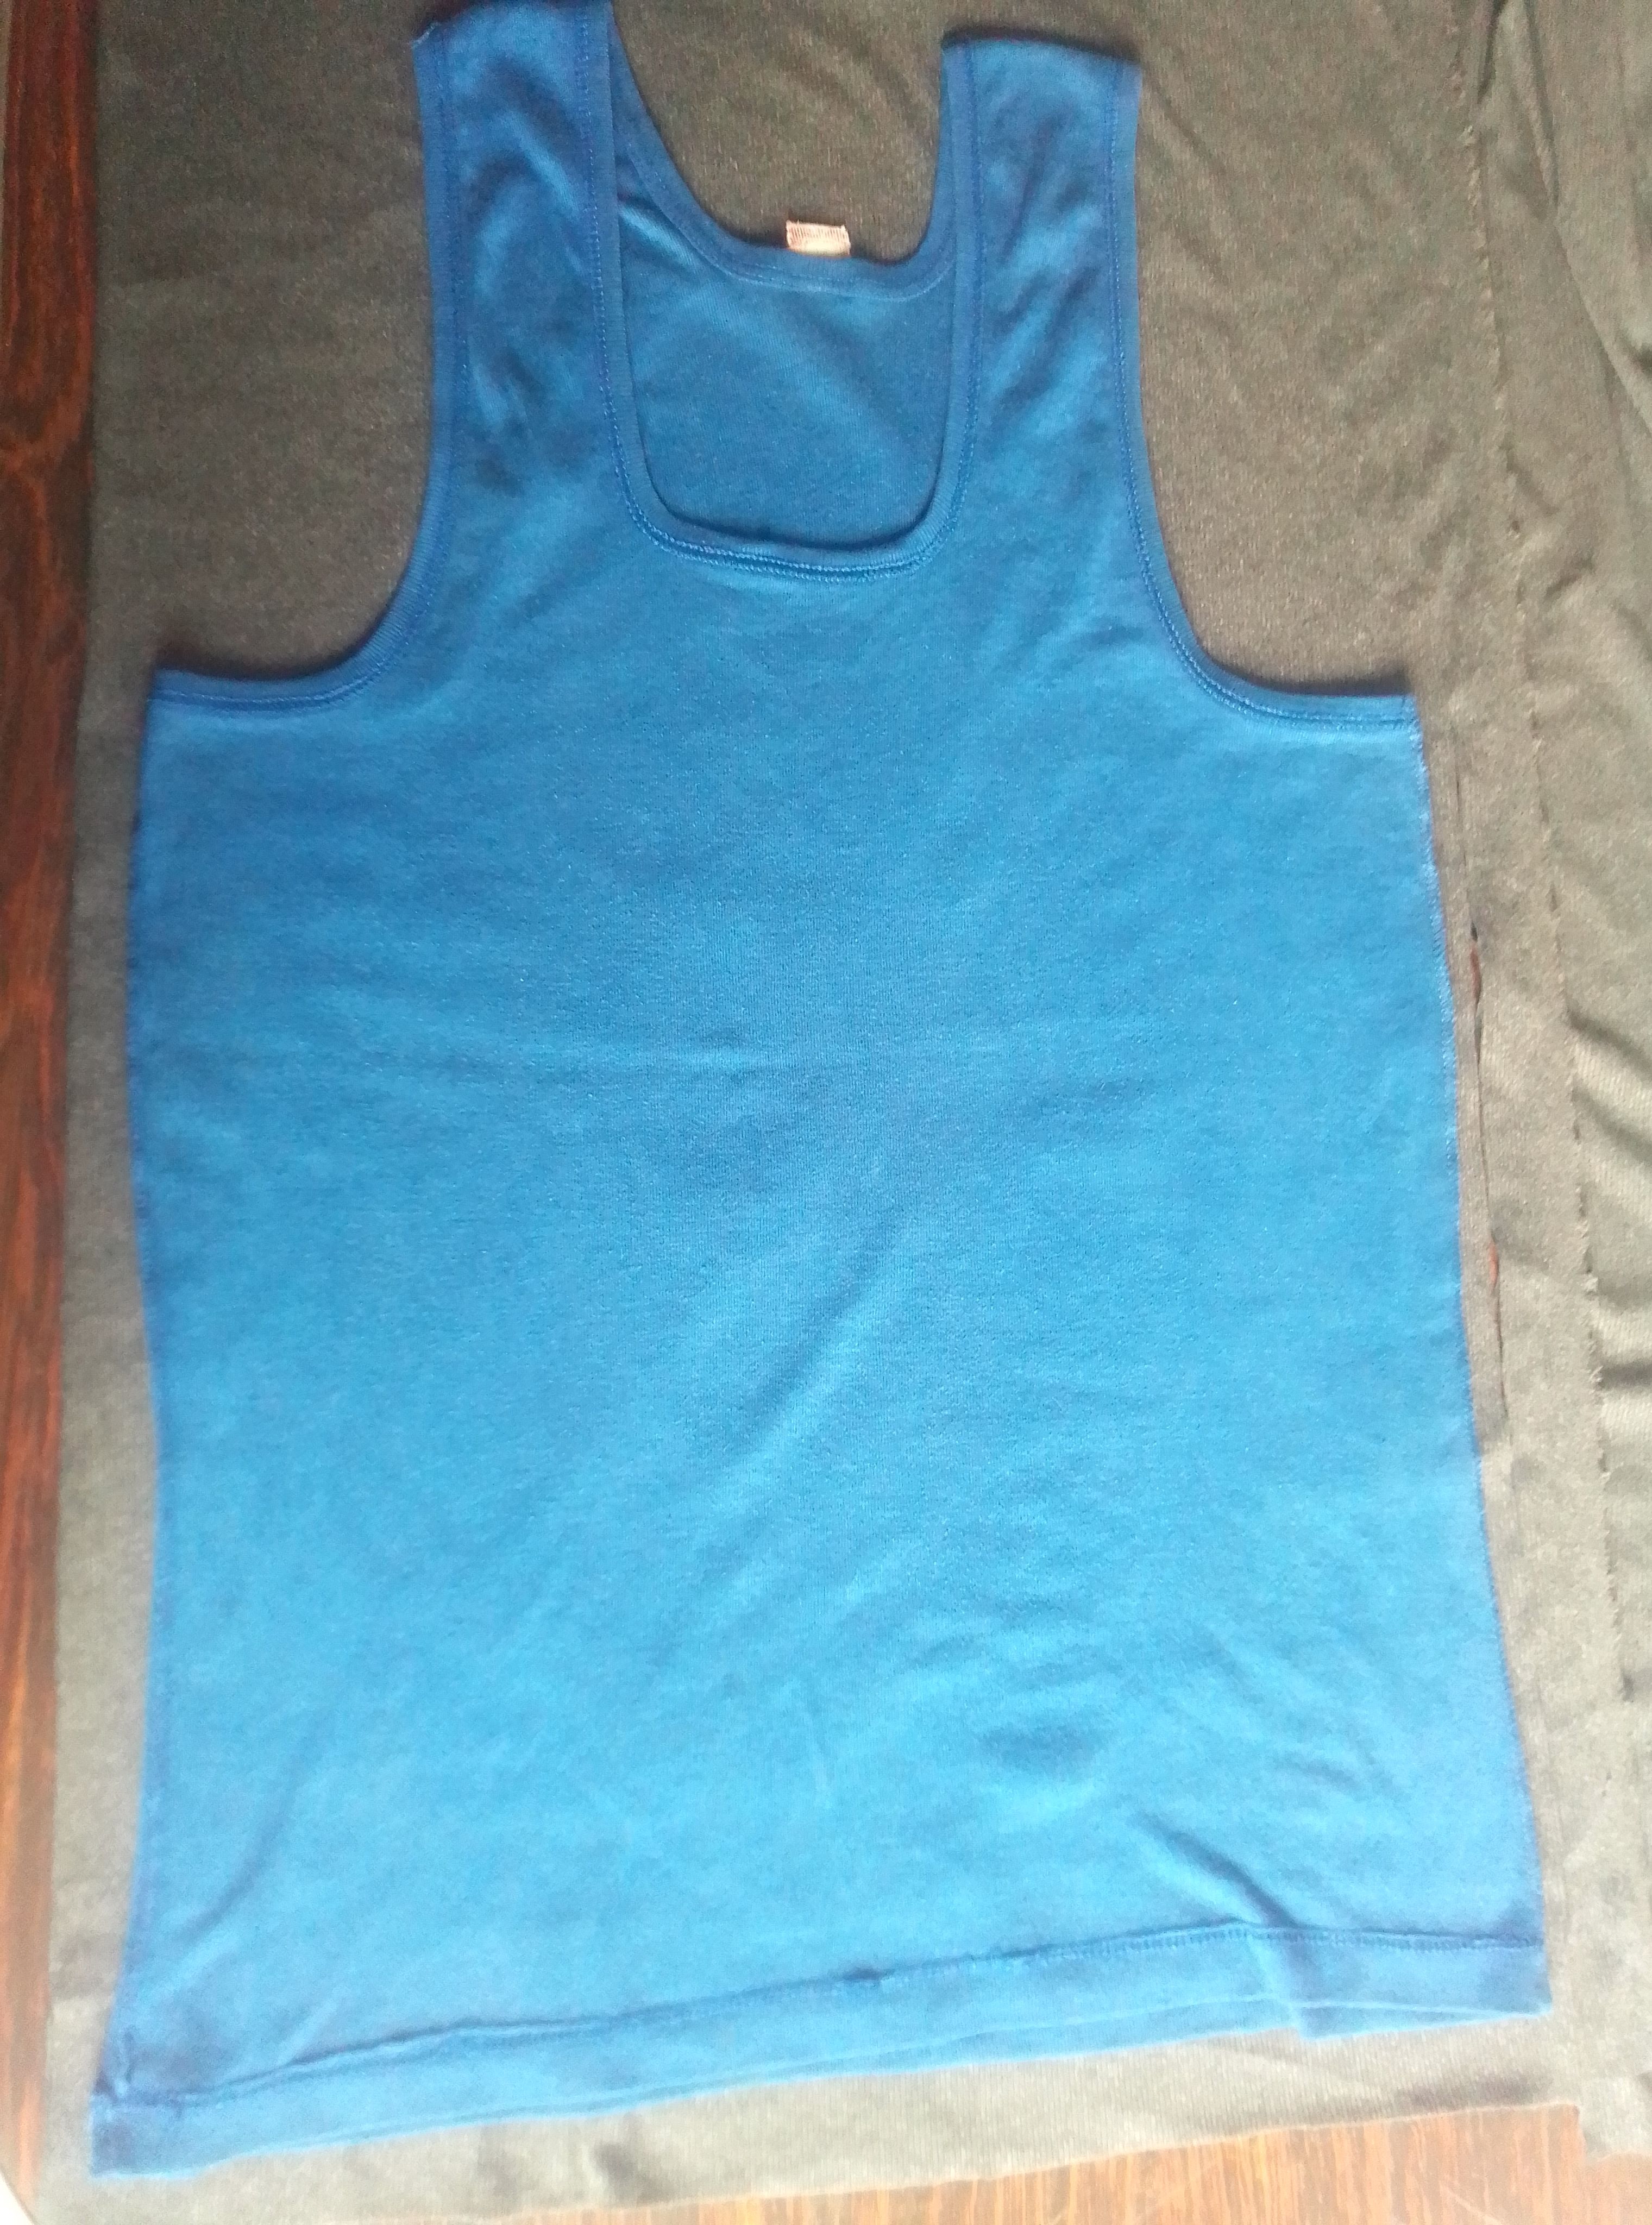
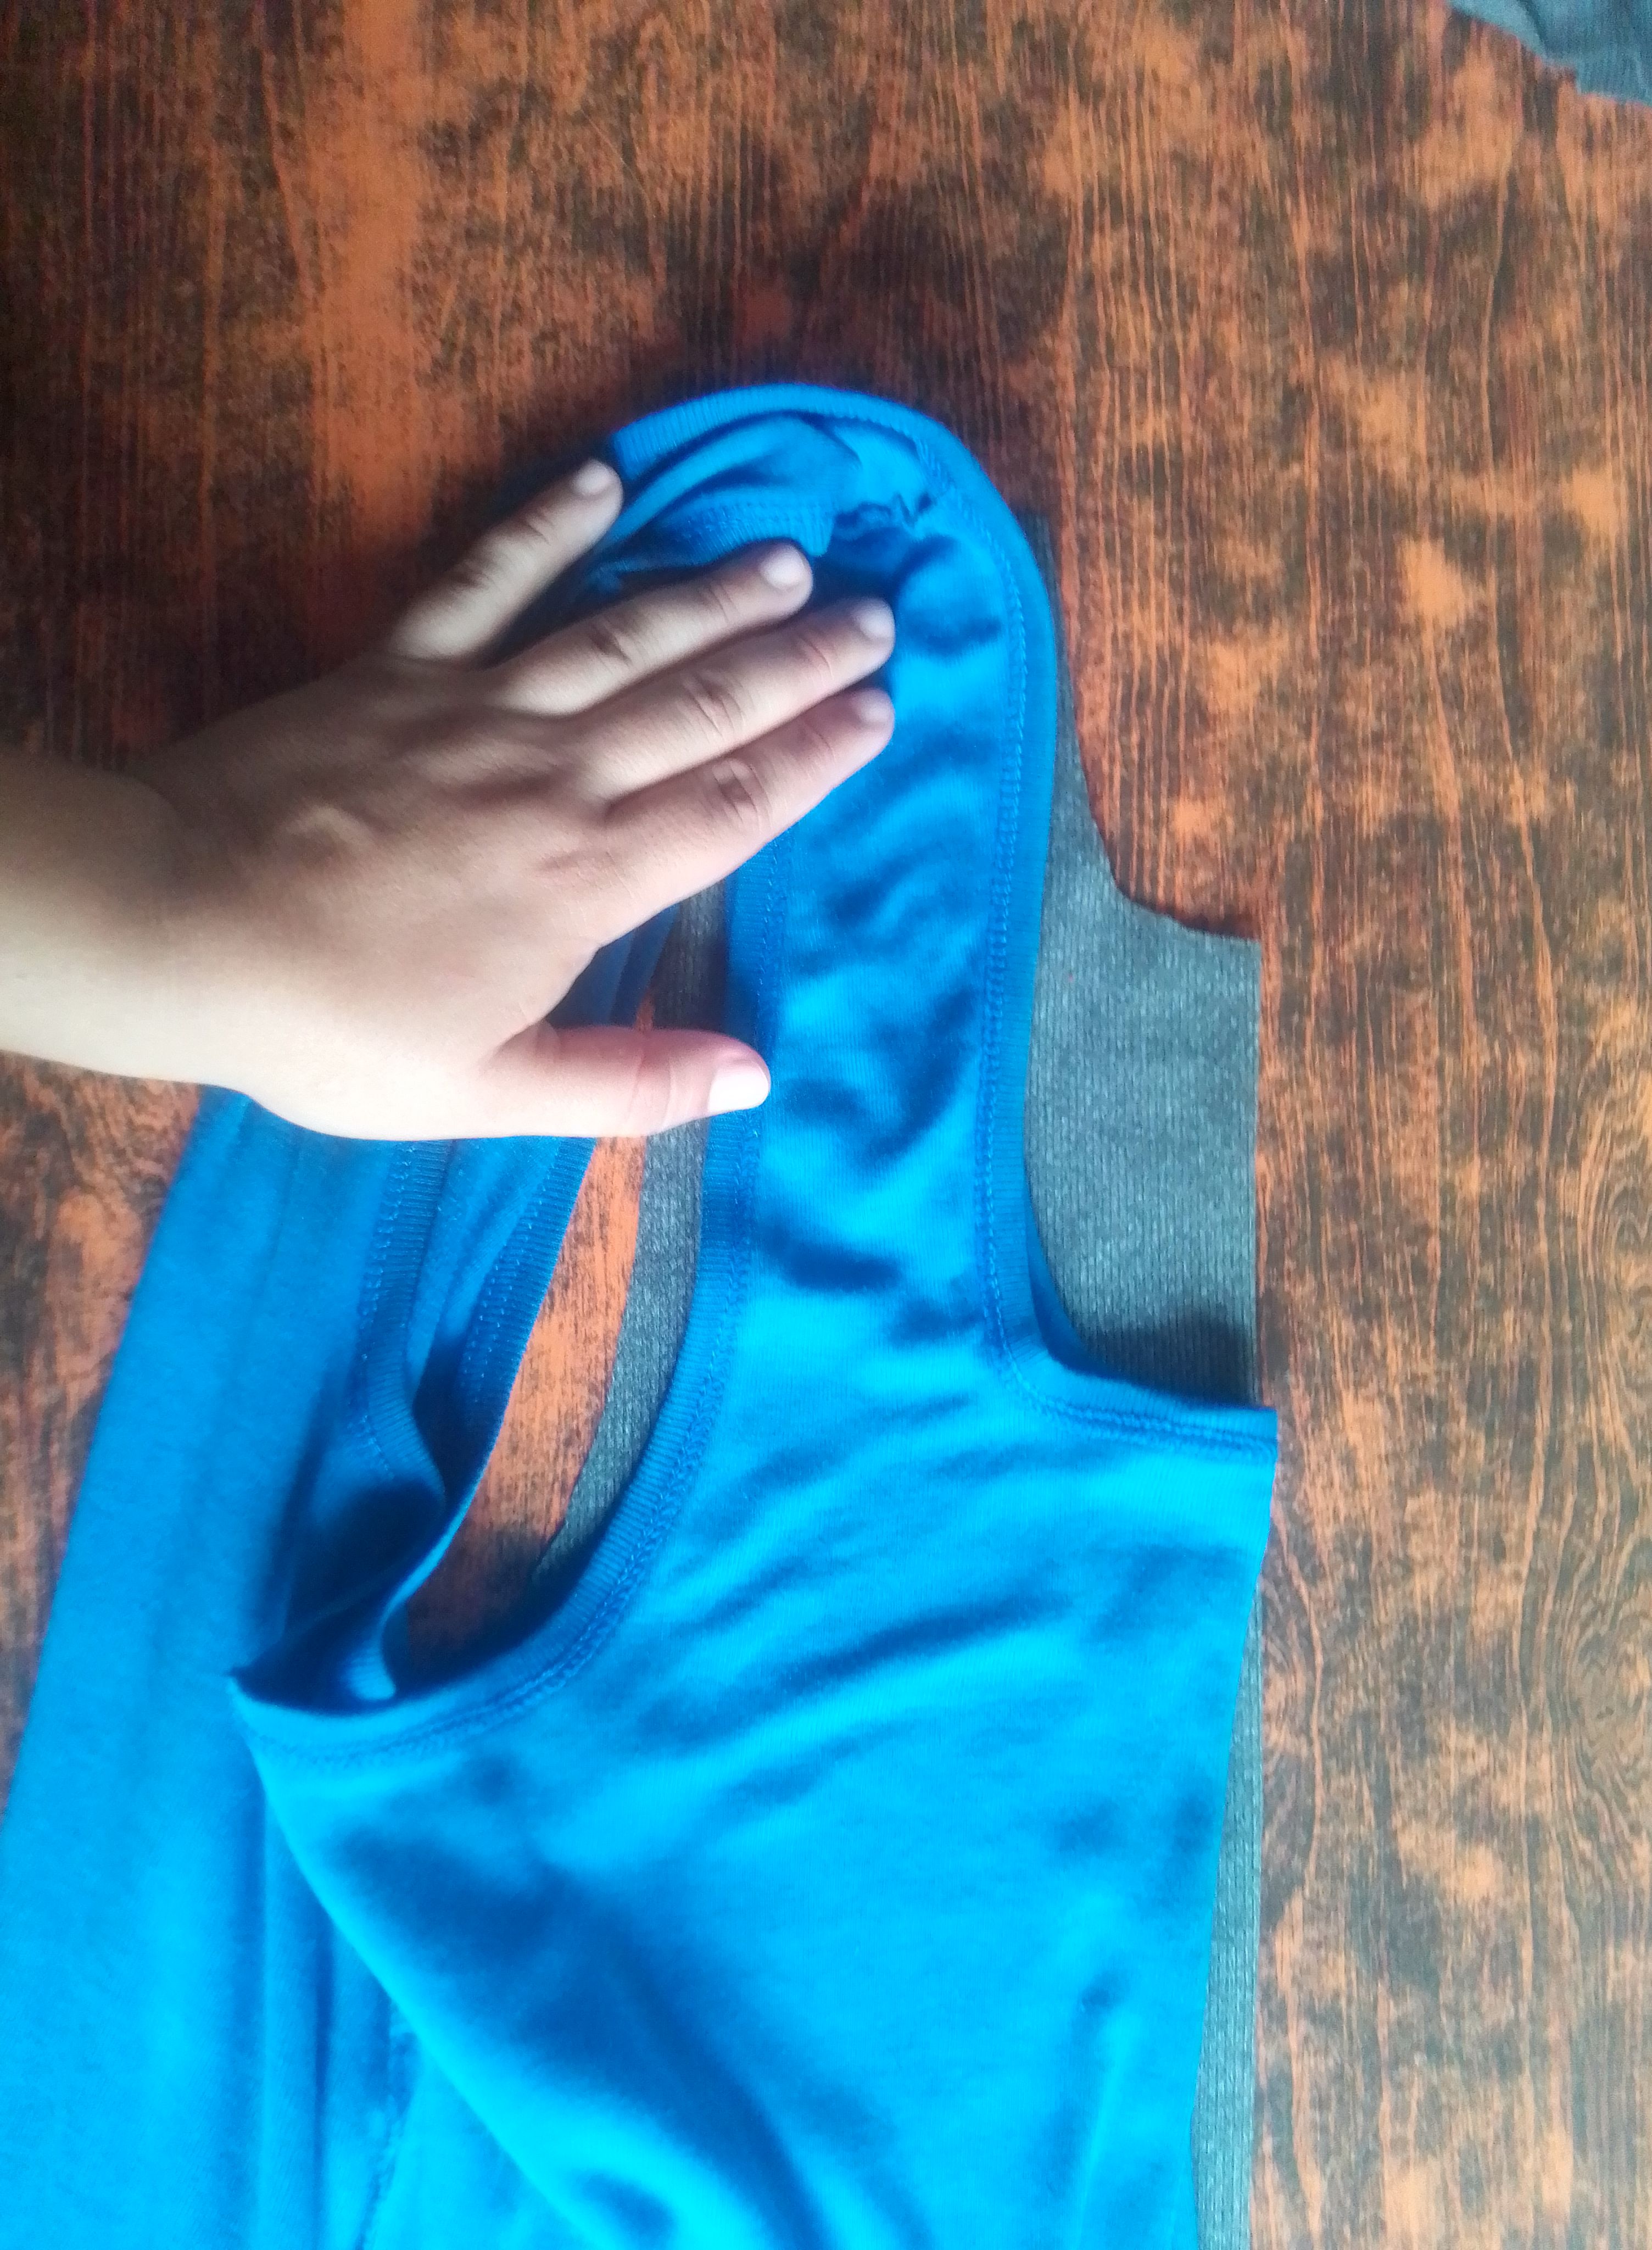
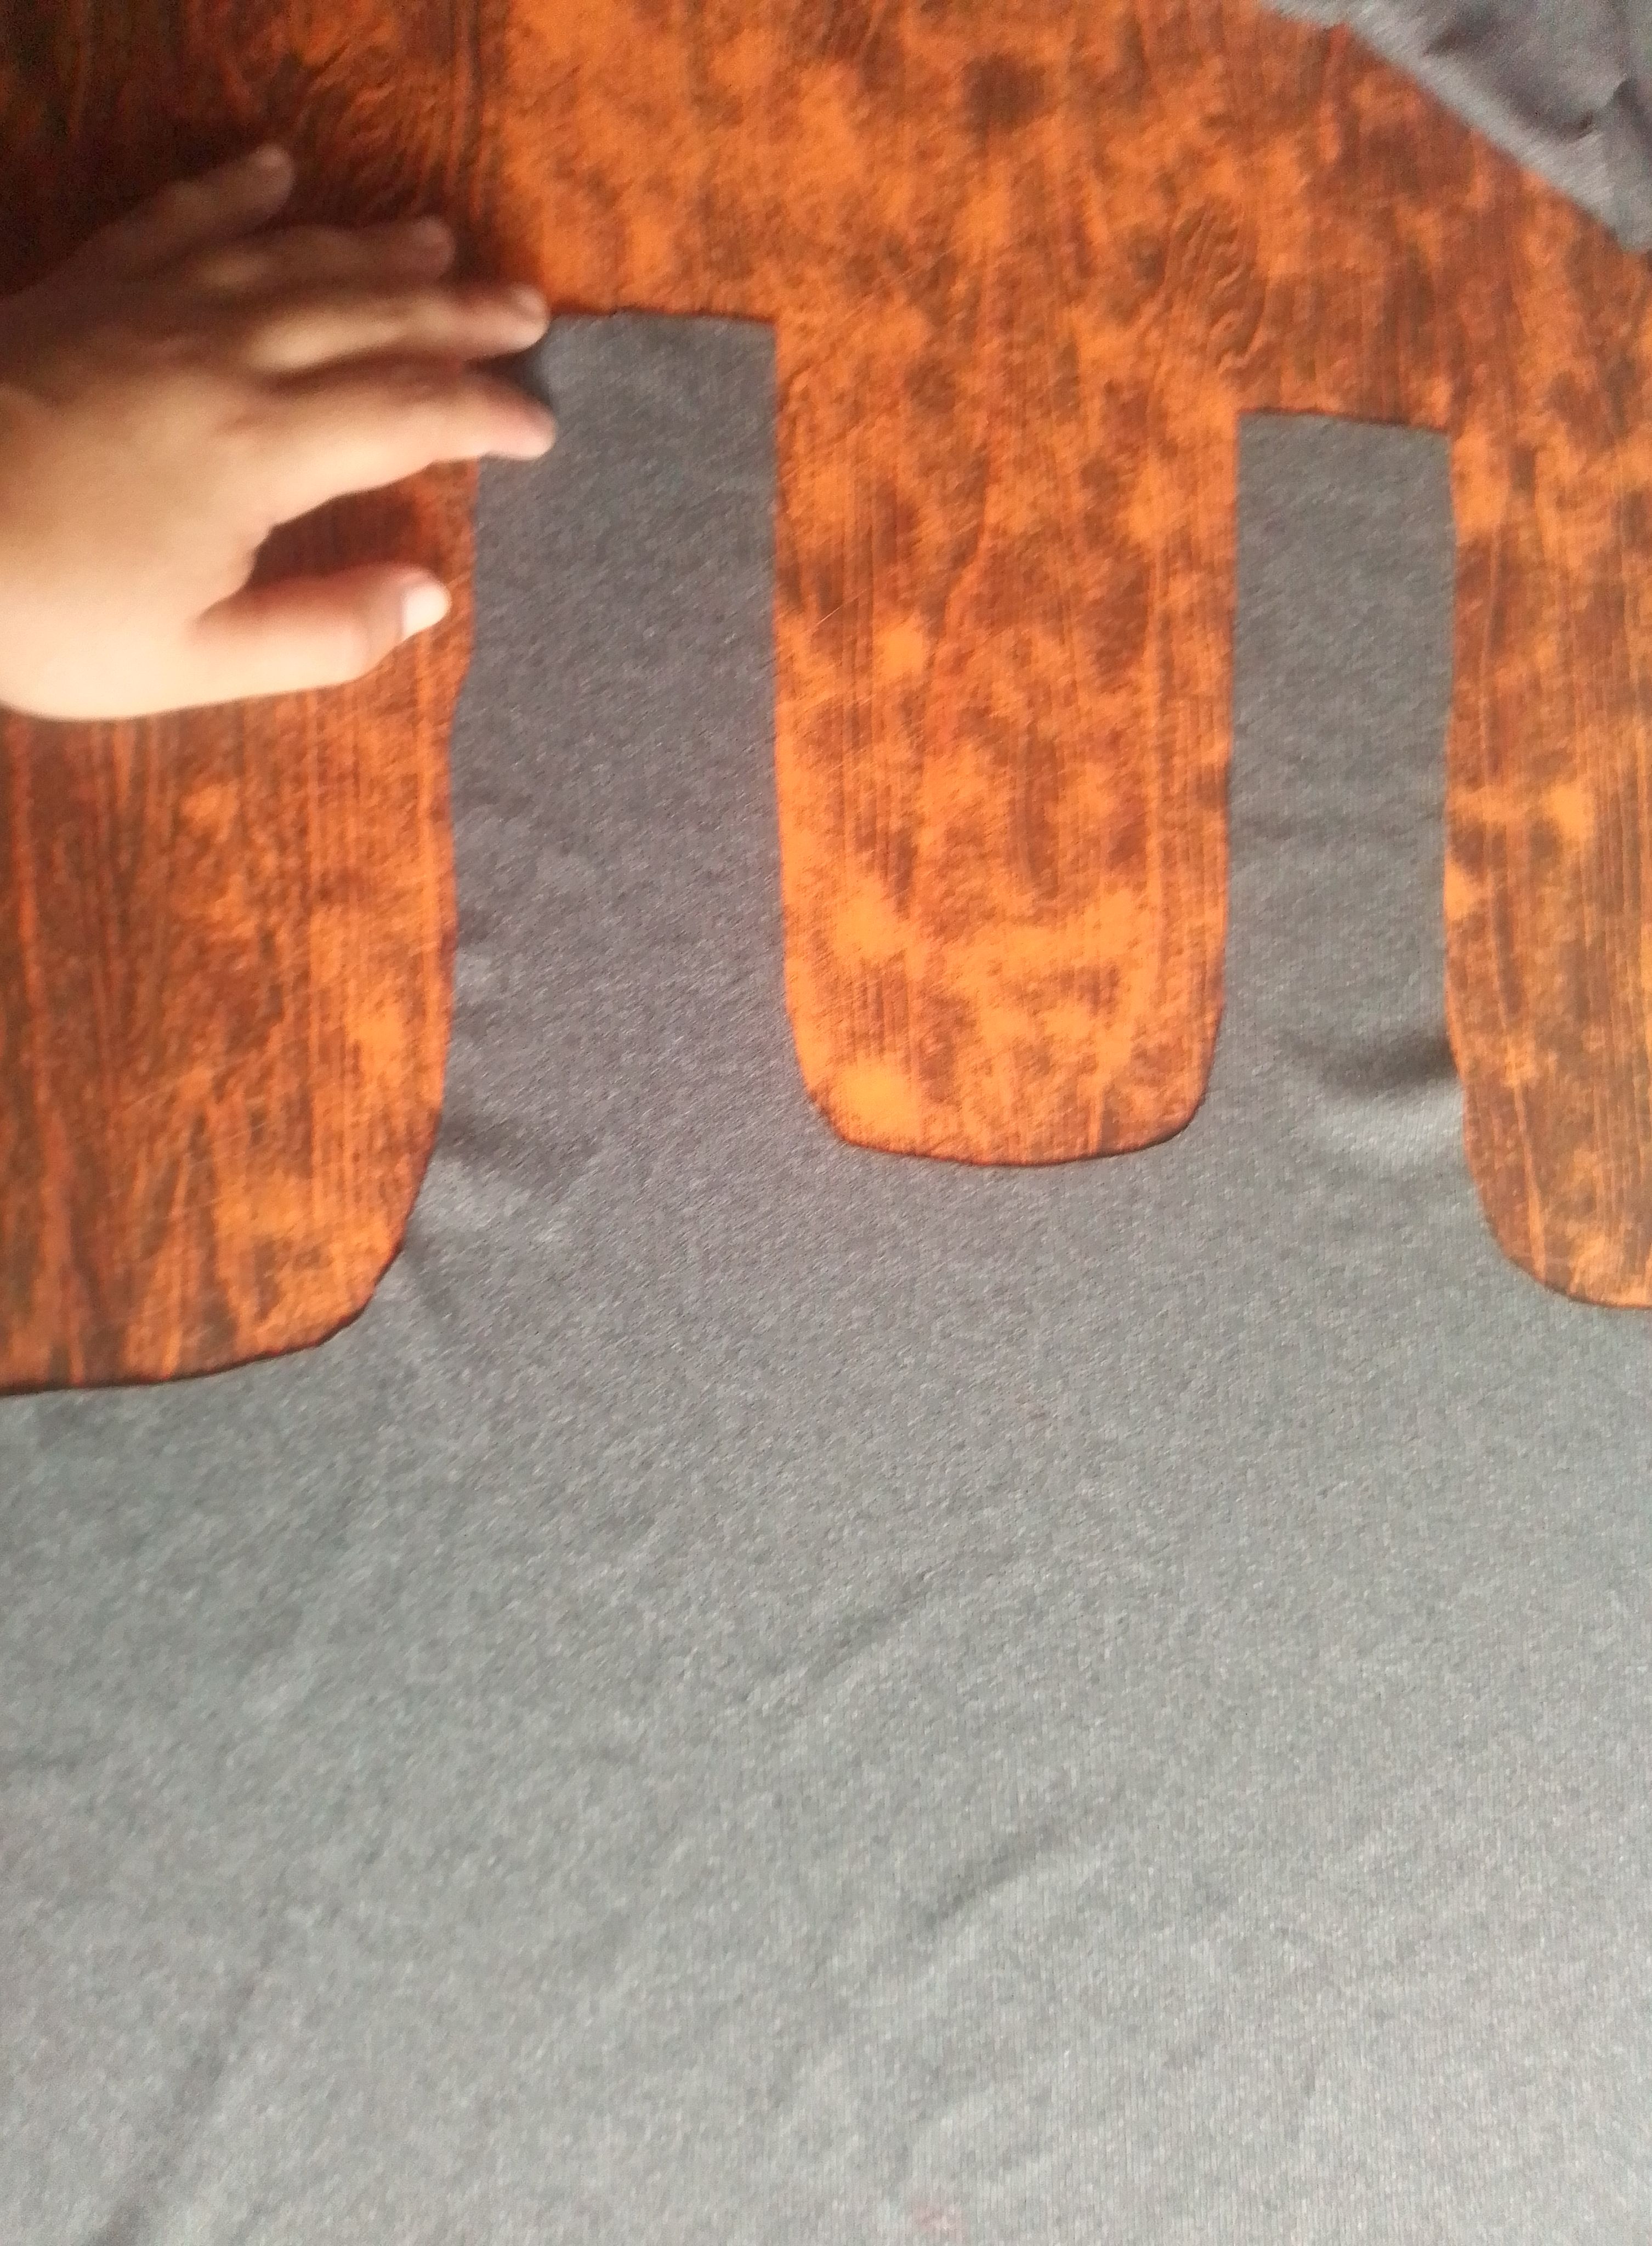
Para tener las partes de esta franelilla utilizaremos una como patrón, si no tenemos una podemos usar una que no tenga mangas. Voy a cortar su contorno y forma para tener la parte delantera y trasera. A diferencia de una con mangas está prenda cuenta con una sisa más pronunciada hacia adentro. Voy a separar las piezas y en a la delantera le voy hacer un corte cuadrado en el cuello. A la parte trasera le voy cortar una forma semicircular.
Step 01
To have the parts of this flannel we will use one as a pattern, if we don't have one we can use one that does not have sleeves. I'm going to cut its outline and shape to have the front and back. Unlike one with sleeves, this garment has a more pronounced inward armhole. I'm going to separate the pieces and on the front I'm going to make a square cut on the neck. I'm going to cut a semicircular shape at the back.
Paso 02
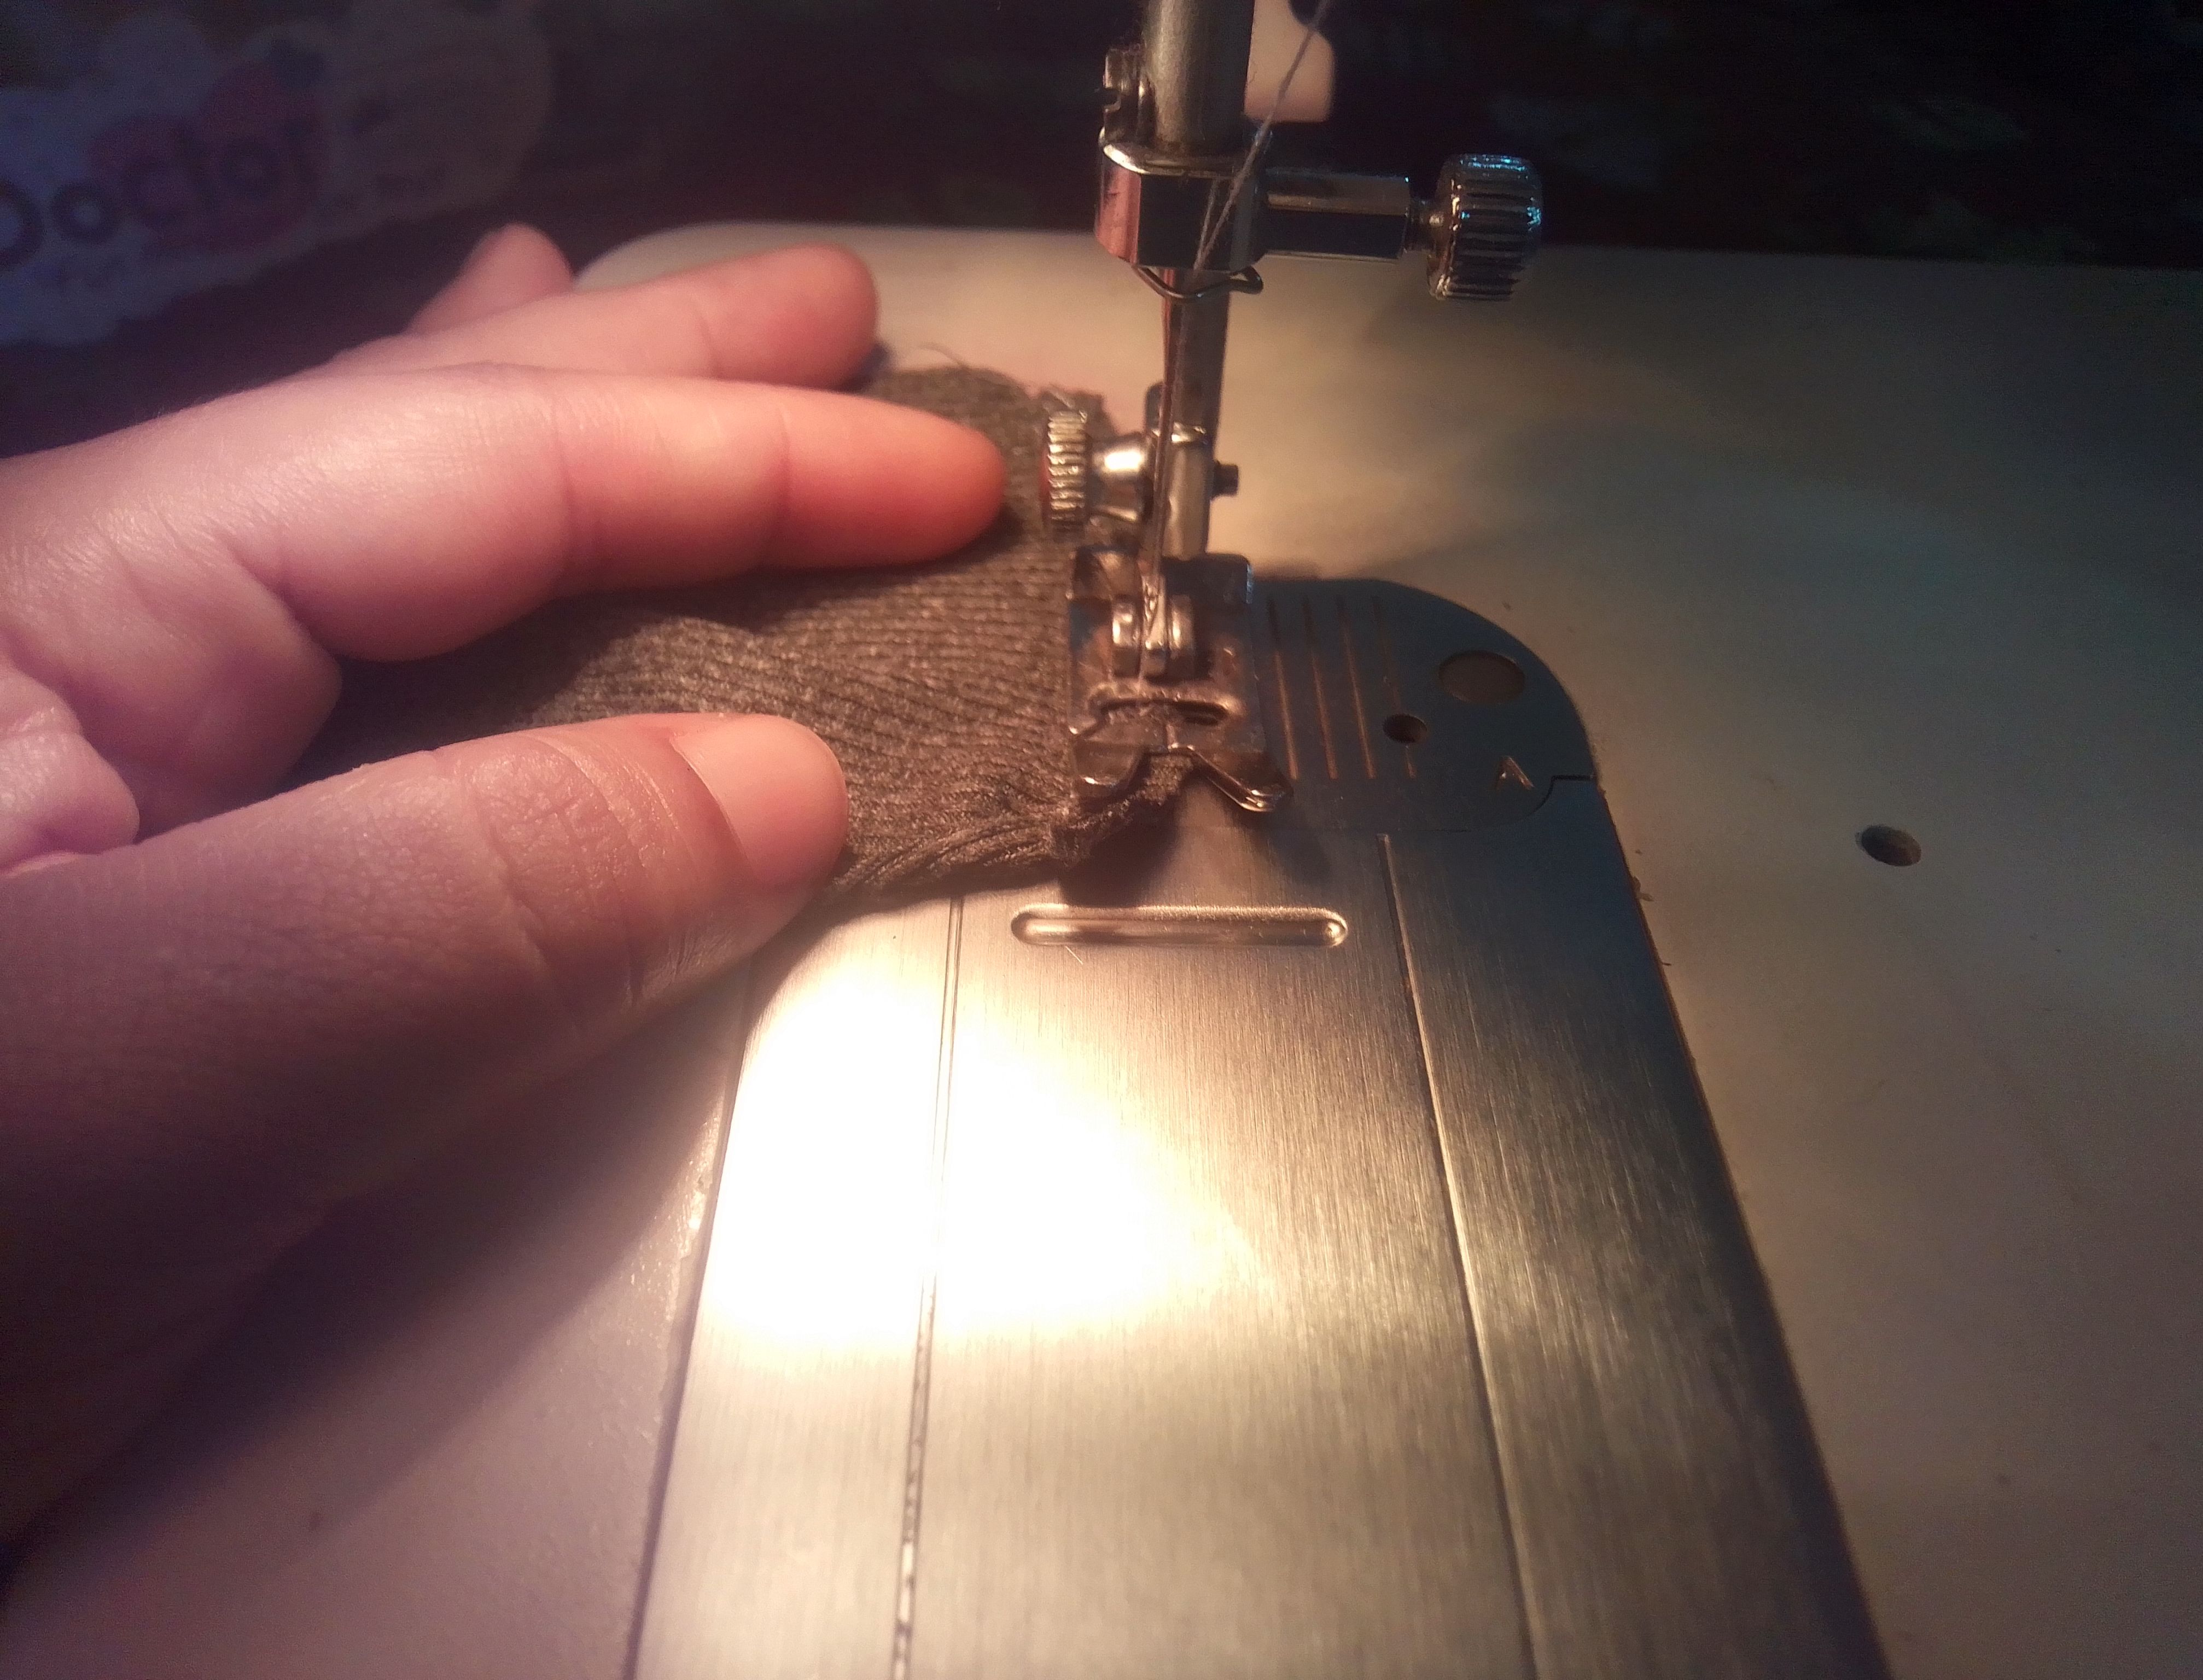
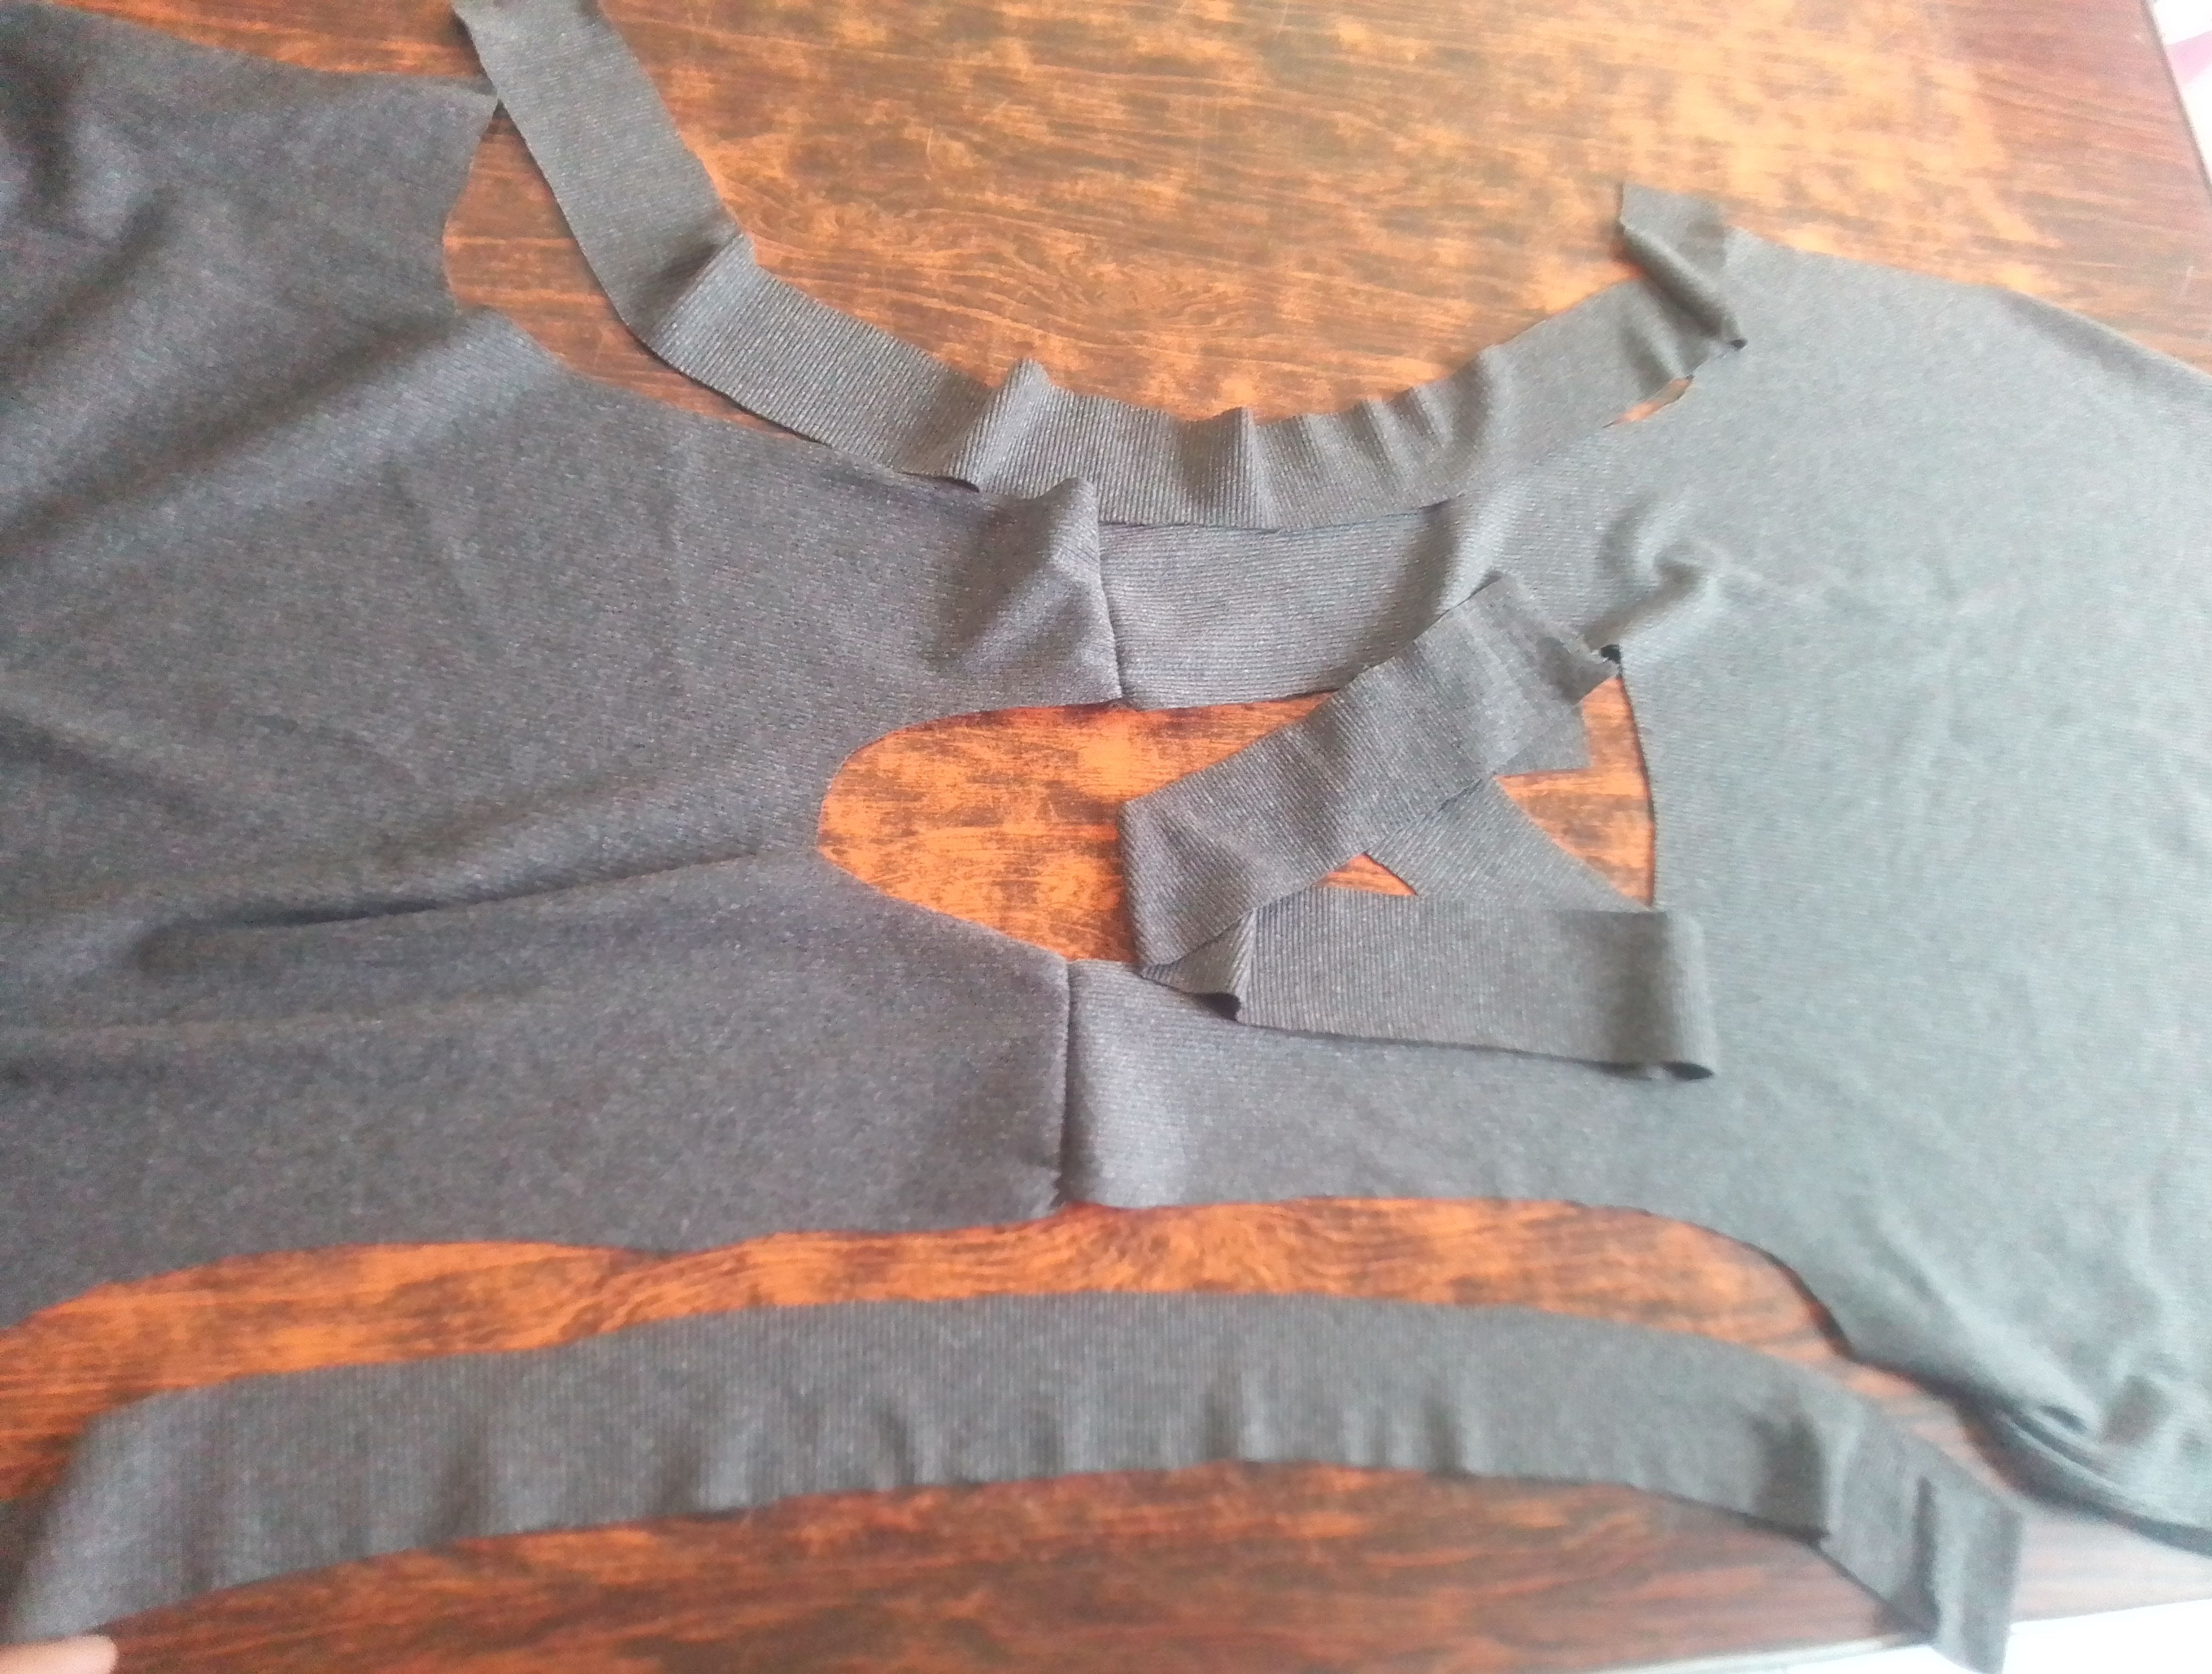
Voy a coser y a unir la parte de los hombros con costura recta y su zigzag en las orillas. Con esto listo voy a cortar una tira de tela con el tamaño del largo de la sisa por un ancho de un centímetro y medio. De igual manera corto la del cuello con previa medida a su tamaño.
Step 02
I am going to sew and join the shoulder part with a straight seam and its zigzag on the edges. With this ready I am going to cut a strip of fabric the size of the armhole length and a width of one and a half centimeters. In the same way, I cut the neck one after measuring it to its size.
Paso 03
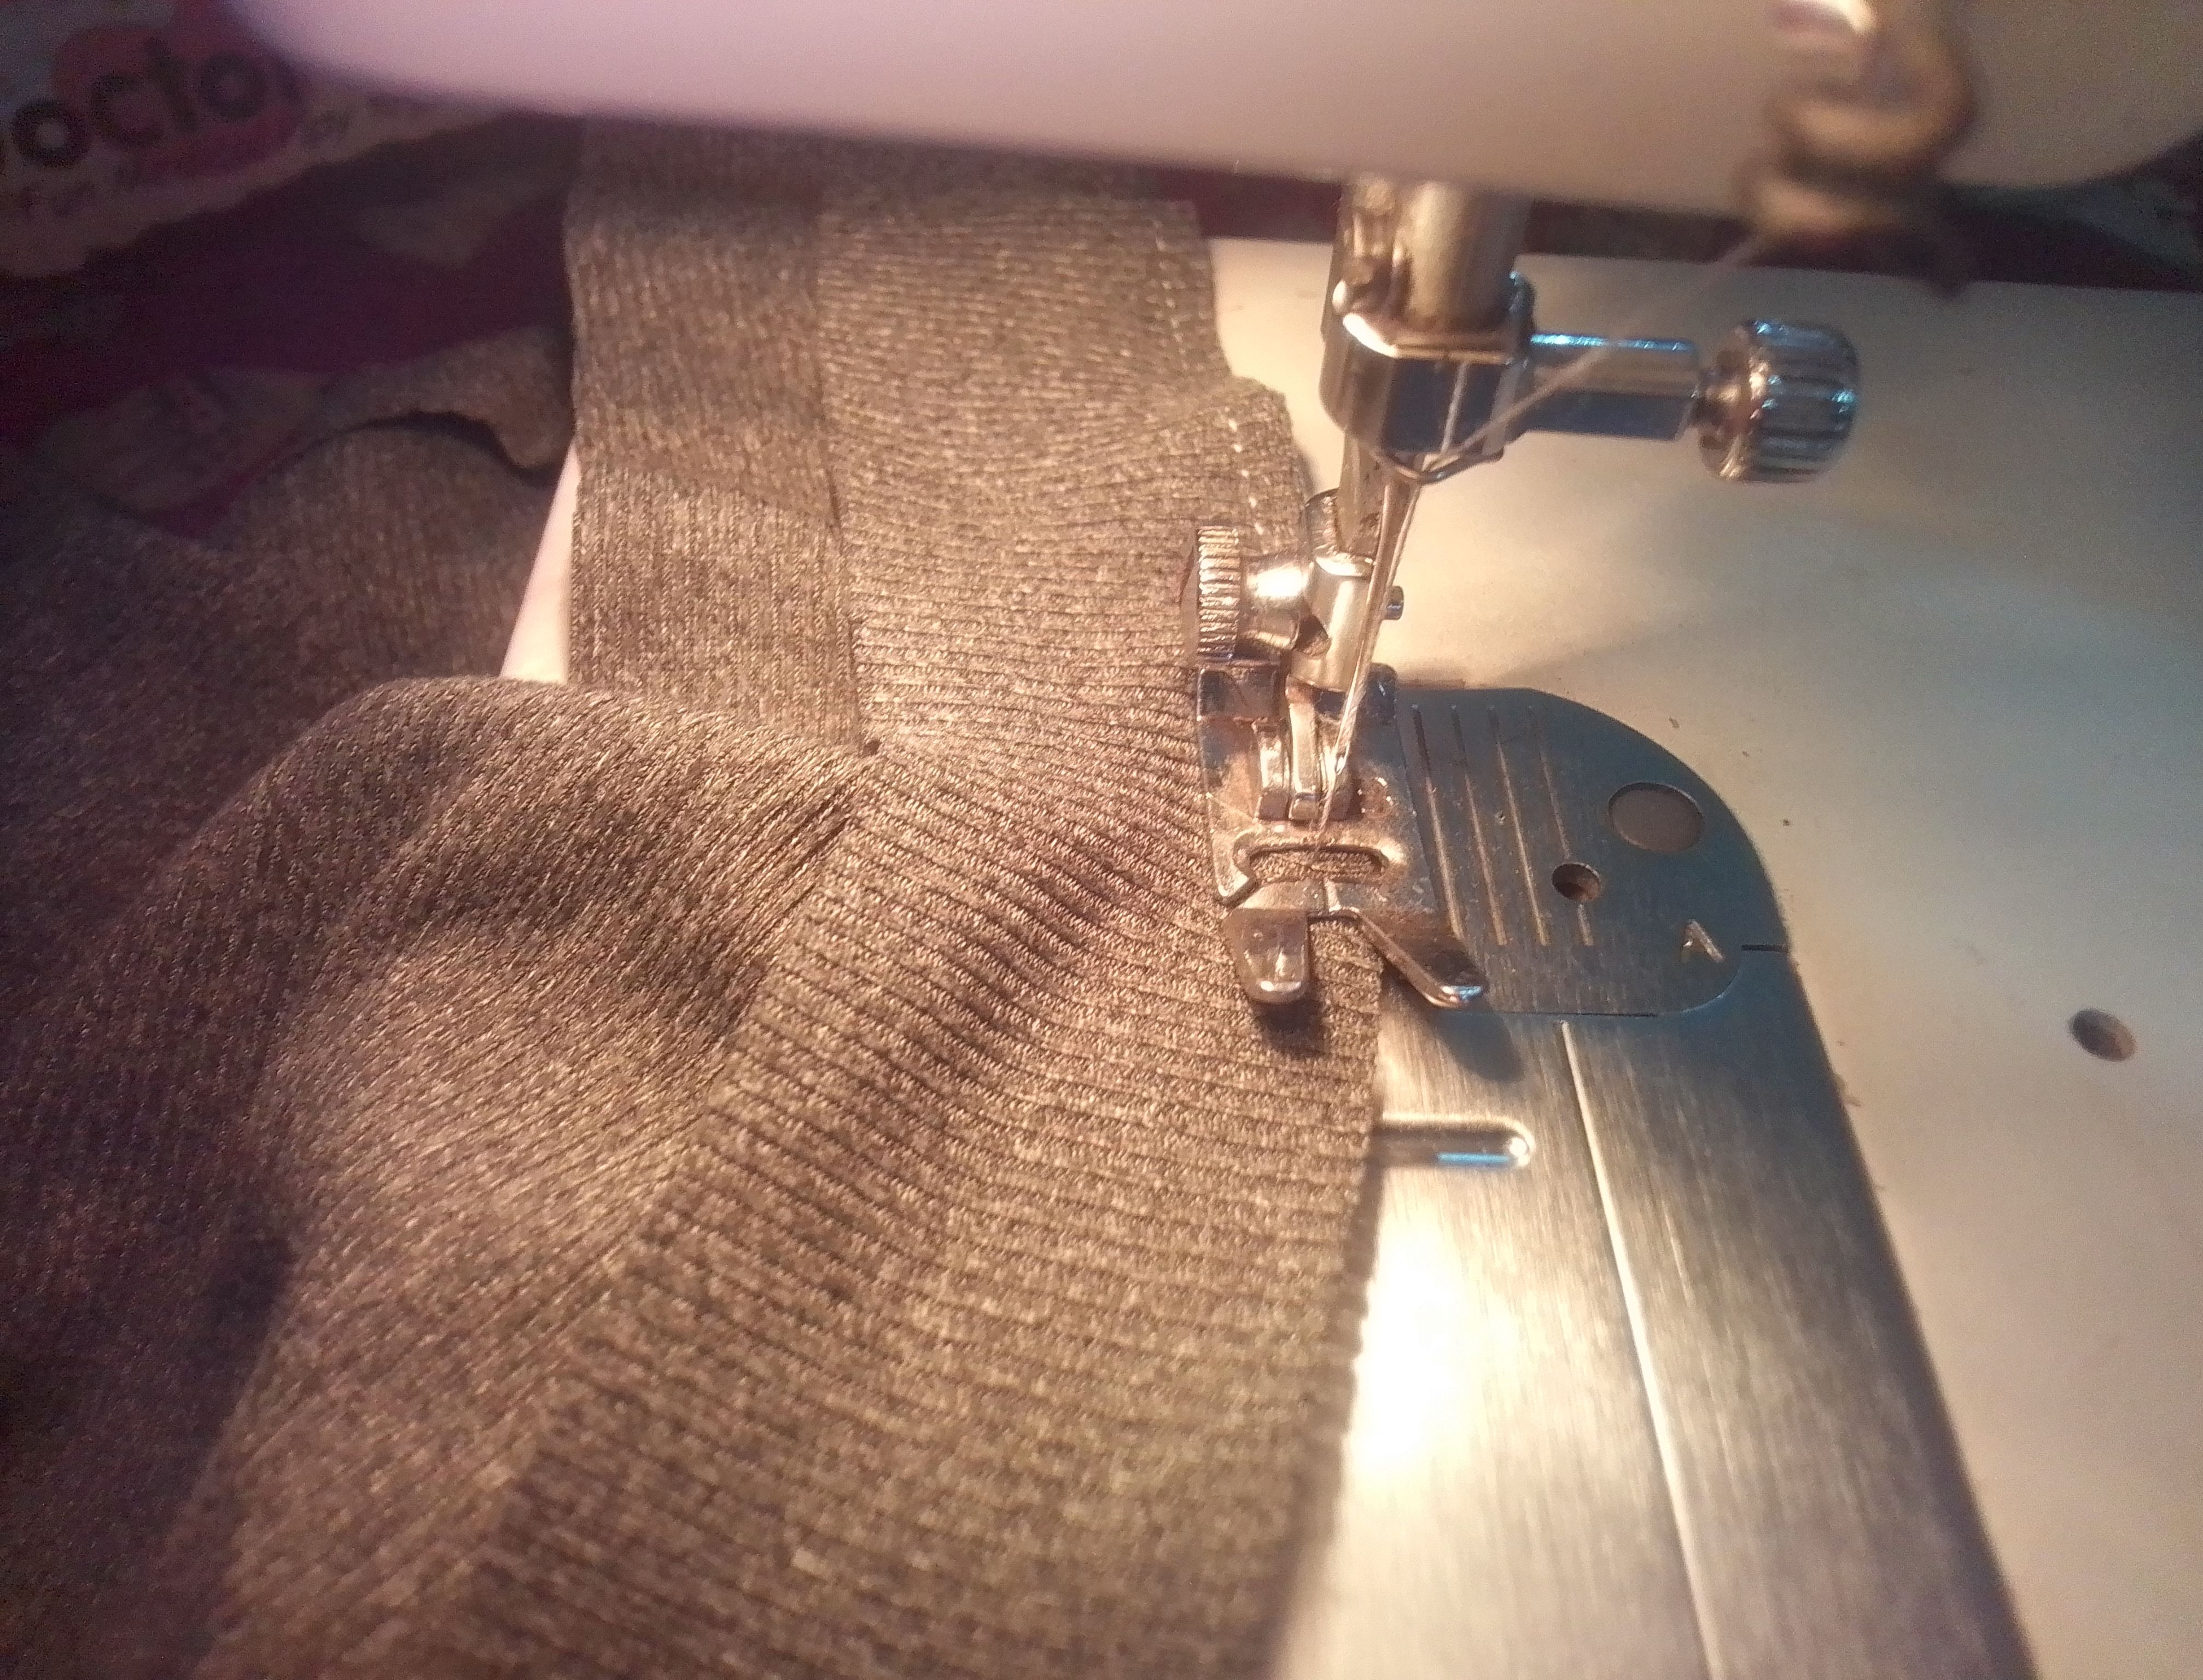
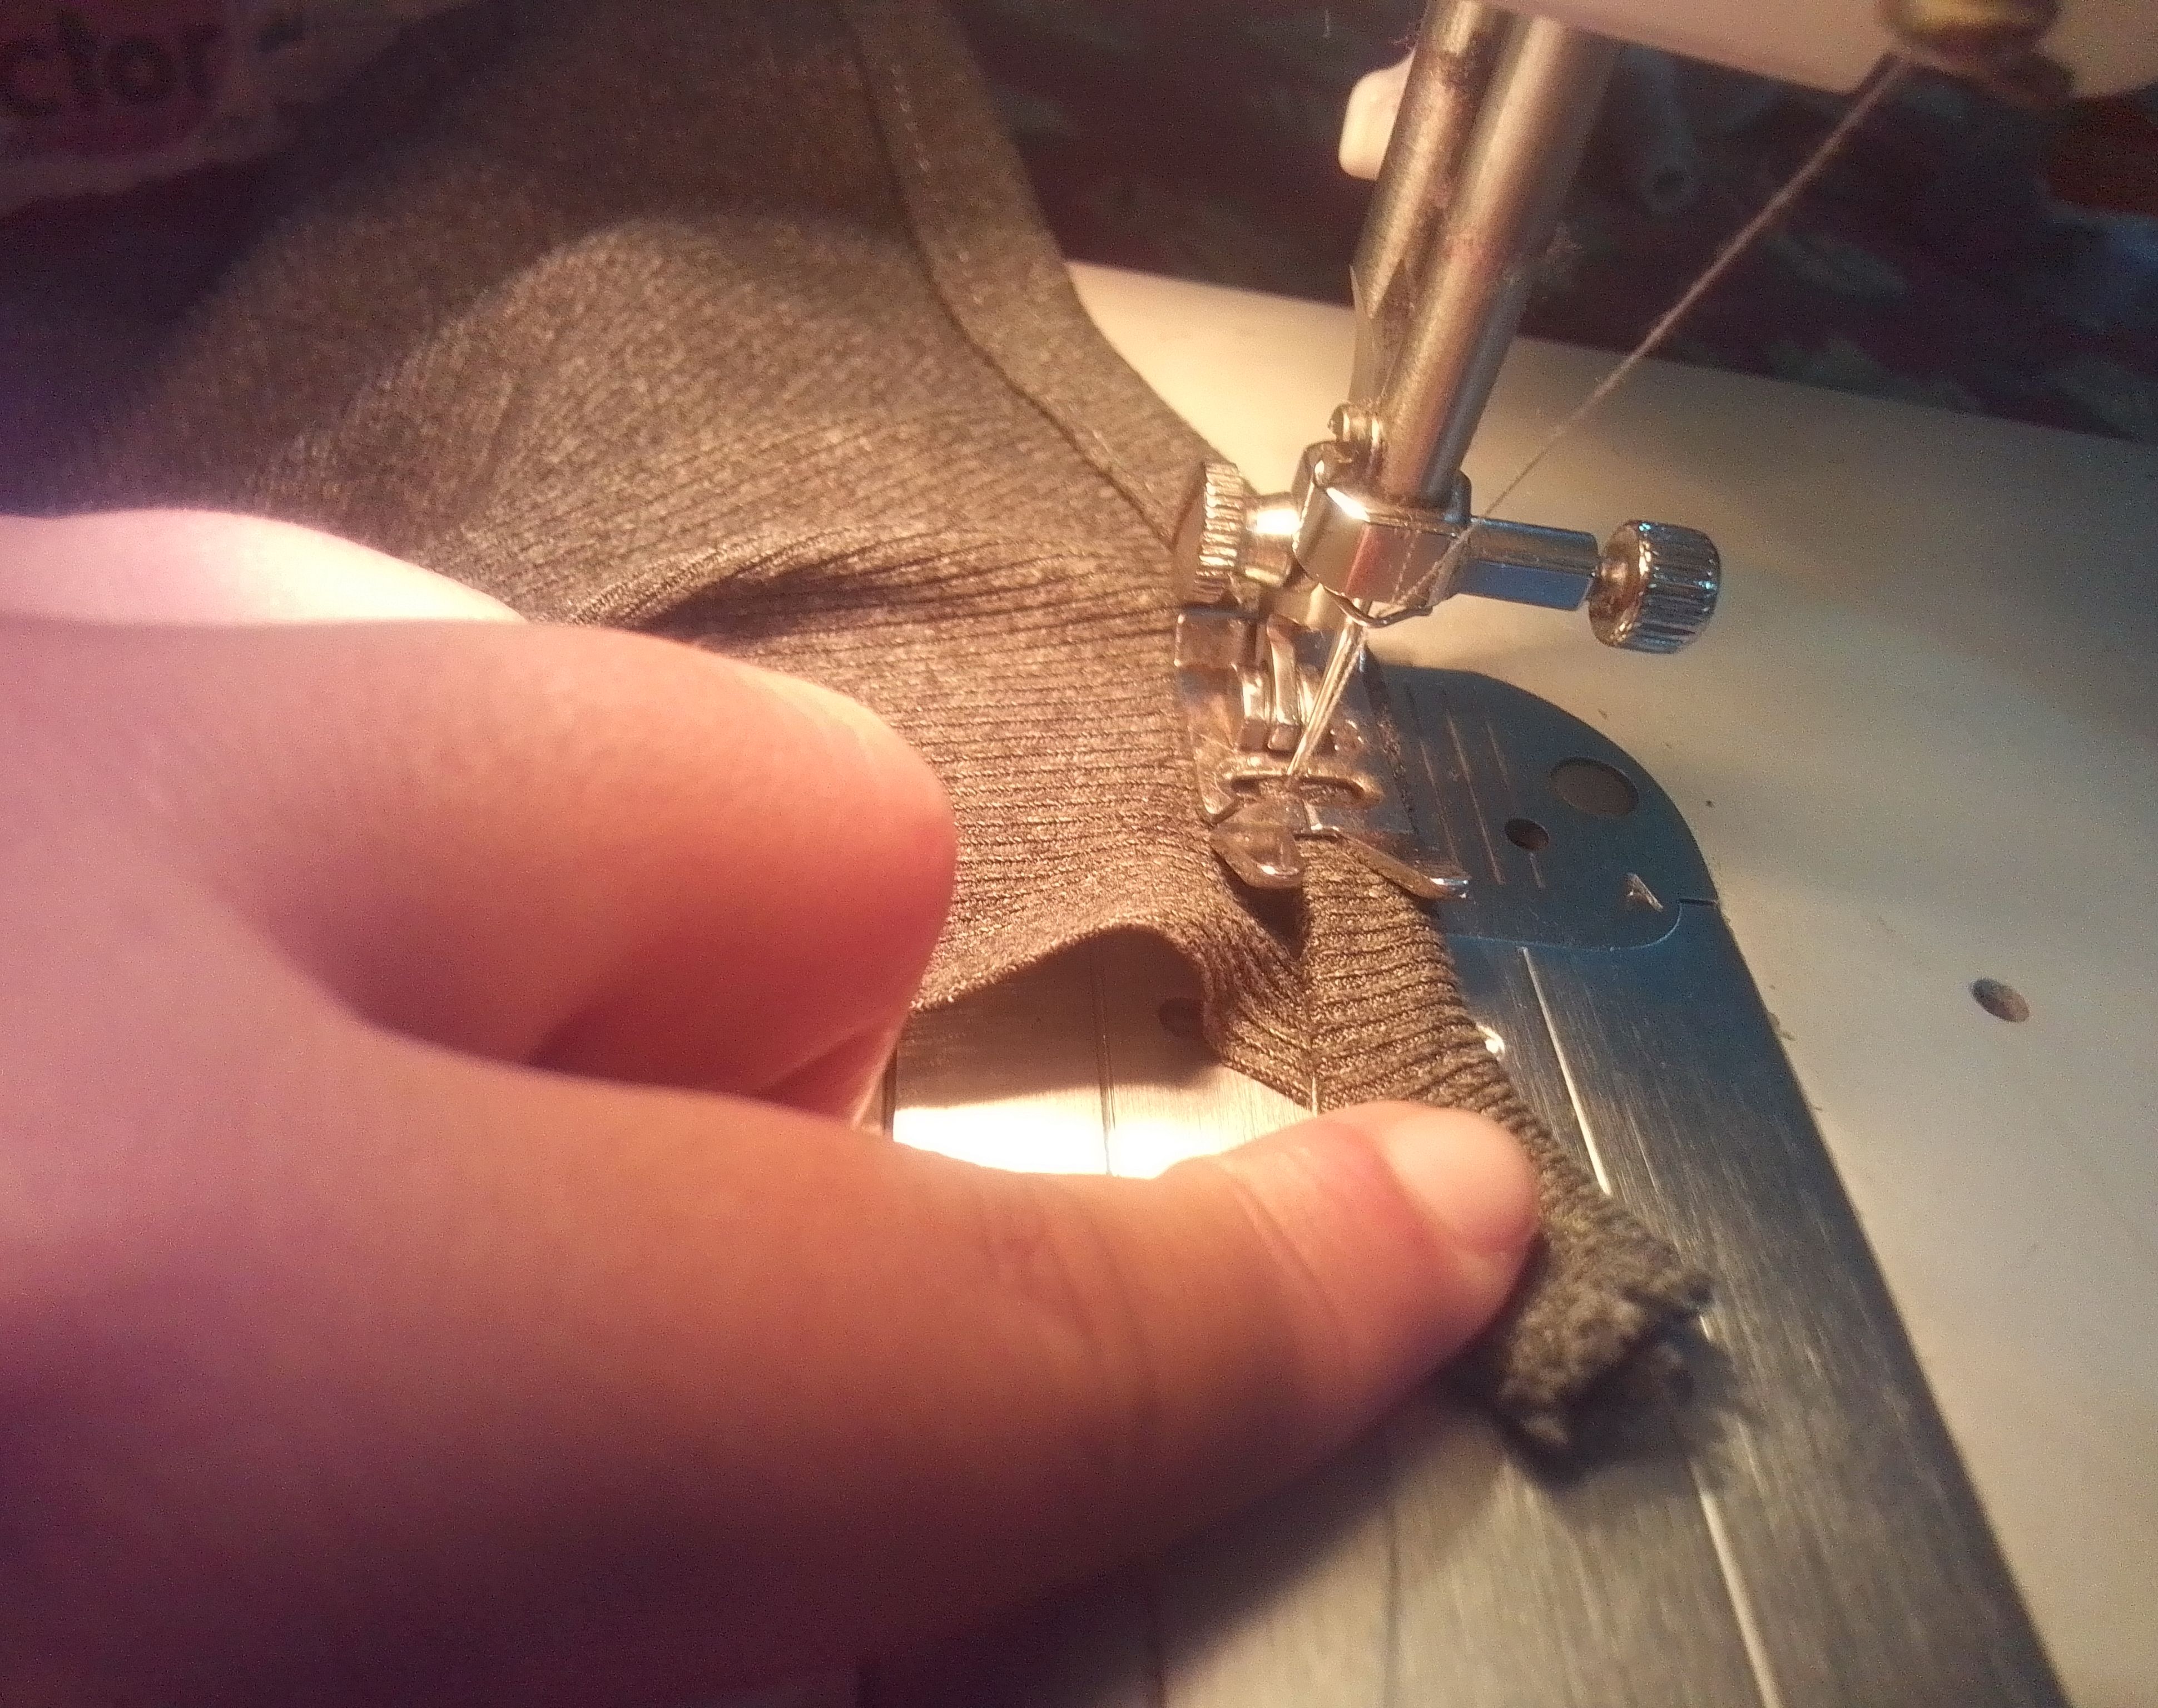
Con esta tiras voy a formar un bies en las orillas de la sisa, así que voy coser primero la tira simple enfrentando derechos de la tela y luego voy a girar hacia adelante haciendo un dobladillo mientras hacemos costura. Repetimos el paso del otro lado.
Step 03
With this strip I am going to form a bias on the edges of the armhole, so I am going to first sew the simple strip facing right sides of the fabric and then I am going to turn it forward making a hem while we do sewing. We repeat the step on the other side.
Paso 04
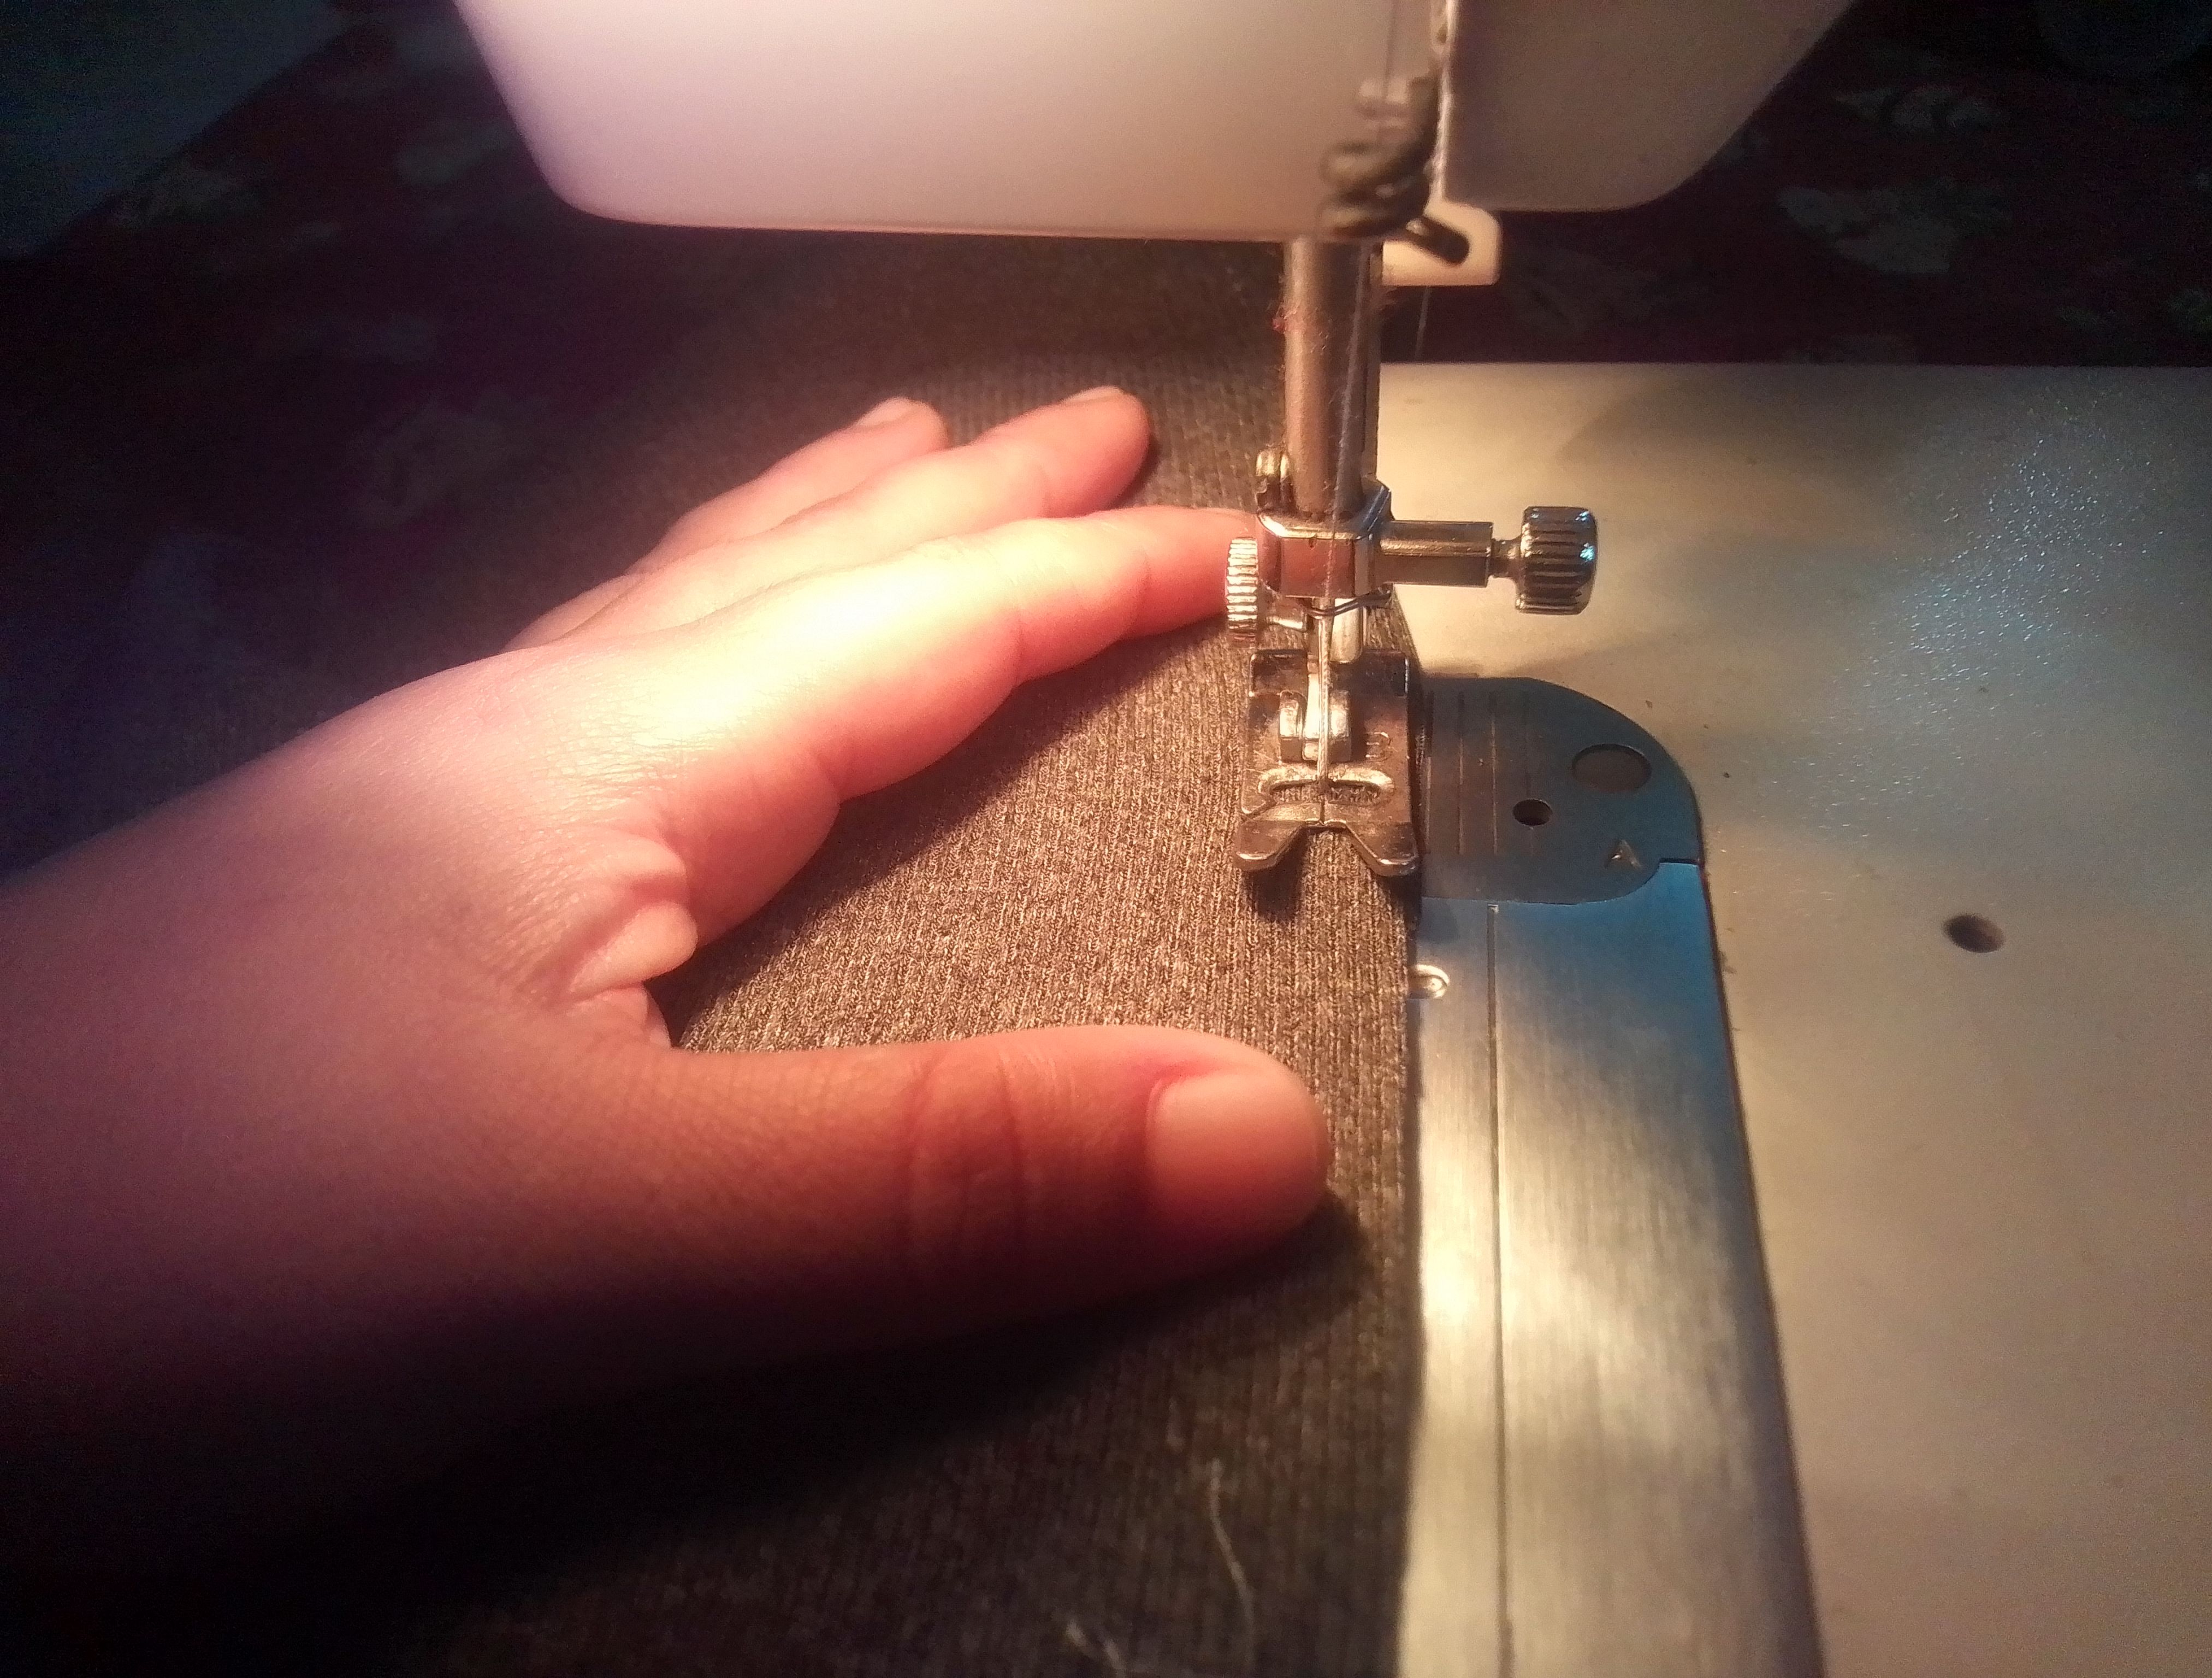
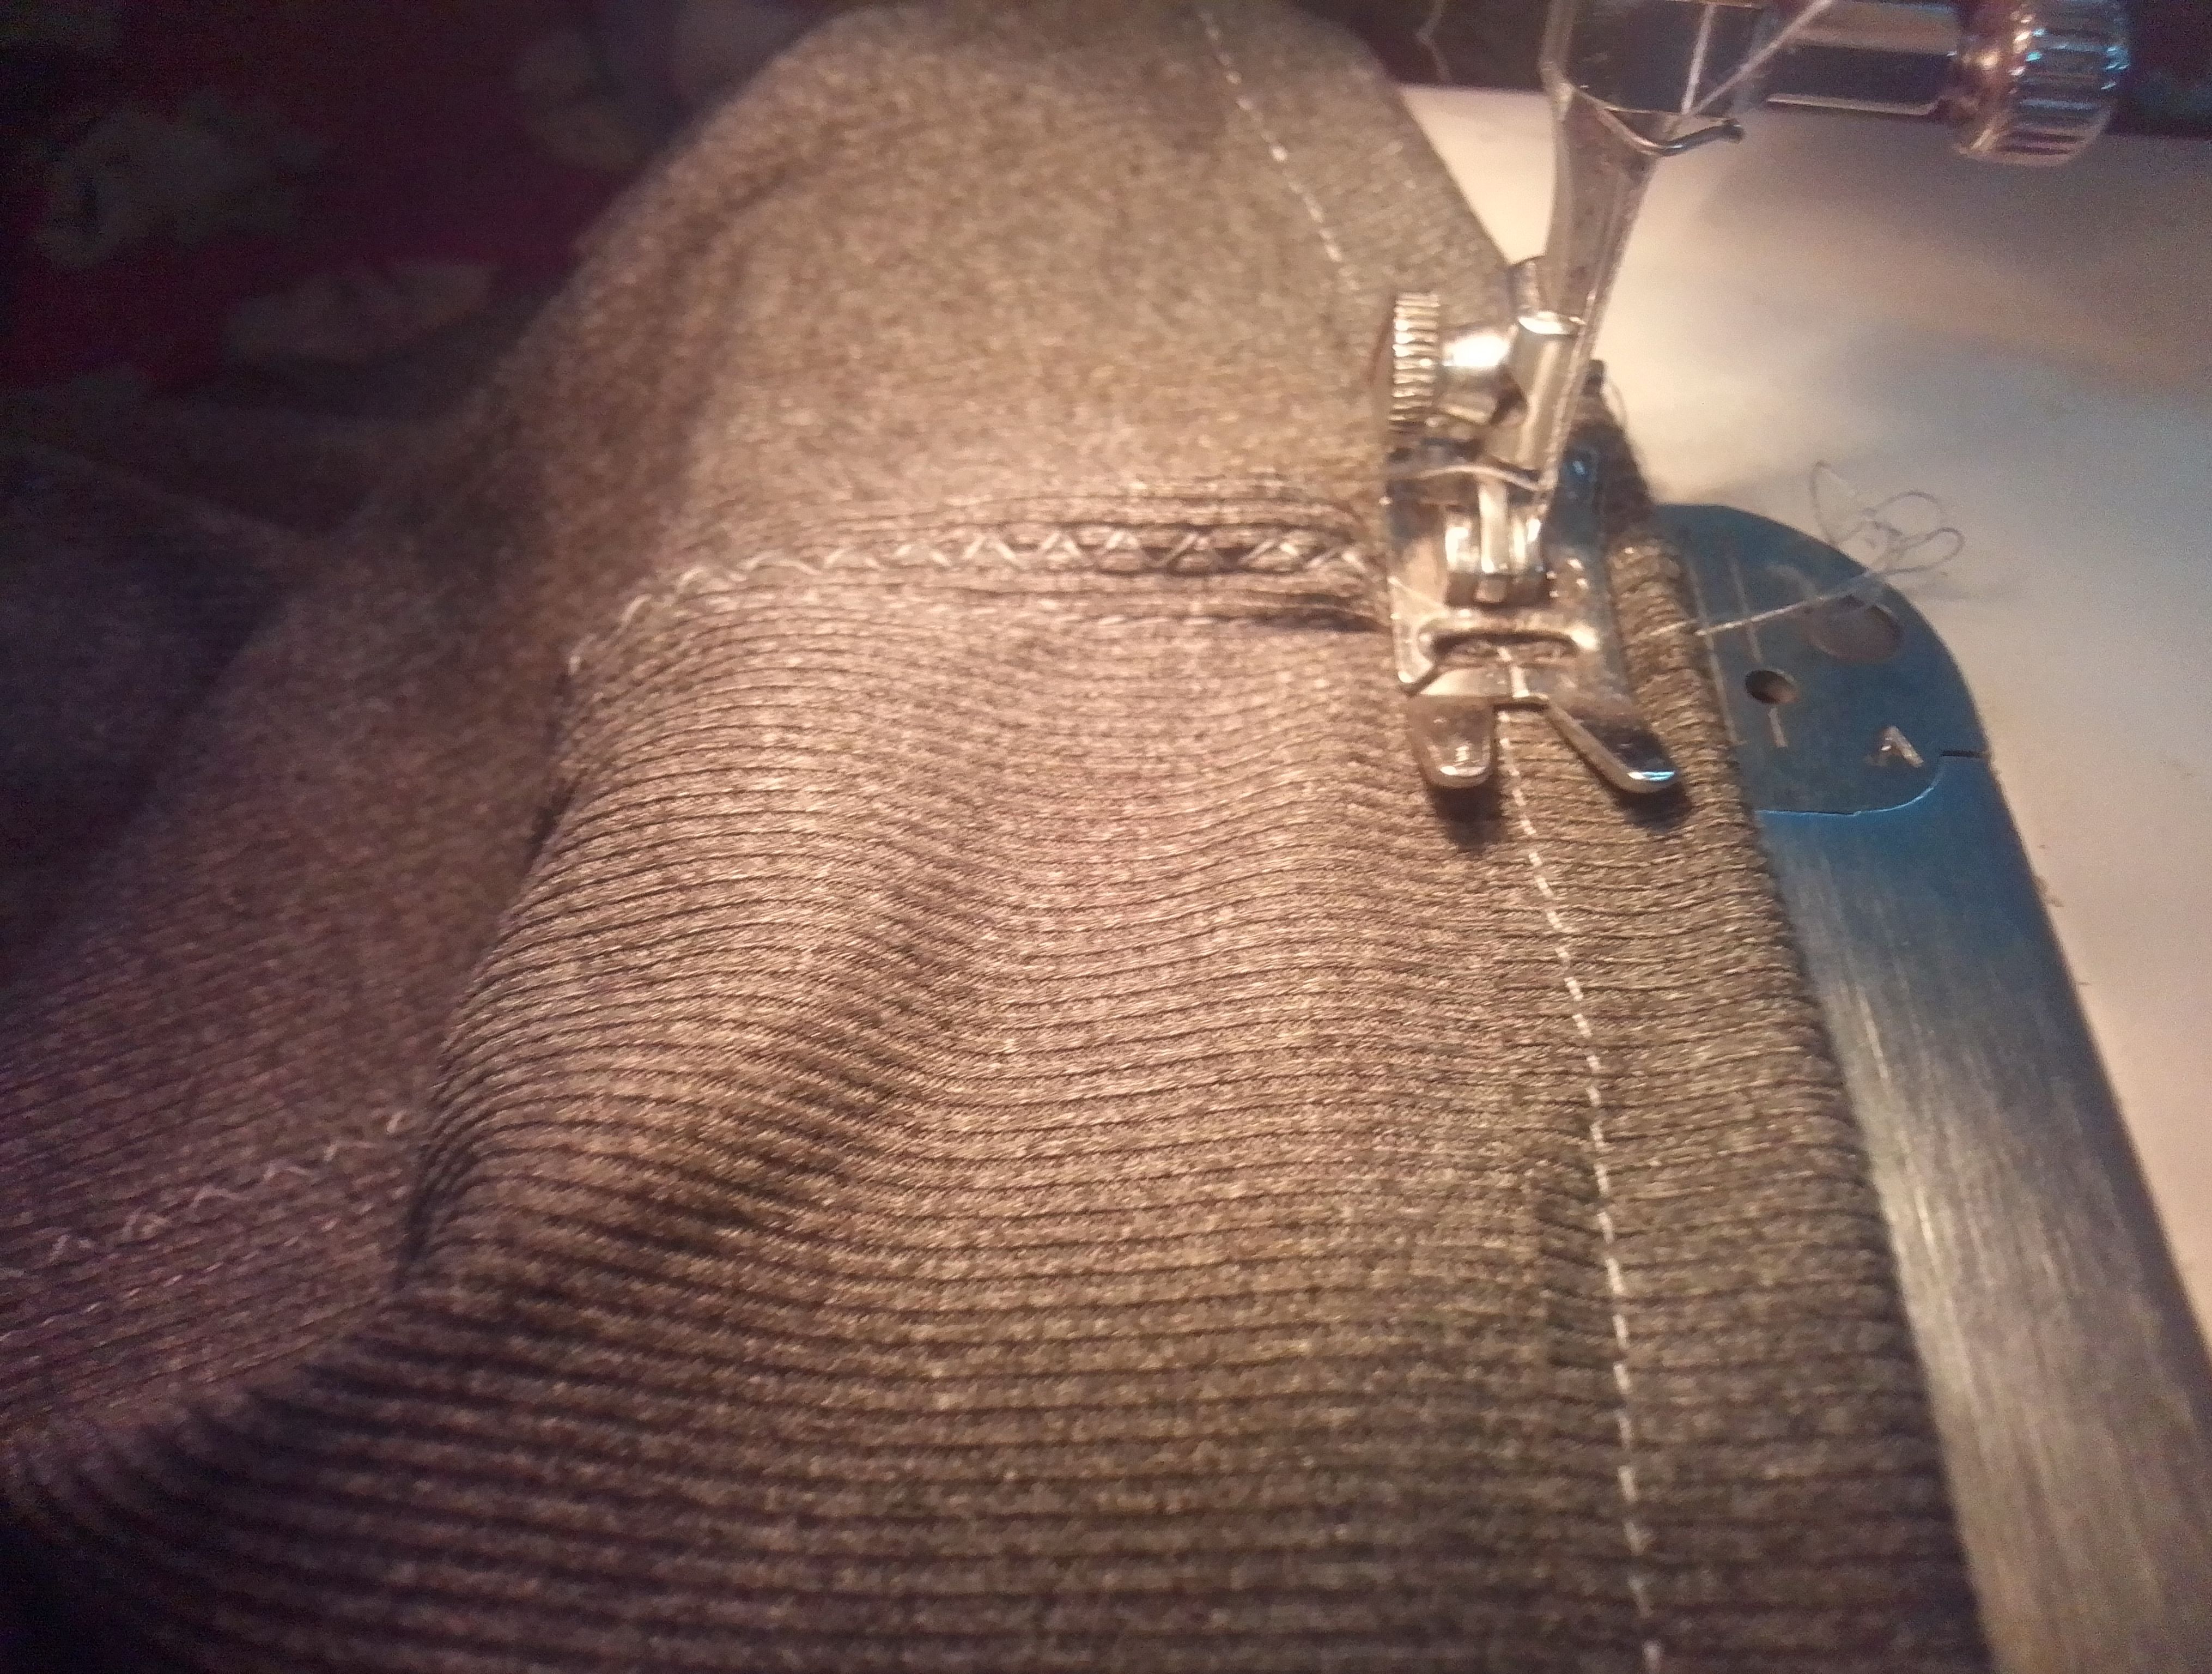
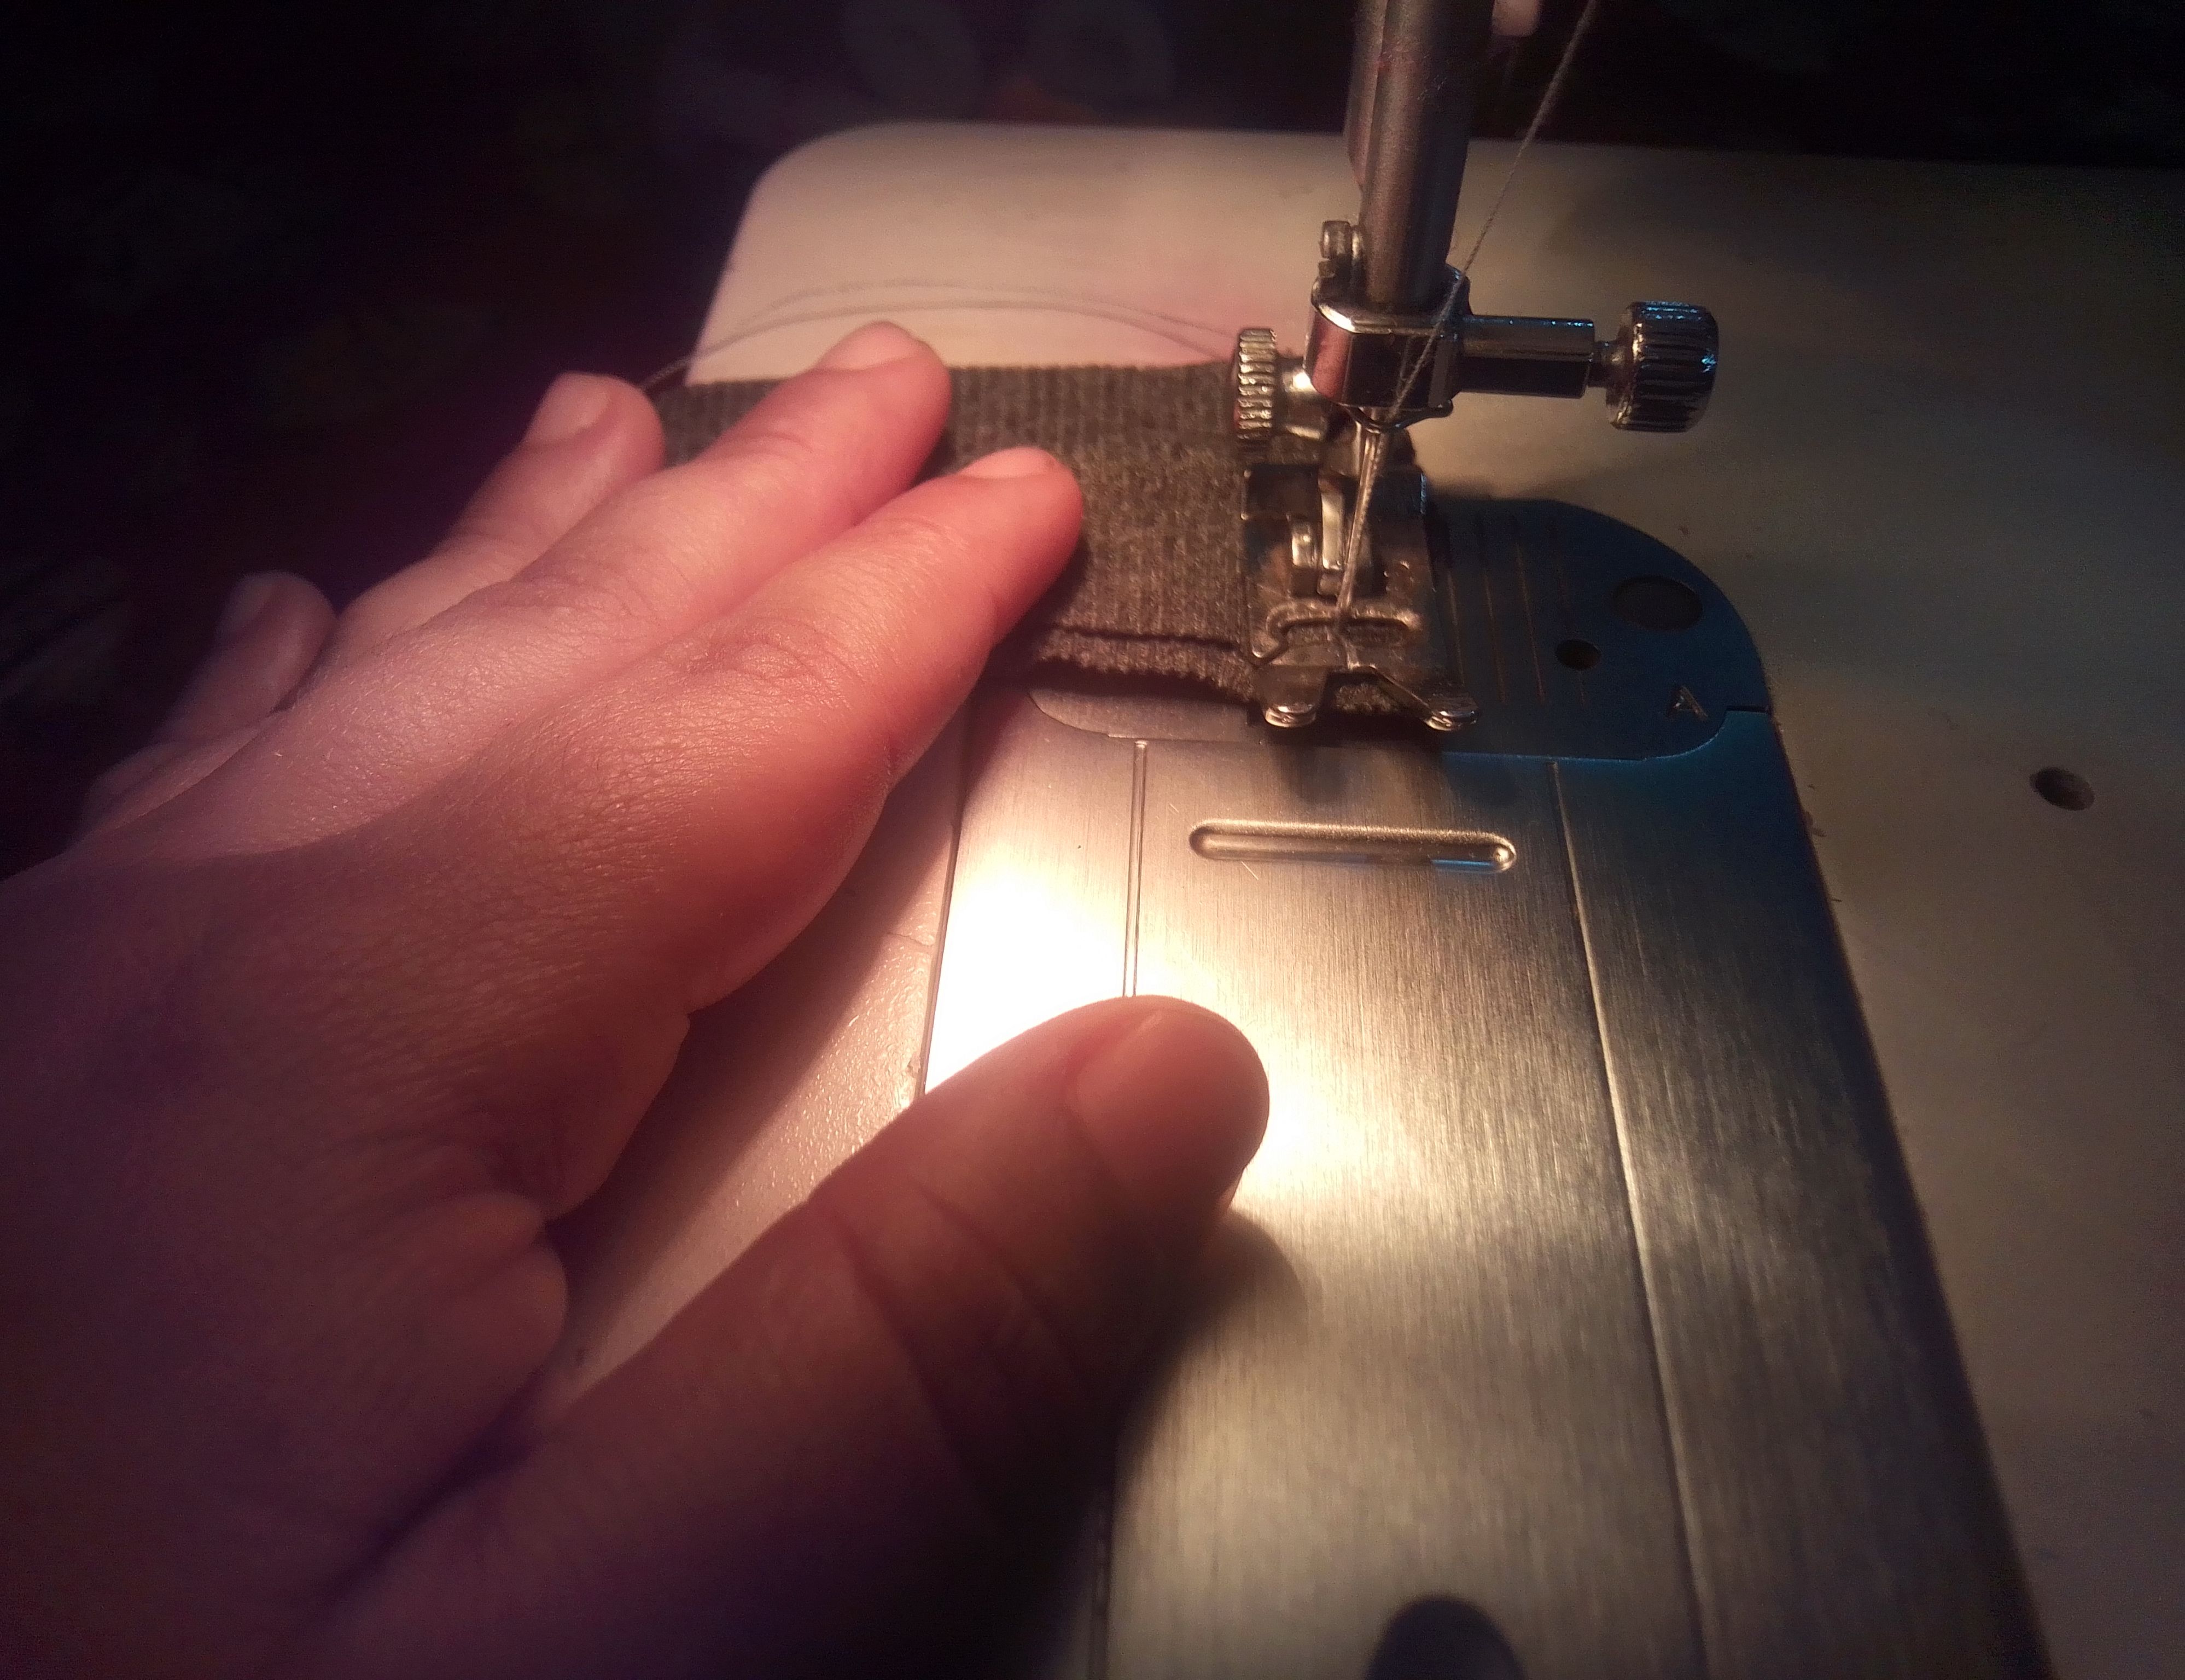
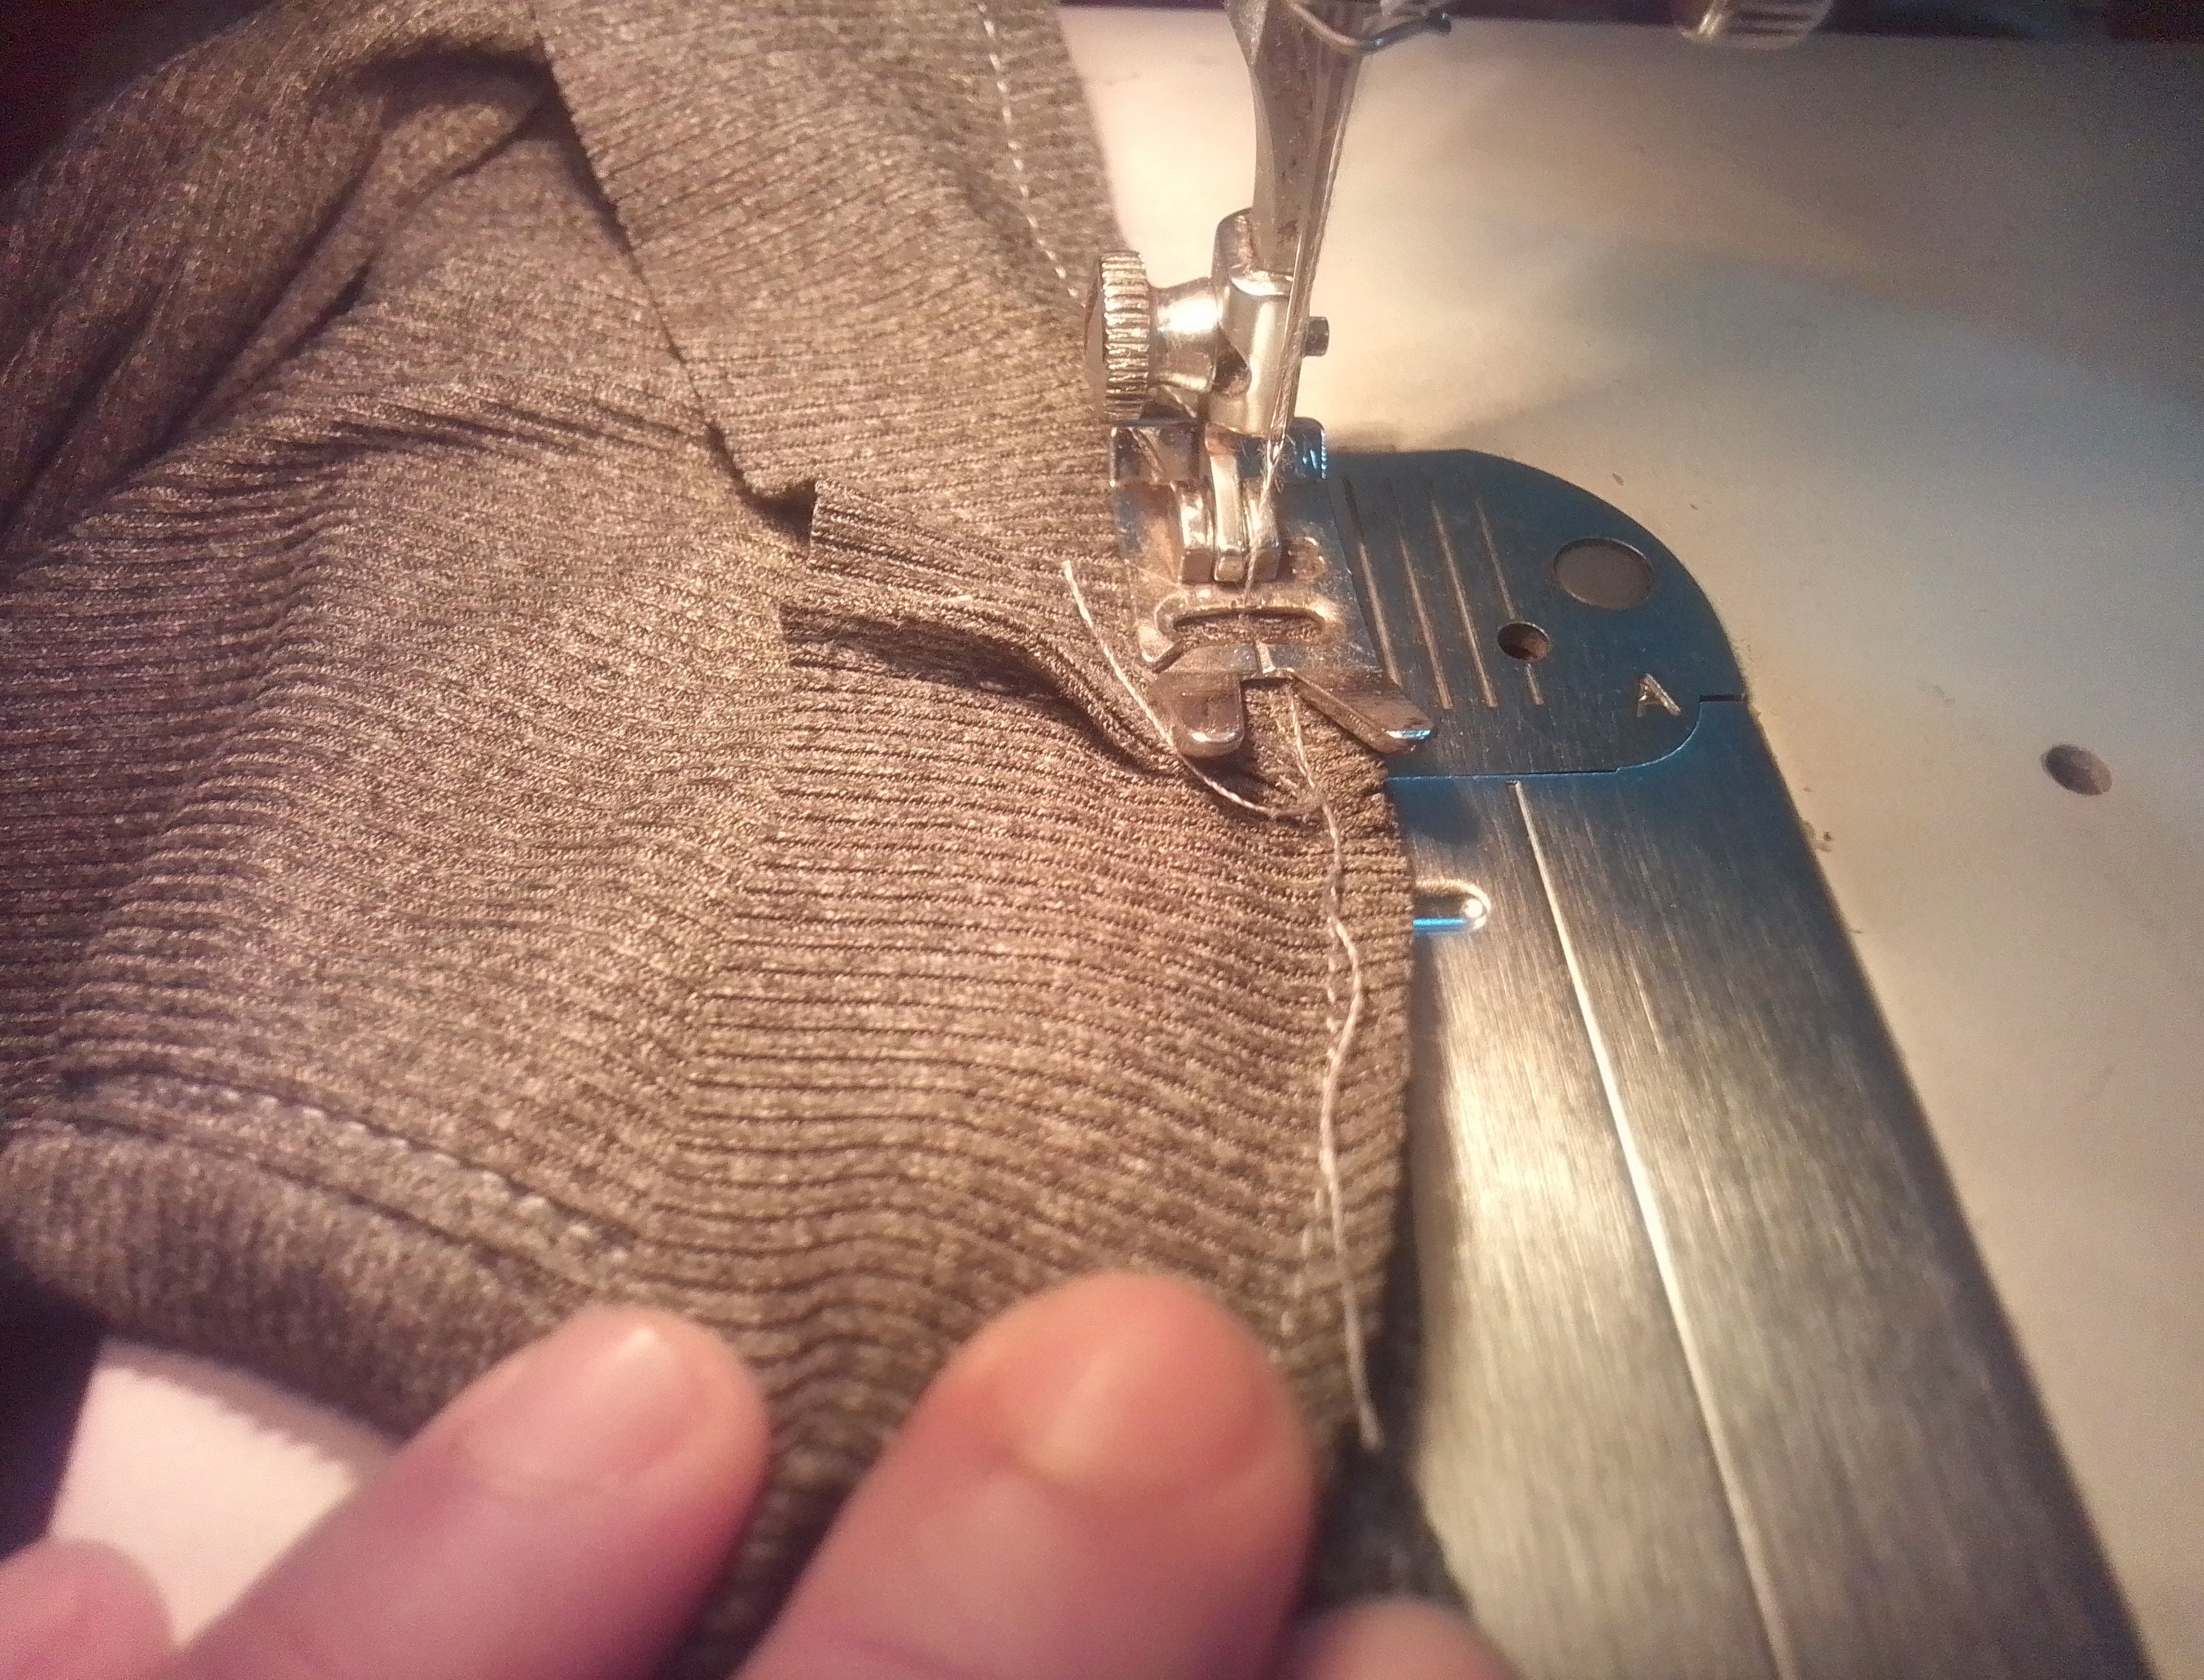
Ahora voy a coser los laterales con costura recta y realizó el dobladillo o ruedo inferior de toda la franelilla. A la tira del cuello la voy a unir de extremo a extremo con costura como hicimos en las sisa, voy a coser toda su forma sin estirar.
Step 04
Now I am going to sew the sides with a straight seam and make the hem or bottom hem of the entire flannel. I am going to join the neck strip from end to end with sewing as we did in the armholes, I am going to sew its entire shape without stretching.
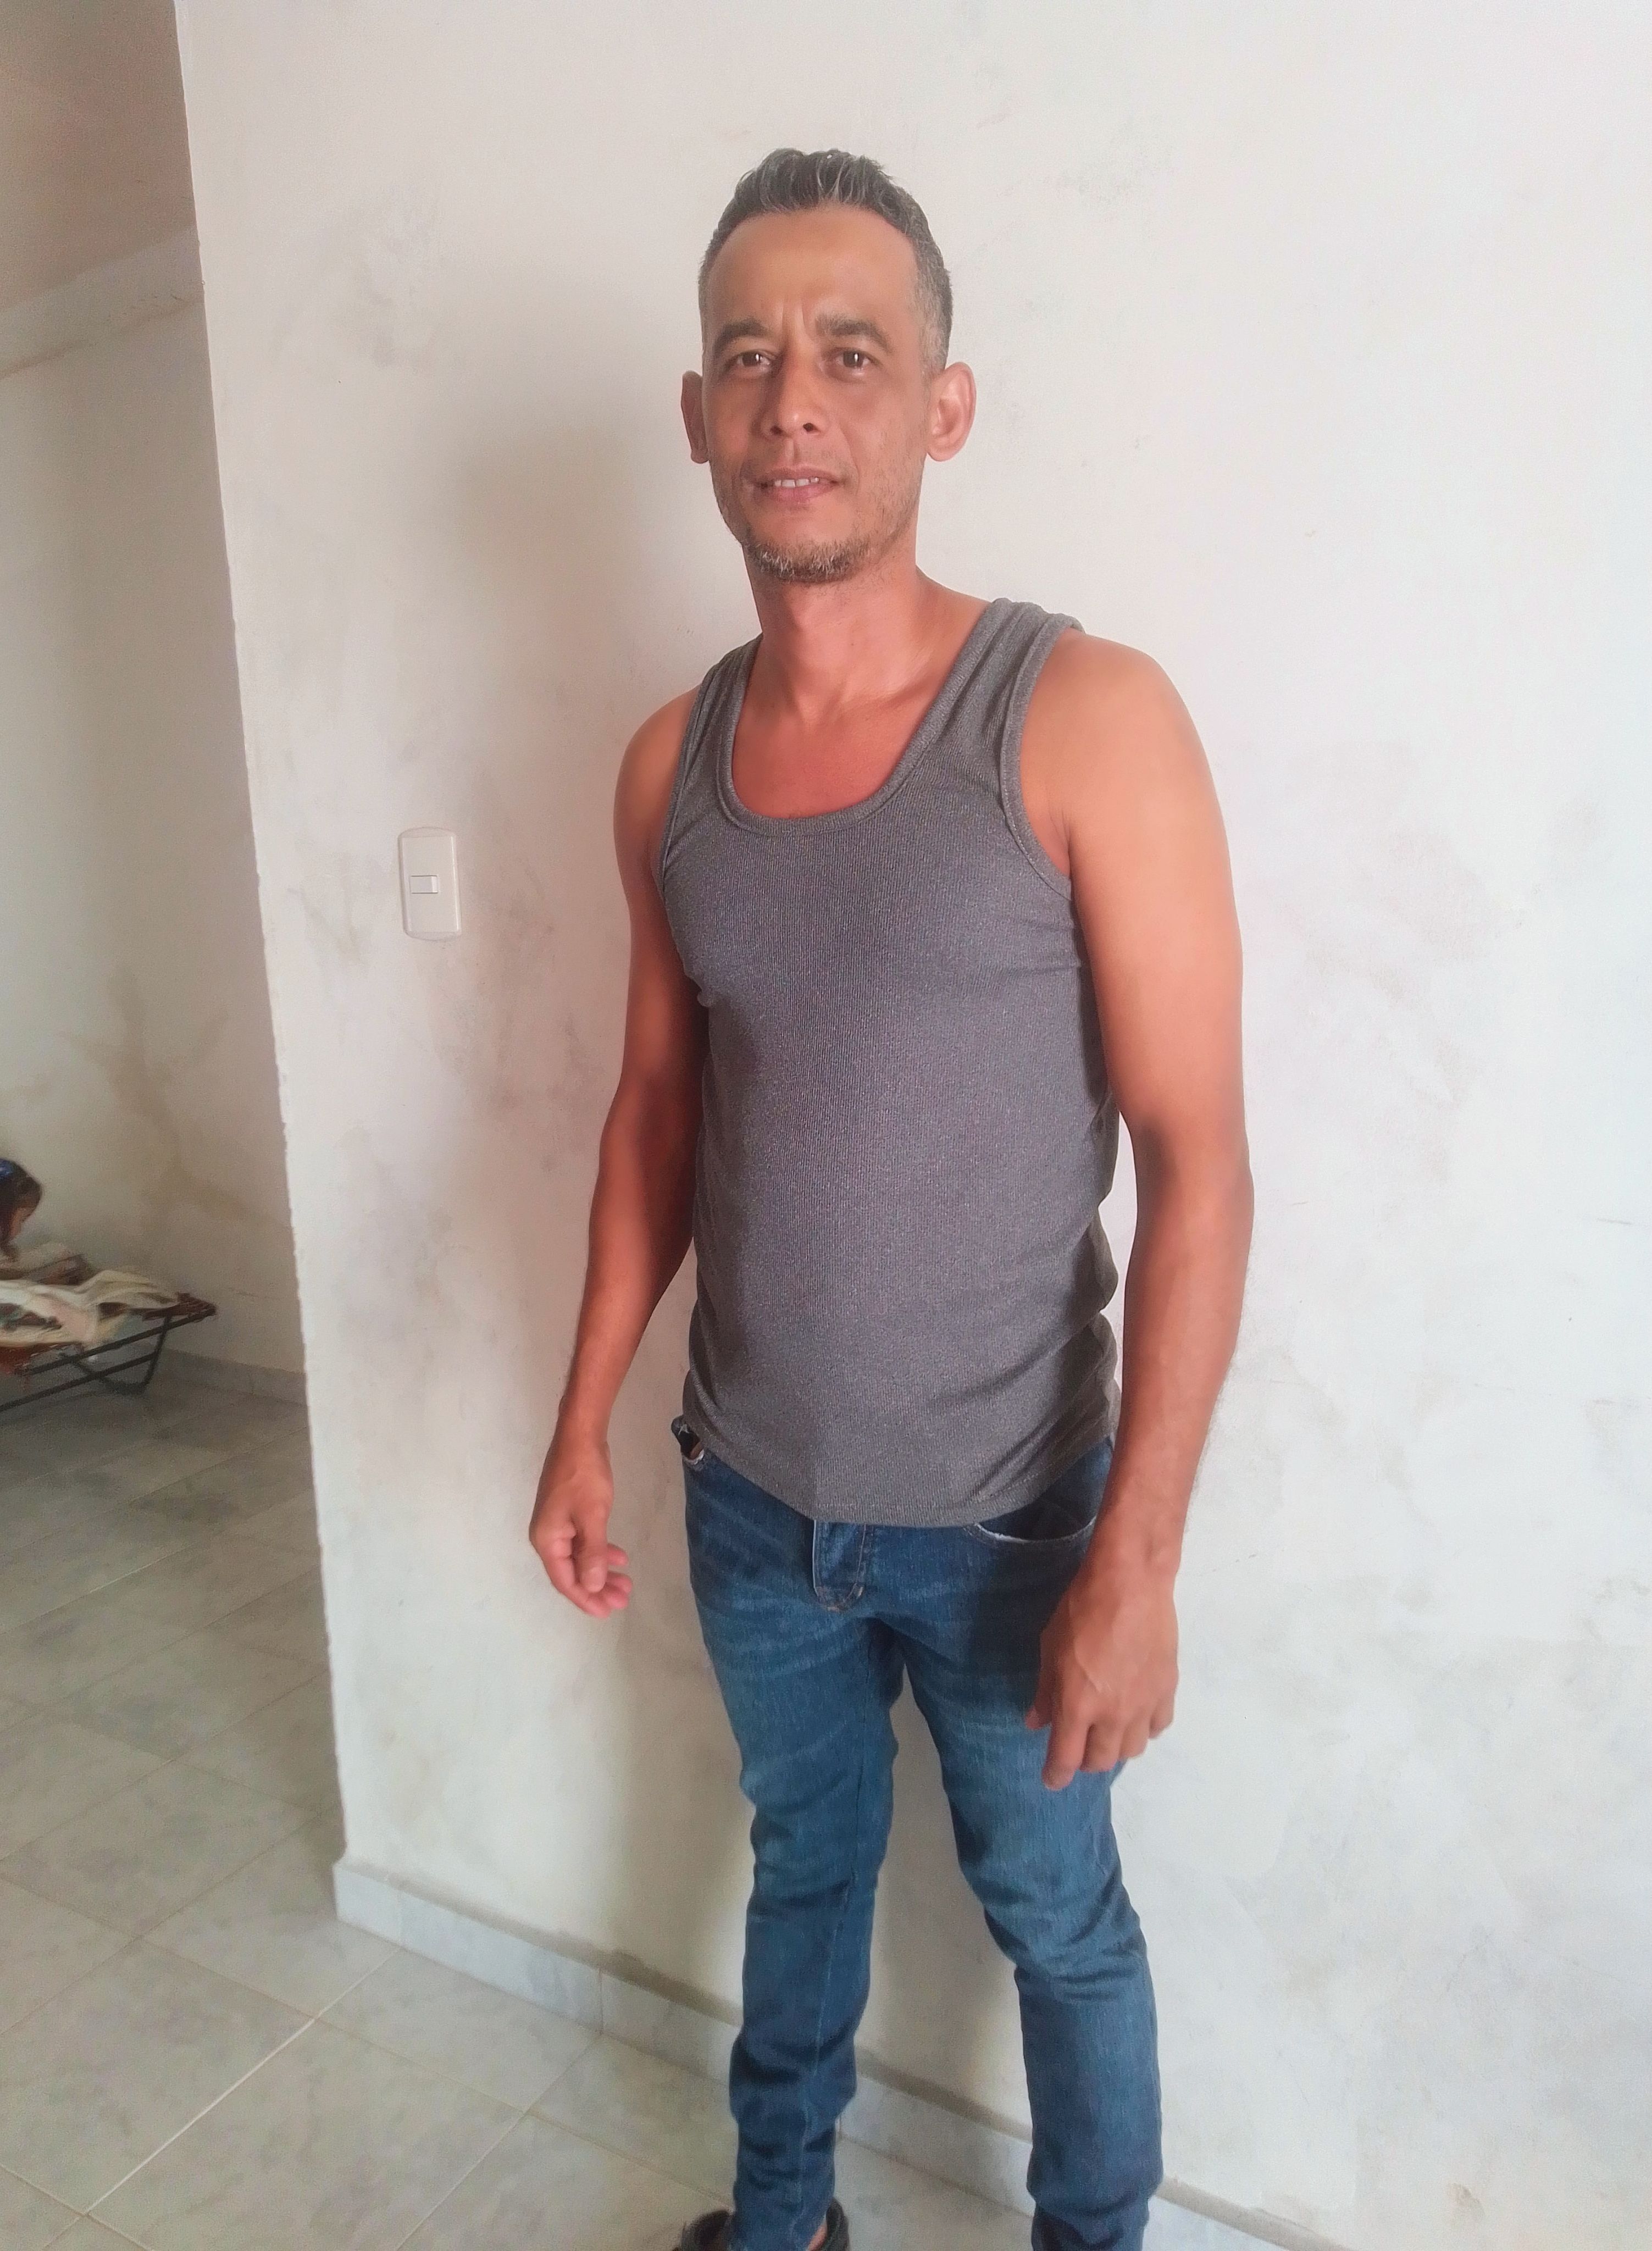
Resultado!
Está pieza es muy ligera, me encanta por su suavidad y elasticidad. El resultado es encantador.
This piece is very light, I love it for its softness and elasticity. The result is charming.

Muchas gracias por tu visita, cuéntame que te pareció a ti este proyecto de costura, me encantaría leer su opinión.. Me despido agradecida por apoyo y cariño, les deseo una linda noche, nos vemos pronto.!
Thank you very much for your visit, tell me what you thought of this sewing project, I would love to read your opinion. I say goodbye, grateful for your support and affection, I wish you a nice night, see you soon.!
I must say the singlet is looking well made. Great work here
Gracias por el apoyo!
Hola Raziel. Espero que ya te sientas mejor, y que bueno que hayas aprovechado un momento para confeccionar esta remera, como decimos acá. Se ve cómoda, felicitaciones 💕
Hola bella.. es gusto leer su comentario...La verdad es que ya me siendo bastante mejor y lista para continuar.. Me encanta saber cómo se le conoce en su país, tienes muchos nombres está prenda . Muchas gracias..