

Un saludo muy especial a toda la comunidad que aman el arte de coser, les mando un fuerte y cálido abrazo para darles la bienvenida a un nuevo tutorial de corte y costura en esta ocasión para damas.
Por fin convencí a mi hermana de querer lucir una prenda que no sea color negro 🤭, de hecho lo mejor de saber coser, es que podemos hacer regalos hechos con nuestras propias manos y con todo el amor.. Hoy les he traído la confección de una prenda juvenil y moderna, se trata de un bonito crop top en un tono rosa claro que cuenta con una abertura de hombro muy atractiva. Definitivamente una prenda en tendencia muy femenina y delicada que aporta elegancia y deja ver con confianza la figura de la dama. Para mi está pieza es idea para combinarla con los pantalones de tiro alto y también convertirla en outfit casual muy hermoso. Acompañame te muestro su proceso.
A very special greeting to the entire community who love the art of sewing, I send you a strong and warm hug to welcome you to a new cutting and sewing tutorial this time for ladies.
I finally convinced my sister to want to wear a garment that is not black 🤭, in fact the best thing about knowing how to sew is that we can make gifts made with our own hands and with all the love.. Today I have brought you the making of a youthful and modern garment, it is a beautiful crop top in a light pink tone that has a very attractive shoulder opening. Definitely a very feminine and delicate trendy garment that provides elegance and allows the lady's figure to be seen with confidence. For me, this piece is the idea to combine with high-waisted pants and also turn it into a very beautiful casual outfit. Come with me and I'll show you the process.
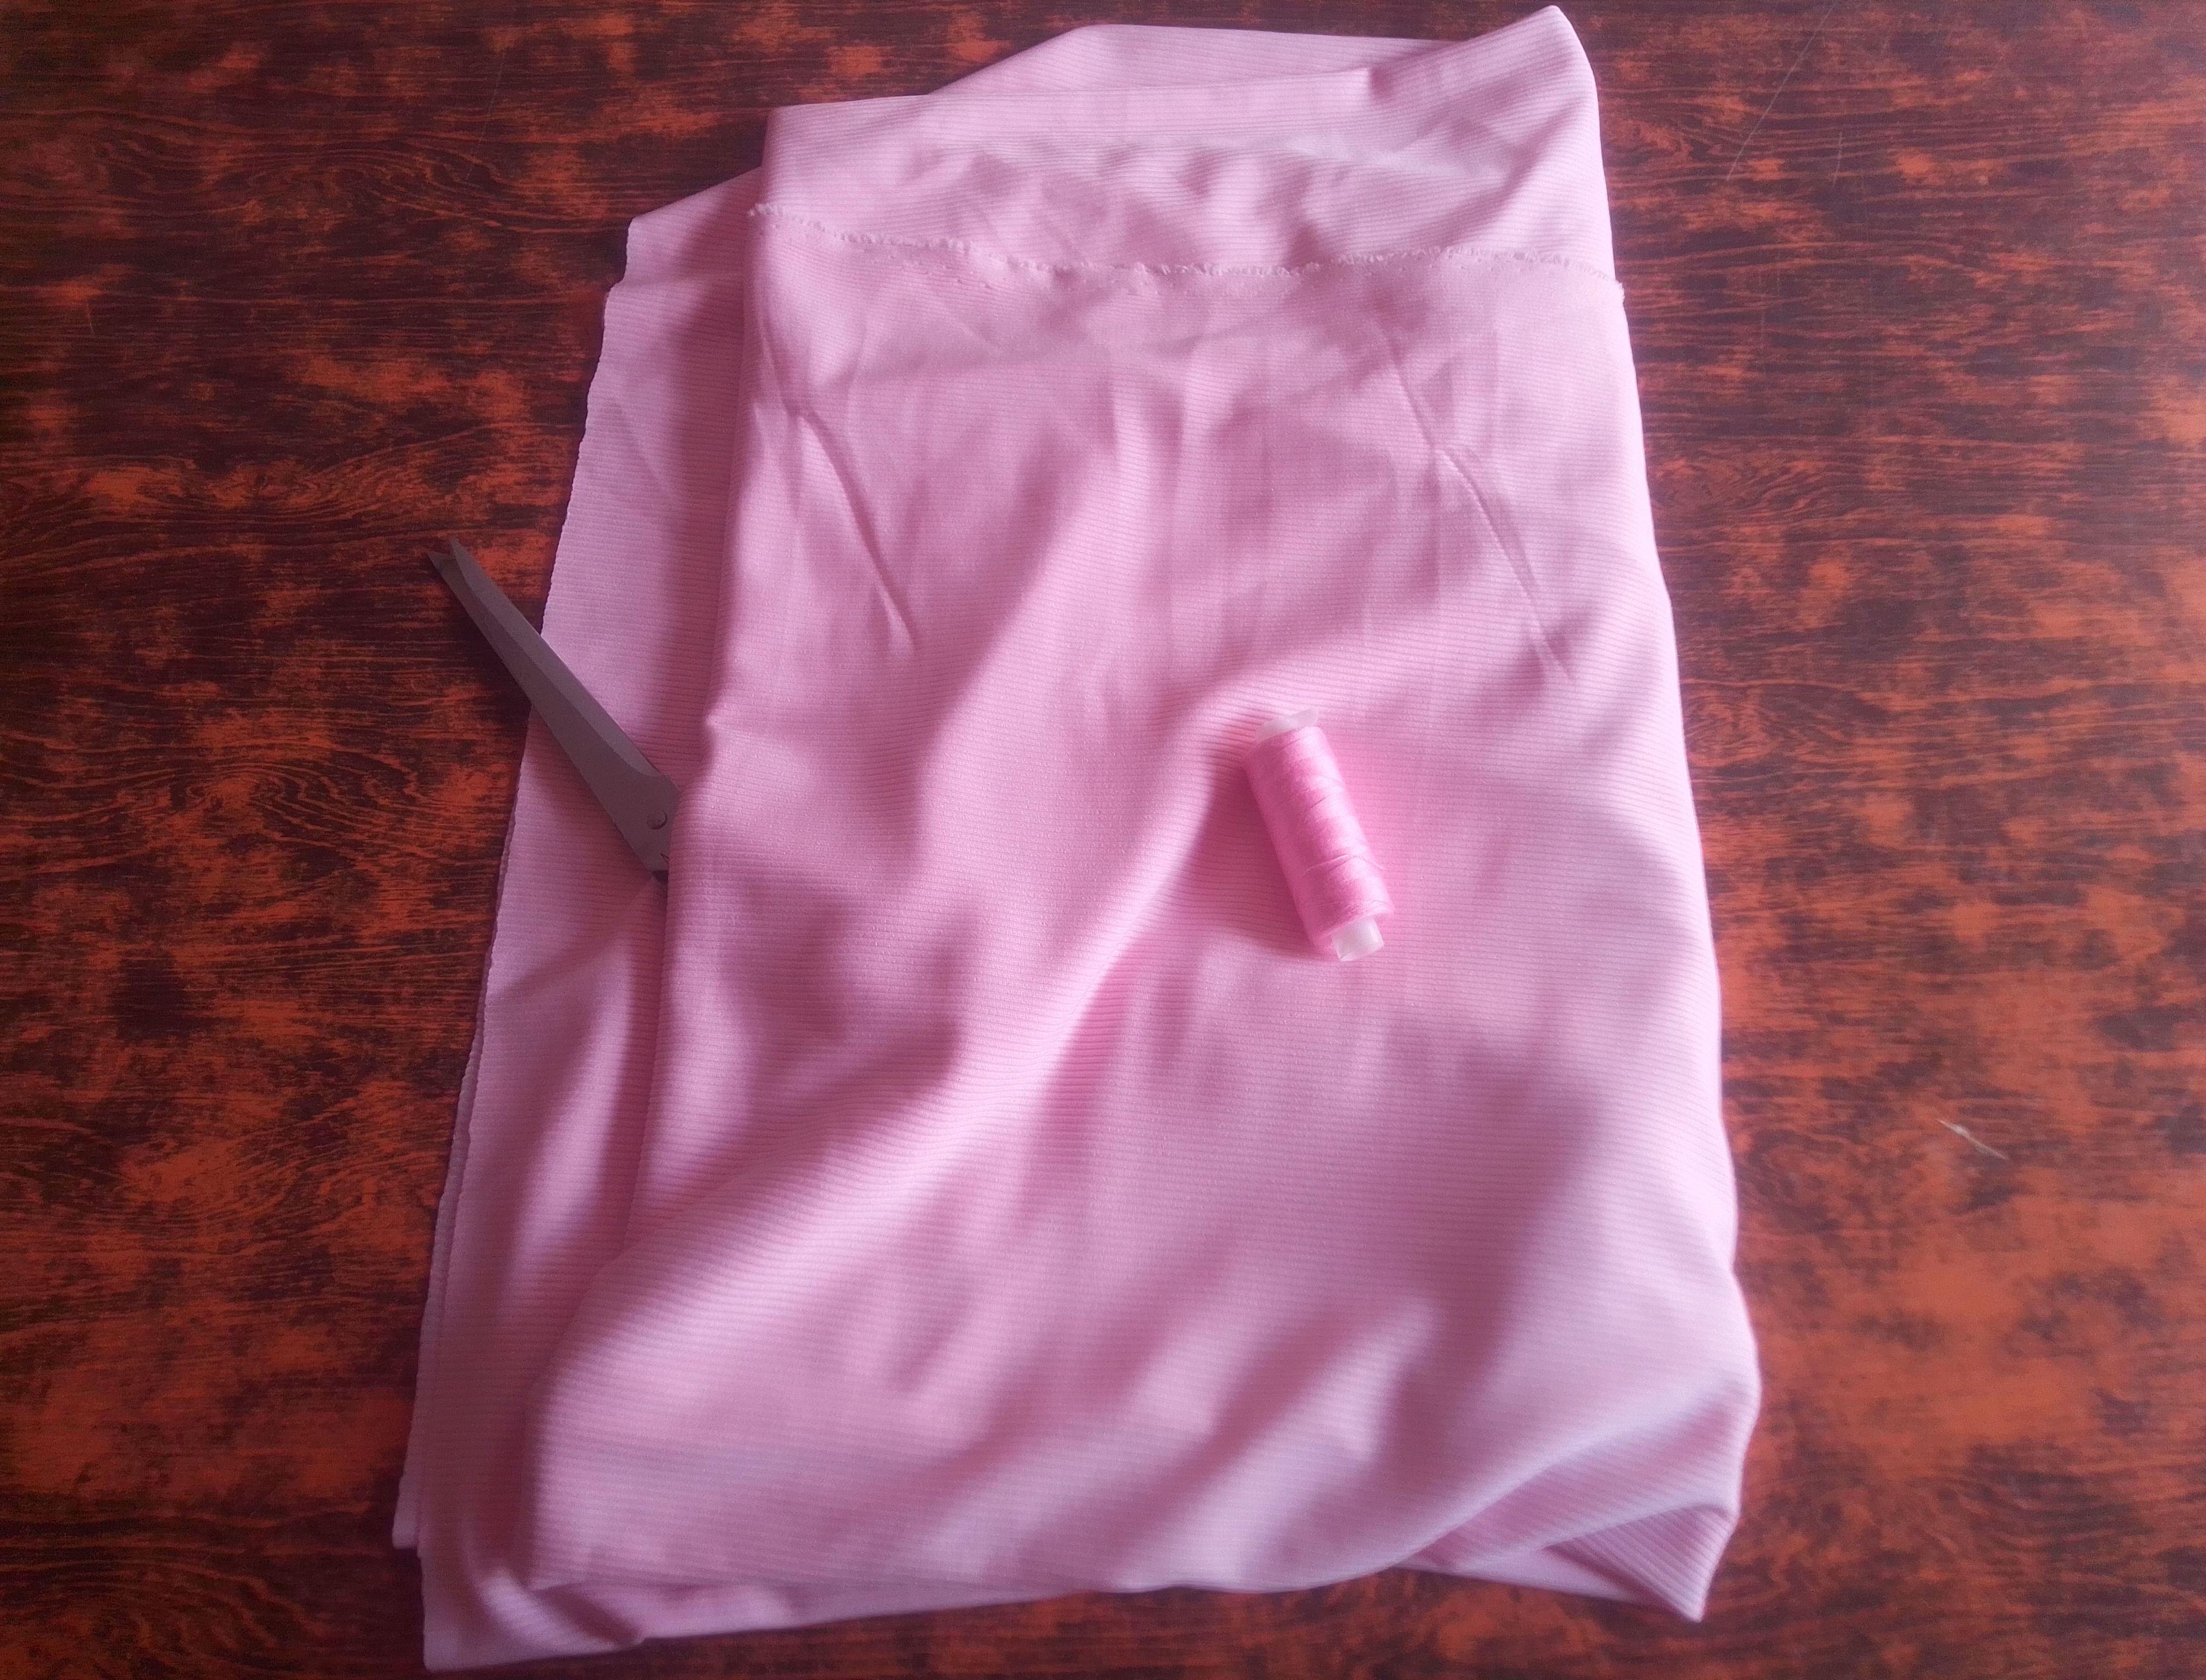
Materiales que necesitas:
- Tela rif color rosa.
- Tijeras.
- Hilo y aguja.
- Máquina de coser.
- Pink rif fabric.
- Scissors.
- Thread and needle.
- Sewing machine.
(PROCEDIMIENTO)
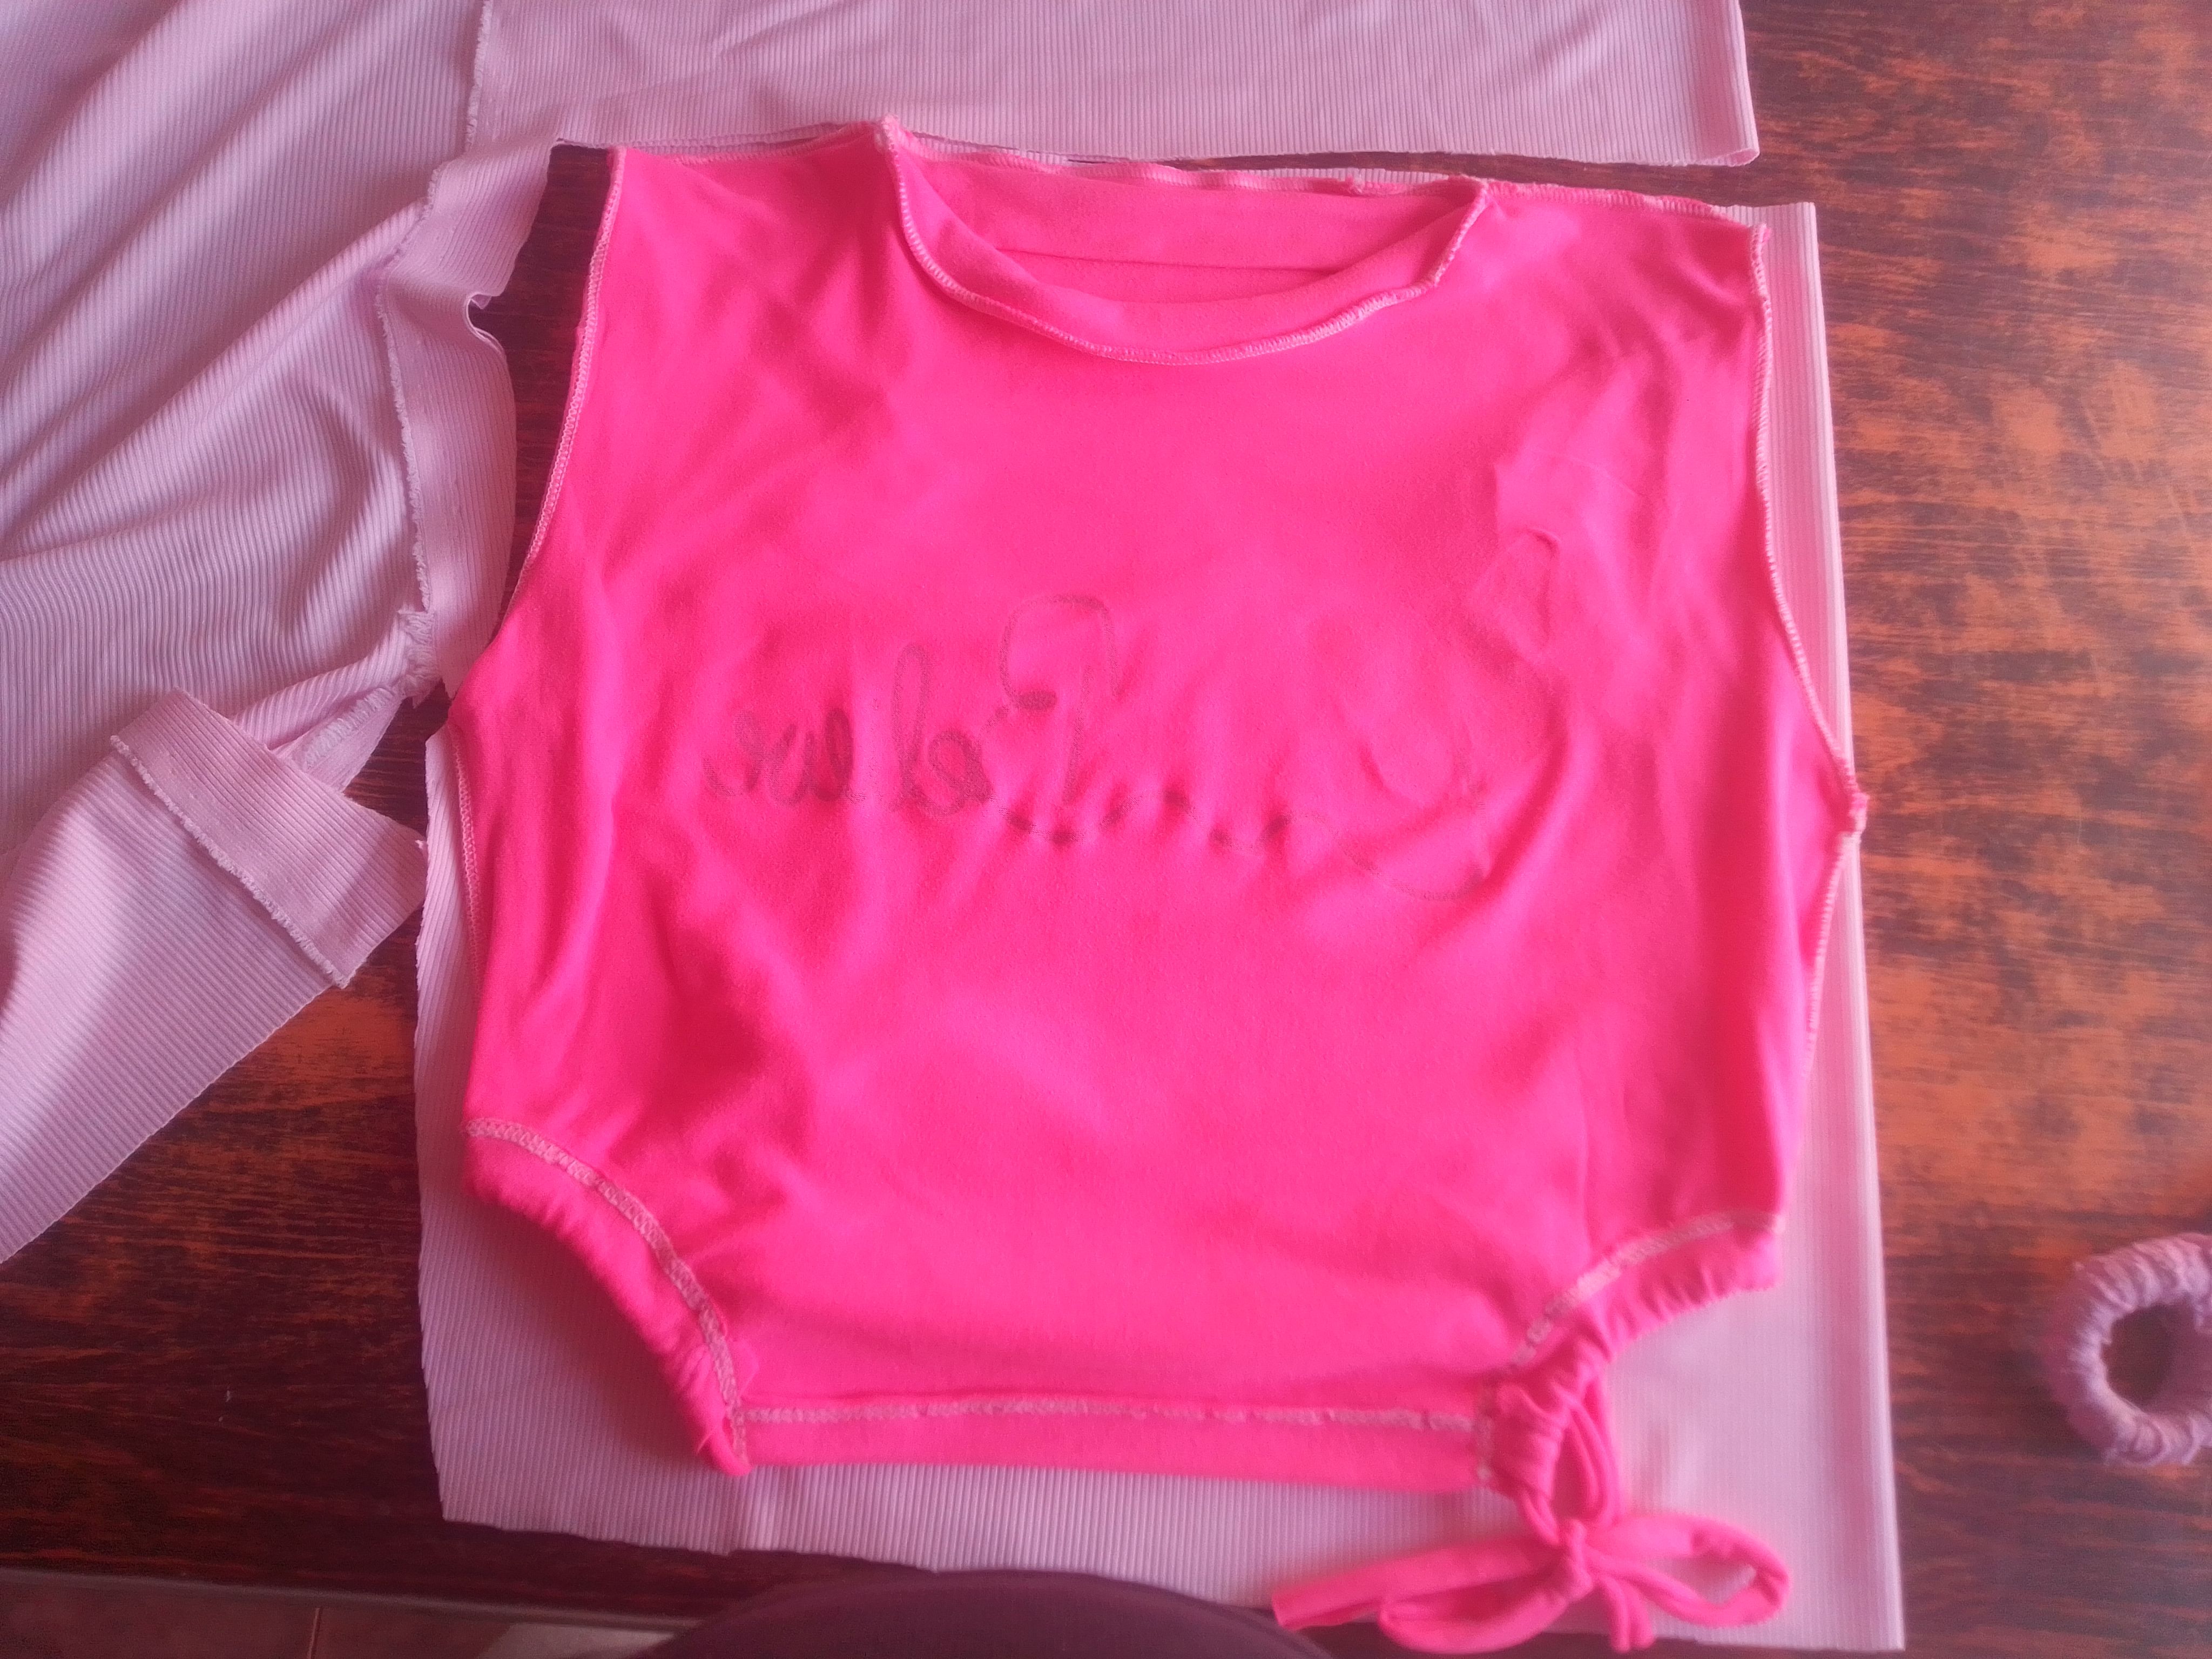
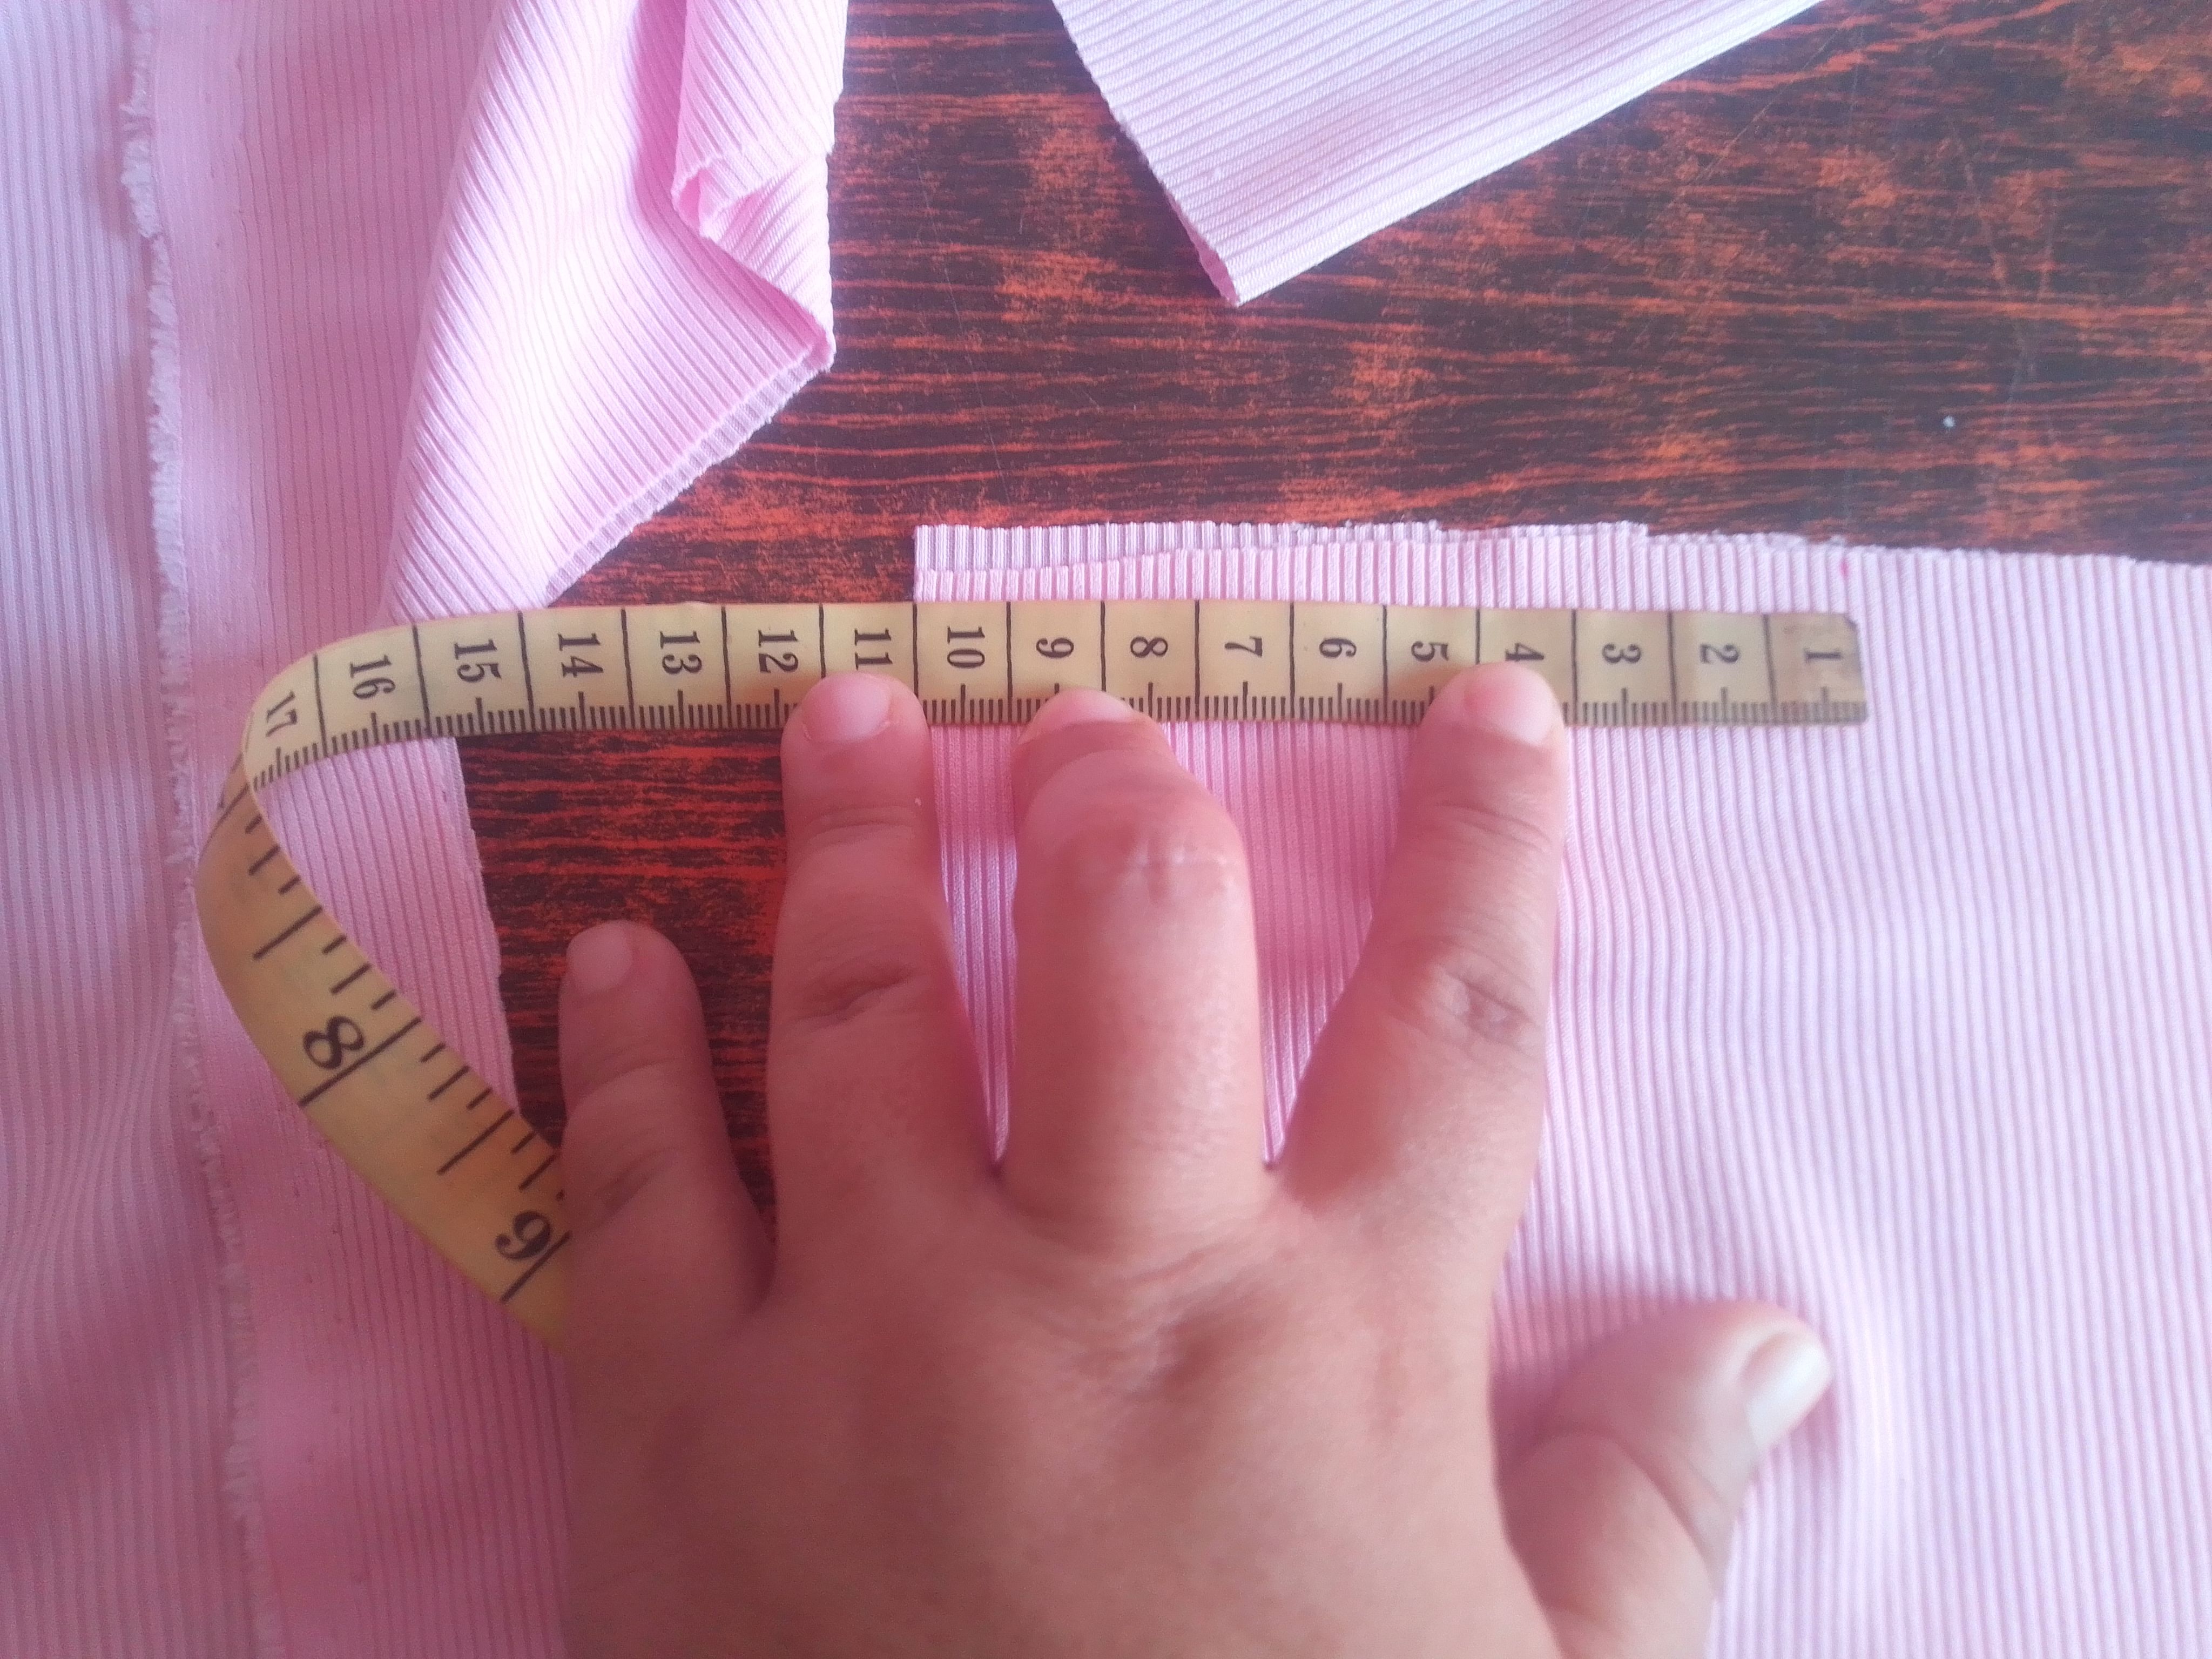
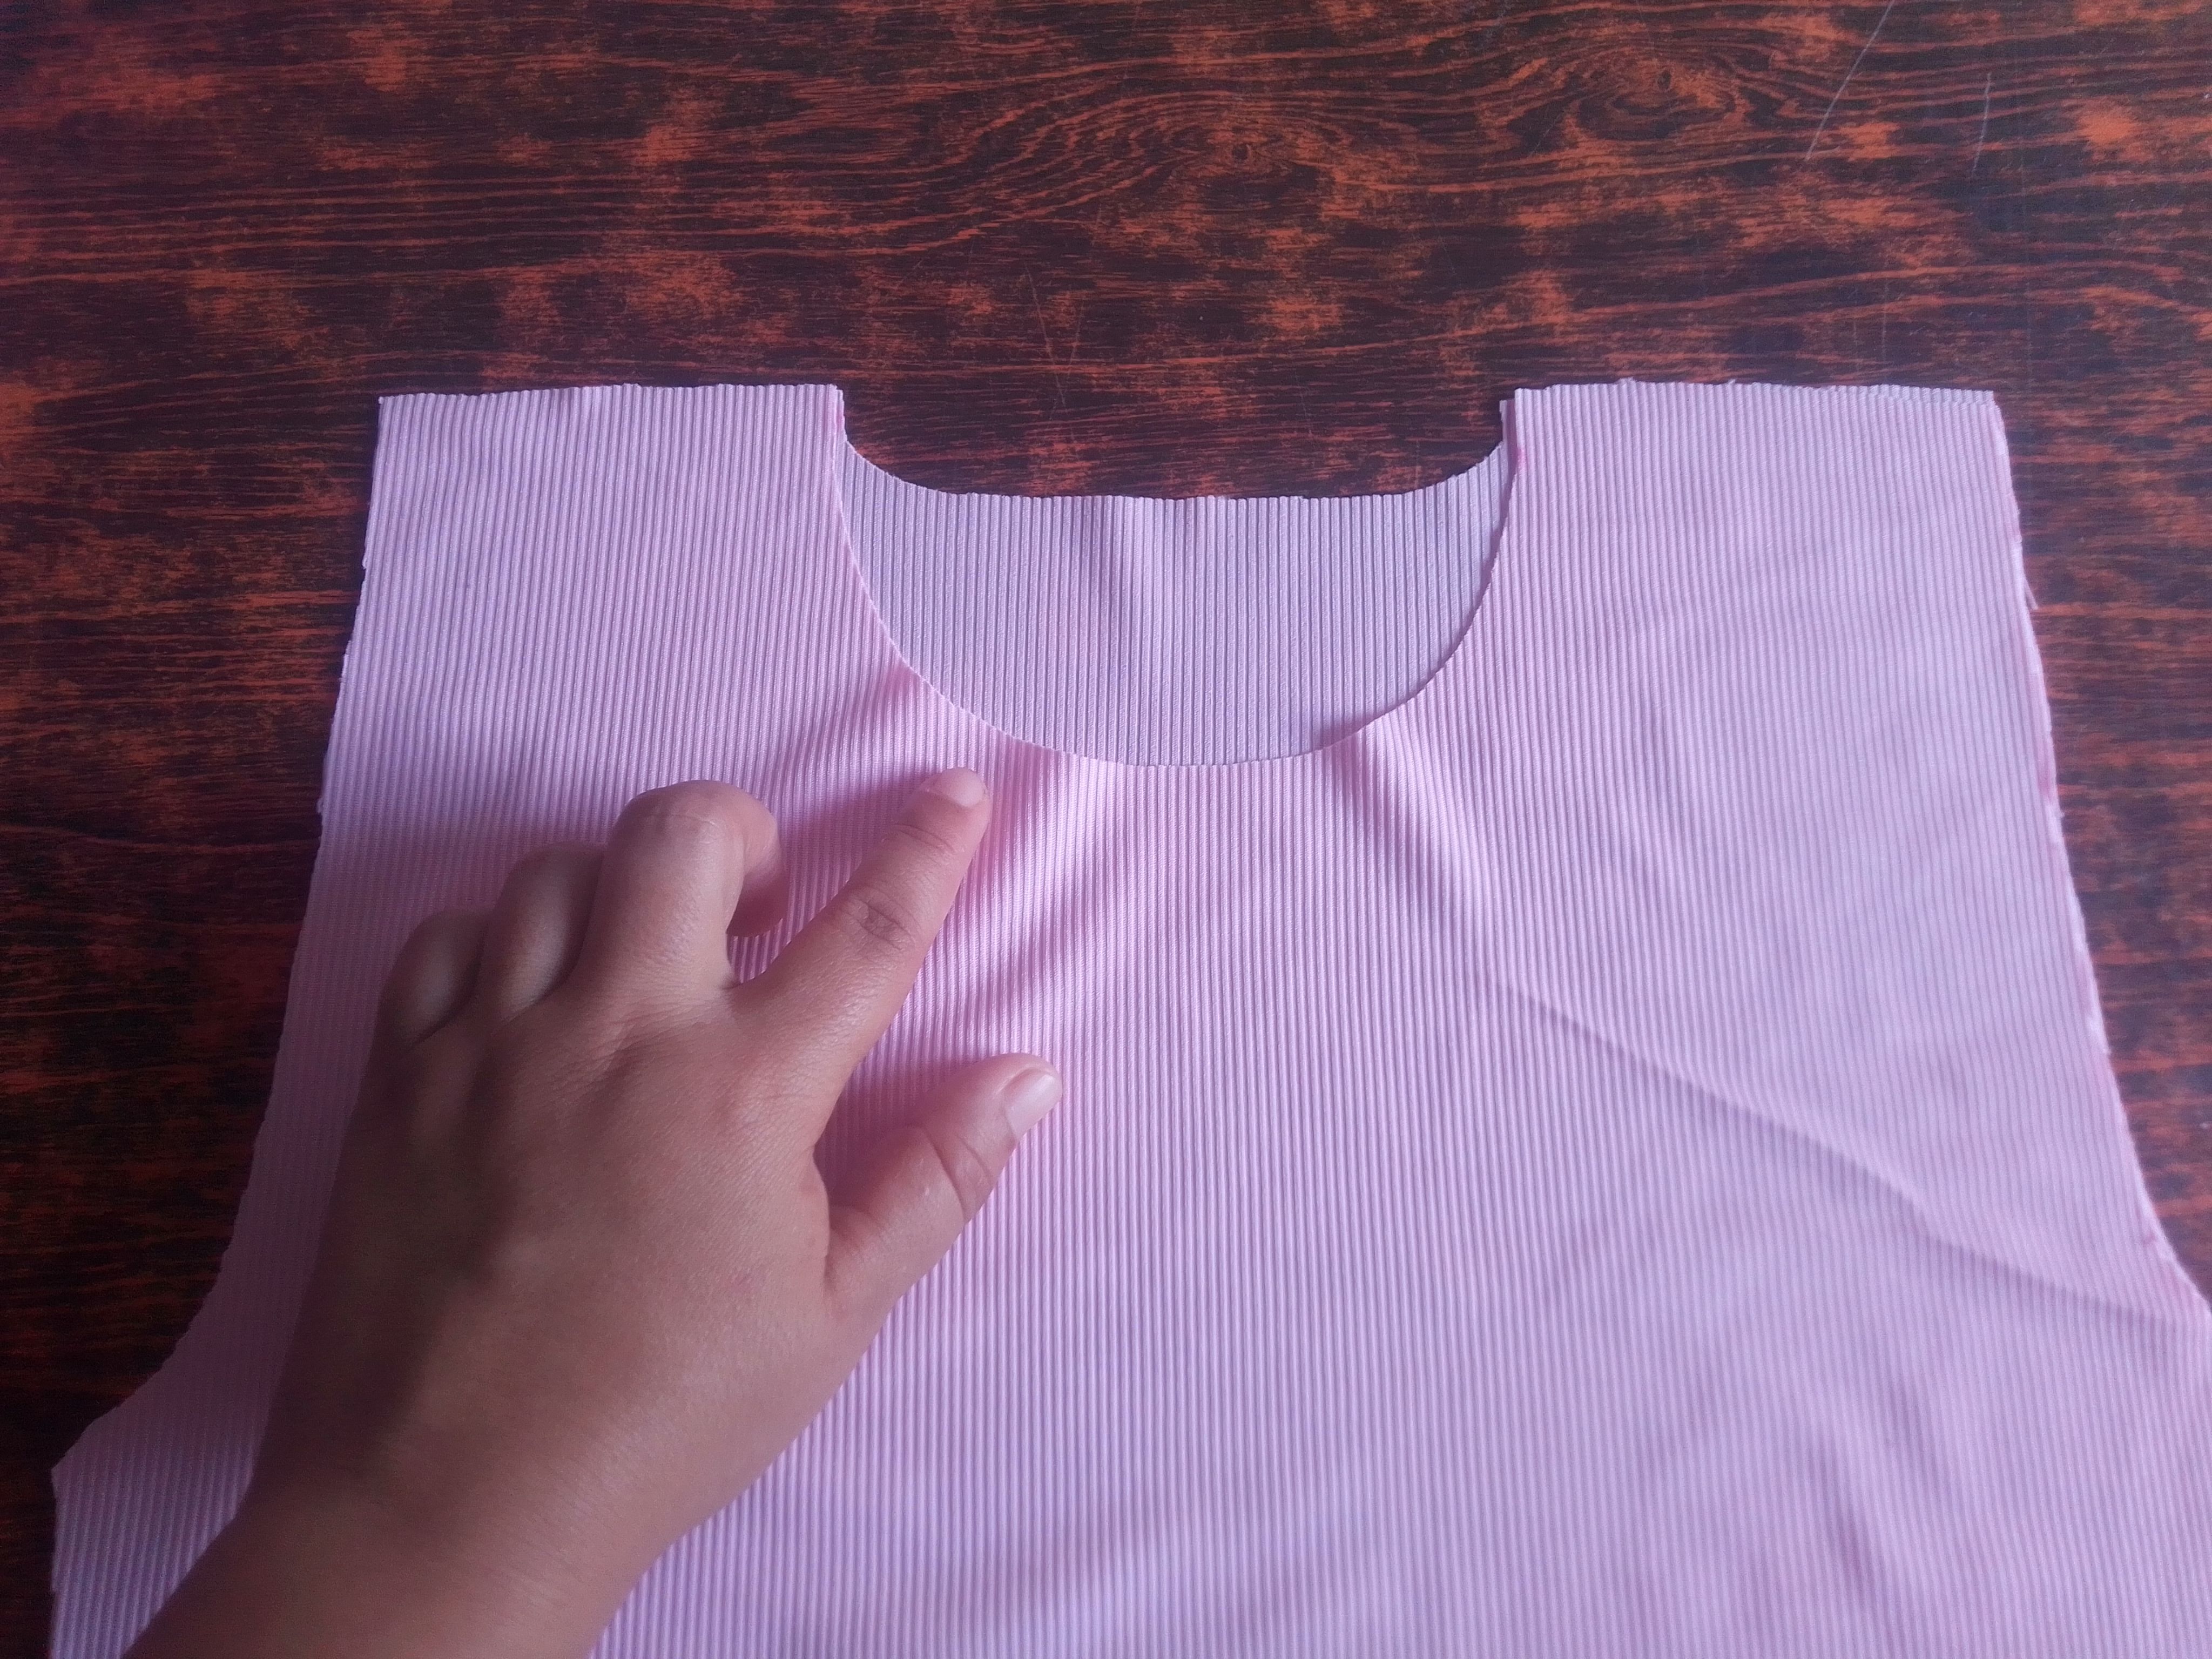
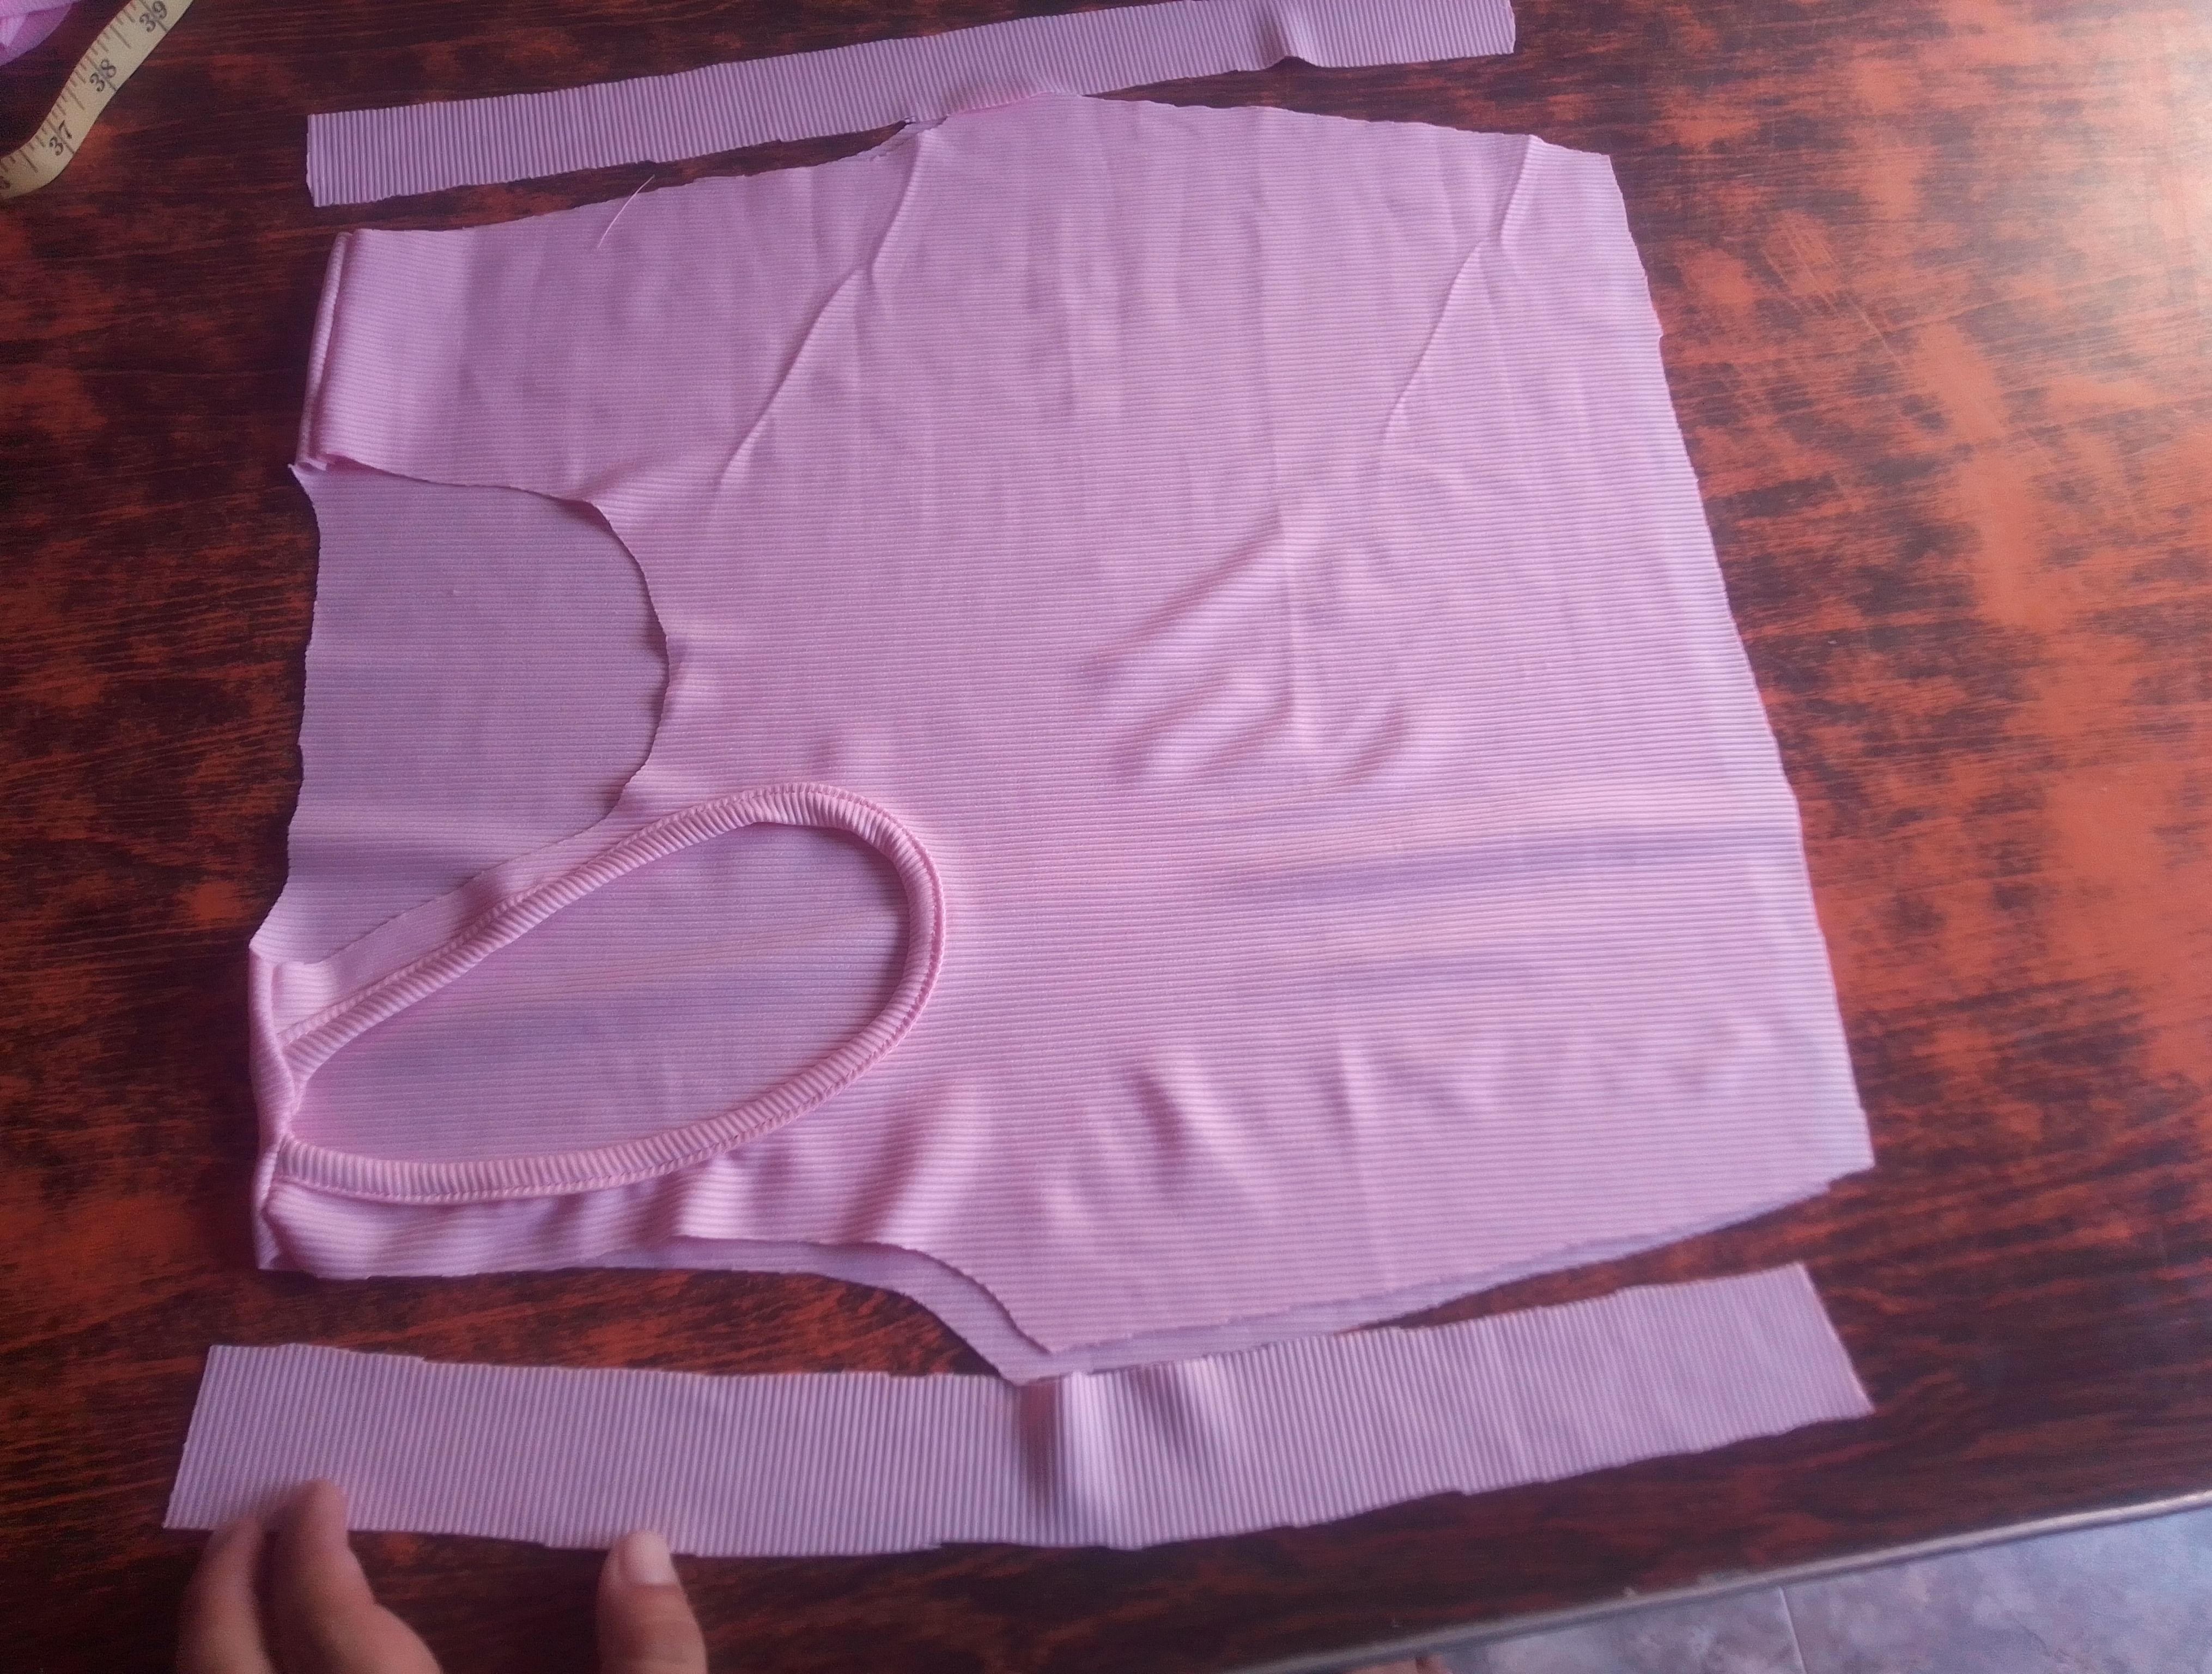
Paso 01
El primer paso que daremos, es cortar la parte delantera y trasera de top, para esto utilice una prenda que tenía un corte inferior corto y sus mangas las introduce hacia adentro para cortar la sisa. Luego de estoy voy a medir 10cm después de la sisa para corta la forma semicircular del cuello delantero y uno más pequeño en la parte trasera.
Step 01
The first step we will take is to cut the front and back of the top, for this I used a garment that had a short bottom cut and its sleeves are inserted inward to cut the armhole. After this I will measure 10cm after the armhole to cut the semicircular shape of the front neck and a smaller one at the back.
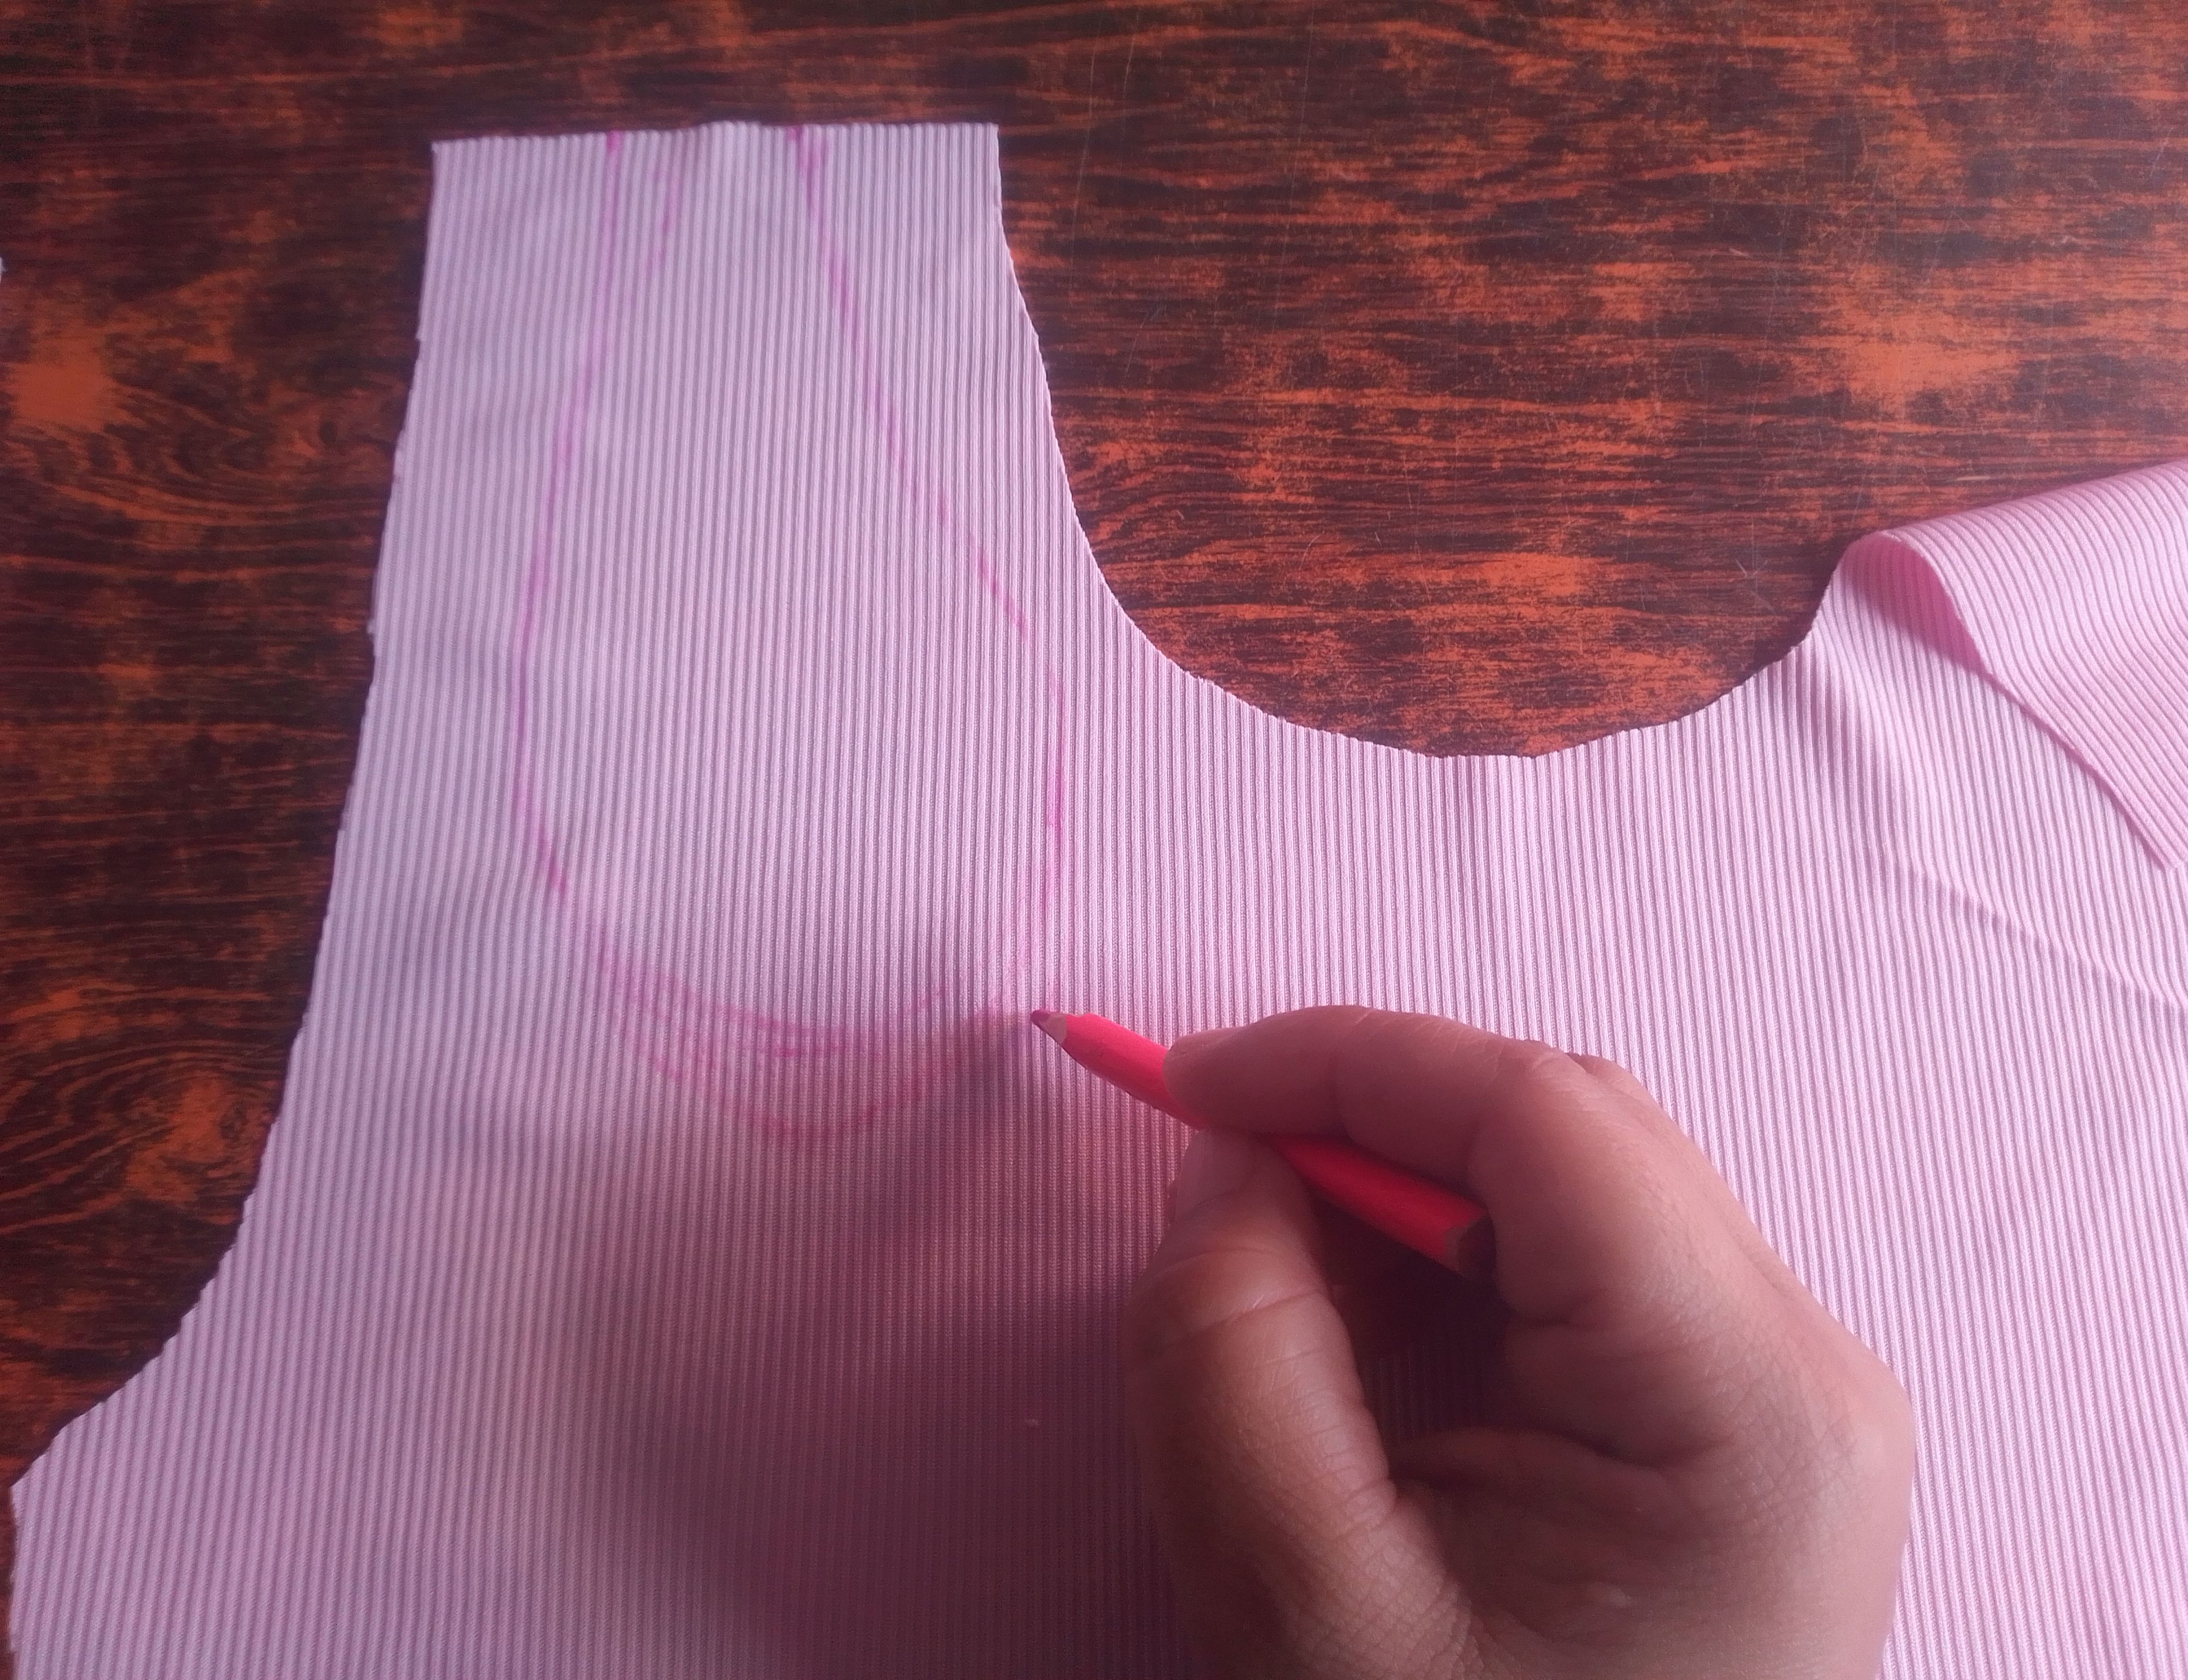
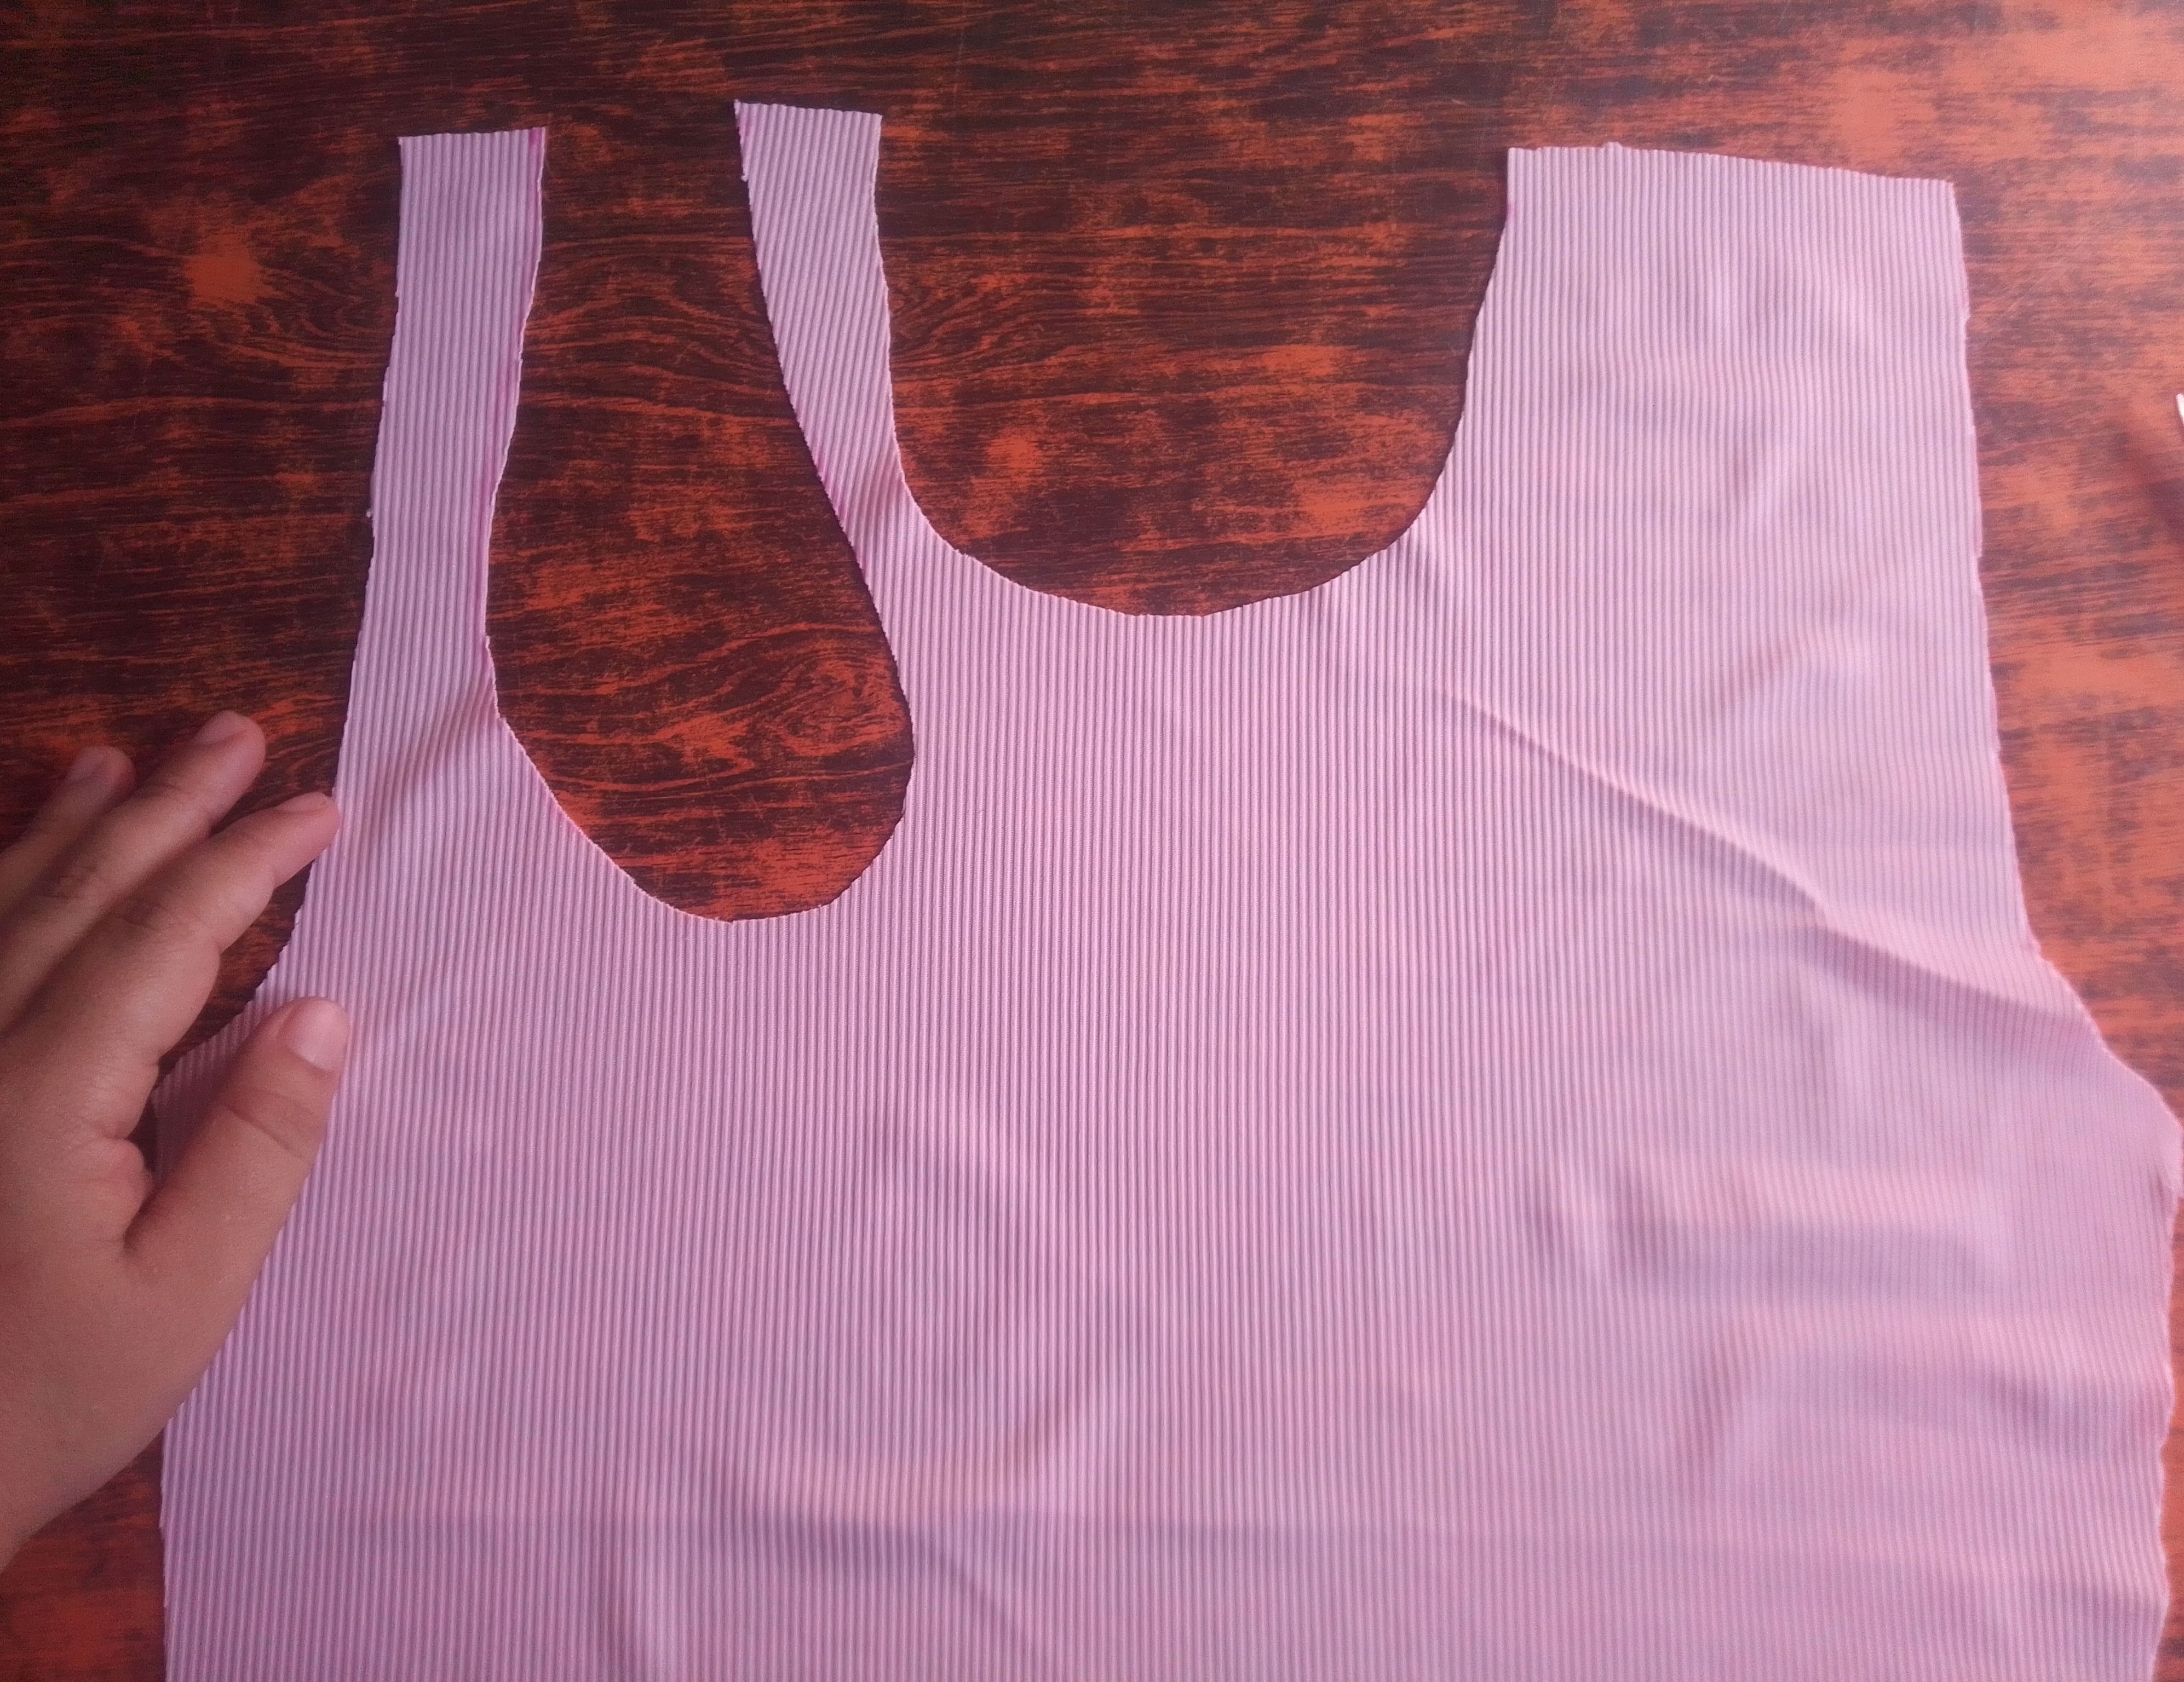
Paso 02
Luego de esto voy a calcular la mitad del ancho del hombro y voy a dibujar la forma de una gota llevando el diseño hasta la parte del busto y cortamos con mucho cuidado.
Step 02
After this I am going to calculate half the width of the shoulder and I am going to draw the shape of a drop taking the design to the bust part and cutting very carefully.
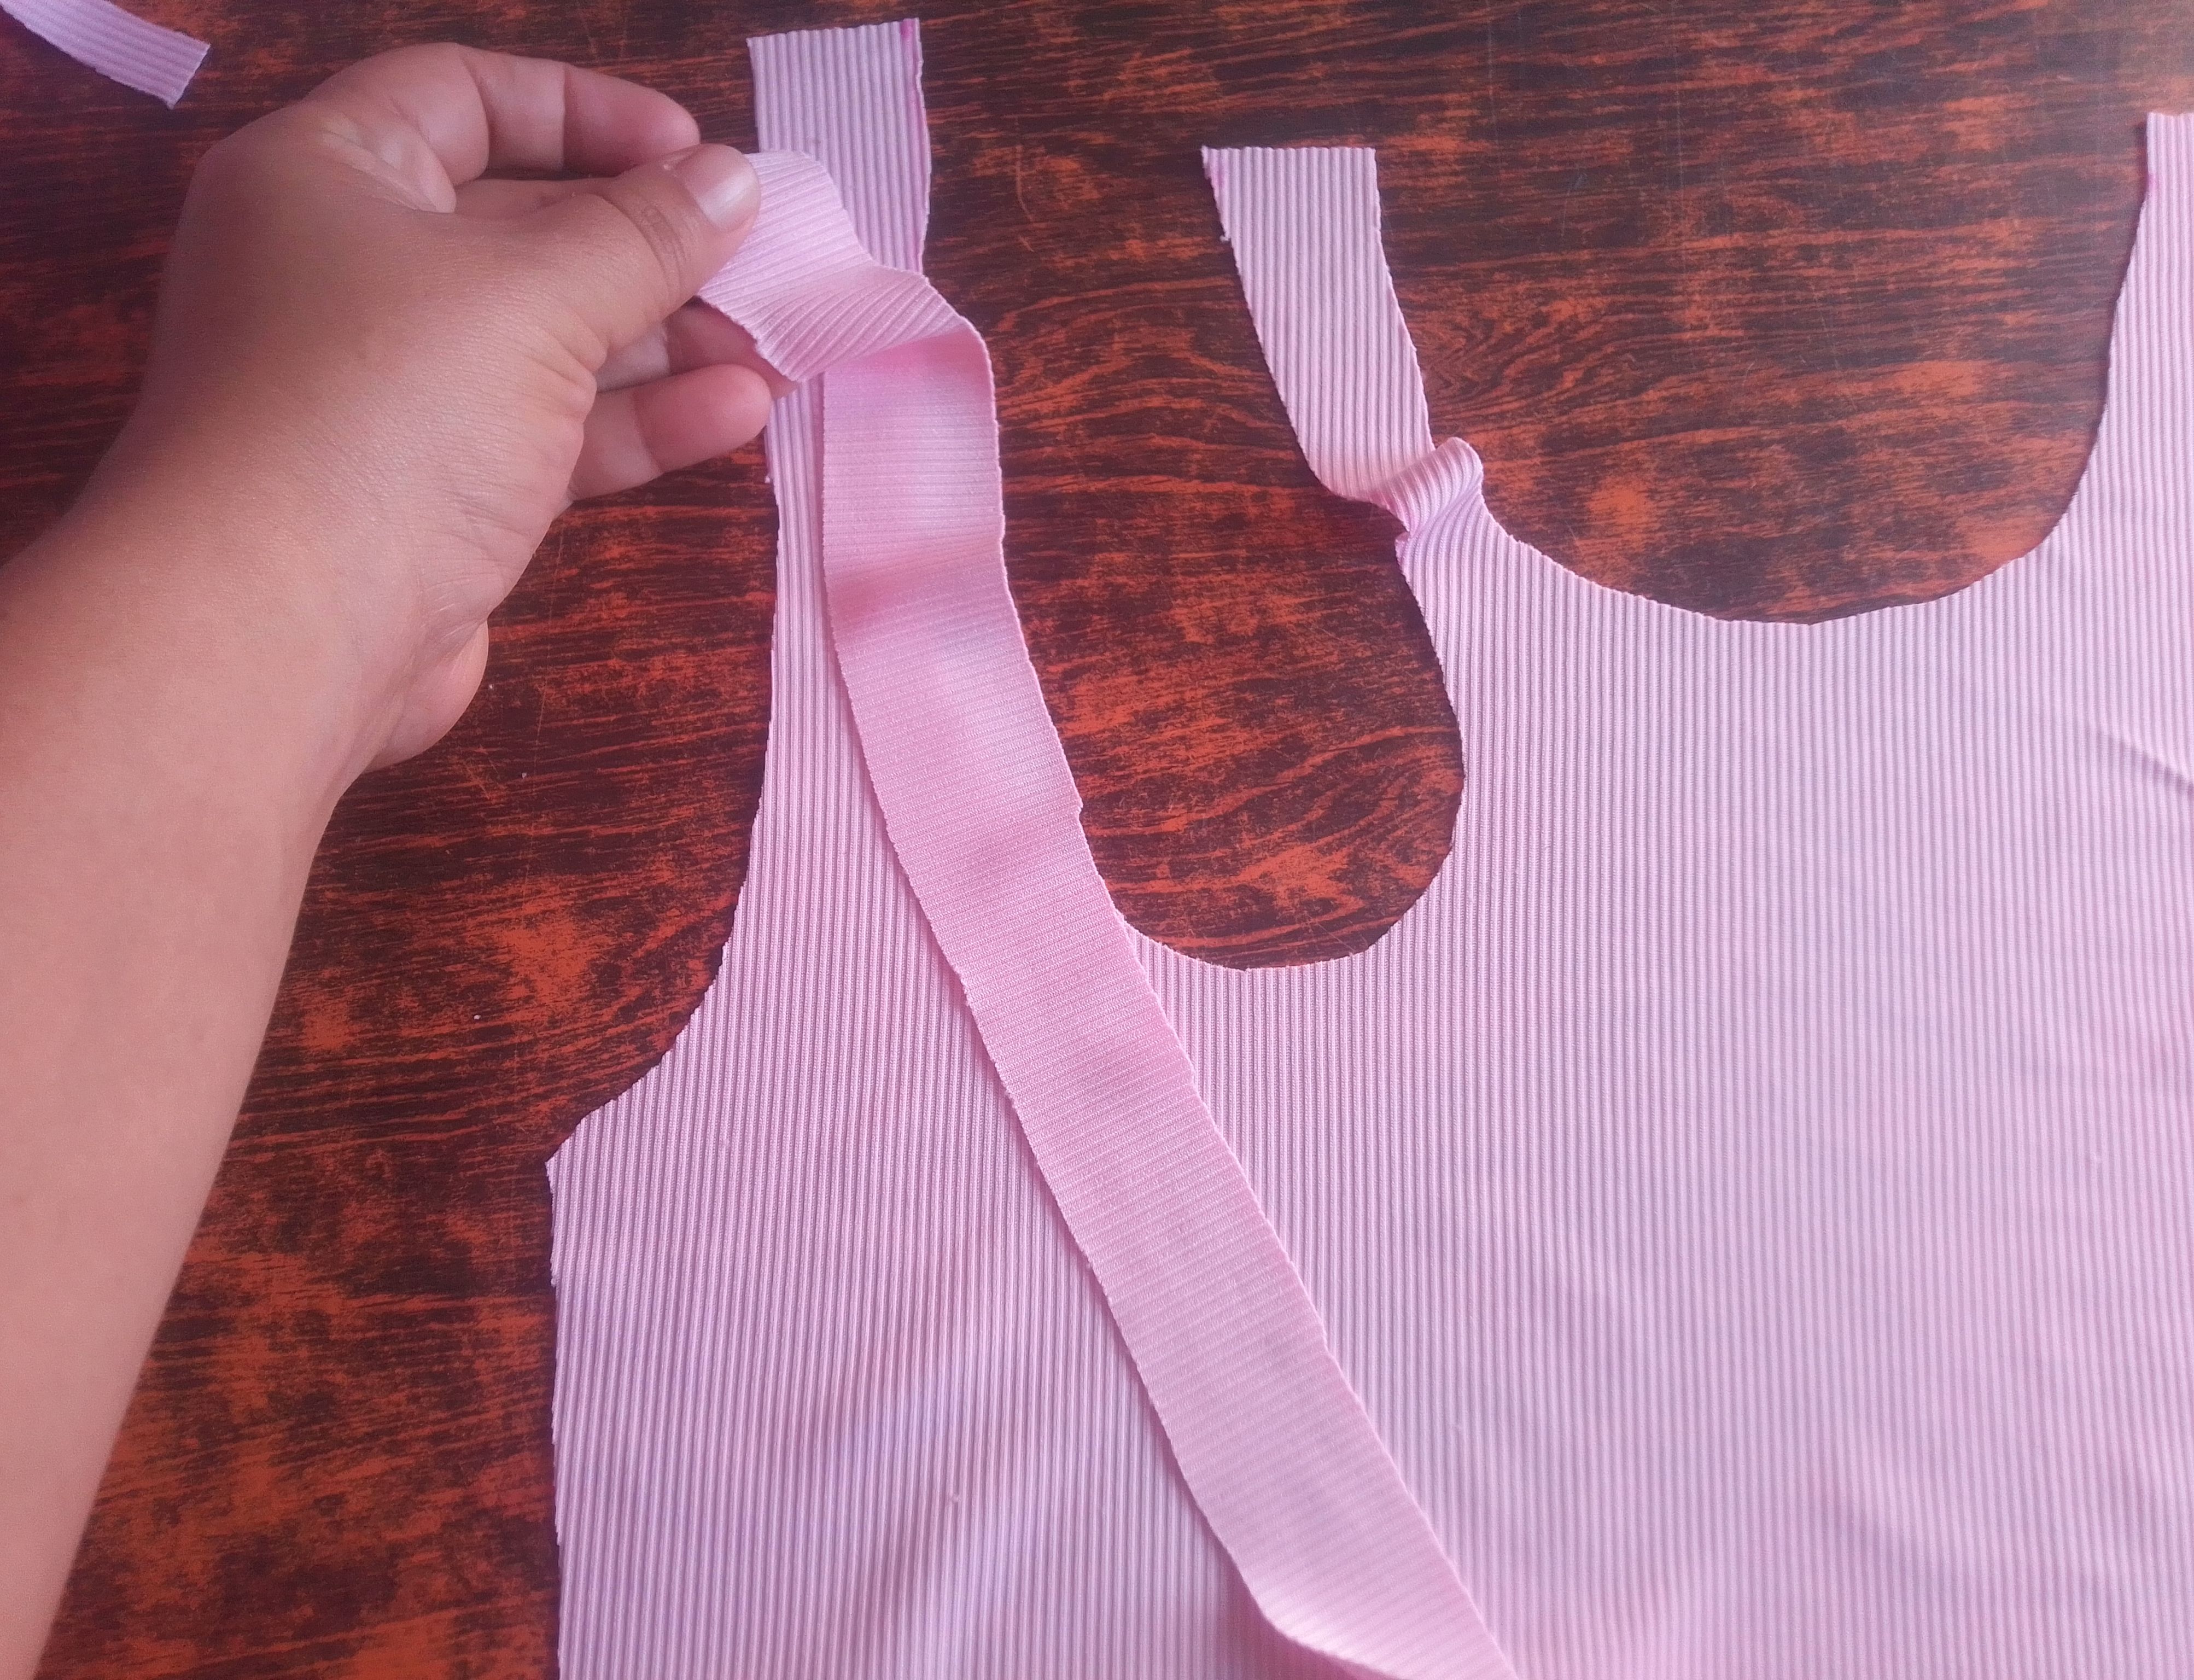
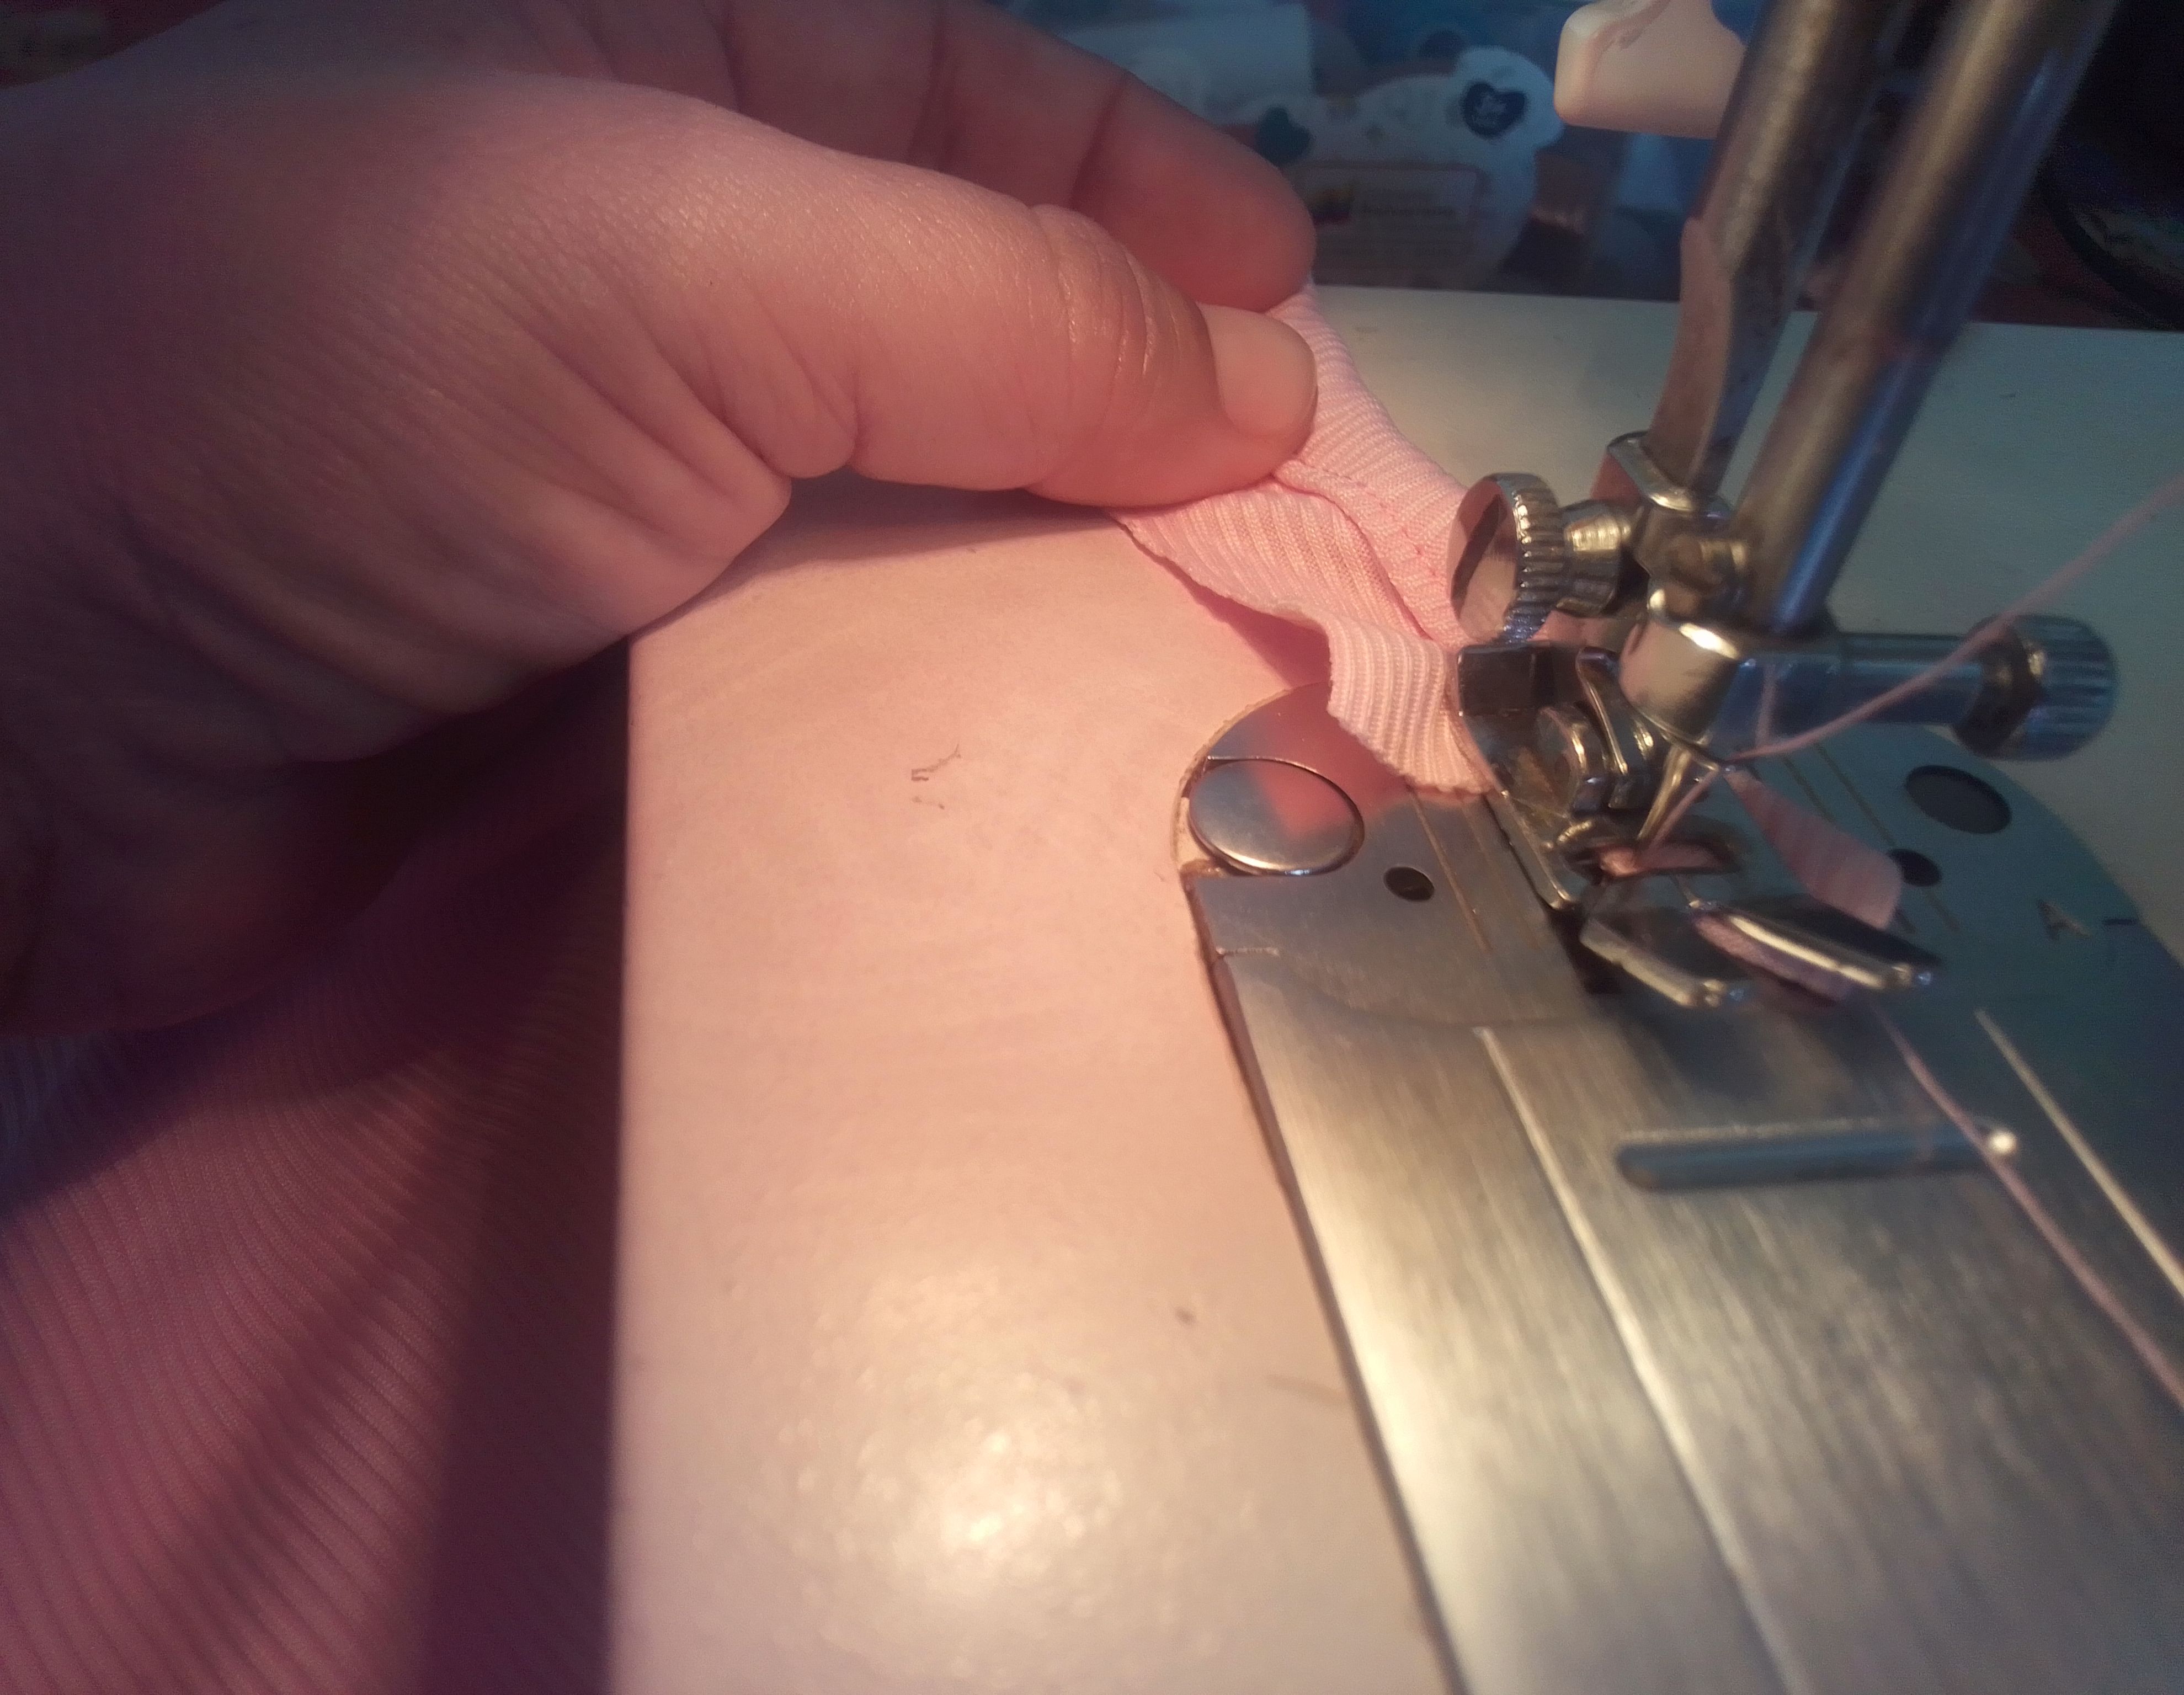
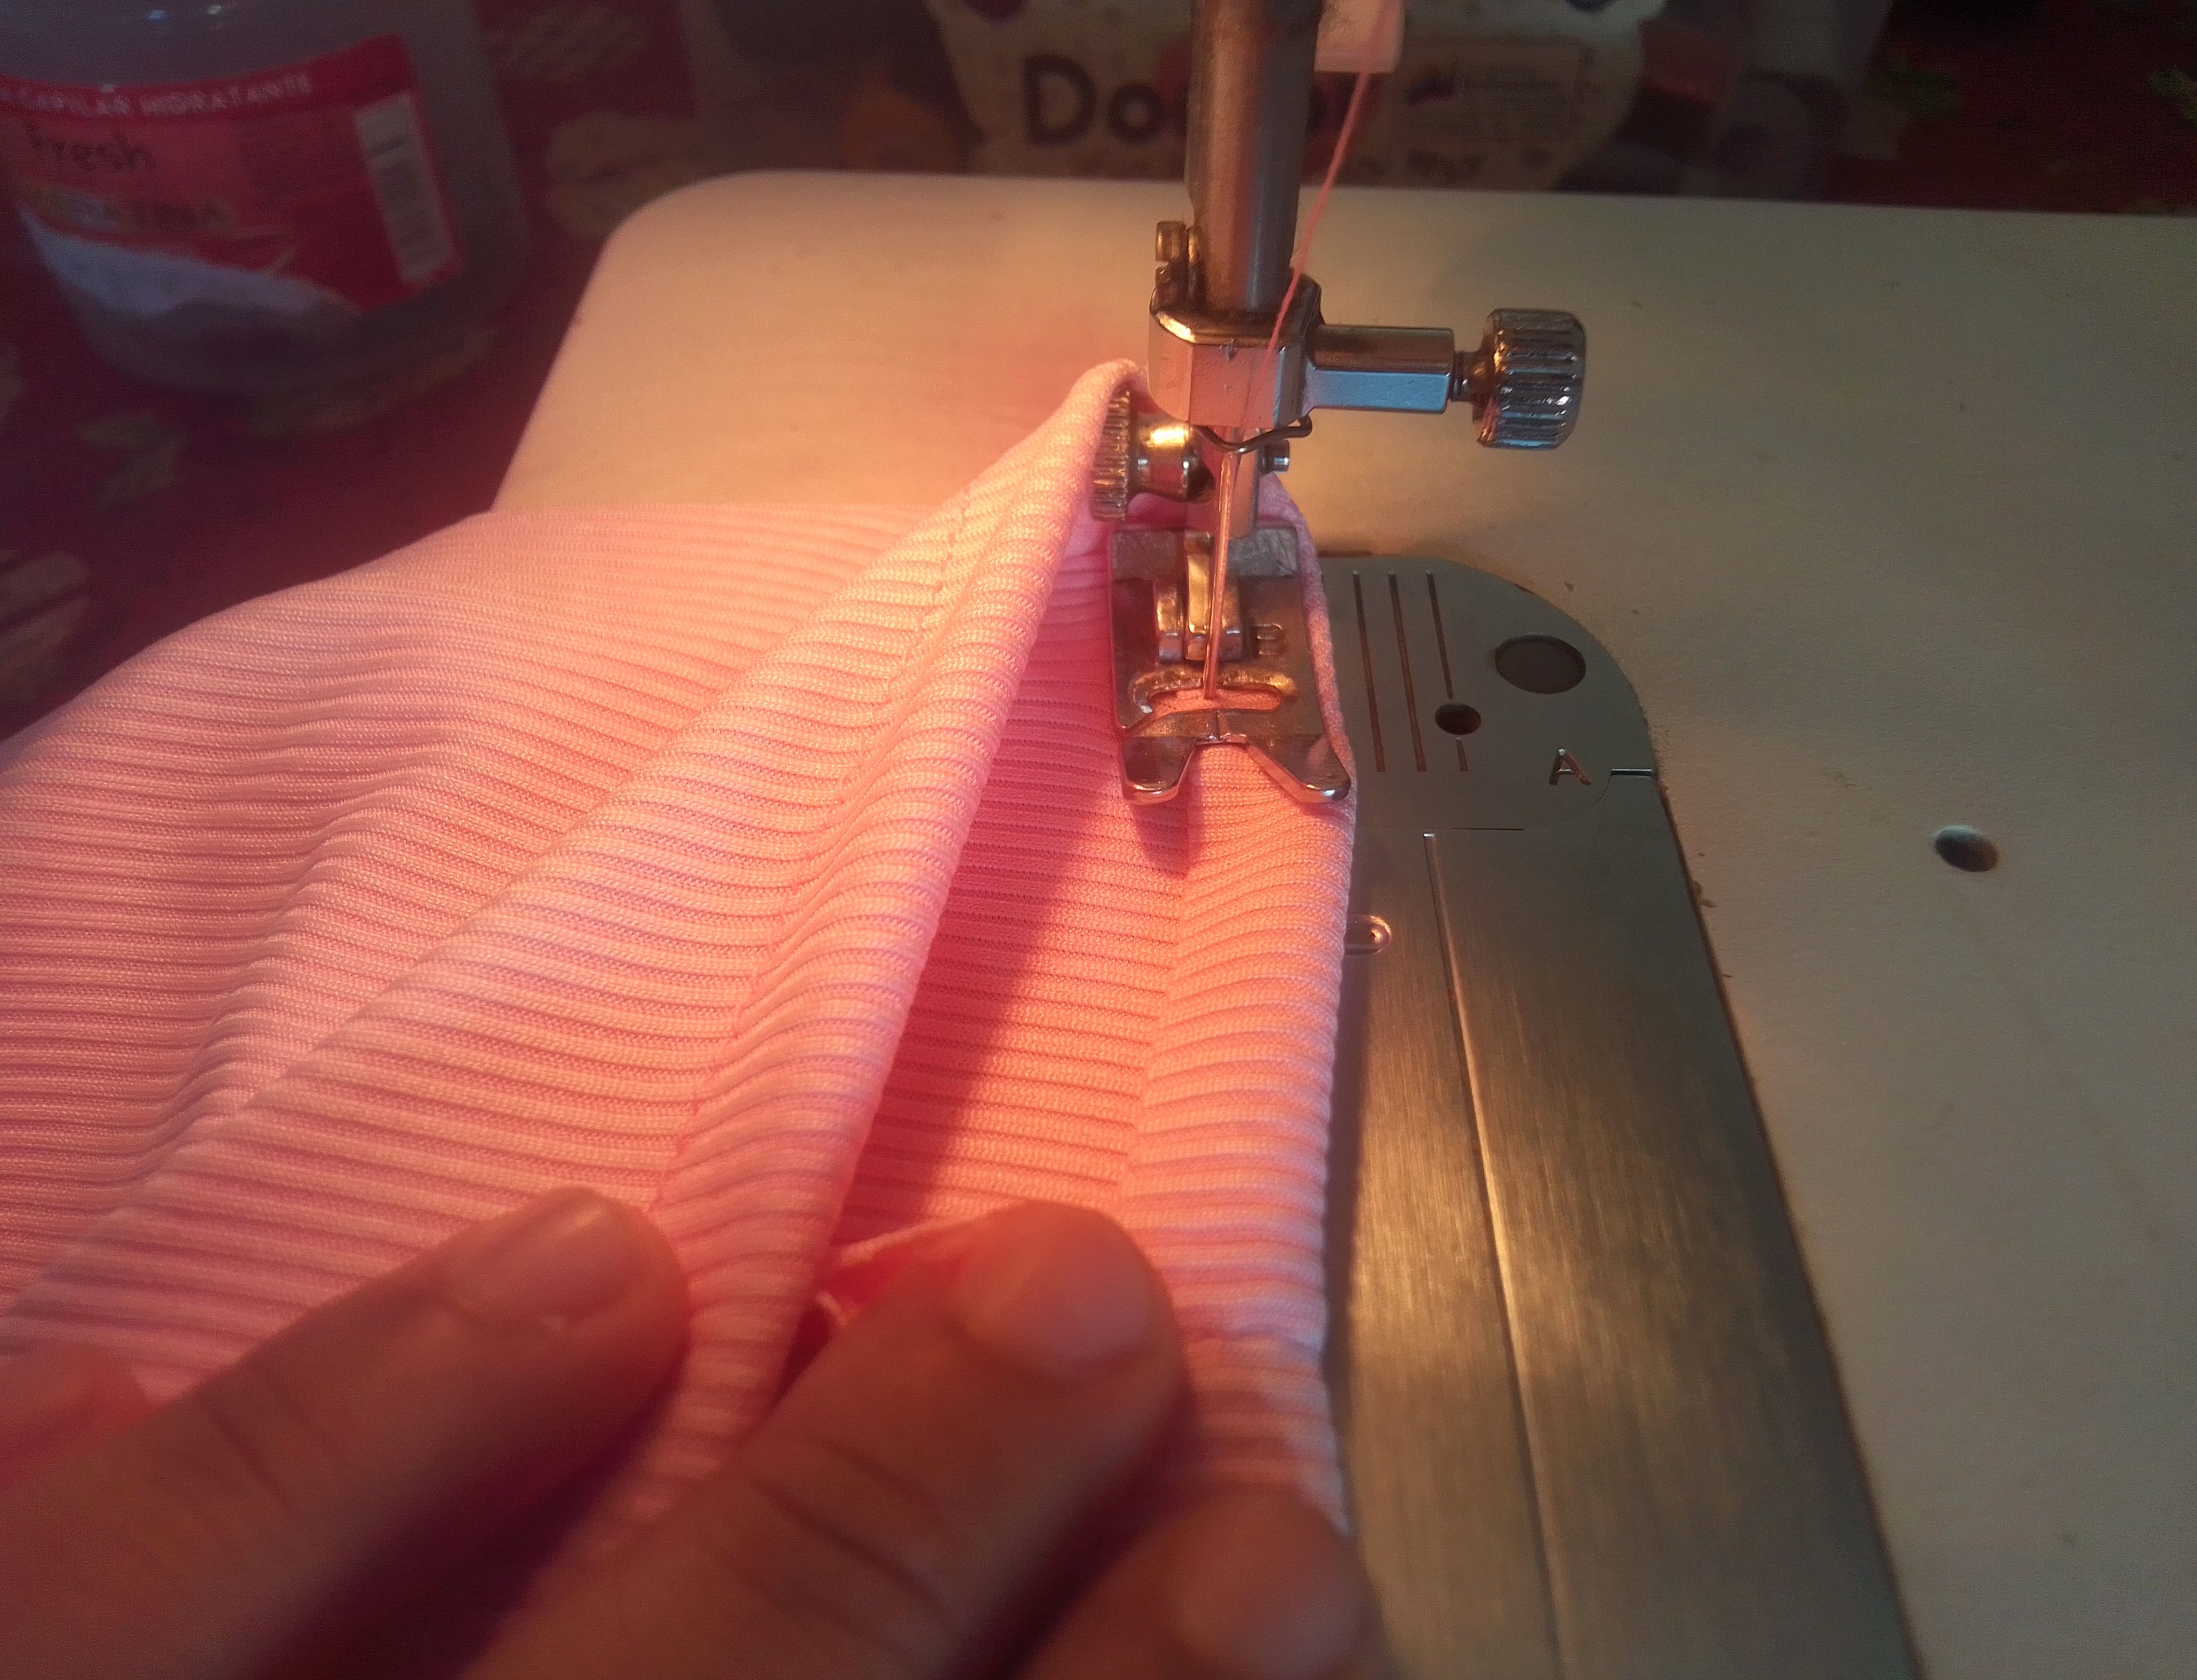
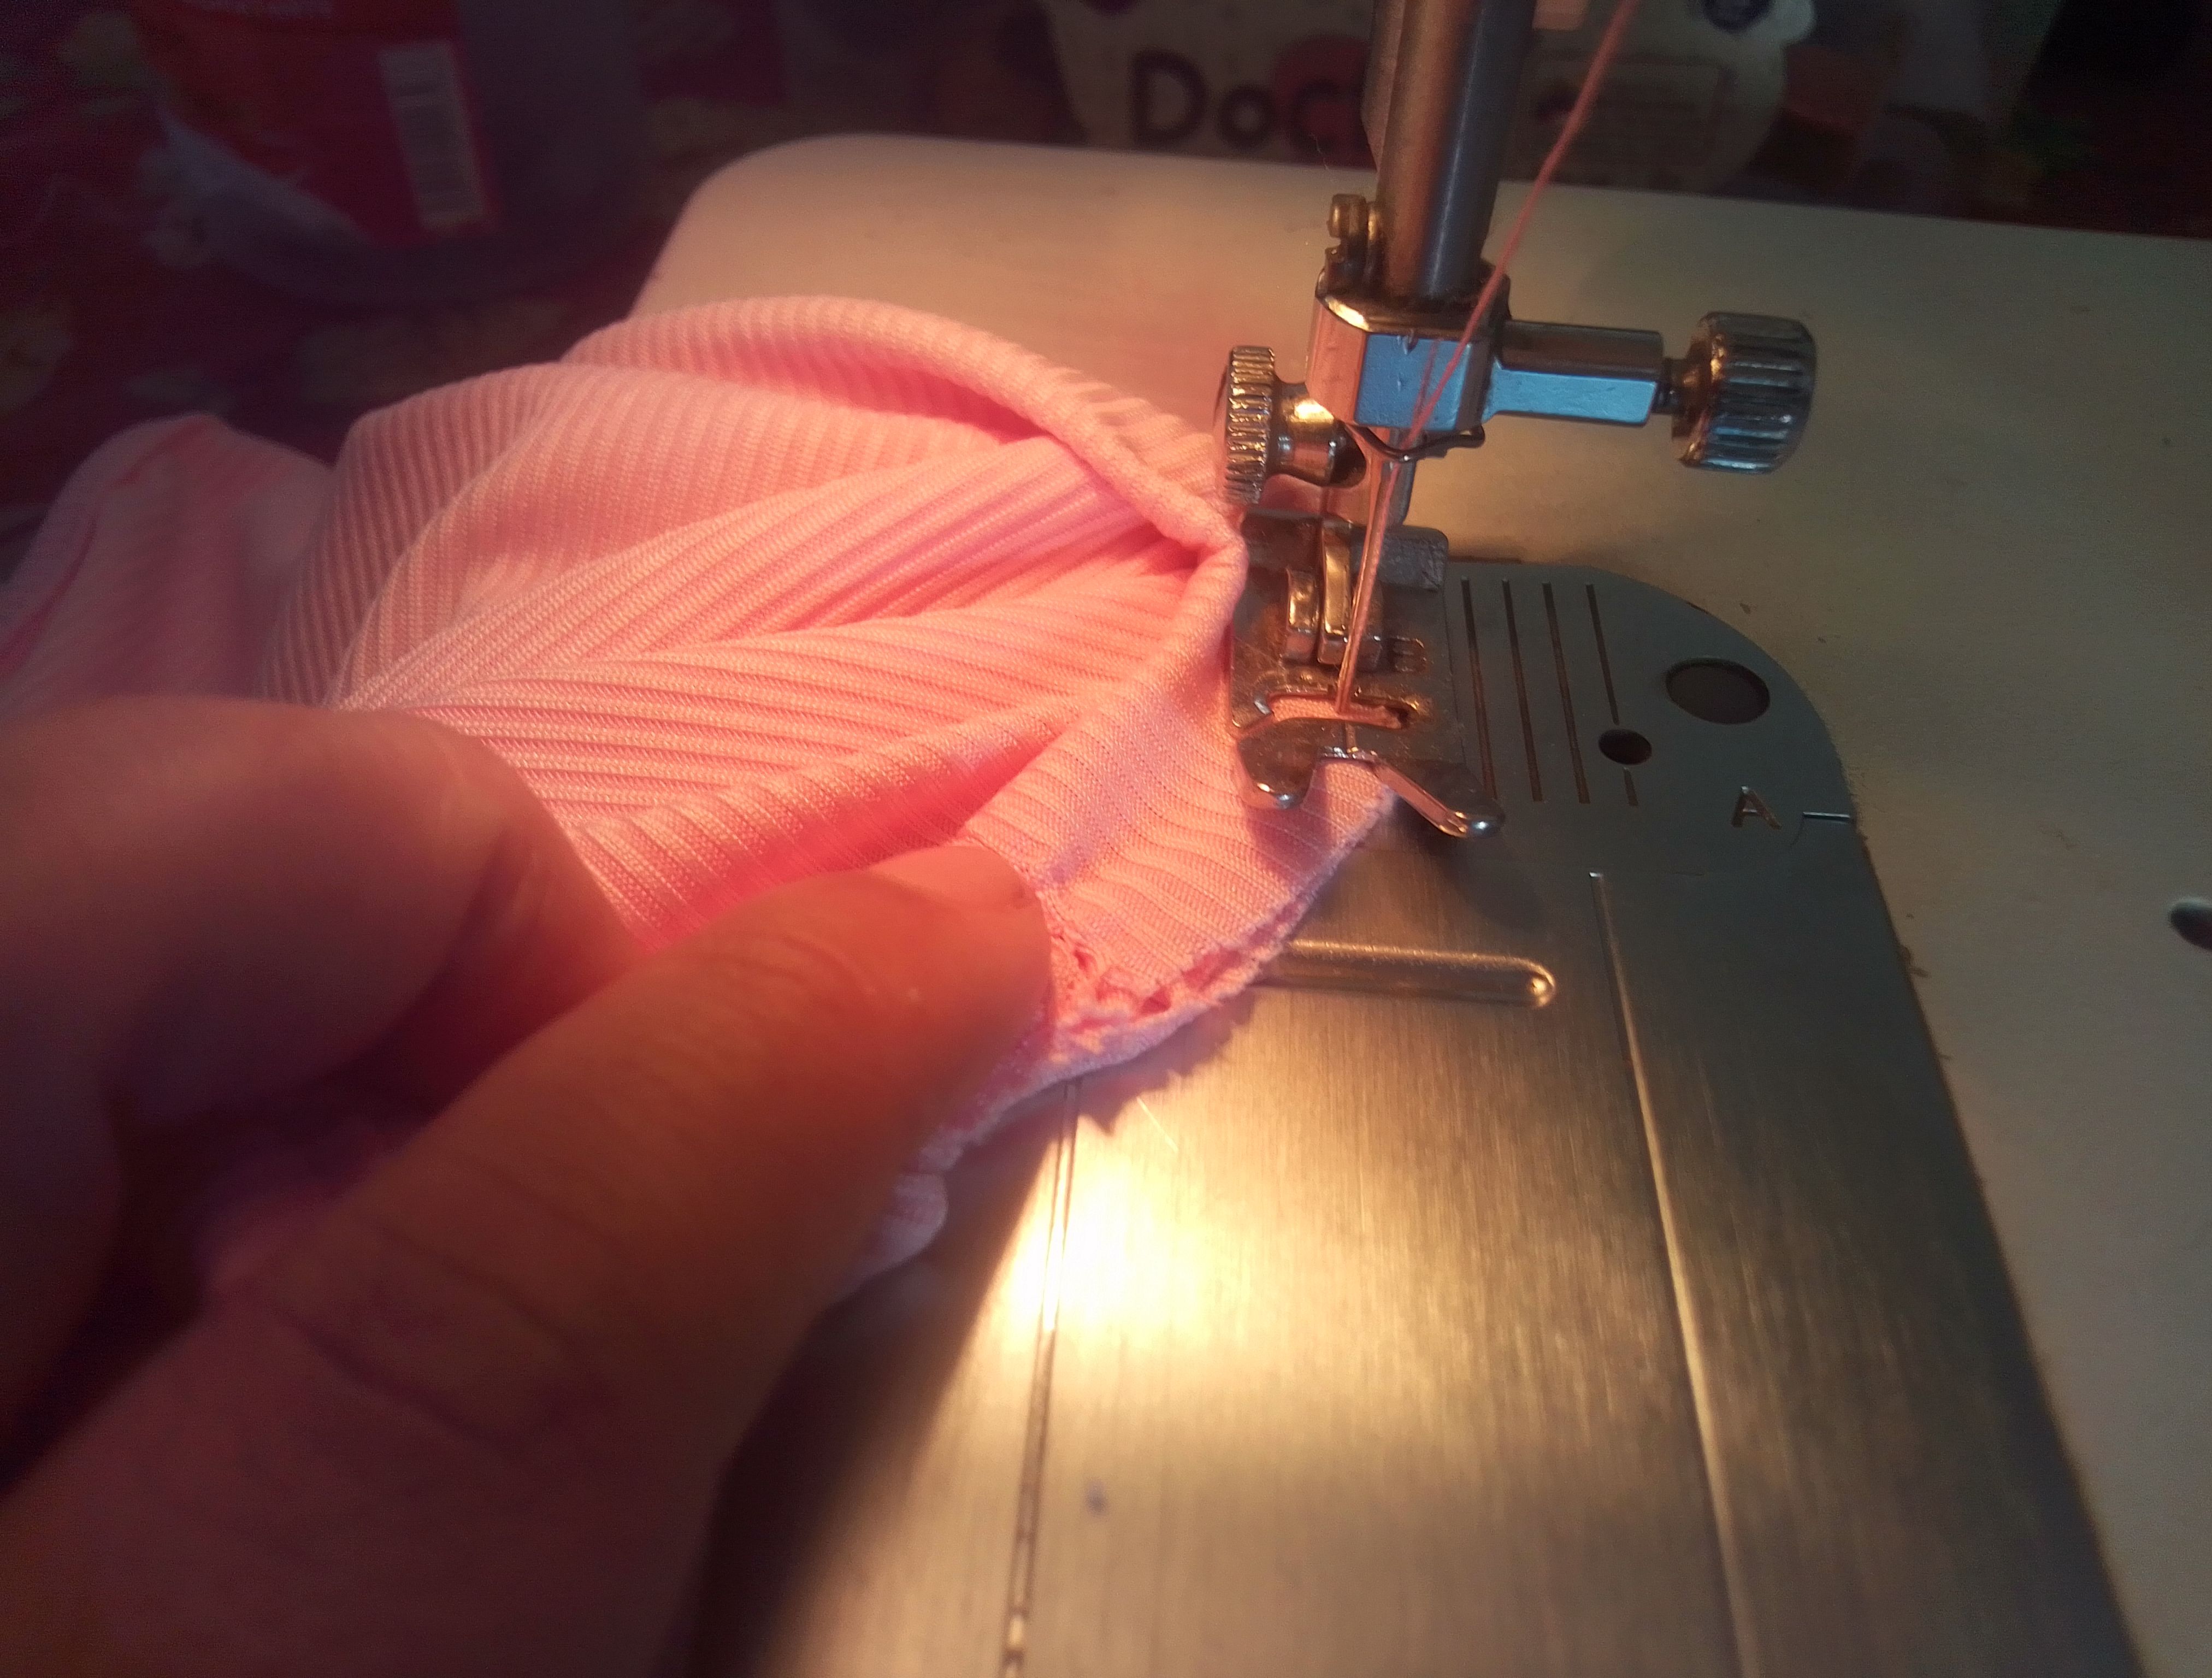
Paso 03
Voy a cortar una tira al tamaño que tiene el diseño que cortamos por un ancho de 2cm. Está tira la voy a coser alrededor del corte simple y con costura recta enfrentando el derecho de la tela, es decir, por la parte de atrás. Luego voy andar un giro doble y cosemos formado el bies de este escote.
Step 03
I am going to cut a strip to the size of the design we cut for a width of 2cm. I am going to sew this strip around the simple cut and with a straight seam facing the right side of the fabric, that is, on the back. Then I will make a double turn and we will sew the bias of this neckline.
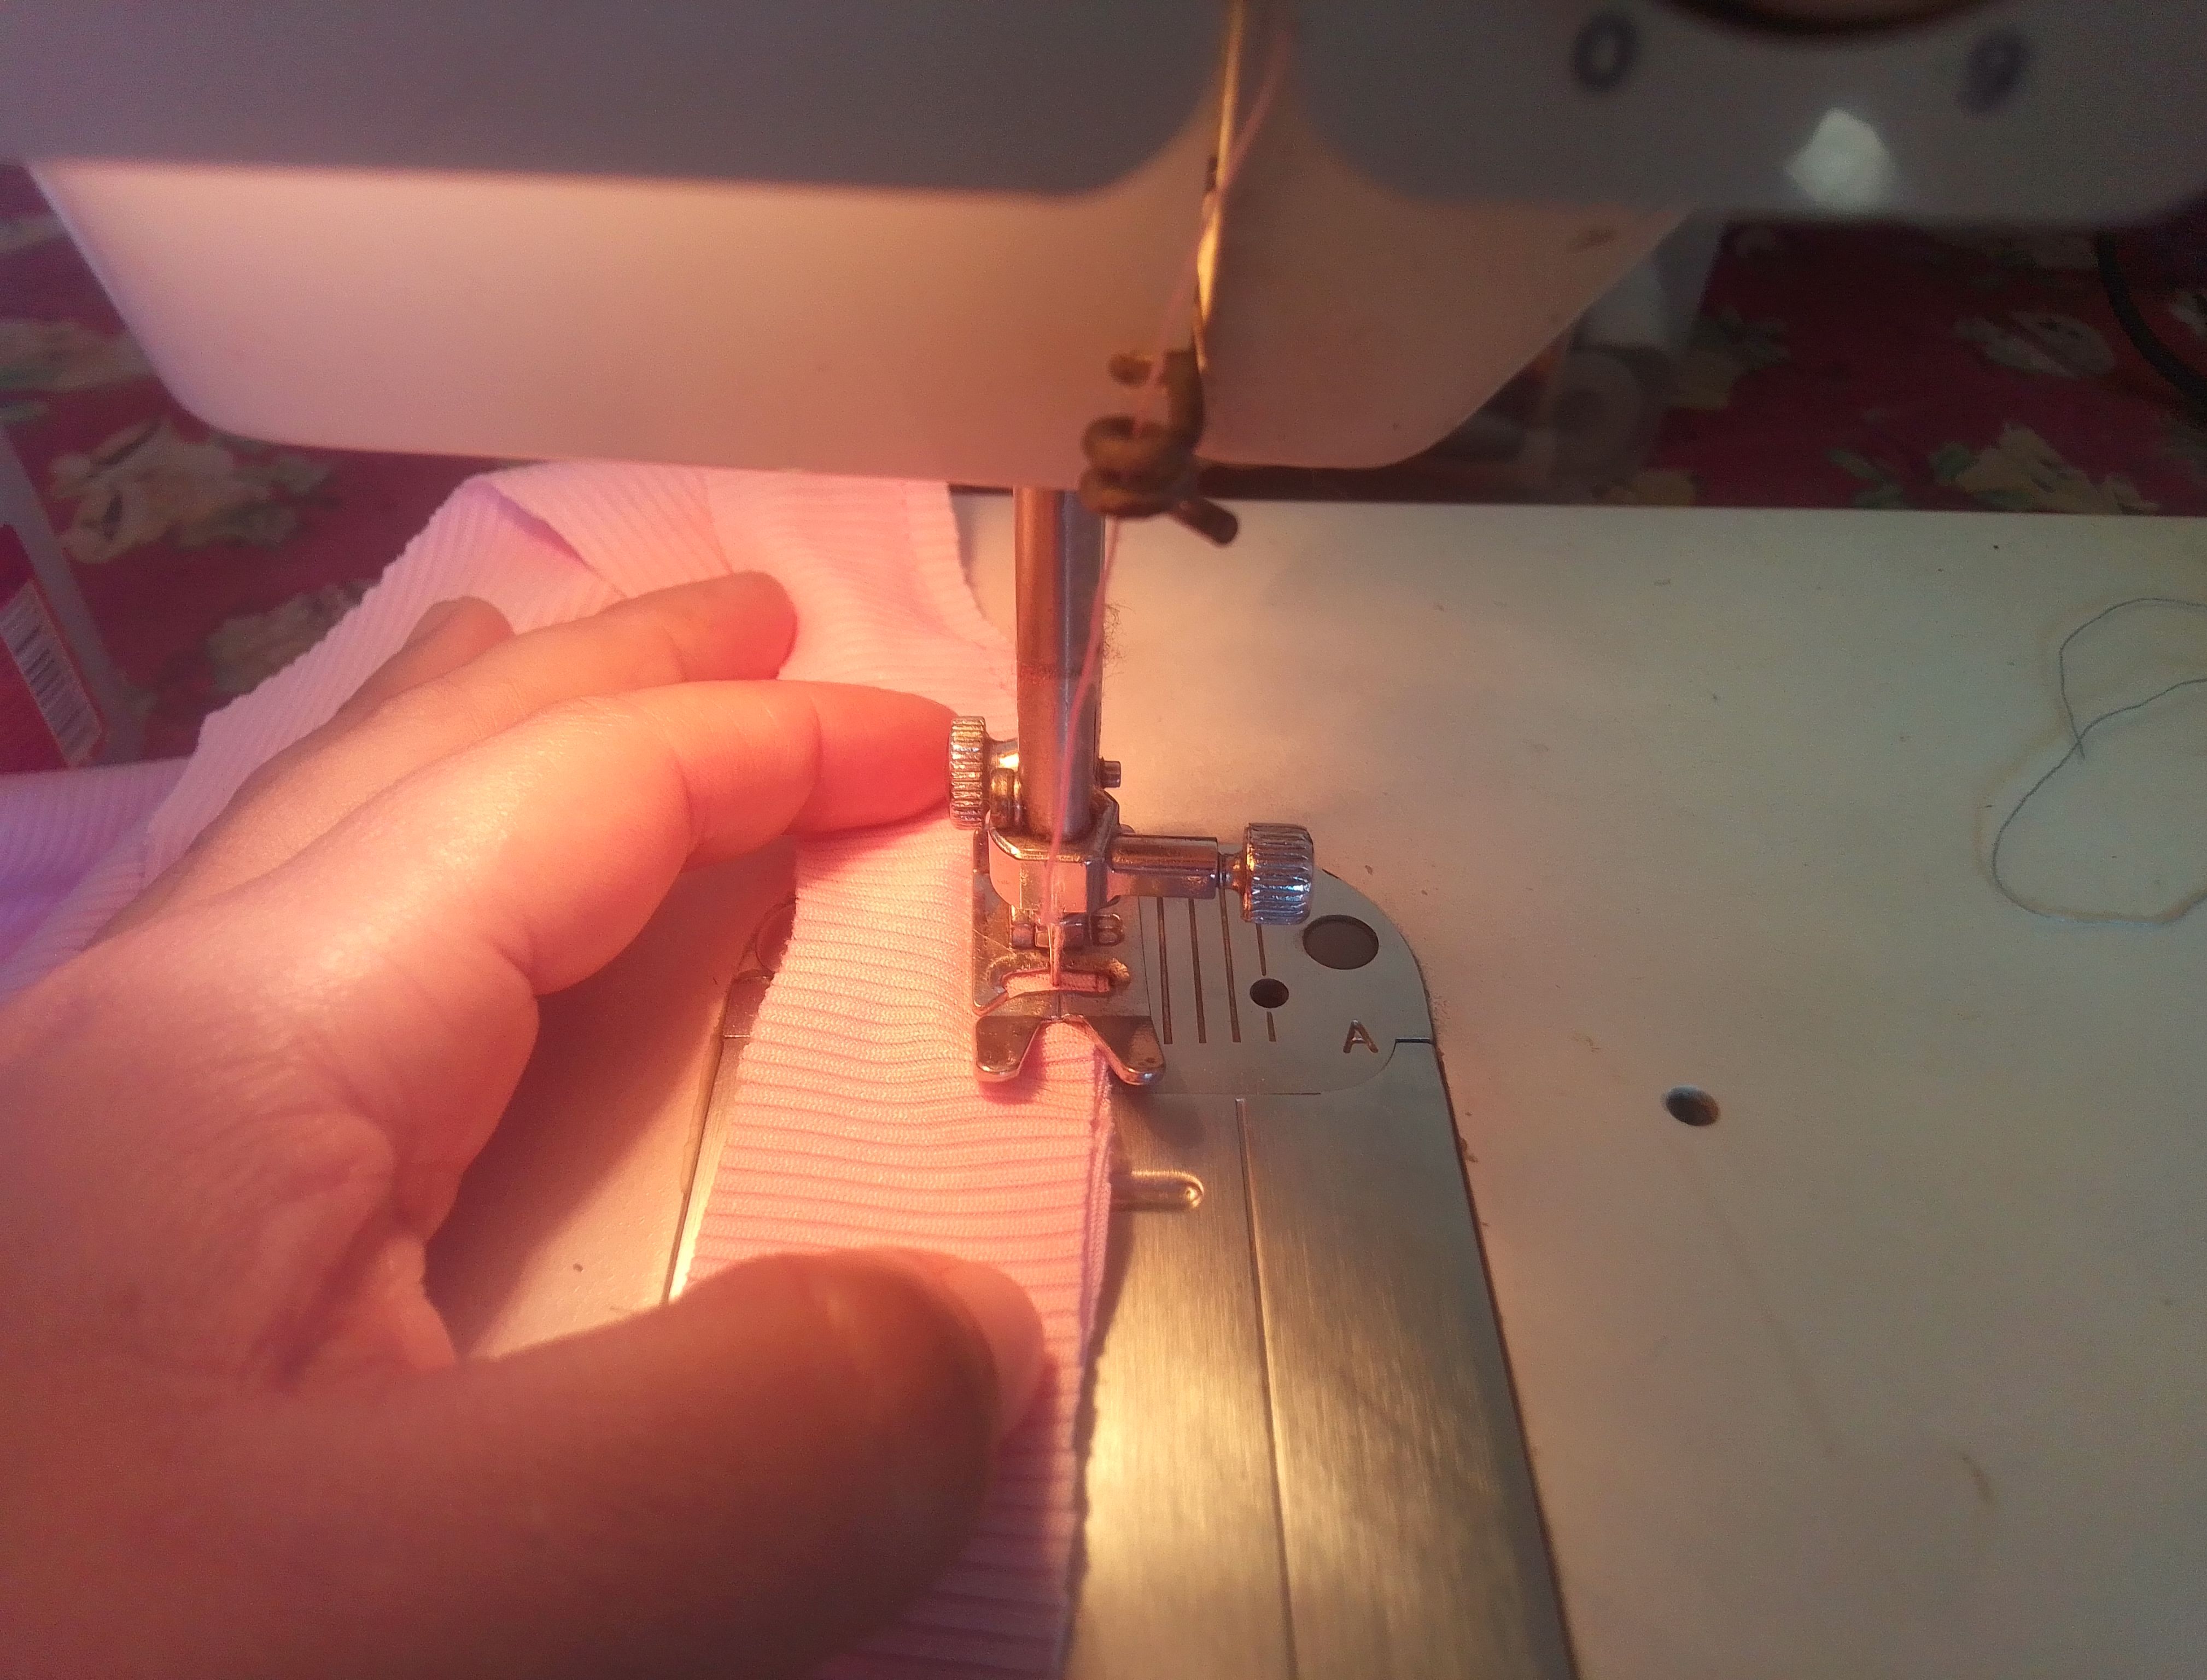
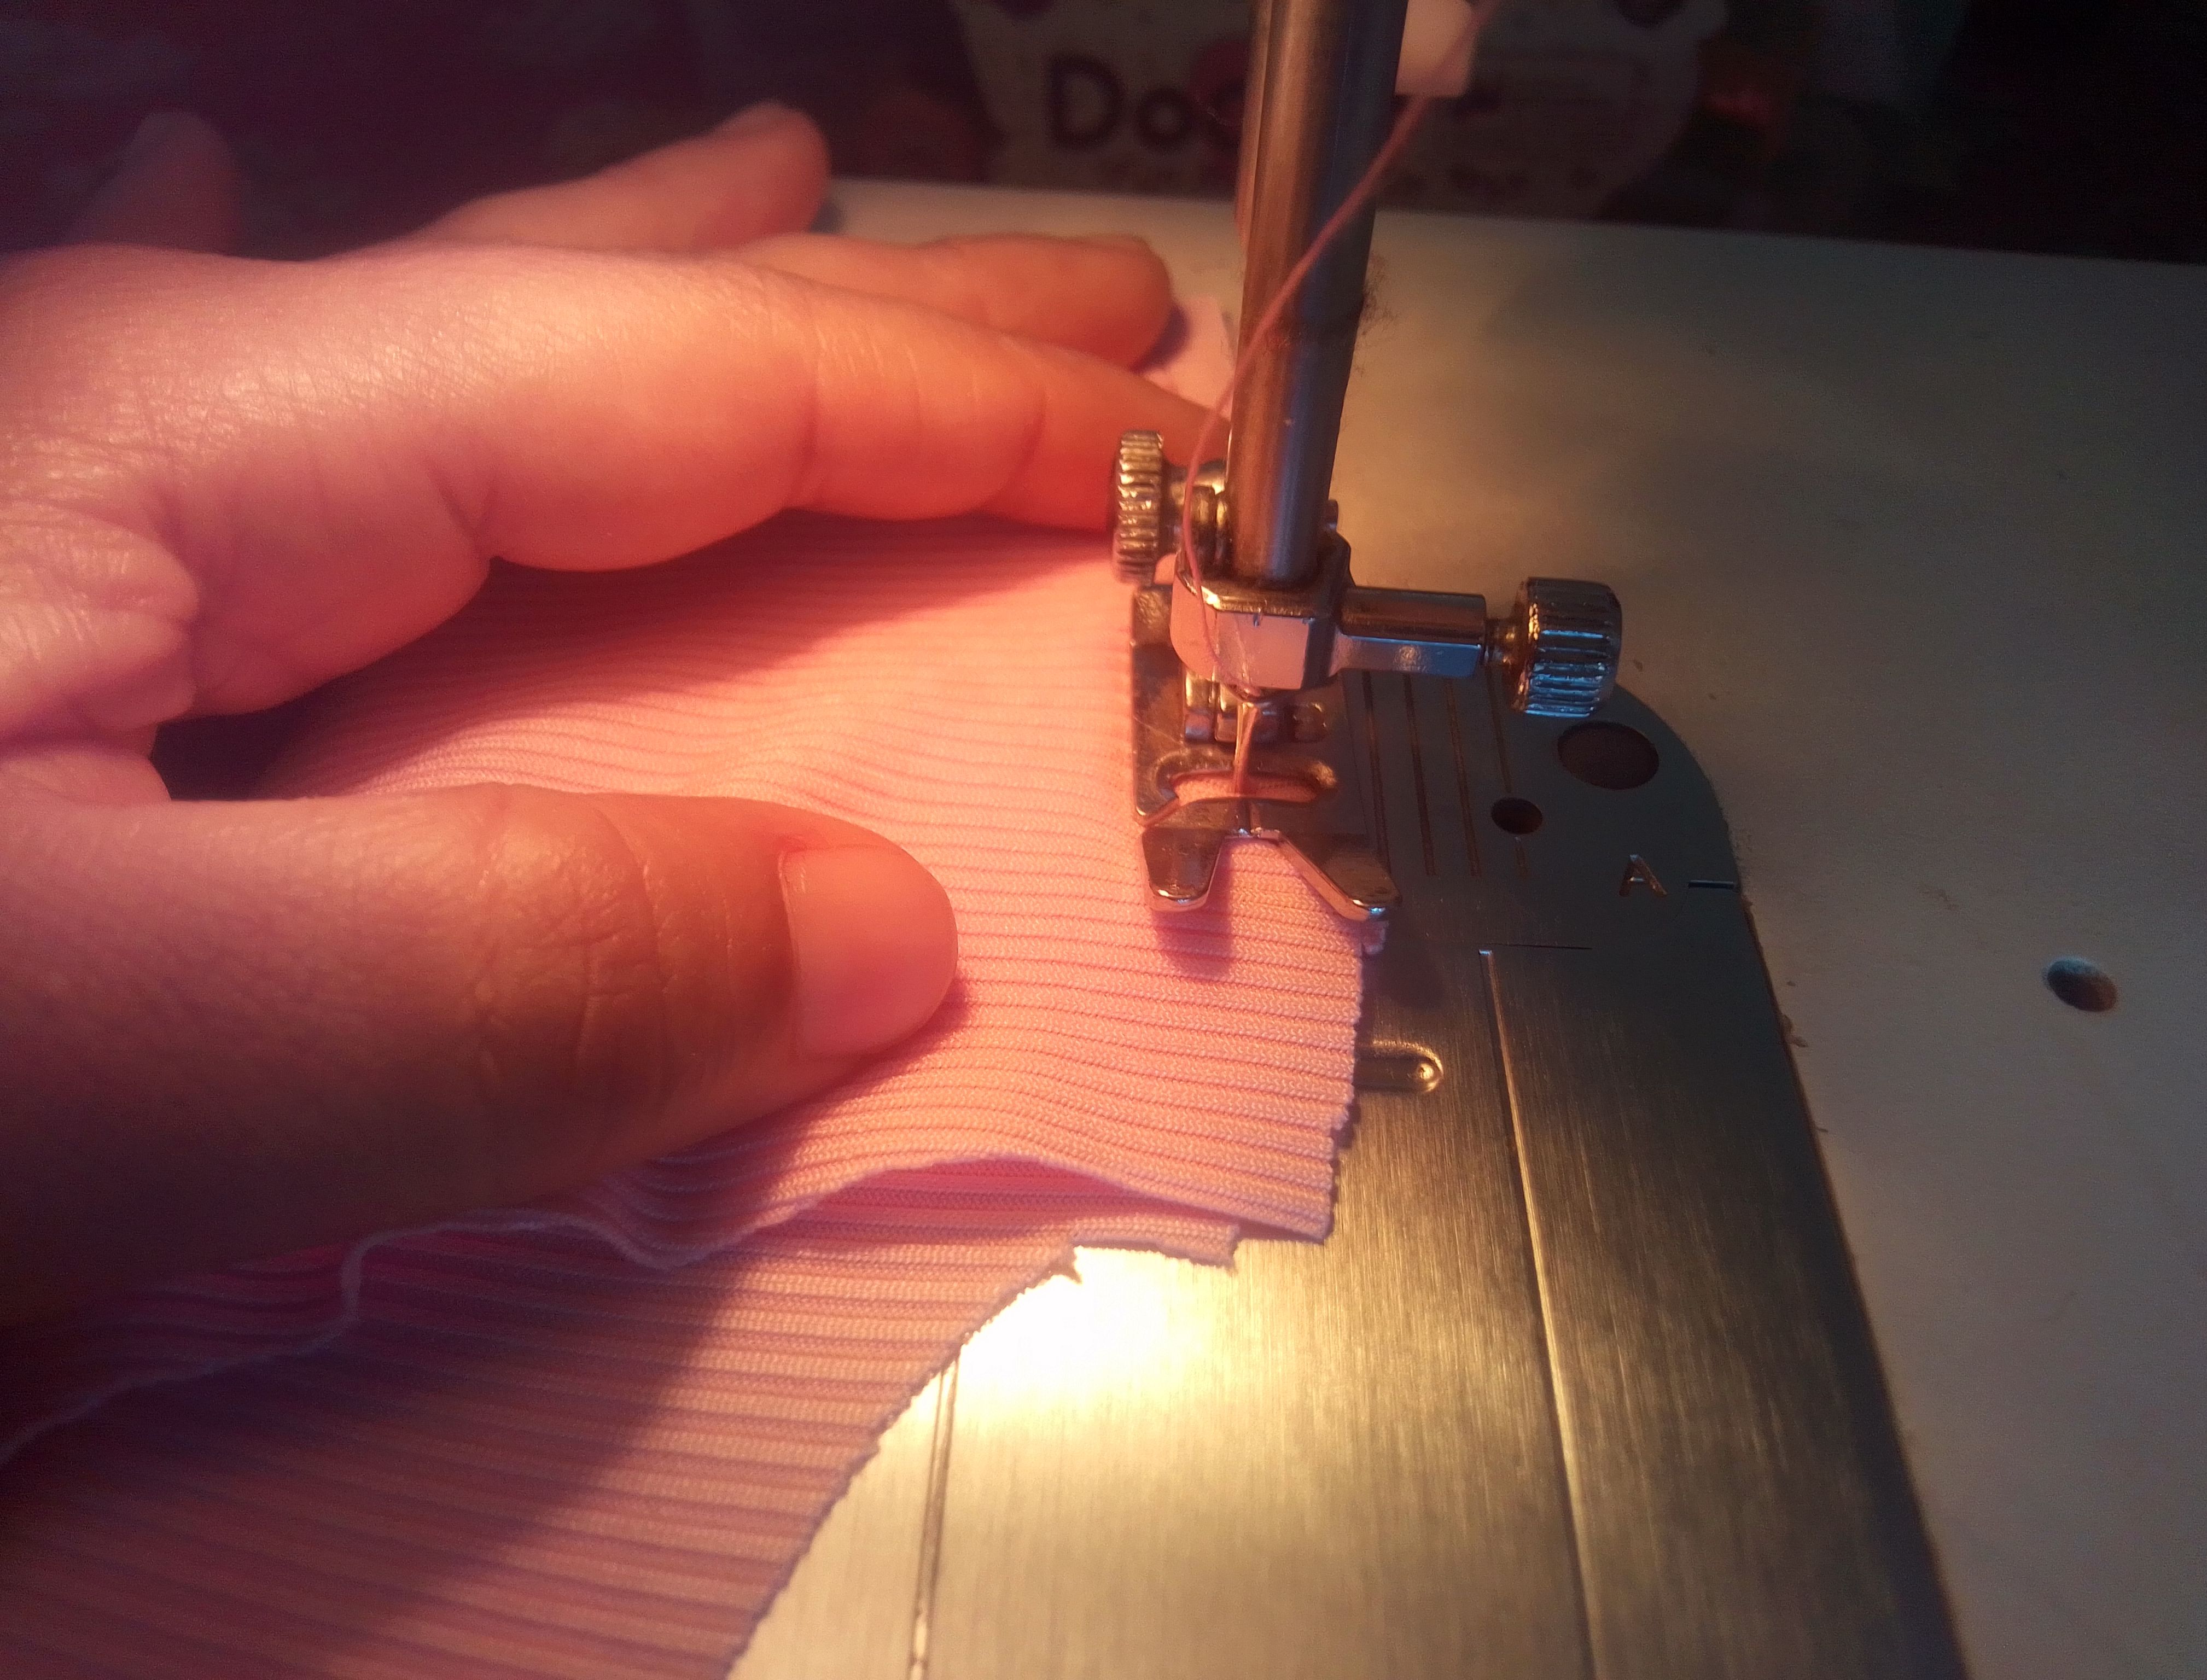
Paso 04
La parte de escote la voy a juntar punta con punta voy a unir con costura recta y zigzag al tamaño del hombro trasero, cosemos el otro lado y abro las piezas para medir el tamaño de la sisa. Cortamos dos tiras que se coserán de la misma manera que el bies anterior, nada de estirarla, solo de hace una costura muy ligera con puntadas grandes.
Step 04
I am going to join the neckline part end to end, I am going to join it with a straight and zigzag seam to the size of the back shoulder, we sew the other side and I open the pieces to measure the size of the armhole . We cut two strips that will be sewn in the same way as the previous bias, no stretching, just a very light seam with large stitches.
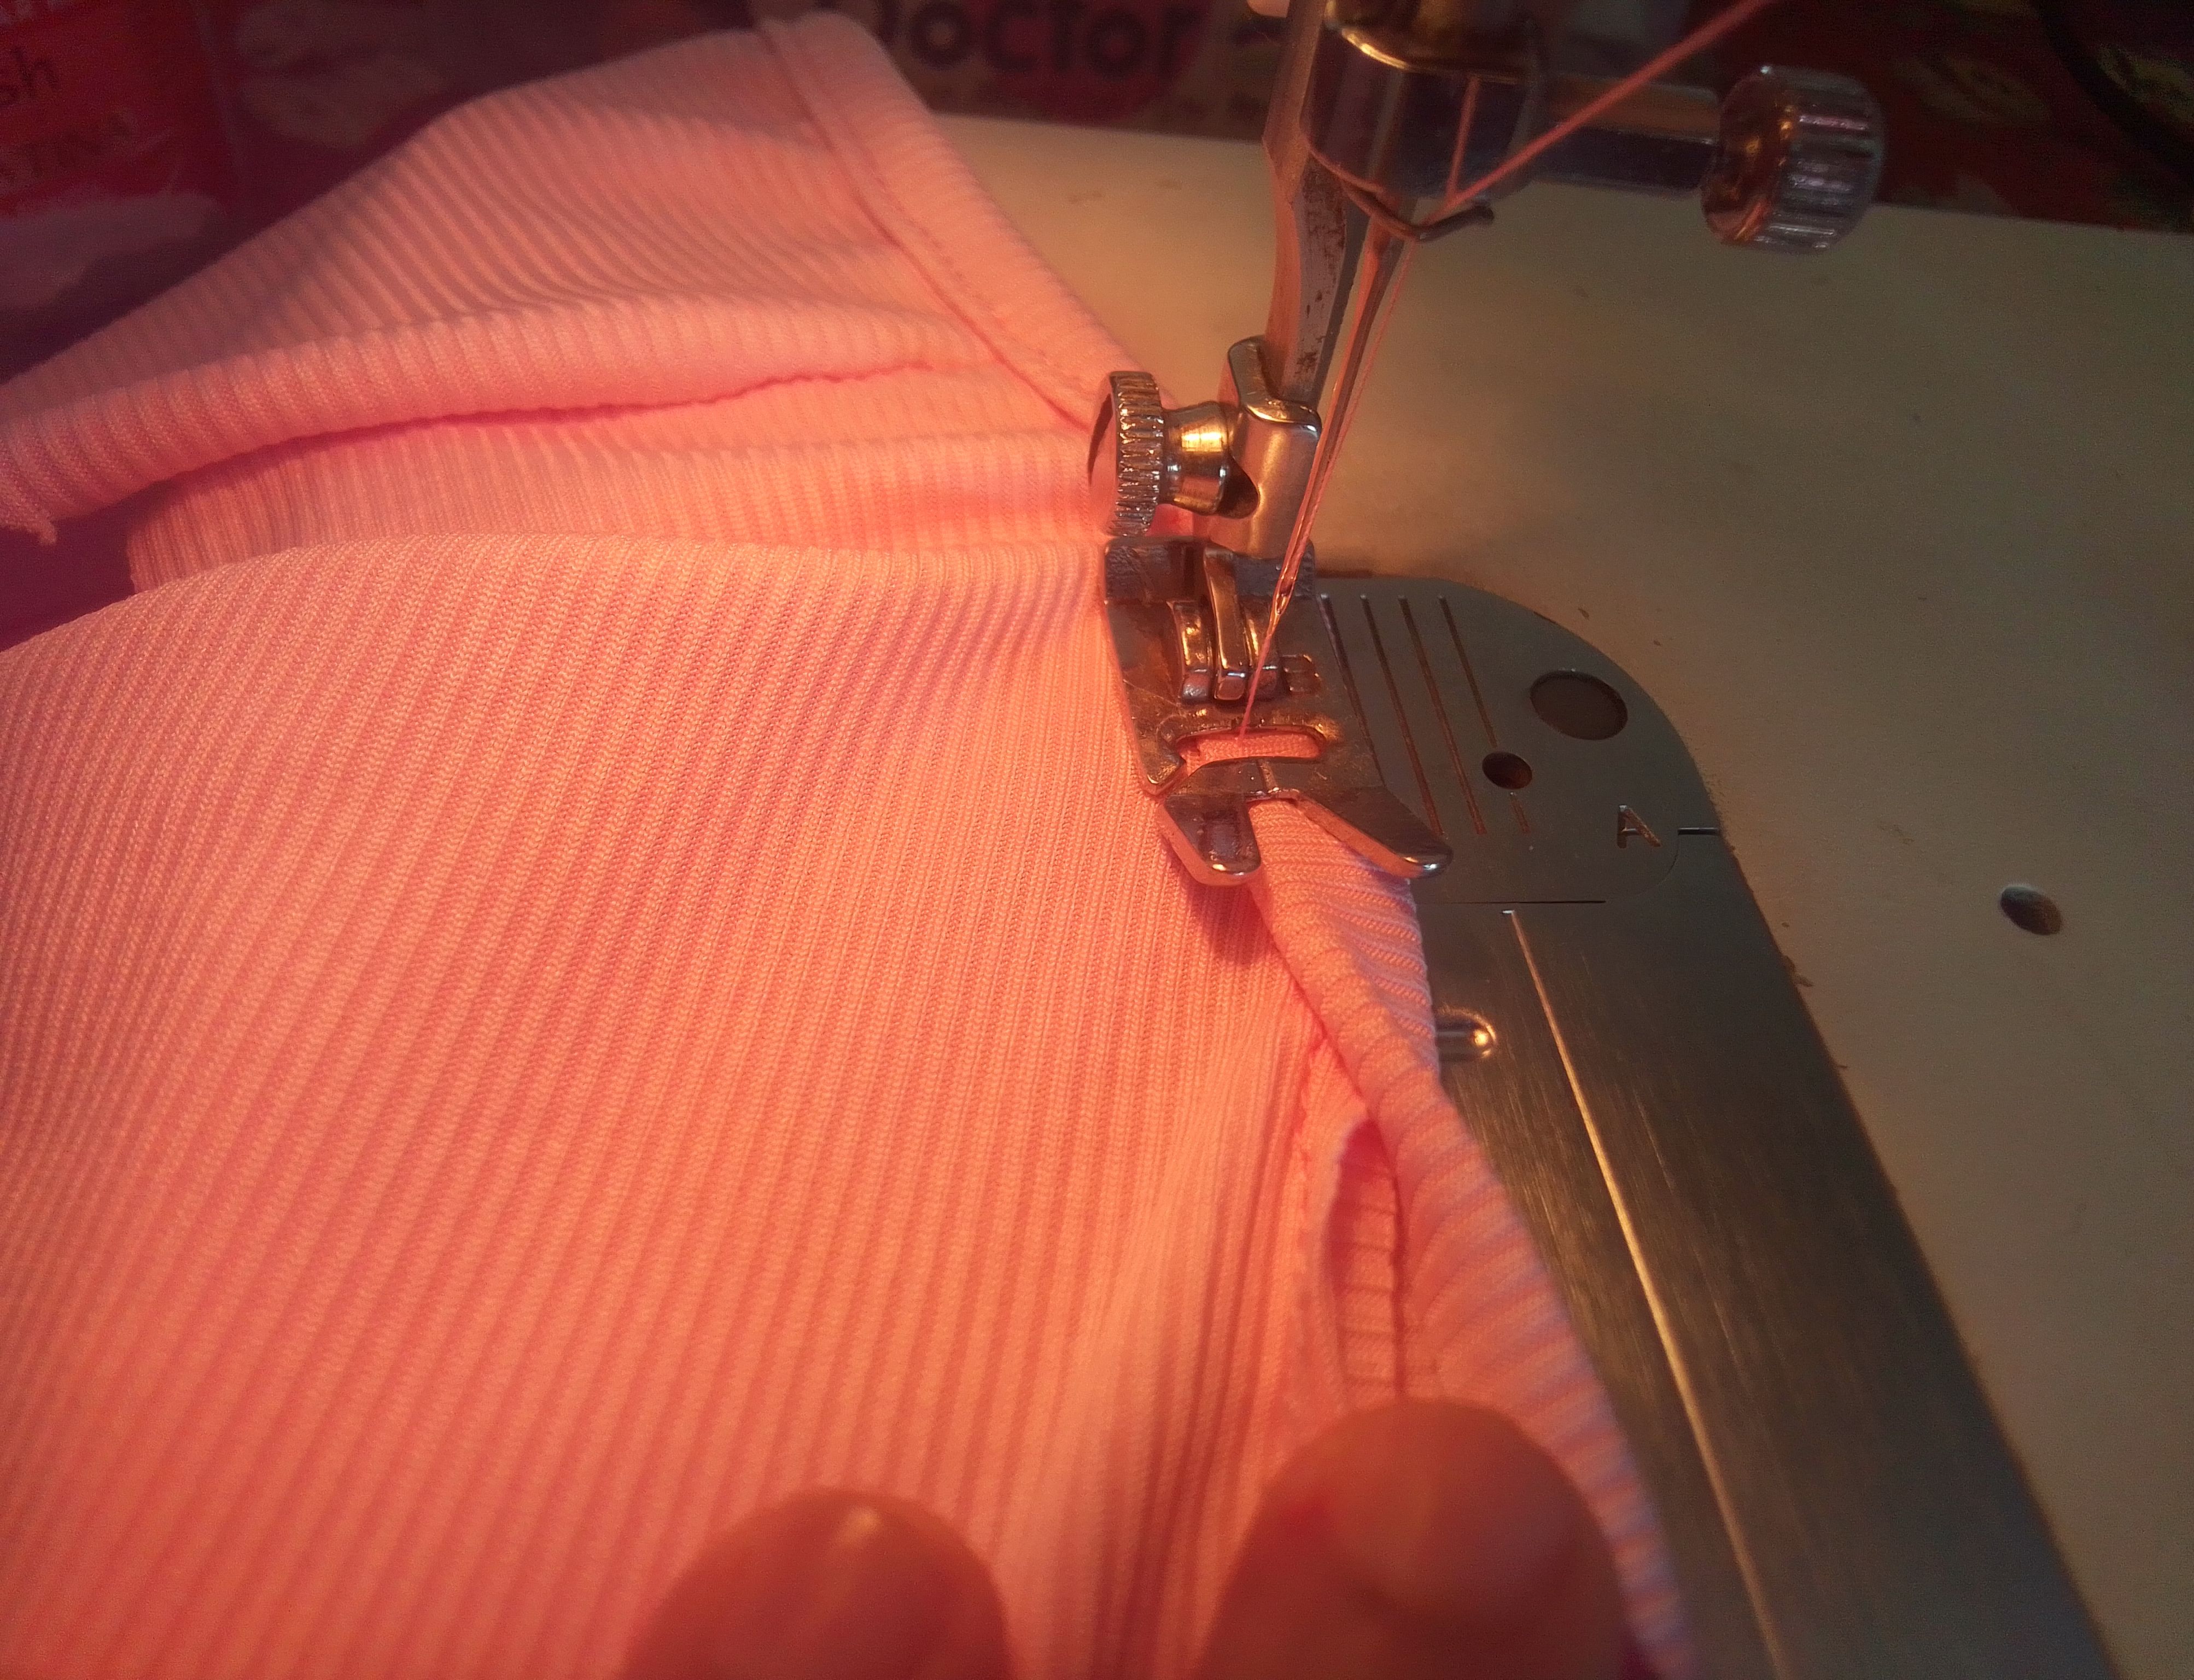
Paso 05
Seguido a estoy voy a coser los laterales, un dobladillo de 1cm en la parte inferior con costura recta y culminó cosiendo la tira de tela para formar el cuello redondo del crop top.
Step 05
Next I am going to sew the sides, a 1cm hem at the bottom with a straight seam and finished by sewing the strip of fabric to form the round neck of the crop top.
Resultado!
De esta manera es como ha quedado, espero sea de su agrado. Pienso que super fresco, delicado y atrevido, me encanta.
This is how it turned out, I hope you like it. I think it's super fresh, delicate and daring, I love it.


Ahora díganme ustedes que les parece.. Gracias por leer y apoyar está idea, les deseo una linda noche, hasta una proxima vez!
Now tell me what you think... Thank you for reading and supporting this idea, I wish you a nice night, see you next time!
ohh, te quedo muy linda amiga! te ves muy guapa.
Gracias amiga.. 💓🤗🤗
Hello @razielmorales71, I love your pink crop top, I congratulate you, keep going
Grateful for your words.. Blessings..
Hiciste un lindo trabajo de costura, el tono rosa me encanto.💗
Gracias linda.. eso me alegra..!
🙂🤗
Wow! you made this! It is really nice. The crop top looks good on you.
Grateful for the support!
It is stylish, charming, and beautiful. Its design stands out and makes it more appealing. Love it. Keep up the good work!
I am excited to show my work. I will always be very grateful for your encouraging comments. Blessings.
Me encanta ese modelo, quedo muy linda.
Una pregunta, para hacer los bies cortaste la tela al sesgo o normal a lo largo por el lado que estira?