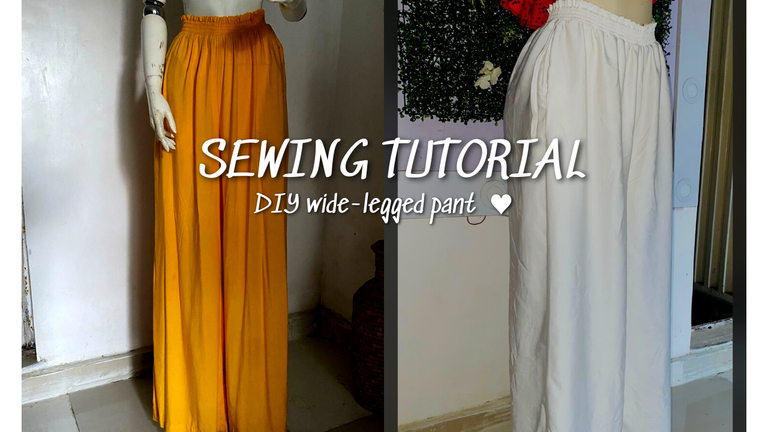
My size 14 client saw a pair of pants I made for another of my client and decided to order. I make mostly ready-to-wear, I just have a flair for it. To me, tailored clothes are stressful and clients would want it exactly how it is on the model not knowing that they don't have the same body shape as the model. So, I usually avoid tailored clothes and stick to my ready-to-wear designs cause most of them are patterned.
I have known this client for more than 3 months and she has been nothing but a good client. Even though she’s in another state far from me, she still supports me and patronizes me even with those extra delivery fees she has to pay.
These pants took me about 4 hours to make. I spent 30 mins to cut and 3-4 hours to make. The materials used were ordered online. So I didn't have to spend any time shopping for fabric and materials. I love buying things online but I hate the stress of fabric shopping, especially for basic fabric or something you can easily get online.
Buying fabrics online can be very tricky. If you are not careful you can be duped. I was once duped by a greedy online vendor. It happened when I started my ready-to-wear brand. I was really occupied and I didn't have time to go to the market. I decided to order some fabrics online. So, I ordered from a vendor on Instagram it was quite pricey but I didn't have a choice.
I got my fabrics after waiting for 3 days just to find out that the quality of the fabrics was quack and overpriced. I was able to select some of the fabrics that were okay and dump the others in the store and was able to use them for prototypes of my designs.
I found another vendor on telegram and she sells good and quality fabrics. I was so happy cause I don't have to stress myself over those overpriced Instagram vendors.
These pants are super easy to make. Literally, anybody with a sewing machine can make it.
 |  |
The process
Step one: materials needed
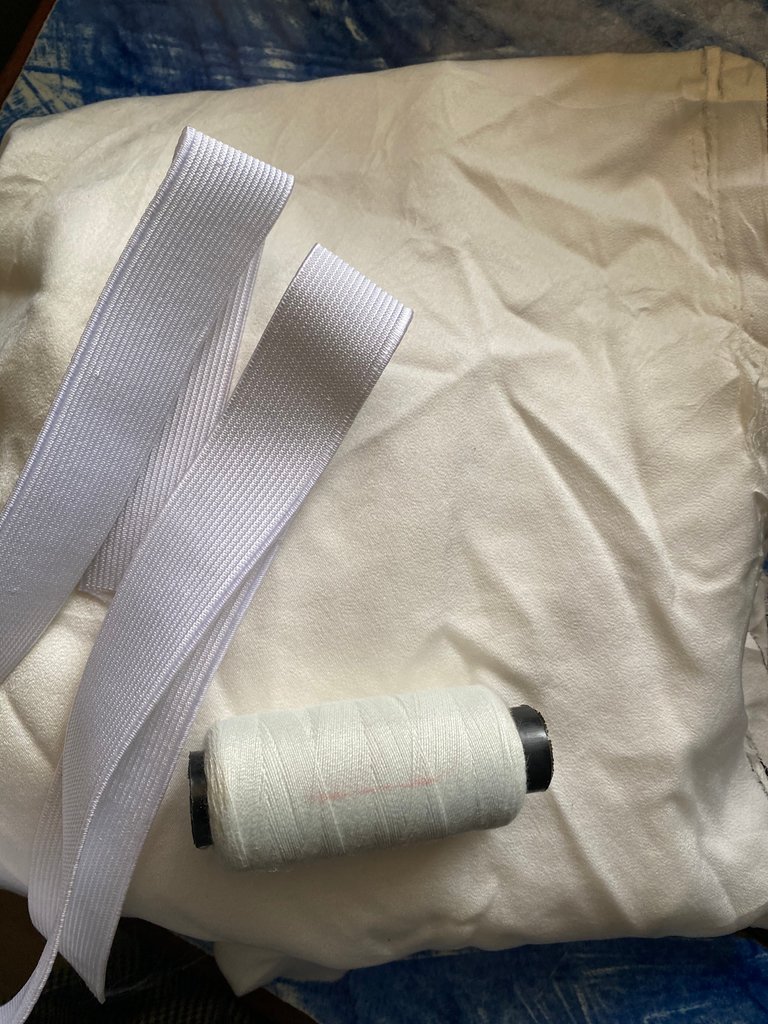
1.5-2 yards of light crepe or any fabric of your choice.
1-1.5 yards of elastic
1 small thread
And a sewing machine obviously
N.b: the smaller the size the smaller the material required.
Step two: cutting
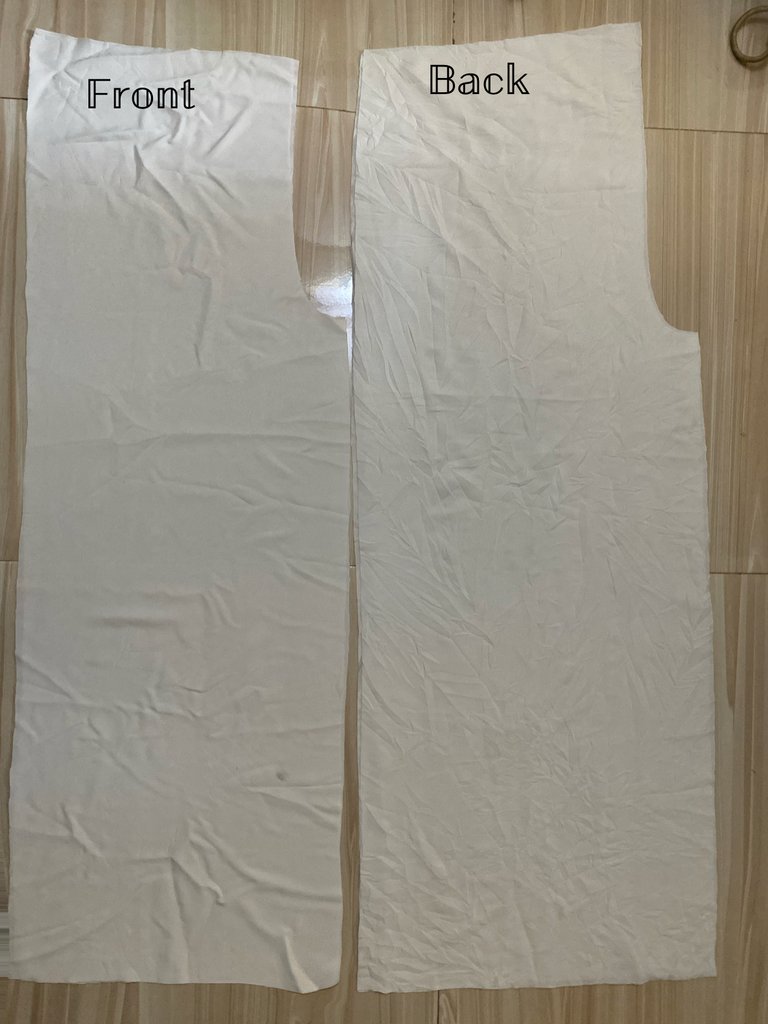
I start by cutting the front. The standard trousers length for my ready-to-wear is 44”. I folded the fabric in two acknowledging the selvedge edge and grainline. I cut according to the grainline of the fabric.
The front panel
Following the grainline, I folded the material and measured 44 by 15”( the thigh measurement (25”) divided by 2 plus 2” ease allowance and 0.5 seam allowance.
I measured 15” (14” crotch depth plus 1” seam allowance) as crotch depth and mark and from the right I measured 2.5 and mark. Then I joined the mark on a straight line. I measured 1” from the crotch depth line and joined it with the opposite edge

The back panel
I folded the fabric again as the front panel but 2” longer and 2” wider. I placed the front on the folded fabric and measured 17” as crotch measurement on the back panel and aligned with the front panel crotch depth. From the top of the crotch depth slant to the opposite edge by 2”. Then trace the crotch curve and add 2” to the crotch curve and the side(inseam) down the bottom.
The pocket
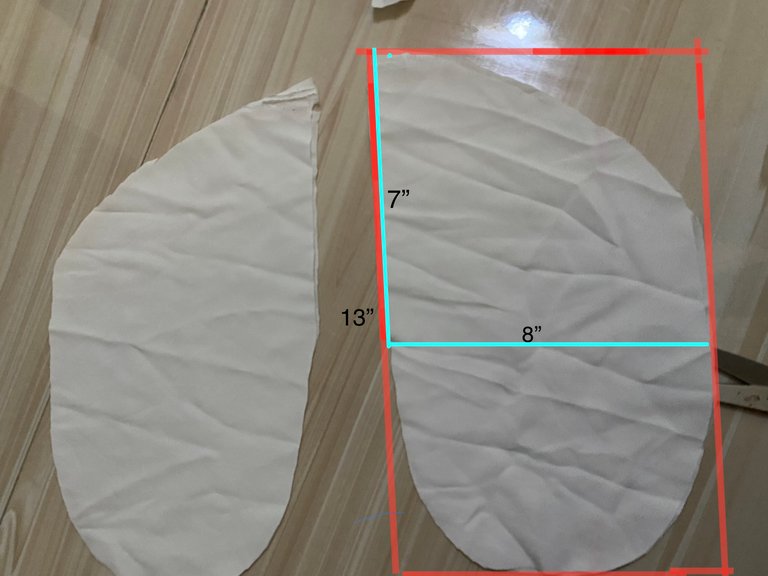
The pocket is round. On the fold, I measured 8” by 13”. And the measured 7” straight and curve the remaining. The straight 7” will be the pocket opening.
The waistband
I measured the band after joining the front and back panels together which is 50” plus 1” seam allowance.
The elastic is the waist measurement(32) less than 4” amounting to 28”
Step three sewing
I sewed the crotch depth of the two front panels together and the two back panels together.
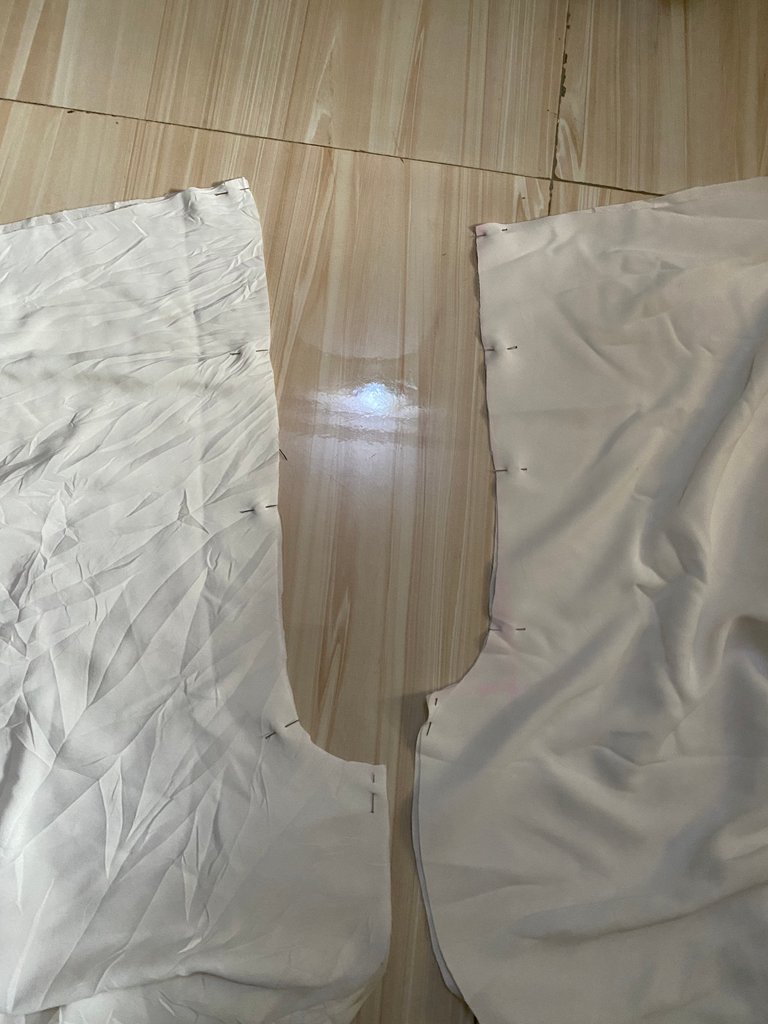
Then, I joined the inseam of the front panel with the back panel
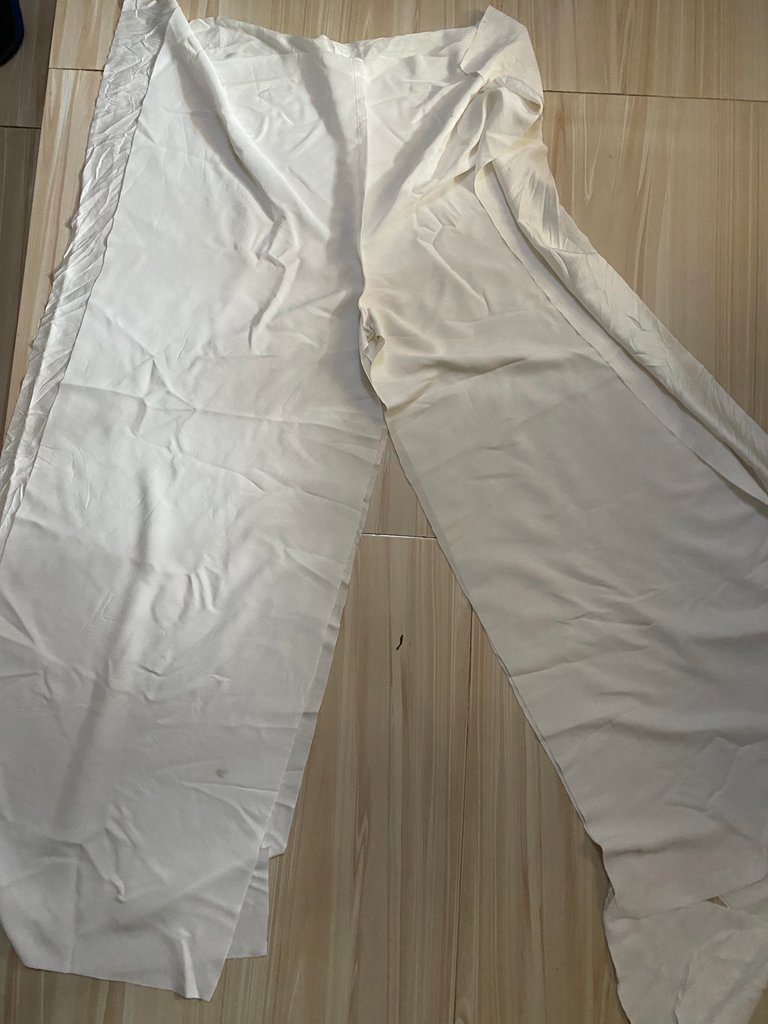
I sewed the sides of the pants where the pocket will be. I sewed 1” first then I left a 6” gap and sewed down to the bottom of the pants.
I sewed the curved part of the pocket and a straight 7” as an opening
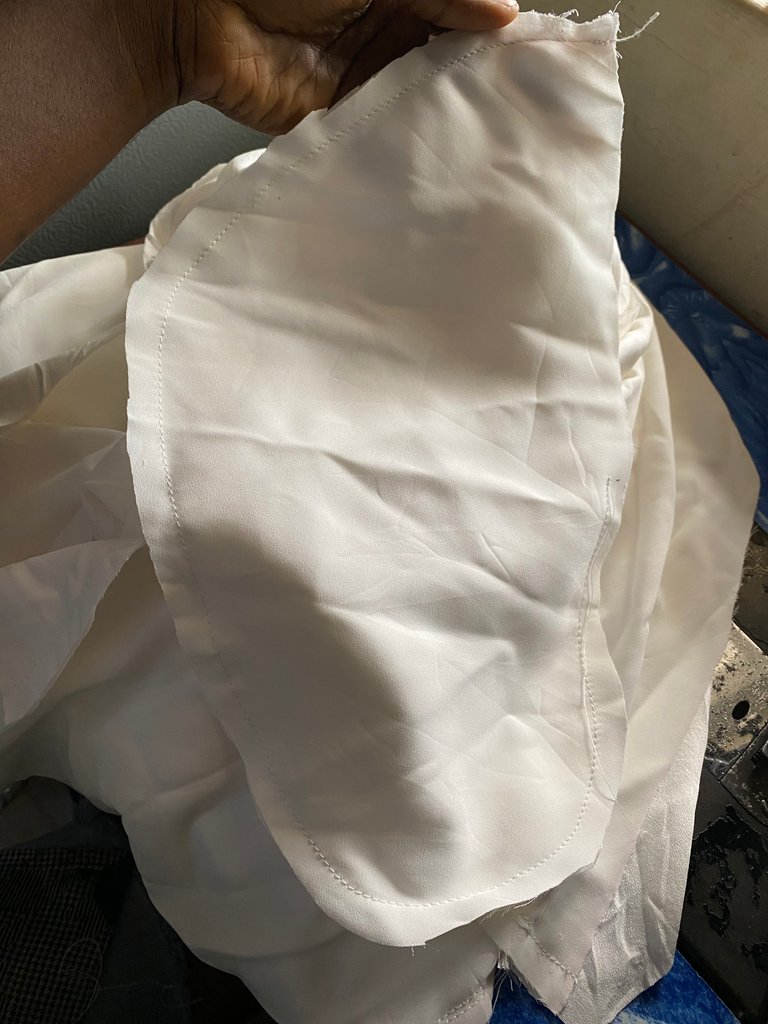
I attached the pocket opening with the pant opening
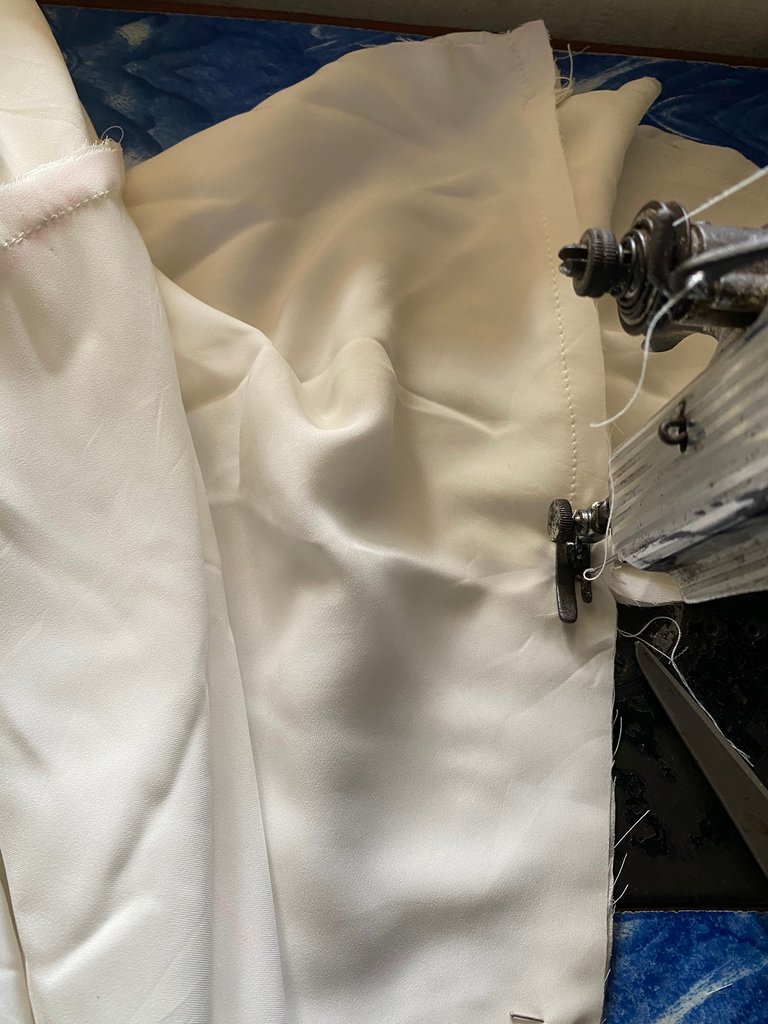
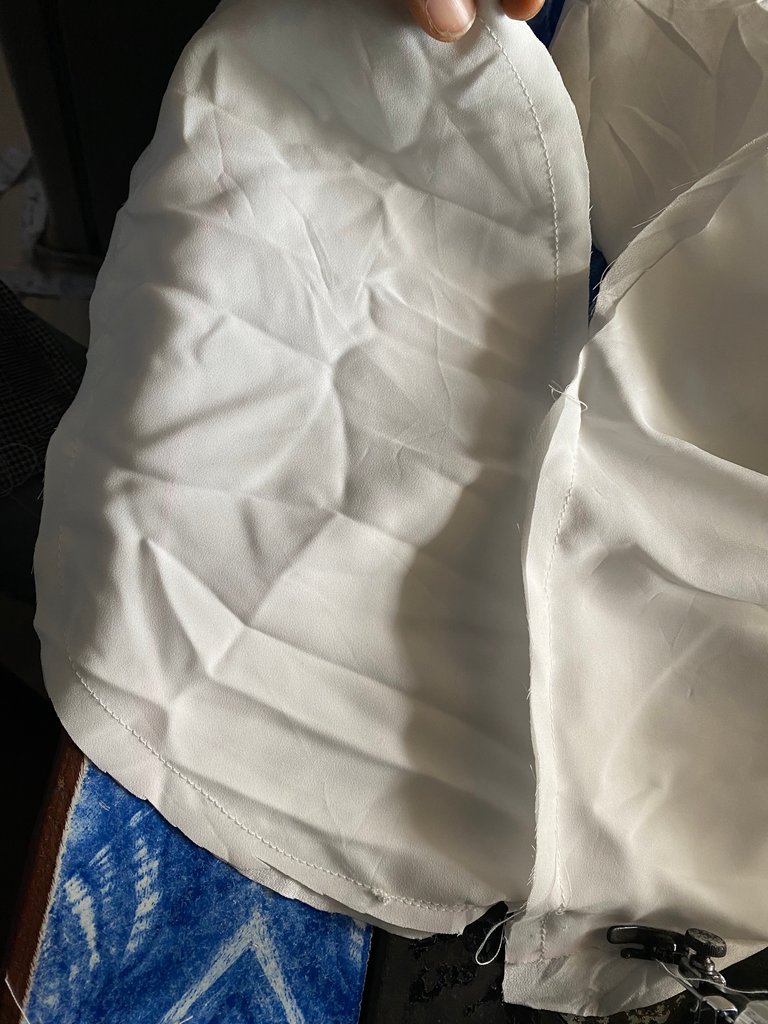
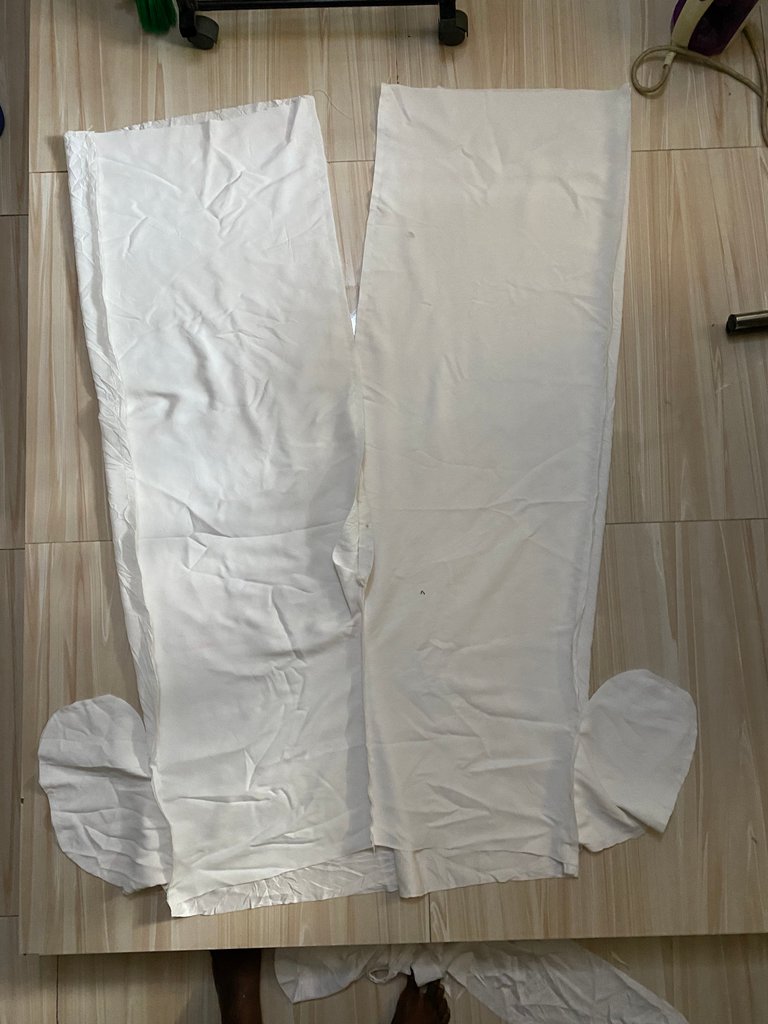
I iron the seams and overlock the edges
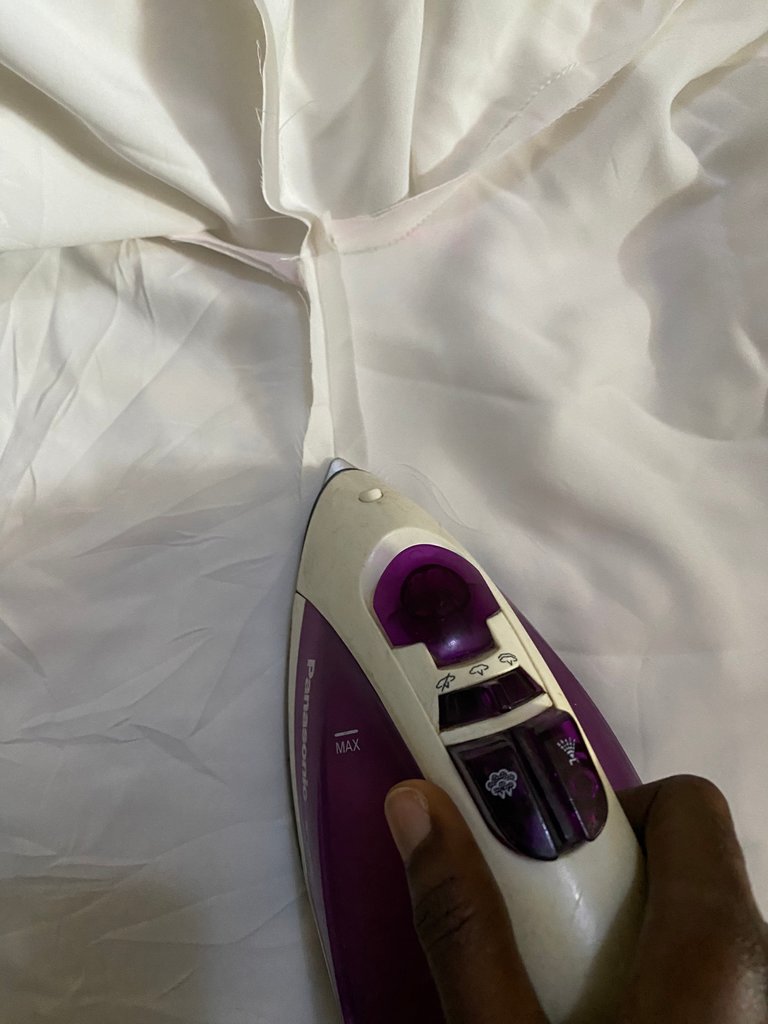
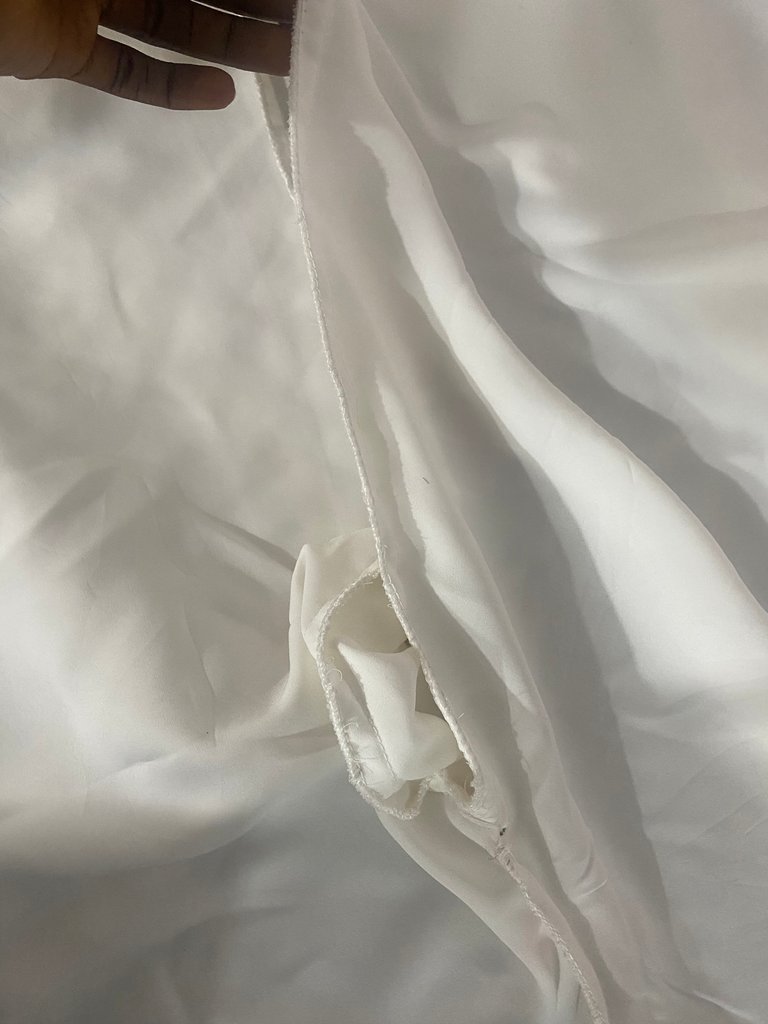
I sewed the elastic in the band whilst stretching it. I sewed a line on the band, and I left about 0.5” ruffles on top. I think it's cute that way.

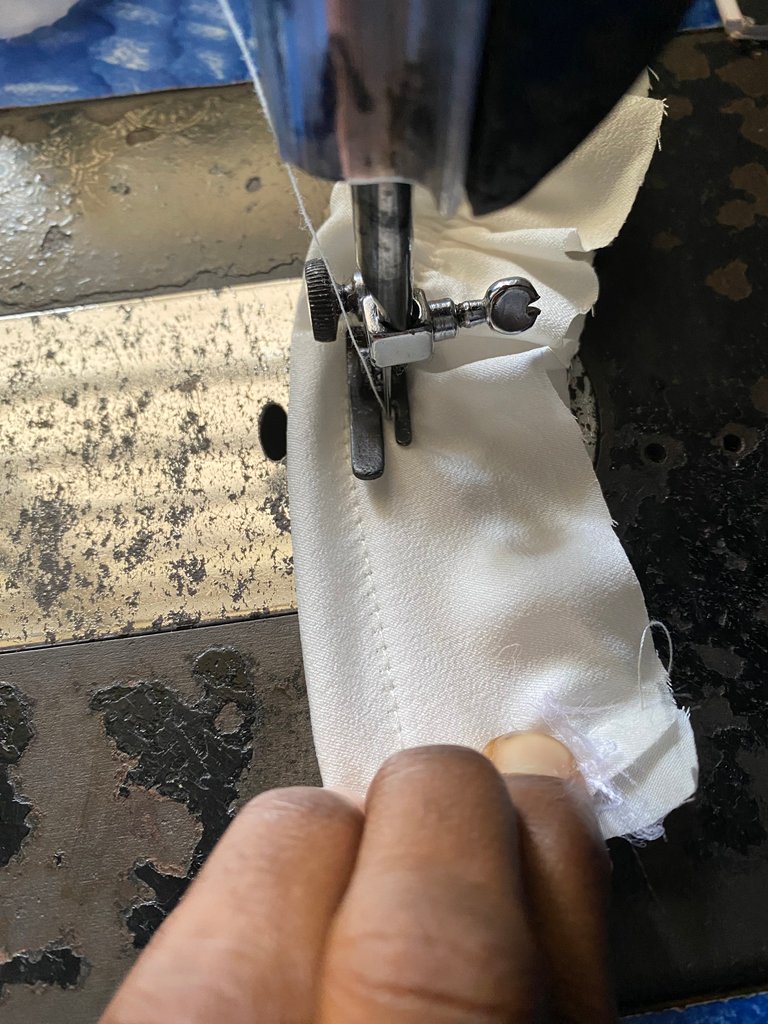


I attached the band to the pant

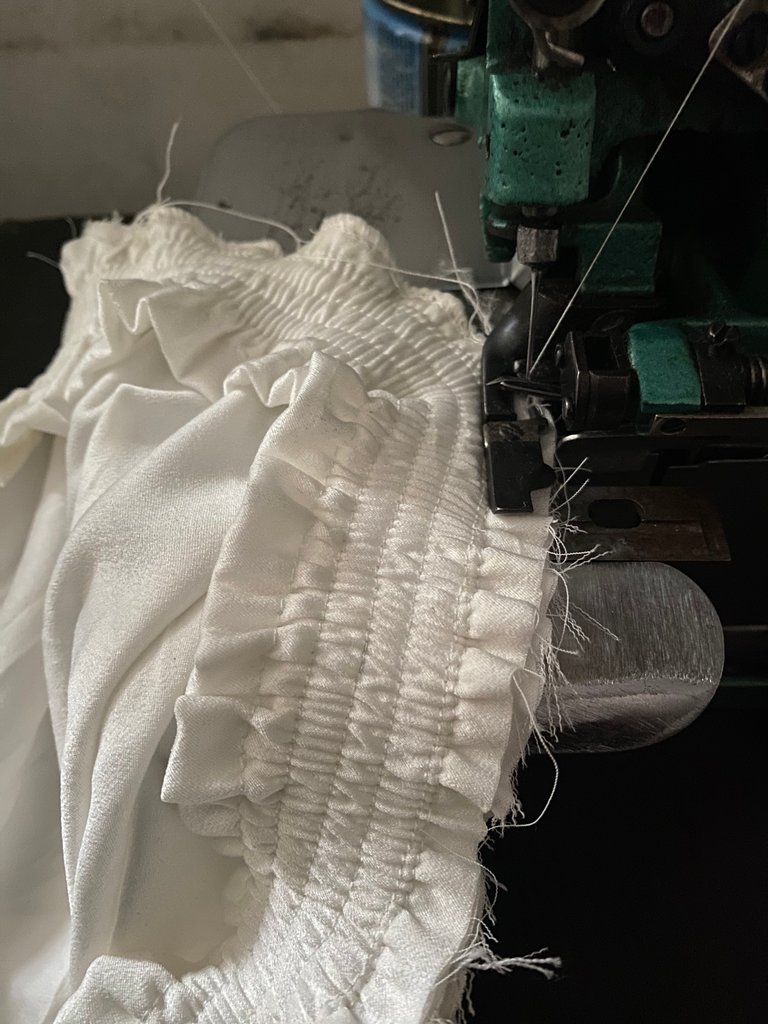
And overlocked, folded the hem and iron for a complete finishing.
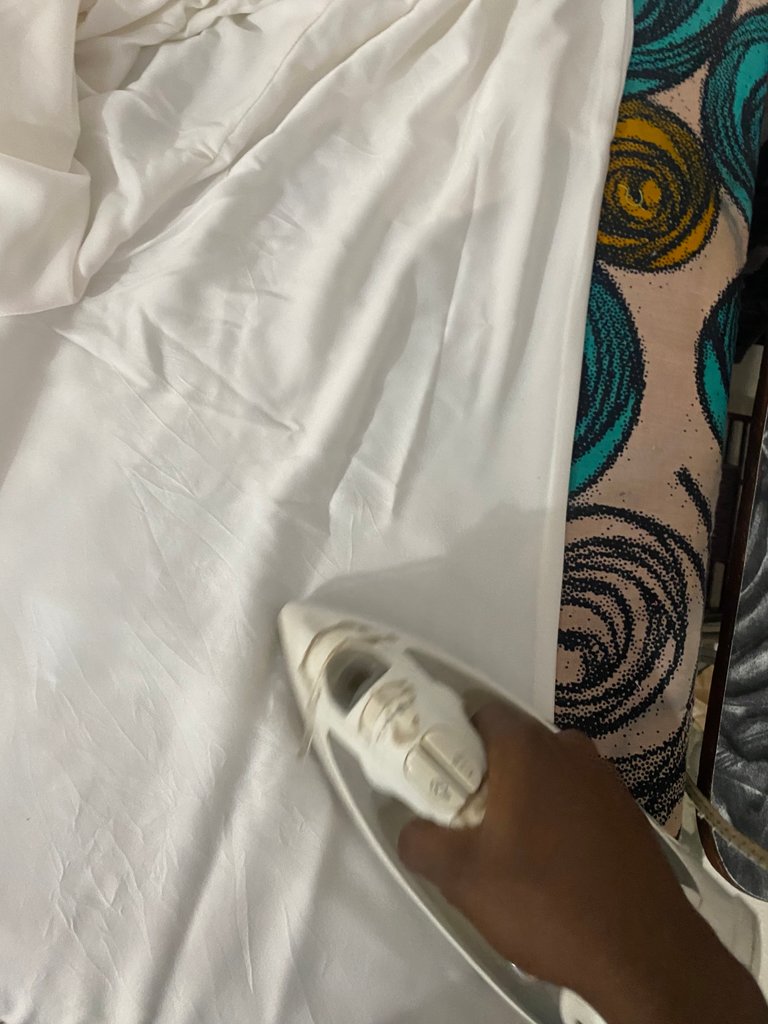
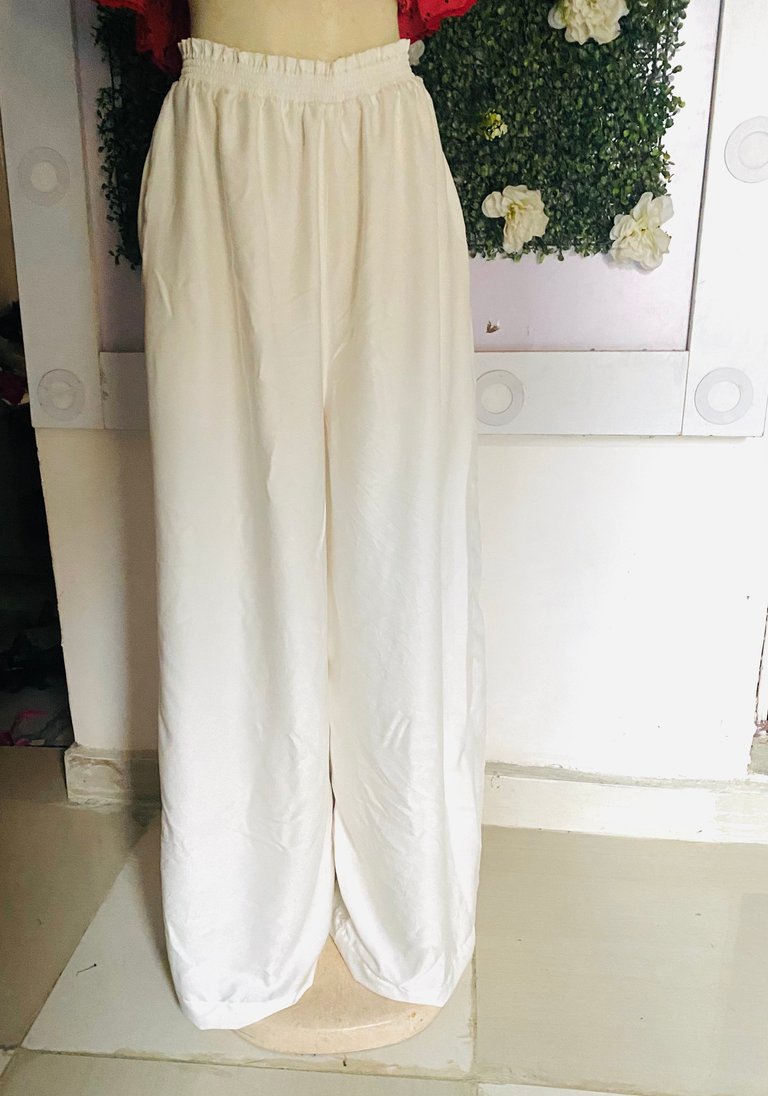
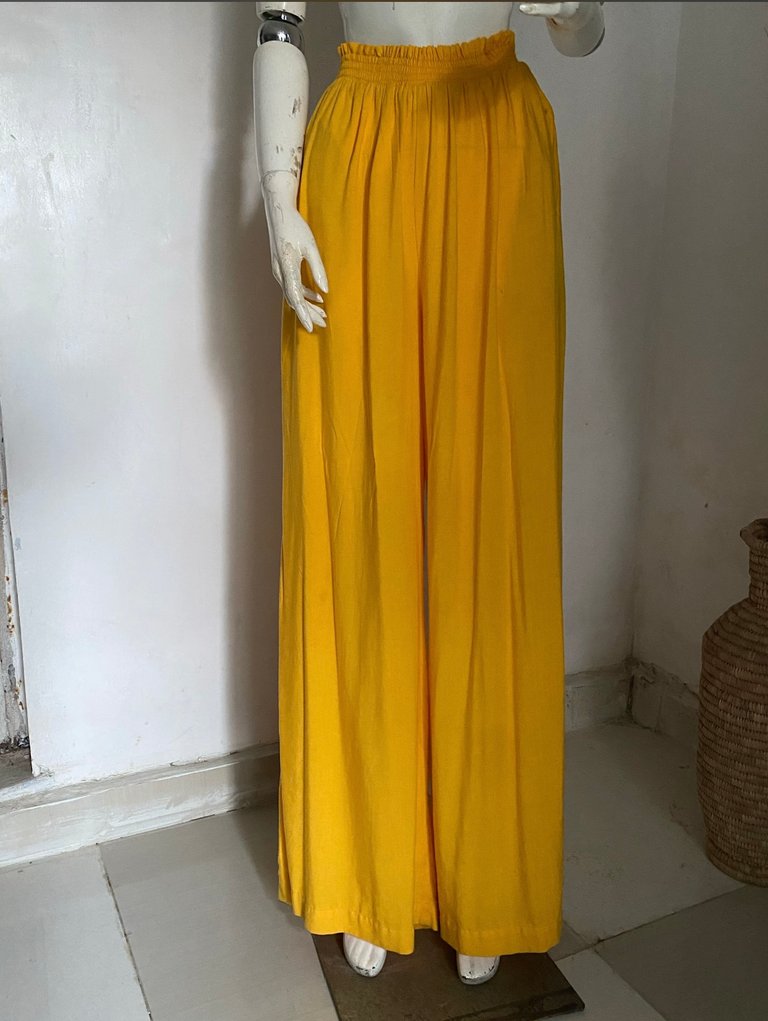
Voila! Here is the final look. Hope you enjoy this mini tutorial.
Thanks for reading and have a fabulous week 💕
All images are mine
Thumbnail created by Canvas
Congratulations @rayoo! You have completed the following achievement on the Hive blockchain And have been rewarded with New badge(s)
Your next target is to reach 700 upvotes.
You can view your badges on your board and compare yourself to others in the Ranking
If you no longer want to receive notifications, reply to this comment with the word
STOPHi @rayoo, you did a nice job, the pants look great, I liked the ruffling detail on the waistband, the fabric looks cool and comfortable; I'm sure your client will be very happy with the result.
!DIY
Blessings!
Thank you, love
I'm glad you like it
You can query your personal balance by
!DIYSTATSJusto lovely 🎨
Thanks
I love such pants! They are always so free and look perfect with a turtleneck top. I like what you did here. Your client must have been really pleased.
Sure she will, thanks for your comment
A pleasure
I'm sure that if my mother saw this type of garment, she would fall in love. She likes them too much and even more to wear them with high heels 😊 It looks beautiful. Thanks for sharing some of your work 💚
Thanks for your comment
If you sew, you can actually make it for you mum she’s really going to appreciate it.
Wow, seems like what I'd love to wear. Wide legged pants are extremely comfortable and you've made this one so neat and cute. Your client must be lucky.
Thanks for your comment