👐🏾Hi, guys! It’s nice to be writing here again. How have you been? I’ve had a number of projects but haven’t posted anyone, so I’m starting with this.
I spent a lot of my June crocheting a shirt for my elder brother as a birthday gift. I planned to gift him an article of crochet clothing a long time before that and when my sister shared the idea with me, I told her I already had that in mind. I sent 3 pictures for her to help me pick which to make for him. We settled for this granny stitch button-down shirt that was in cream, light blue, and green. And I was going to make it in the same colours.
There was no time to waste because I needed it finished before I would travel. I did an estimate of how much yarn I would need, then I ordered. I tried a new shop this time, and everything went smoothly.
I began the next morning. I used a 3.5mm hook size. After my foundation chain, I did a row of double crochet before I began the granny stitches. The plan was crochet the back panel, the two front panels, do the joining, crochet the sleeves, before the button part and the collar.
Before I did the estimate of how much yarn I would need, I had to get measurements I could work with since I couldn’t ask my brother for his — it was a surprise! I had to ask my neighbour for a T-shirt of his that I knew was the size of what I wanted to crochet. Then I measure the length and width of it. For the sleeves, the plan was to make it longer than my sleeves and then test it on a neighbour that seemed my brother’s size.
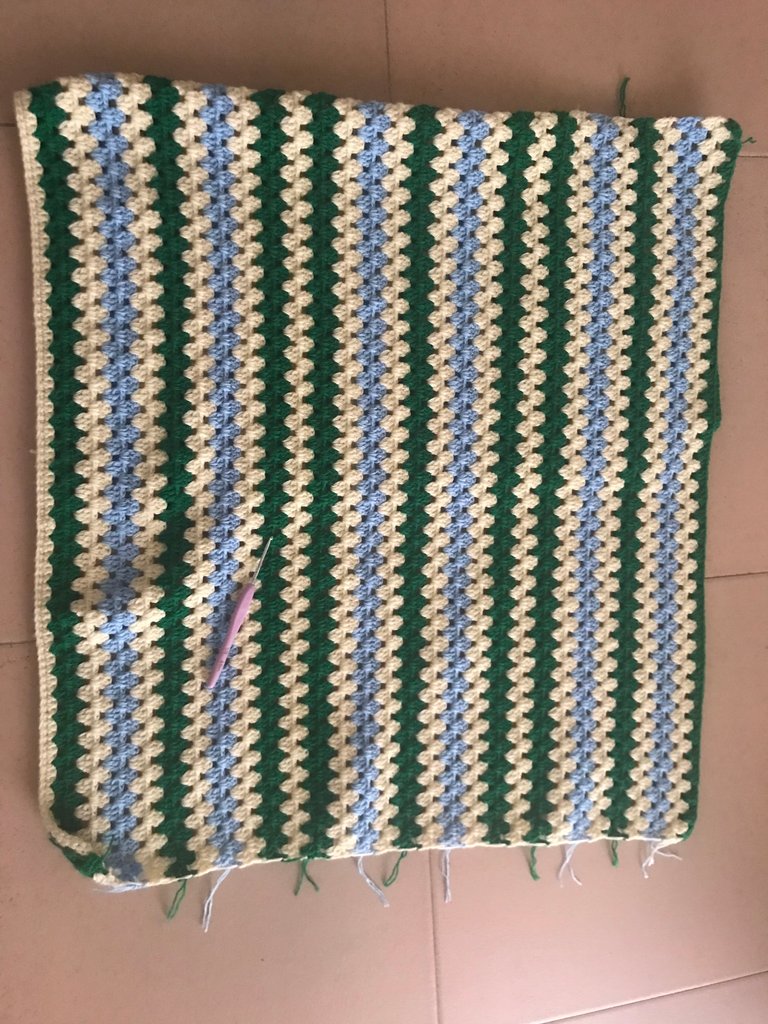
The back panel did not give me issues. I finished in 4 days.
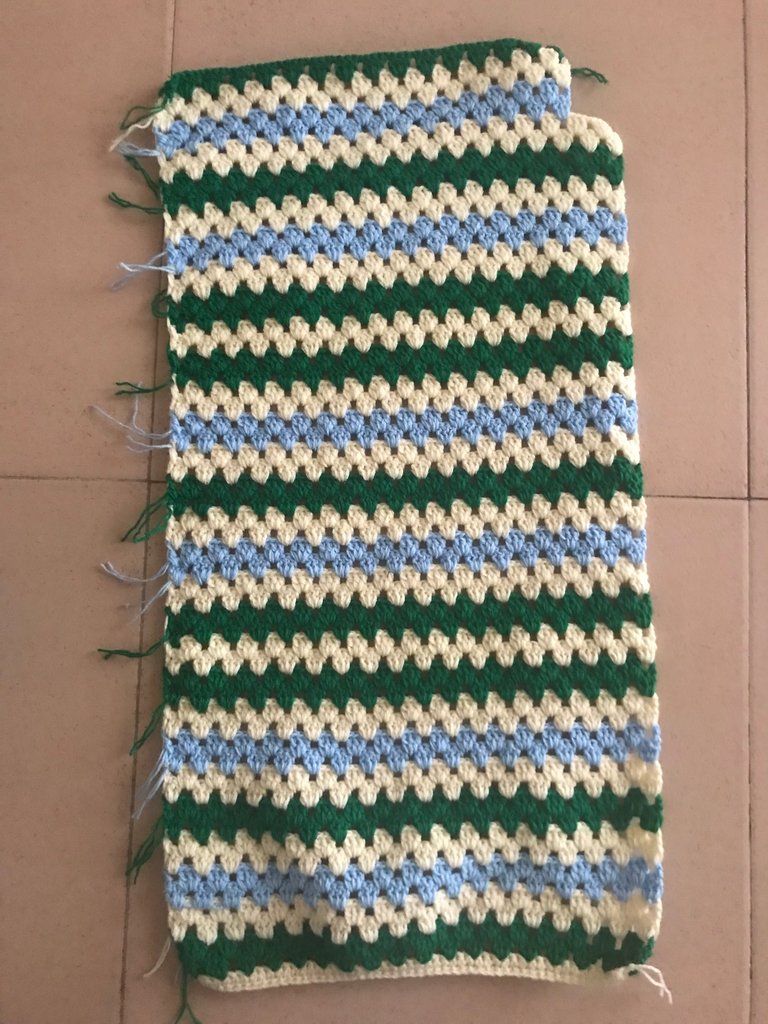
Then, I began one of the front panels. When I had completed both front panels, I was uncertain about the space I left for the neck.
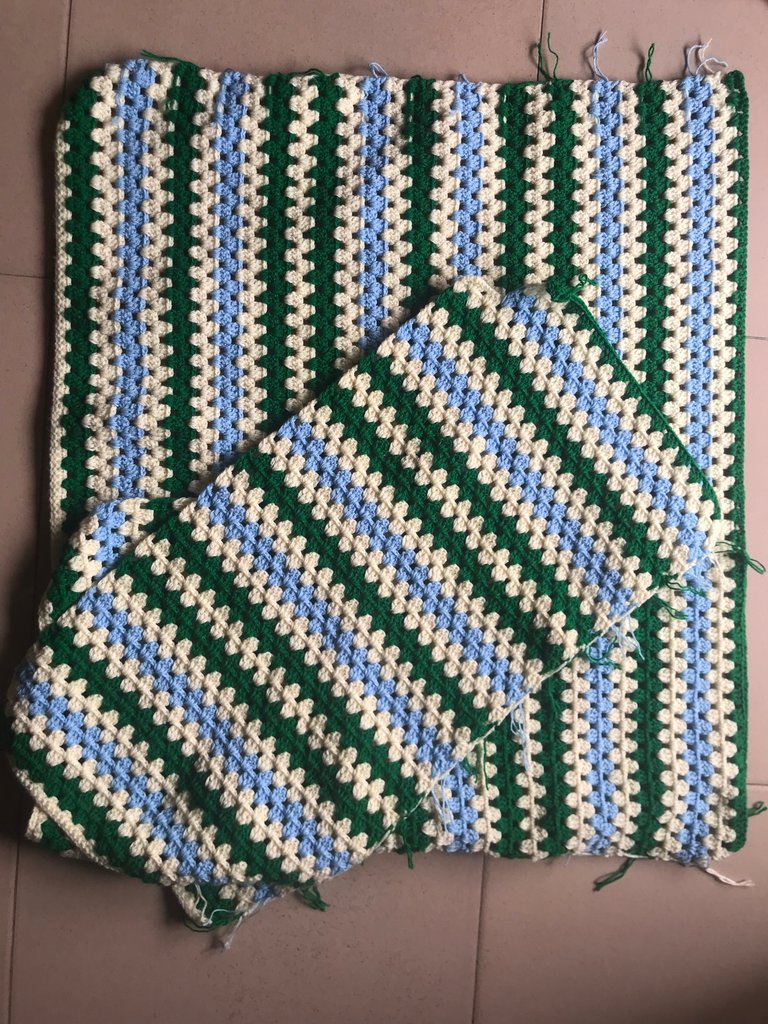
However, I went ahead to join the panels. This was a mistake because I decided to increase the space so I had to unravel the joining at the shoulders — the sides were not involved so I could leave them. What a hassle! I had used a needle and thread to do the joining at the shoulders and I’d made it so secure that it was difficult to unravel it the usual way. For the first time, I had to cut my crochet piece! I simply snipped off that row at the top.
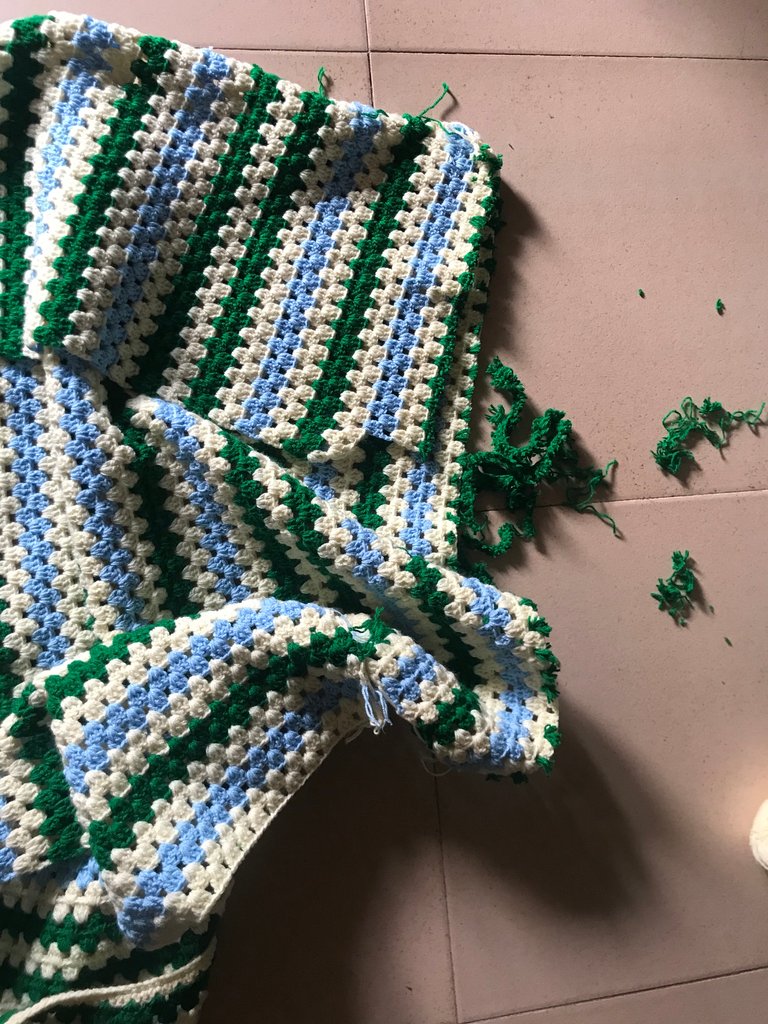
Then, I proceeded to frog both front panels till the row where I began the neckline. 😖Aargh! It was really a trying time. To think that I would have avoided that stress if I’d just frogged the top of those front panels before joining. I’ve learnt my lesson now. 👍🏾Make sure it’s all good before you proceed!
After crocheting the neckline, I joined the front panels to the back again. Then, I began the first sleeve. I made a mistake again here. I had to single crochet round the armhole before starting the granny stitches. I changed to a 3mm hook because I wanted smaller spaces for that row. The funny thing is that I planned to go back to my 3.5mm hook after that first row when I’d start the granny stitches. You know what happened? The first row came together a bit and the next row increased. Of course! Why didn’t I think that would happen? This led to the issue I had with that sleeve.
I continued but decided to reduce in one row. Now, a granny stitch is done by putting a cluster of double crochets in one stitch and I was doing 3 double crochets. To reduce, I would have done let’s say 2 double stitches instead of 3 in a number of granny stitch spaces, but instead I missed 1 granny stitch space. This method made it look like a hole because it was bigger than the spaces that the granny stitch made all over that work. Worse still, it was on top and not under. I was frustrated so I just left it. It was just one place so it wasn’t too noticeable. In fact, doing the correct decrease method wouldn’t have solved everything because crocheting the row of single crochet with a smaller hook size, crocheting the first granny stitch in a bigger hook size, and then reducing gave that part of the sleeve a sort of bumpy look.
Anyways, I made the second sleeve the right way. I wasn’t going to make the same mistakes so they would look identical because it didn’t affect a large part of the sleeve.
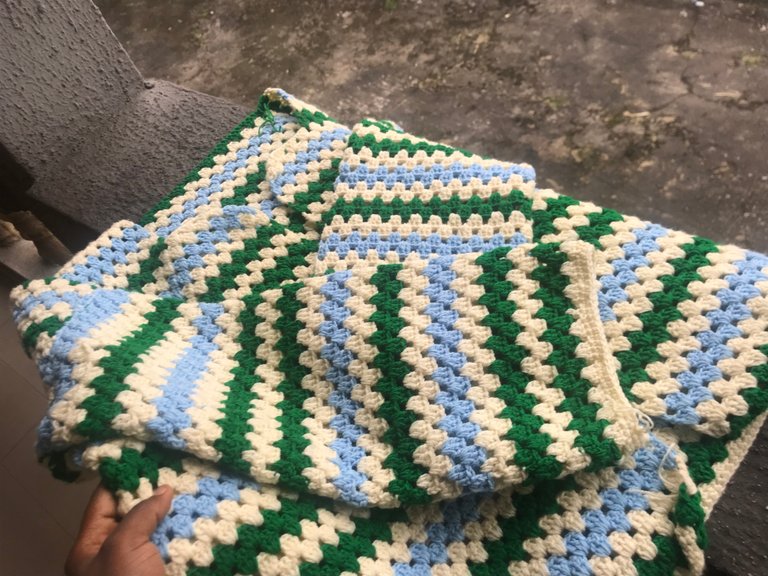
After crocheting both sleeves, I crocheted the collar before the button part. I was so pleased I finished before I was to travel!
Although big on me, it looked sooo cute I was tempted to make one for myself.
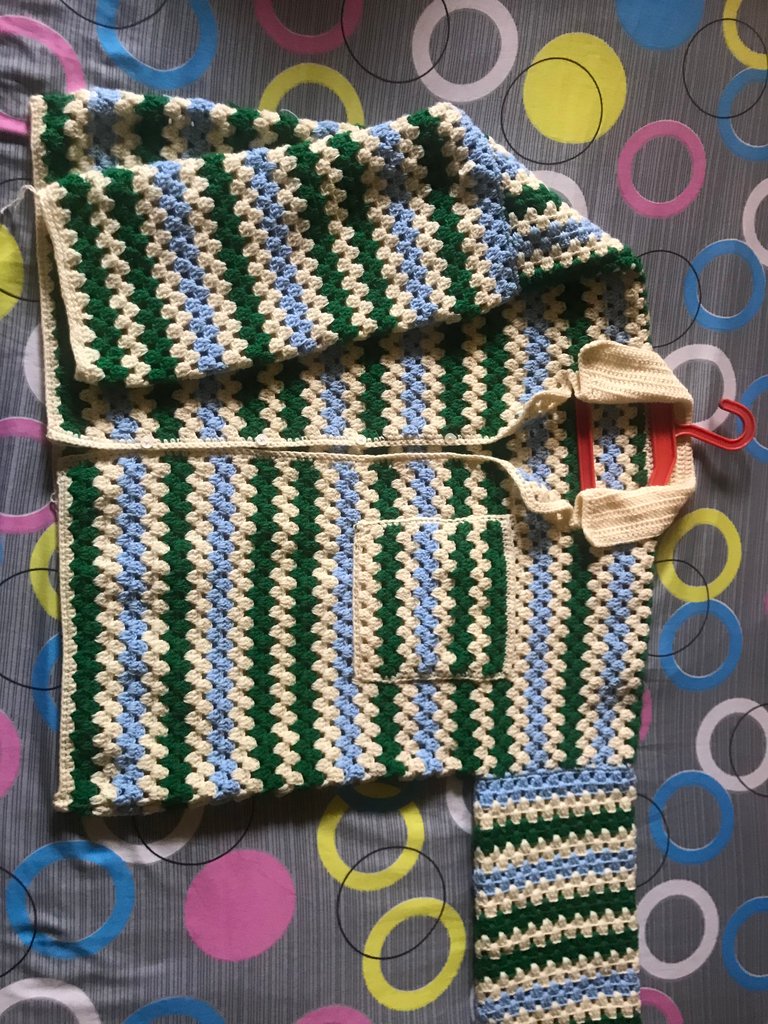
I handed it to my brother once I arrived Lagos. He did not expect it! He said it was the best birthday gift he’d ever received. Everyone kept gushing over the piece. 🤗A month later, I got an order for the same piece from his friend in France!
My sister could not help trying it out, so here are pictures of her in it.
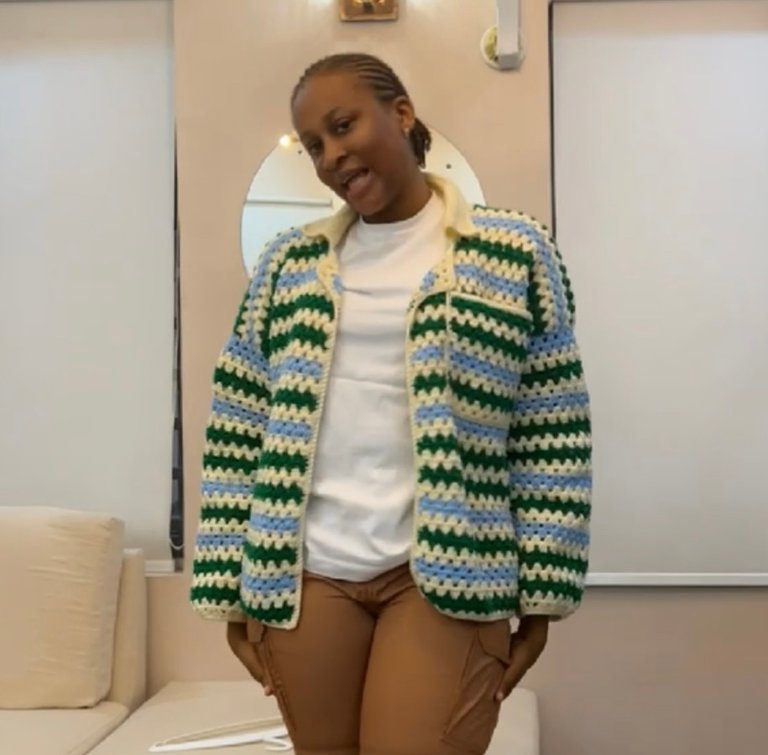
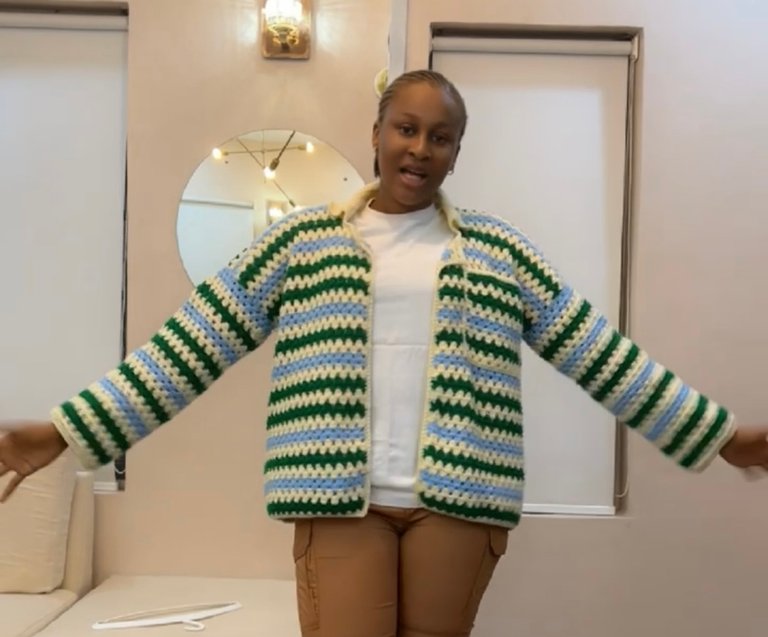
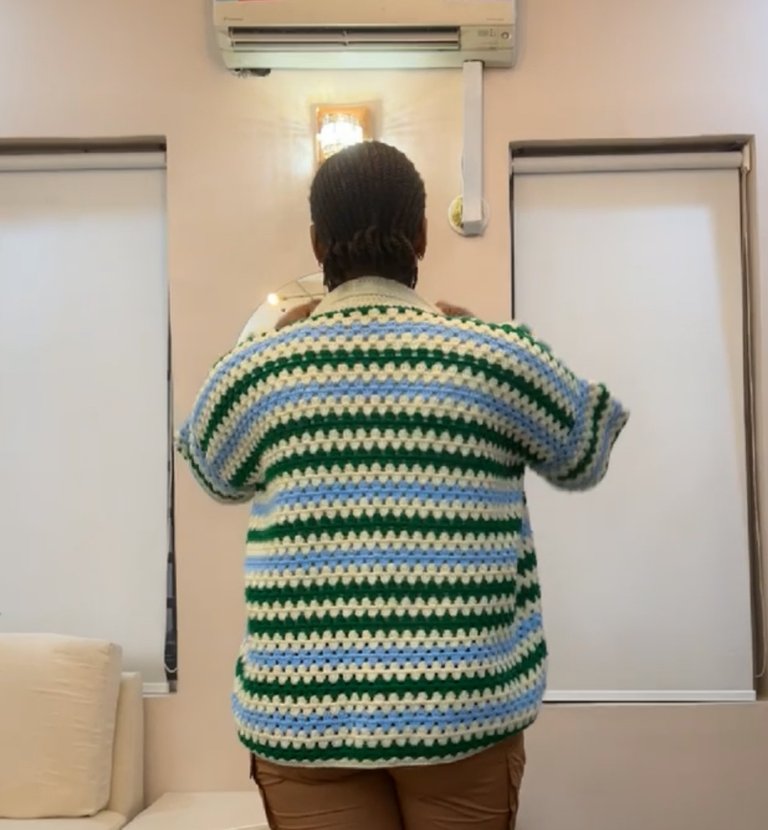
What three colours would you pick if you were to make this piece?
All photos are mine, taken with my phone.
Sending you an Ecency curation vote. 😊
If you haven't done it yet, please vote for the Ecency Proposal. Every vote counts and we sincerely appreciate it.
https://ecency.com/proposals?filter=team
It feels really nice to know that you poured so much thought and effort into crocheting this beautiful shirt for your brother. We love that he appreciated the gift so much. The fact that it led to an order from his friend in France just shows how talented you are. Well done.
Thank you so much!
You did a great job weldone. The crochet long sleeve looks beautiful
Thank you!
Wow! The shirt is so lovely. If I were to pick, I think I'll use lilac, cream and red. I don't know but I think it'll be a pretty combination.
It was so thoughtful of you to make this for your brother. It's pretty
Thank you, Oluchi! Those colours could actually turn out very pretty!
Wow I admire your patience, I used to knit big pieces but now with the little time available, I find it hard to focus on that kind of pieces, that sweater was very beautiful, I congratulate you happy day
I avoid big pieces too if I can because I get tired working on the same piece for a long time. Thank you!
What an incredible job! I laughed with the detail of asking the neighbor for a garment to take measurements, making surprises of this style lead us to do unthinkable things, but with a great reason. Also, it's great that even though you noticed the mistake, you made decisions about it, otherwise it would have been more noticeable. It happens to me very much the same with some projects and I decide to leave the plus or minus point, and go from there. I congratulate you and I am very happy that your brother liked it and you received an order from France. Best regards!
😂Thank you so much!
Beautiful project, my friend. The design looks complex but the final result is great. I'm glad that the gift served as publicity. I congratulate you 💕.
😊Thank you so much, Laura!