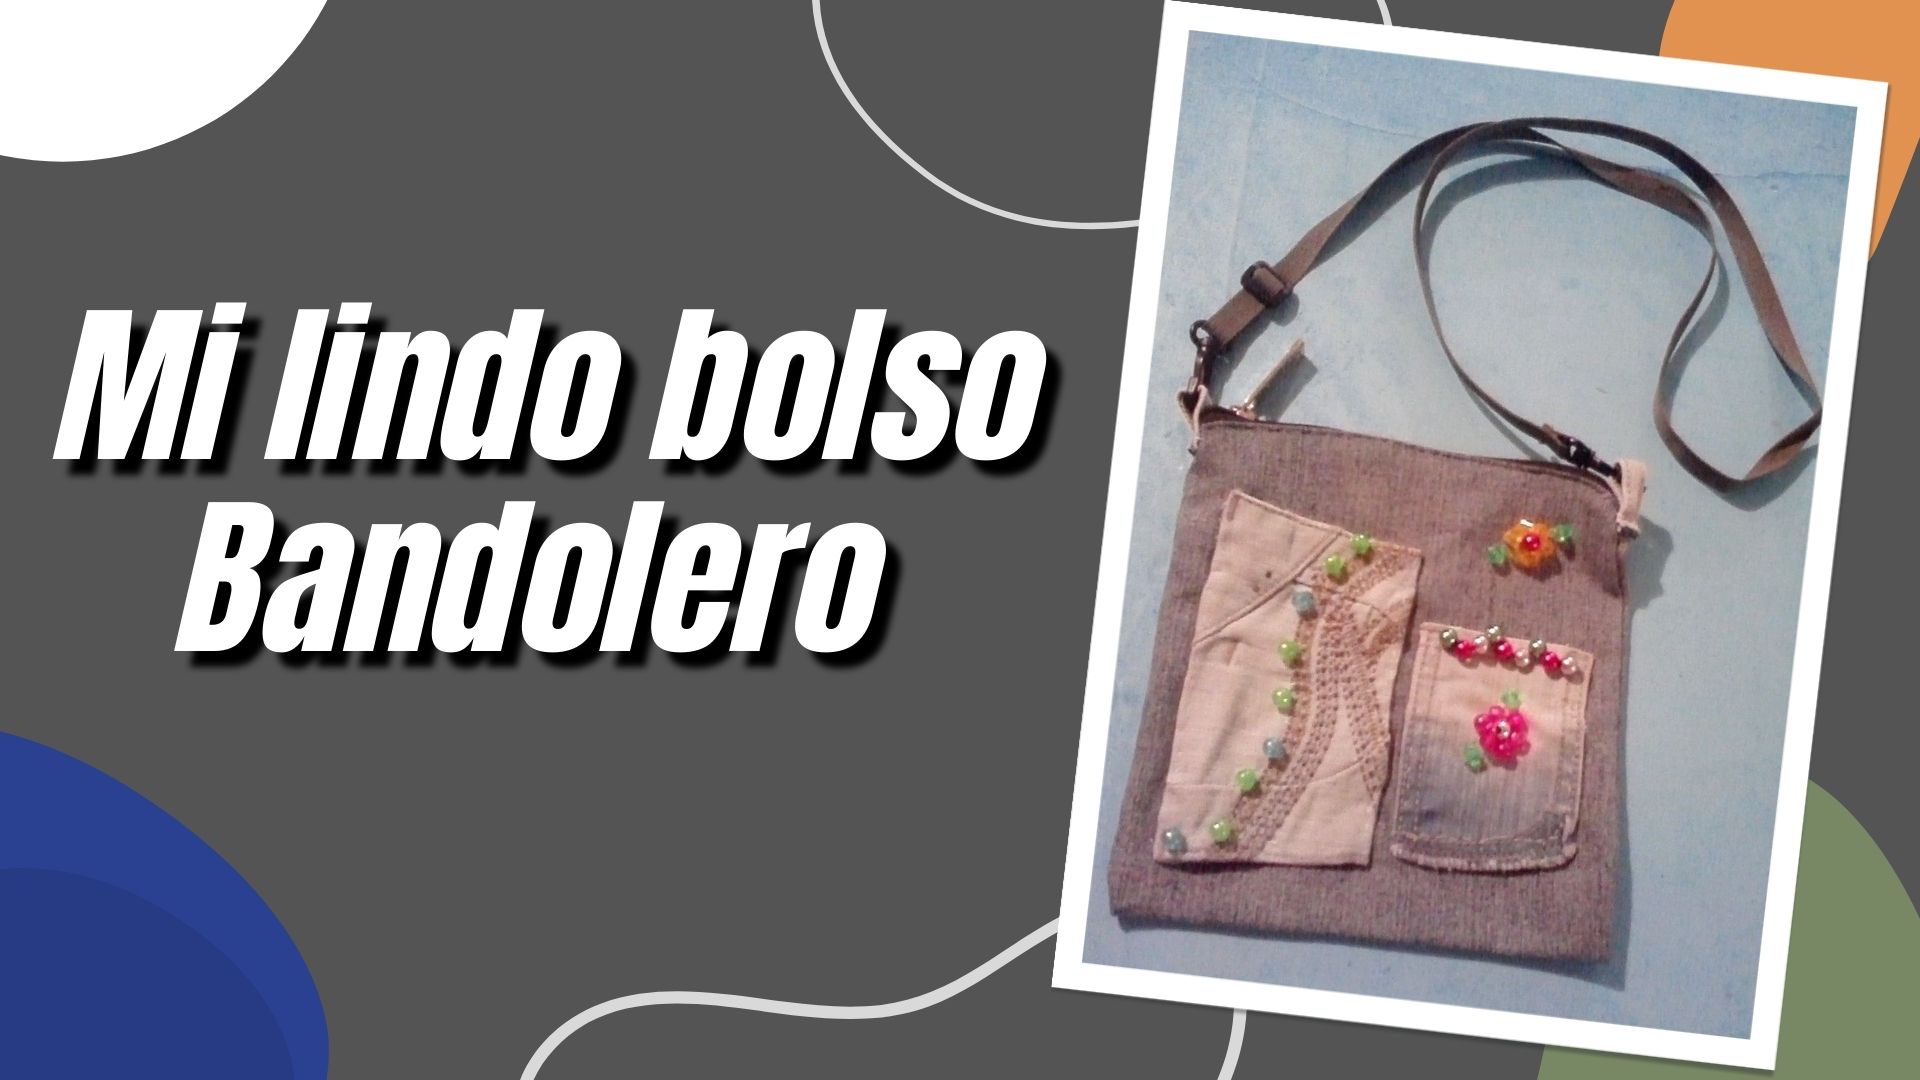
Ahora veamos la elaboración.
Hello how is my wonderful hive Hive, I hope you are super well, I'm happy to share with you again. Today I want to show you how to make a cute bandolier bag, which I made it with a piece of jeans fabric that I had left from an old pants that I did not use and I decided to make this bag that is useful for me to go out for a walk, as it is very comfortable and easy to carry.
Now let's see how to make it.
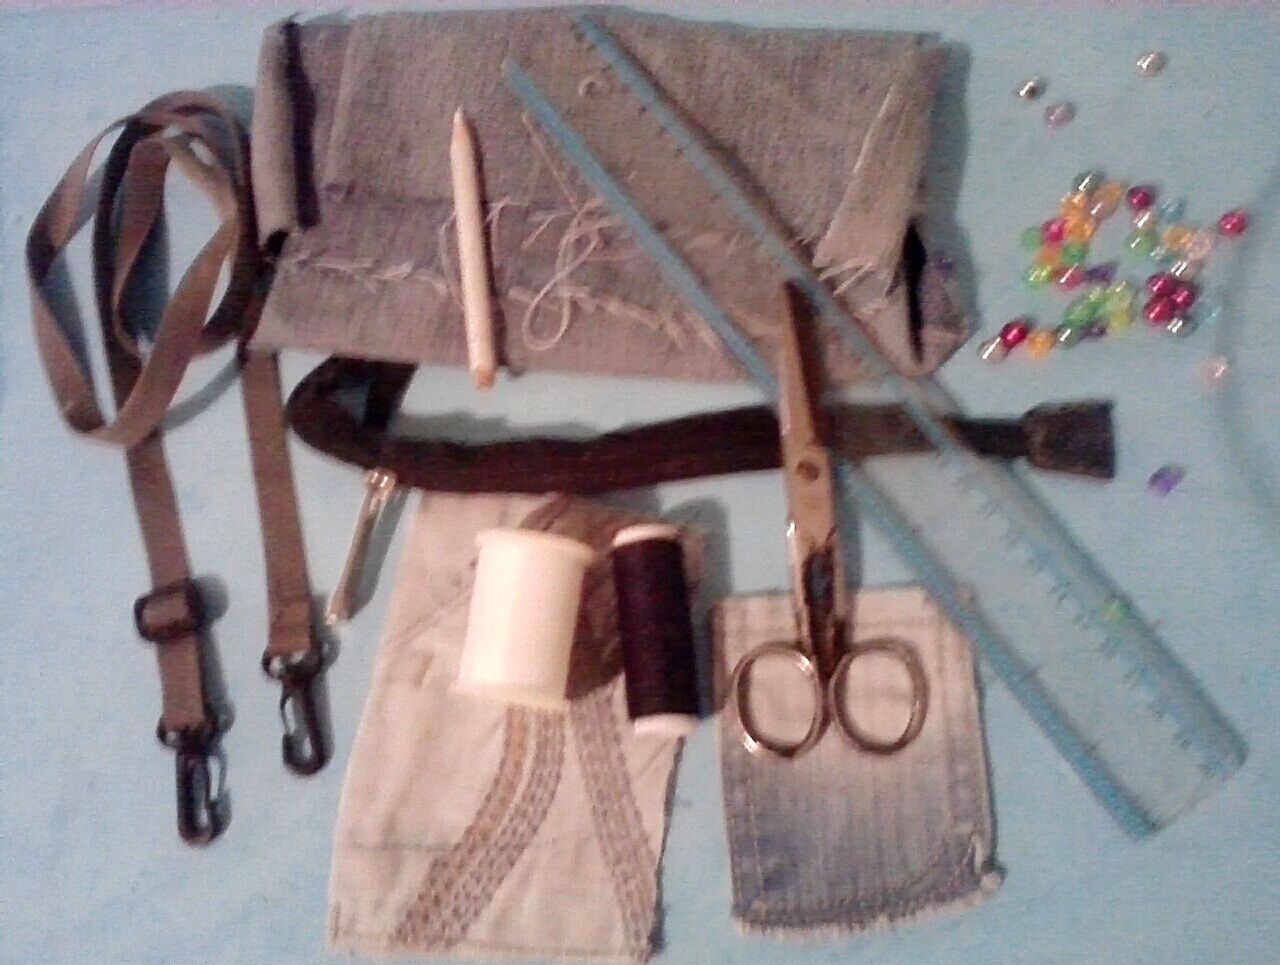
Español
Materiales:
- Retazo de tela de jeans.
- (2) bolsillos de pantalón jeans.
- Correa de amarre con gancho.
- Hilos (blanco y negro).
- Aguja.
- Tijera.
- Lápiz.
- piedritas decorativas.
- Regla.
- Cierre.
English
Materials:
- Denim fabric scrap.
- (2) jeans trouser pockets.
- Tie strap with hook.
- Threads (black and white).
- Needle.
- Scissors.
- Pencil.
- Decorative pebbles.
- Ruler.
- Clasp.

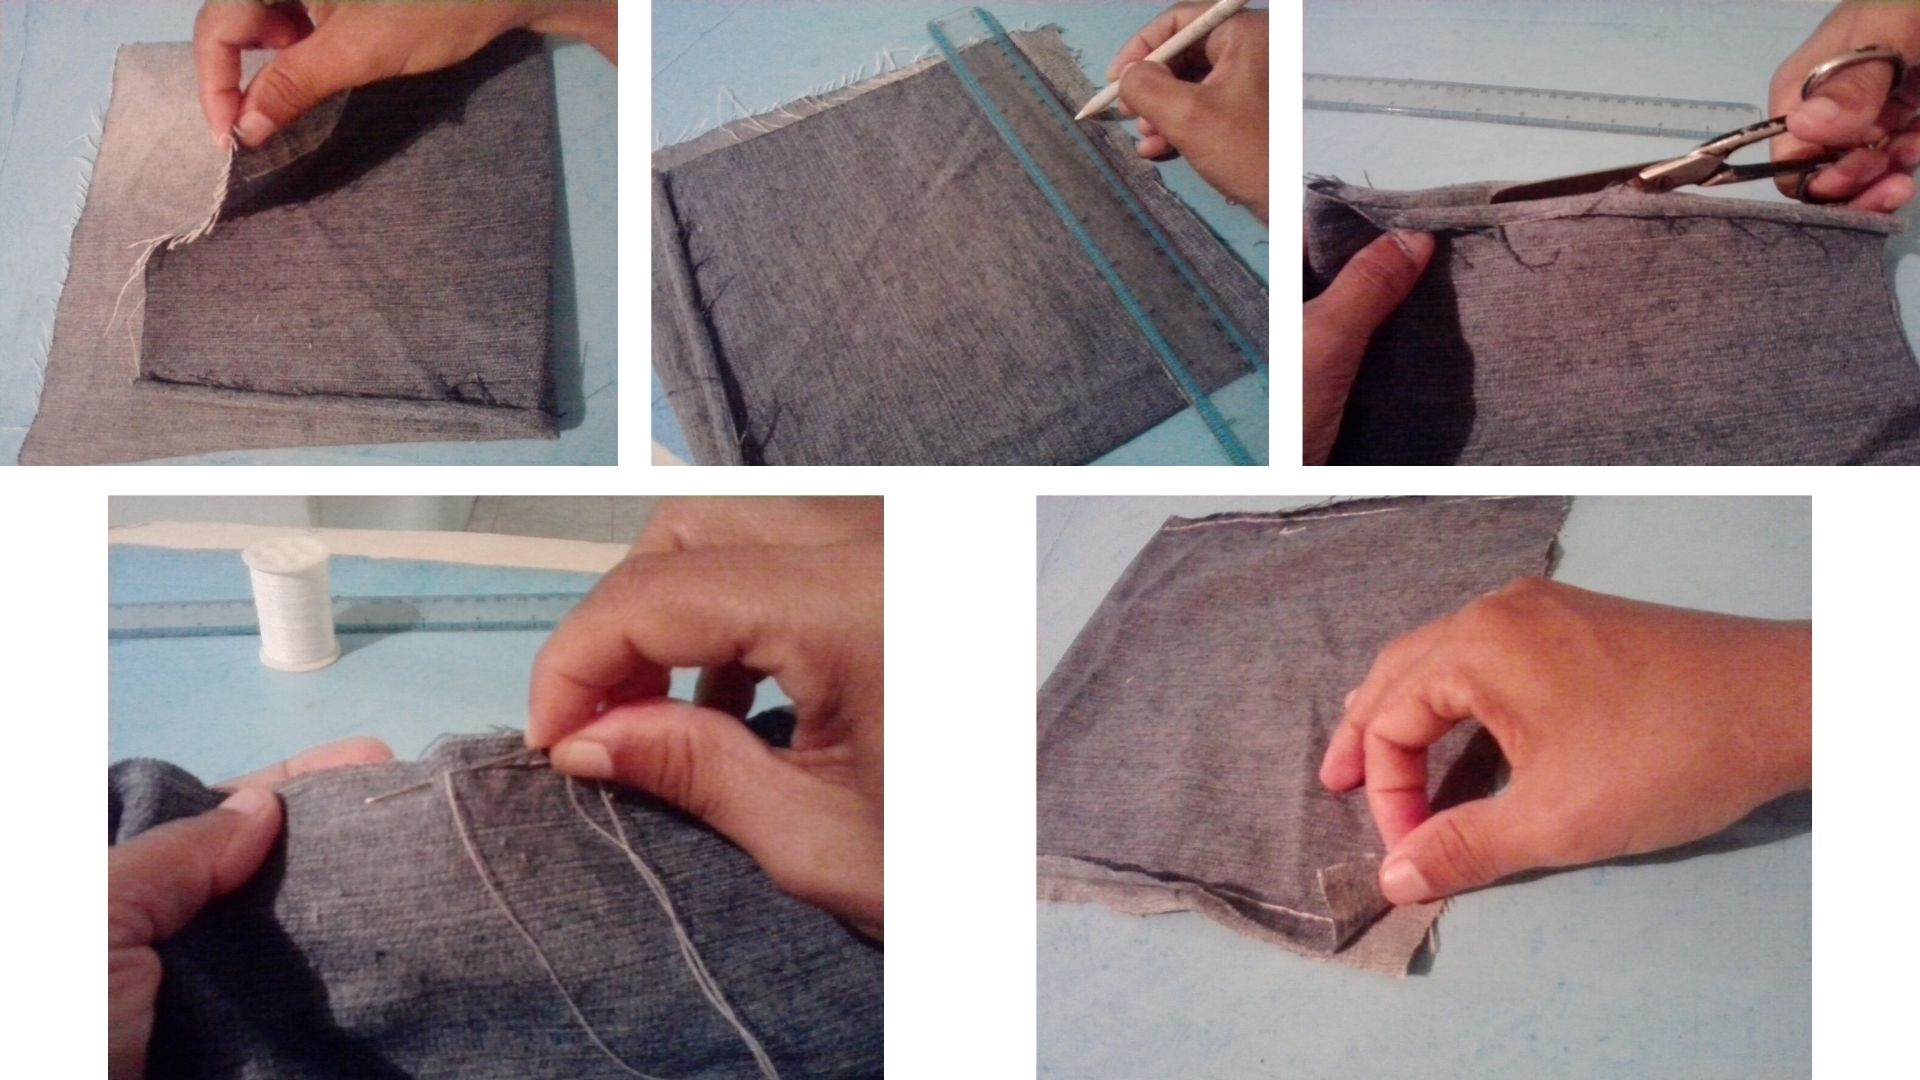
Español
Paso 1:
- Con el retazo de tela jeans lo doblamos en dos, dejando hacia fuera el lado al revés de la tela, luego marcamos una medida de 21 cm de largo x 20 cm de ancho, cortamos y comenzamos a coser por ambos lados, dejando la abertura superior de la tela de 1 cm sin coser, para después pegarle el cierre.
English
Step 1:
- With the piece of jeans fabric we fold it in two, leaving out the wrong side of the fabric, then we mark a measure of 21 cm long x 20 cm wide, cut and start sewing on both sides, leaving the upper opening of the fabric of 1 cm without sewing, and then glue the zipper.

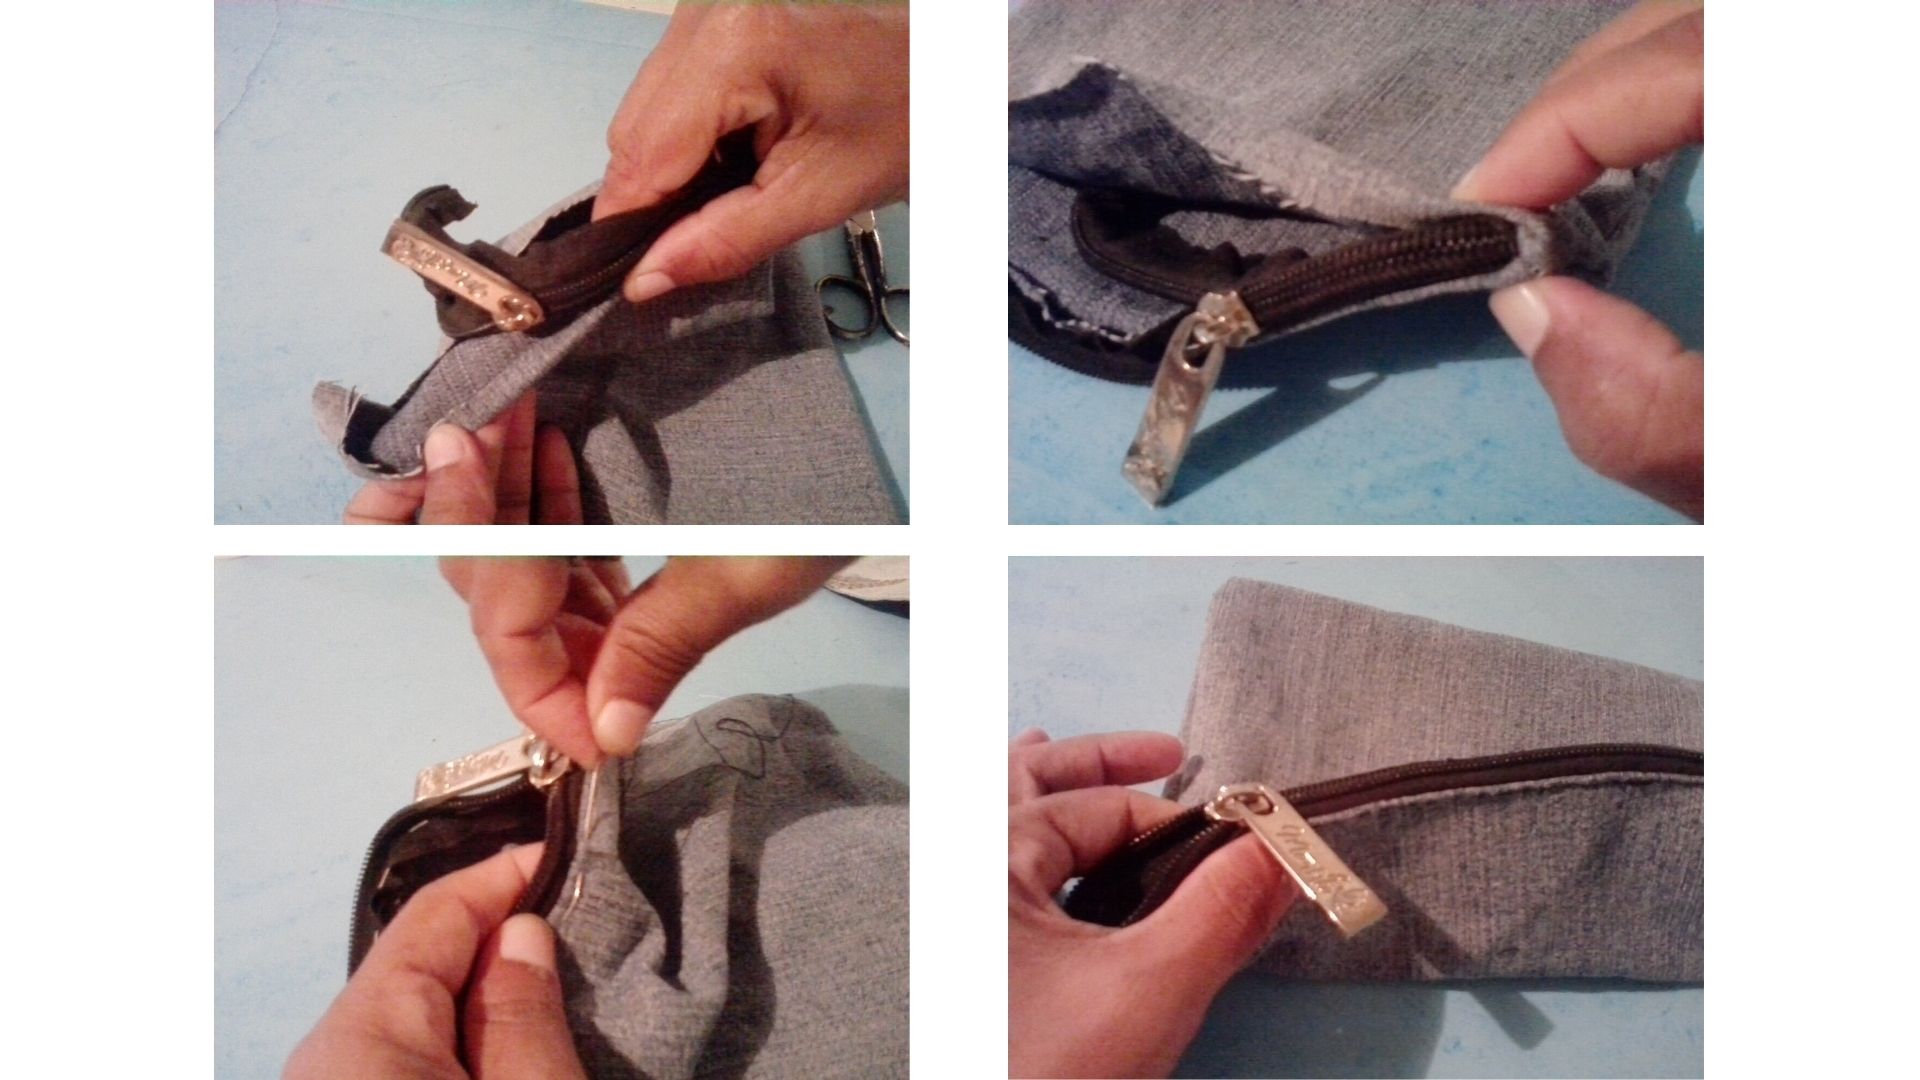
Español
Paso 2:
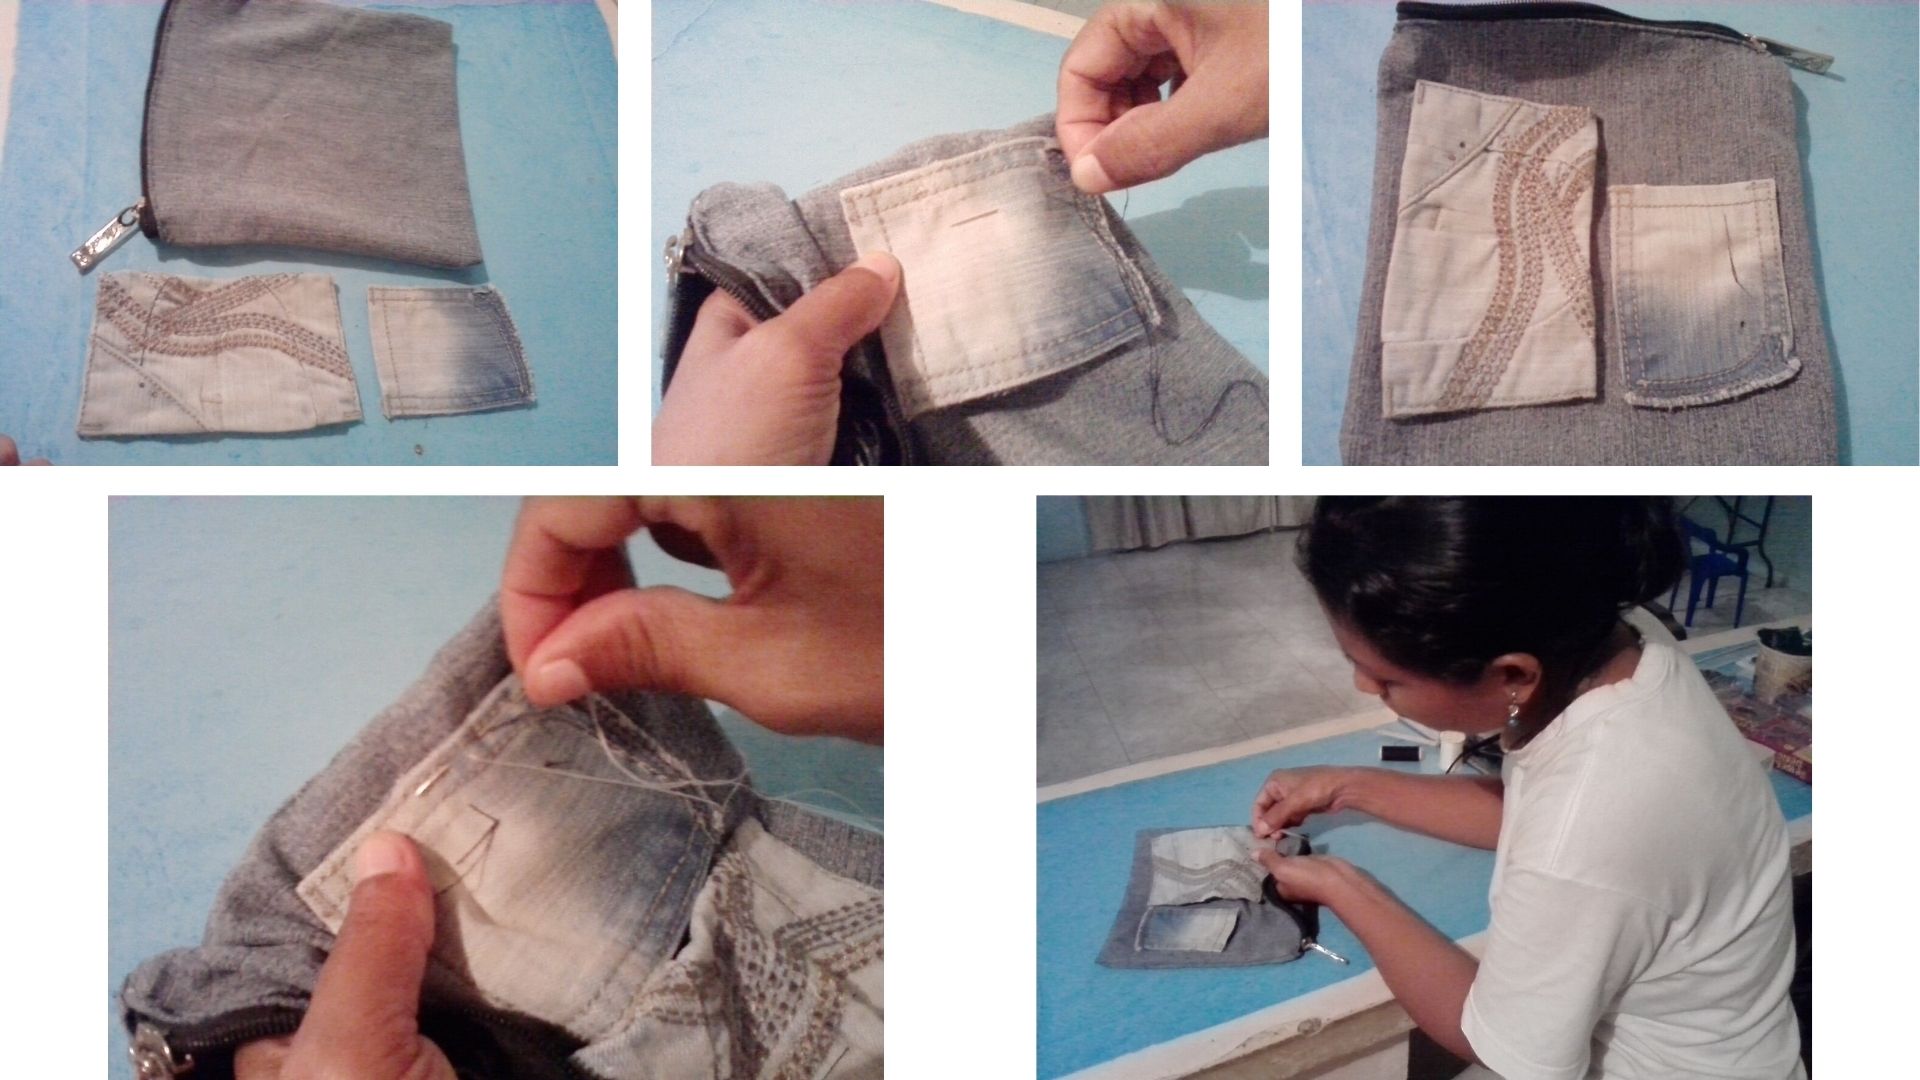
- Después de haber basteado el cierre por toda la abertura del bolso, para que quede fijo y poder coserlo bien.
English
Step 2:
- After having basted the zipper all around the opening of the bag, so that it is fixed and can be sewn well.

Español
Paso 3:
- Ahora tomamos los dos bolsillos, lo colocamos uno al lado del otro dándole unas puntadas, para luego coserlo.
English
Step 3:
- Now we take the two pockets, place them side by side, stitch them together and sew them together.

Español
Paso 4:
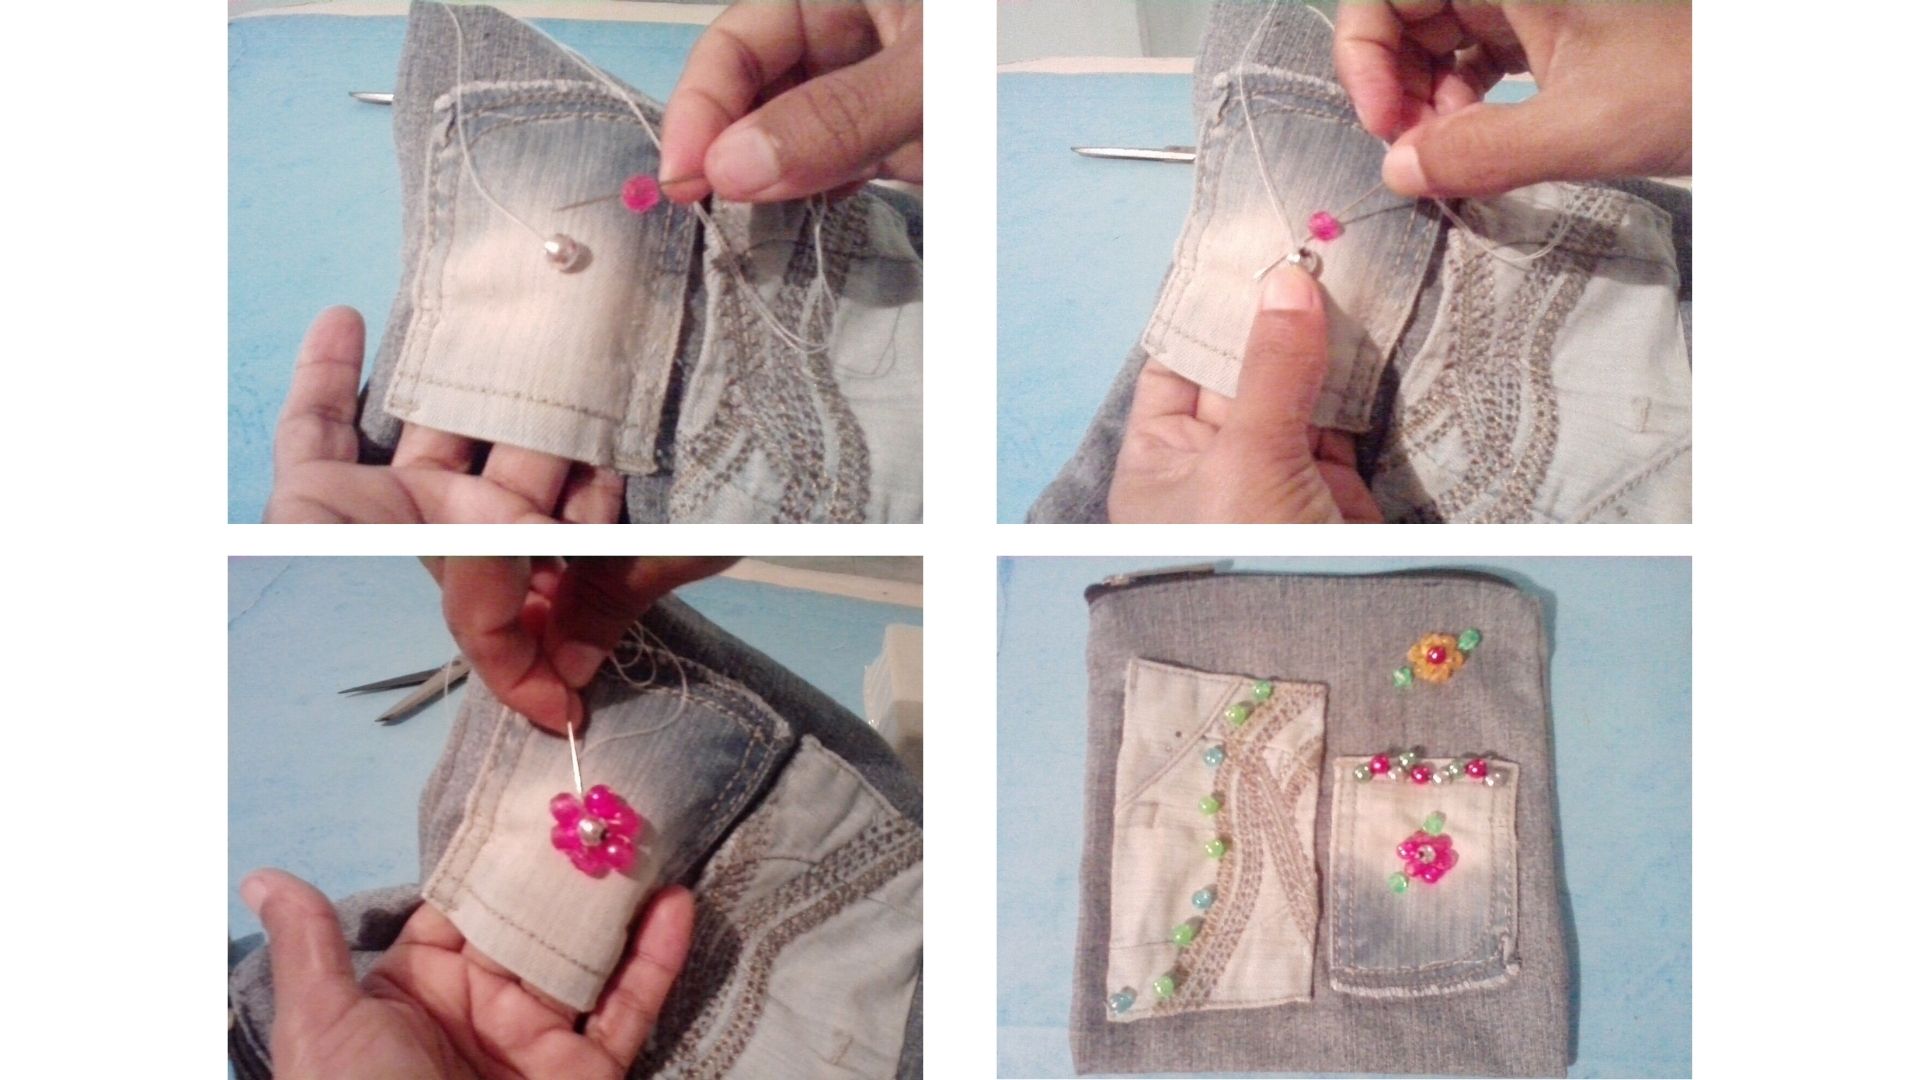
- Ya cosido los bolsillos del bolso le pegamos con hilo blanco las piedritas de colores formando unas flores decorativas, para así darle un mejor diseño a nuestro bolso bandolero.
English
Step 4:
- Once the pockets of the bag are sewn, we glue with white thread the colored pebbles forming decorative flowers, to give a better design to our shoulder bag.

Español
Paso 5:
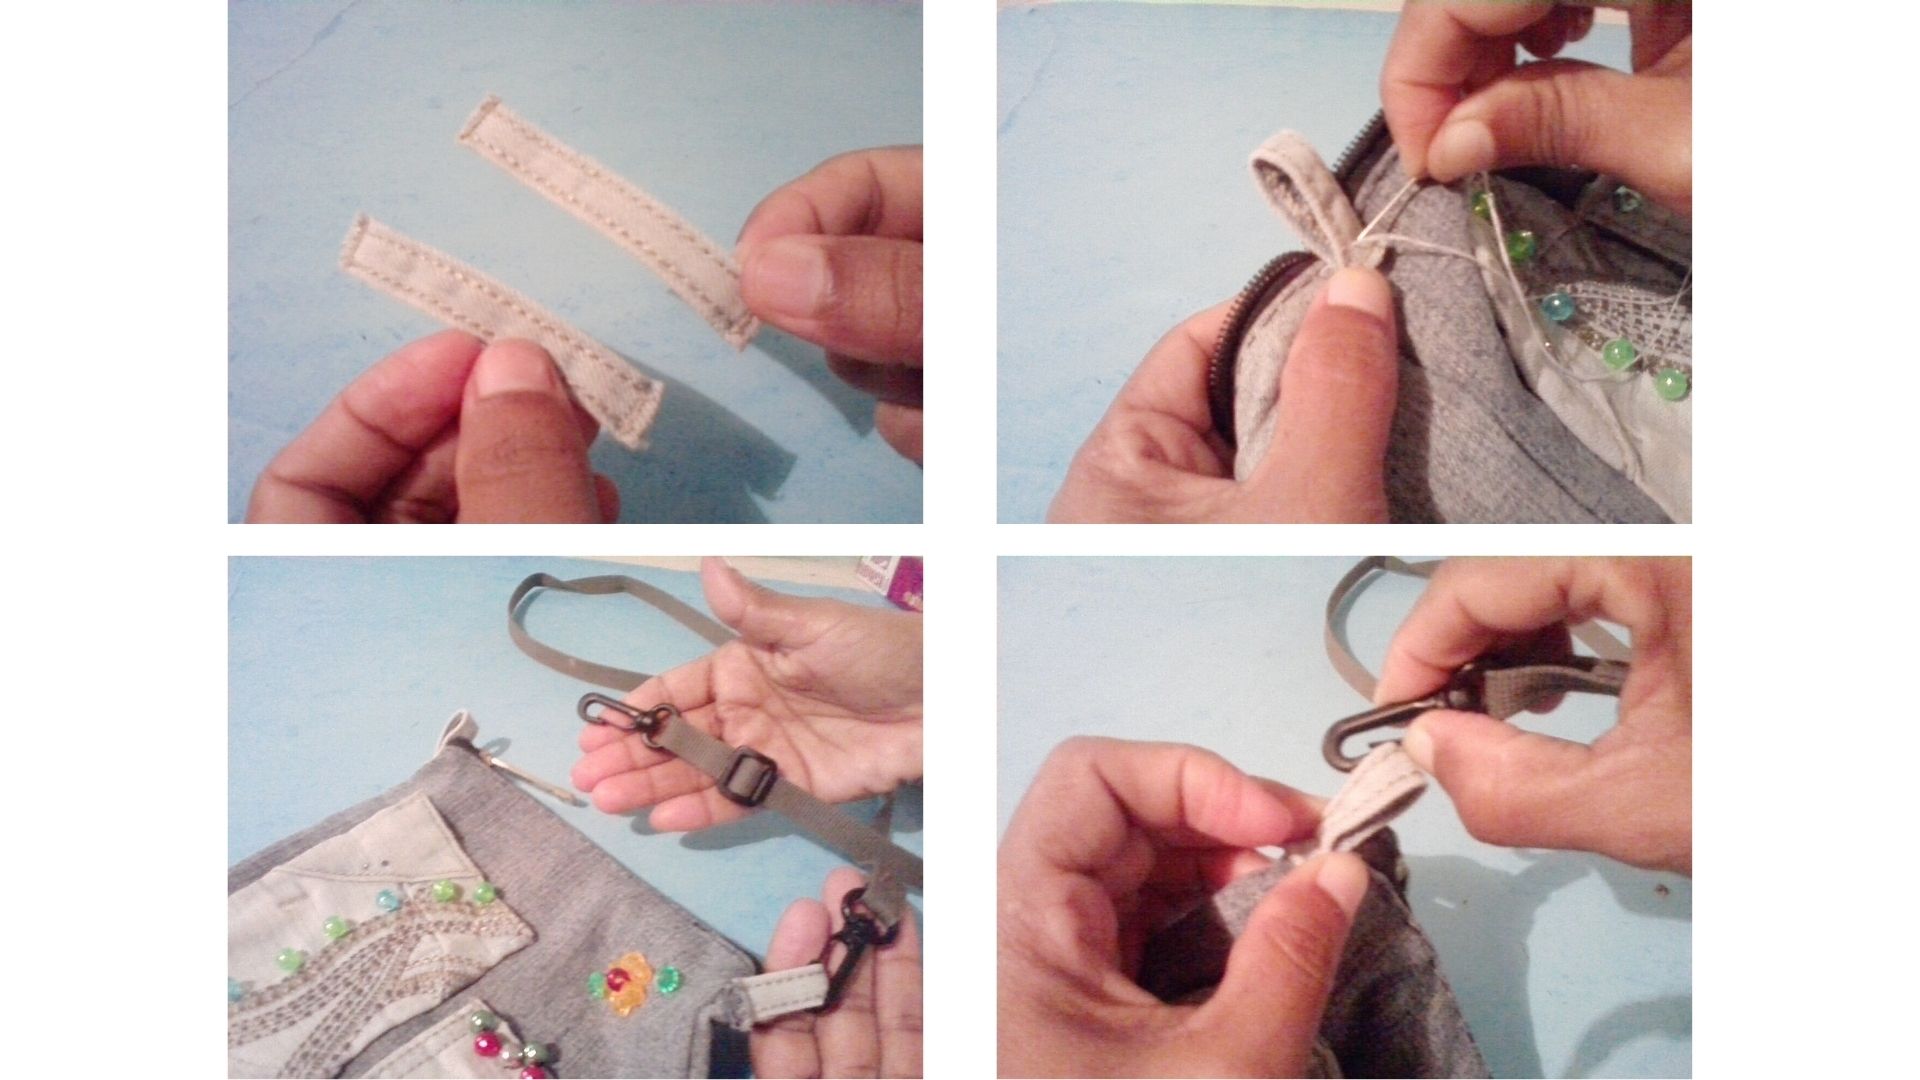
- Para terminar garramos 2 tiras de jeans y los cosemos en cada extremo de ambos lados del bolso, para así colocar la correa de amarre con gancho.
English
Step 5:
- Finally, we stitch 2 strips of jeans and sew them on each end of both sides of the bag, in order to attach the hook and loop strap.

Así quedo mi resultado final.
This is my final result.
.jpg)
.jpg)
.jpg)
.jpg)


Congratulations @meurys80! You have completed the following achievement on the Hive blockchain and have been rewarded with new badge(s) :
Your next target is to reach 30 posts.
You can view your badges on your board and compare yourself to others in the Ranking
If you no longer want to receive notifications, reply to this comment with the word
STOPPrecioso! Yo soy fanática de los bolsos. Me encantan todos. El tuyo me encantó. Con material reciclado y perlitas o cuentas. De verdad se ve muy bonito.
Espero poder ver muchos más. Saludos.
gracias, de verdad que no pensé que me iba a quedar bien bonito y cuando lo termine me encanto. saludos.
Has hecho un hermoso trabajo con ese bolso, el resultado final está genial, sobre todo por el detalle de las cuentas.
Te felicito por la manera tan ordenada en que muestras el paso a paso.Hola @meurys80 es un gusto saludarte.
hola, gracias , cada día trato de hacerlo mejor, me encantan los detalles , saludos .