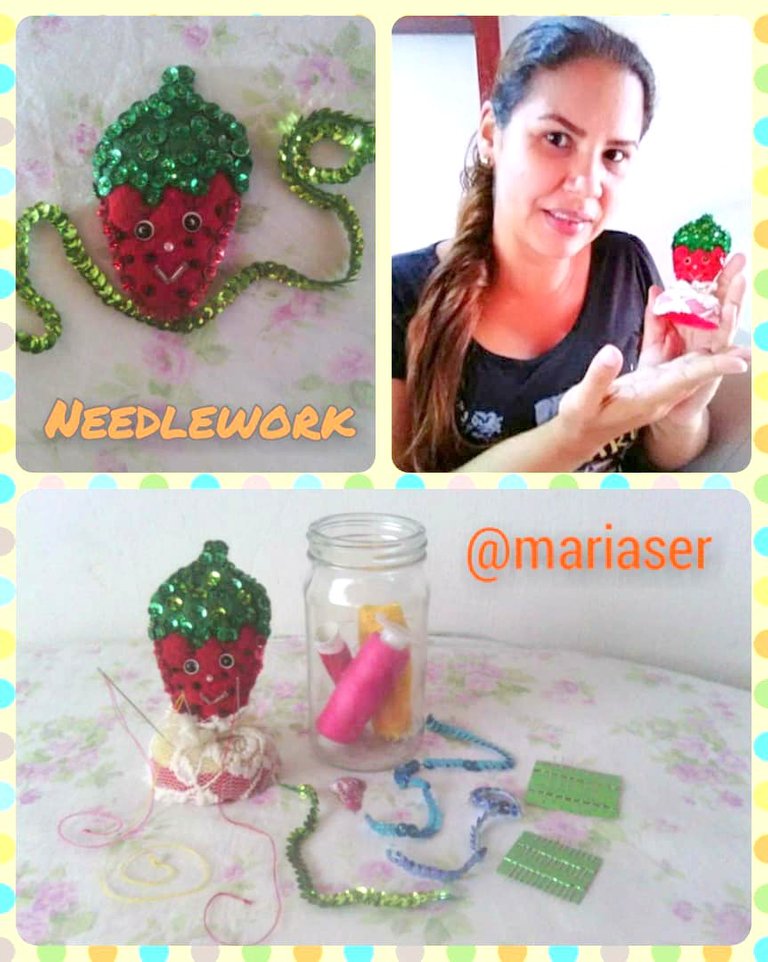
Buenas noches amigos de #Hive y #NeedleWork, este día les traigo una bonita creación de una fresa elaborada con fieltro, lentejuelas, canutillo, goma espuma. Este detalle lo utilizara para decorar un envase de vidrio que me servirá para guardas botones, hilos, agujas, lentejuelas entre otras cosas que utilizo para elaborar mis trabajos de costura.
Good evening friends of #Hive and #NeedleWork, today I bring you a beautiful creation of a strawberry made with felt, sequins, beads and foam rubber. This detail will be used to decorate a glass container that will serve me to store buttons, threads, needles, sequins and other things I use to make my sewing work.
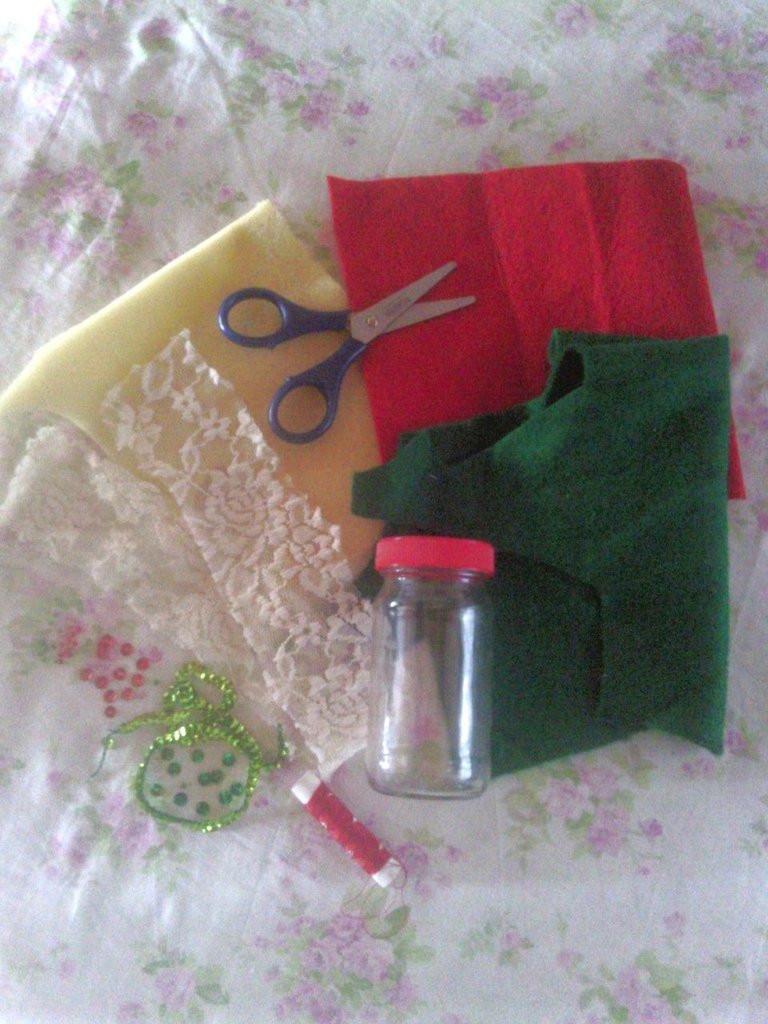
Paso #1:
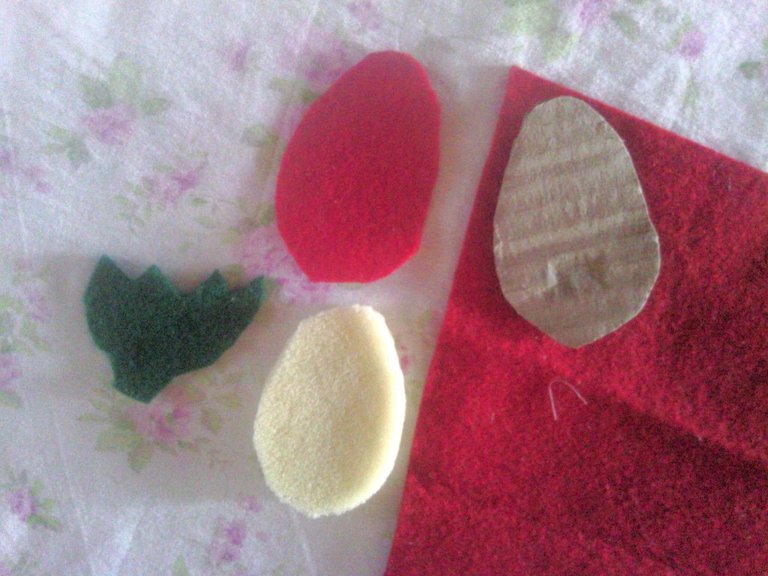
- Comencé dibujando y recortado en un cartón el patrón de la fresa el cual plasme sobre el fieltro, goma espuma.
Step #1:
- I started by drawing and cutting out on cardboard the strawberry pattern which I captured on felt, foam rubber.
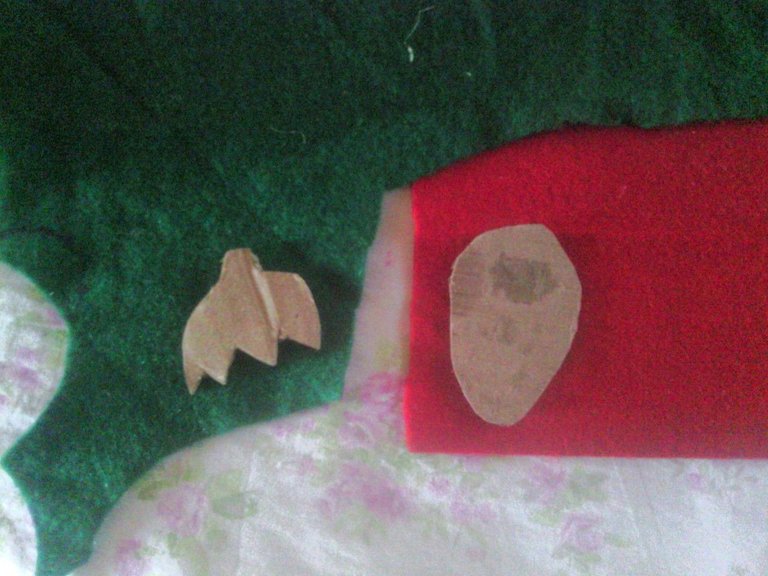
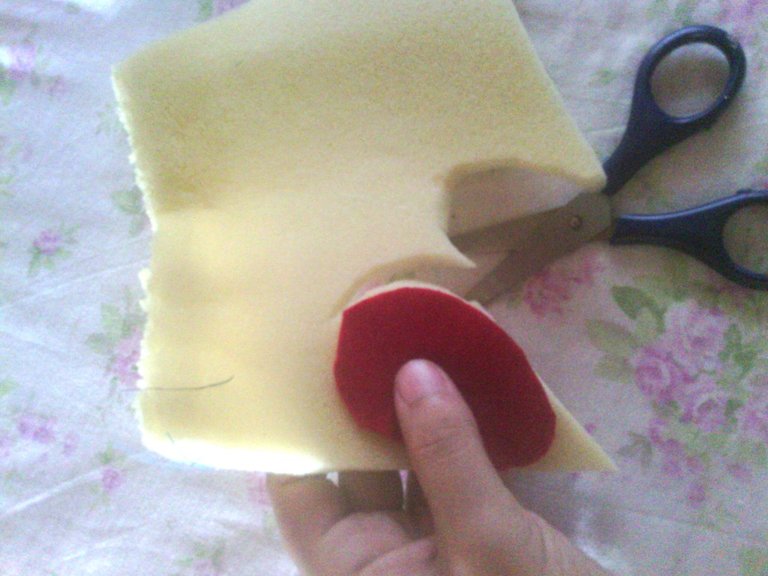
Paso #2:
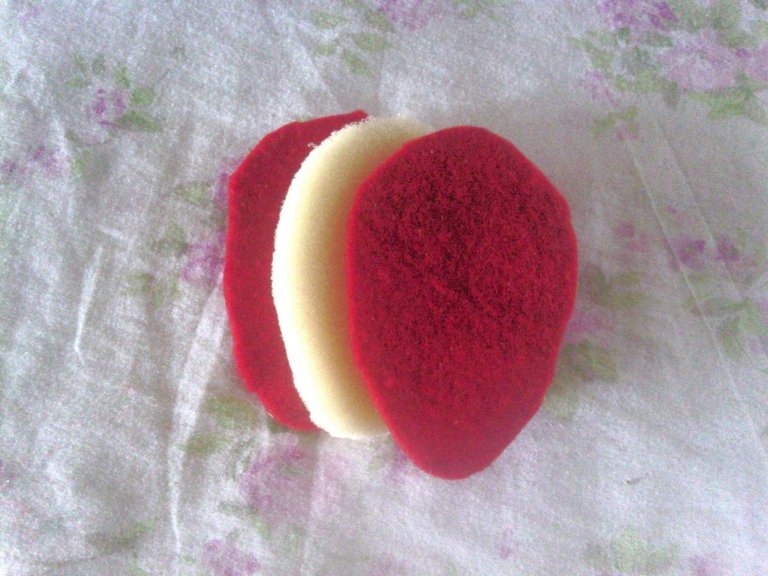
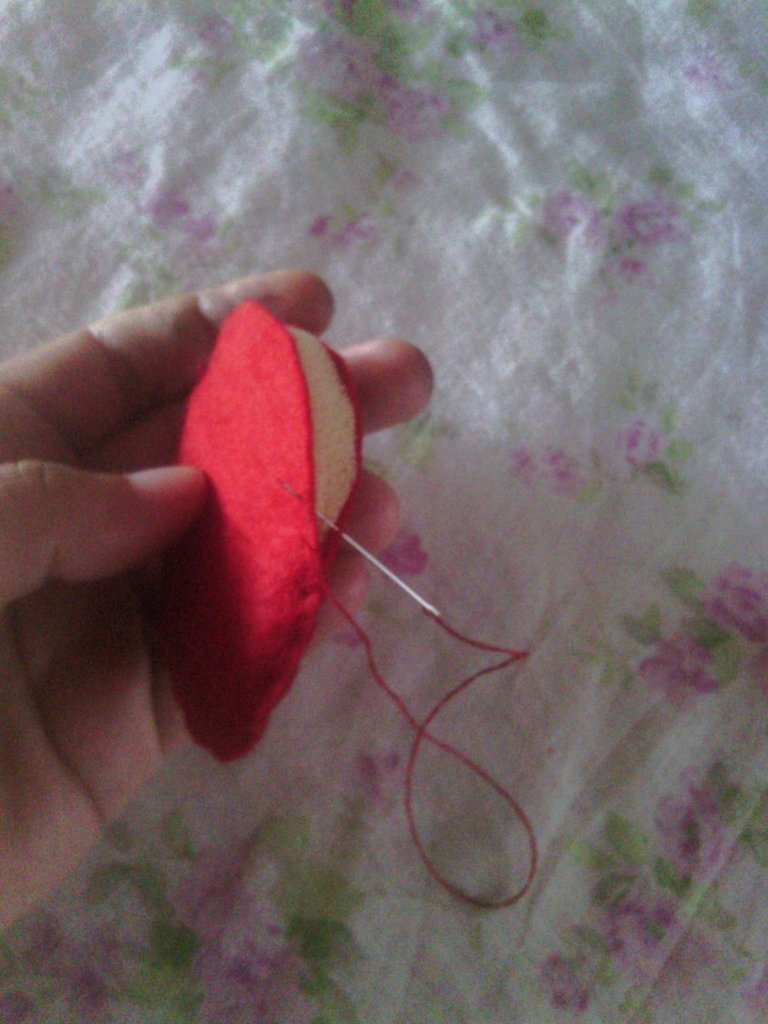
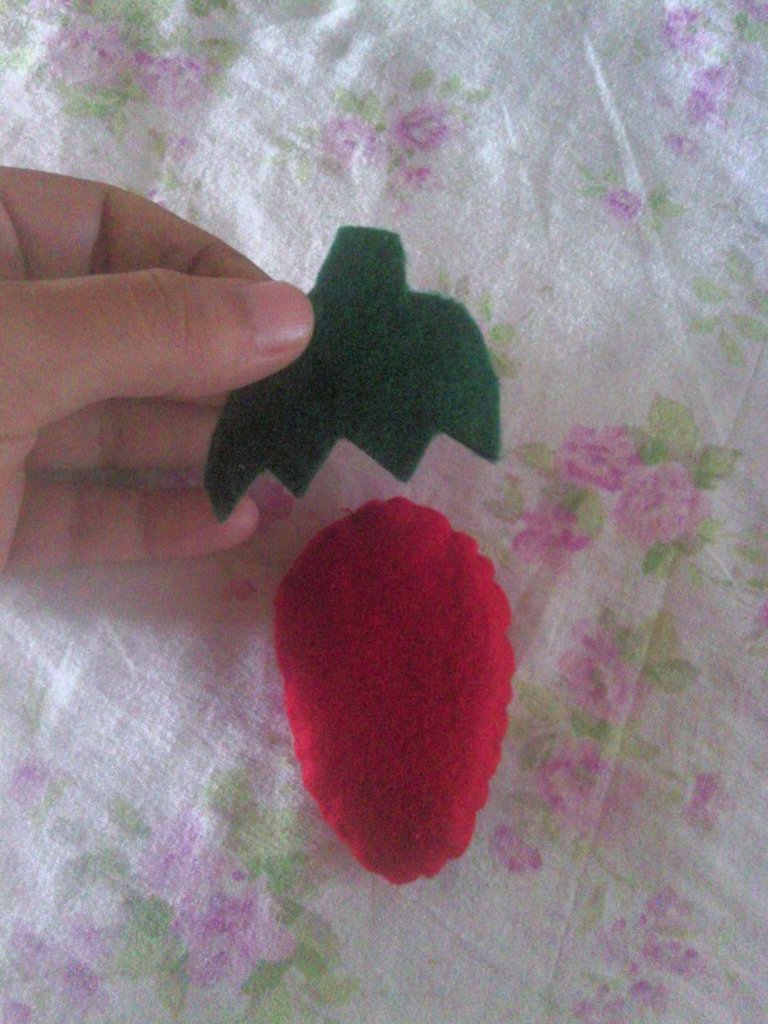
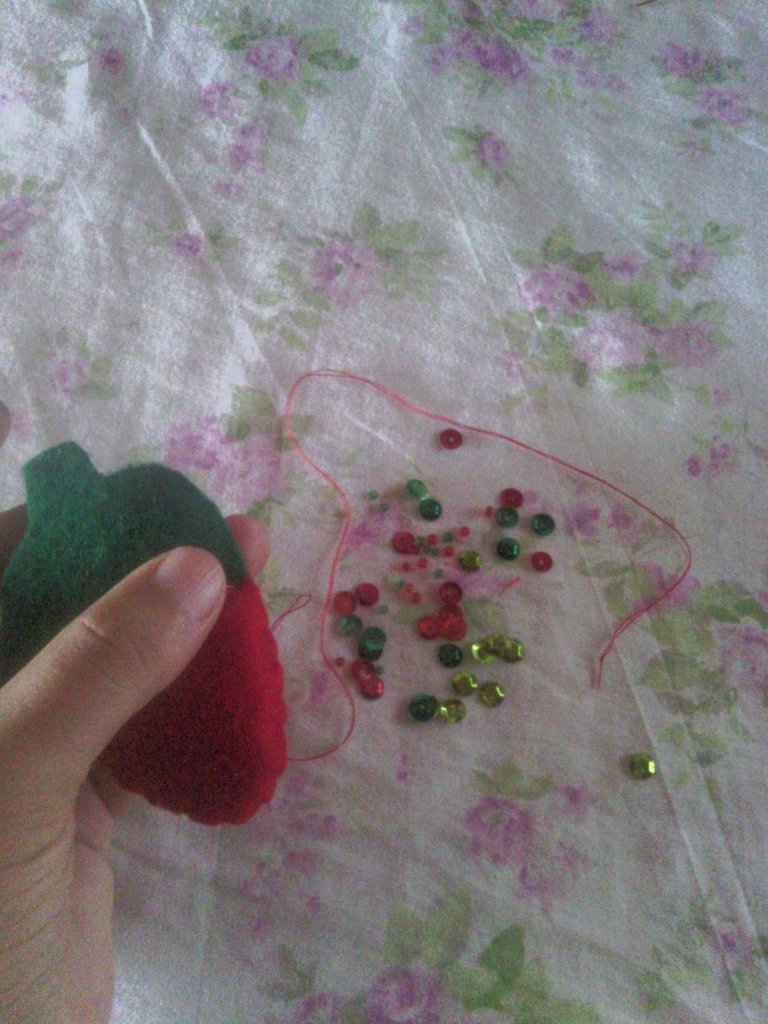
- Tome ambas partes del fieltro rojo lo cual representa a la fresa y lo rellene con la goma espuma cociendo por todo el borde, ademas de su tallo verde.
Step #2:
- Take both parts of the red felt which represents the strawberry and fill it with the foam rubber baking all around the edge, plus its green stem.
Paso #3:
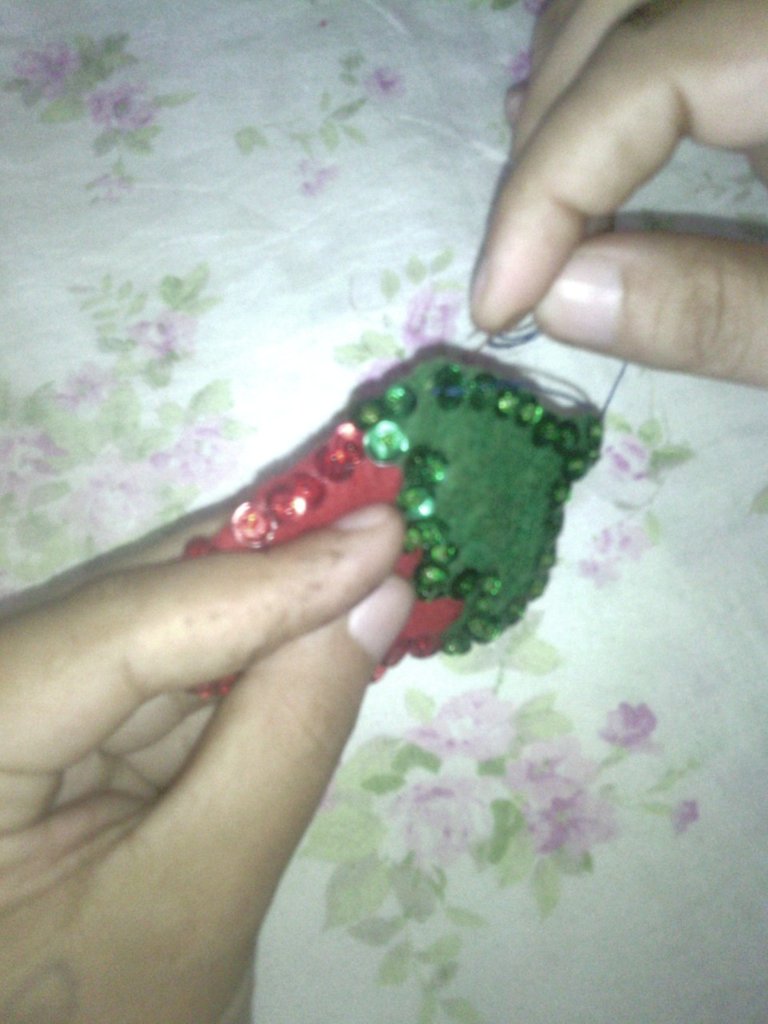
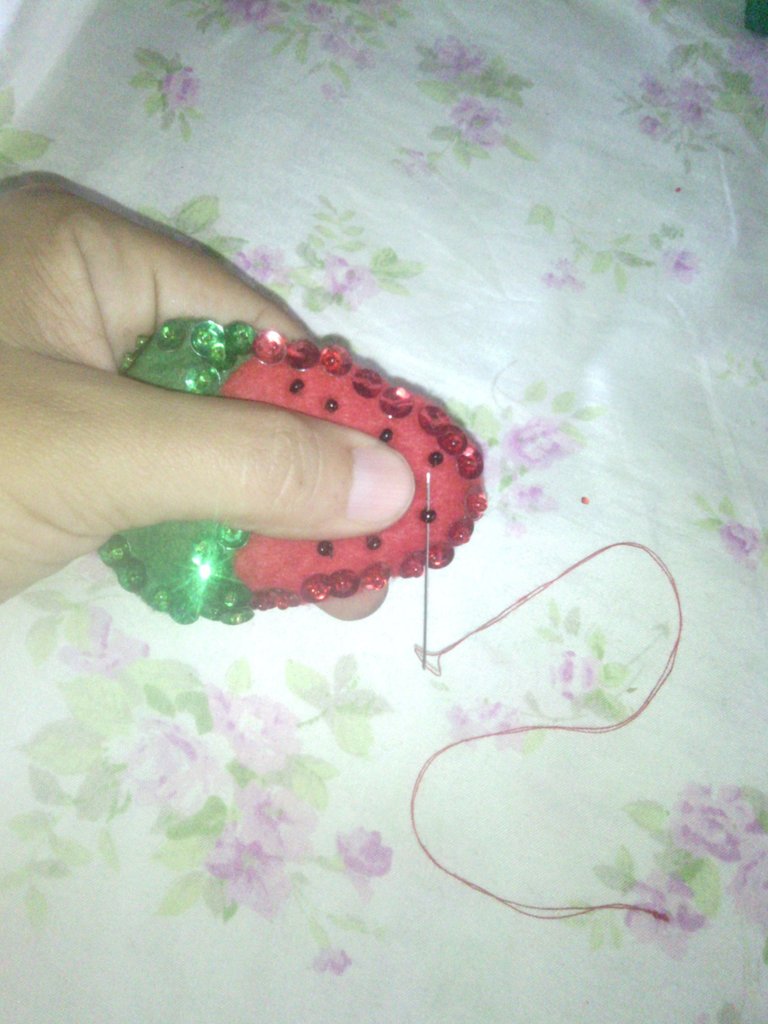
- Coloque todo el borde de la figura con lentejuelas y canutillos para hacerla resaltar y brillar mi fresa, ademas agregue detalles de puntitos negros, boca y ojos.
Step #3:
- Place the entire edge of the figure with sequins and beads to make it stand out and shine my strawberry, also add details of black dots, mouth and eyes.
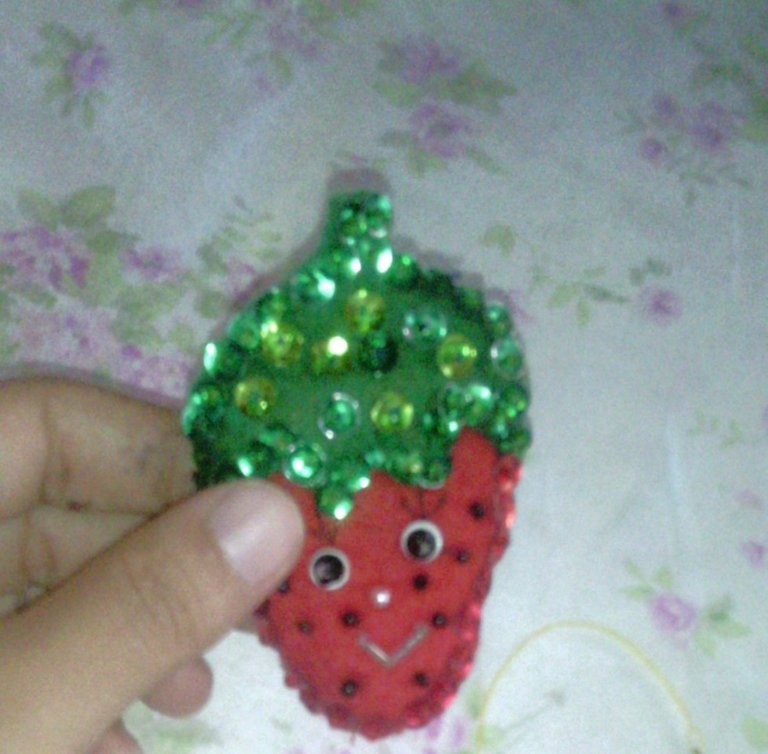
De esta manera quedo mi creación de una fresa divertida que utilizare elemento principal de mi organizador.
This is how my creation of a fun strawberry that I will use as the main element of my organizer turned out.
Paso #4:
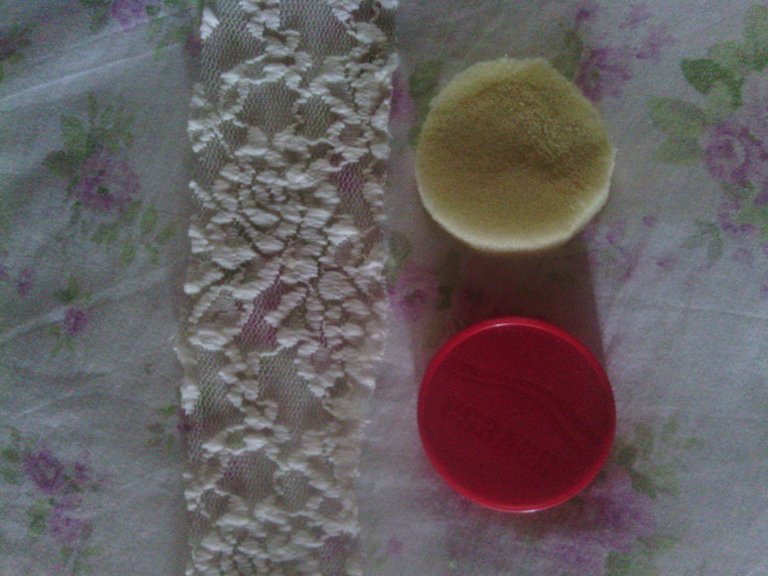
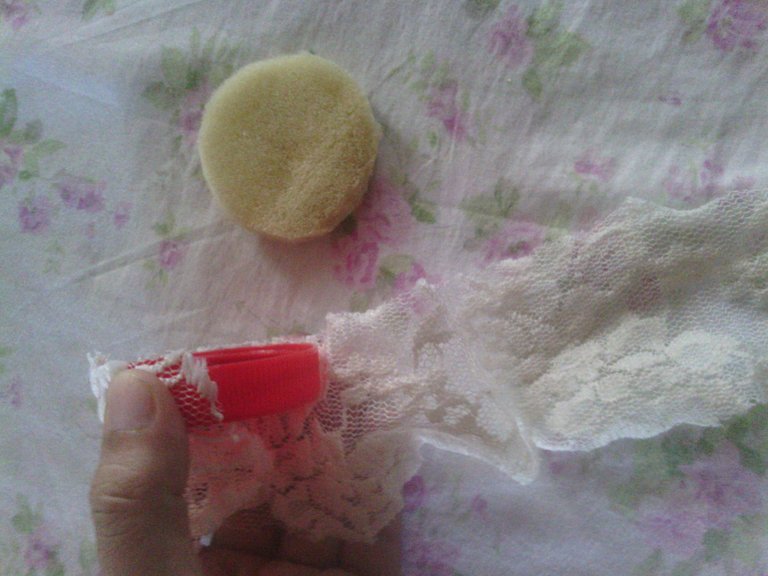
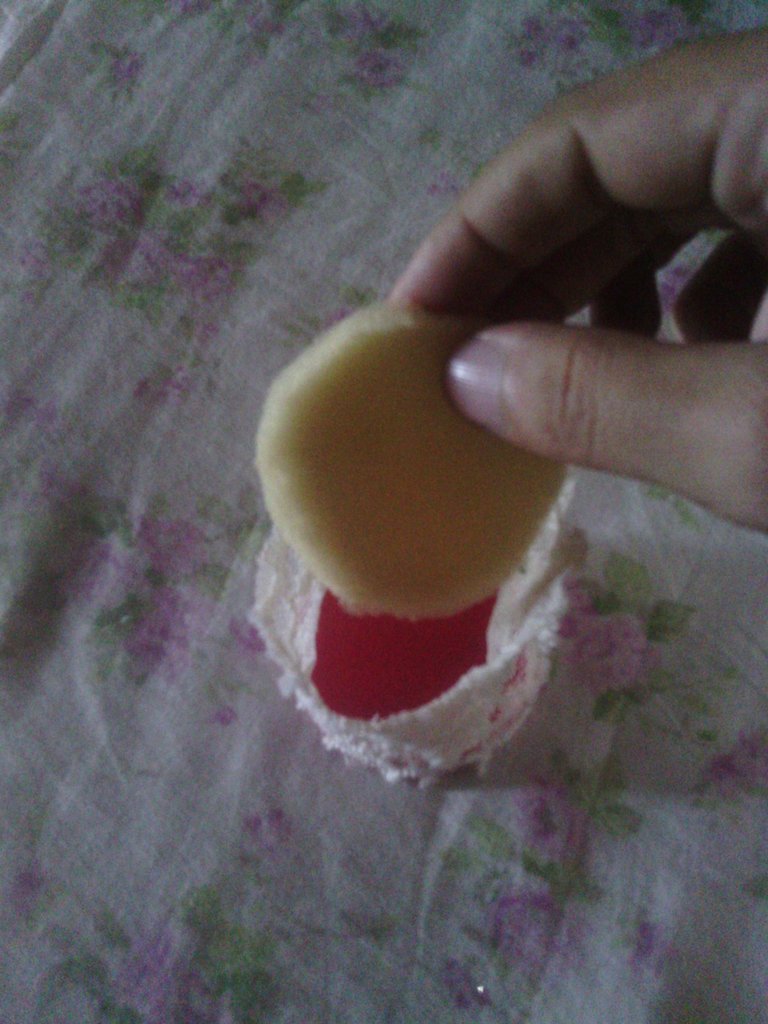
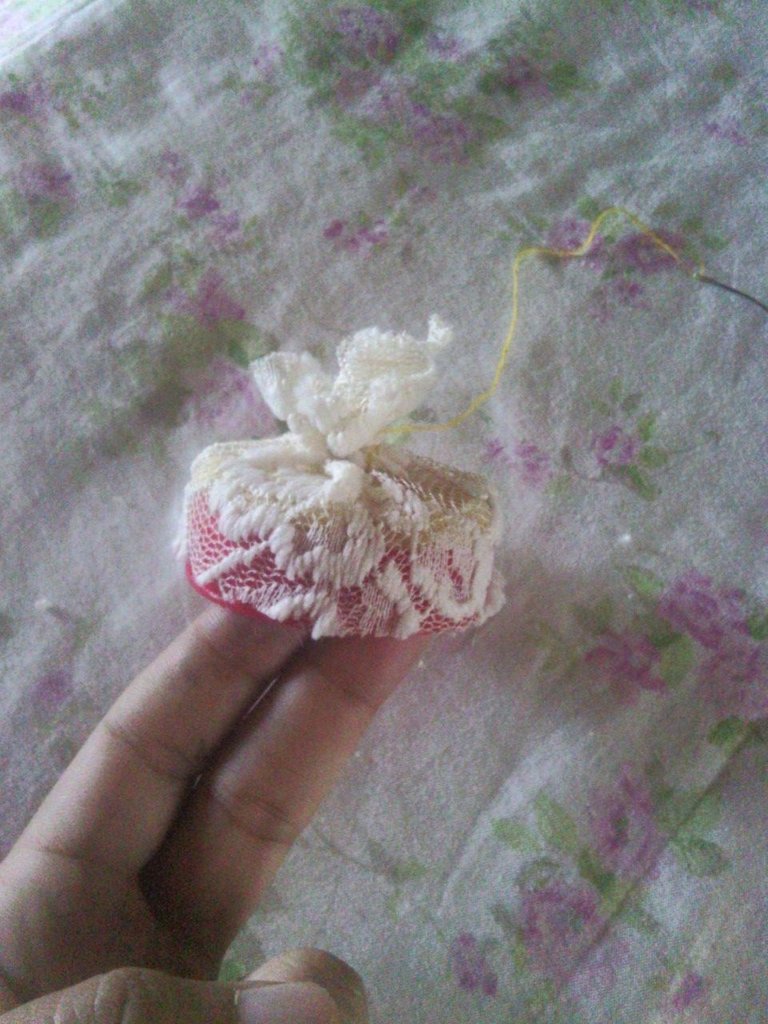
Tome la tapa de mi envase, recortando sobre la goma espuma una pieza que ira forrada con una tela de encaje de color beige que servirá como almohadilla para colocar las agujas.
QuoteStep #4:
- Take the lid of my container, cutting out a piece on the foam rubber that will be lined with a beige lace fabric that will serve as a pad to place the needles.
Paso #5:
- Al tener la fresa lista y la tapa forrada, uní ambas piezas quedando la fresa como figura principal de mi trabajo.
Step #5:
- Having the milling cutter ready and the lid lined, I joined both pieces together leaving the milling cutter as the main figure of my work.
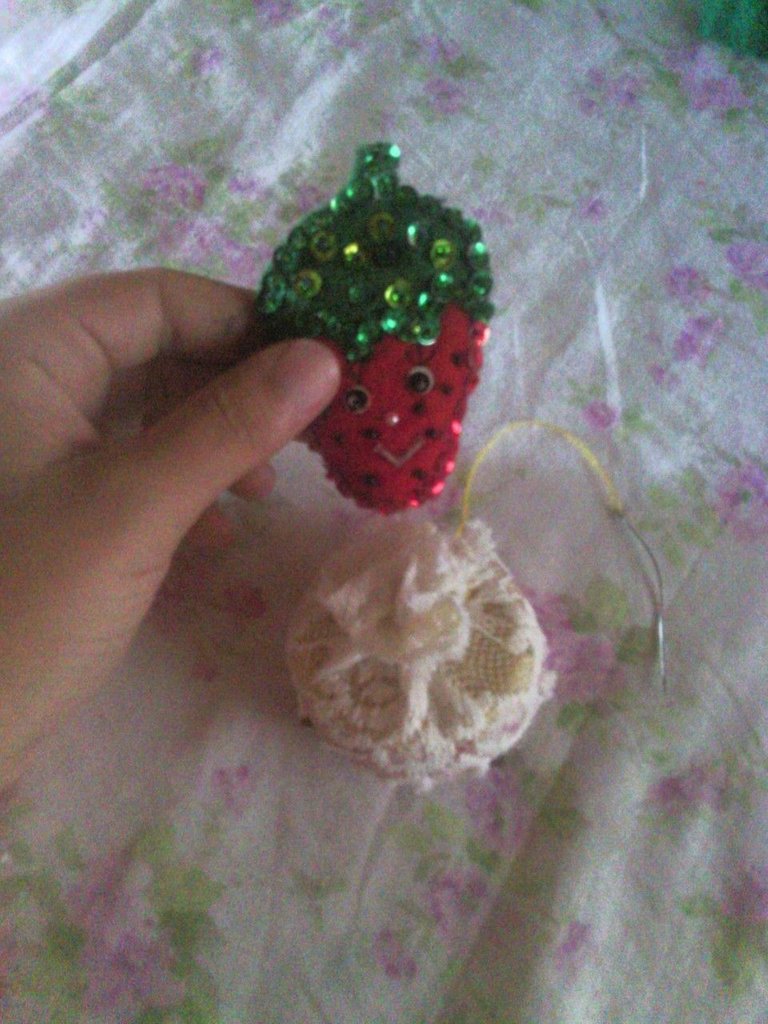
Les presento mi creación final de una fresa para decorar mi envase organizador permitiéndome no extraviar las pedrerías, botones, agujas en mi hogar.
I present to you my final creation of a strawberry to decorate my organizer container allowing me not to misplace the rhinestones, buttons, needles in my home.
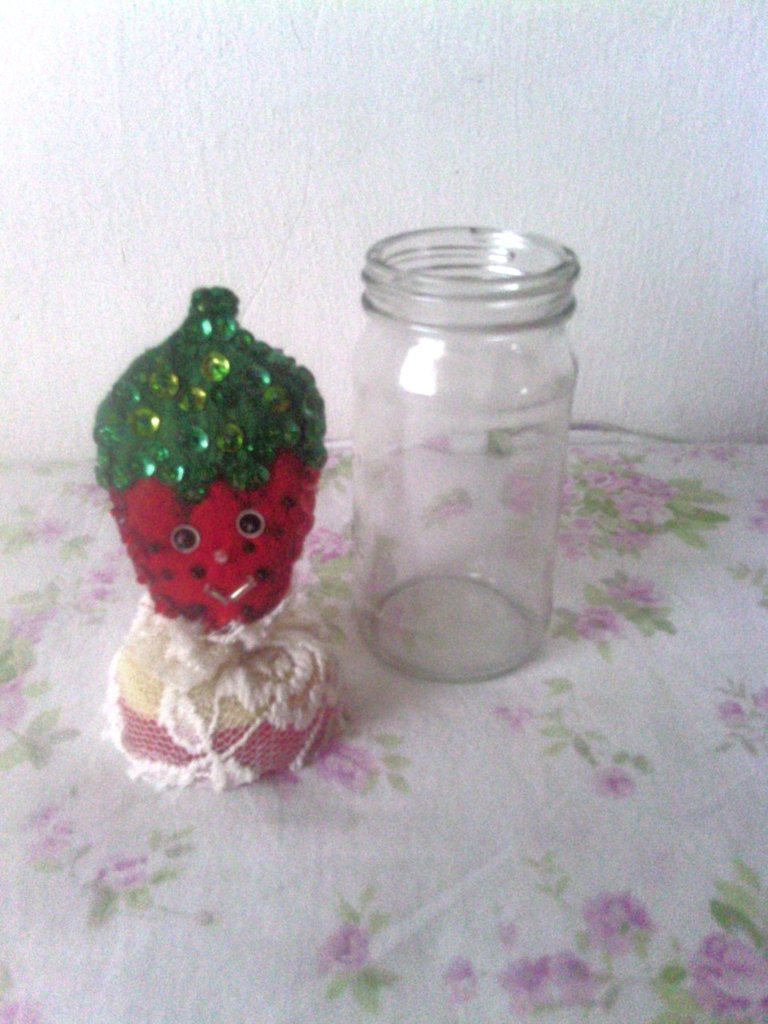
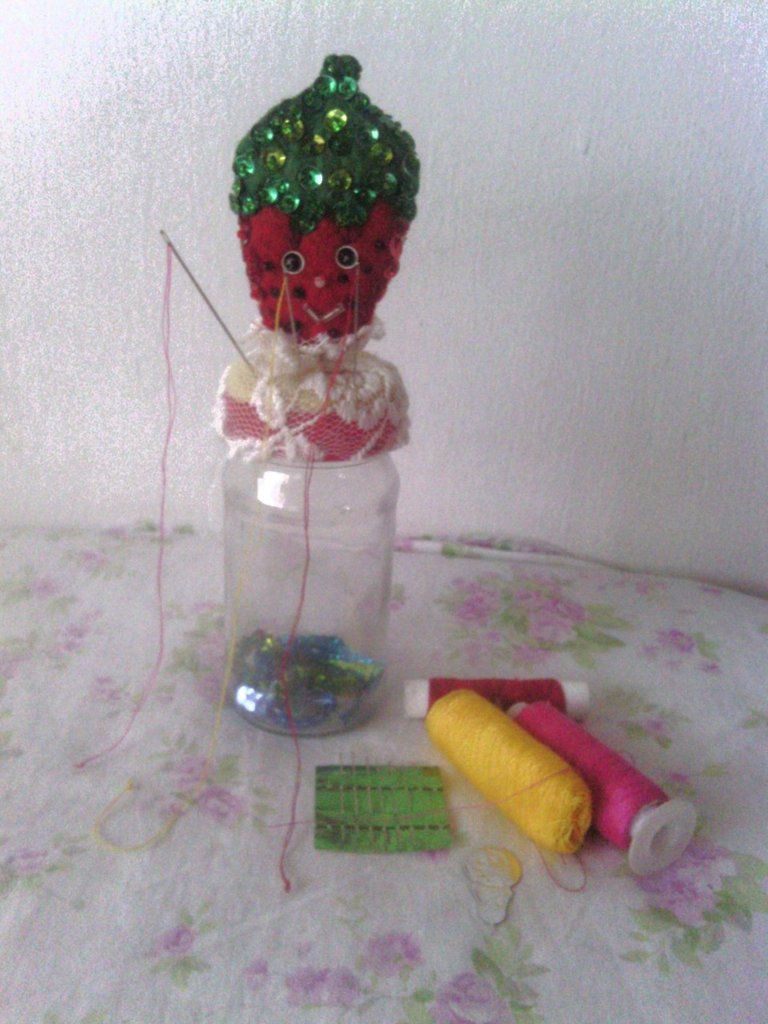
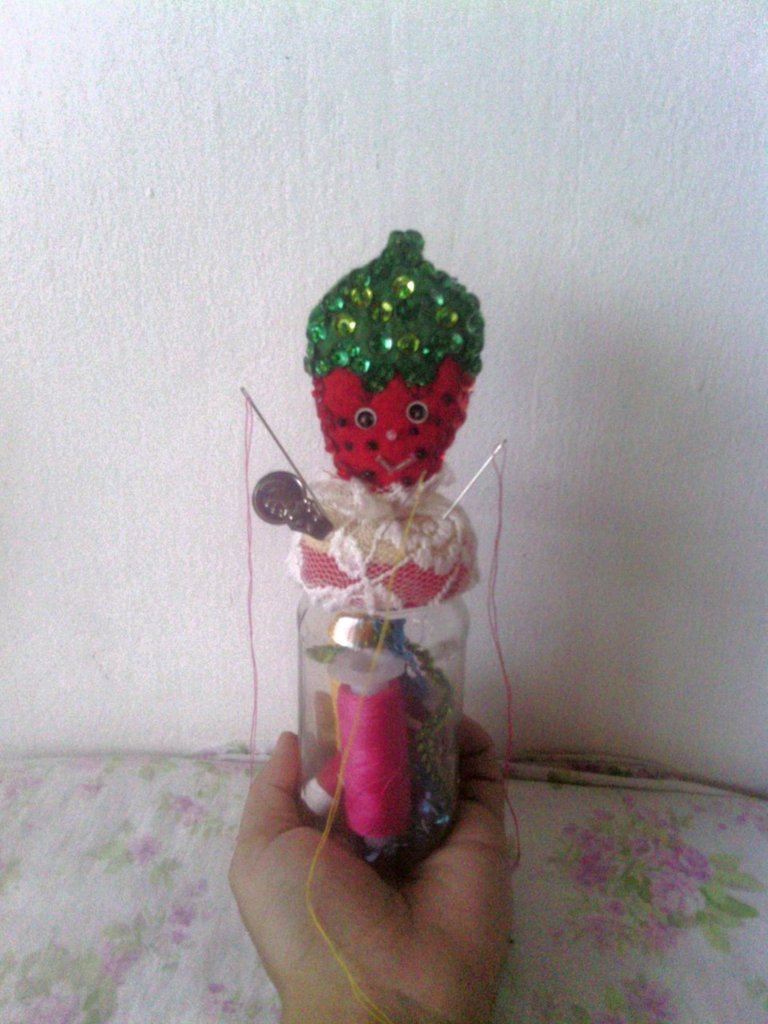
Las fotos son de mi autoria.
Traducido con Deepl traductor
The photos are of my authorship.
Translated with Deepl translator
¡Hola!. Está muy lindo. Estaría chévre para realizar distintos adornos de Navidad. ¡Buenas vibras!.
Hola si seria una excelente opción lo adornos de navidad.
Gracias por tu comentario.
Congratulations, your post has been upvoted by @dsc-r2cornell, which is the curating account for @R2cornell's Discord Community.
Hola @mariaser esa fresa me recordó mi época de estudiante y mi clase de manualidades, no me gustaba coser las lentejuelas 🙈. Tu proyecto es muy práctico y la fresita muy bonita.
Gracias por compartir tu contenido en esta comunidad.
Un trabajo muy bonito y muy bien logrado... éxitos!!! Saludos!!!
Gracias @letrasyaventuras por tu comentario me alegra que te haya gustado.
Saludos!
Hello @mariaser ! Your post was selected by our team on behalf of the OCD Community Incubation Program and has received an OCD upvote! Congratulations!!! Please keep sharing these quality posts 😊
The strawberry is cute and sparkly. Thank you for sharing with us the step-by-step tutorial :)
Written by @marblely for the NeedleWorkMonday Community.