Hola amigos amantes de la costura como están?💗🥰
Hello friends who love sewing, how are you? 💗🥰
El día de hoy les mostrare como hacer scrunchies o colitas fácil y sencillas.
Today I will show you how to make scrunchies or tails easy and simple.
.png)
The Materials to be used in this case would be:
1.Retazos de tela de los colores que quieras / / Fabric scraps of the colors you want.
2.Unas tijera. / / Some scissors.
3.Elástico del más finito./ /Elastic of the finest.
4.Alfiler de Gancho./ / hook pin.
- Cinta para medir./ / tape measure.
6.Máquina de Coser//Sewing machine.
.png)
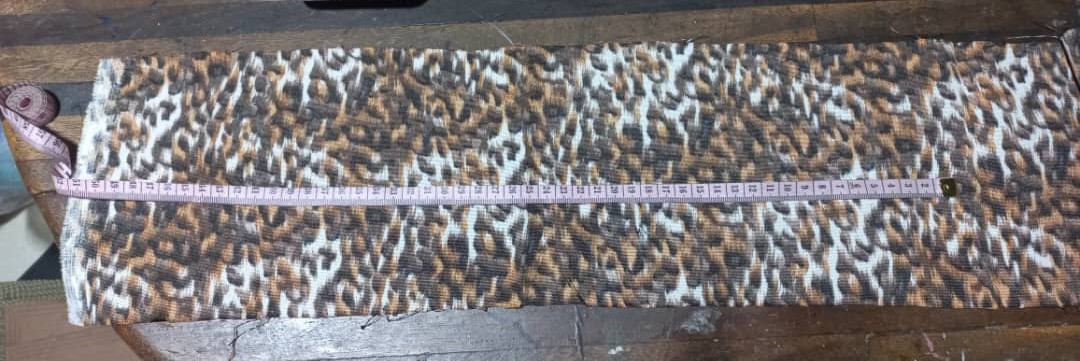
Para comenzar cortamos un rectángulo de 10 cm de largo por 45cm o 50 cm de ancho.
To begin we cut a rectangle 10 cm long by 45 cm or 50cm wide.
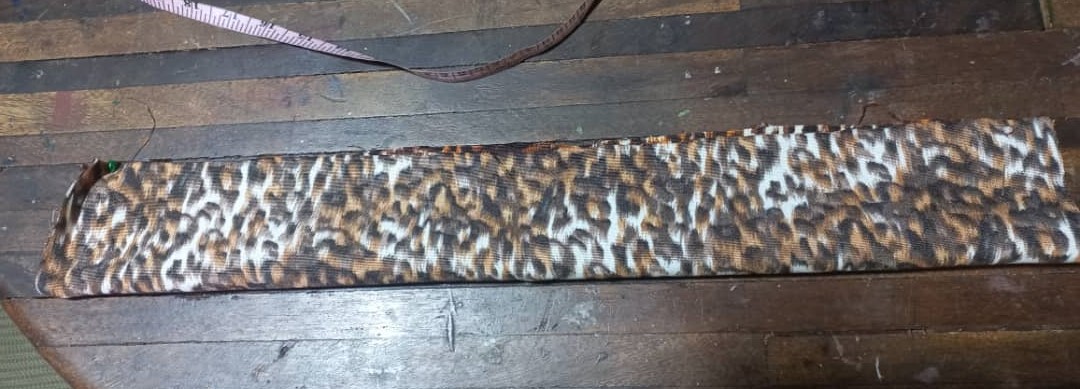
Enfrentamos los derechos de la tela de esta manera y la cosemos dejando 2 centímetros de cada lado.
We face the rights of the fabric in this way and sew it along the length leaving 2 centimeters on each side.
.jpeg)
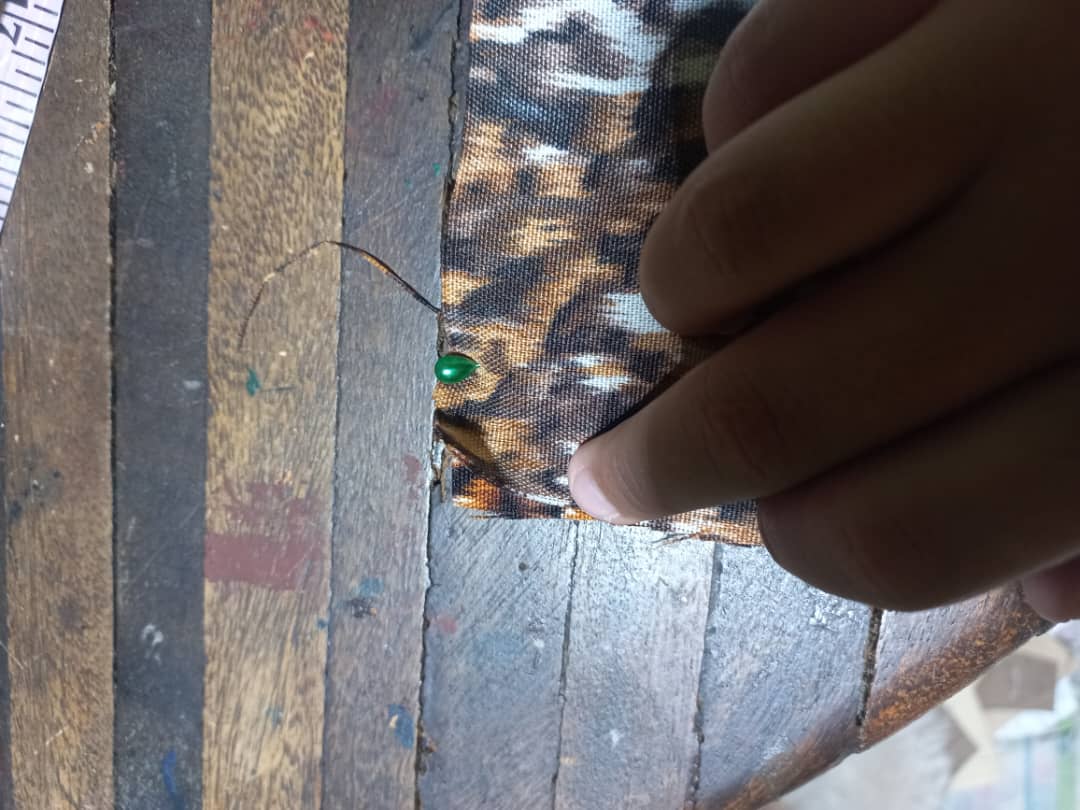
-Le coloque un alfiler para saber desde dónde iba a coser hasta donde.
-I put a pin in it to know from where I was going to sew to where.
.jpeg)
.jpeg)
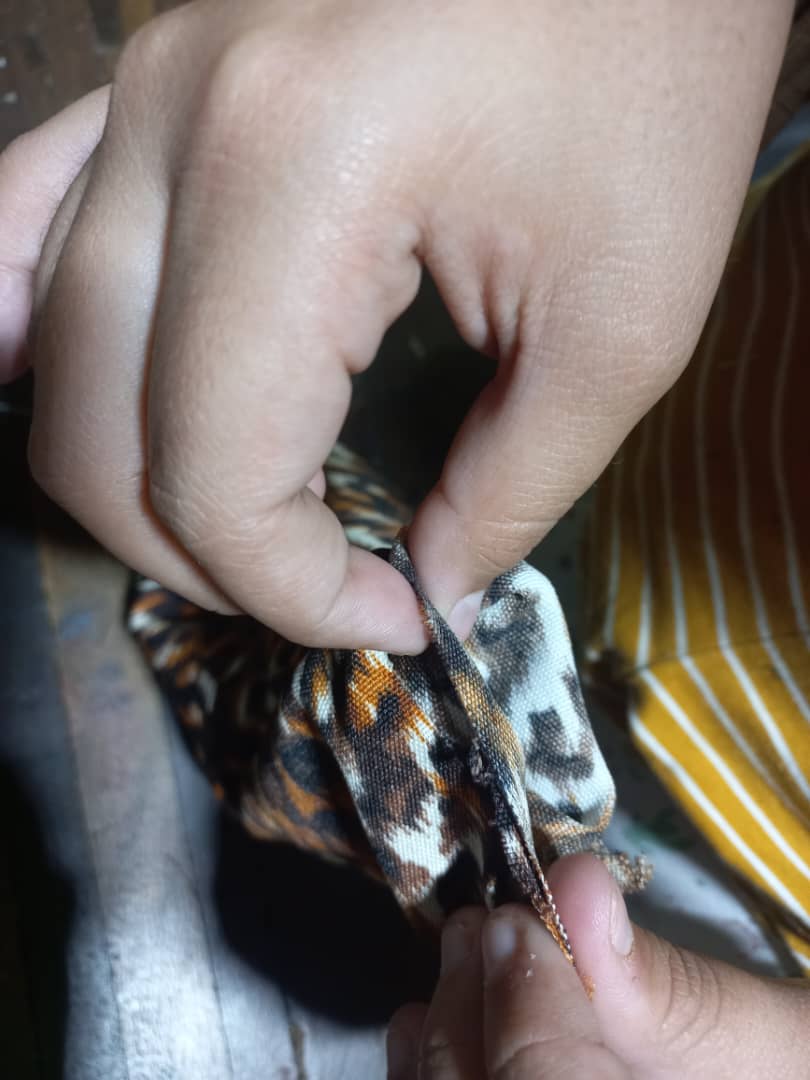
Luego con un alfiler de gancho le damos la vuelta al tubo hacia el lado derecho. También lo pueden hacer solo con la mano.
Then with a hook pin we turn the tube to the right side. They can also do it by hand.
.jpeg)
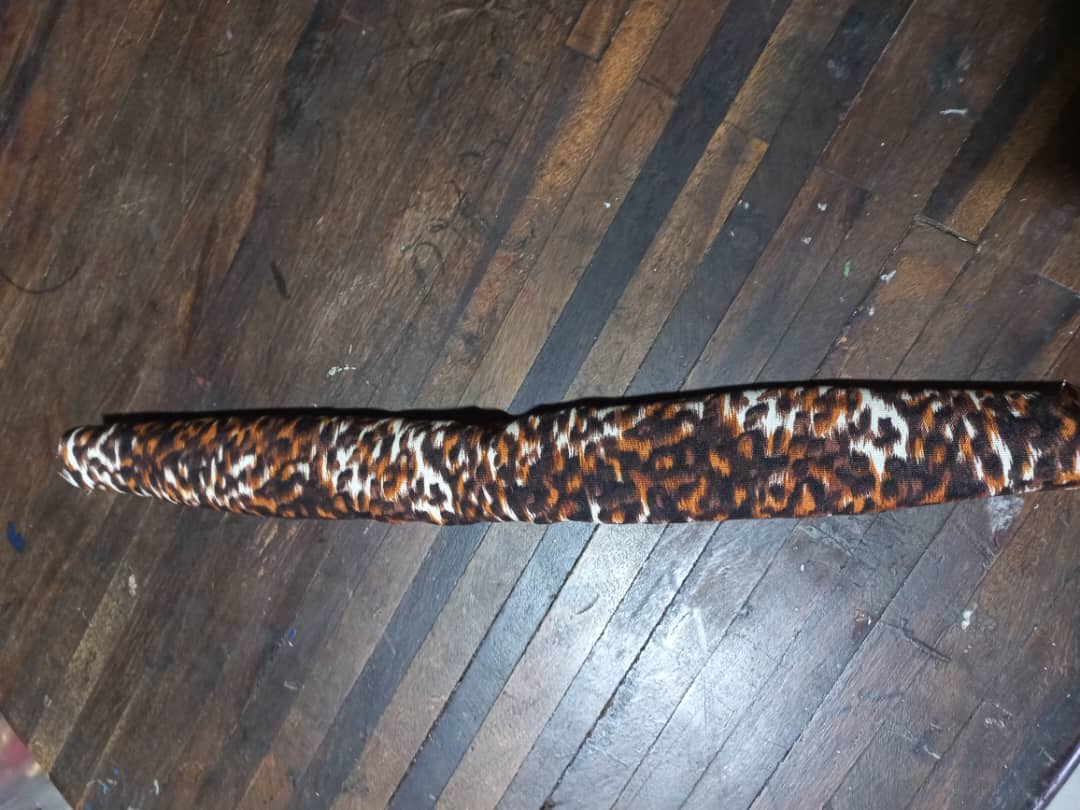
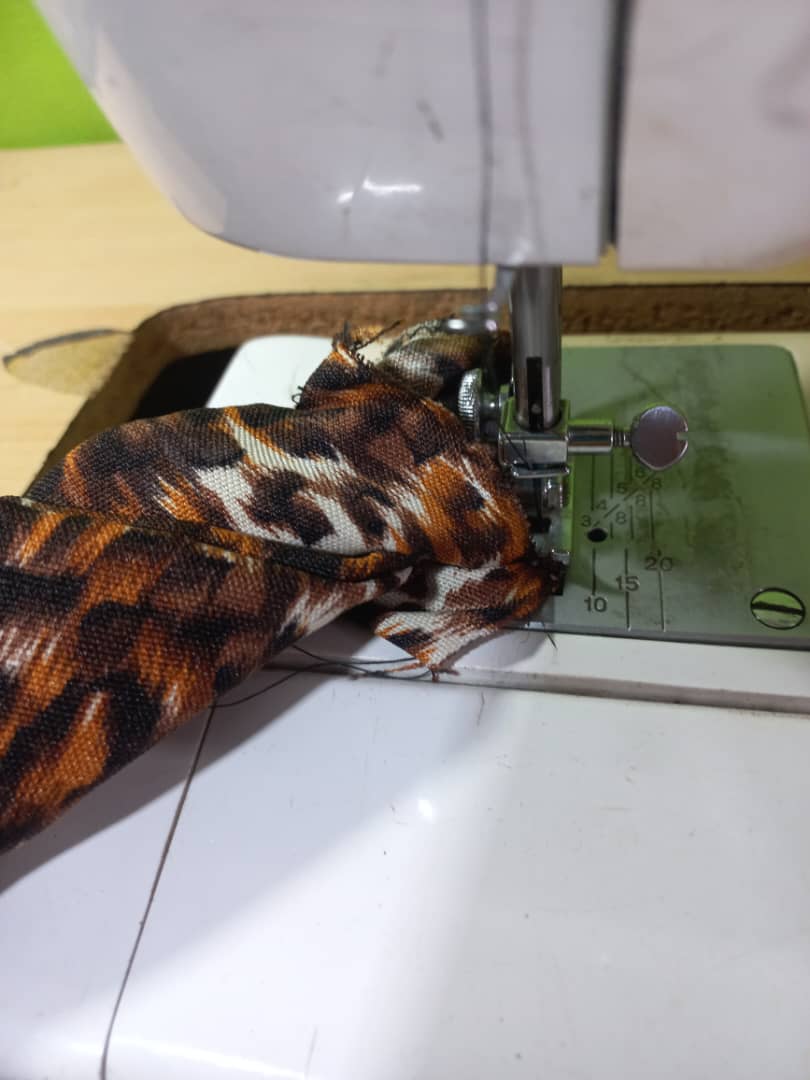
Una vez que lo tenemos hacemos coincidir el contorno de los extremos y cosemos:
Once we have it, we match the contour of the ends and sew:
.jpeg)
.jpeg)
Nos quedara algo así:
We will have something like this:
.jpeg)
.jpeg)
Por el orificio que quedó meteremos con ayuda del alfiler de gancho un elástico de 20cm.
Through the hole that was left we will insert a 20cm elastic with the help of the hook pin.
.jpeg)
.jpeg)
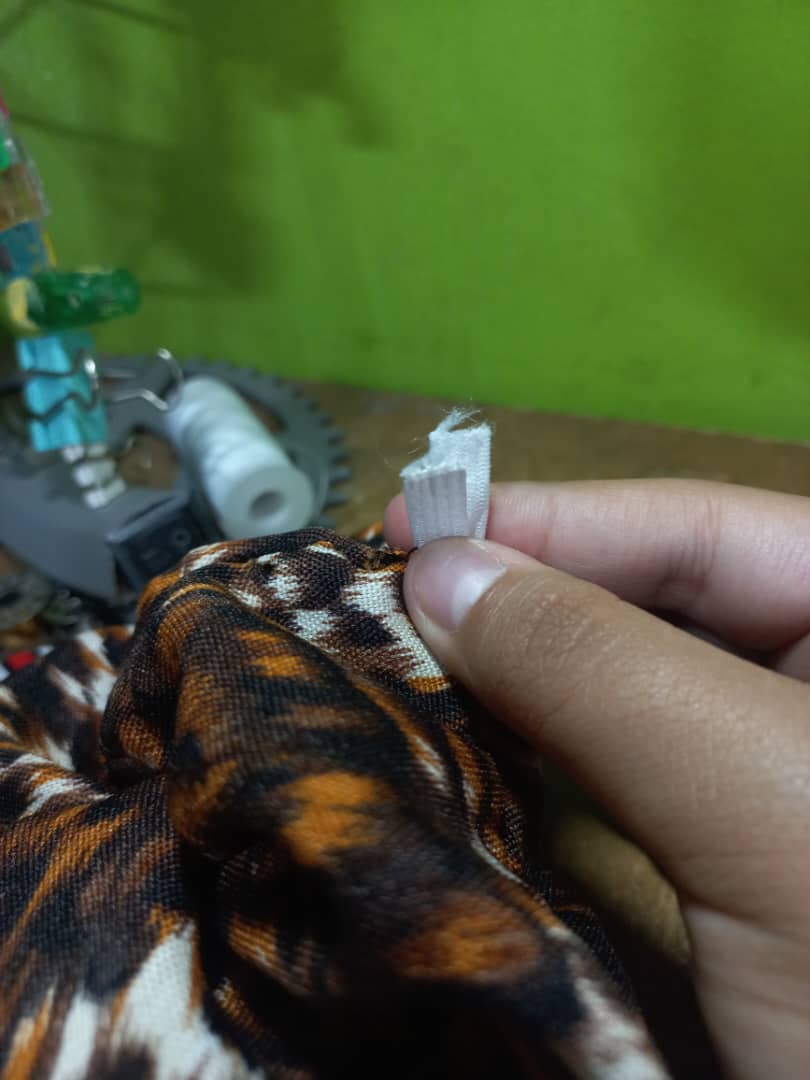
Cuando ya recorre toda nuestra cinta sacaremos los dos lados de la tira y coseremos.
When it goes through all our tape we will remove the two sides of the strip and we will sew.
.jpeg)
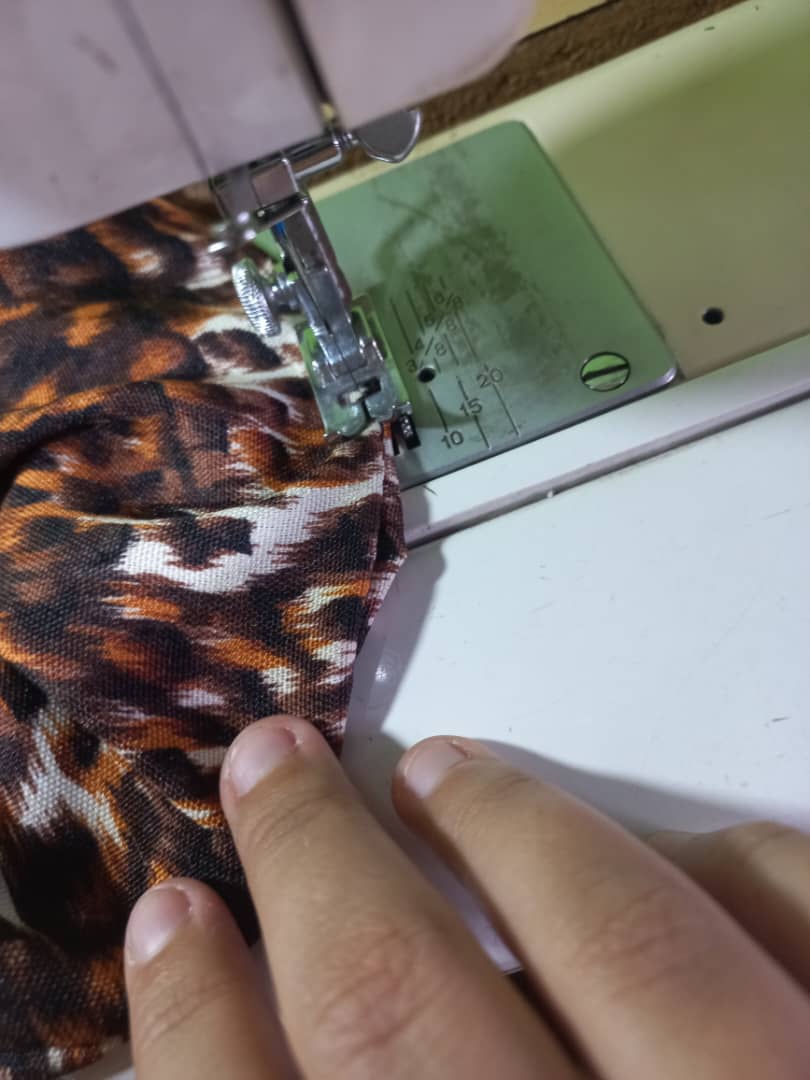
Para culminar doblamos hacia adentro y repisas para cerrar el huequito que nos quedó. Pero en este caso yo no repise solamente esa parte si no que lo hice por toda la orilla de mi colita para que se viera mejor y también le agregue un pedacito de tela en donde quedo el huequito como una etiqueta 💗.
To finish we fold inwards and shelves to close the hole that we have left. But in this case I didn't just repeat that part, but I did it all over the edge of my tail to make it look better and I also added a little piece of fabric where the little hole was left as a label💗.
.jpeg)
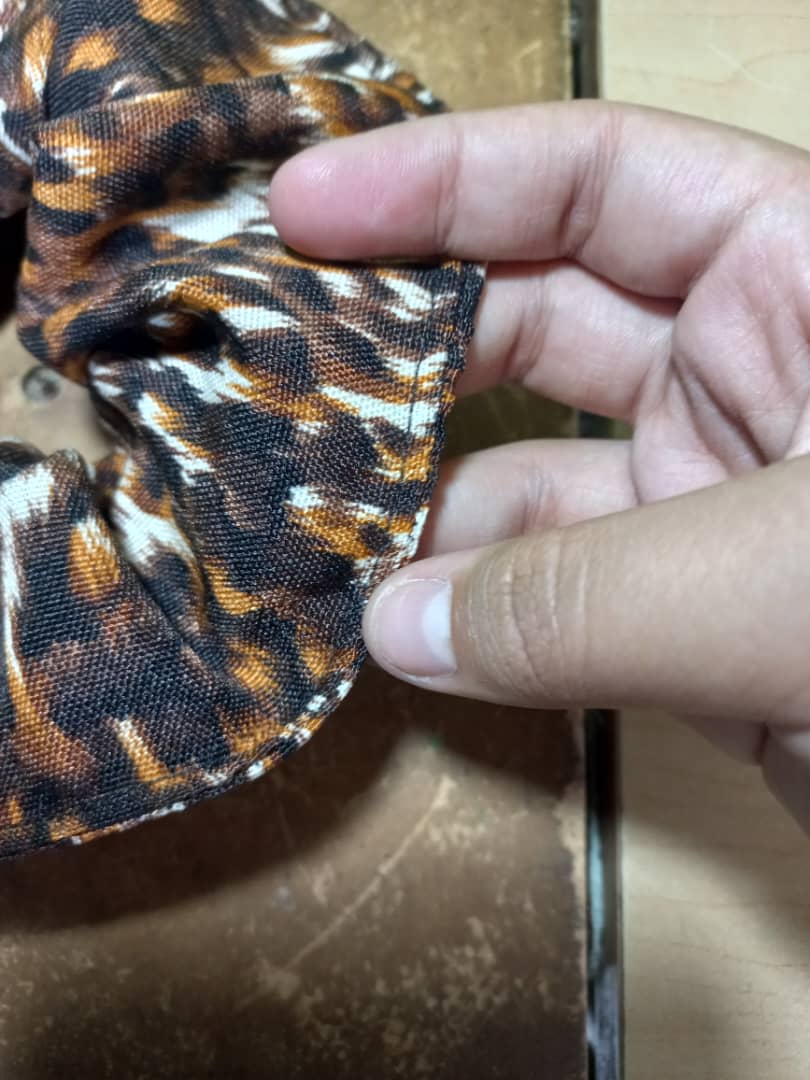
Hice tres en un momentico y creo que mañana haré algunas para regalar, además miren como me quedo a mi:
I made three in a moment and I think that tomorrow I will make some to give away, also look how it turned out for me:
.jpeg)
.jpeg)
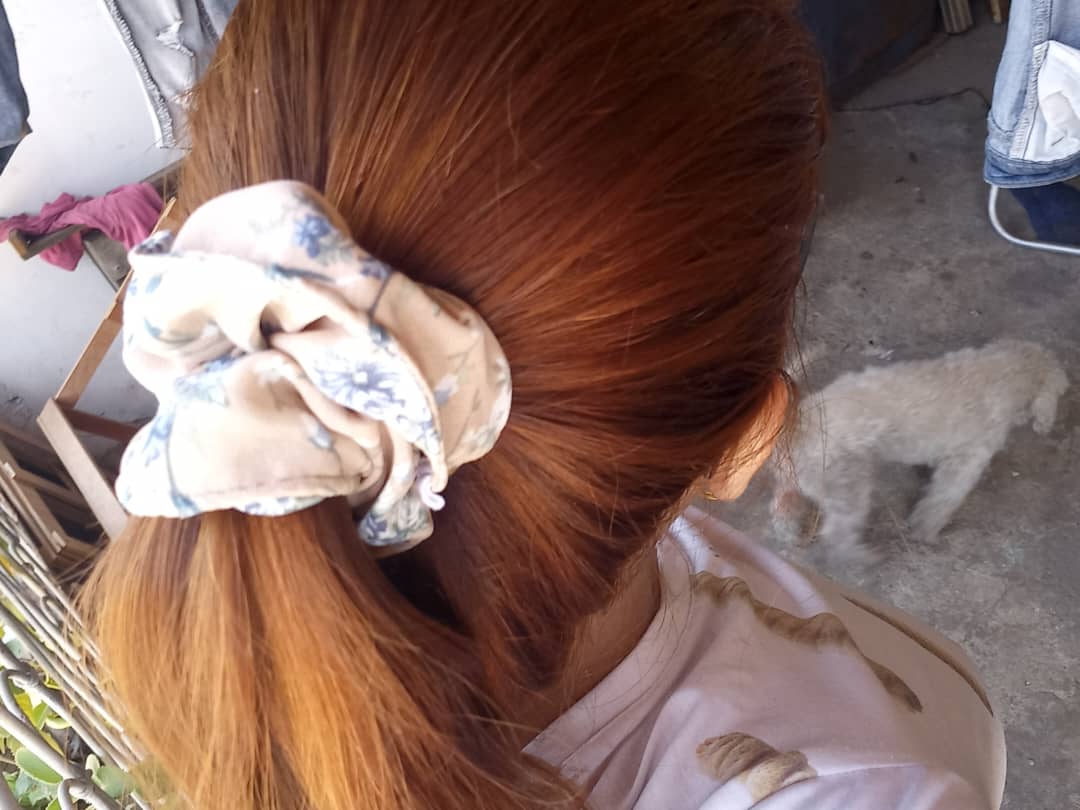
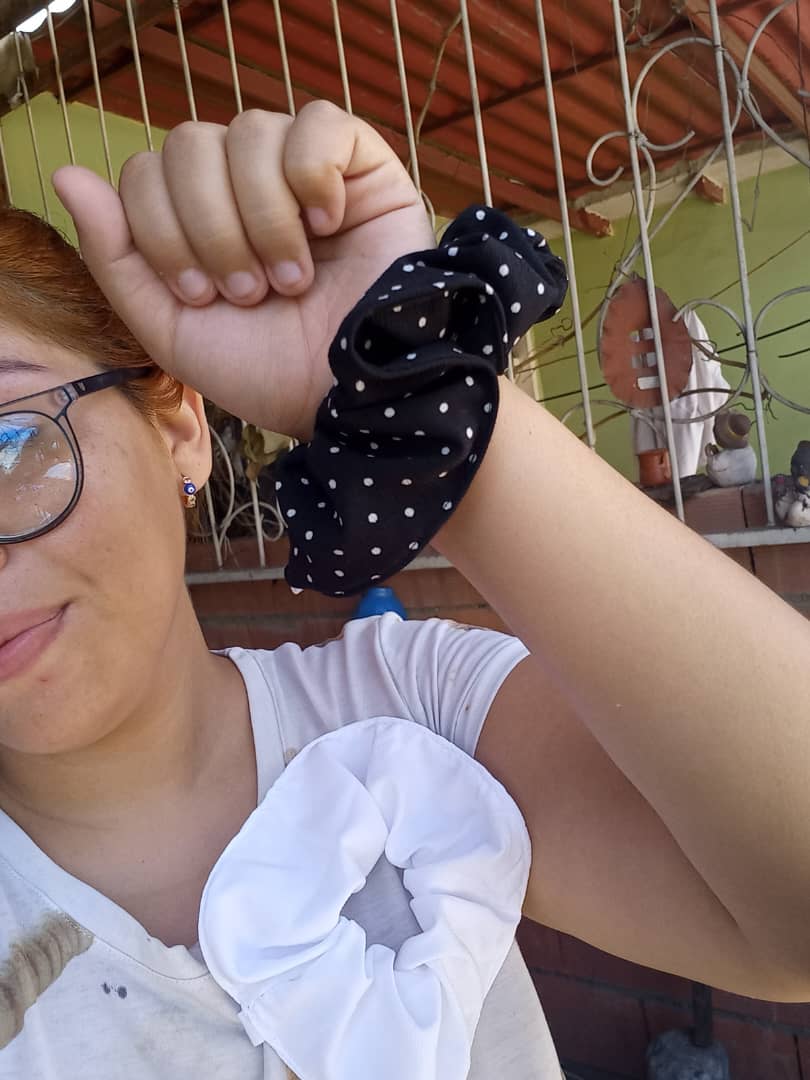
Llevo todo el día con ellas y funcionan genial, es una buena idea y he escuchado que son buenas por que no parten tanto el cabello.
I've been wearing them all day and they work great, it's a good idea and I've heard they're good because they don't break my hair as much.
Bueno amigos eso es todo por este post gracias por estar aquí les mando un abrazo gigante y espero tengan una linda semana💗
Well friends that's all for this post thanks for being here I send you a giant hug and I hope you have a nice week💗
.png)
Muy lindo trabajo, bien explicado tu tutorial, felicidades.
Congratulations @mariangelica1980! You have completed the following achievement on the Hive blockchain And have been rewarded with New badge(s)
Your next target is to reach 60 posts.
You can view your badges on your board and compare yourself to others in the Ranking
If you no longer want to receive notifications, reply to this comment with the word
STOPTo support your work, I also upvoted your post!
Check out our last posts:
Support the HiveBuzz project. Vote for our proposal!
Great tutorial, keep it up my friend
oh thanks friend
Esbun trabajo genial. Podrías intentar, para la próxima, colocar las fotos agrupadas en collage o con tablas. Si no sabes hacerlo me avisas y te dejo un post donde lo explico.
Saludos.
Hola Gabo un gusto, seria de gran ayuda para mi si haces ese post ya que no tengo conocimiento de como haces tablas, gracias de antemano.
quedo hermoso y el diseño de la tela ni hablar
Graciass me alegro que te guste :)