Hola como están amigos amantes de la costura como se encuentran?
Hello, how are you friends? Sewing lovers, how do you meet?
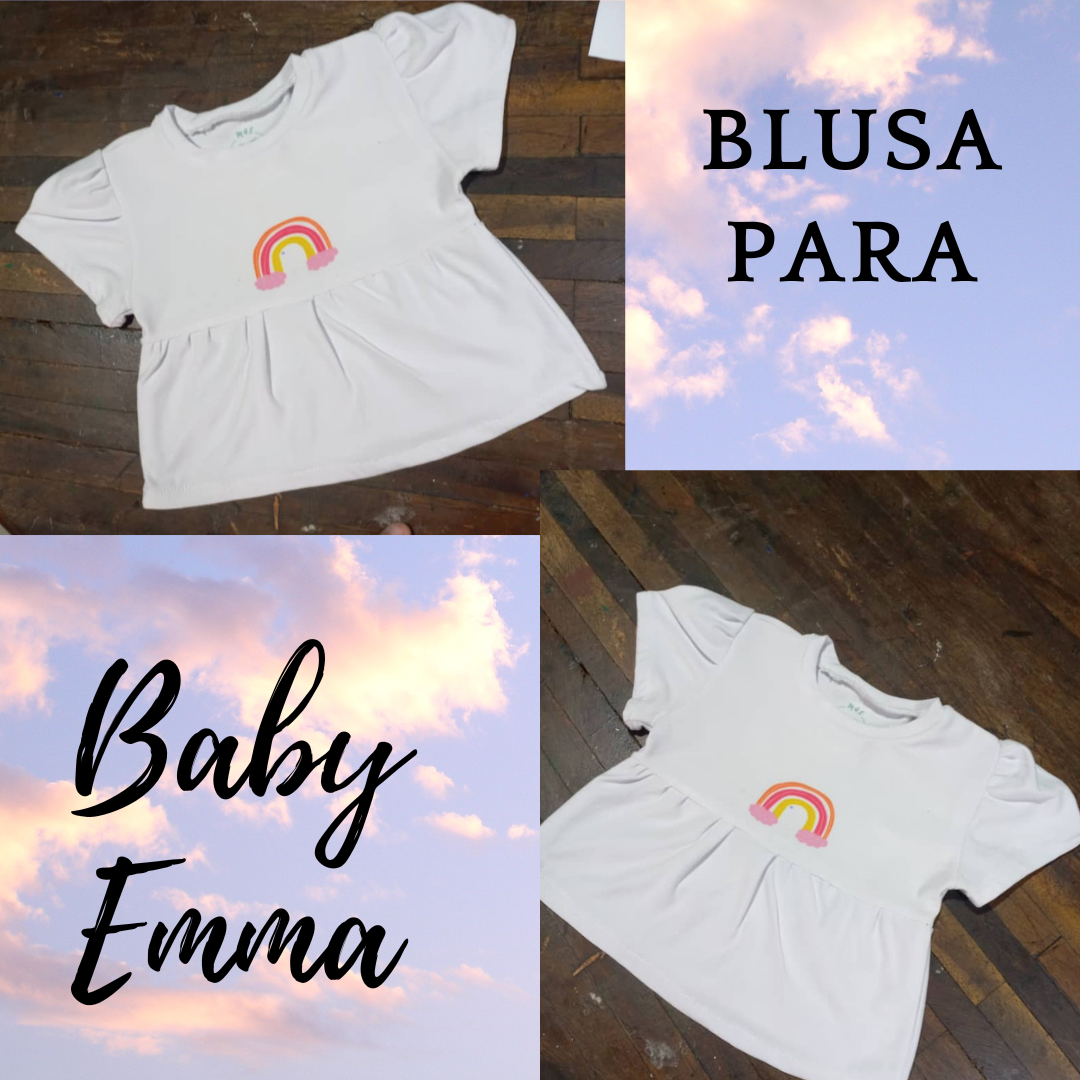
Hoy les mostrare esta blusita que le hice a mi sobrina Emma y mostrarle un poco de como lo hice, y decirles que a veces las cosas no salen como uno quiere pero ahorita les cuento que fue lo que me paso.
Today they will show this blouse that he does to my niece Emma and show him a little bit of how he does it, and say that a veces las cosas no salen como uno quiere pero ahorita les cuento que fue lo que me paso.
Para comenzar debemos de tener un body de bebe este que tengo yo es de 6 meses a 2 años.
To start, we must have a baby bodysuit that I have for 6 months to 2 years.
.jpeg)
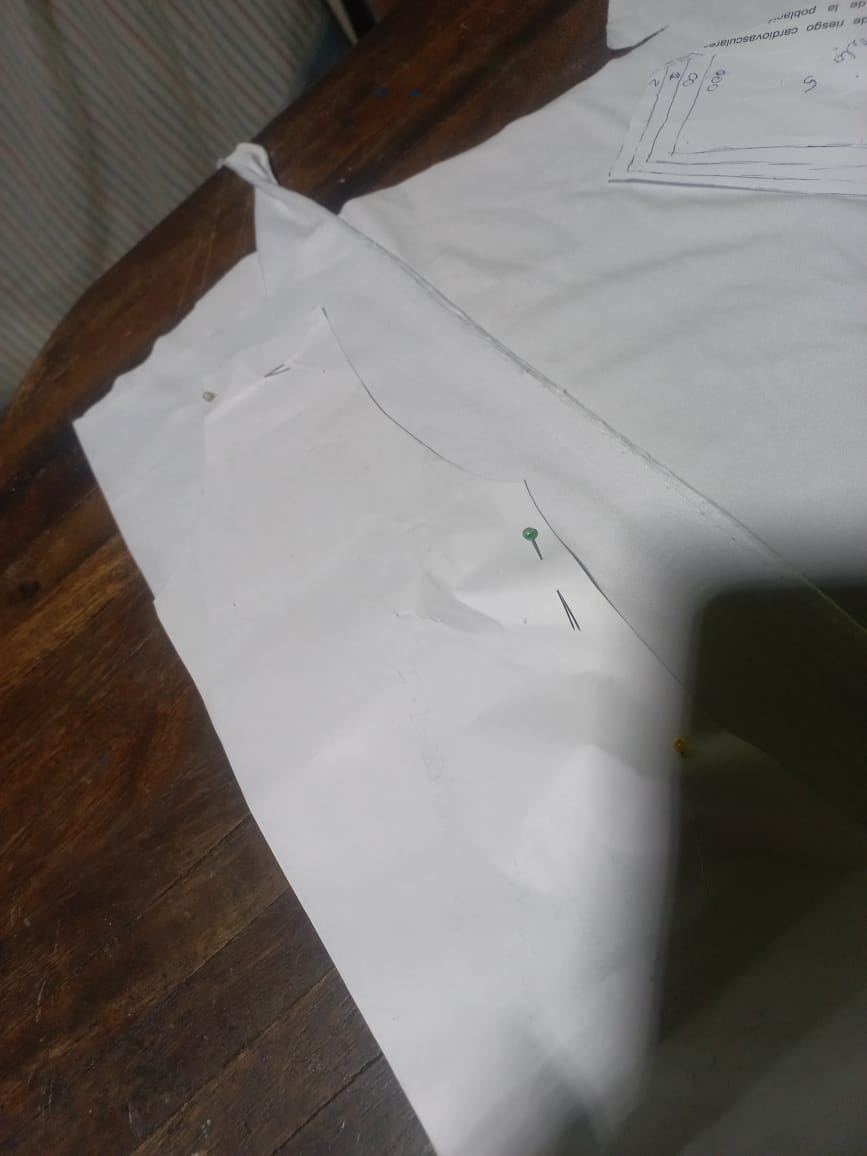
Yo utilice microdurzno 180 blanca en esta ocasión y lo que hice fue colocarlo en mi tela ya doblada, y voy a marcar hasta donde quiero mi camisa en este caso de la sisa hacia abajo baje 7 cm, y cortamos en ese punto.
I used a white microdurzno 180 on this occasion and what I did was put it on my canvas already doubled, and I went to mark until where I want my shirt in this case of sisa down to 7 cm, and we cut at that point.
.jpeg)
Hago lo mismo nuevamente pero la diferencia como siempre les comento es que el cuello solo bajamos un poquito en este caso 2cm.
I do the same again but the difference, as I always tell you, is that the neck only goes down a little bit, in this case, 2cm.
.jpeg)
.jpeg)
Para las mangas usaremos unas mangas bombachas o tipo princesa que hice anteriormente por acá se las dejo:
For the sleeves we will use some baggy or princess type sleeves that I made previously here I leave them:
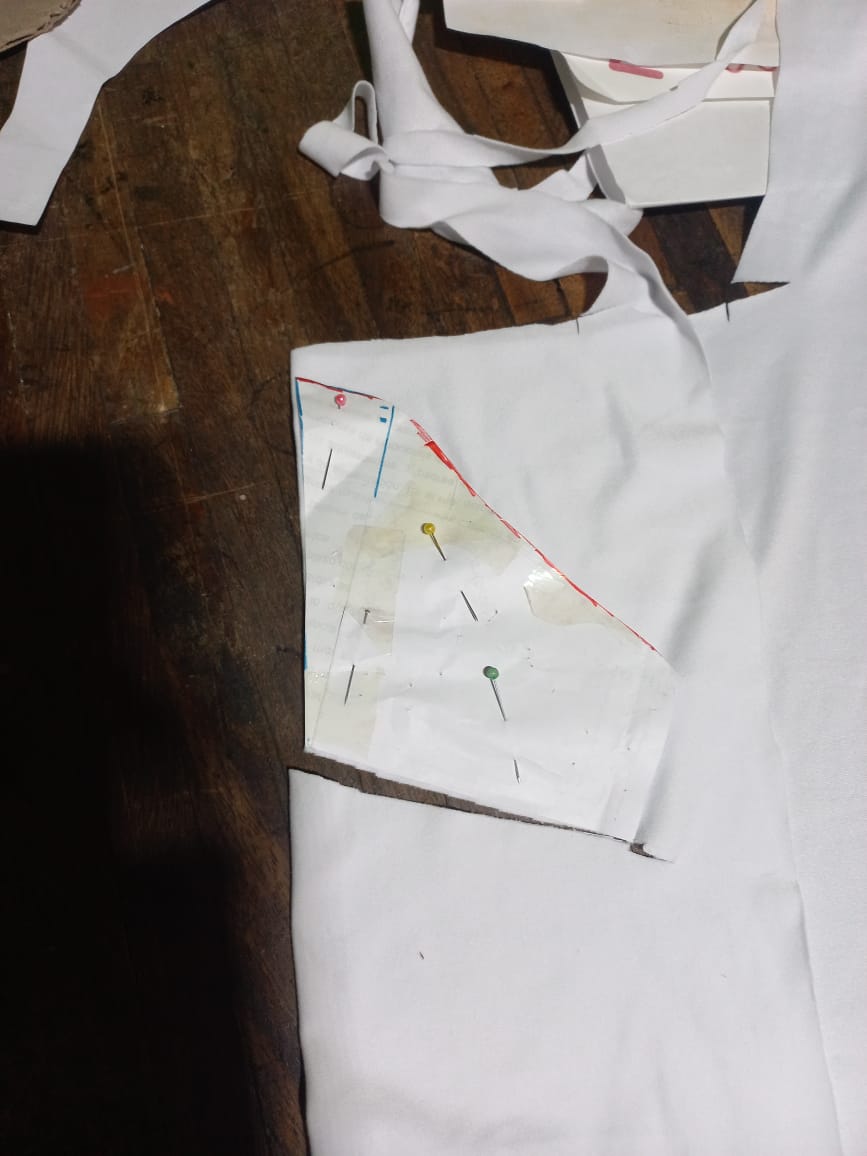
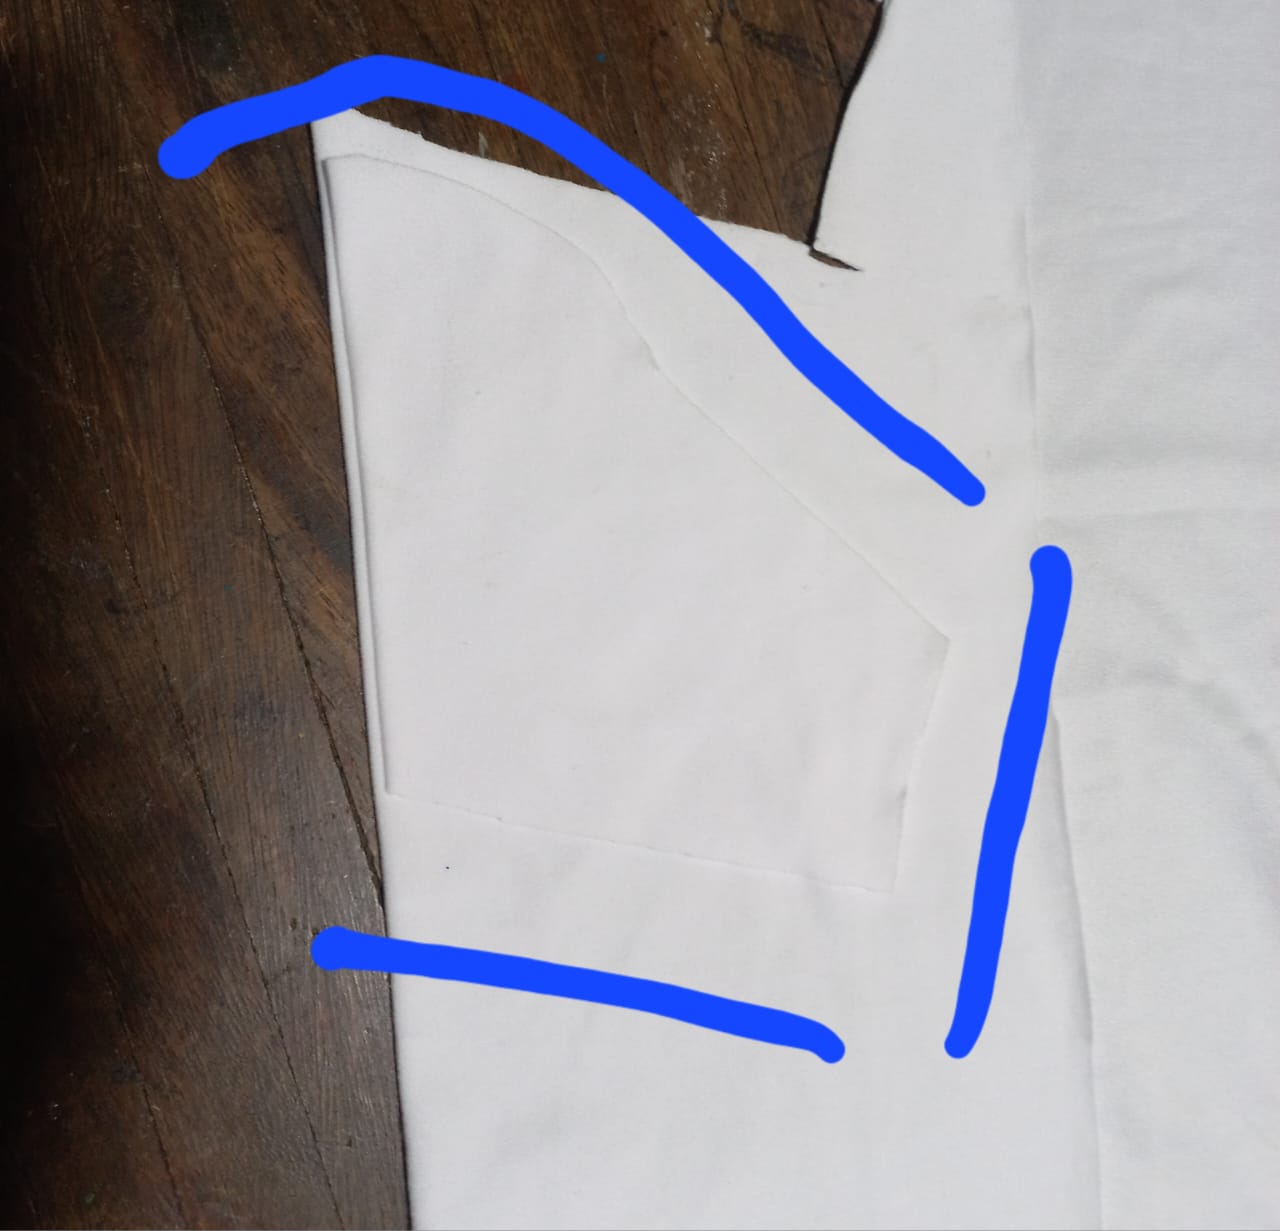
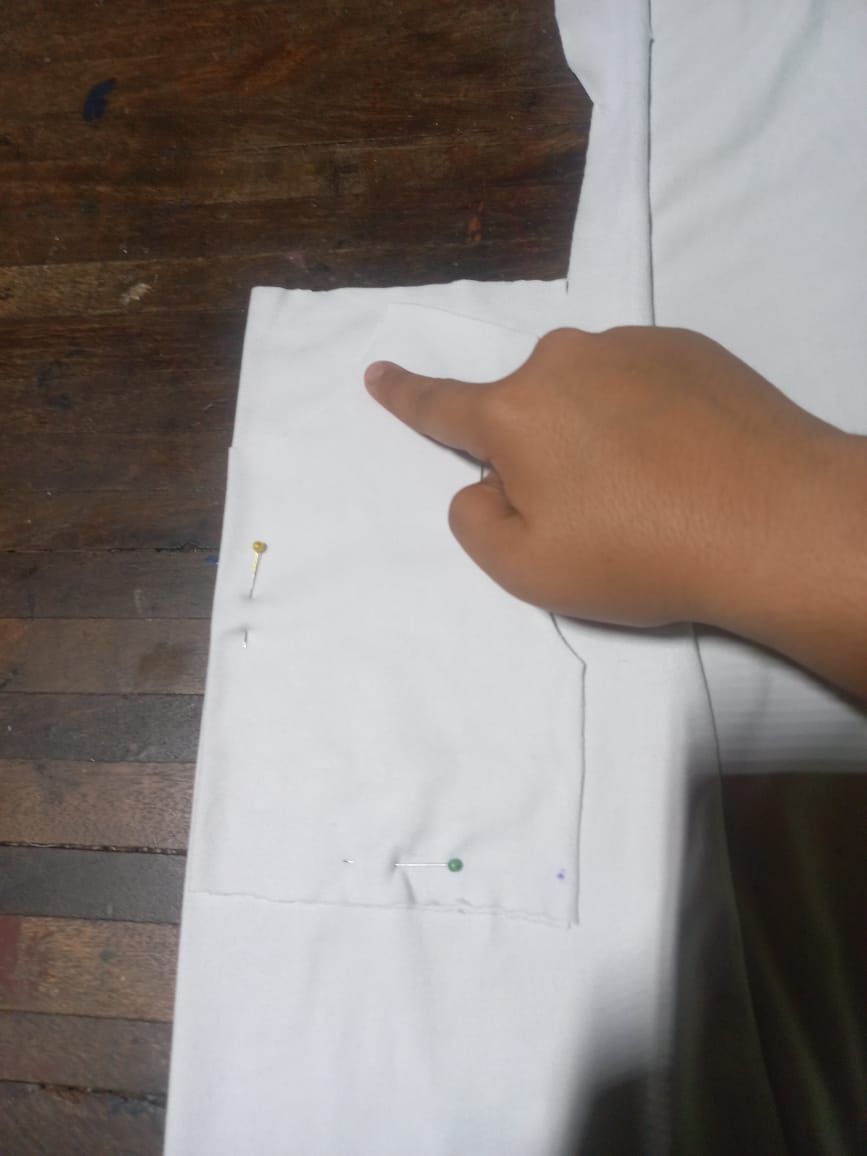
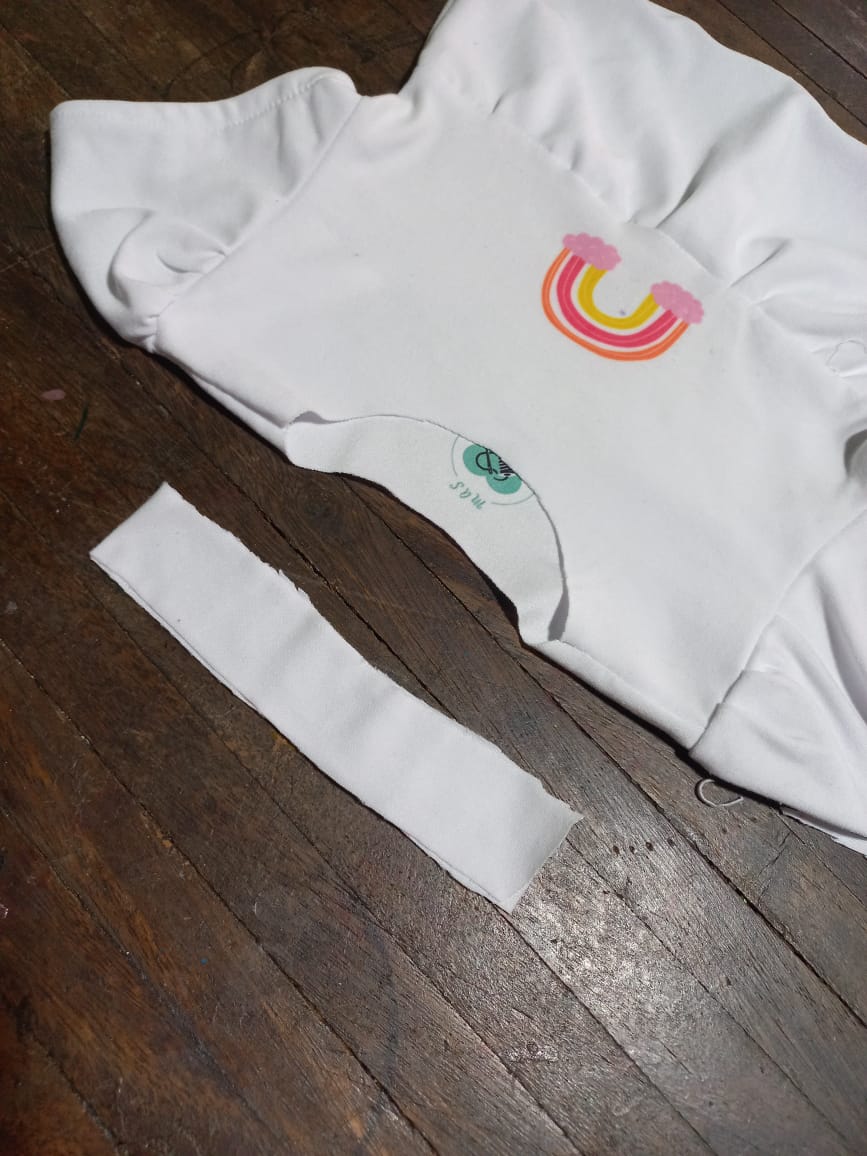
Luego como pueden ver esta blusa consta de dos partes es por eso que la parte de abajo vamos usarlo con el mismo patrón de body pero después de los 7cm, y desde ahí usaremos esa parte del patrón, pero le agregaremos 4 cm hacia afuera del patrón, prácticamente nos quedará un rectángulo.
Then, as you can see, this blouse consists of two parts, that is why we are going to use the bottom part with the same body pattern but after 7cm, and from there we will use that part of the pattern, but we will add 4 cm outside the pattern. , we will practically have a rectangle.
.jpeg)
Ya al obtener todo ya cortado empezamos a unir.
Once we get everything already cut, we begin to join.
Pasos a realizar-Steps to take:
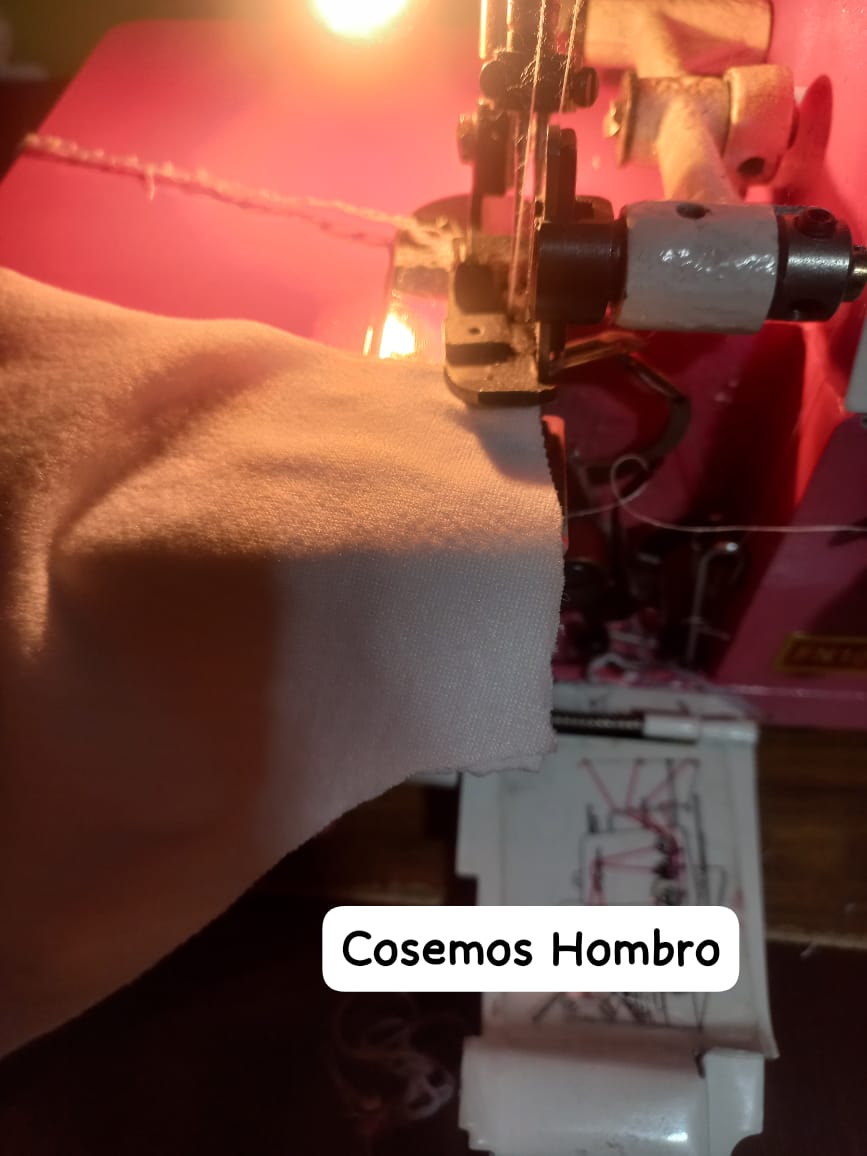
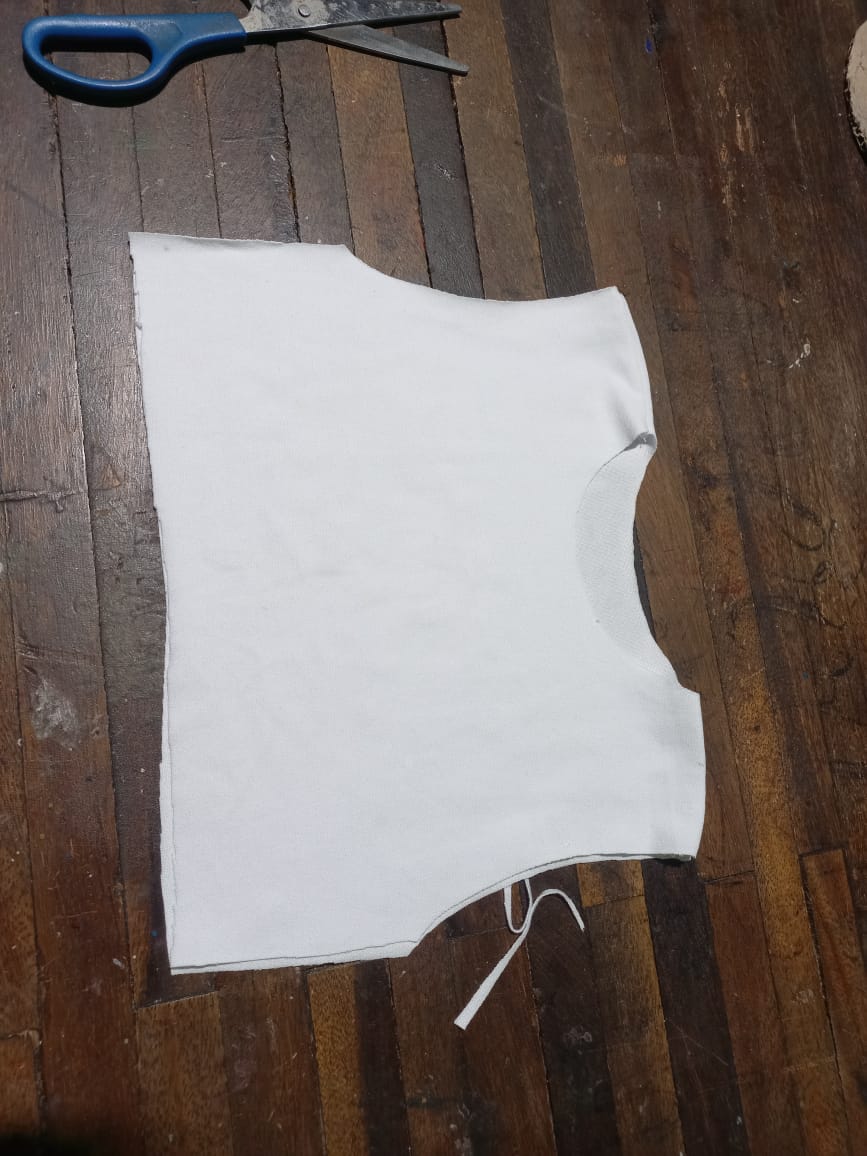
1-Primero cosemos la primera parte en los hombros y nos quedaria así:
1-First we sew the first part on the shoulders and it would look like this:
.jpeg)
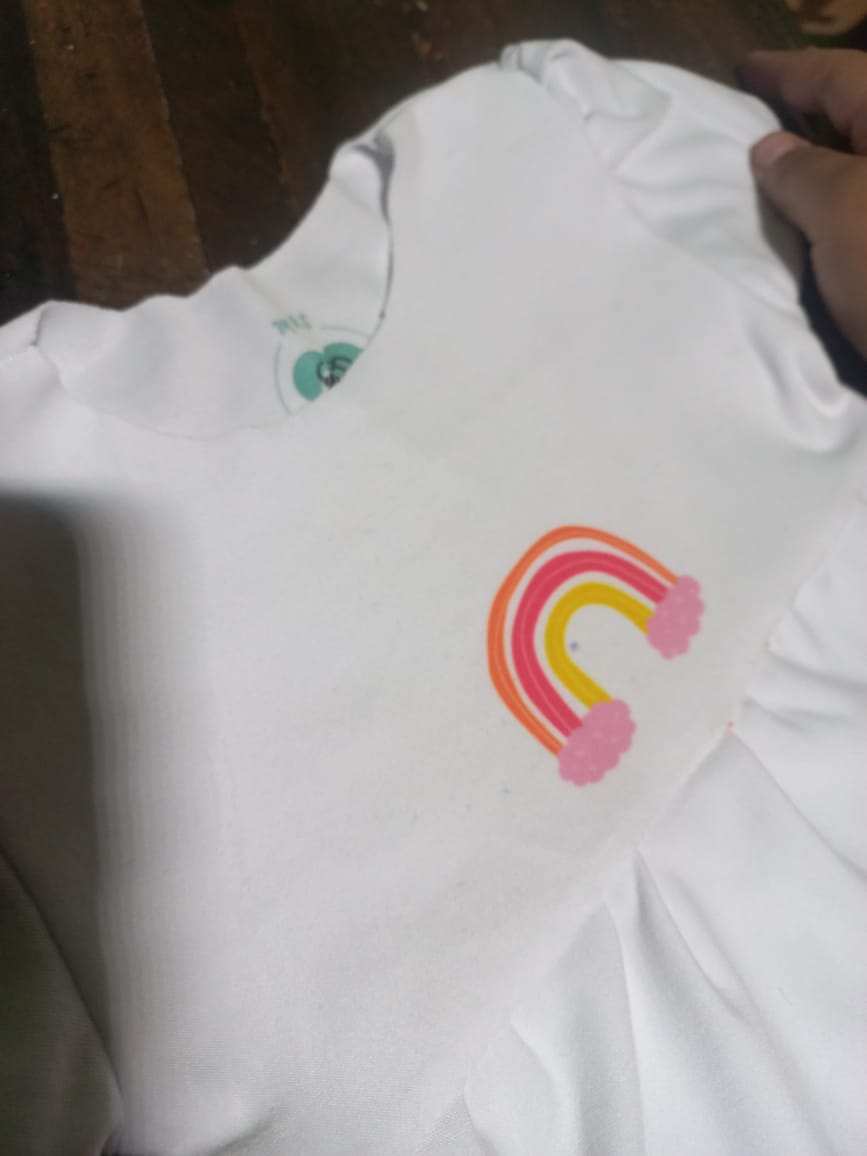
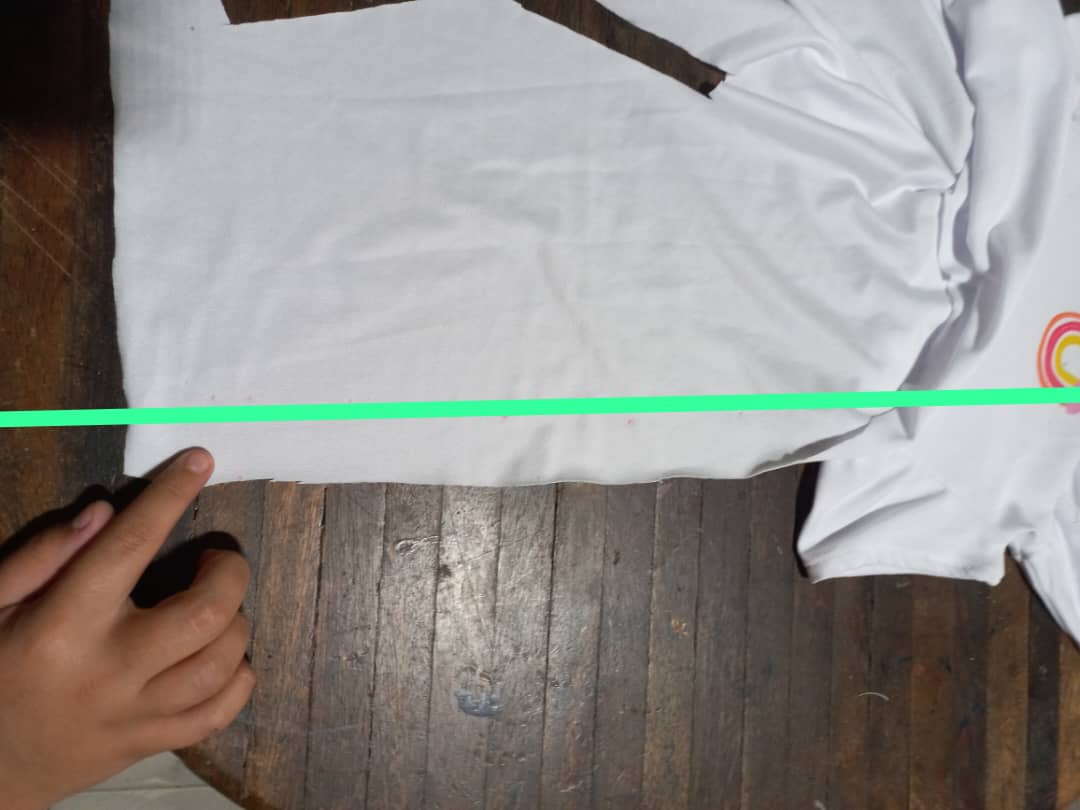
2.Luego yo quise colocarle algo que hiciera que mi blusa se viera más llamativa y esto lo hice con sublimación, aquí fue donde las cosas no salieron como yo quería por que cuando termine de sublimar el papel que le coloque encima tenía un tirro o como se conocen en otras partes cinta adhesiva y con el calor se pegó a la camisa y la estropeo, pero como fue debajo de lo que sublime lo que tuve que hacer fue cortar hasta esa altura y me quedo así:
2.Then I wanted to put something on it that would make my blouse look more striking and I did this with sublimation, this is where things did not go the way I wanted because when I finished sublimating the paper that I placed on top of it had a throw or something They are known elsewhere with adhesive tape and with the heat it stuck to the shirt and ruined it, but since it was under the sublime what I had to do was cut up to that height and I ended up like this:
.jpeg)
.jpeg)
.jpeg)
.jpeg)
.jpeg)
3-Unimos las mangas a la blusa, como es bombacha lo que hago es colocar un alfiler en cada esquina comienzo a coser y lo que va sobrando lo voy arruchando antes de llegar a mitad de manga hasta donde yo vea que no me quede sobrando.
3-We join the sleeves to the blouse, since it is panties, what I do is place a pin in each corner, I begin to sew and what is left over I wrinkle before reaching the middle of the sleeve until I see that I do not have left over.
.jpeg)
.jpeg)
-También recordemos cerrar por los lados
-Also remember to close on the sides.
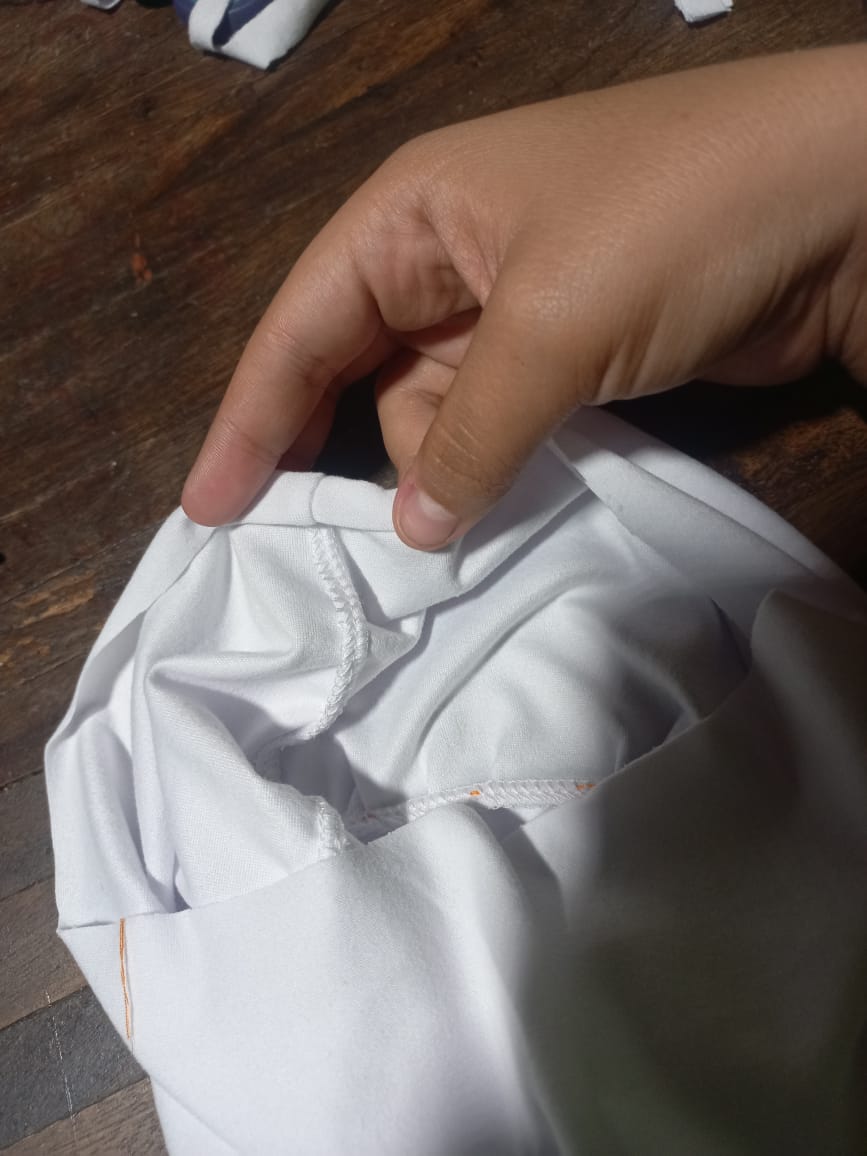
4.Tenemos que coser los dos lados mi rectángulo y para que nos quede ese efecto de arruchado lo que hago es con una aguja y una hilo de un color distinto a la prenda y vamos pasando por toda la orilla de arriba y arruchamos de manera que quede del mismo tamaño que la parte de arriba.
4.We have to sew the two sides of my rectangle and so that we have that wrinkled effect, what I do is with a needle and a thread of a different color from the garment and we go through the entire upper edge and wrinkle so that It is the same size as the top.
.jpeg)

.jpeg)
.jpeg)
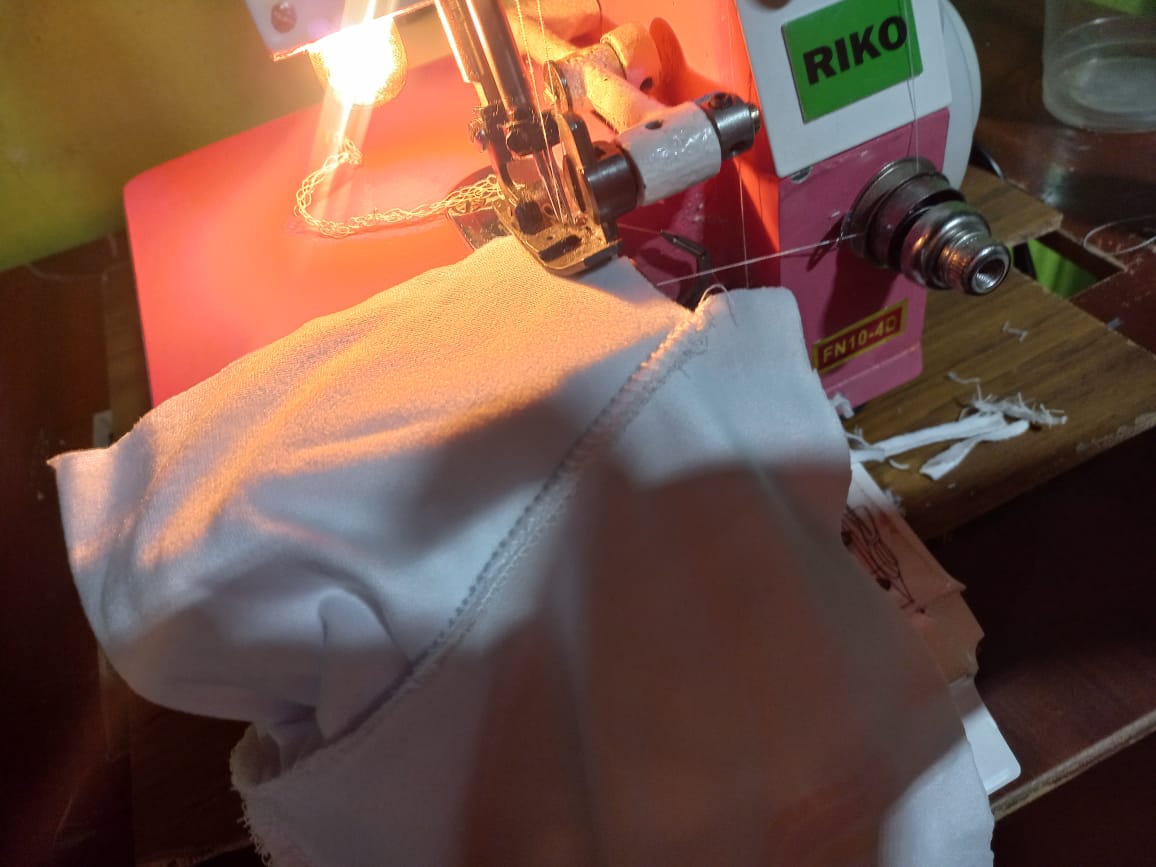
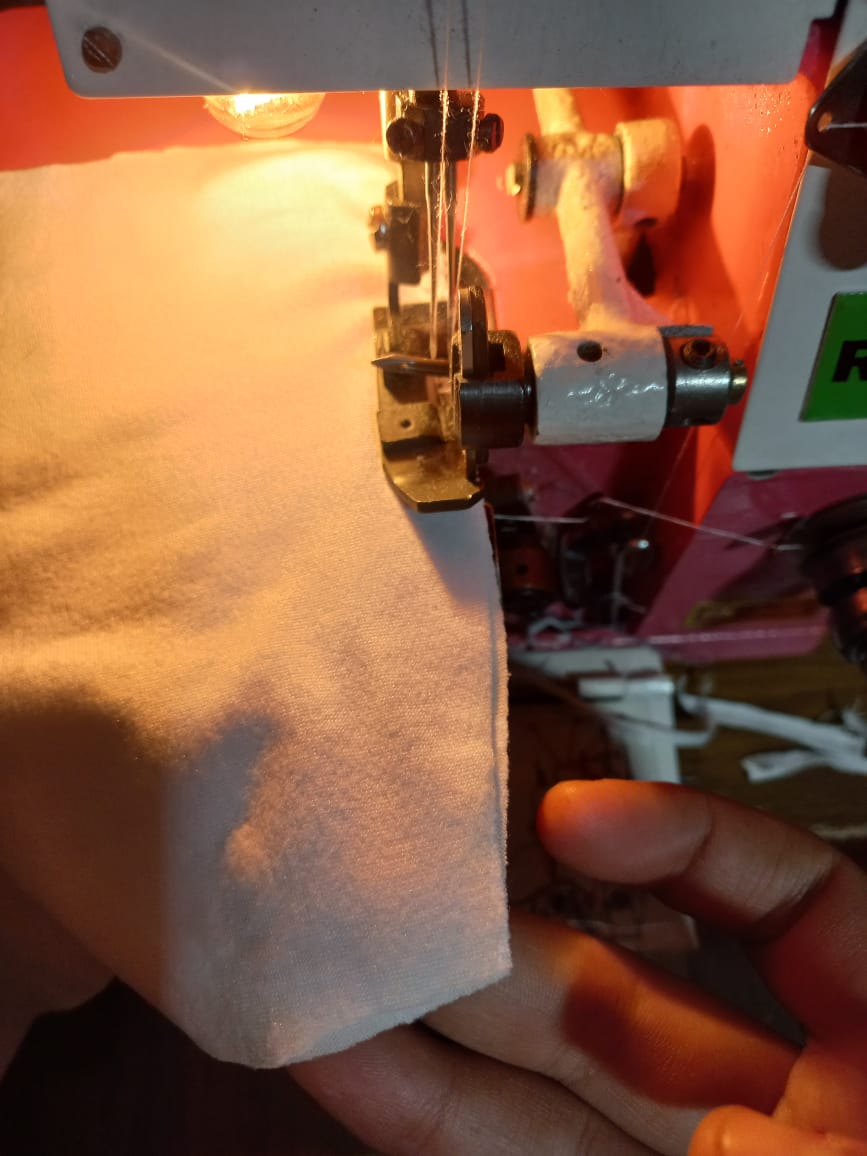
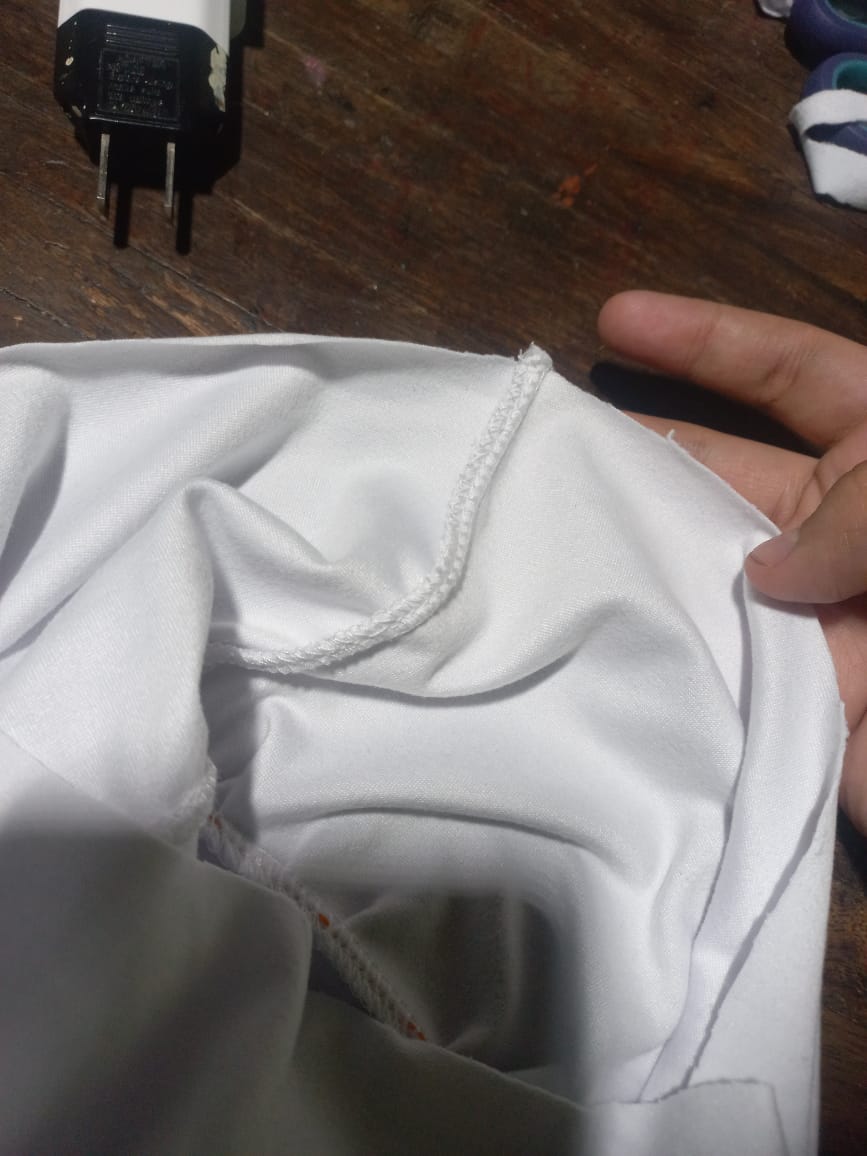
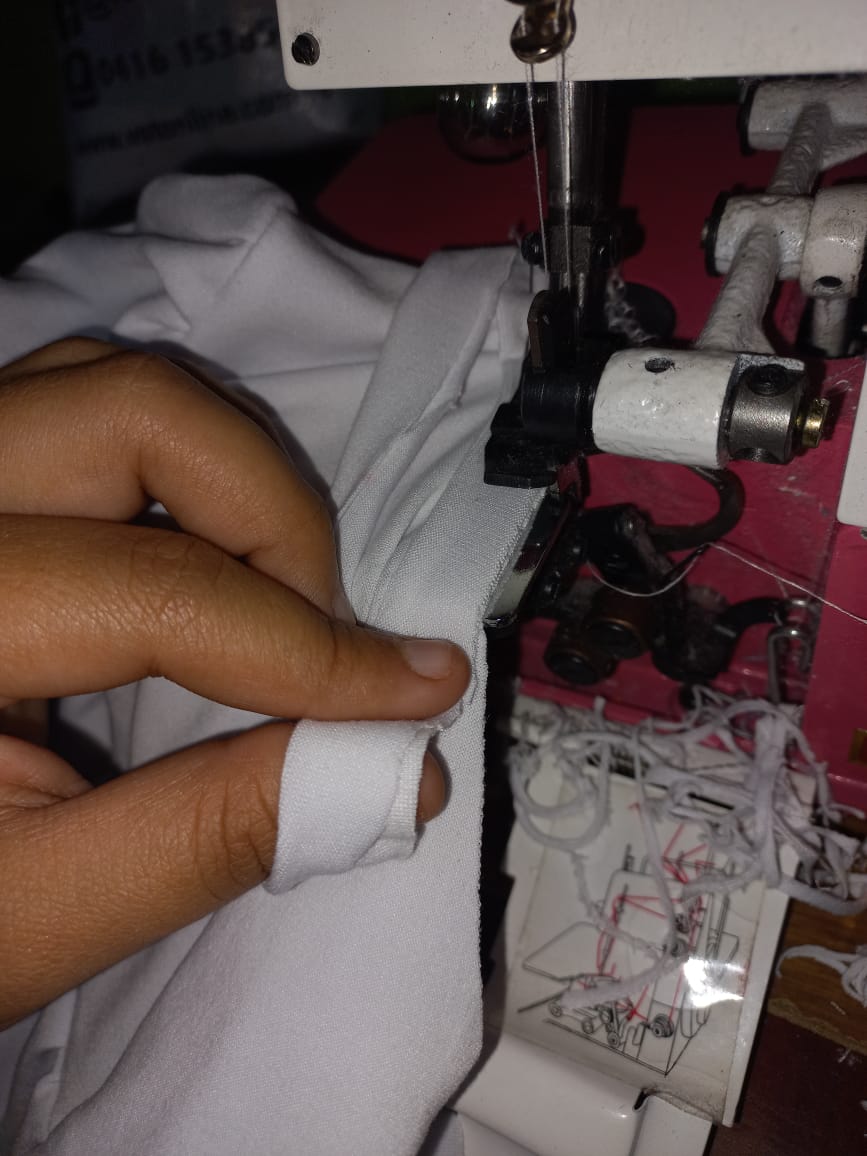
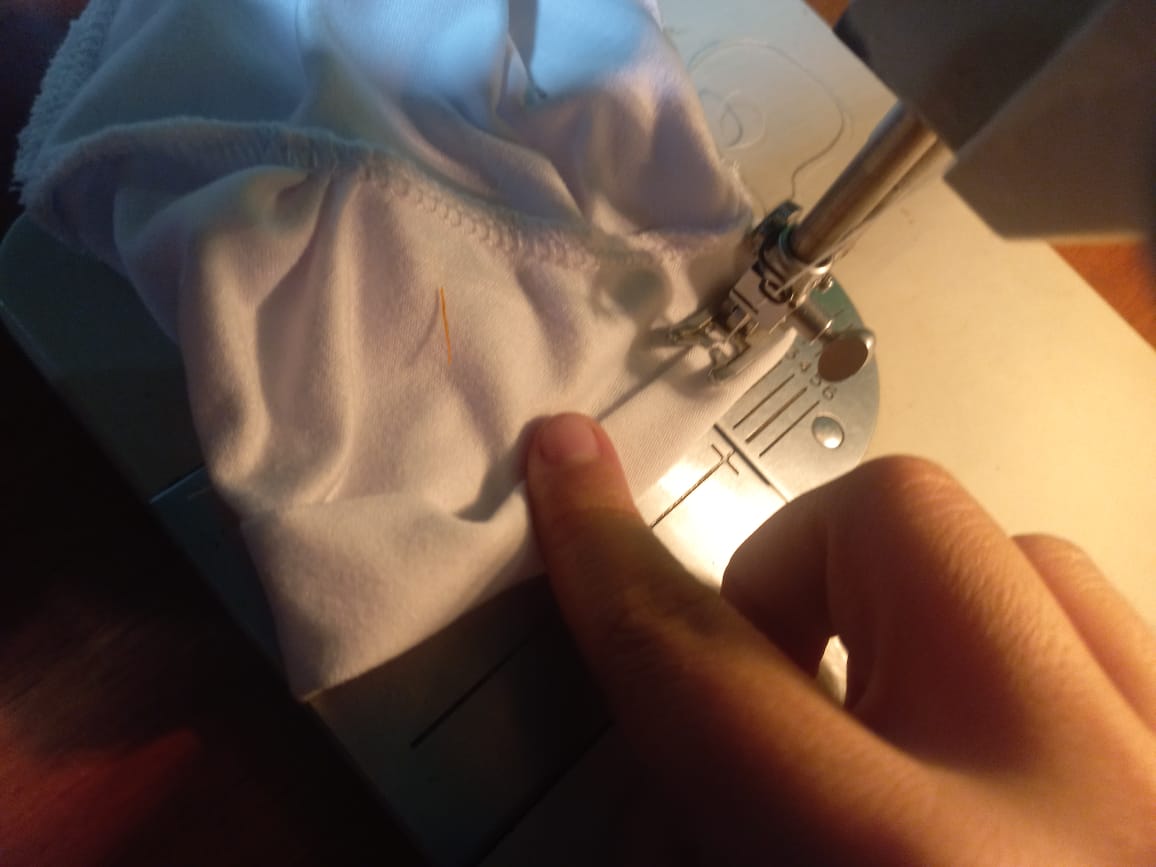
5.Luego unimos la parte de abajo con la parte de arriba con la máquina overlock por toda la orilla.
5.Then we join the bottom part with the top part with the overlock machine along the entire edge.
.jpeg)

.jpeg)
.jpeg)
-Le quitamos con cuidado el hilo que usamos para arruchar.
-We carefully remove the thread that we use to crumple.
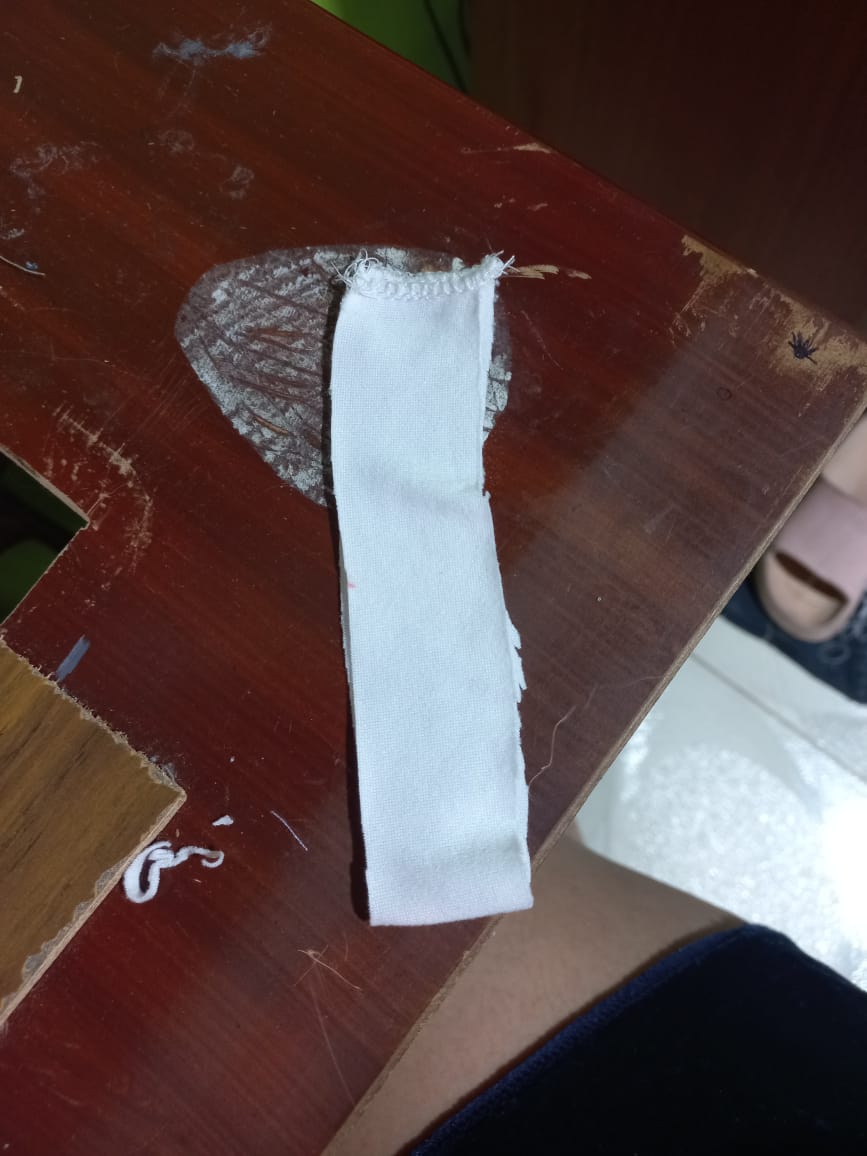
6.Para el cuello lo que hice fue cortar una tira de 2 cm de ancho y el largo que fuera del tamaño del cuello, esa tira la cosí , la doble y la uní al cuello de la blusa.
6. For the neck what I did was cut a strip 2 cm wide and the length that was the size of the neck, I sewed that strip, doubled it and attached it to the neck of the blouse.
.jpeg)
.jpeg)
.jpeg)
7.Para el ruedo como no me funciona la aguja doble, le hice una costura recta pero para hacerlo doble dos veces la tela hacia adentro así:
7. For the hem, since the double needle doesn't work for me, I made a straight seam but to do it, fold the fabric inward twice like this:
.jpeg)
.jpeg)
Este procedimiento lo hice en las mangas y en la parte de abajo de nuestra blusita.
I did this procedure on the sleeves and on the bottom of our blouse.
Un consejo es que en vez de sacar 4 cm hacia afuera en la parte de abajo de nuestra blusa le saquemos 5 cm para que se vea más bonita y tenga mas arruchados.
A piece of advice is that instead of taking 4 cm out at the bottom of our blouse, we take 5 cm out so that it looks prettier and has more wrinkles.
Y listo el resultado me encanto, siento que quedó demasiado bello, otra forma de hacerlo desde mi punto de vista es con que la parte de abajo se haga como una falda plato y se una a la parte de arriba de nuestra blusa.
And ready, I loved the result, I feel that it was too beautiful, another way to do it from my point of view is with the bottom part being made like a flat skirt and joining the top part of our blouse.


Bueno amigos eso es todo por hoy espero les gusten y se atrevan a realizar las cosas que les dan miedo esto era un reto para mi por que no quería tener errores y aunque los tuve supe solucionarlos y me quedo muy bien. Un beso y un abrazo para todos💜.
Well friends, that's all for today, I hope you like them and dare to do the things that scare you. This was a challenge for me because I didn't want to have mistakes and even though I did, I knew how to solve them and it turned out very well. A kiss and a hug for all💜.
.png)
This is so cute, well done dear.
Aawww que lindo 😻 Se ve súper tierno amiga y ese sublimado que le pusiste de arcoiris le quedó hermoso. Seguro que a tu se le verá muy bonito 💟
Gracias amiga me alegra que te guste, jejeje con sublimación se puede hacer de todo y eso me hace muy feliz por que le da ese toque a las prendas. Feliz Dia un abrazo.