Hola amigos amantes de la costura espero que estén teniendo un buen fin de semana, cómo lo han notado todas las blusas que publicado han sido hecho con retazos que me han quedado y me a gustado tanto inventar y hacer cosas diferentes que en este post les mostrare unas blusas que hice con varios retazos que conseguí.
Hello friends who love sewing, I hope you are having a good weekend, how have you noticed all the blouses that I published have been made with scraps that I have left and I liked inventing and doing different things so much that in this post I will show you some blouses that I made with various scraps that I got.
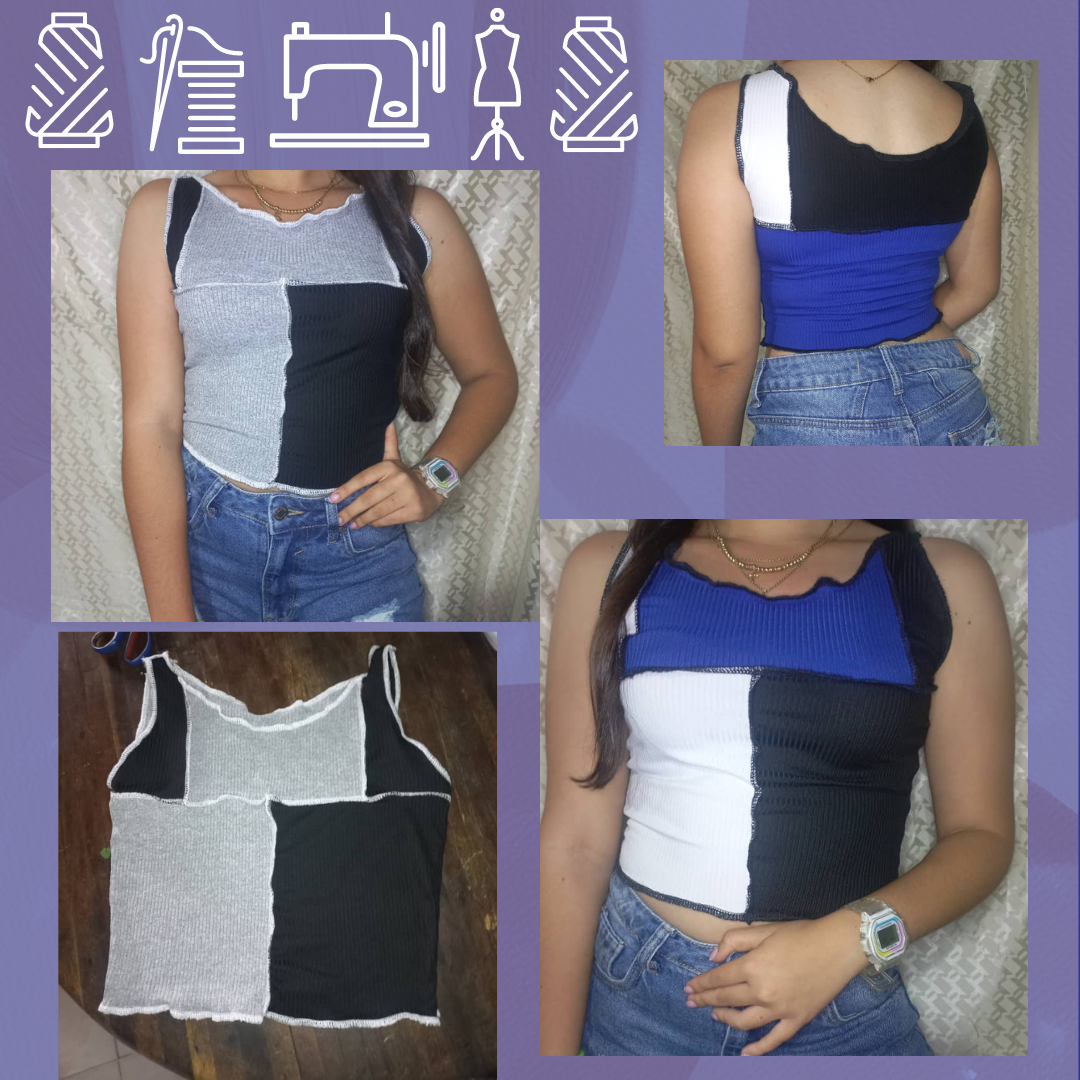
Materiales a utilizar//The materials to use:
-Tela de varios colores en este caso utilicé tela Rib.
-Tijeras.
-Alfileres.
-hilo.
-Máquina overlock.
-Fabric of various colors in this case I used Rib fabric.
-Scissors.
-Pins.
-thread.
-Overlock machine.
Pasos a Seguir/Steps to follow:
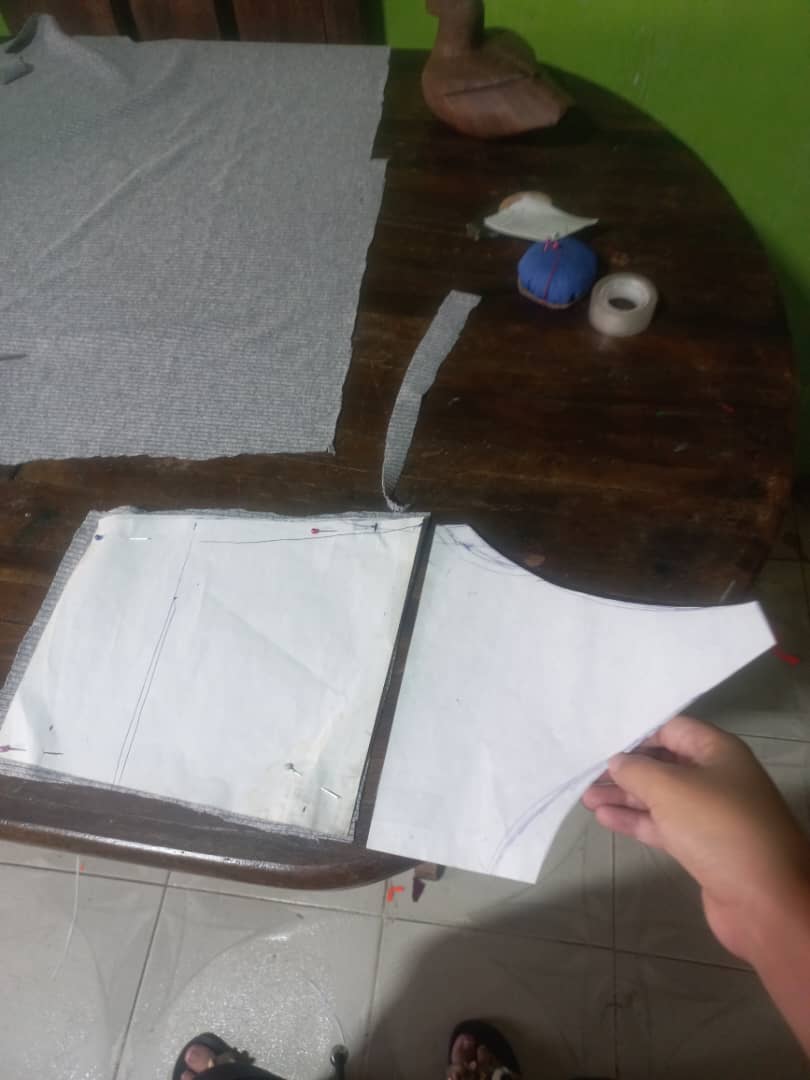
1.Para comenzar lo primero que hice fue sacar un patrón esto con la ayuda de uno que ya tenía que es el que siempre uso para las blusas sin mangas y lo que hice fue que los tirantes fueran más finitos y el cuello más abierto para que fuera tipo franelilla.
- To begin, the first thing I did was make a pattern with the help of one I already had, which is the one I always use for sleeveless blouses, and what I did was make the straps finer and the neck more open so that It was flannel type.
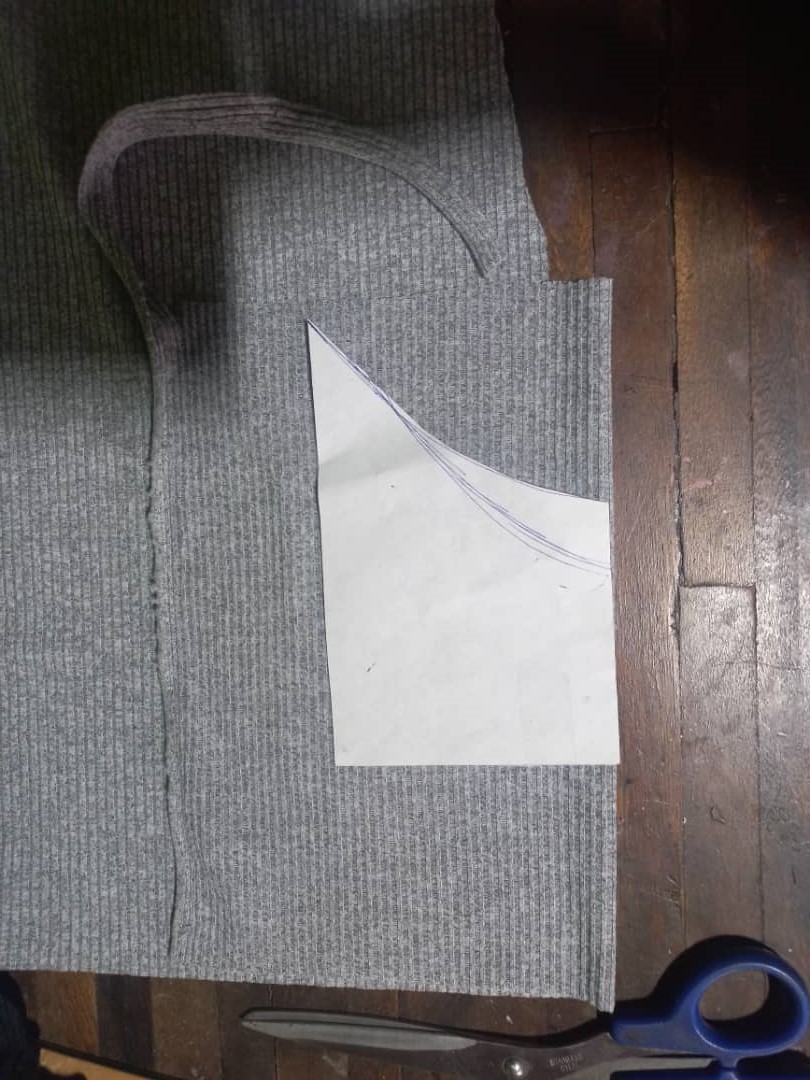
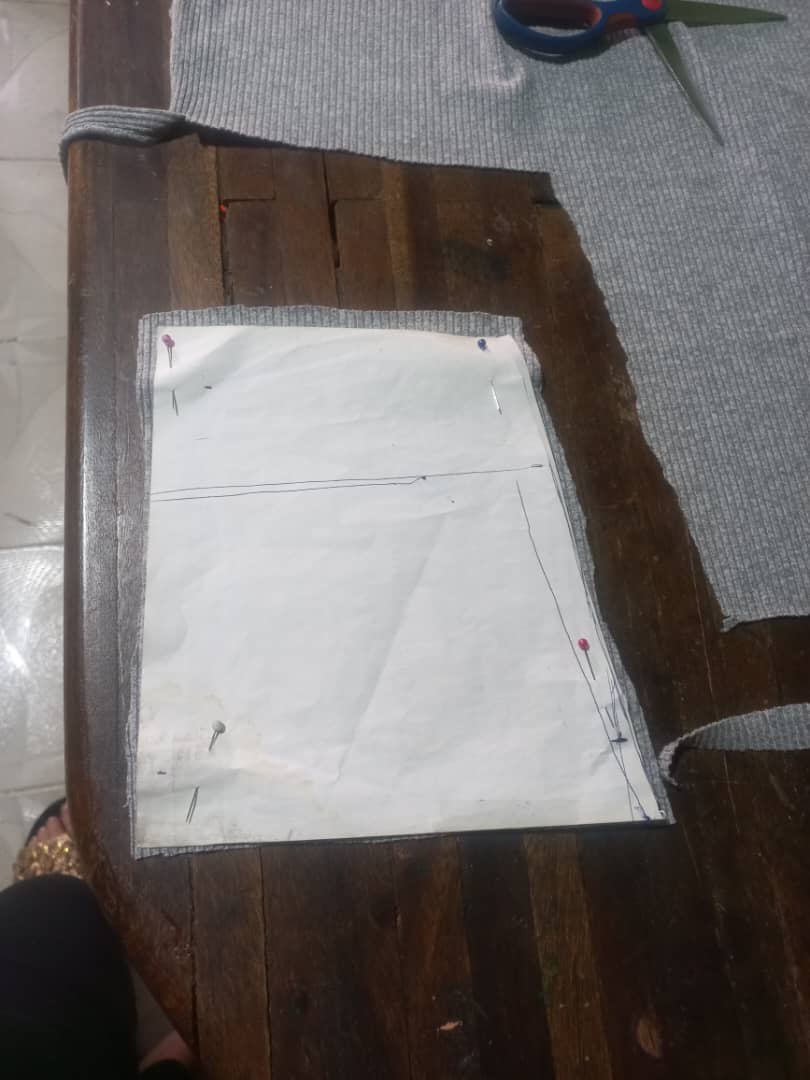
2.Primero agarre mi patrón y lo corte, esto con el fin de usarlos en varias telas para que mi blusa sea de varios colores.
2.First I grab my pattern and cut it out, this in order to use on various fabrics to make my blouse in various colors.
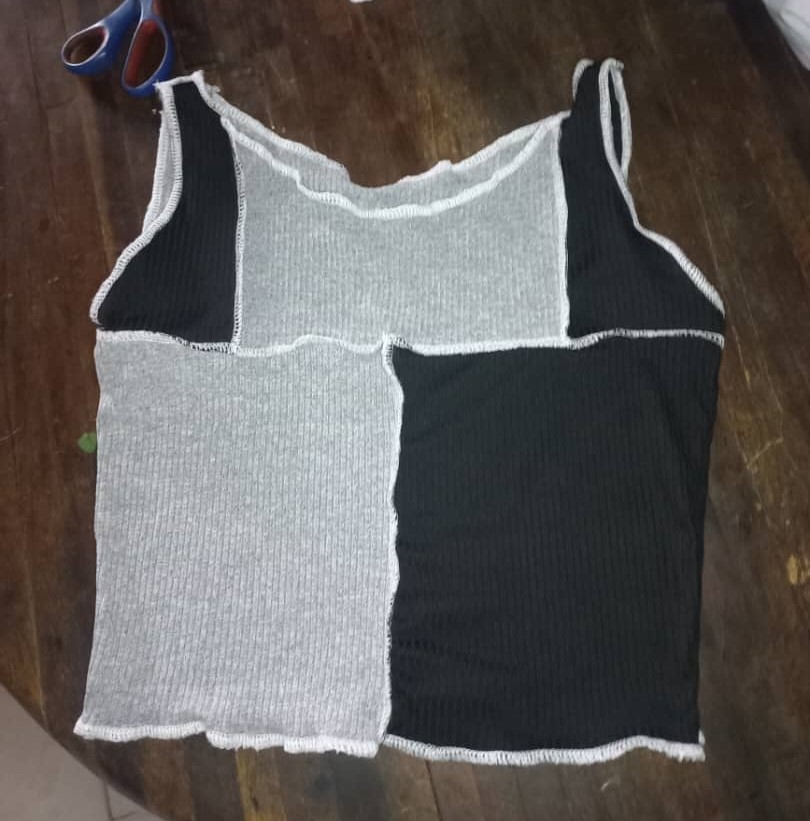
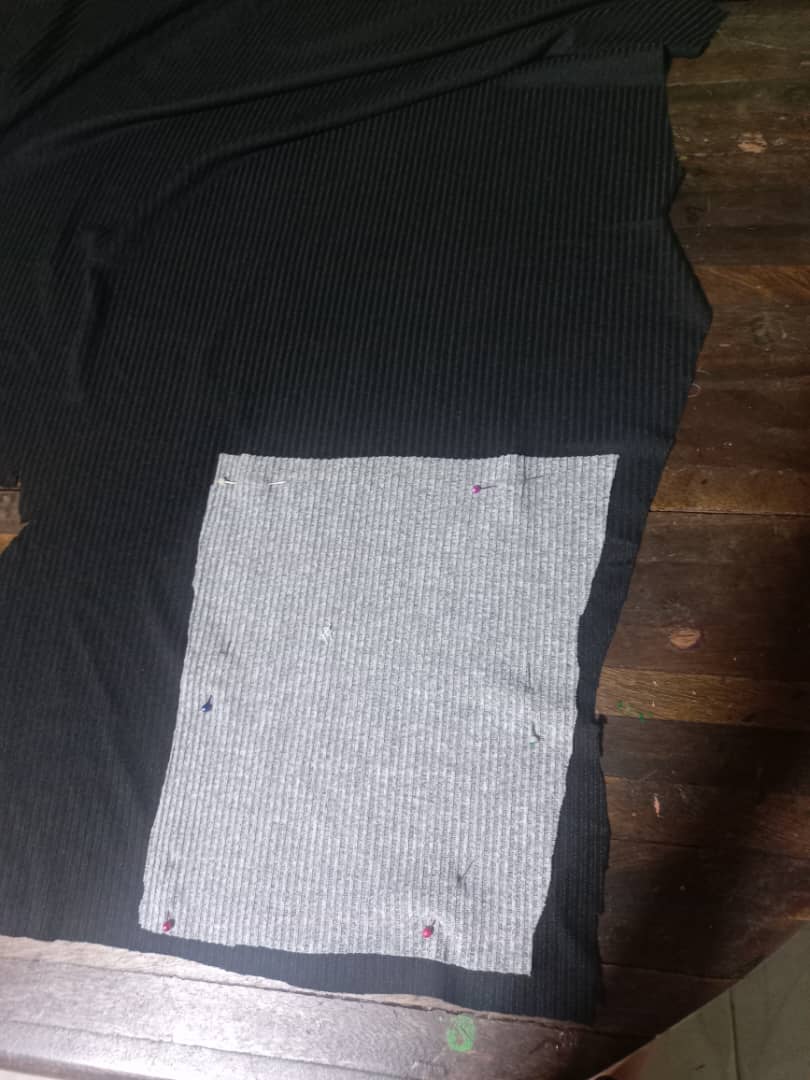
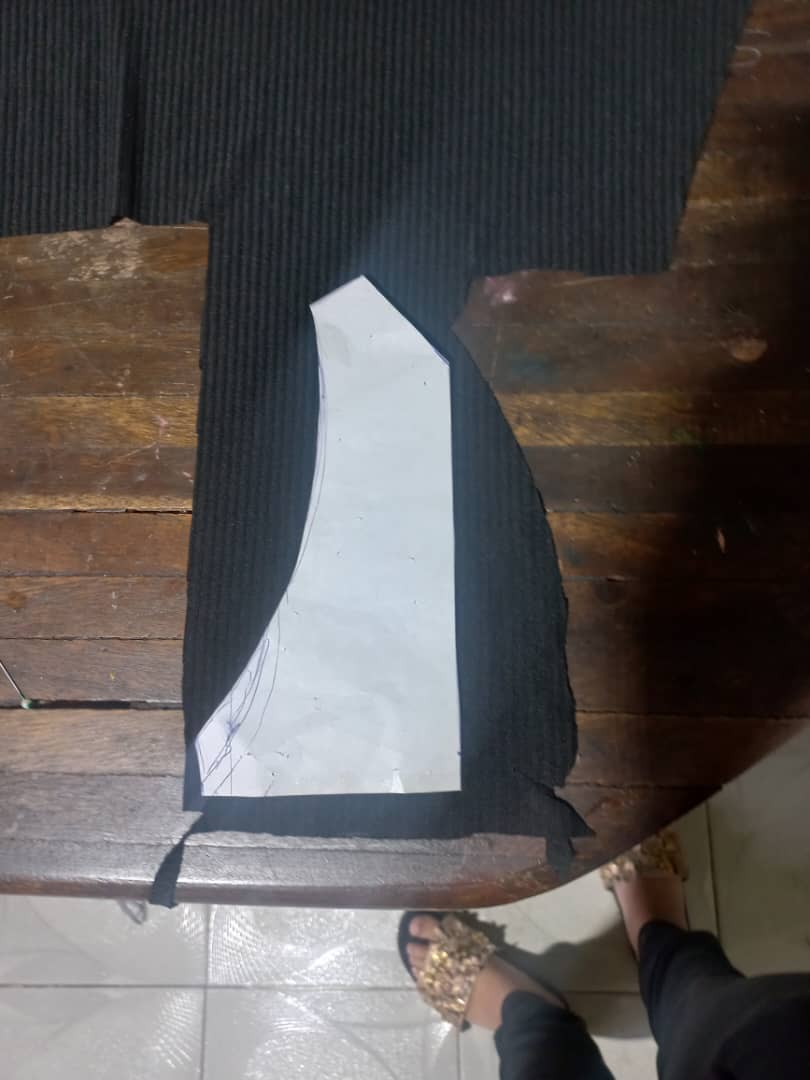
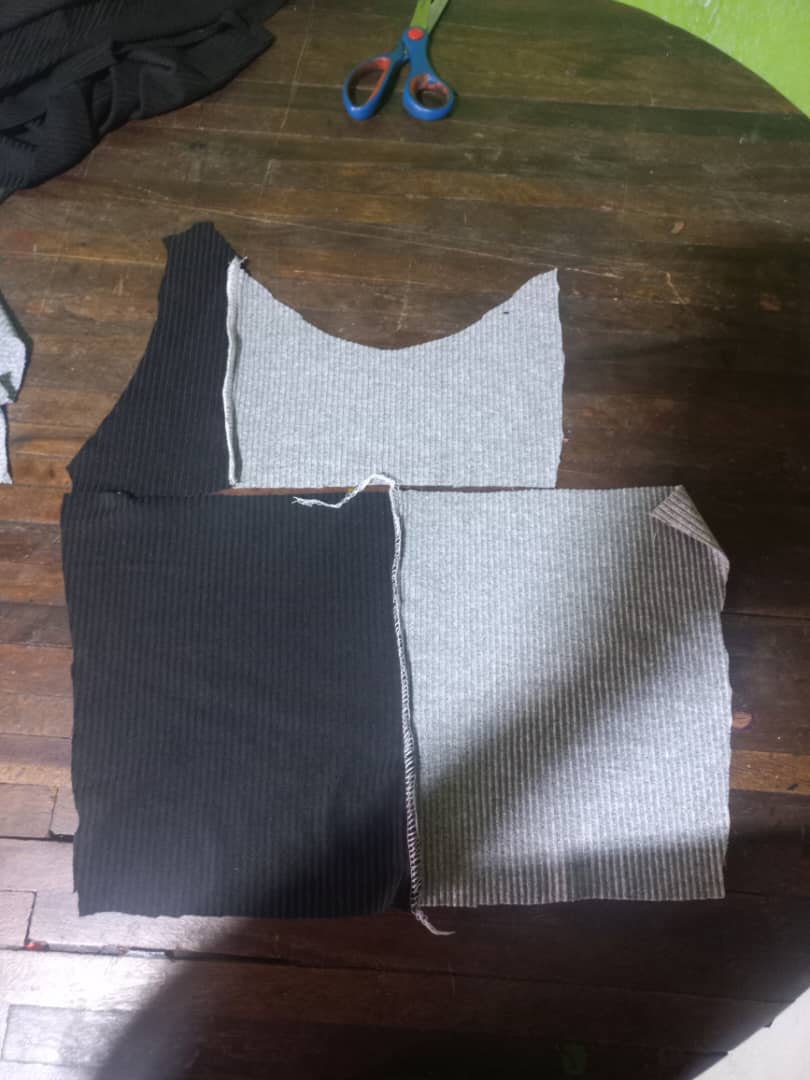
3.La parte de abajo la puse de dos colores referente a la parte delantera bueno lo que hice fue colocar mi patrón en el color negro y recorte la parte izquierda inferior y luego corte la parte derecha inferior de gris.
3 . I put the bottom part in two colors referring to the front part, well what I did was place my pattern in black and cut out the bottom left part and then cut the bottom right part out of grey.
4.Luego la parte de arriba como corte el patrón a la mitad, la parte de la sisa la hice de color negro y la parte del cuello la hice con la tela gris. Todo estos pasos también lo haremos con la parte de atrás de nuestra blusa, para no alargarme tanto simplemente hacen su patrón y con varios retazos de telas vas formando tu blusa.
4 .Then the upper part as I cut the pattern in half, the armhole part I made in black and the neck part I made with the gray fabric. We will also do all these steps with the back of our blouse, so as not to lengthen it so much, simply make your pattern and with several pieces of fabric you form your blouse.
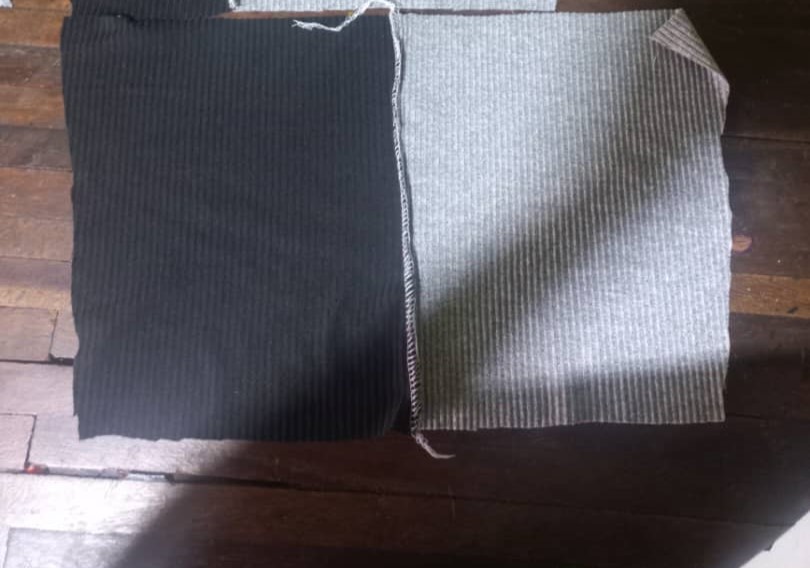
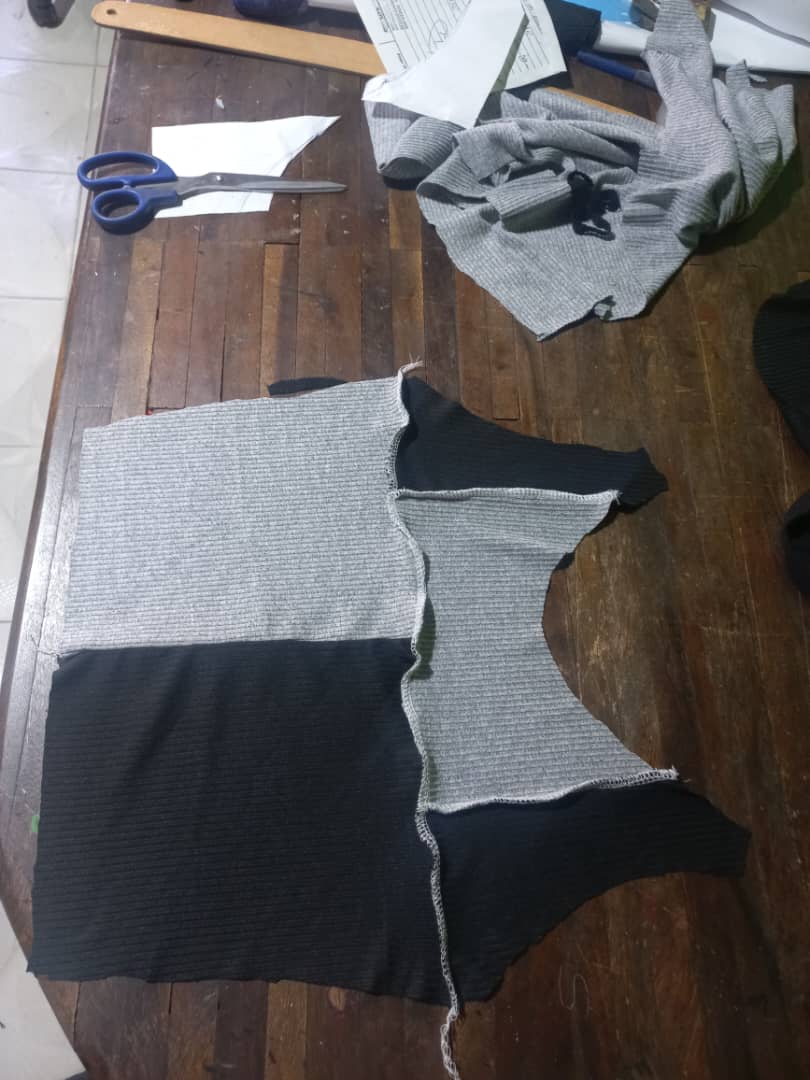
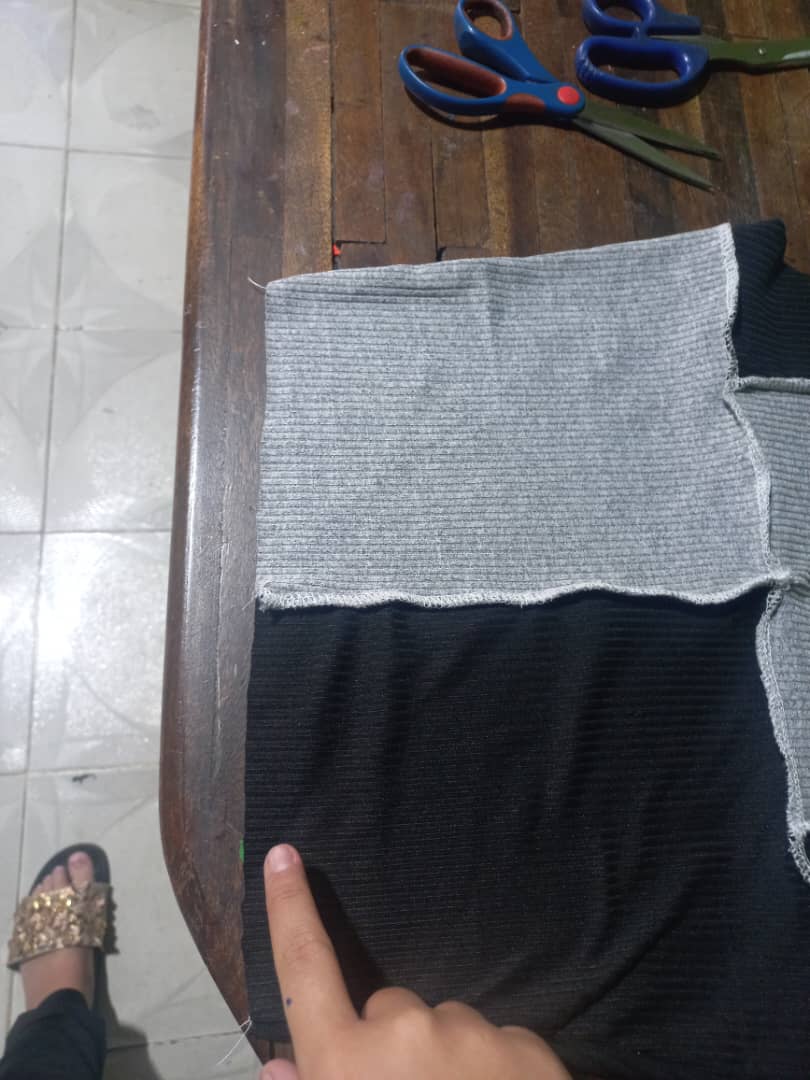
5.Al obtener todas las partes de nuestra blusa con una máquina overlock vamos a ir juntando pieza con pieza. Por ejemplo las dos partes inferiores que les menciones en el paso 3 las vamos a unir por en medio la costura la haremos por fuera para que quede tipo decoración como la blusa que hice en el blog anterior, haremos doble costura eso quiere decir que pasaremos dos veces la overlock por el mismo lugar.
5 .When we obtain all the parts of our blouse with an overlock machine, we are going to put it together piece by piece. For example, the two lower parts that you mentioned in step 3 we are going to join them in the middle, the seam we will do on the outside so that as a decoration type, like the blouse I made in the previous blog, we will double seam that means that we will go through it twice the overlock in the same place.
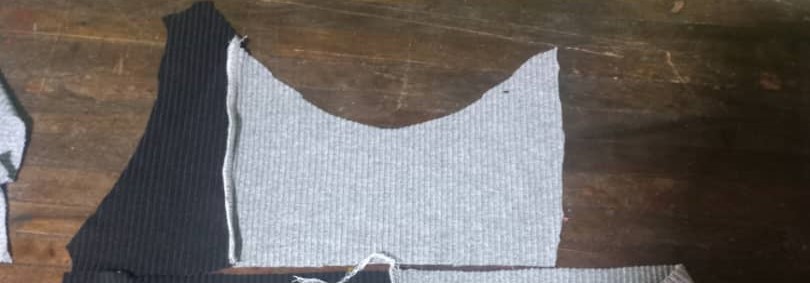
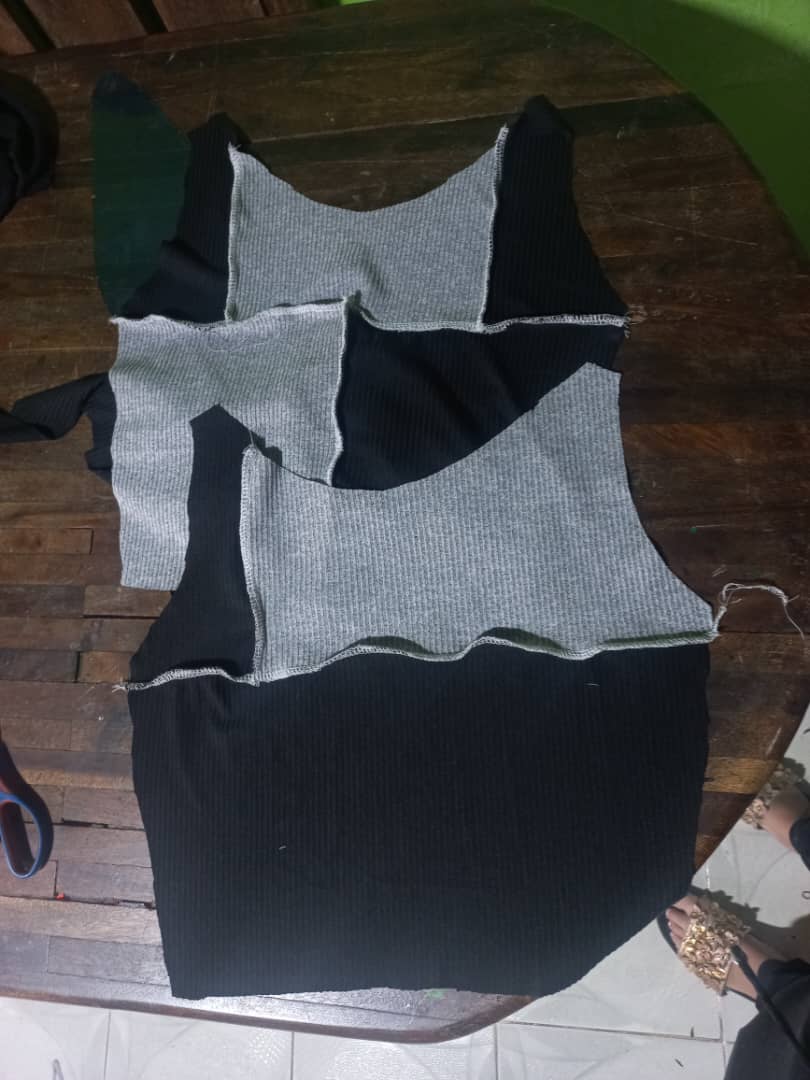
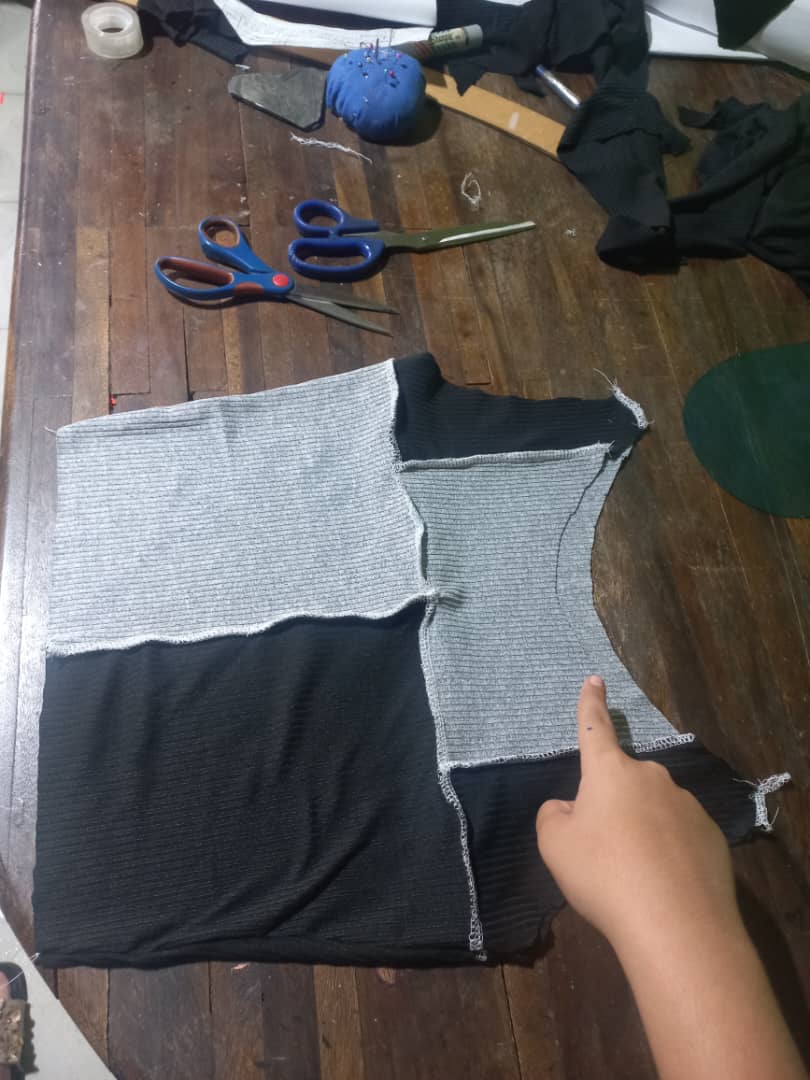
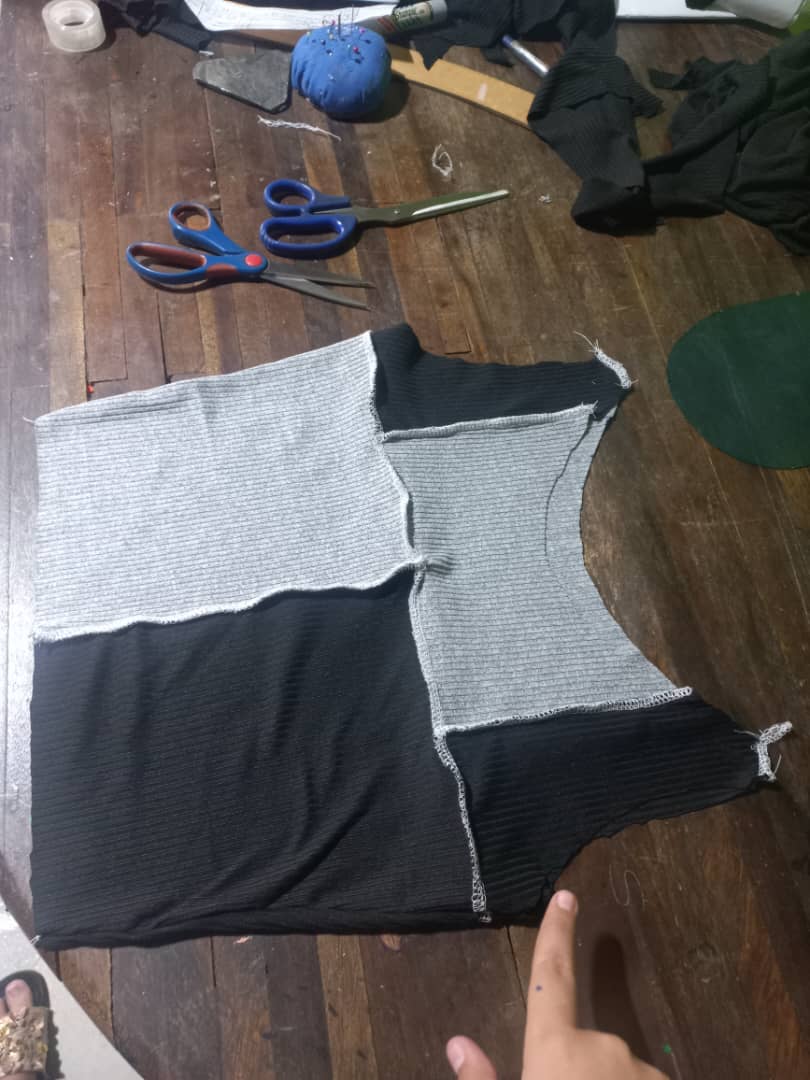
6.Después de tener mis piezas de la parte superior unidas con la costura por fuera, con la overlock debemos de unirlas con la partes inferiores usando la misma costura.
6.After having my top pieces joined with the seam on the outside, with the overlock we have to join them with the bottom pieces using the same seam.
Nos quedaría así:
We would be like this:
Este paso también lo haremos con las parte de atrás de nuestra blusas. Recuerden que es a su gusto como van a realizar la partición de colores.
We will also do this step with the back of our blouses. Remember that it is to your liking how you are going to make the partition of colors.
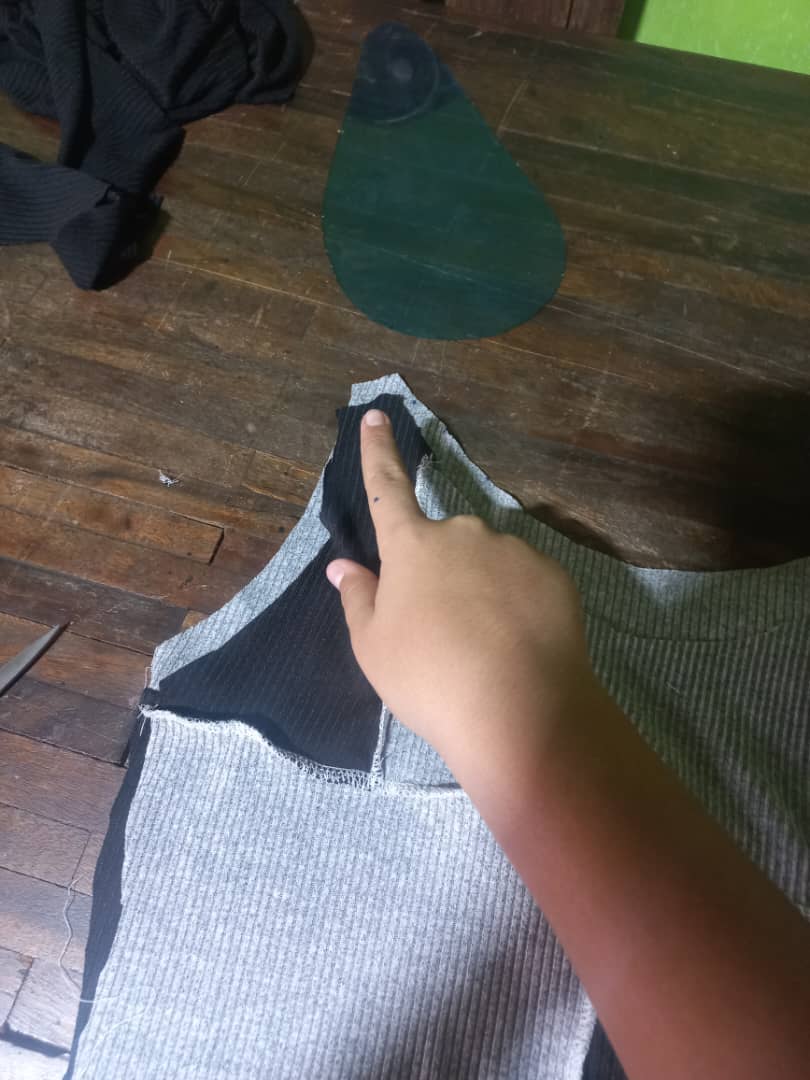
7.Debemos de coser por la parte de los hombros por la parte de afuera dos veces.
7 . We must sew the shoulders on the outside twice.
8.Luego coseremos por los laterales la parte de adelante y la parte de atrás esto si lo haremos por dentro de la blusa como la anterior que hice para que la gente no crea que la blusa la tienes al revés por que todas las costuras están por fuera jajaja.
8 .Then we will sew the front and the back on the sides, this is what we will do inside the blouse like the previous one I did so that people do not think that the blouse is inside out because all the seams are on out lol.
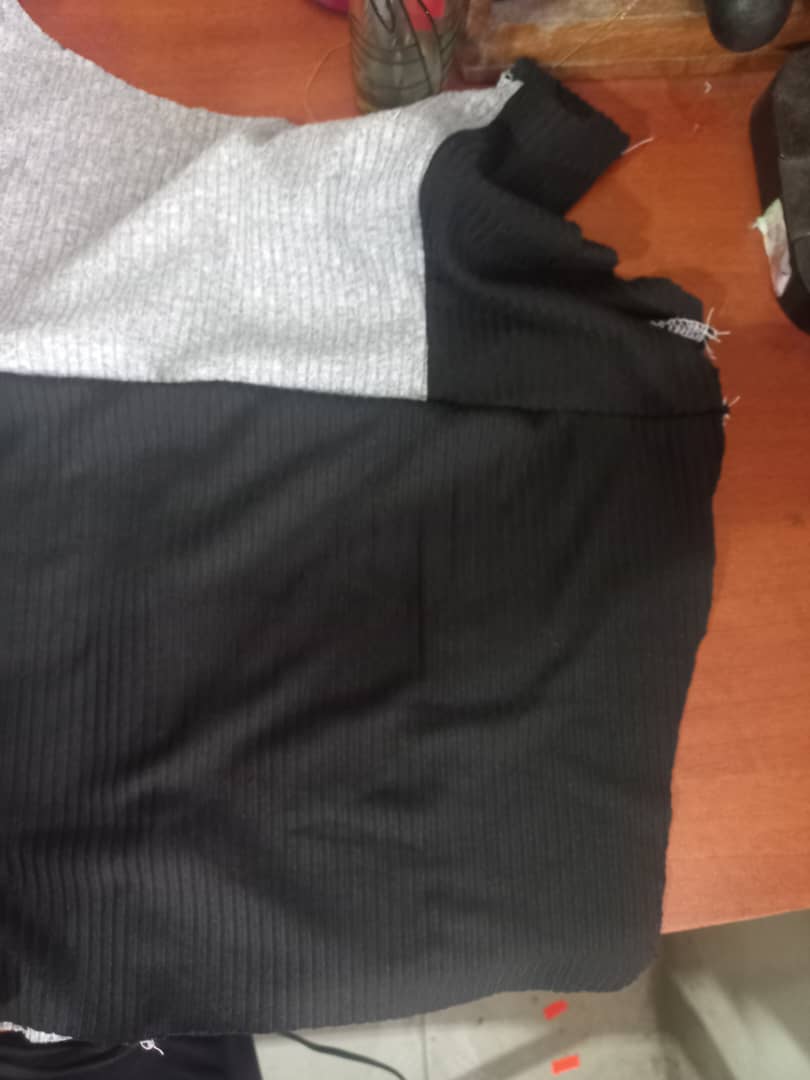
9.En este último paso con la overlock la haremos una costura a la parte de la sisa el cuello y la parte de abajo de la blusa esta costura la haremos 3 veces para que se vea más grueso y también debemos de estirar cuando estamos haciendo estas costuras para que quede esta forma:
9.In this last step with the overlock we will make a seam to the part of the armhole, the neck and the bottom of the blouse we will do this seam 3 times to make it look thicker and we must also stretch when we are making these seams to make it look like this:
Y listo la verdad es super sencillo solo que lleva un poco más de trabajo pero les aseguro que en 1 hora y media la pueden hacer.
And that's it, the truth is that it's super simple, it just takes a little more work, but I assure you that in 1 hour and a half you can do it.
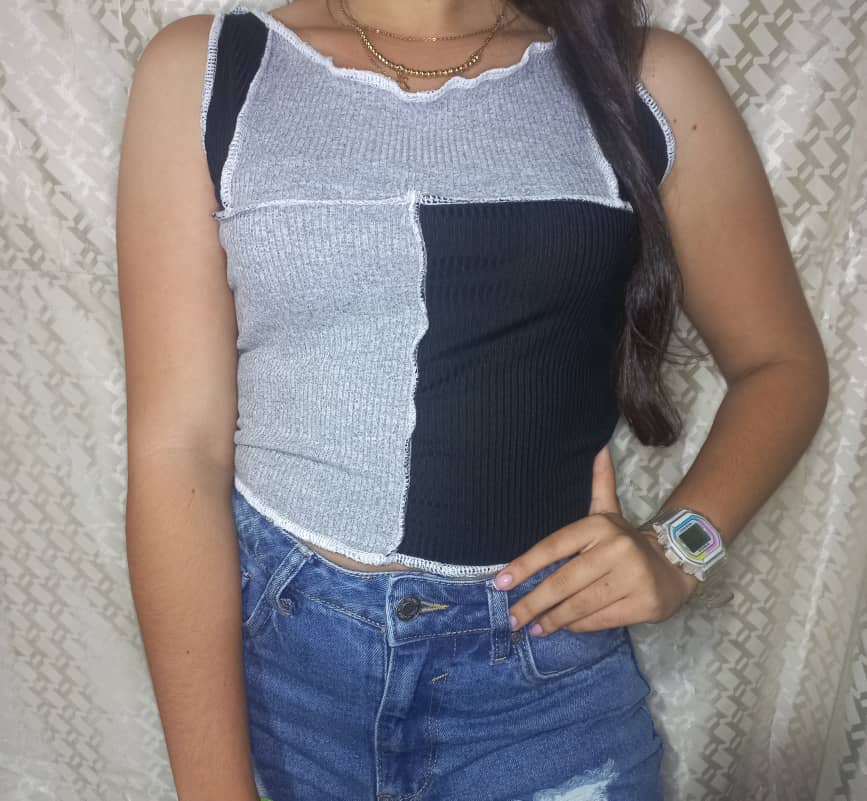
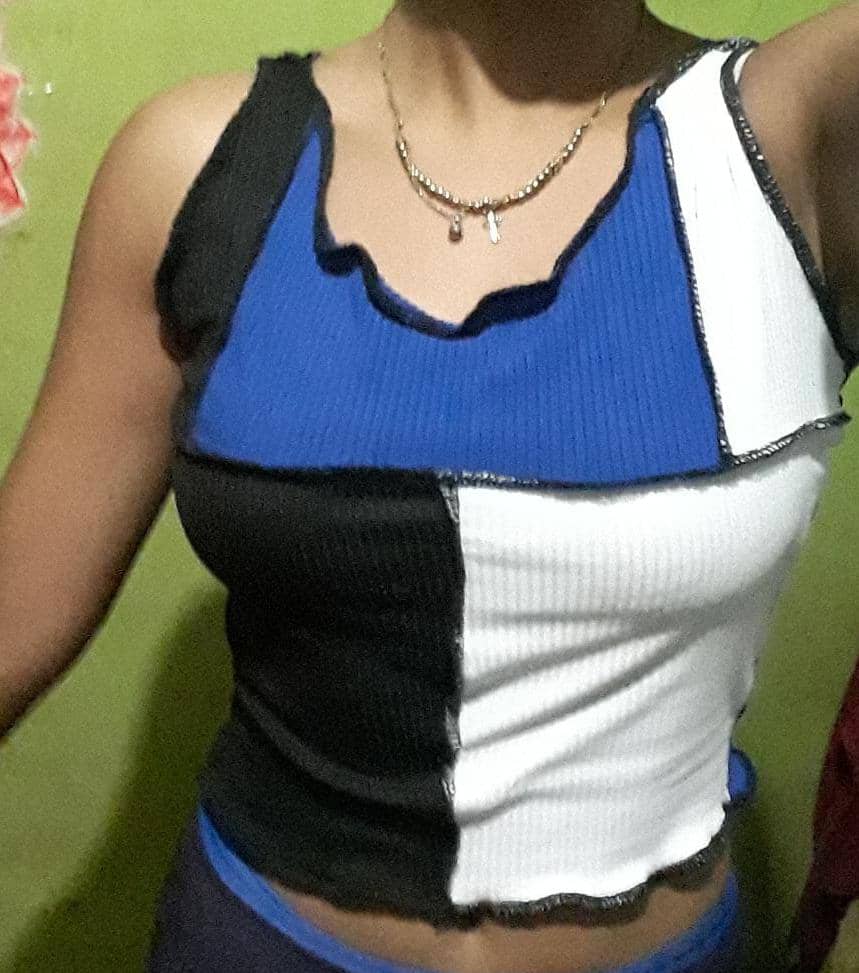
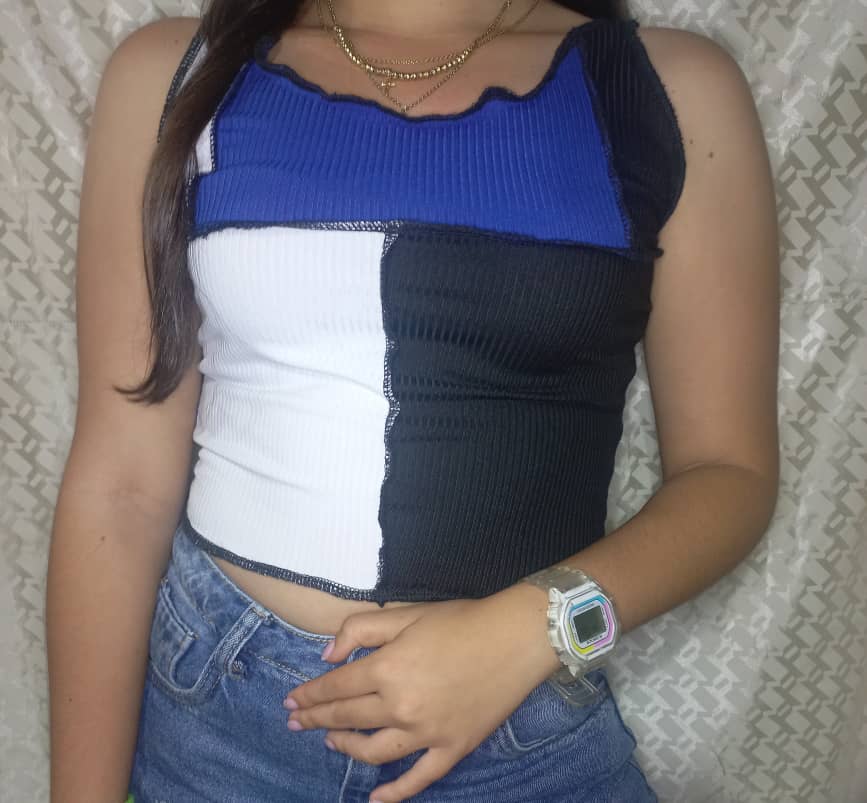
Me gusto tanto el resultado que le hice una a mi hermana y también le gusto el resultado. Espero también les guste creo verás muchos post con este tipo de blusas por que me gustan y quiero que ustedes aprendan conmigo y me muestren si las hacen.
I liked the result so much that I made one for my sister and she also liked the result. I hope you also like it, I think you will see many posts with this type of blouses because I like them and I want you to learn with me and show me if you make them.
Gracias por apoyarme un abrazo y saludo desde la distancia amigos💙🤍🖤.
Thank you for supporting me a hug and greeting from a distance friends💙🤍🖤.
.png)
La fotos de la presentación y el separador fueron hechas en canva/The photos of the presentation and the separator were made on canva.
Su proyecto me parece muy bonito y práctico..gracias por compartir!
Thank you for sharing this amazing post on HIVE!
Your content got selected by our fellow curator @rezoanulvibes & you just received a little thank you via an upvote from our non-profit curation initiative!
You will be featured in one of our recurring curation compilations and on our pinterest boards! Both are aiming to offer you a stage to widen your audience within and outside of the DIY scene of hive.
Join the official DIYHub community on HIVE and show us more of your amazing work and feel free to connect with us and other DIYers via our discord server: https://discord.gg/mY5uCfQ !
If you want to support our goal to motivate other DIY/art/music/homesteading/... creators just delegate to us and earn 100% of your curation rewards!
Stay creative & hive on!
Has sido votado por
PROYECTO ENLACE
'Conectando Ideas y Comunidades'
PROYECTO ENLACE es un proyecto de curación de habla hispana enfocado en recompensar contenido de calidad y apoyar autores en su proceso de crecimiento en HIVE.
Creemos y apostamos por el futuro de esta gran plataforma, y estamos muy emocionados de poder hacerla crecer junto a esta comunidad. Así que te invitamos a usar nuestra etiqueta ENLACE y estar atento a todas las actividades que tenemos preparadas y que estaremos publicando en breve.
¿QUIERES AUTOMATIZAR TUS GANANCIAS DE CURACIÓN? SE PARTE DEL PROYECTO ENLACE APOYANDO A NUESTRO TRAIL EN HIVE.VOTE INGRESA AQUÍ PARA CONOCER LOS DETALLES.
¿QUIERES INVERTIR ENLACE? DESCUBRE COMO HACERLO Y GENERAR INGRESOS DE FORMA SEMANAL MEDIANTE TU DELEGACIÓN DE HP AQUÍ TE EXPLICAMOS COMO.
Te invitamos a participar en nuestro servidor de Discord: https://discord.gg/3S9y7BbWfS
Atentamente
EQUIPO ENLACE 2022
I love the way you brake down each of the steps you follow and it make it very easy to learn. Thanks for sharing I like it