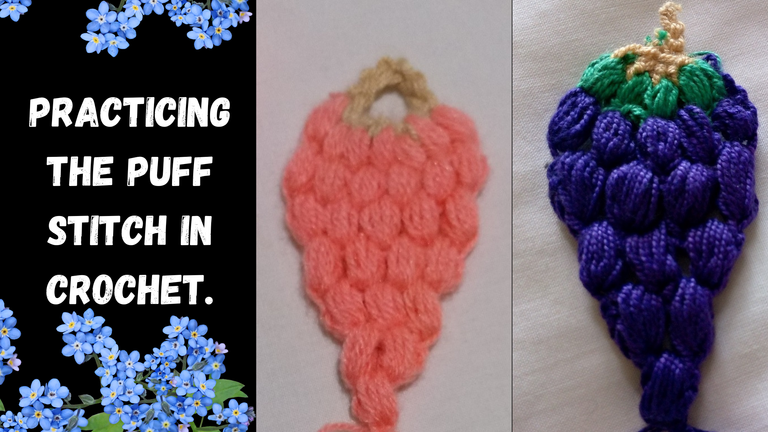

Hola queridos artesanos, estoy feliz de volver con mis actividades en Hive, ha sido mucho de lo que me he perdido, sin embargo, estoy feliz volver a compartir con ustedes los avances de mis nuevas prácticas, y es que he estado viendo muchos tutoriales de puntos de crochet y hubo uno que me ha llamado mucho la atención.
Se llama punto puff o punto bobo, de seguro les parece muy fácil de hacer, he visto hermosas creaciones decorativas hechas con este punto, así que decidí poner un poco de atención y tiempo para practicarlo, entonces di manos a la obra para ponerme a realizar mis primeros pasos haciendo unos racimos de uvas.
Comencé pensando que se me haría fácil hacer estas uvas y no me salían como pensaba, es que parece sencillo, pero hay que coincidir cada punto para darle la forma escalada de las uvas, en este proyecto tarde unas cuantas horas haciendo y deshaciendo para lograr la forma, pero me encanta hacer este diseño de punto. También aprendí hacer el punto, piña o garbanzo, pronto les haré una demostración.
Las fotografías que verán a continuación, fueron tomadas con mi teléfono modelo TECNO SPARK GO 2023.

Hello dear crafters, I am happy to be back with my activities in Hive, I have missed a lot, however, I am happy to share with you the progress of my new practices, and I have been watching many tutorials of crochet stitches and there was one that has caught my attention.
It's called puff stitch or garter stitch, I'm sure it seems very easy to do, I've seen beautiful decorative creations made with this stitch, so I decided to put some attention and time to practice it, then I got down to work to make my first steps making some bunches of grapes.
I started thinking that it would be easy to make these grapes and they did not come out as I thought, it seems simple, but you have to match each stitch to give the scaled shape of the grapes, in this project it took me a few hours doing and undoing to achieve the shape, but I love doing this stitch design. I also learned to make the pineapple or chickpea stitch, I will demonstrate it soon.
The pictures you will see below were taken with my phone model TECNO SPARK GO 2023.

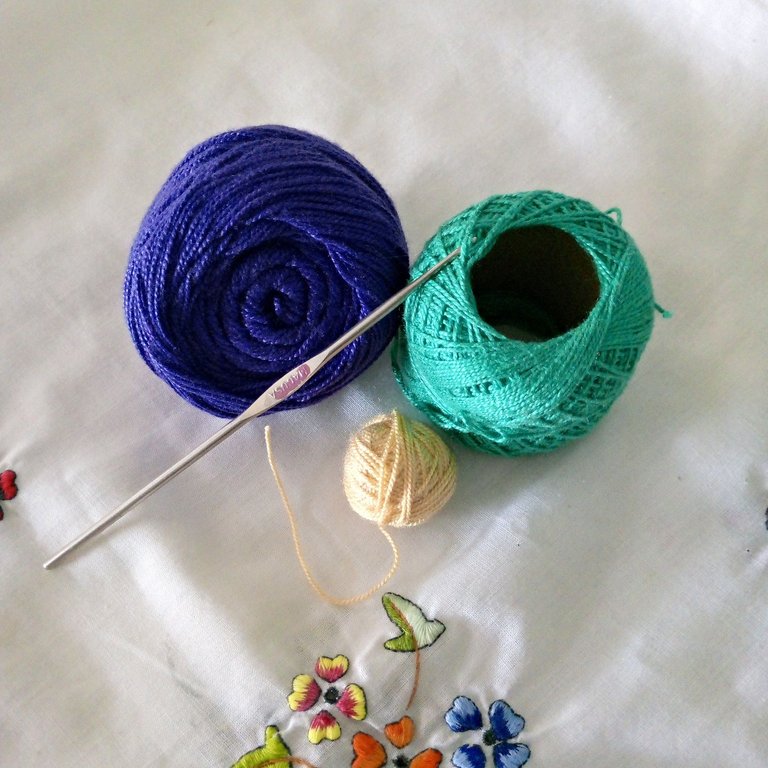

Materiales:
- Hilos de seda azul mora, verde menta, beige claro.
- Aguja de crochet nro. 1

Materials:
- Mulberry blue, mint green, light beige silk threads.
- Crochet needle no. 1.

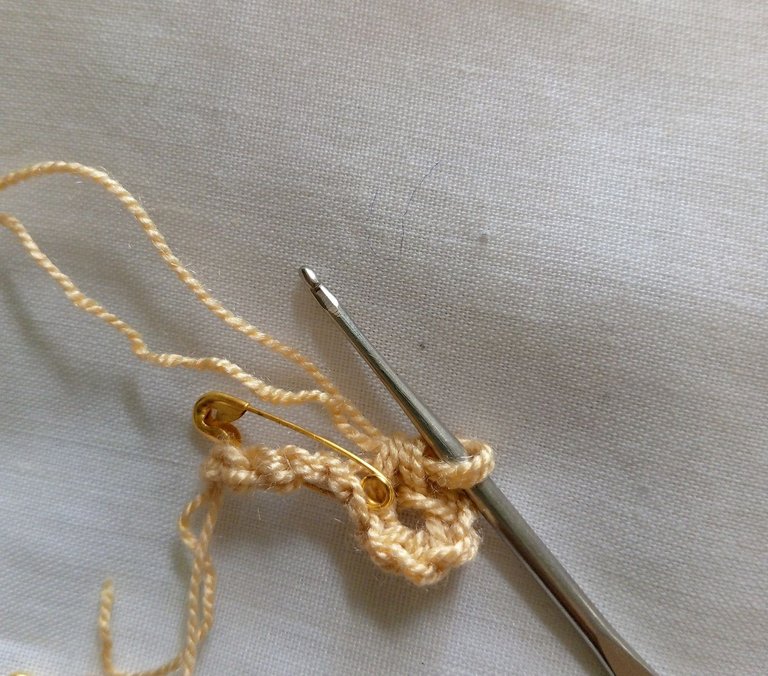

Para hacer el racimo de uvas color mora azul, comencé tejiendo una cadena con hilo doble beige, lo hice doble para darle mayor volumen, coloque un alfiler para marcar donde fije el punto de unión para el aro de inicio, dejando 4 puntos cadenas arriba para el tallo.

To make the bunch of blue berry grapes, I started by knitting a chain with double beige yarn, I doubled it to give it more volume, I placed a pin to mark where I fixed the joining stitch for the starting ring, leaving 4 chain stitches on top for the stem.

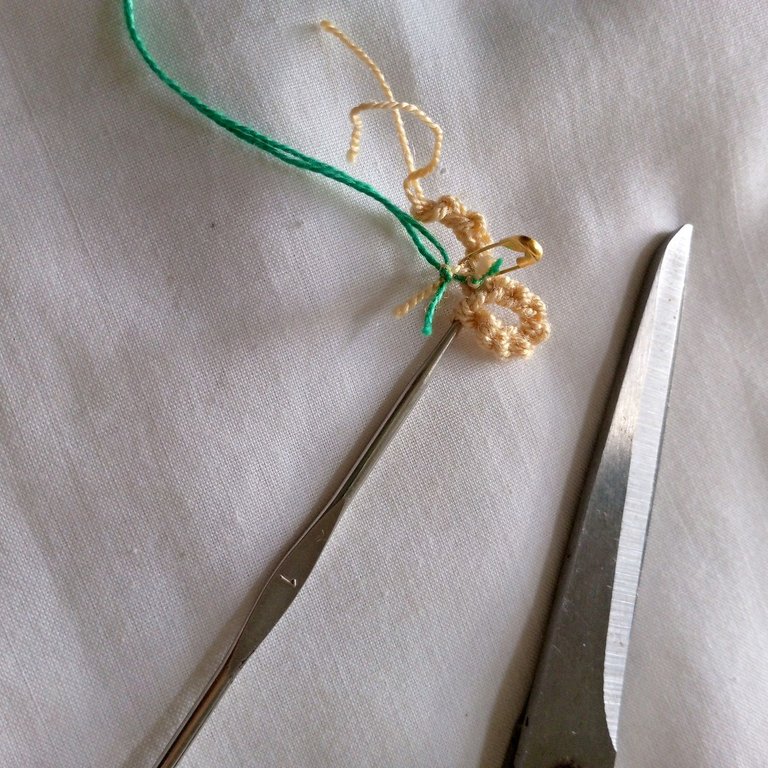

Al terminar mi primer paso, corte los hilos beige dejando un poco para unirlo con el hilo verde y comenzar hacer los primeros puntos puff para hacer las hojas de las uvas.

When I finished my first step, I cut the beige threads leaving a little bit to join it with the green thread and start making the first puff stitches to make the leaves of the grapes.

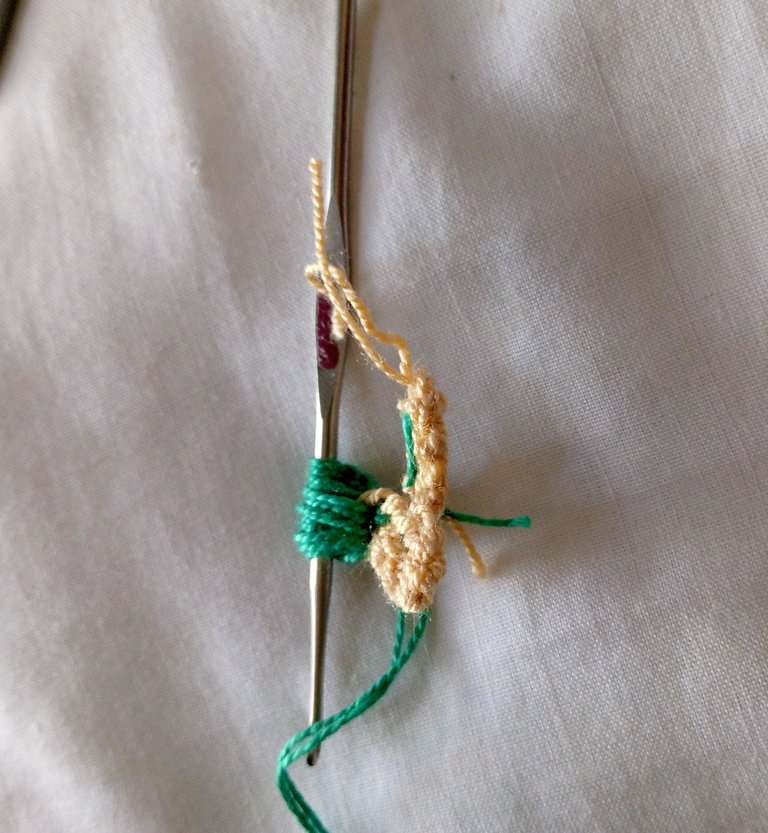

Mis primeras fallas para comenzar el punto fue que antes de comenzar debí hacer 3 puntos de cadena, esto para evitar que mi punto quedase torcido y se notase unos más grandes que otros, a pesar de que lleve contados los puntos que son 4 puntos que suben y bajan quedando un total de 8 la verdad tejer para mí no ha sido fácil, pero sigo perseverando hasta lograr algo lindo y sin esos detalles que se ven a simple vista.

My first failures to start the stitch was that before starting I had to make 3 chain stitches, this to avoid that my stitch would be twisted and it would be noticed some bigger than others, although I have counted the stitches that are 4 stitches that go up and down leaving a total of 8 the truth knitting for me has not been easy, but I keep persevering to achieve something nice and without those details that are seen at a glance.

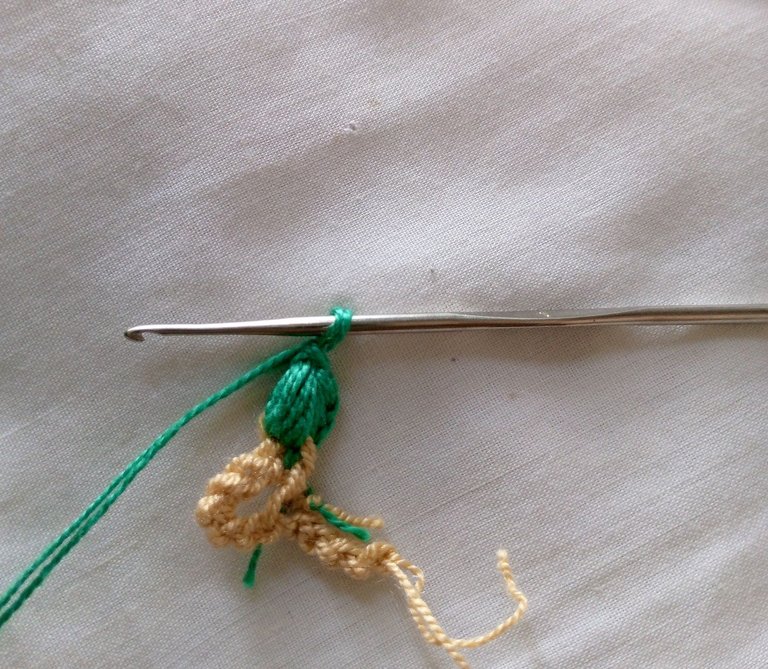

En cuanto note mi falla del punto puff anterior trate de hacerlo mejor, aquí realice los 3 puntos cadenas antes de comenzar el punto puff, pude notar la diferencia del punto anterior, se ve más completo y menos torcido.

As soon as I noticed my failure of the previous puff stitch I tried to make it better, here I made the 3 chain stitches before starting the puff stitch, I could notice the difference from the previous stitch, it looks more complete and less twisted.

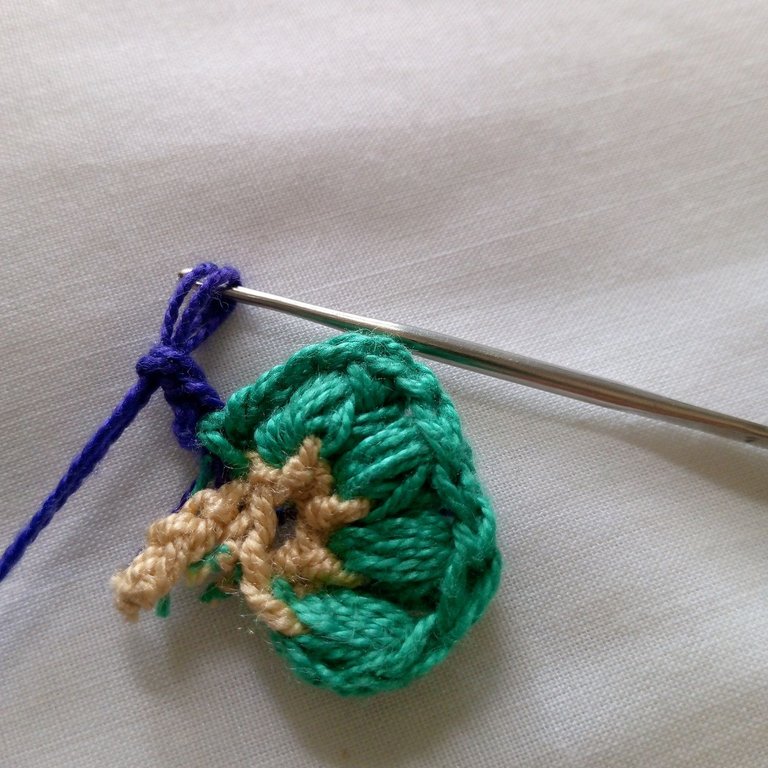

Realizados los primeros puntos, cerré haciendo 3 puntos cadenas igual que al inicio y comencé con el hilo morado haciendo otros 3 puntos de cadenas para luego hacer la primera uva.

Once the first stitches were done, I closed by making 3 chain stitches as I did at the beginning and started with the purple yarn making another 3 chain stitches to then make the first grape.

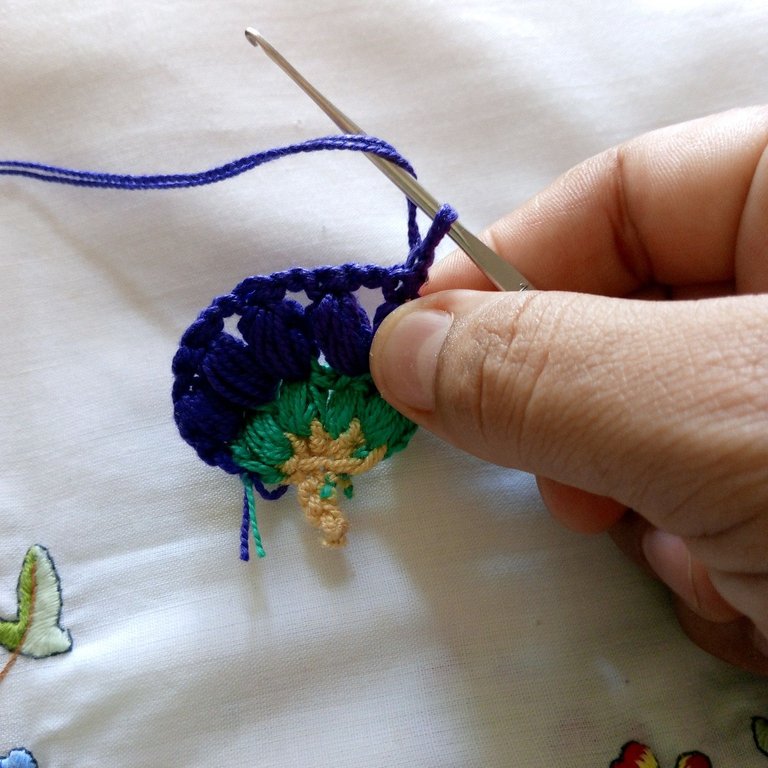

En la primera línea de puntos puff realice 5 puntos, comenzando el primer punto desde la primera cadena del punto verde anterior, luego intercale cada uno alineado con las hojas verdes, con una separación entre puntos de 2 puntos de cadena.

In the first row of puff stitches make 5 stitches, starting the first stitch from the first chain of the previous green stitch, then interlace each one aligned with the green leaves, with a separation between stitches of 2 chain stitches.

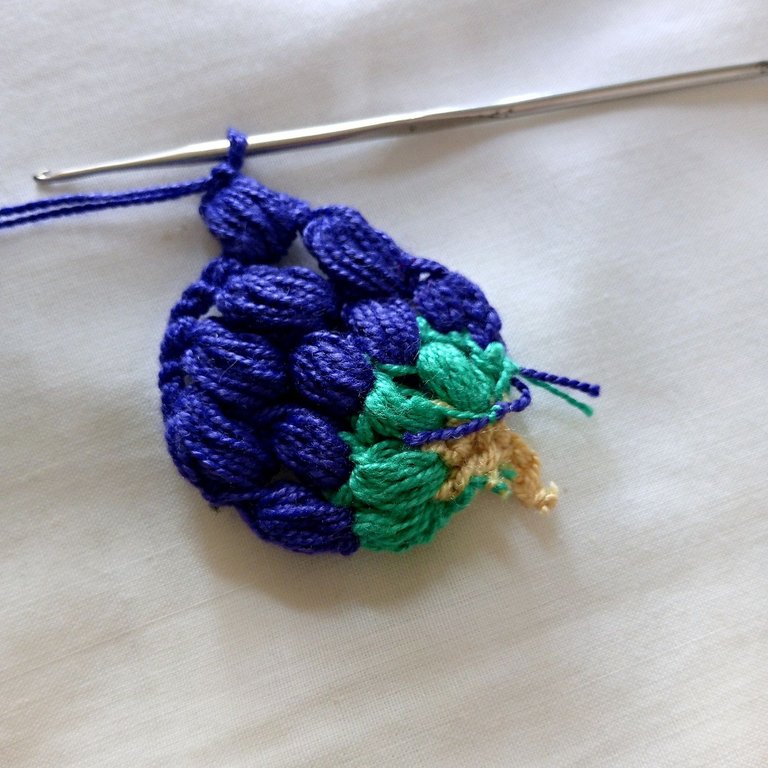

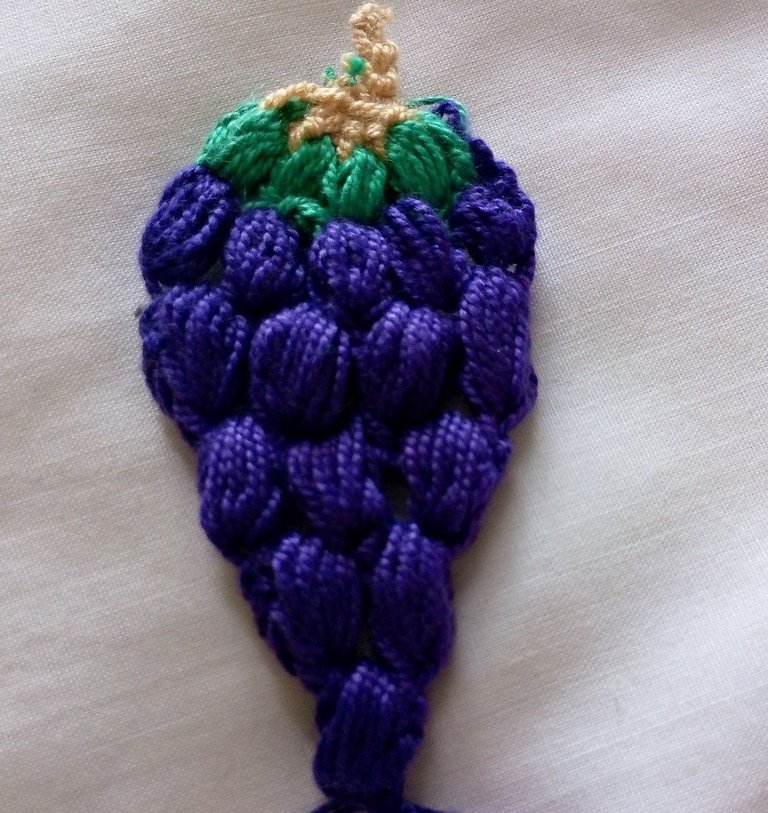
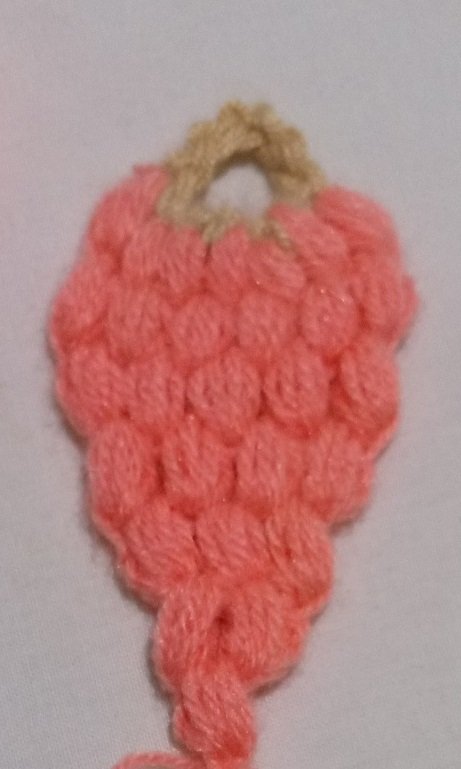
En la segunda línea fui reduciendo a menos 1 punto puff quedando 4 puntos, más 3 puntos cadena de lados para estabilizar y moldear la forma, evitando que se enrolle, de esta forma fui reduciendo a menos 1 punto por cada línea hasta culminar en 1 para cerrar, culminando así el racimo de uvas que tanto me gusta. También hice unas uvas de color rosado donde mejore un poco más, y se nota un mejor acabado donde comencé con un círculo de cadenas que se me hizo más sencillo.🙃🙂

In the second row I was reducing to minus 1 puff stitch leaving 4 stitches, plus 3 chain stitches on the sides to stabilize and mold the shape, preventing it from rolling, in this way I was reducing to minus 1 stitch for each row until culminating in 1 to close, thus culminating the bunch of grapes that I like so much. I also made some pink grapes where I improved a little more, and a better finish is noticeable where I started with a circle of chains that became easier for me.🙃🙂🙂

 |  |
|---|

Espero que les guste como quedo mi racimo de uvas, que tanto ha llamado mi atención, para futuros proyectos que tengo en mente.
Planeo hacer decoraciones con estos detalles de puntos tan sencillos, pero que marcan la diferencia, con un estilo esponjoso, cómodo y muy lindo para los amantes del crochet.
Gracias por leer mi publicación, estoy feliz de poder compartir contigo, espero que podamos seguir viéndonos por aquí siempre, deseo que tengas éxitos en todos tus proyectos de vida. Un fuerte abrazo para ti donde quiera que te encuentres. 🍇 🍇🍷 🤗

I hope you like how my bunch of grapes turned out, which has caught my attention so much, for future projects I have in mind.
I plan to make decorations with these details of stitches so simple, but that make a difference, with a fluffy style, comfortable and very nice for crochet lovers.
Thank you for reading my publication, I am happy to be able to share with you, I hope we can continue to see each other here always, I wish you success in all your life projects. A big hug for you wherever you are. 🍇 🍇🍷 🤗

social networks / redes sociales
Traductor Deepl
Translated Deepl
Ediciones Canva
Editions Canva


These fruit shaped crochet items turned out great!
Thank you, it is valuable for me to know that you like it.🩷🍇
Saludos @lauracraft, me encanta esta iniciativa del tejido, quedo muy bien cada racimo de uvas, te felicito, feliz dia.
Gracias por tus animosas palabras querida amiga, no se me hace fácil explicar el paso a paso, debo dominar muchas técnicas.😁🤗🌹
the new technique looks good. Bravo
Thank you, it is valuable for me to know that you like it.🩷🍇
Esta puntada es realmente muy hermosa y es ideal para objetos de decoracion. Me alegra que estés tan animada en aprender más sobre el crochet.
Gracias por compartir.
Saludos 🤗
Hola hermosa! si estoy muy entusiasmada con mis proyectos esta puntada es súper linda y fácil de hacer, cada ves que dispongo de un tiempo libre me conecto en este maravilloso mundo del crochet, me gustaría hacer algunas creaciones como las tuyas que tienen puntadas perfectas.🤗❤️ Gracias por visitar mi publicación 😊
Has sido curado por @visualblock / You've been curated by @visualblock
Bienvenidas delegaciones / Delegations welcome
Trail de Curación / Curation Trail
Vota por nuestro Testigo aliado - @hispapro / Vote for our allied Witness - @hispapro
Más información sobre el testigo aquí / More information about the witness here
Hermoso ramillete te felicito
Muchas gracias amiga 😘
Wow, what a beautiful and nice skill in you, this look much beautiful I love it, well done dear
Thank you dear, it makes me very happy to know that you find it beautiful.🤗🍇🩷
Me encantan, están ideales para decorar un espacio de vinos.
This was really interesting and informative
I haven’t even thought of something like this before
Thanks for giving me this insight and broadening my creativity index