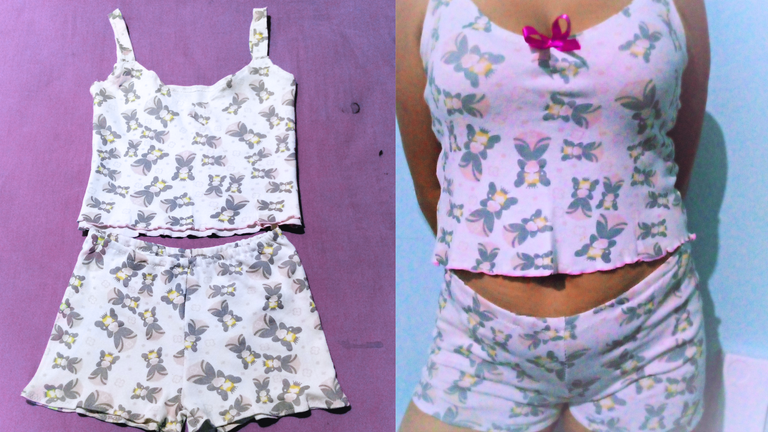

Saludos cordiales, queridos amigos, artesanos artistas, amantes de las agujas, hilos, tijeras y toda variedad de accesorios de costuras, que al igual que yo nos sentimos orgullosos y complacidos de ser parte de esta gran familia de NeedleWordkMonday.
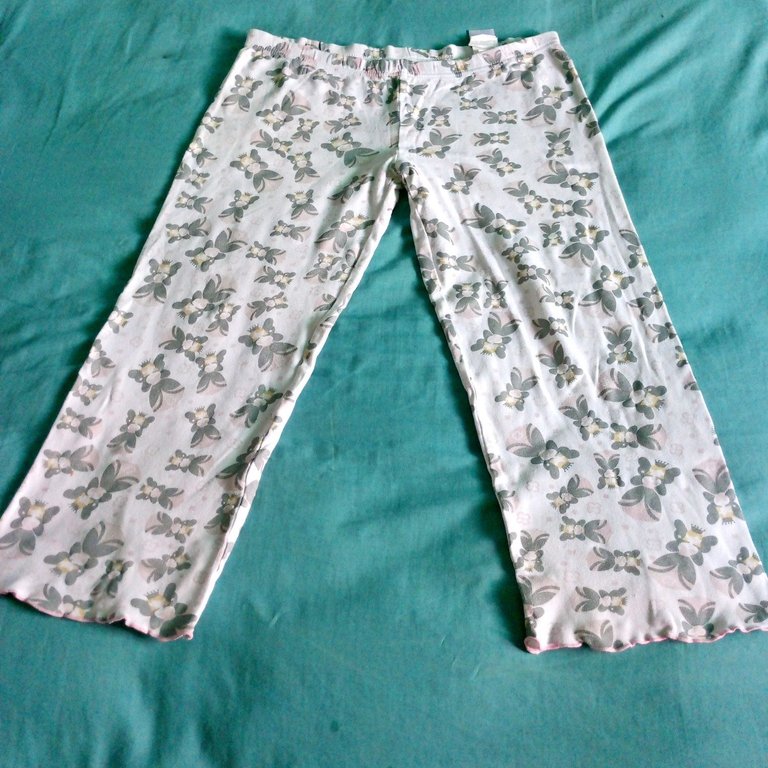
El día de hoy quiero compartir con ustedes el paso a paso para transformar un pantalón de pijama largo, en dos piezas cortas y más frescas.
Esta pijama me la regalo una amiga, y me gusto mucho el estampado de la tela porque es de unas lindas princesas que me llevan a esos años de la infancia, así que decidí transformar esta única pieza en dos, para hacer un conjunto de pijama y así poder poner en práctica unas pijamas que vi en tutoriales donde transforman las piezas de ropa en otras piezas más lindas, piezas que animan a seguir usándolas.
Aprovechando un poco más la ropa que ya no estábamos utilizando mucho, por alguna razón, pero que nos gusta mucho la tela, aunque tal vez no el diseño, pero sí la tela, esta es una buena manera de reutilizar lo que más nos gusta para vestirnos.
Las fotografías que verán a continuación, fueron tomadas con mi teléfono modelo TECNO SPARK GO 2023.

Warm greetings, dear friends, artist crafters, lovers of needles, threads, scissors and all kinds of sewing accessories, who like me feel proud and pleased to be part of this great NeedleWordkMonday family.
Today I want to share with you the step by step to transform a long pajama pants into two short and cooler pieces.
This pajamas was a gift from a friend, and I really liked the print of the fabric because it is of cute princesses that take me to those years of childhood, so I decided to transform this single piece into two, to make a pajama set and thus be able to implement some pajamas that I saw in tutorials where they transform the pieces of clothing into other nicer pieces, pieces that encourage to continue using them.
Taking advantage a little more of clothes that we were no longer using much, for some reason, but that we really like the fabric, although maybe not the design, but the fabric, this is a good way to reuse what we like the most to dress ourselves.

 |  |
|---|

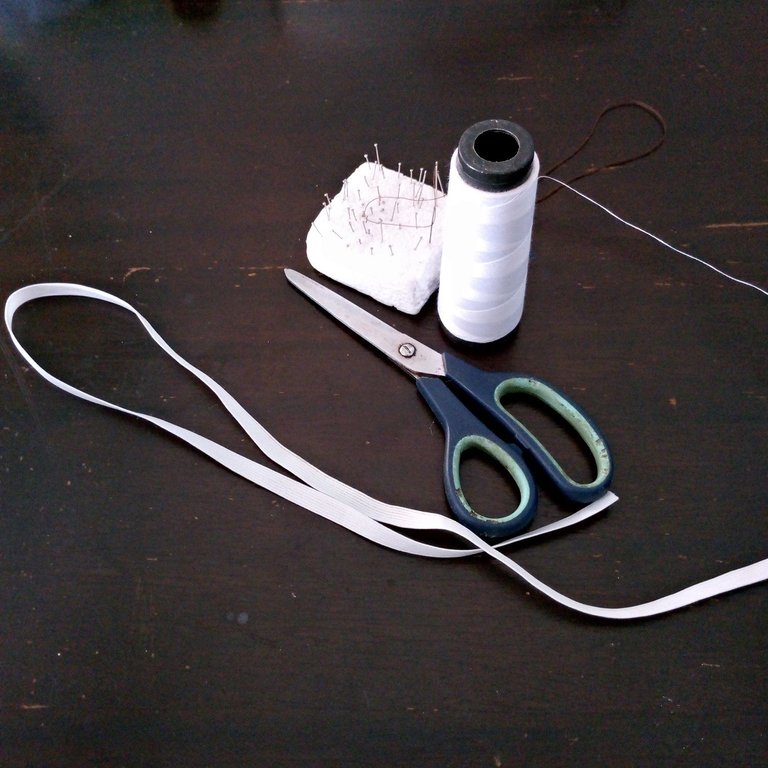
Para hacer esta hermosa y cómoda pijama solo necesitaremos.
Un pantalón largo y ancho de tela suave.
Una tijera que corte muy bien.
Unos centímetros de elástico delgado.
Alfileres.
Aguja.
Hilo blanco.
2 piezas de pijama para emplearla como guía.

To make this beautiful and comfortable pajamas we will only need.
A long and wide pants of soft fabric.
A scissors that cuts very well.
A few centimeters of thin elastic.
Pins.
Needle.
White thread.
2 pieces of pajamas to use as a guide.

 1 1 | 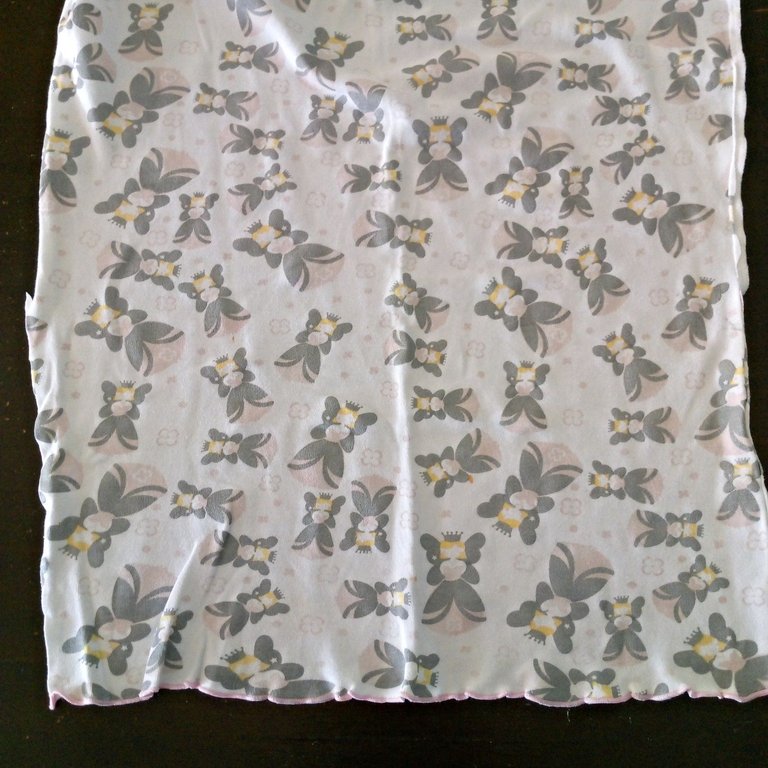 2 2 | 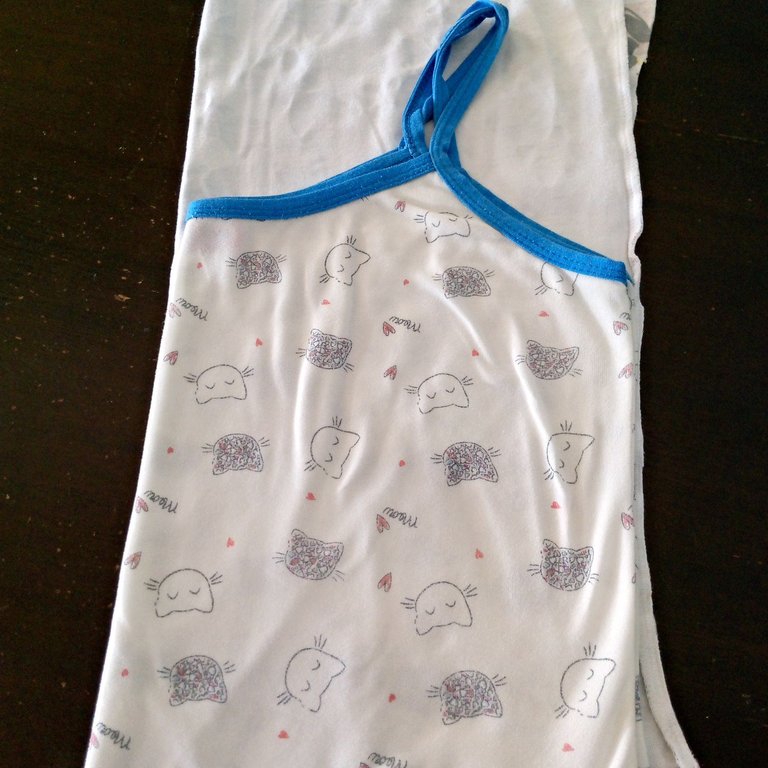 3 3 |
|---|
 4 4 | 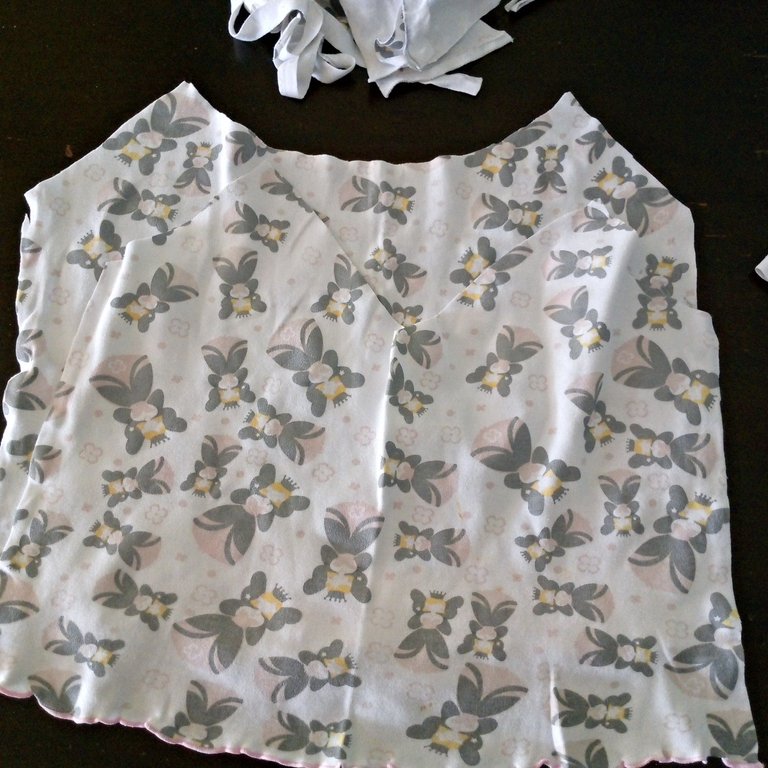 5 5 | 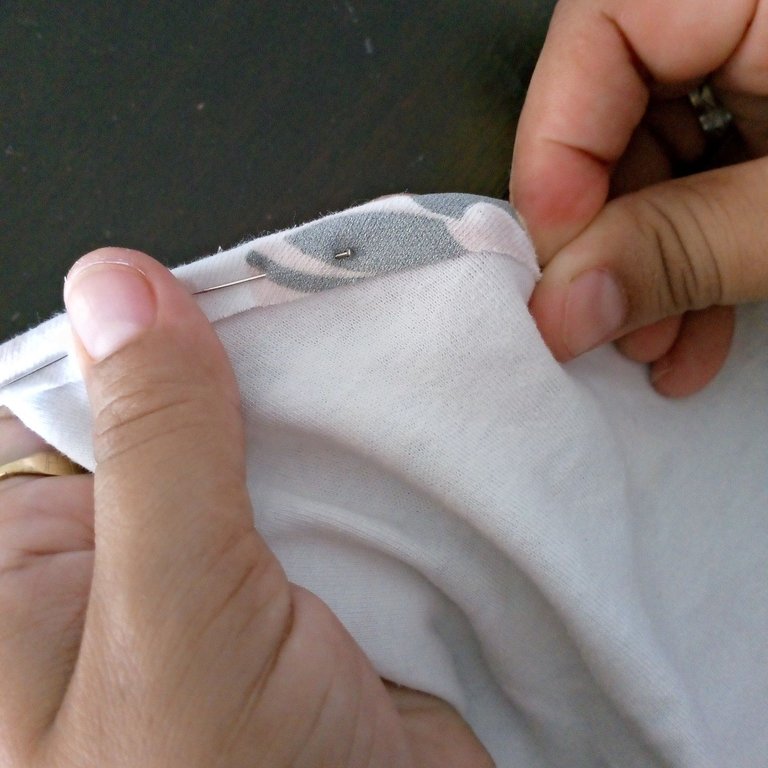 6 6 |
|---|

Selecciona el pantalón de pijama más largo y ancho que tengas.
Corta el pantalón desde la entrepierna hasta la cintura, sin cortar los laterales, y abre cada pernera del pantalón y comprueba que está bien cortada.
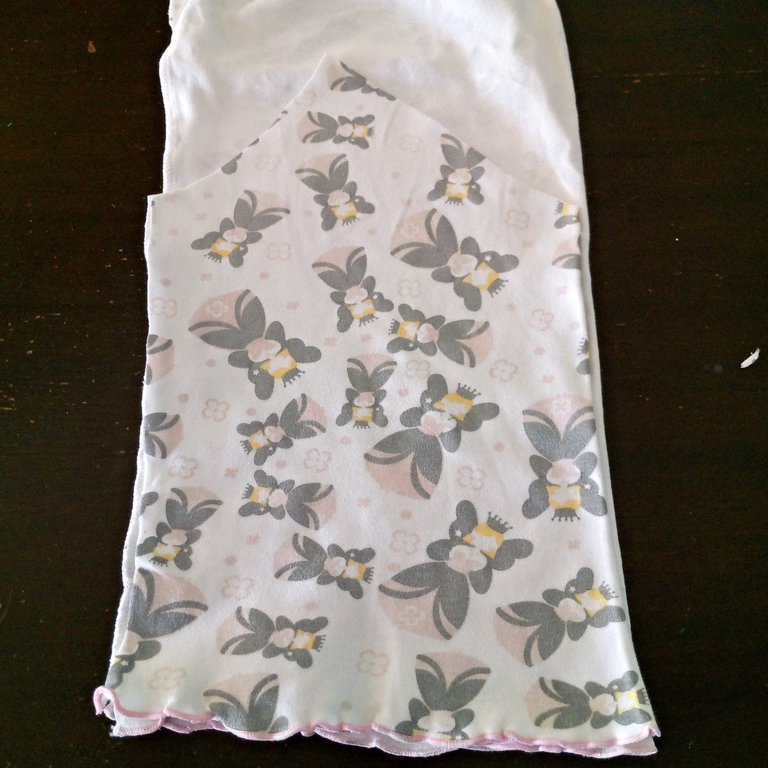
Paso 3. Dobla por la mitad una de las piezas que cortamos por el lado incorrecto para colocar nuestra pieza guía que debe ser medida de abajo hacia arriba para aprovechar el dobladillo de este pantalón, al ser el dobladillo en la blusa, y además está decorado con hilo rosa que se ve muy bonito, este lo dejaremos como parte del dobladillo, si en tu caso no tienes un dobladillo tan bonito, puedes hacerlo a tu gusto tal vez colocando una cinta decorativa.
Para continuar también colocaremos alfileres antes de cortar la pieza para evitar que se enrolle y obtener un corte diferente, de esta manera cortaremos la pieza delantera, los lados abiertos deben ir desde los costados para que nuestra pieza delantera quede completa en el centro y solo coseremos por los costados.
Paso 4. Con la misma pieza delantera que ya hemos cortado, vamos a colocarla sobre el otro trozo de tela para cortar la pieza trasera del top del pijama.
Paso 5. Cortaremos esta pieza trasera con la misma técnica que la pieza anterior, pero la parte superior trasera debe quedar un poco más abierta por detrás.
Paso 6. Cuando terminemos de cortar ambas piezas, vamos a empezar a colocar los alfileres a lo largo de los bordes a 1 cm y luego coser.

Ste 1. Select the longest and widest pajama pants you have.
Ste 2. Cut the pants from the crotch to the waistband, without cutting the sides, and open each pant leg and check that it is well cut.
Step 3. Fold in half one of the pieces that we cut on the wrong side to place our guide piece that should be measured from the bottom up to take advantage of the hem of these pants, to be the hem on the blouse, and also is decorated with pink thread that looks very nice, this we will leave as part of the hem, if in your case you do not have such a nice hem, you can make it to your liking perhaps by placing a decorative ribbon.
To continue we will also place pins before cutting the piece to prevent it from rolling and get a different cut, in this way we will cut the front piece, the open sides should go from the sides so that our front piece is complete in the center and we will only sew along the sides.
Step 4. With the same front piece that we have already cut, we are going to place it on the other piece of fabric to cut the back piece of the pajama top.
Step 5. We will cut this back piece with the same technique as the previous piece, but the top back should be a little more open in the back.
Step 6. After we finish cutting both pieces, we are going to start placing the pins along the edges at 1 cm and then sew.

 7 7 | 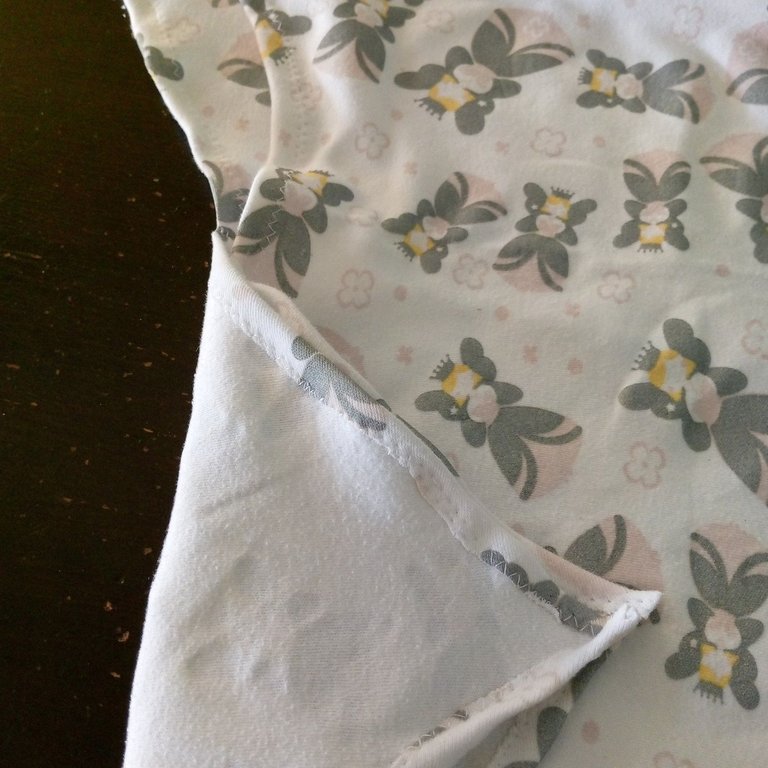 8 8 | 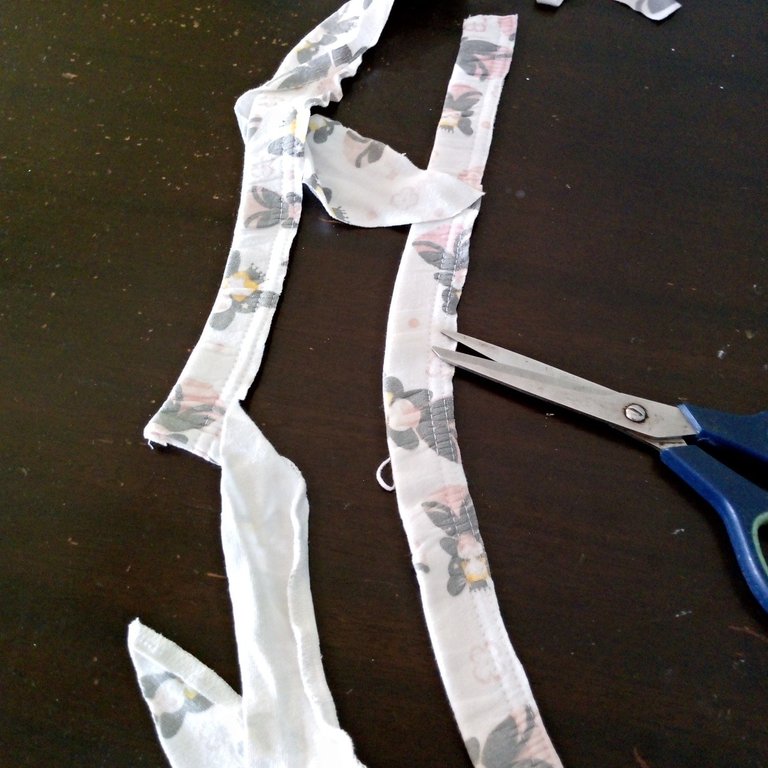 9 9 |
|---|
 10 10 | 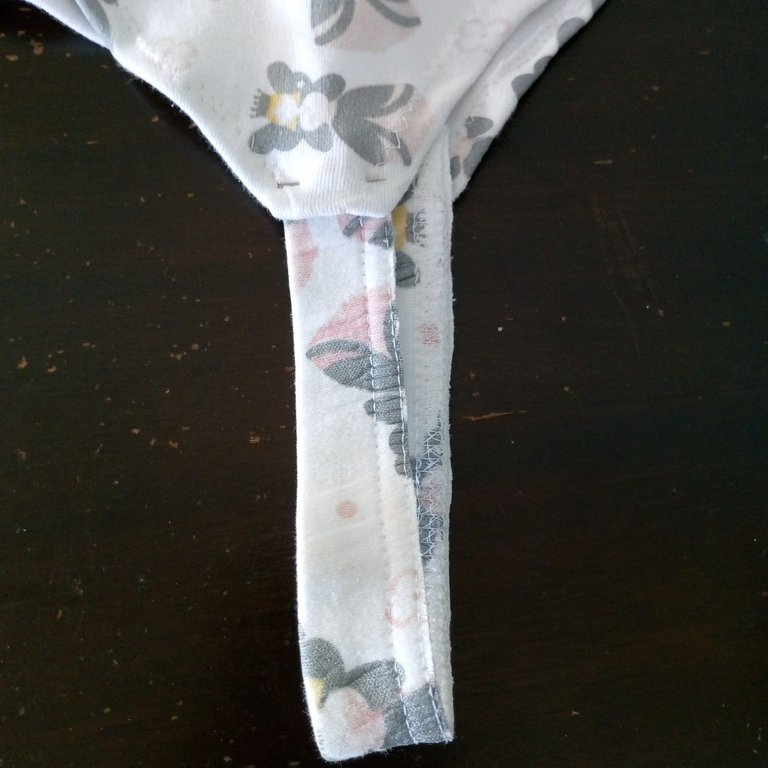 11 11 | 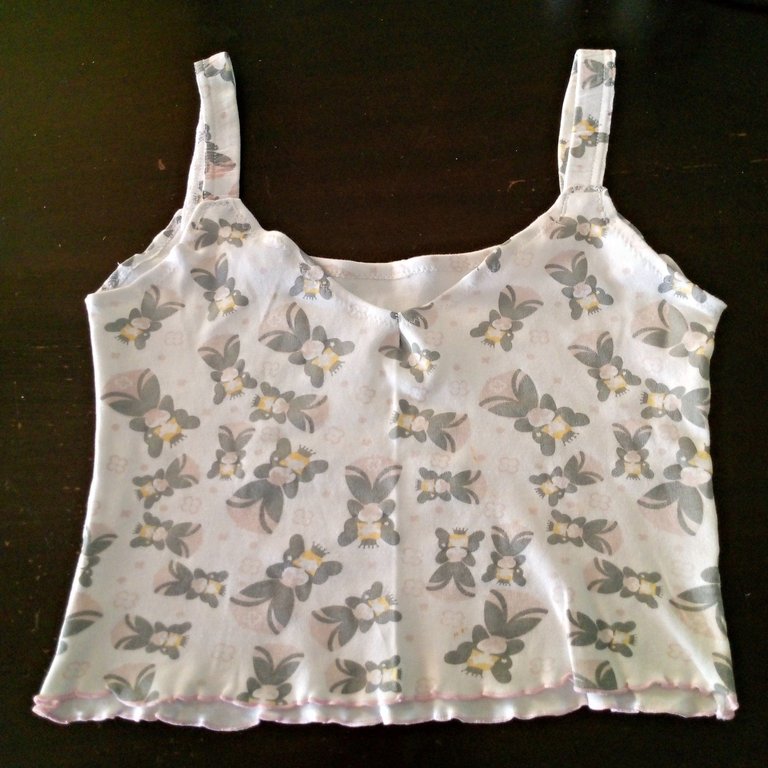 12 12 |
|---|

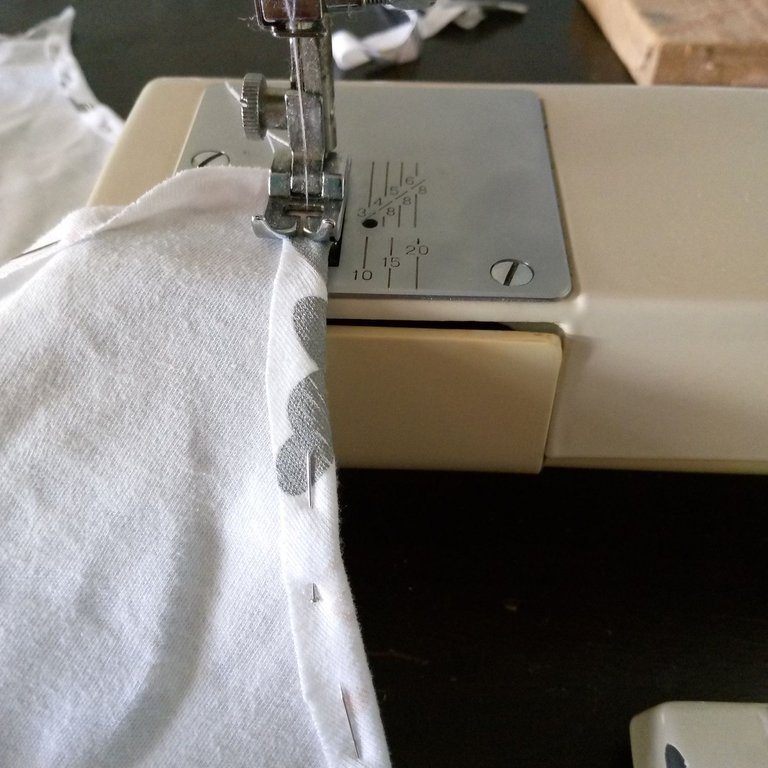
Paso 7. Comenzaremos a coser las orillas de la blusa, con costura zigzag número 4.
Paso 8. Verificamos que nos haya quedado bien ambos lados.
Paso 9. Usaremos la parte de la pretina para hacer las tiras de la blusa, ya que no me alcanzo la tela y me pareció una buena opción.
Paso 10. Las presentamos en la blusa para ver que tal quedan.
Paso 11. Colocaremos los alfileres, en este paso vamos a doblar 1 cm de la parte de las puntas superiores de la blusa hacia dentro más 1 cm de la tira detrás de este doble y fijaremos con los alfileres.
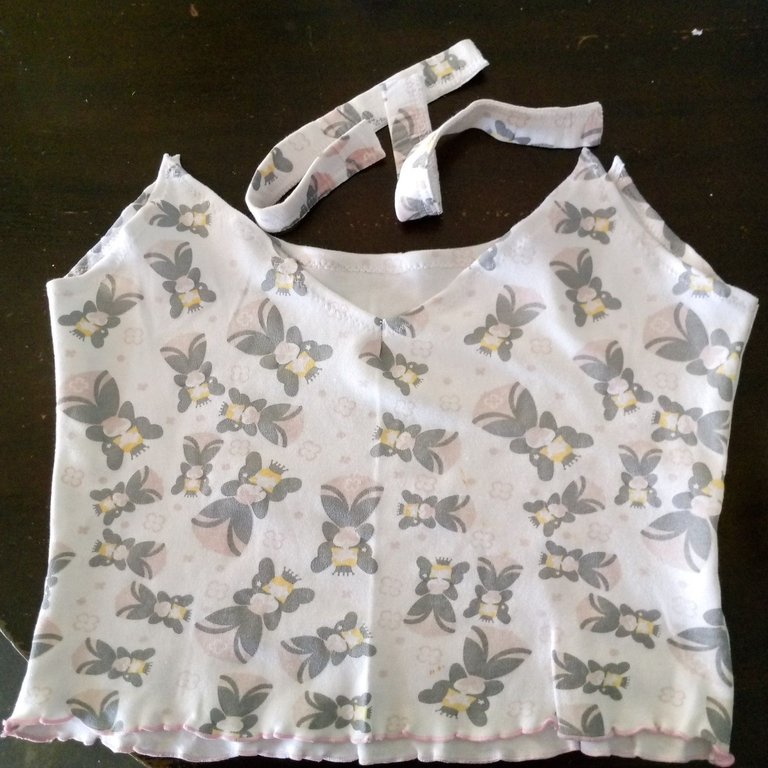
Paso 12. Vamos a coser siguiendo la forma como doblamos para que se vea bien el acabado, así queda terminada la blusa de la pijama.

Step 7. We will begin to sew the edges of the blouse, with zigzag stitching number 4.
Step 8. We verify that we have been well both sides.
Step 9. We will use the part of the waistband to make the strips of the blouse, since I didn't have enough fabric and I thought it was a good option.
Step 10. We present them on the blouse to see how they look.
Step 11. We will place the pins, in this step we will fold 1 cm of the part of the upper ends of the blouse inwards plus 1 cm of the strip behind this fold and fix with the pins.
Step 12. We are going to sew following the way we folded so that the finish looks good, this way the pajama blouse is finished.

 1 1 | 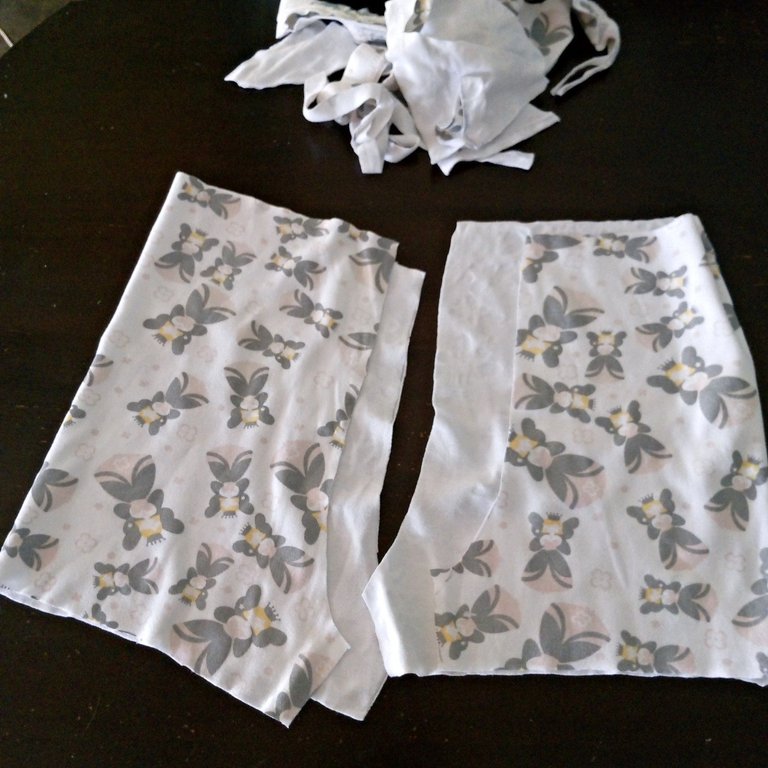 2 2 | 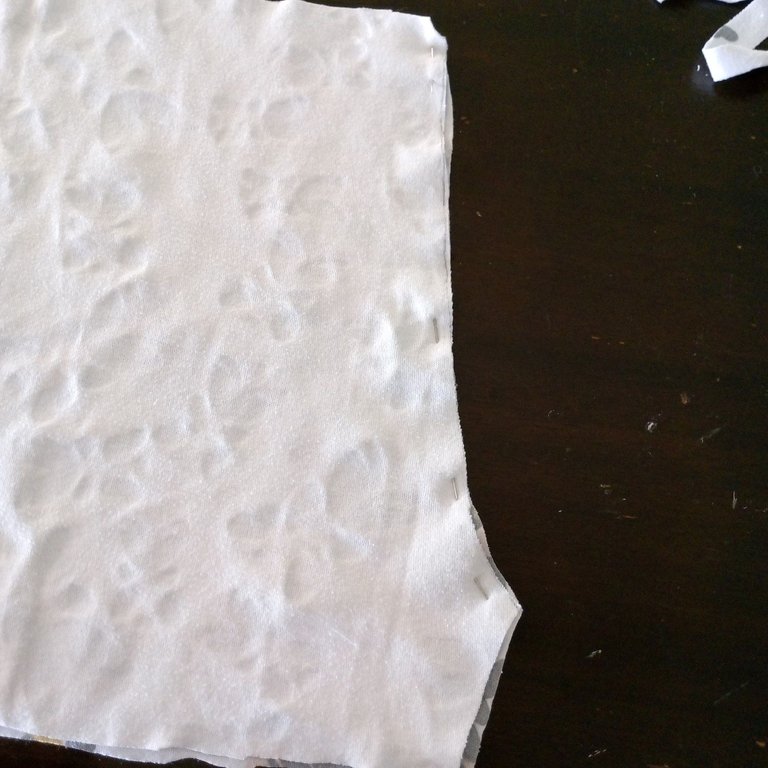 3 3 |
|---|
 4 4 | 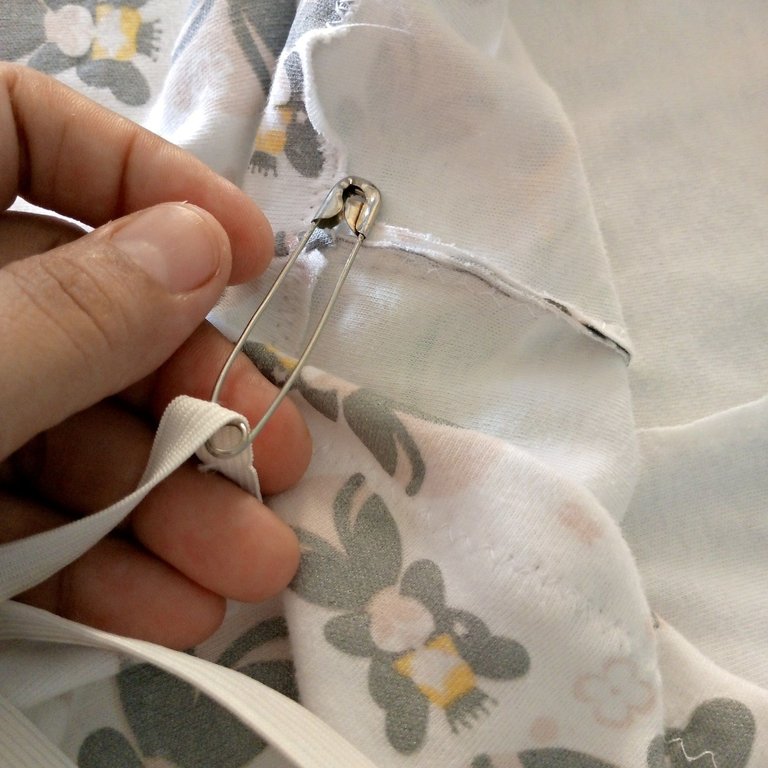 5 5 | 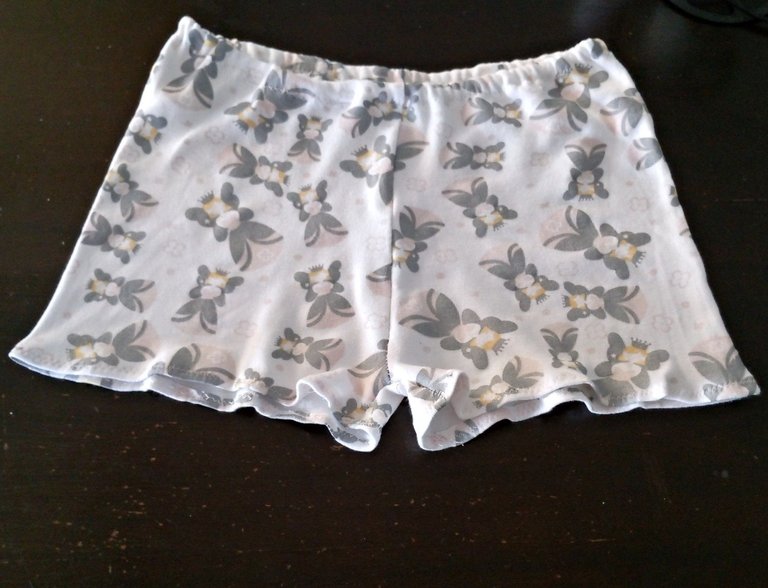 6 6 |
|---|

Paso 1. Comenzaremos a hacer el short de la pijama, con la tela que nos sobró de la parte superior del pantalón, haremos las dos piezas del short.
Tomaremos nuestro short guía y lo vamos a colocar encima de la tela, pero como este short es muy ancho lo vamos a rodar un poco hacia la parte de atrás del lado sin costura de la tela y desde ese punto fijaremos y comenzaremos a cortar tanto la pieza delantera como la pieza trasera.
Paso 2. Cortadas las dos piezas, lo que vamos a hacer es cortar 2 cm en las piezas delanteras para que nos quede las piezas traseras con más volumen que la pieza delantera, debido a que si no le retiramos esos dos centímetros el short quedará como con una bolsa en la parte delantera que es incómodo y da mal aspecto, también para que no quede recto o igual en la pretina vamos a cortar 1.5 cm en la pretina delantera para hacer ese detalle más corto delante y un poco más alto en la pieza trasera.
Paso 3. Seguido colocaremos las piezas delanteras y traseras del lado derecho y vamos a fijar con los alfileres para luego coser las dos piezas uniendo las dos delanteras y las dos traseras, luego coseremos, después de culminar esta costura las enfrentamos dejando todavía derecho con derecho de la tela, luego vamos a coser él entrepierna.
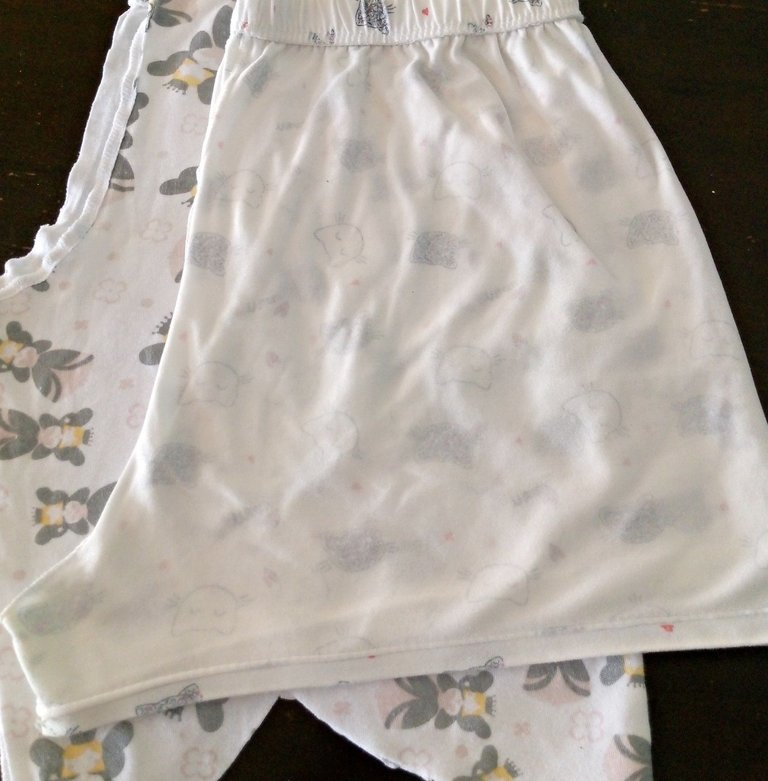
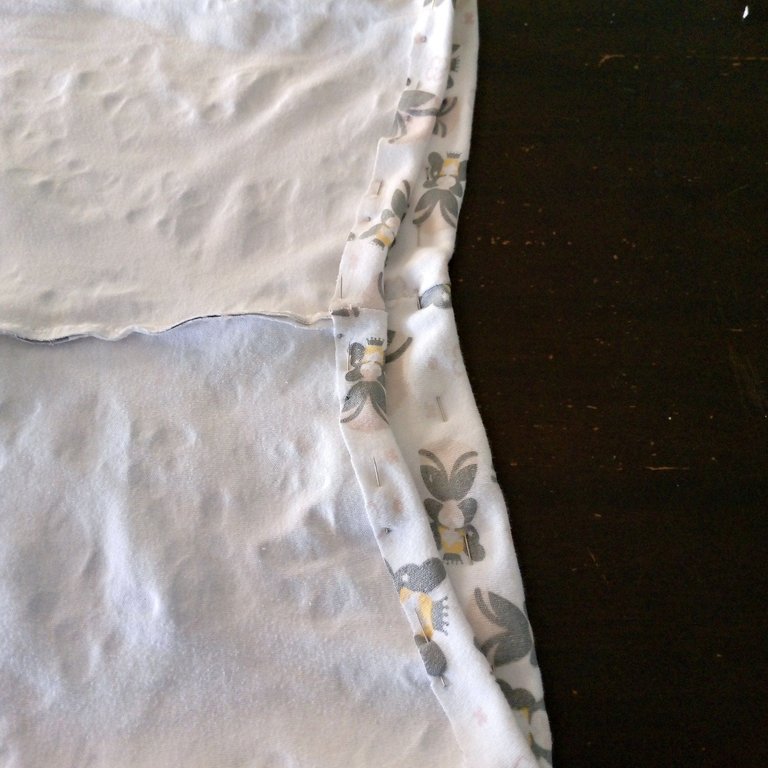
Paso 4. En este paso vamos a doblar 2 cm de pretina hacia dentro y fijamos con alfileres, también haremos un doble para el ruedo de 1 cm hacia dentro, y coseremos con la costura de zigzag.
Paso 5. Cuando terminemos de coser el doble de los 2 cm de pretina usaremos una goma delgada y la vamos a colocar con un alfiler, por la parte delantera donde dejamos un pequeño orifico, después coseremos la goma a la medida de la cintura, luego cerramos el orificio con una aguja con hilo y ya tenemos listo nuestro short para el conjunto de pijama.
Paso 6. Podemos estar contentos con el resultado de nuestro gran trabajo, de esta manera podemos ir haciendo las prácticas para luego emprender con la elaboración y transformación de pijamas.

Step 1. We will start making the pajama shorts, with the fabric that we have left over from the top of the pants, we will make the two pieces of the shorts.
We will take our guide short and we will place it on top of the fabric, but as this short is very wide we will roll it a little to the back of the seamless side of the fabric and from that point we will fix and begin to cut both the front piece and the back piece.
Ste 2. Once the two pieces are cut, what we are going to do is cut 2 cm in the front pieces so that the back pieces have more volume than the front piece, because if we do not remove those two centimeters the short will be like a bag in the front which is uncomfortable and gives bad appearance, also so that it is not straight or the same in the waistband we will cut 1.5 cm in the front waistband to make that detail shorter in front and a little higher in the back piece.
Step 3. Next we will place the front and back pieces on the right side and we will fix with the pins and then sew the two pieces joining the two front and the two back pieces, then we will sew, after finishing this seam we face them leaving still right to right of the fabric, then we will sew the crotch.
Step 4. In this step we will fold 2 cm of waistband inward and fix with pins, we will also make a double for the hem of 1 cm inward, and sew with zigzag stitching.
Step 5. When we finish sewing the double of the 2 cm of waistband we will use a thin rubber and we will place it with a pin, in the front part where we leave a small hole, then we will sew the rubber to the waist size, then we close the hole with a needle and thread and we have our shorts ready for the pajama set.
Step 6. We can be happy with the result of our great work, in this way we can go doing the practices to then undertake with the development and transformation of pajamas.

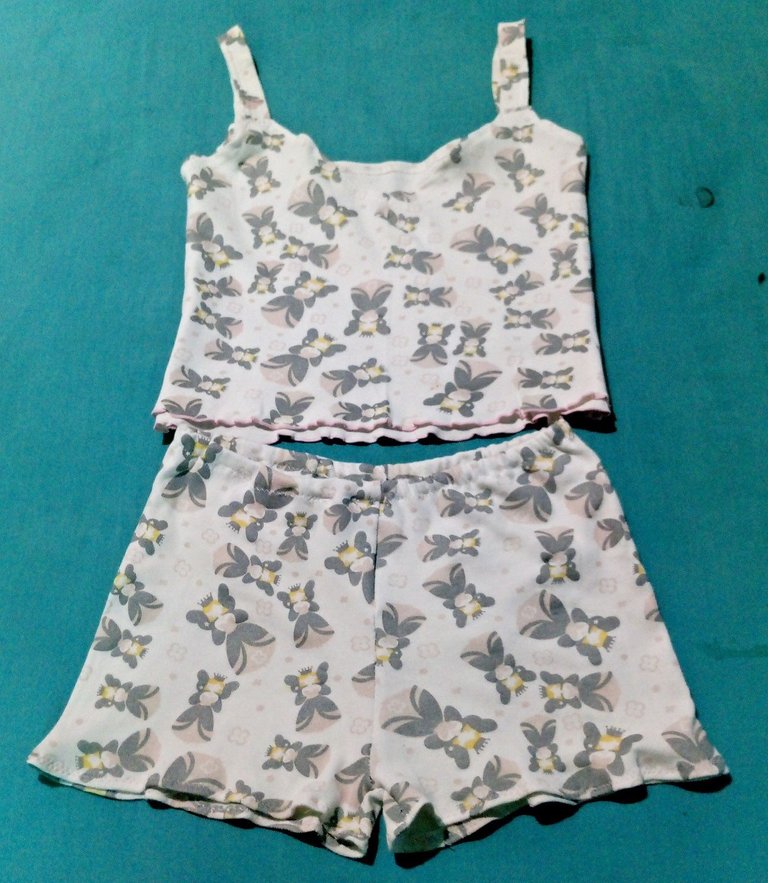

Después de que hayamos culminado nuestro trabajo podemos estar felices con los resultados de nuestra pijama, espero que se animen a aprovechar esas pijamas que tenemos sin usar por ser muy anchas o no tener las dos piezas, porque con esta forma podemos hacer unas piezas más sencillas cómodas y frescas, para relajarnos al descansar, sobre todo con esta ola de calor.
Gracias por acompañarme hasta aquí y leer mi publicación, espero que les agrade y volvamos a vernos en otra de mis publicaciones.
Les envió un fuerte abrazo cariñoso, desde cualquier lugar que se encuentren, se les quiere amigos.

After we have completed our work we can be happy with the results of our pajamas, I hope you are encouraged to take advantage of those pajamas that we have unused for being too wide or not having the two pieces, because with this form we can make some simple pieces more comfortable and cool, to relax when resting, especially with this heat wave.
Thank you for joining me here and reading my publication, I hope you like it and we will see each other again in another of my publications.
I send you a big hug, from wherever you are, you are loved friends.

social networks / redes sociales
Traductor Deepl
Translated Deepl
Ediciones Canva
Editions Canva


Congratulations, your post has been upvoted by @dsc-r2cornell, which is the curating account for @R2cornell's Discord Community.
Enhorabuena, su "post" ha sido "up-voted" por @dsc-r2cornell, que es la "cuenta curating" de la Comunidad de la Discordia de @R2cornell.
!giphy good work
!PIZZA
!DHEDGE
@sagarkothari88 reward 0.05 HP
Via Tenor
😀Thank you very much friend .
💐 🎁 Gift 🎁 💐
Empowering NeedleWorkMonday
Upvote This Comment
Please 🙇♂️ Support Me Back 🙏 - Vote for me
Thank you very much 💙🤗
🙂
This post has been selected for upvote from our token accounts by @bhattg! Based on your tags you received upvotes from the following account(s):
- @dhedge.bonus
- @dhedge.waiv
@bhattg has 7 vote calls left today.
Hold 10 or more DHEDGE to unlock daily dividends and gain access to upvote rounds on your posts from @dhedge. Hold 100 or more DHEDGE to unlock thread votes. Calling in our curation accounts currently has a minimum holding requirement of 100 DHEDGE. The more DHEDGE you hold, the higher upvote you can call in. Buy DHEDGE on Tribaldex or earn some daily by joining one of our many delegation pools at app.dhedge.cc.
Impressive! It is amazing the way you use long pajama pants to make two short pieces. It is beautiful. Great job! Keep up the good work!
Hermoso trabja, muchos exitos. Continua enseñándonos.
Gracias amiga así lo hare 😃
Hola Laura. Genial tu idea para aprovechar al máximo esta tela. Pienso que los pijamas cortos son mucho más comodos que los largos así que me pareció genial que hayas podido transformar este. Te quedó muy lindo ❤️
Hola mi querida @lauramica, gracias por tu alentador comentario, que bueno que te haya gustado.🤗
Oh I always love to turn one piece into two, very satisfying, I find🙃
Well done!!😊
Thanks to you too, what a pleasure to know that you liked it.💜🌼
You are most welcome!😘