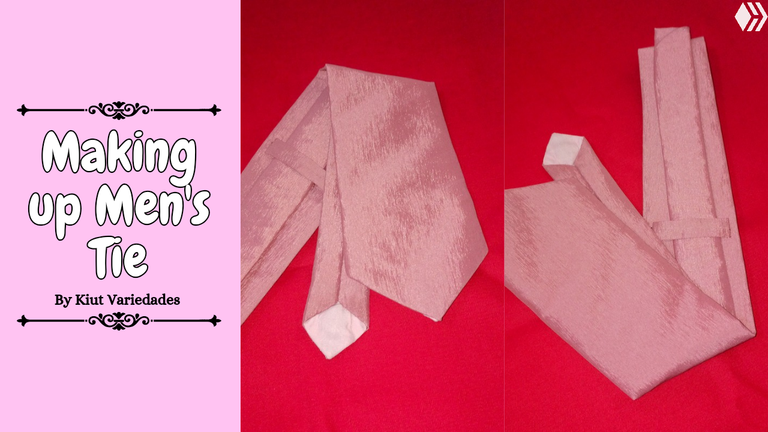
¡Hola Hola Comunidad! ✨, resulta que mis papás fueron invitados a ser padrinos de una boda hace un par de semanas, porque ya saben que Diciembre es el mes de las bodas, así que ambos decidieron esclavizarme con costura para ese día, sin embargo el más descarado fue mi papá 🤣, que no solo me comprometió para coserle a él sino a otros padrinos, pues necesitaban corbatas de un color en particular que poco se consigue, así que me preguntaron si yo era capaz de hacerlas y dije que podía intentarlo, así que el día de hoy les mostraré la confección de una corbata para caballero 😌✨.
Hello Hello Community! ✨, it turns out that my parents were invited to be godparents at a wedding a couple of weeks ago, because you know that December is the month of weddings, so they both decided to enslave me with sewing for that day, however the most shameless was my dad 🤣, who not only engaged me to sew for him but also for other groomsmen, because they needed ties of a particular colour that is rarely available, so they asked me if I was able to make them and I said I could try, so today I will show you the making of a tie for a gentleman 😌✨.
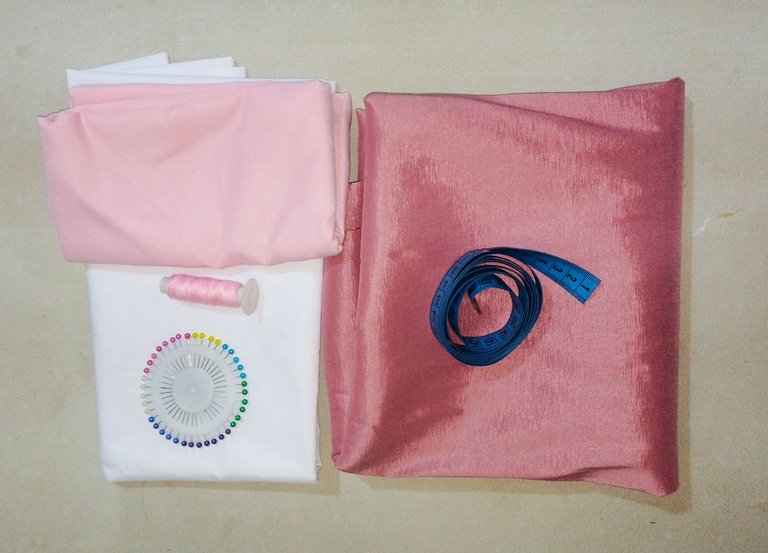
👔 MATERIALES || MATERIALS 🧵
- 1 m de tela para corbatas.
- ½ m de entretela termo adhesiva.
- Tela de forro.
- Hilo del color de la tela.
- Cinta métrica.
- Plancha.
- Patrones
- 1 m of tie cloth.
- ½ m of thermo adhesive interlining.
- Lining fabric.
- Thread in the color of the fabric.
- Tape measure.
- Iron.
- Patterns.
👔 MANOS A LA AGUJA || HANDS ON THE NEEDLE 🧵
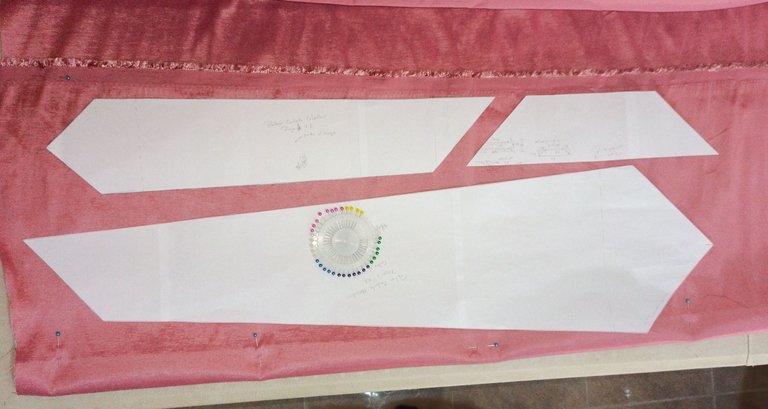
Teniendo los patrones listos nos vamos a la tela principal, normalmente en el trabajo con corbatas, las piezas se cortan al sesgo, sin embargo yo lo estaré haciendo al hilo (es decir a lo largo) porque extrañamente mi tela estira hacía el largo, así que me funciona a la perfección. En la tela principal se cortan las tres piezas que formarán la corbata, en la entretela solo se corta la pieza nro 1 que es la más grande y además a ésta pieza le vamos a quitar 1cm por todos los lados, y en el forro solo cortaremos los picos de las dos piezas más grandes.
Having the patterns ready we go to the main fabric, normally when working with ties, the pieces are cut on the bias, however I will be doing it on the thread (i.e. lengthwise) because strangely my fabric stretches to the length, so it works perfectly for me. In the main fabric you cut the three pieces that will form the tie, in the interlining you only cut the piece number 1 which is the biggest one and we are going to remove 1cm from this piece on all sides, and in the lining we will only cut the ends of the two biggest pieces.
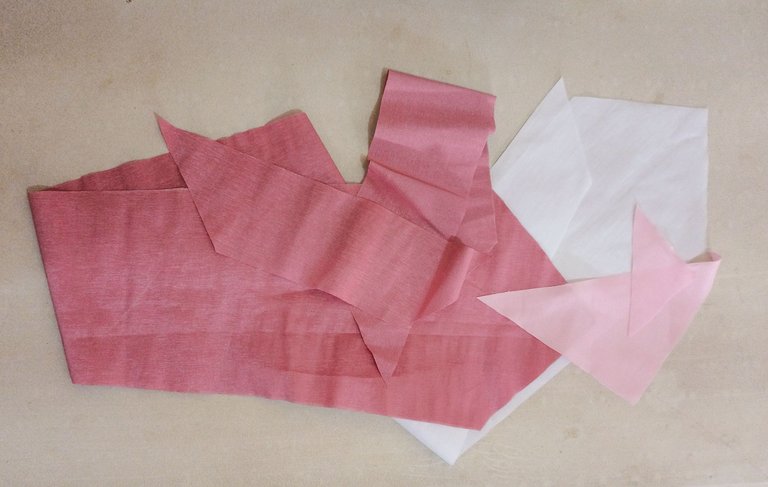
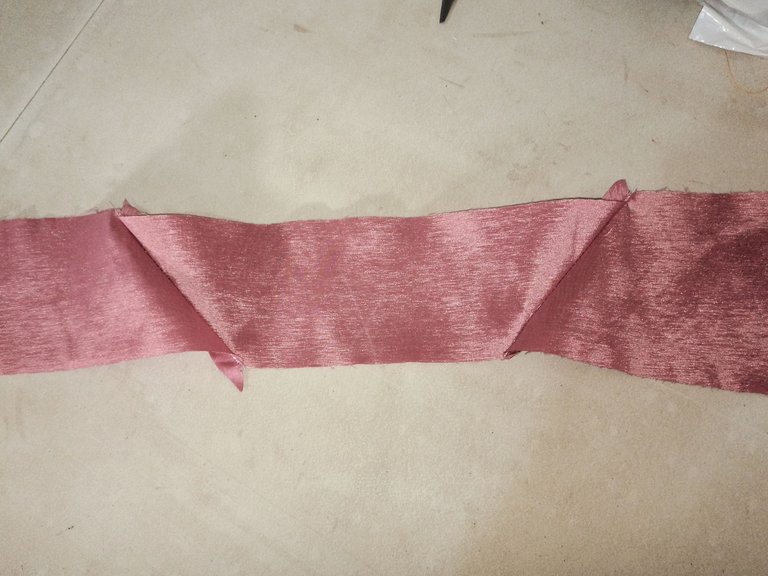
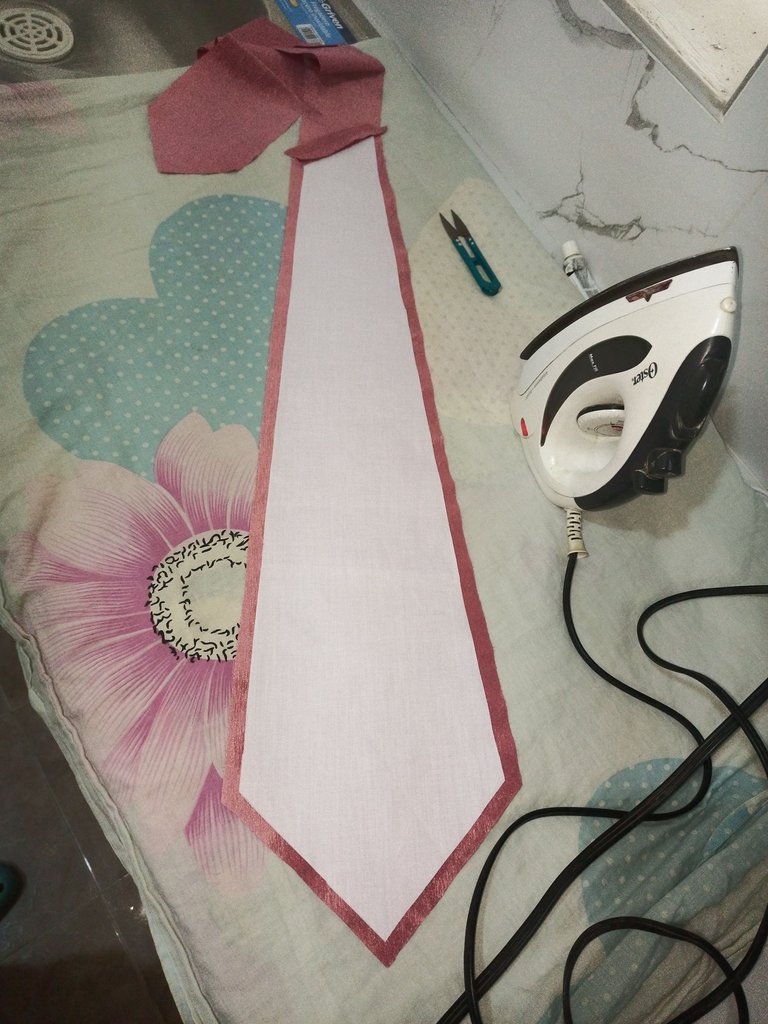
Ahora bien, unimos las tres piezas de la tela principal y planchamos éstas costuras para que quede completamente lisa, a lo largo del post se darán cuenta que la plancha será lo más importante en ésta confección. Luego de ésto pegamos la entretela con ayuda nuevamente de nuestra plancha.
Now, we join the three pieces of the main fabric and iron these seams so that they are completely smooth, you will notice throughout the post that the iron will be the most important thing in this confection. After this we glue the interlining with the help of our iron again.
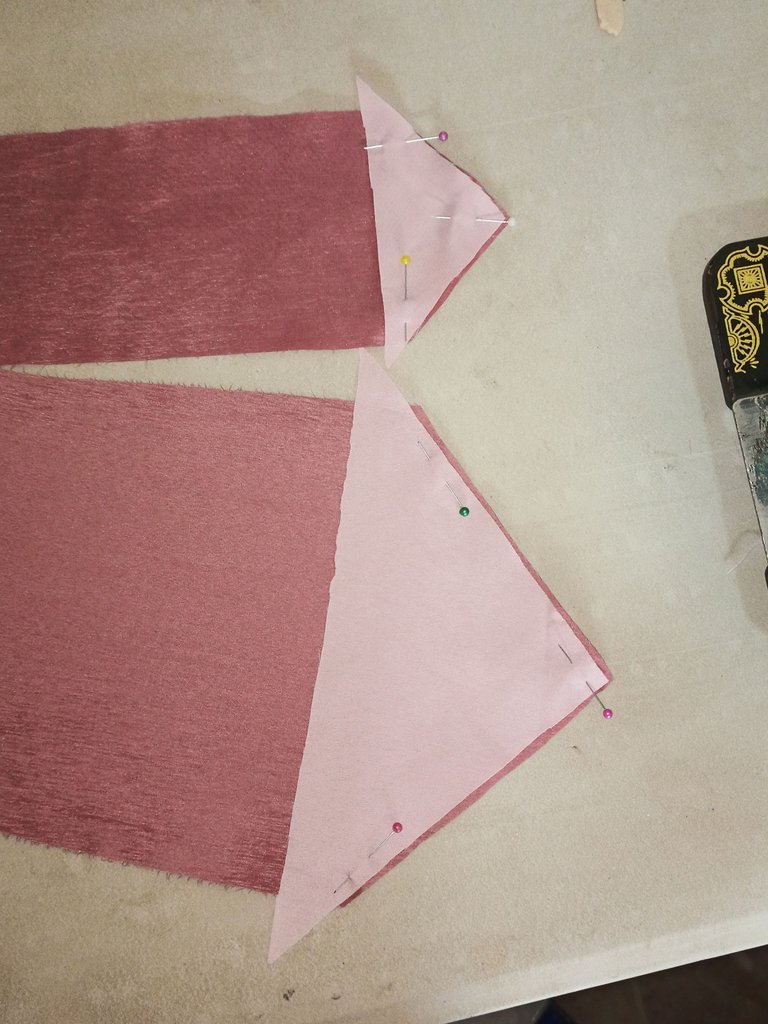
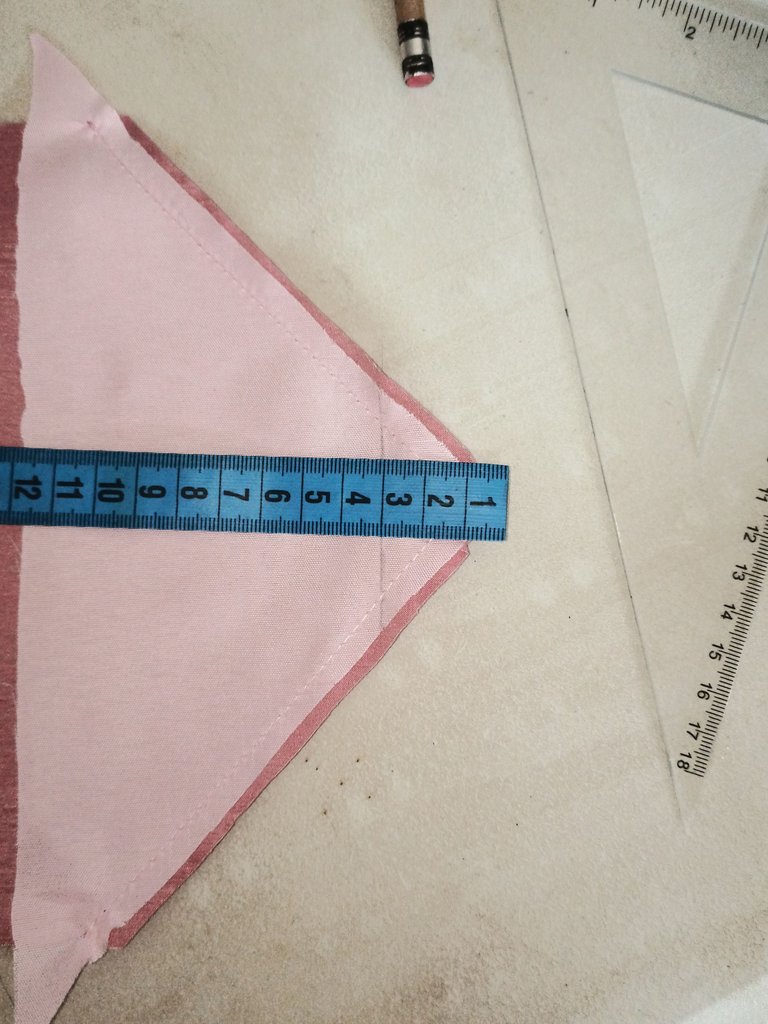
Ubicamos la tela de forro en cada extremo de la corbata y cosemos a 1cm de margen, luego medimos 3cm desde el pico hacía abajo y cosemos en línea recta, al voltear acomodamos muy bien y planchamos haciendo que en forro no sea visible por el otro lado. Doblamos la corbata por la mitad de todo el largo enfrentando el derecho de la tela, y cosemos cuidando que la tela no se mueva al final.
Place the lining fabric at each end of the tie and sew with a 1cm seam allowance, then measure 3cm from the peak downwards and sew in a straight line. When you turn the tie over, we place it very well and iron it so that the lining fabric is not visible on the other side. Fold the tie in half along the whole length, facing the right side of the fabric, and sew, making sure that the fabric does not move at the end.
 |  |
|---|
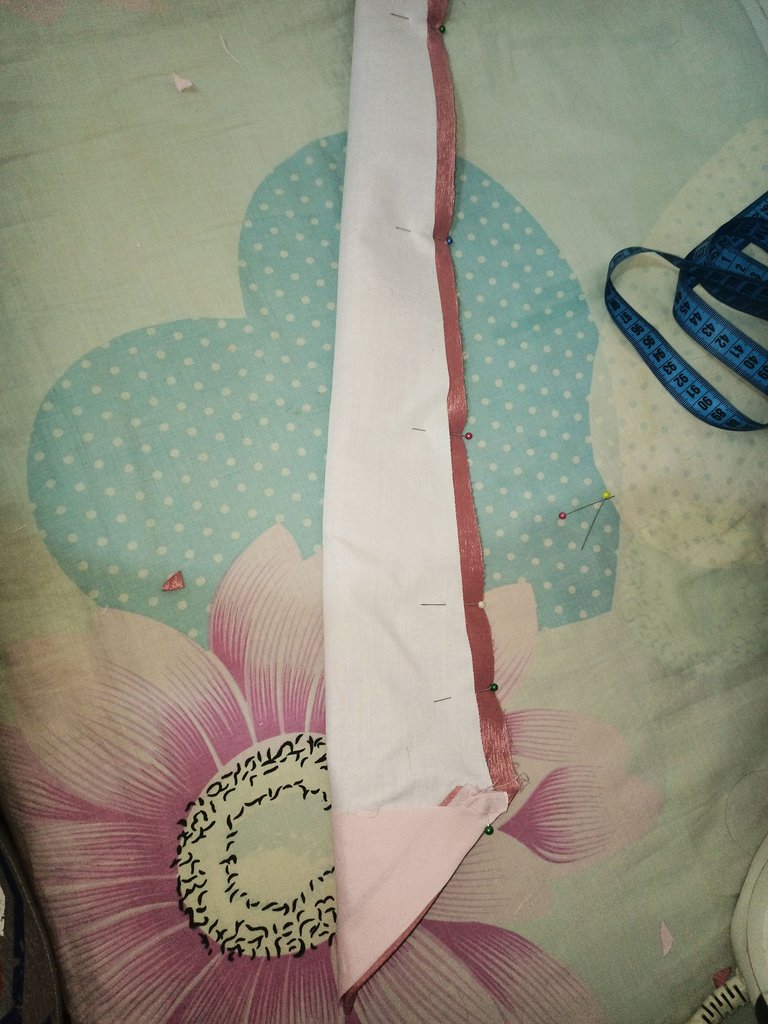
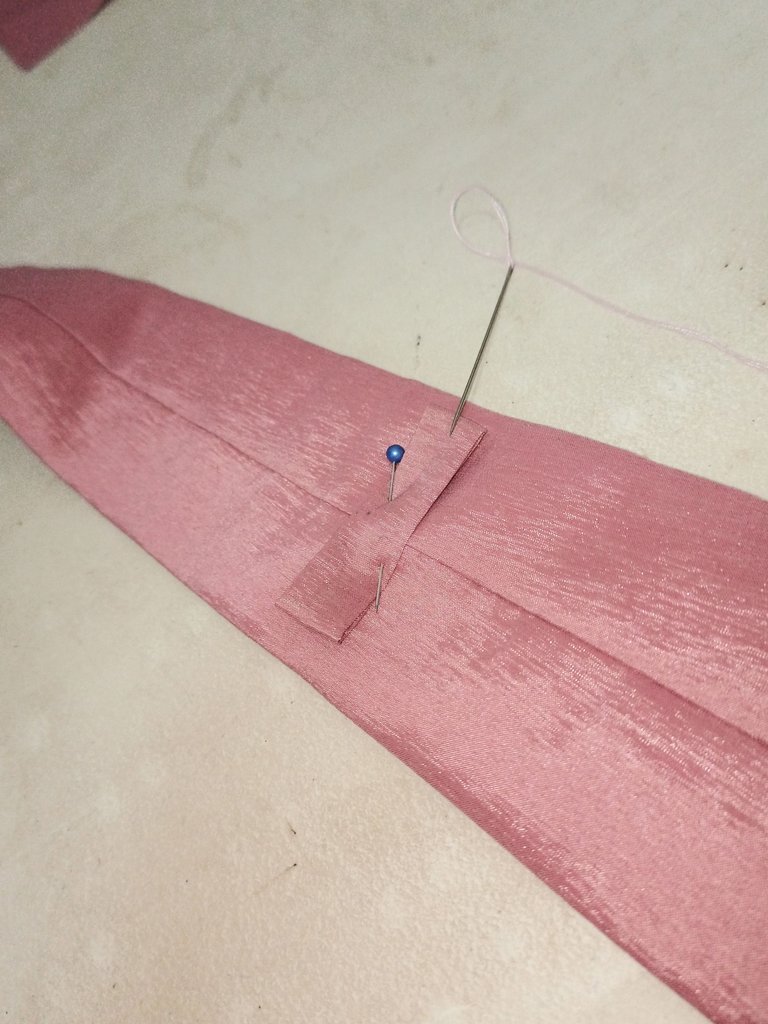
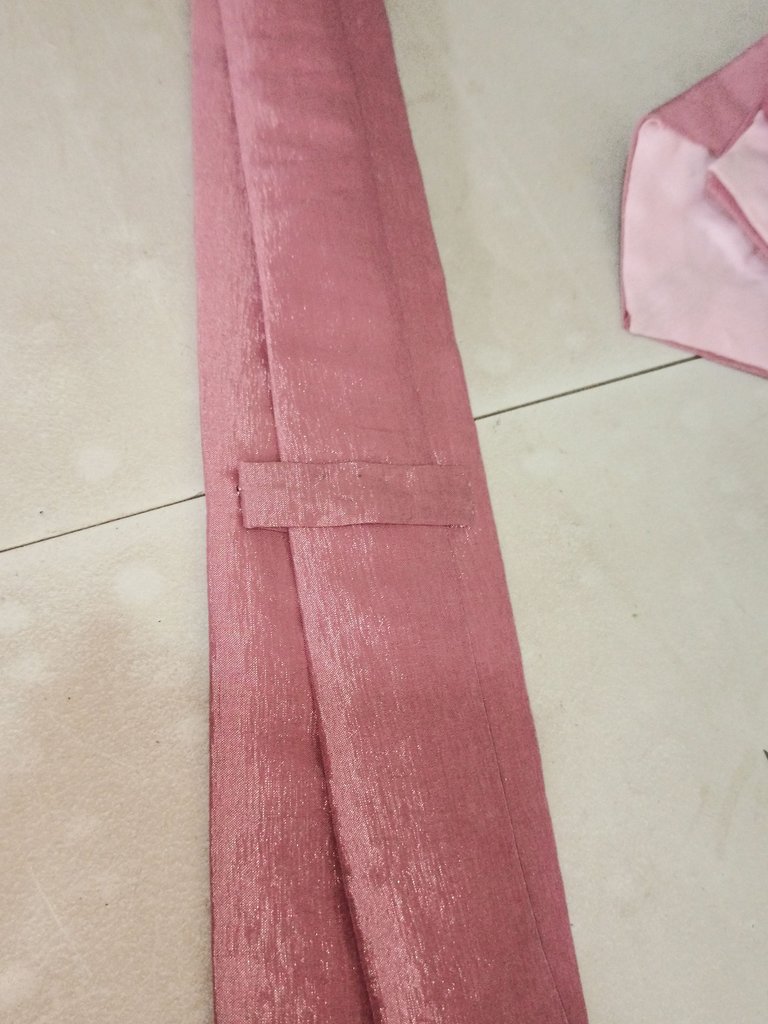
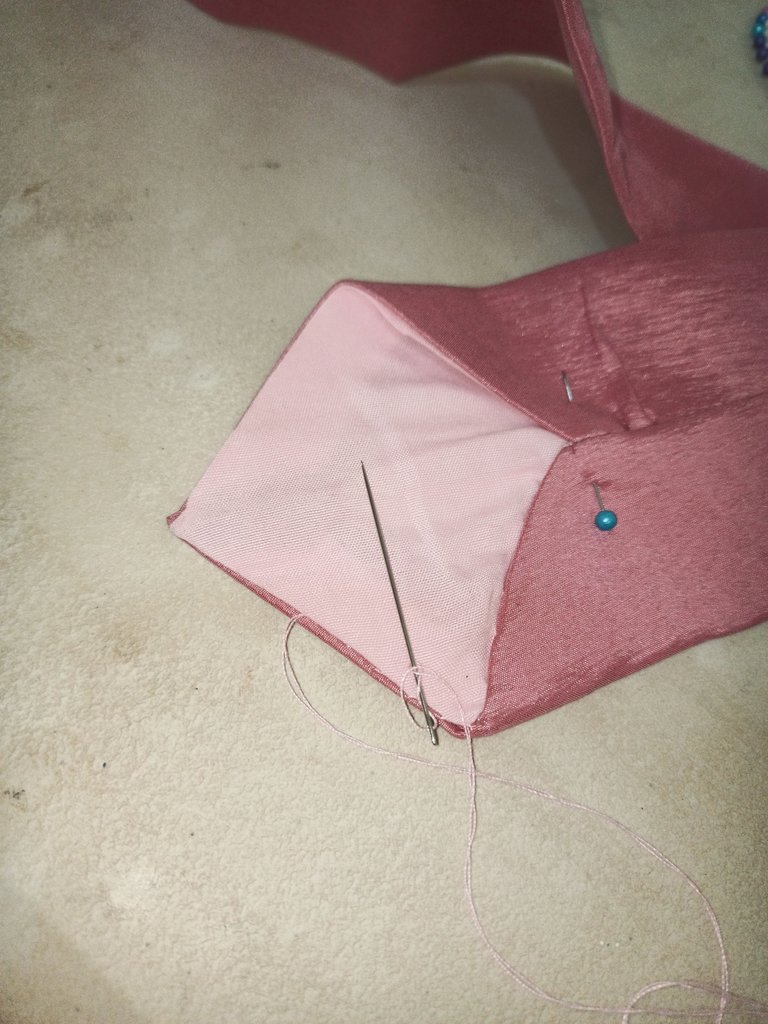
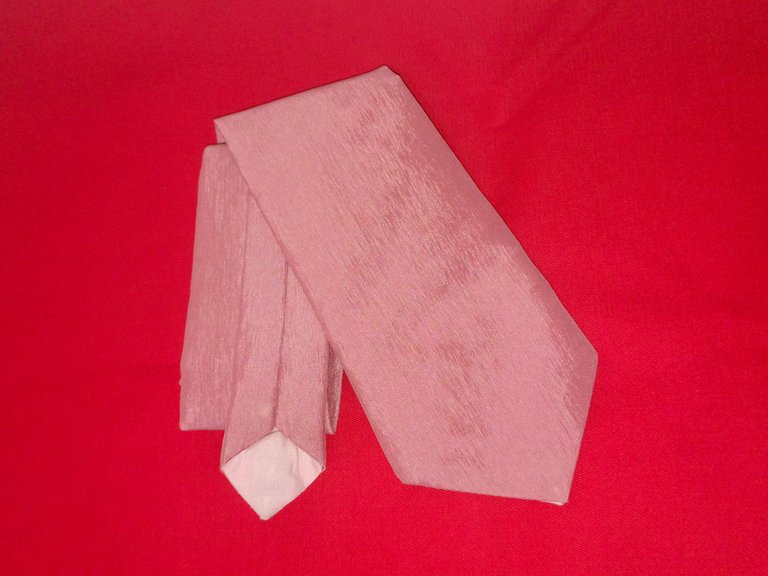
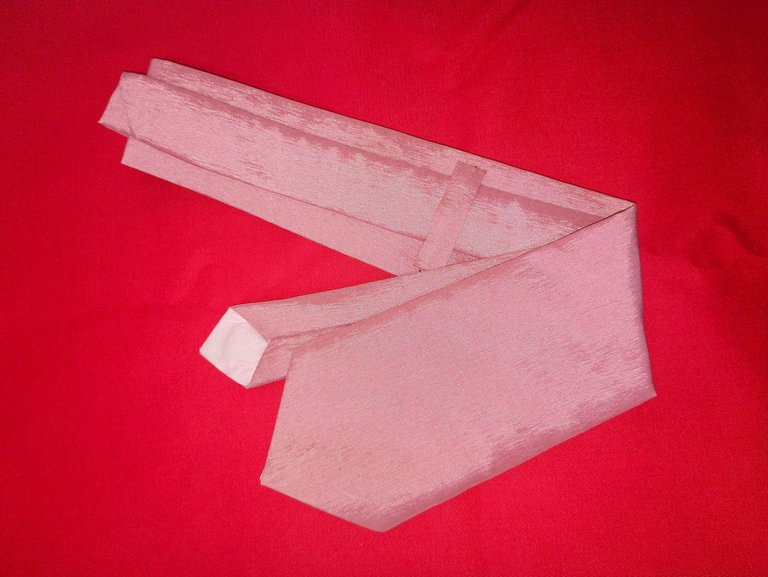
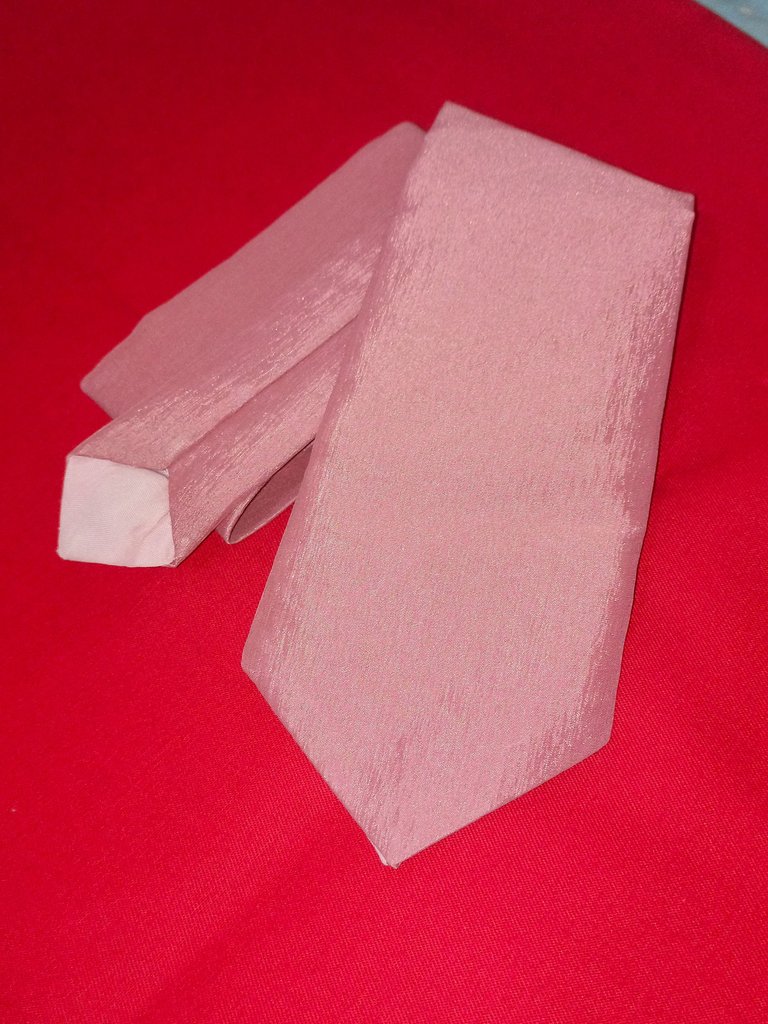
Una vez que volteamos toda ésta pieza, debemos planchar muy bien cuidando que los picos queden iguales de todos sus lados. Para lograr un mejor acabado en la parte del forro, cerramos con costura invisible el espacio de la corbata que queda abierto. Cosemos una pequeña tira que quede de aproximadamente 1cm de grosor por 7cm de largo, y la comeremos con costura invisible, en la parte interna de la corbata a unos 28-30cm de distancia del pico principal (o sea el más grande). Y planchamos por última vez.
Once we have turned the whole piece over, we must iron it very well, making sure that all the ends are the same on all sides. To achieve a better finish in the lining part, we close with invisible stitching the space of the tie that is left open. We sew a small strip approximately 1cm thick by 7cm long, and we sew it with invisible stitching, on the inside of the tie about 28-30cm away from the main peak (i.e. the biggest one). And iron for the last time.
 |  |  |
|---|

Instagram Personal:@susijackeline
Instagram de Maquillaje:@makeup_sm22
Twitter:@kiut_variedades
Thumbnail Image Made in Canva
All Images are my Property
Translator DeepL
Posted Using InLeo Alpha
~~~ embed:1874964486823801056?t=f8mf19ohXaE9Dvga6W3ohQ&s=19 twitter metadata:a2l1dF92YXJpZWRhZGVzfHxodHRwczovL3R3aXR0ZXIuY29tL2tpdXRfdmFyaWVkYWRlcy9zdGF0dXMvMTg3NDk2NDQ4NjgyMzgwMTA1Nnw= ~~~