Good day guys how are we all doing, hope all is well. am so glad to be here,
it’s actually a new weeks of love so friends let love lead, show style benevolent shine your light for everyone to see,It’s been a long day an night hope we’re all filling well, your favorite brand on your screen again, kissblogger so today am here to display my talents with you all, guys get ready for another experience to the fashion world were I’ll be sharing with you all.
sewing tools
collar gum
Light cloth gum
Arming gum
Heirstay gum
Sewing threat
0
Back to the business of today Well......
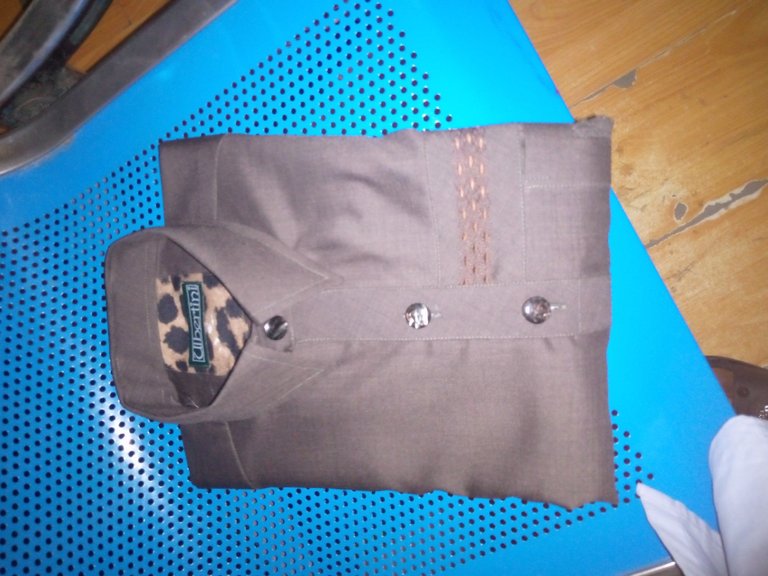
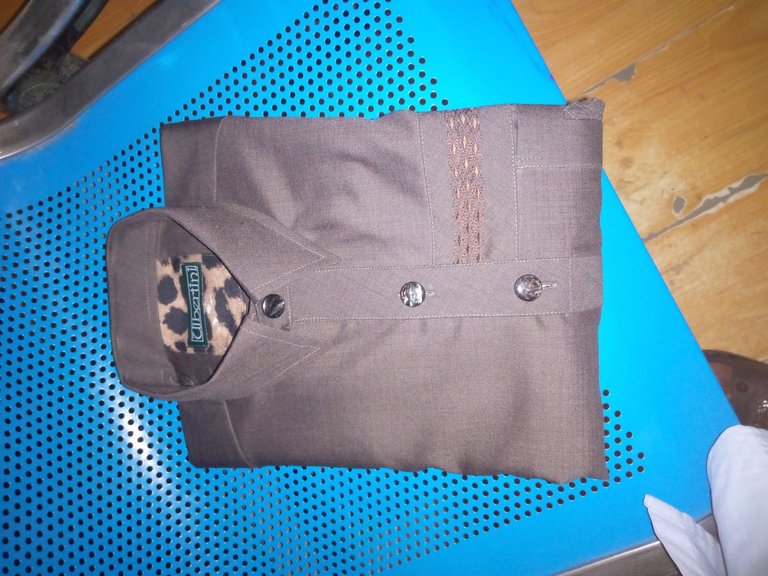
I want to share with you today it’s actually a senator wear I made for a client at my work place, so hope you’ll find my content worthy of
All those Equipment were at my disposal so I first grab the material and I lay it out and draft the measurement of the person on it and I proceeded towards cutting all the body parts out.
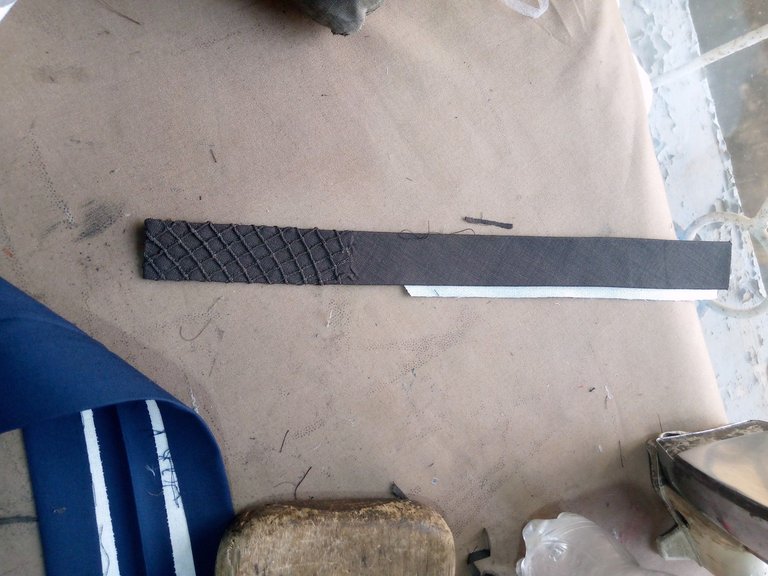
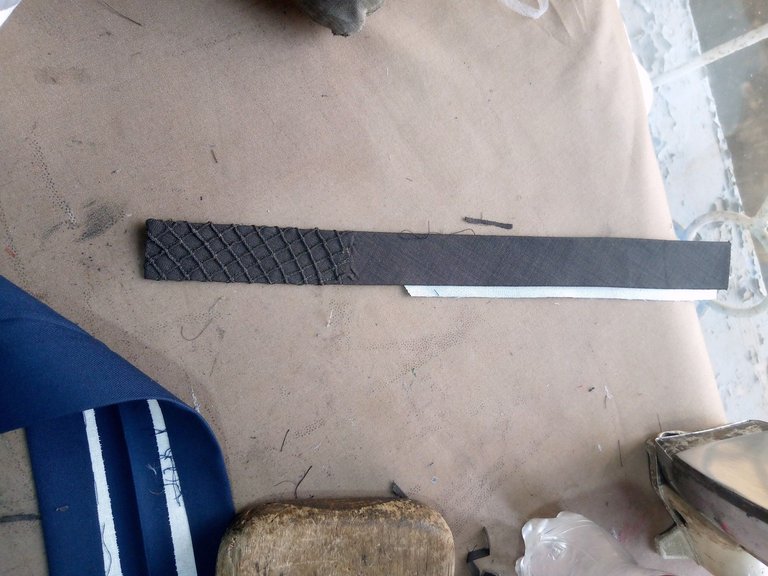
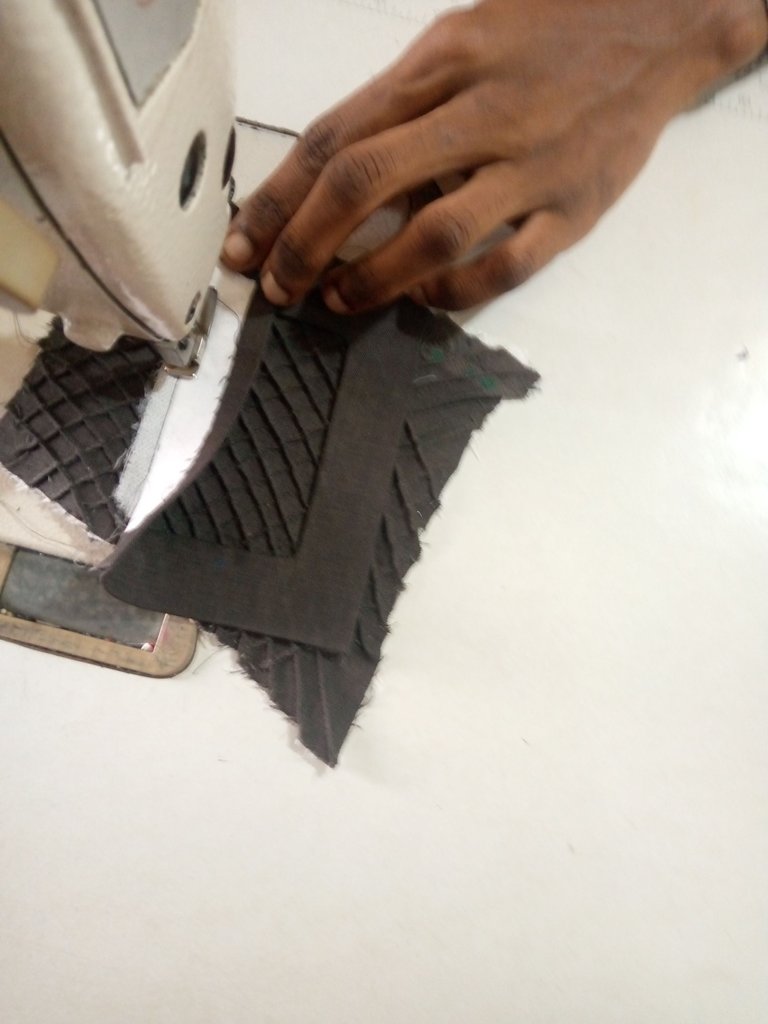
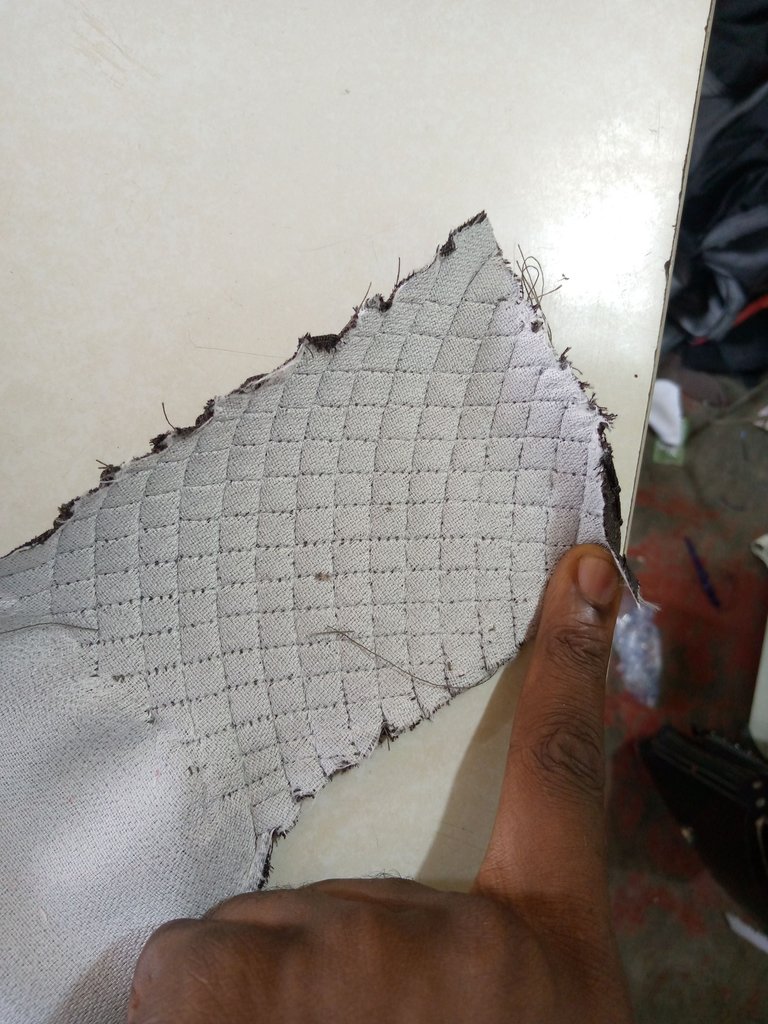
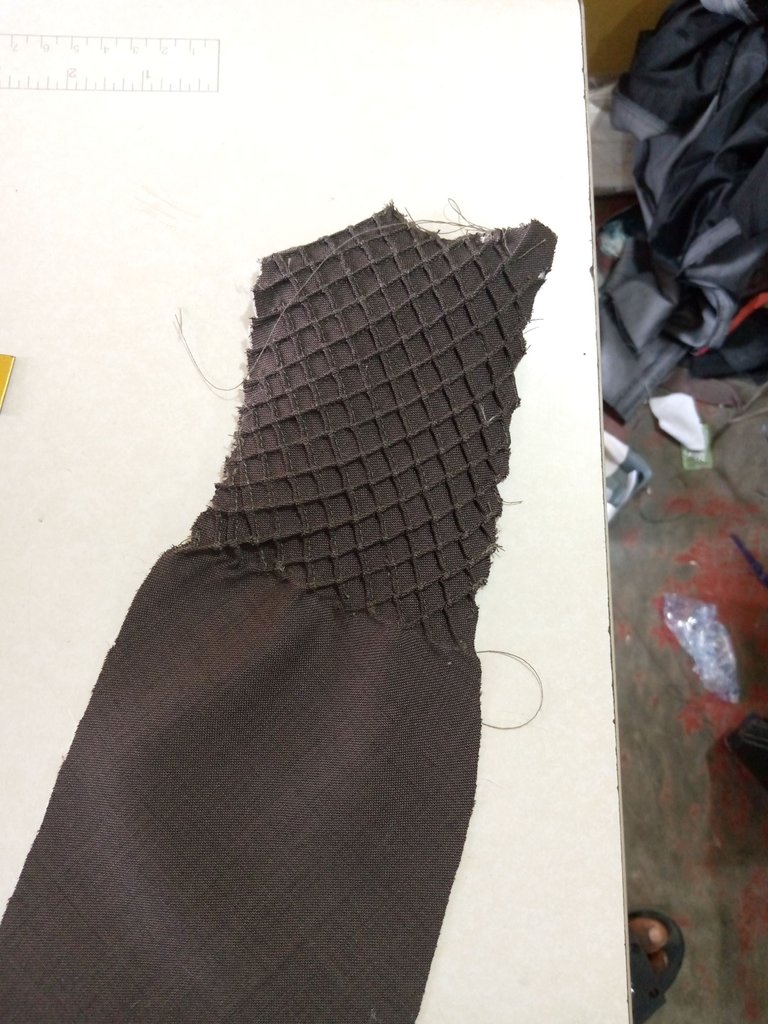
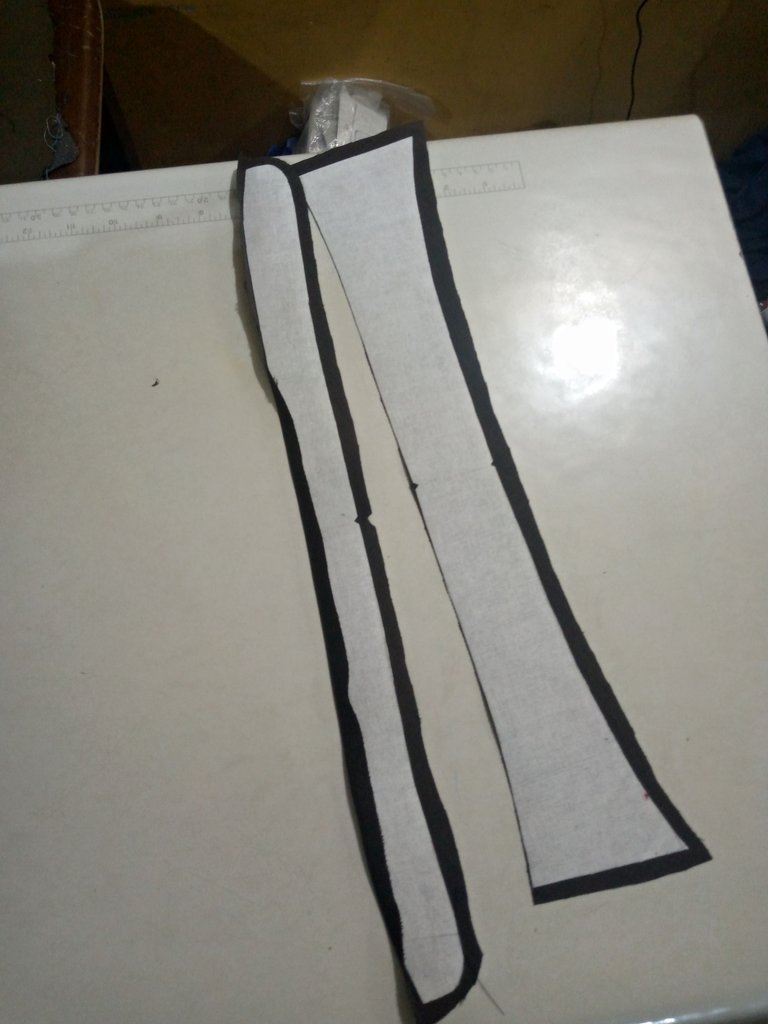
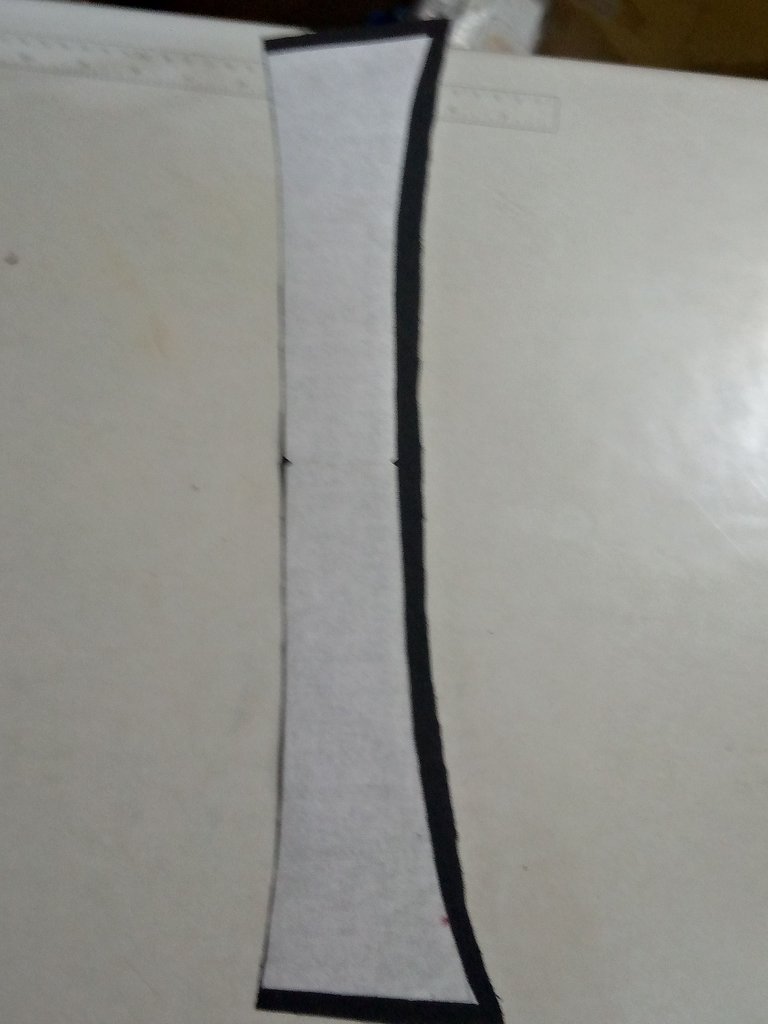
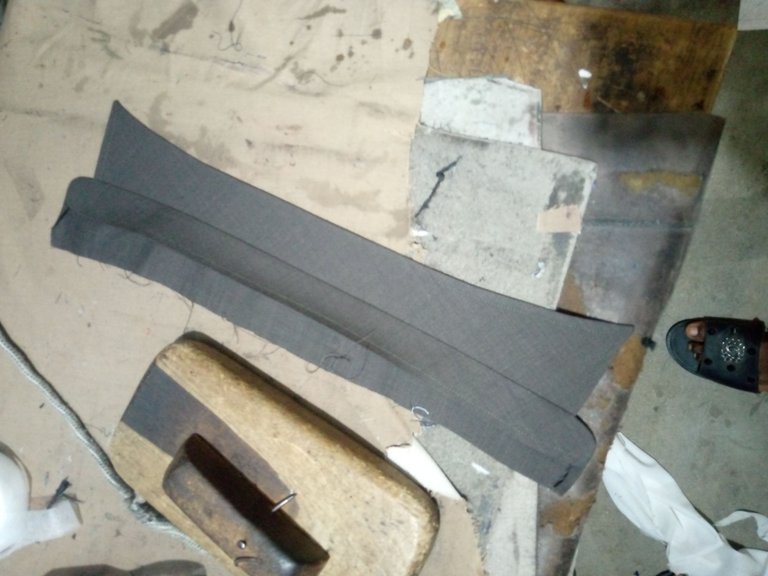
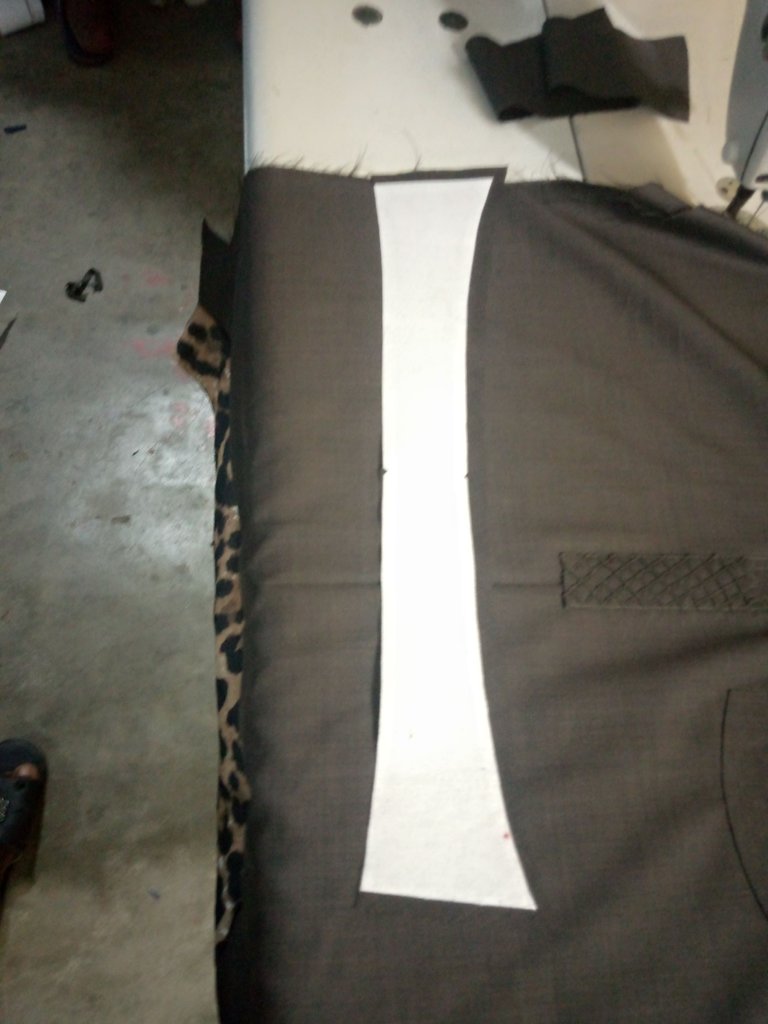
The cutting was done successfully, I took the remaining pieces of the material and I cut it, the size was 9 while the Length was 30 and there’s something we call pleating in the sewing profession and an half inches sewing of step after step, or you can still call it 0.5inches sewing, I did that and here was the result.
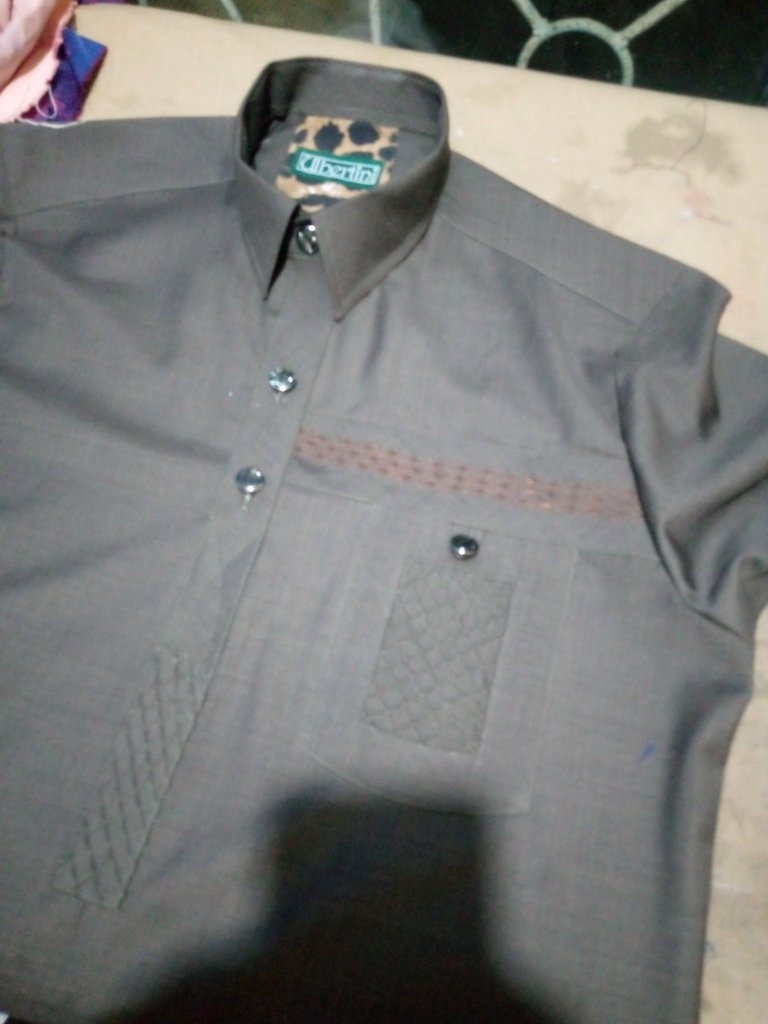
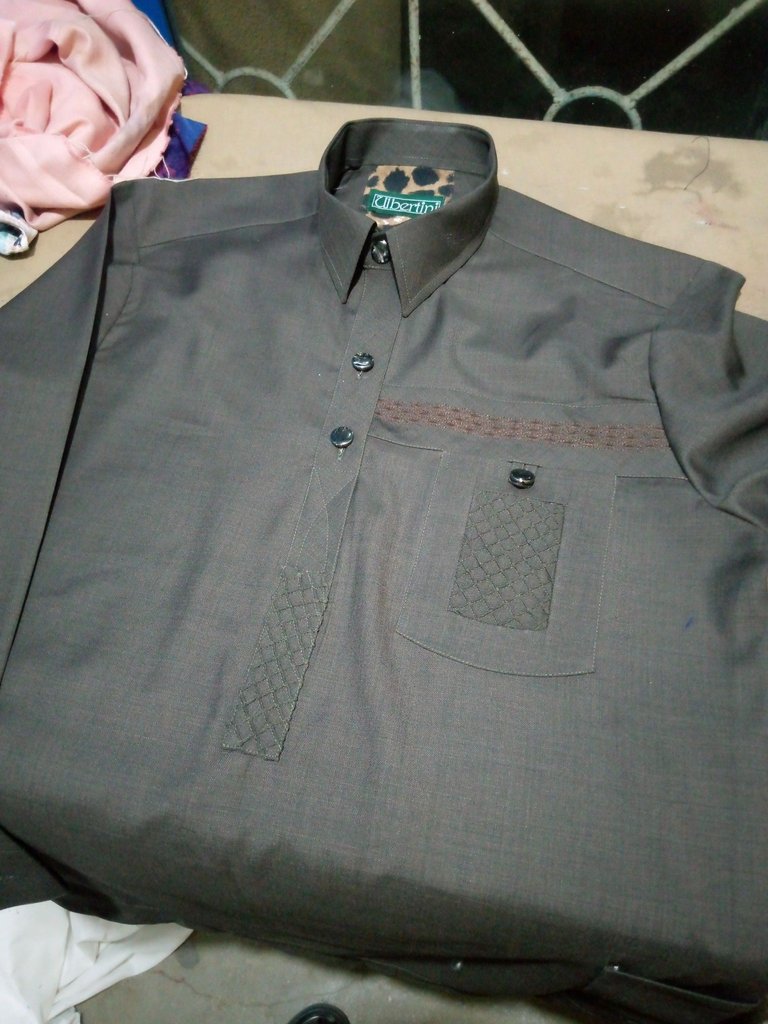
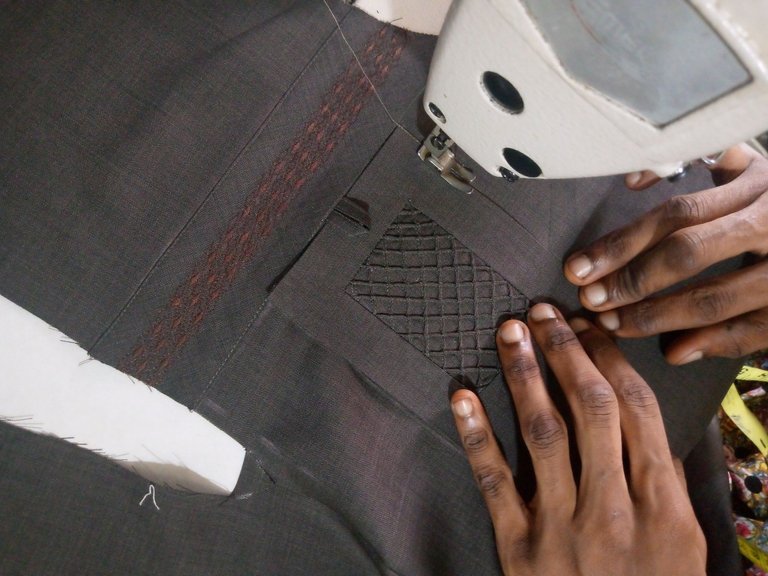
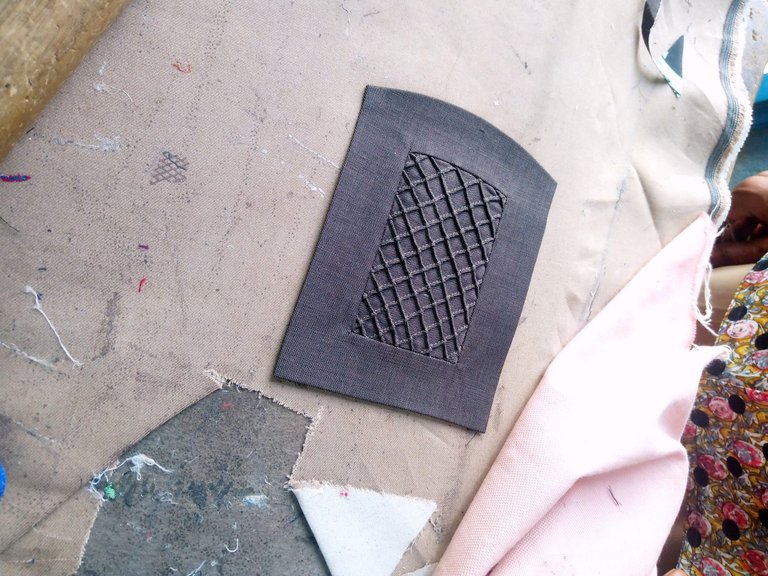
After the pleating, i took the remaining pieces and folded it once and place the front of the main front of the cloth there and I cut of the facing of the front in form a sharp. That was done successfully too and I bend in the rough edges in to fork the V sharp effectively, I then place it at the top of the main front then I place that pleating under the V sharp of the facing and I sew it together to the main front of the cloth, I made another material below it so it could cover the edge of the pliting and also give it better
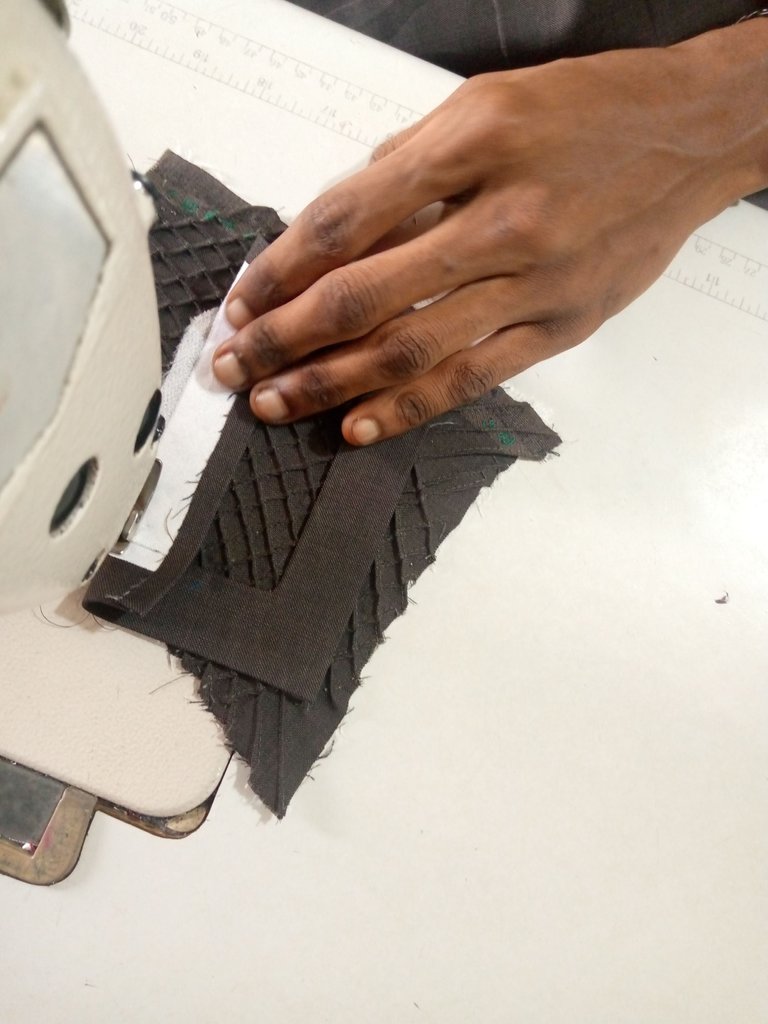
Next thing I did was to prepare the front flap, what’s called a flap, I know someone might be confused, the flap in this cloth is that straight thing put at the front to help cover the opening at the front the opening now the reason is that it will help the wearers head to pass into the cloth comfortable without any stress, so now that opening is there now, in other to make the cloth looks neat we tend to cover it that’s the essence of that long thing in front which is called the
I added the flap and I made the side pocket too and I pasted it at the fro
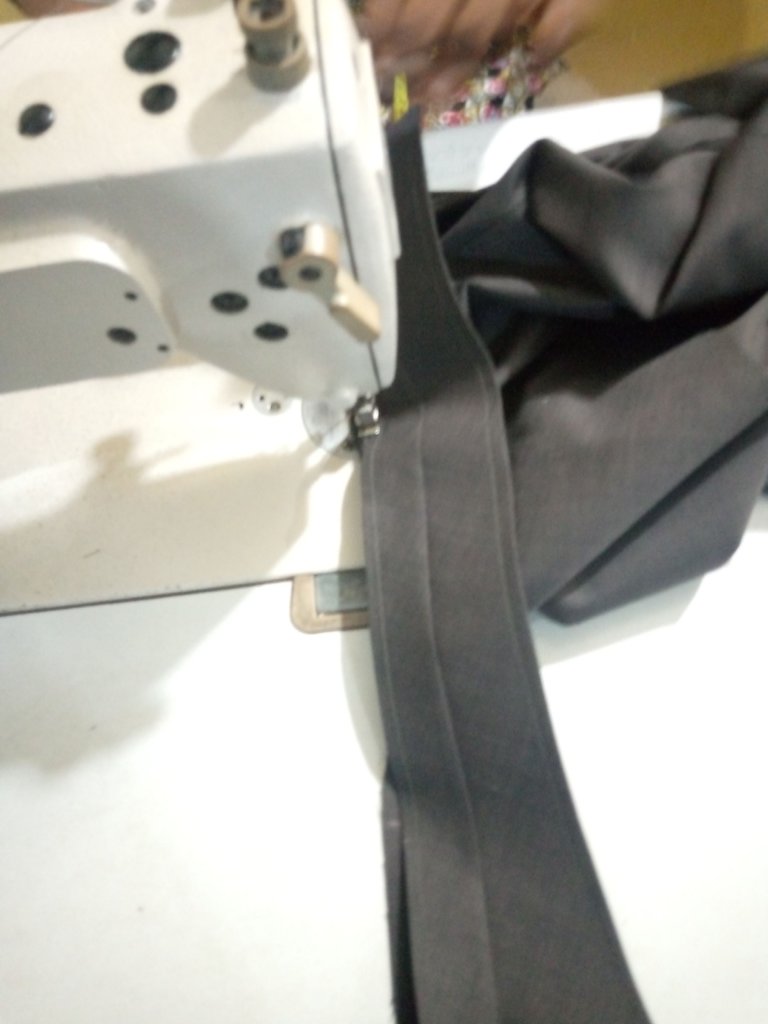
The front was ready, I joined the back to the front, I input my both sleeve and joined the body of the cloth with same measurement I had, final thing I did was to pipe the neck and bend the length of the cloth, I did that and the outfit was just ready.
first of all I will draw the neck size on a color gum then I cut it
after I finish cutting it I use the pieces of the material carrying the colar gum place on that pieces and use hot iron on it, that is how i prepare and fix my collar.
Thank u guys for reading my post
Nice job , how long did it take you to get the dress done ?
5 hours