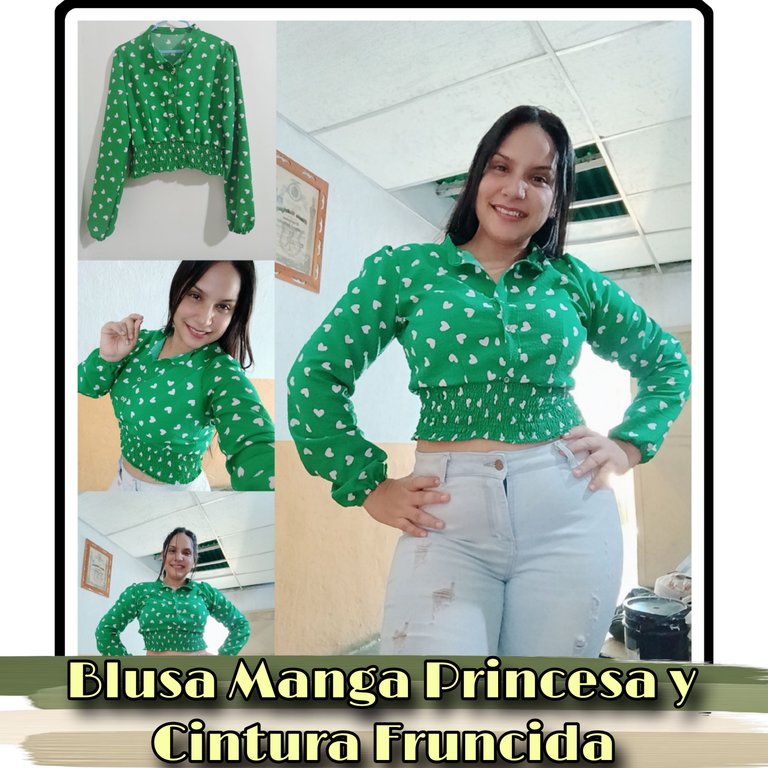
Hola, hola mi muy apreciada colmena #Needleworkmonday, les saluda como siempre su amiga @kathelopez77, deseándoles un grandioso día y trayéndoles un nuevo tutorial de costura, en ésta oportunidad les traigo la confección de una hermosa "Blusa Mangas Princesa y Cintura Fruncida" el detalle de la cintura ofrece un look contemporáneo y las mangas un estilo elegante y romántico; espero que les guste. Aquí les muestro el tutorial.
Hello, hello my much appreciated #Needleworkmonday hive, greetings as always from your friend @kathelopez77, wishing you a great day and bringing you a new sewing tutorial, this time I bring you the making of a beautiful "Princess Sleeves and Puckered Waist Blouse " the waist detail offers a contemporary look and the sleeves an elegant and romantic style; I hope you like it. Here is the tutorial.

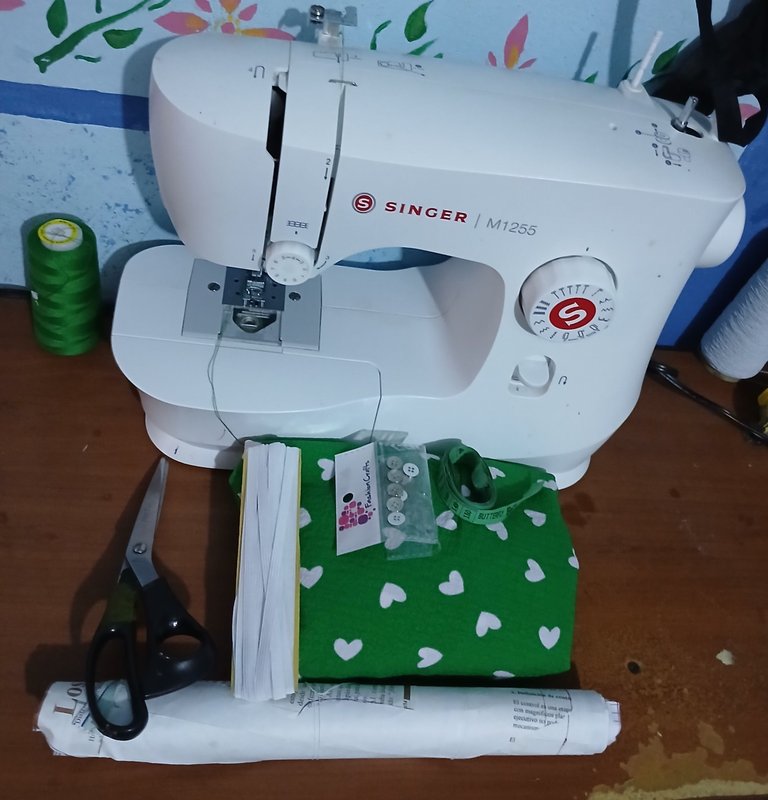
- 1 metro de tela lafayette verde estampada.
- Patrones.
- Elástico de 1 cm.
- Botones.
- Máquina de coser.
- Tijeras.
- 1 meter of green printed lafayette fabric.
- Patterns.
- 1 cm elastic.
- Buttons.
- Sewing machine.
- Scissors.

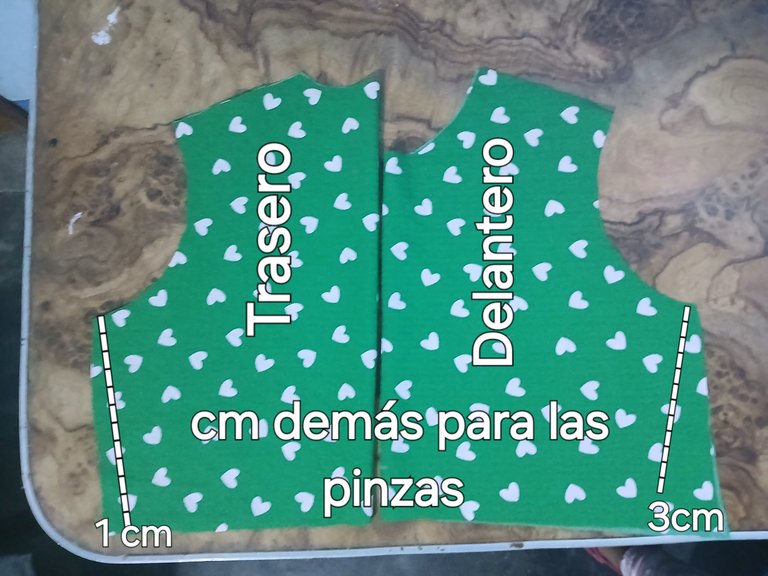
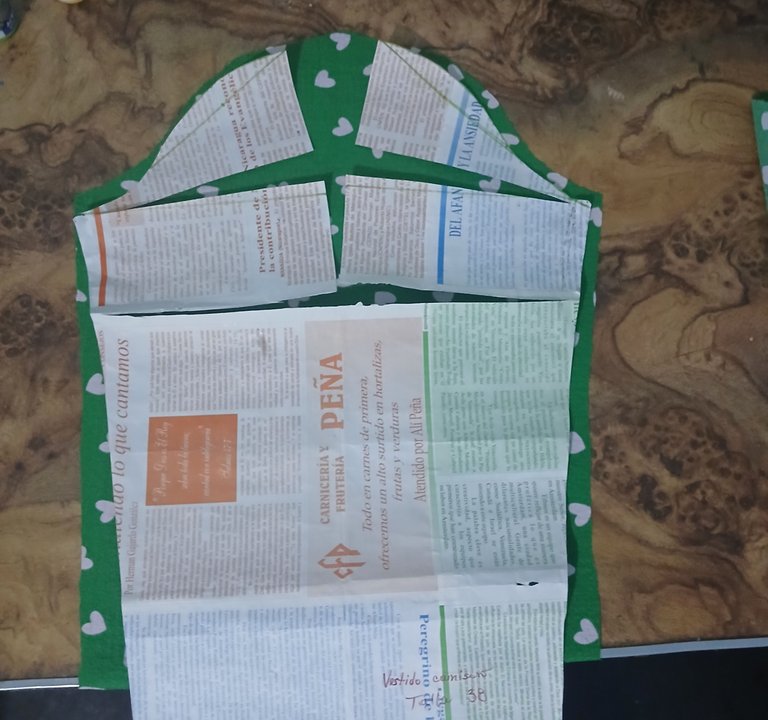
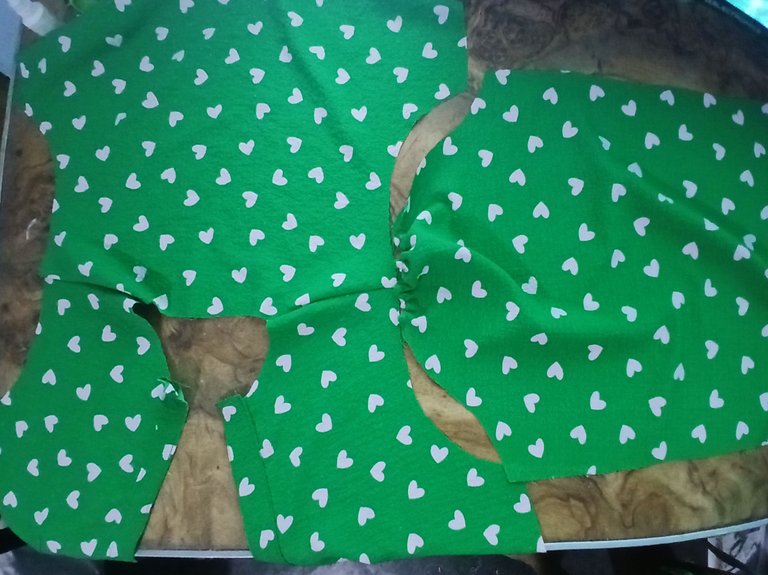
Primero saqué los patrones de las piezas delantera y trasera, en el caso de la pieza delantera, le dejé 3 cm más por cada lado, partiendo cerrada desde la punta del final de la sisa e ir abriendo hasta el contorno de la cintura.
First I took out the patterns of the front and back pieces, in the case of the front piece, I left 3 cm more on each side, starting closed from the tip of the end of the armhole and opening up to the contour of the waist.
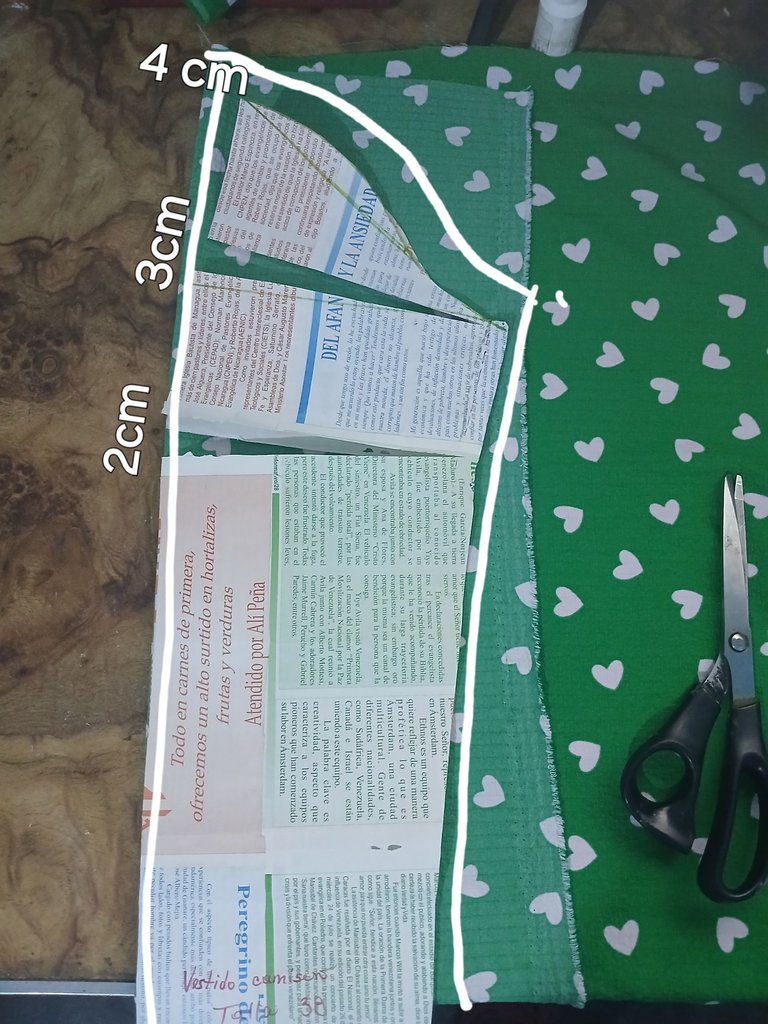
Posteriormente saqué el patrón de las mangas, al cual tuve que realizarle varios cortes para que el recorrido de la sisa quede más largo y crear el efecto Princesa.
Then I took out the pattern for the sleeves, to which I had to make several cuts to make the armhole run longer and create the Princess effect.
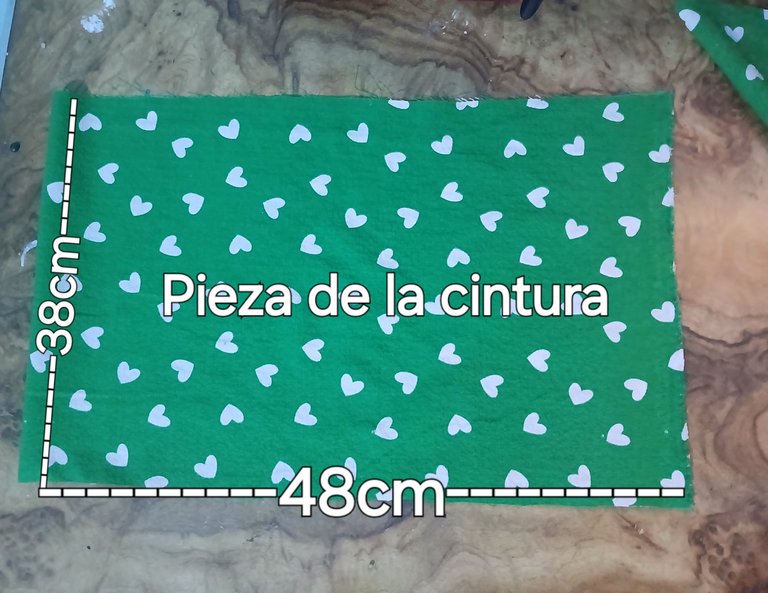
Seguidamente corte un rectángulo de tela de 38 cm de alto y 48 cm de largo, para hacer la parte de la cintura.
Then cut a rectangle of fabric 38 cm high and 48 cm long, to make the waist part.
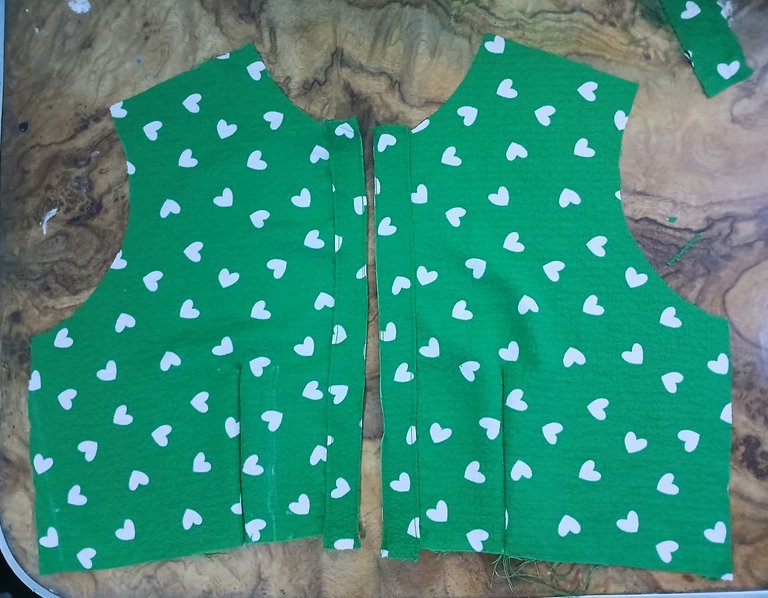
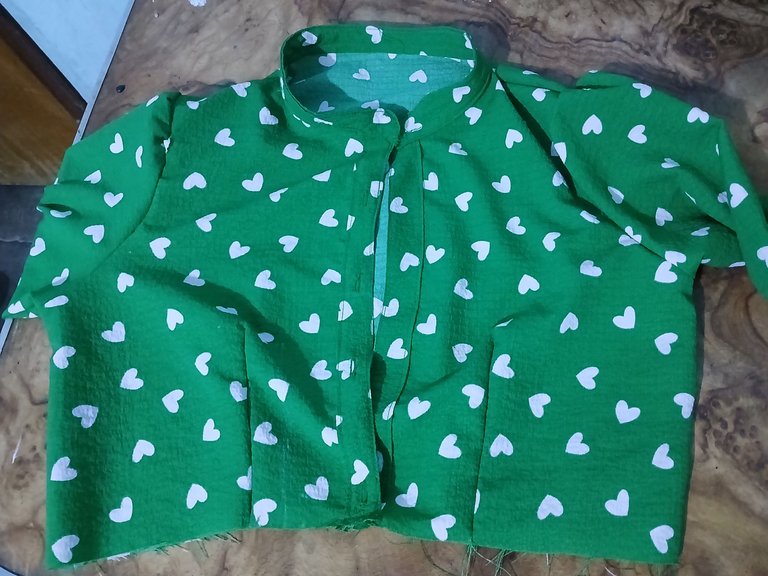
Una vez que saqué mis piezas delantera, trasera, las mangas y el contorno de cintura, procedí a armar la blusa, empezando con la parte delantera, haciendo una abertura de manera vertical, para colocar la tapeta en donde irán los botones y los ojales.
Once I took out my front and back pieces, the sleeves and the waist circumference, I proceeded to assemble the blouse, starting with the front part, making a vertical opening to place the placket where the buttons and buttonholes will go.
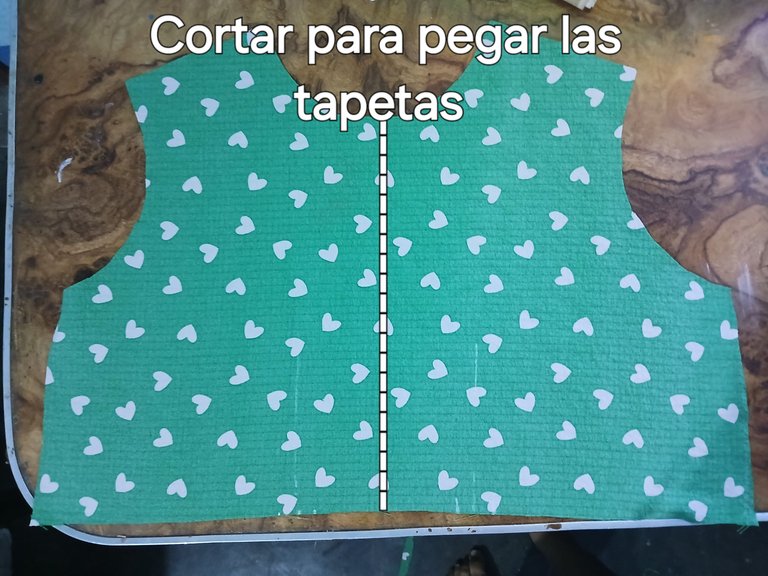
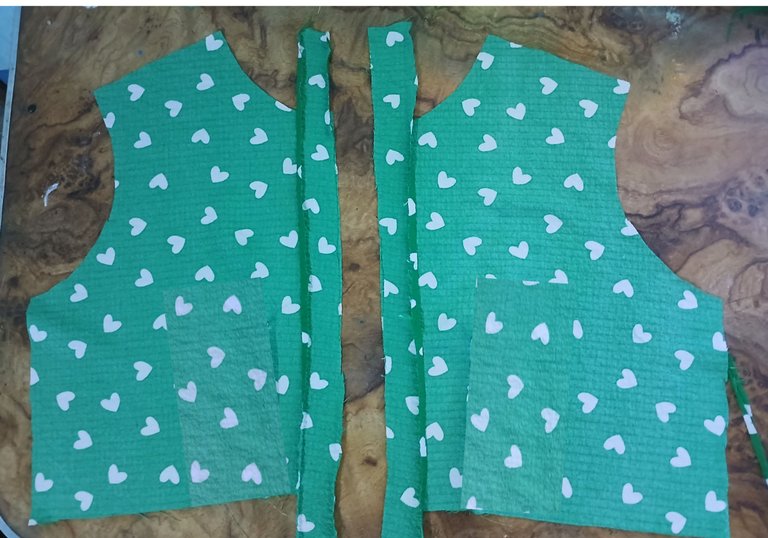
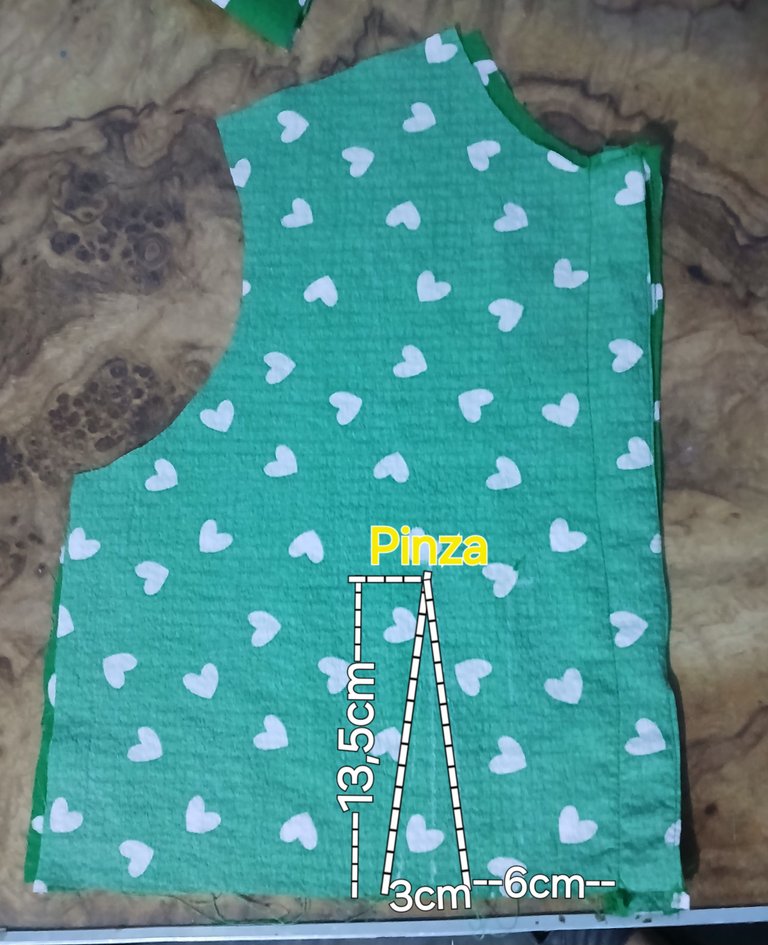
Después de abrir en dos la pieza delantera de la blusa y colocarle la tapeta, procedí a realizar una pinza de 3 cm de ancho y 13,5 de alto a cada lado de la misma.
After opening the front piece of the blouse in two and placing the placket on it, I proceeded to make a 3 cm wide and 13.5 cm high clip on each side of the blouse.
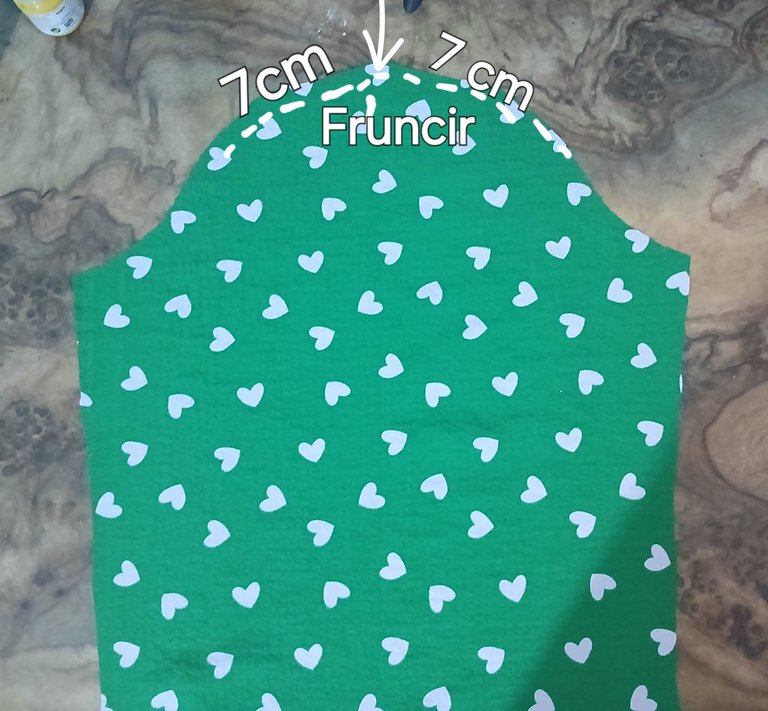
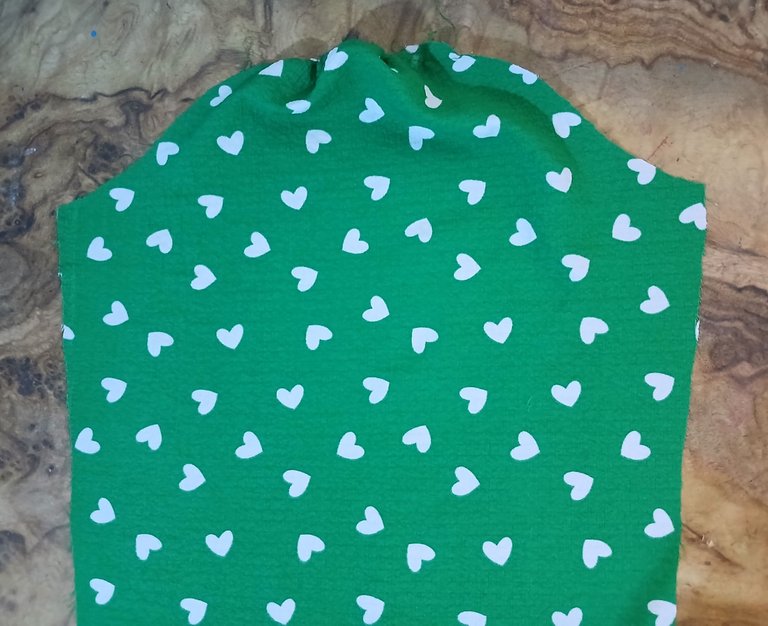
Para realizar el efecto de princesa en las mangas, procedí a marcar el centro de estas y recorrer 7 cm a la derecha y 7 cm a la izquierda, para fruncir todo ese espacio.
To make the princess effect on the sleeves, I proceeded to mark the center of the sleeves and went 7 cm to the right and 7 cm to the left, to gather all that space.
Posteriormente coloqué las piezas delanteras, sobre la pieza trasera, enfrentando sus derechos, para pasar costura por los hombros y luego pegar las mangas sin realizar la costura a los laterales.
Then I placed the front pieces on top of the back piece, facing their right sides, to sew the shoulders and then glue the sleeves without sewing them to the sides.
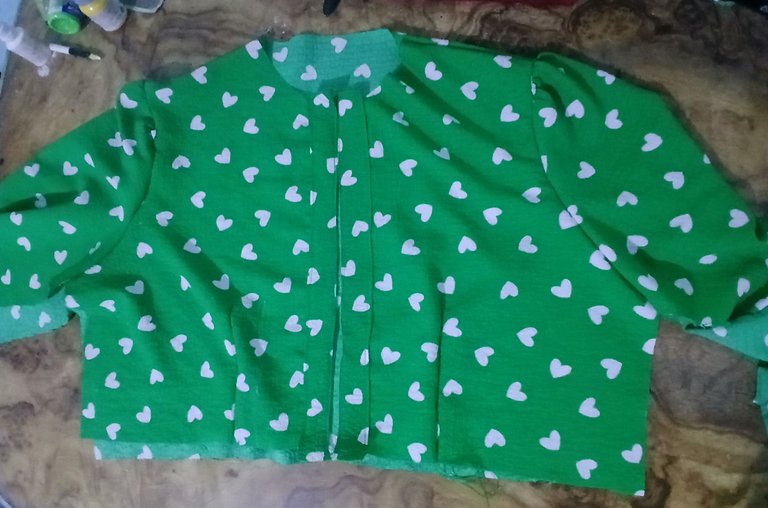
Una vez que terminé de pegar las mangas, procedí a pasar la costura de los laterales, para cerrar.
Once I finished gluing the sleeves, I proceeded to sew the side seams to close them.
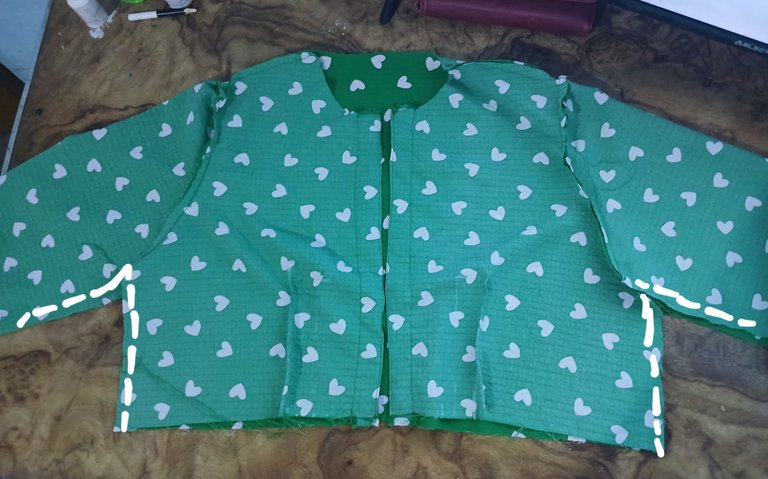
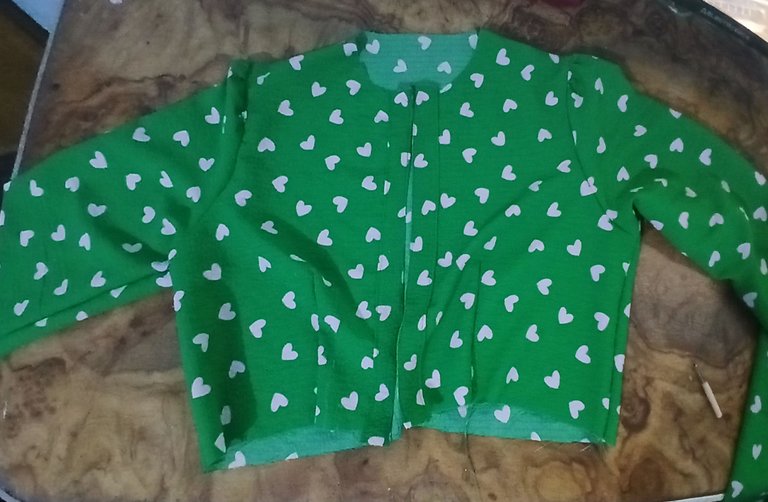
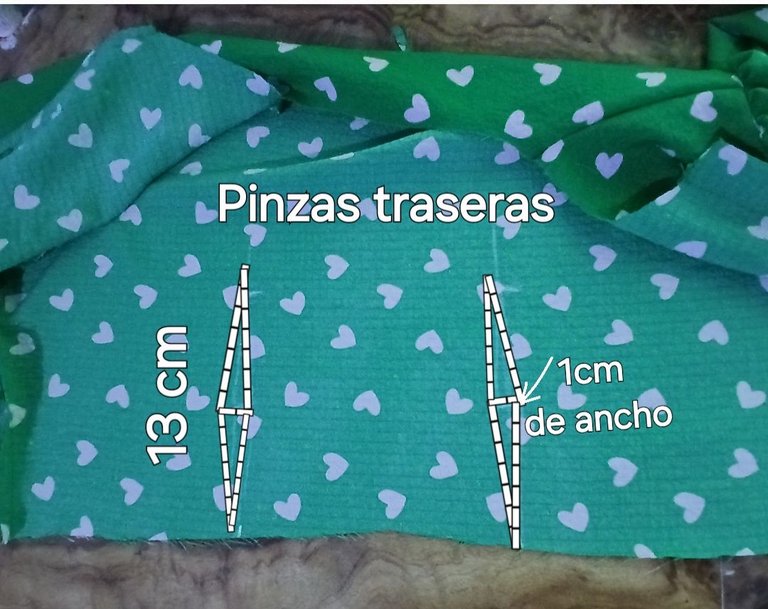
Para continuar con la parte de arriba de la blusa, realicé dos pinzas en la parte de la espalda de 13 cm de largo y 1 cm de ancho en la mitad del largo de la pinza.
To finish the top of the blouse, I made two darts on the back, 13 cm long and 1 cm wide in the middle of the length of the dart.
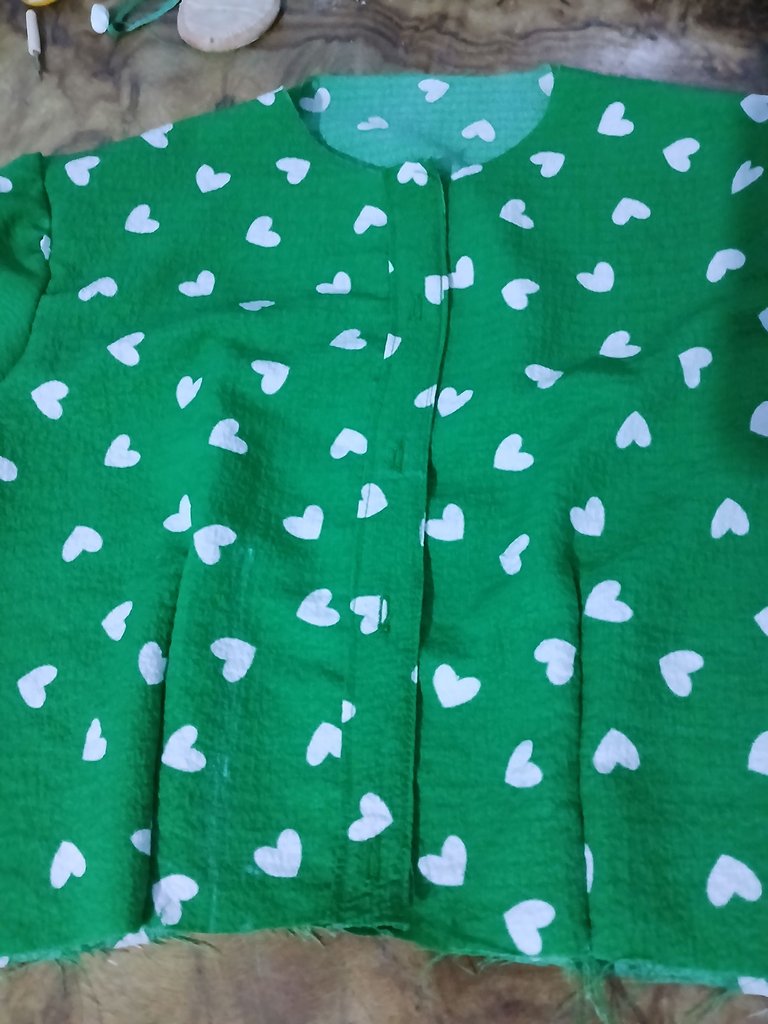
Realicé los ojales de 1 cm de largo en la tapeta derecha.
I made the 1 cm long buttonholes on the right placket.
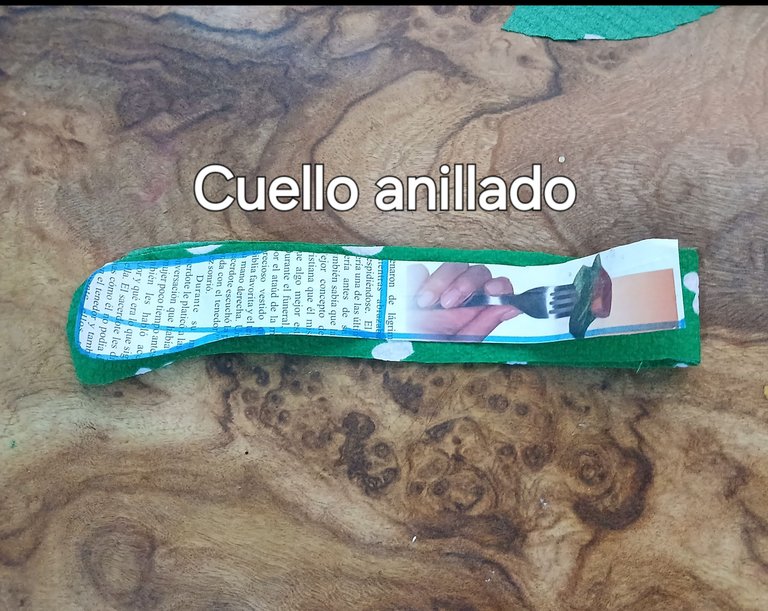
Saqué un pequeño cuello tipo anillado y lo cosí por todo el contorno del cuello de la blusa.
I pulled out a small banded collar and sewed it all the way around the neckline of the blouse.
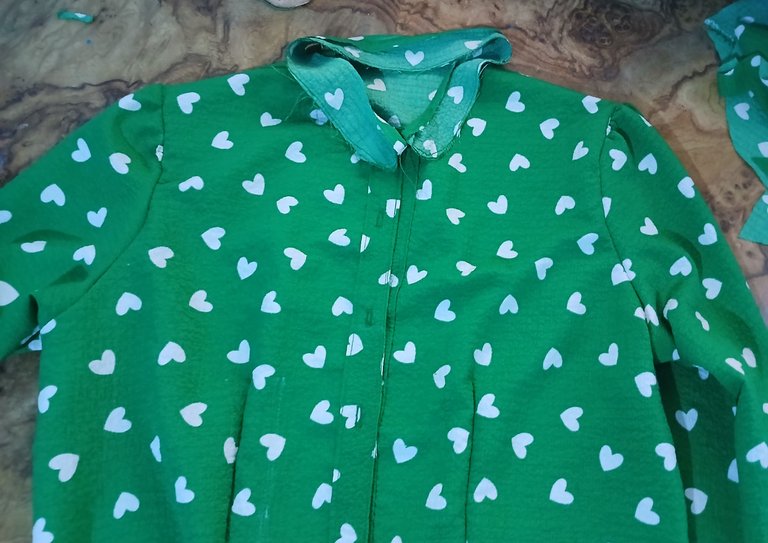
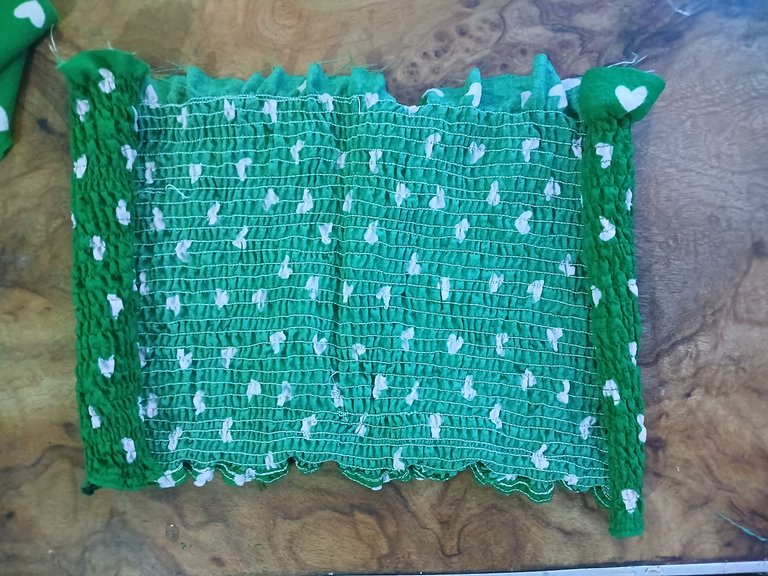
Cuándo terminé de armar la parte superior de la blusa, procedí a pasar costura con hilo elástico, por todo el largo y Ancho del rectángulo del contorno de cintura.Corté a la mitad, para hacer una sola pieza que cubra toda la circunstancia del contorno de cintura.
When I finished assembling the upper part of the blouse, I proceeded to sew with elastic thread, along the entire length and width of the rectangle of the waist contour. I cut in half, to make a single piece that covers the entire circumstance of the waist circumference.
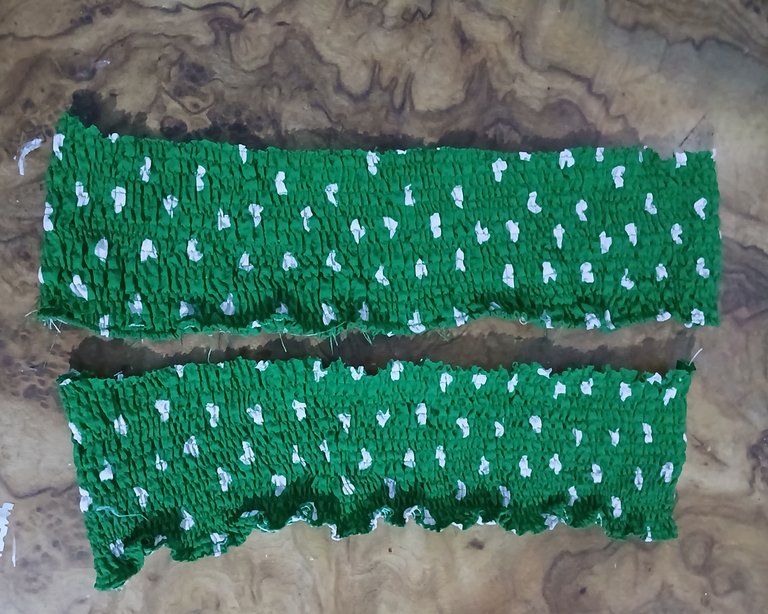
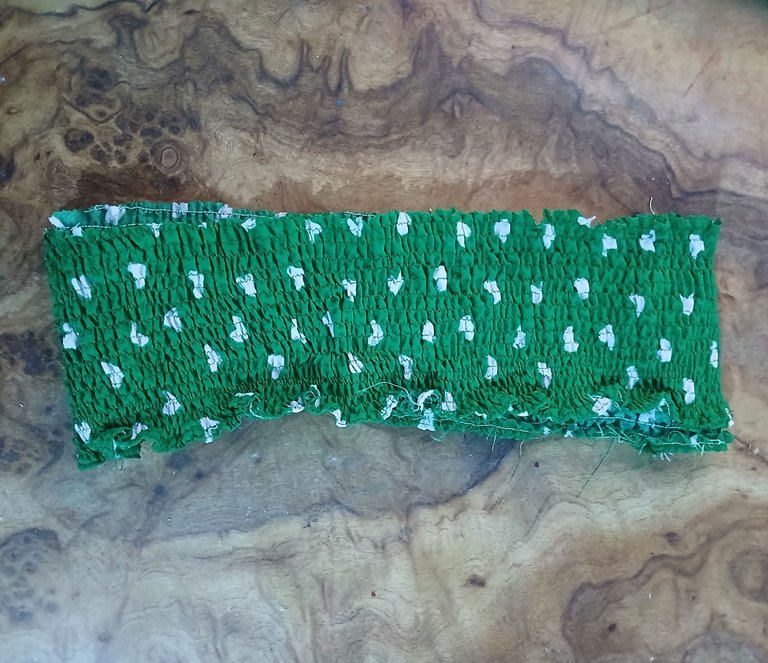
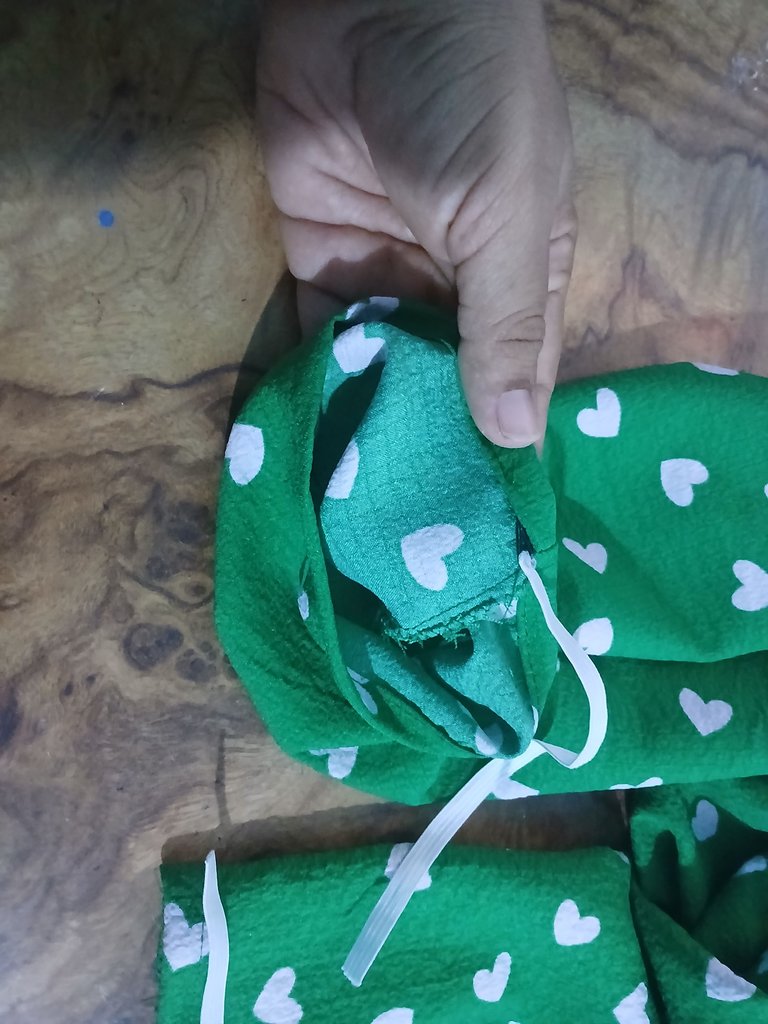
Por último coloqué toda la pieza fruncida con elástico, por todo el contorno de cintura y coloqué un elástico de 1 cm de ancho por la orilla de la manga.
Finally, I placed the whole piece gathered with elastic all around the waist and placed a 1 cm wide elastic around the edge of the sleeve.
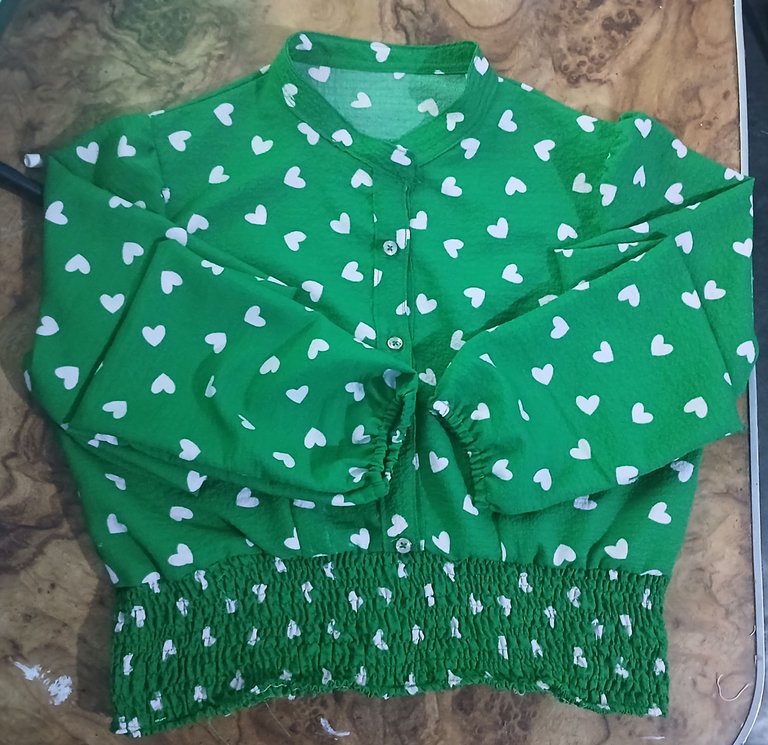

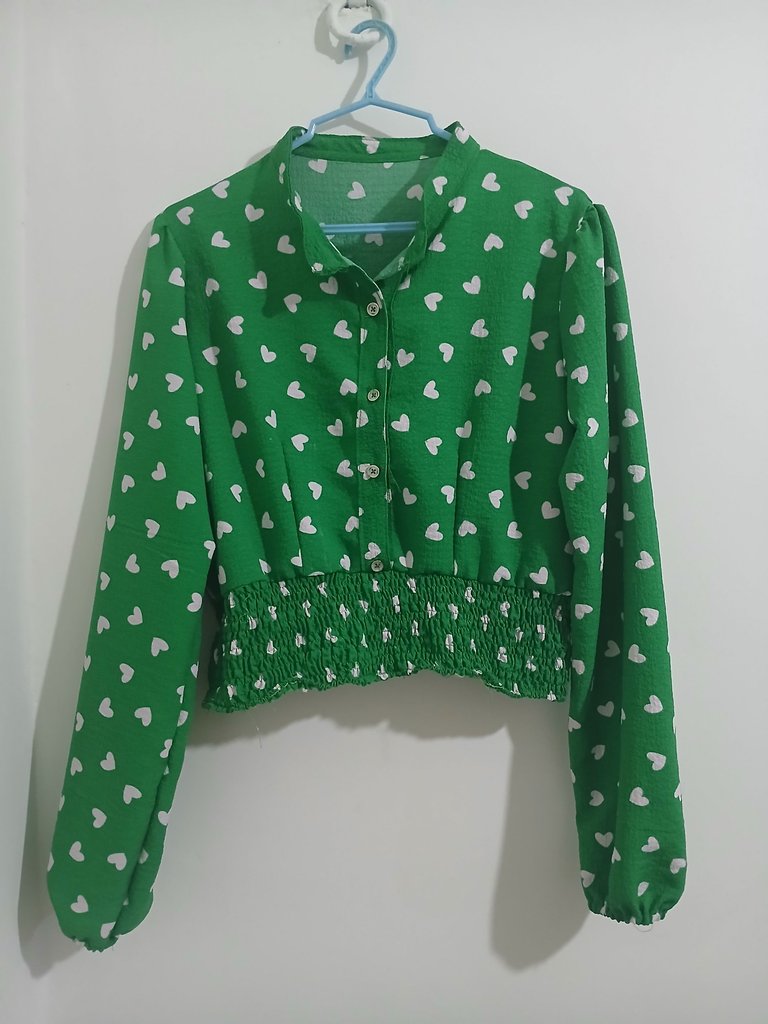
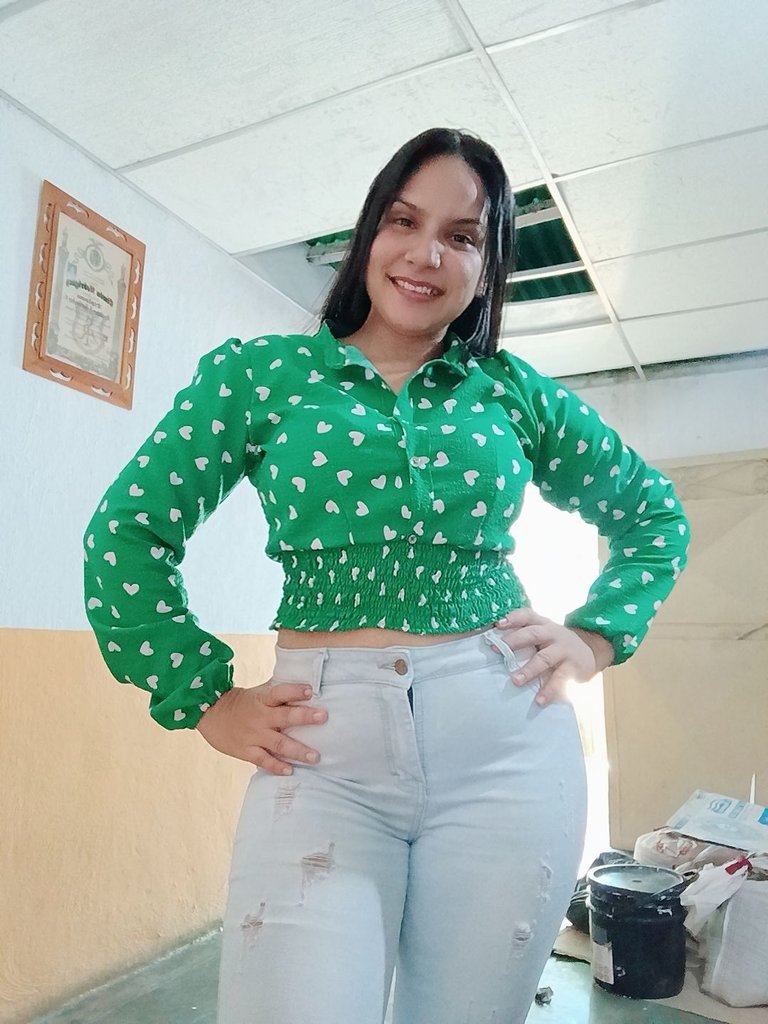
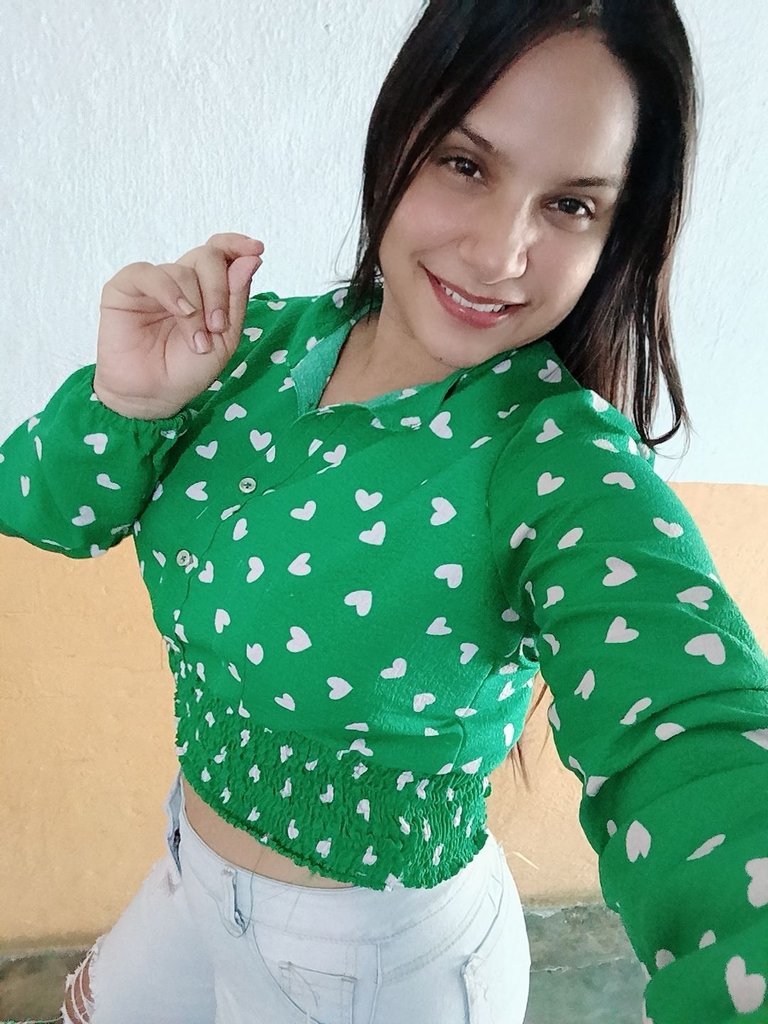
Y de ésta manera, aplicando estos pasos, lograremos obtener una hermosa blusa de manga Princesa y cintura fruncida, ideal para usar con Jeans casuales o formales. Espero te haya gustado el resultado y el tutorial te sea de gran utilidad. Muchas bendiciones mis muy apreciados 🙏🏻💗.
And in this way, applying these steps, we will get a beautiful Princess sleeve blouse with gathered waist, ideal to wear with casual or formal jeans. I hope you liked the result and the tutorial will be very useful. Many blessings my very appreciated 🙏🏻💗.
Que linda quedó tu blusa! Lo haces ver muy fácil y das unos tips muy útiles. Gracias por compartir 😊
Gracias a ti mi linda amiga @dulce.crucita, por tomar un pequeño espacio de tu tiempo y dejar tu lindo comentario. Muchas bendiciones 🙏🏻🙂
You made such a beautiful blouse, nice work and thanks for sharing.
Gracias a ustedes amigos @diyhub por su comentario y apoyo siempre. Muchas bendiciones 🙏🏻 💗
Hola amiga, te quedó muy linda la blusa, el proceso de elaboración parece sencillo, debo decir que la tela es hermosa, me encantó .
Saludos!
Hola querida amiga @belkyscabrera,la ventaja de trabajar con patrones es esa, que el proceso es más rápido y a la vez un poco más sencillo. Gracias por comentar. Ten un bendecido día amiga🙏🏻🤗