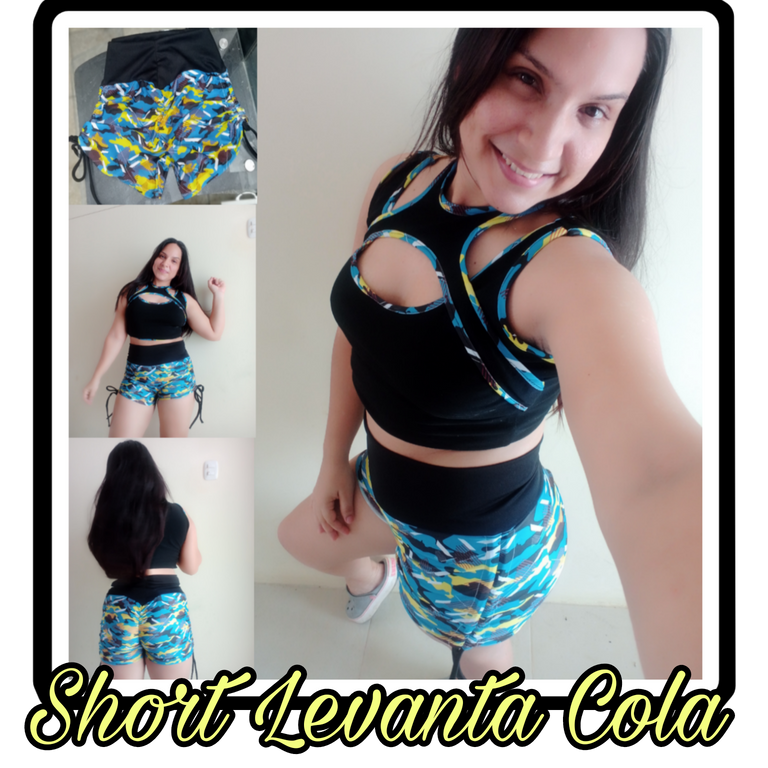
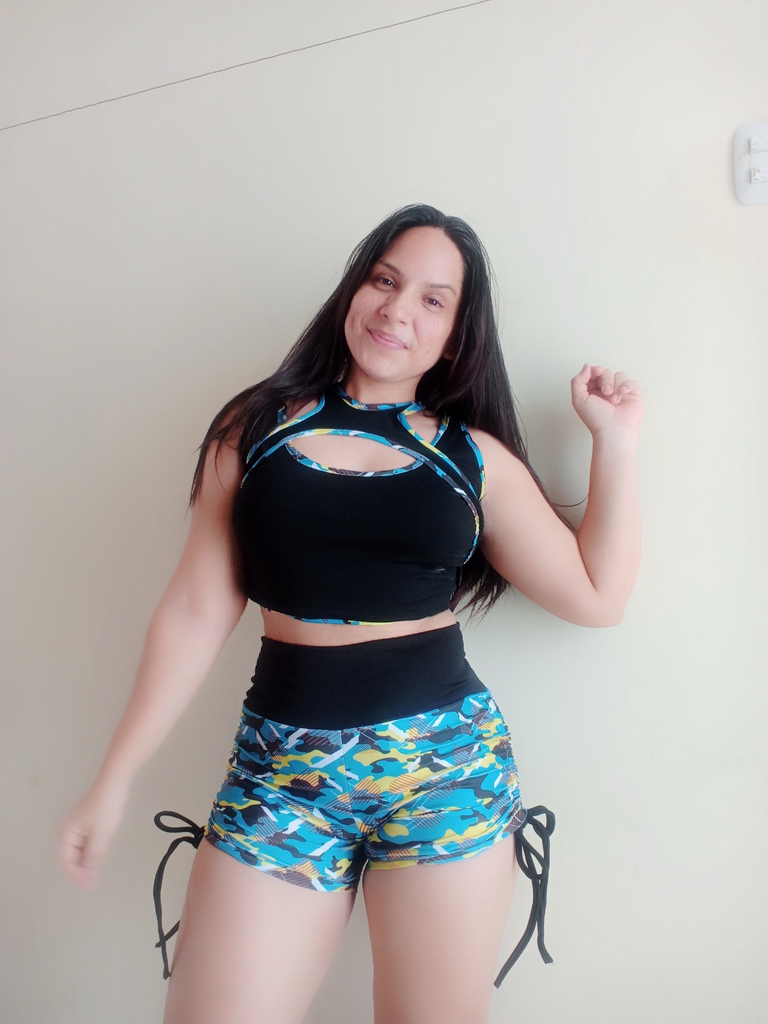
Feliz y bendecido día mis muy apreciados amigos de esta linda colmena de #Needleworkmonday. Es un gusto enorme volver a saludarlos y estar de nuevo con ustedes por acá, compartiendo un nuevo proyecto de costura; En esta oportunidad quiero les traigo la confección de un short levanta cola con los laterales fruncidos, desde hace un tiempito que quería hacerlo para combinarlo con el top deportivo, camuflado y negro que confeccioné y publiqué hace algunos días. Aquí te muestro cómo lo hice.
Happy and blessed day my dear friends of this beautiful hive of #Needleworkmonday. It's a great pleasure to greet you again and be back with you here, sharing a new sewing project; This time I want to bring you the making of a tail lift short with gathered sides, since a while ago I wanted to make it to combine it with the sporty, camouflage and black top that I made and published a few days ago. Here I show you how I did it.

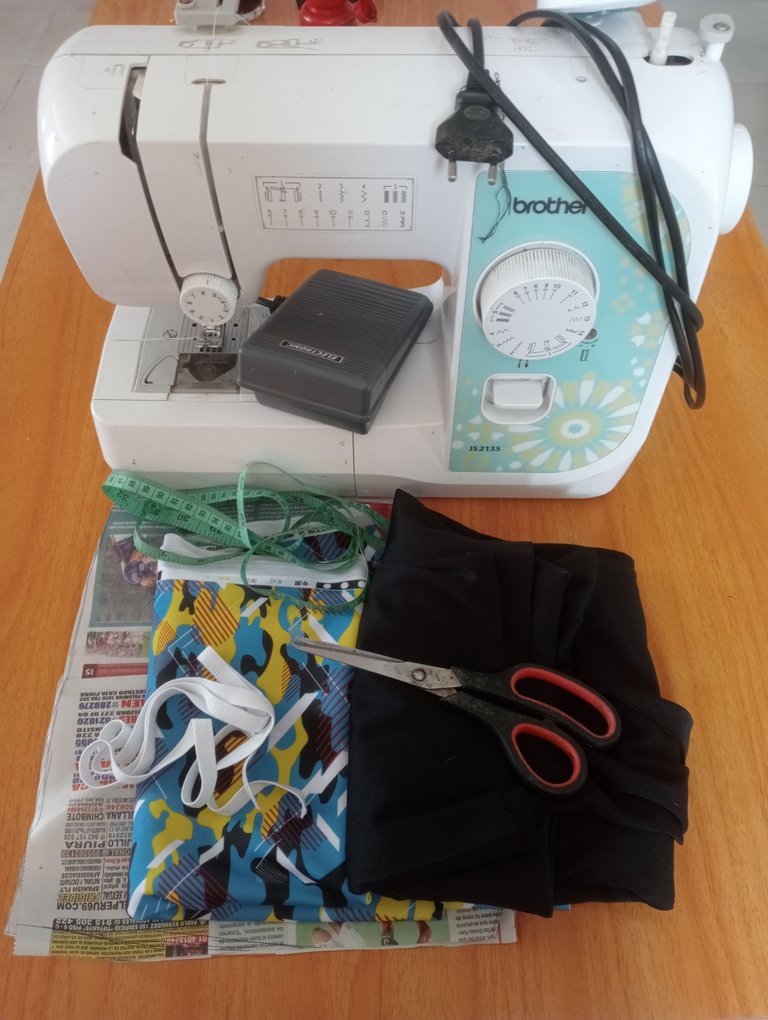
- Licra americana camuflada y negra.
- Elástico de 1cm de ancho.
- Patrón del Short.
- Cinta métrica.
- Máquina de coser
- Alfileres
- Tijeras.
- Camouflage and black American lycra.
- Elastic 1cm wide.
- Short pattern.
- Measuring tape.
- Sewing machine
- Pins.
- Scissors.

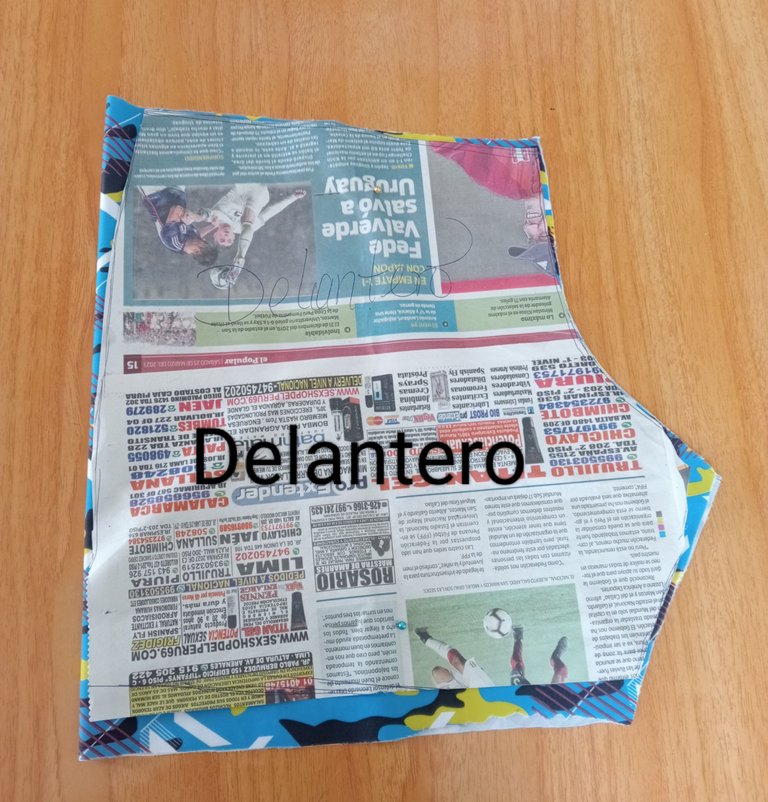
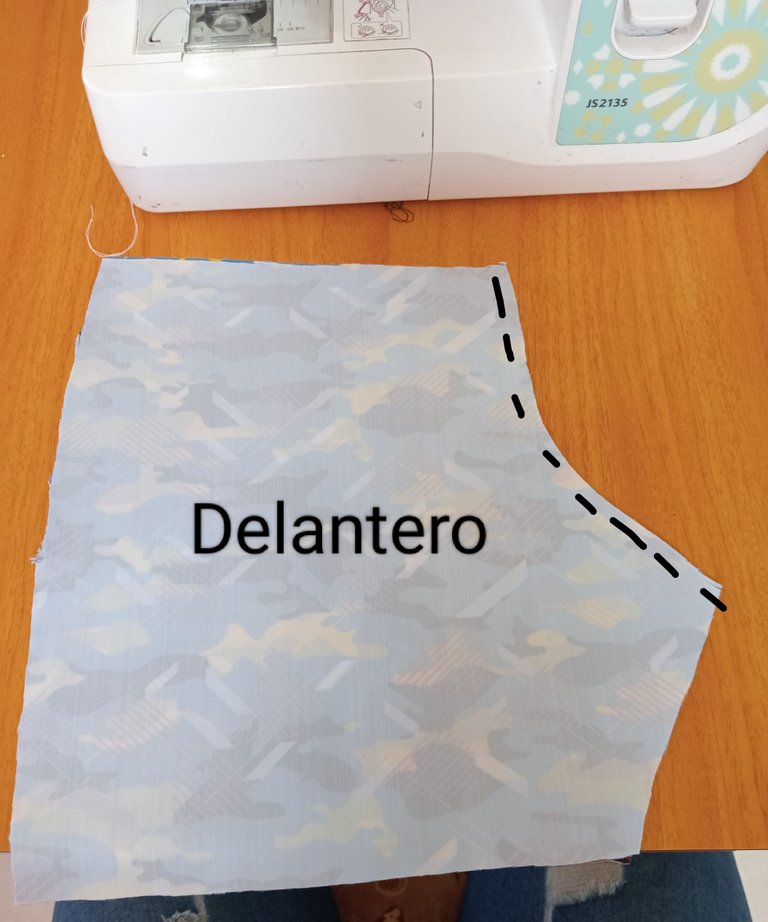
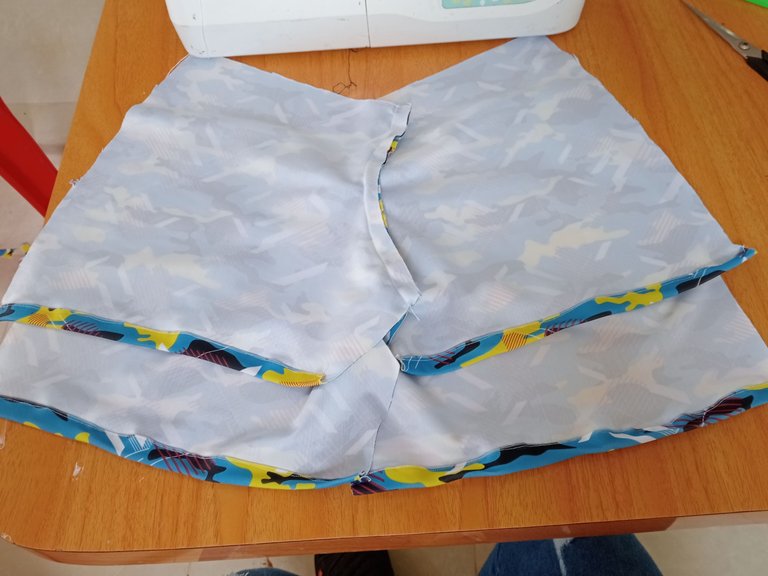
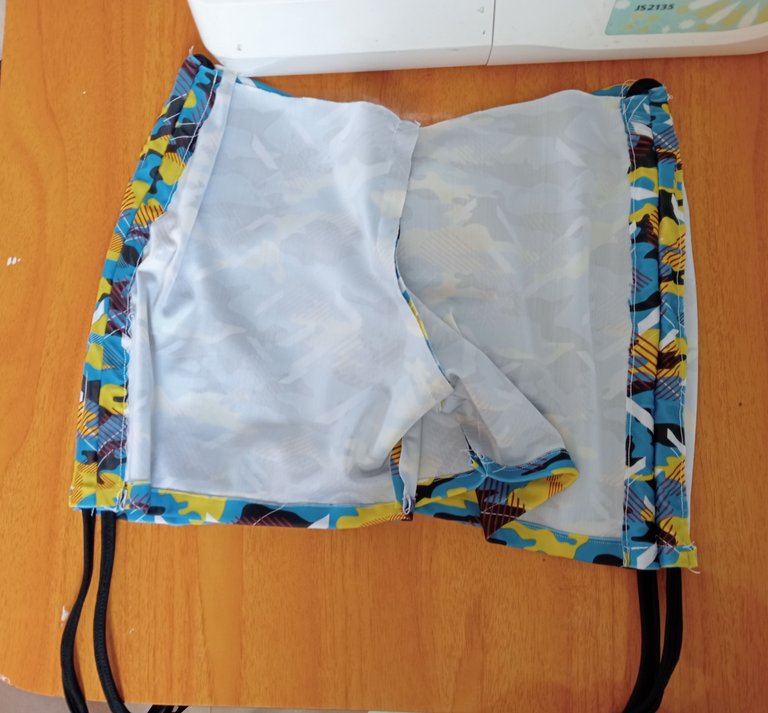
Lo primero que haremos es sacar todos nuestros patrones en este caso la parte delantera y trasera de nuestro short.
The first thing we will do is take out all our patterns, in this case the front and back of our shorts.
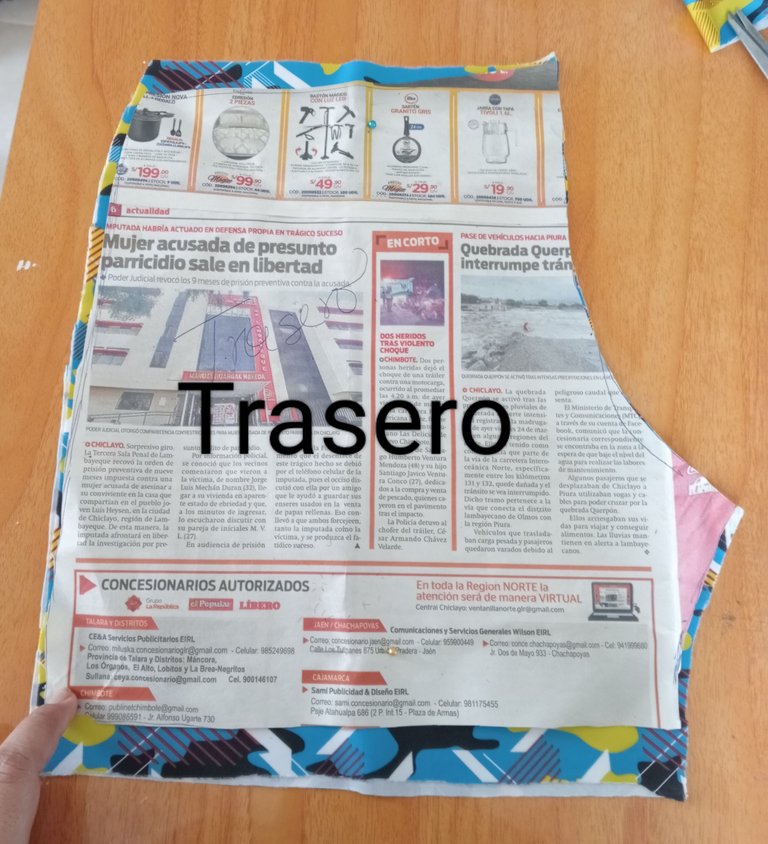

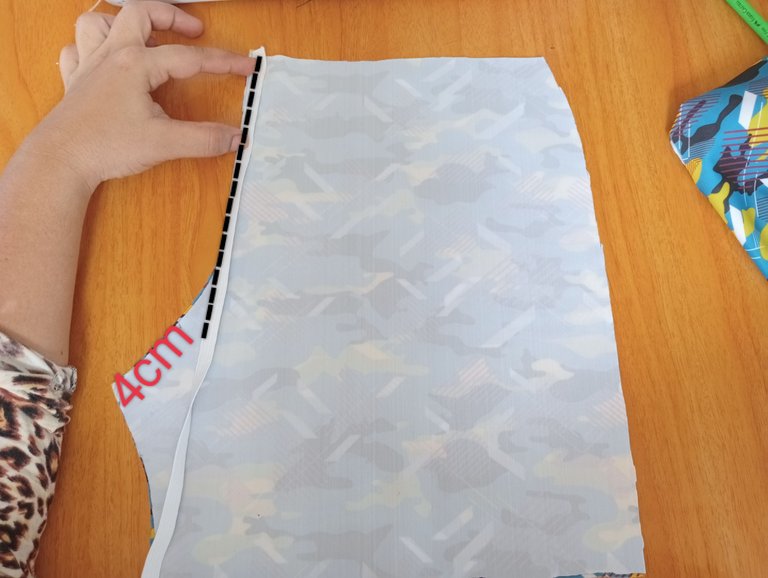
Luego procederemos a unir las dos partes de la pieza trasera, colocando el elástico encima de las dos piezas, específicamente en la orilla del tiro, dejando 4 cm sin costura en la parte final.
Then we will proceed to join the two parts of the back piece, placing the elastic on top of the two pieces, specifically on the edge of the draft, leaving 4 cm without stitching in the final part.
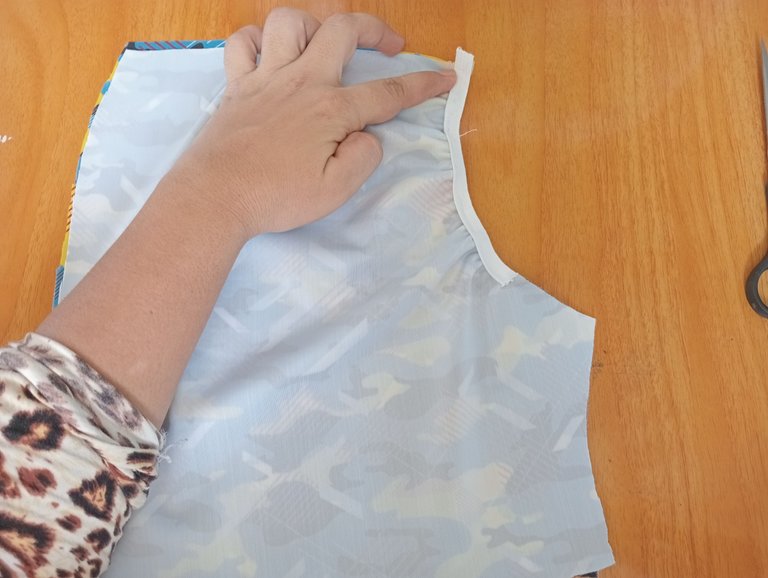
Después cogeremos las dos partes de la pieza delantera por el tiro.
Then we will take the two parts of the front piece by the draft.
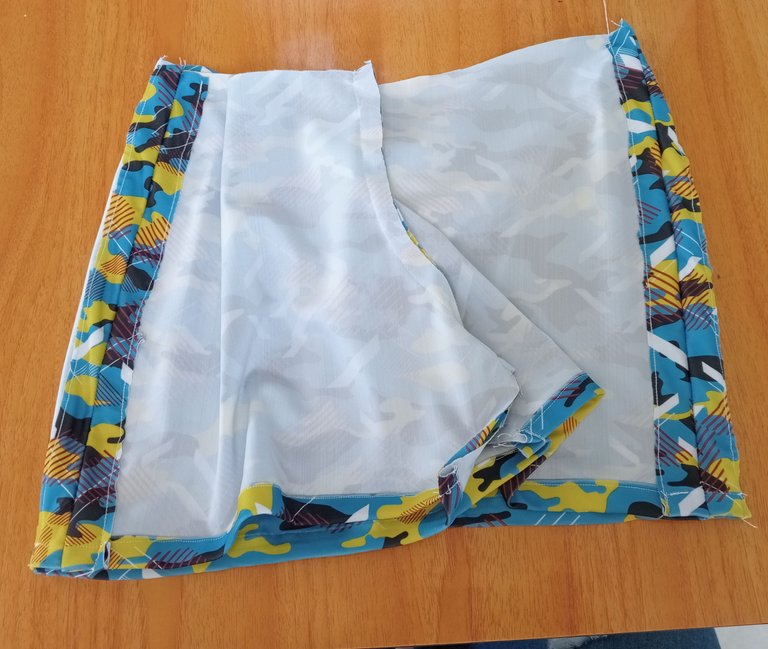
Posteriormente haremos el ruedo de nuestras piezas, esto es para que al momento de realizar los canales, puedan quedar la aberturas para meter y sacar las tiras
Afterwards, we will make the roll of our pieces, this is so that at the moment of making the channels, the openings can be left to put in and take out the strips.
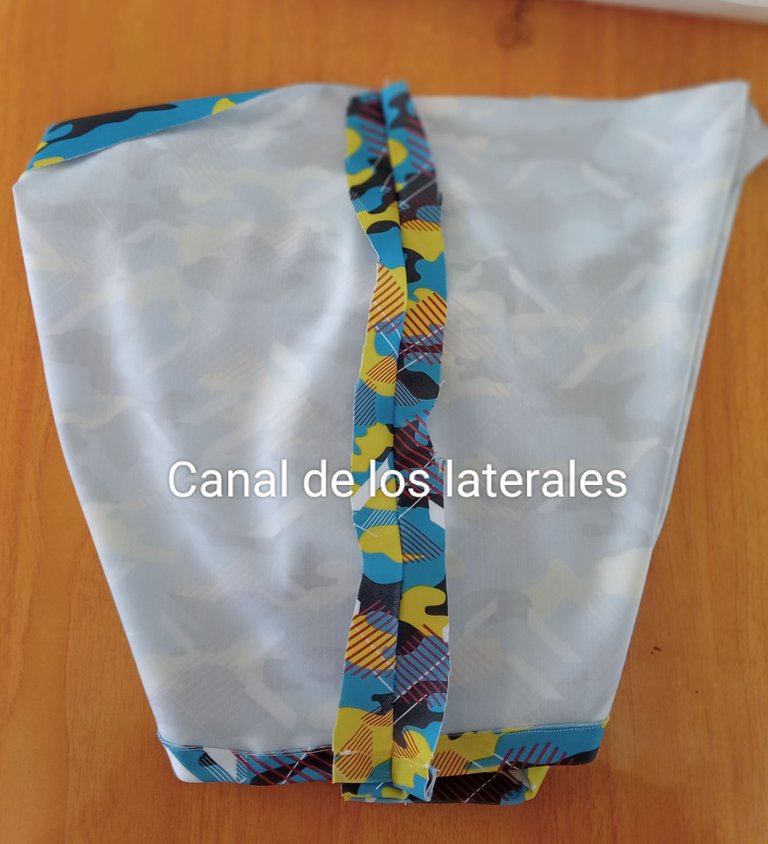
Una vez que hayamos terminado de hacerle los ruedos a nuestras piezas, procederemos a realizar los canales por donde introduciremos las tiras. Estos canales lo haremos del sobrante de tela que quedó de la costura de los laterales.
Once we have finished making the hems of our pieces, we will proceed to make the channels through which we will introduce the strips. These channels will be made from the leftover fabric left over from the side seams.
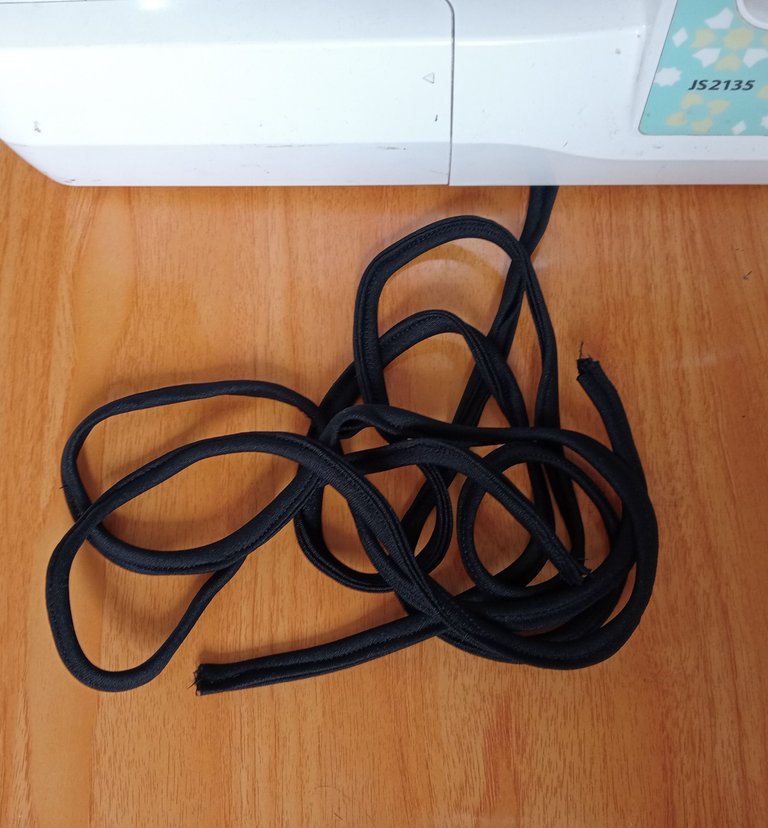
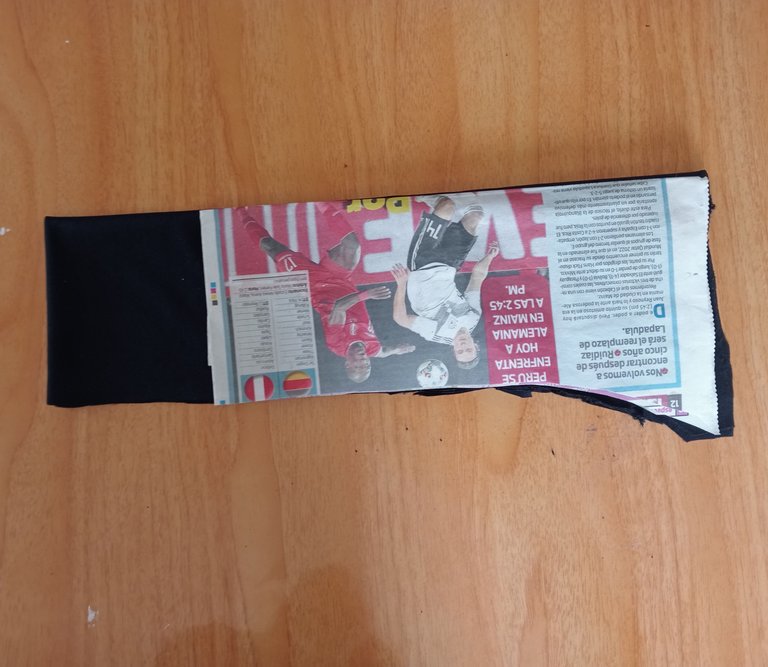
Luego haremos las tiras y las pasaremos por los canales.
Then we will make the strips and pass them through the channels.
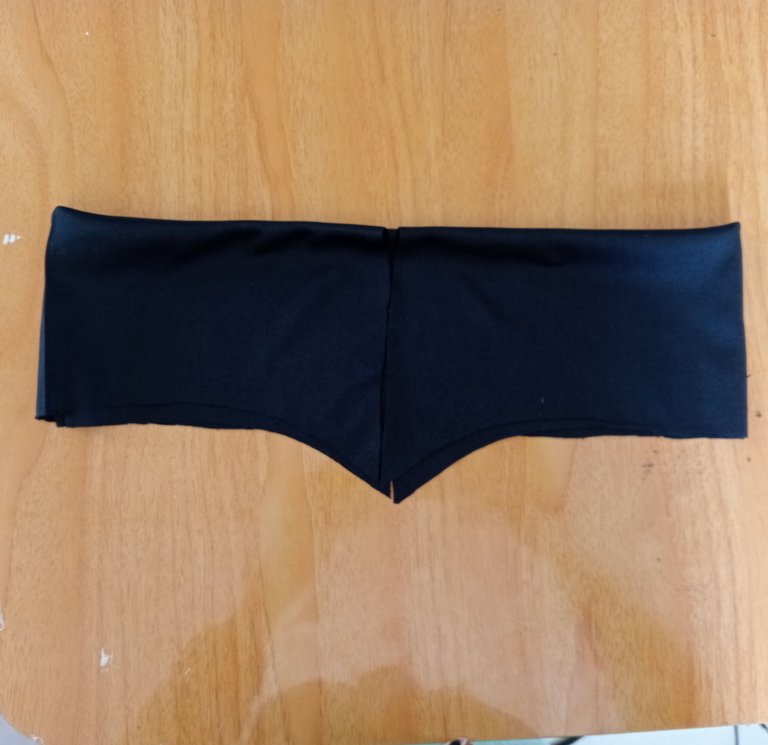
Después sacaremos el patrón de la pretina, el cual tendrá en el centro una parte recta y en los extremos quedará en punta, de tal manera que al momento de unirlos con costura, quede en forma de "V".
Then we will take out the pattern of the waistband, which will have a straight part in the center and at the ends will be pointed, so that at the moment of joining them with sewing, it will be in the shape of a "V".
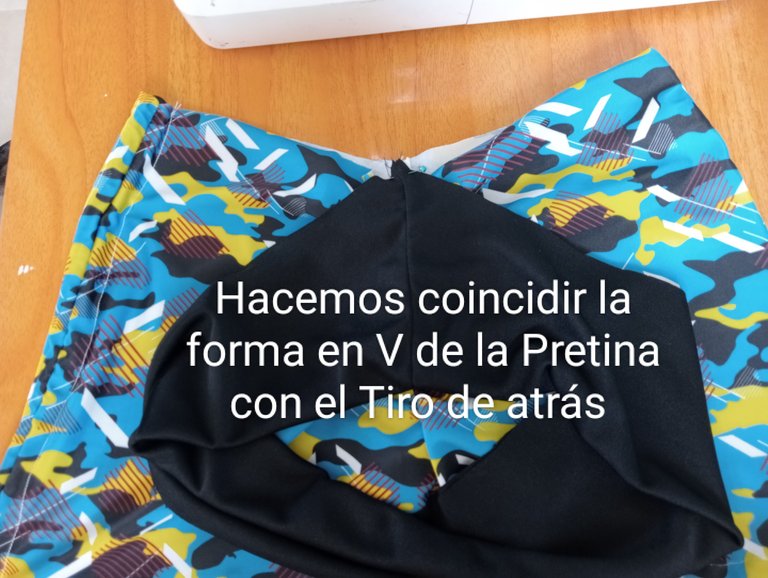
Ya con la pretina lista, lo que haremos es coserla por todo el contorno de la cintura, haciendo coincidir la parte en forma de v con el tiro de la parte de atrás.
Once the waistband is ready, what we will do is sew it all around the waist, matching the v-shaped part with the back of the waistband.
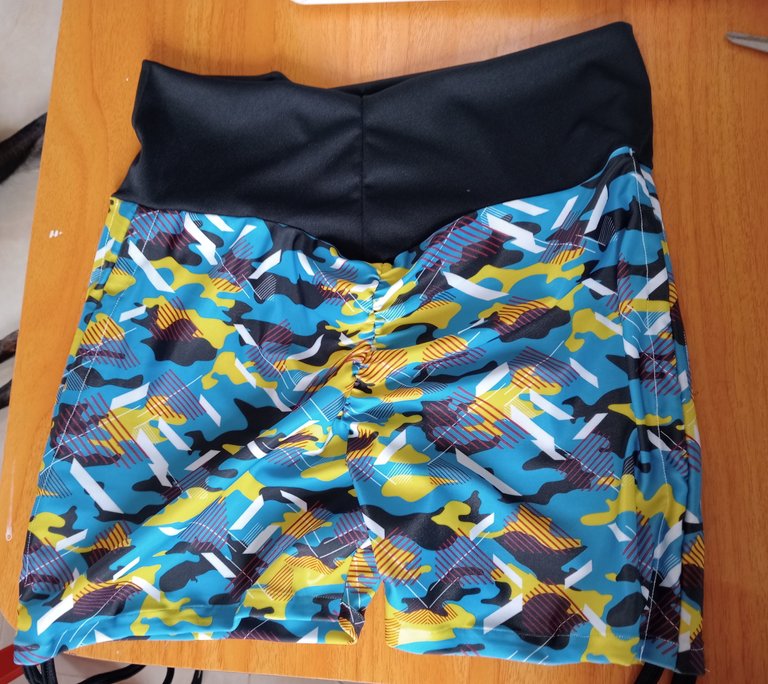

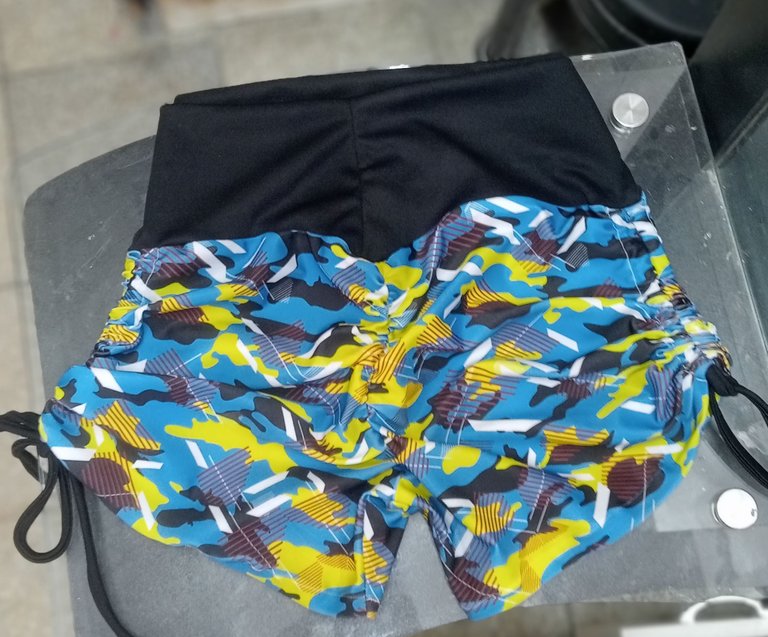

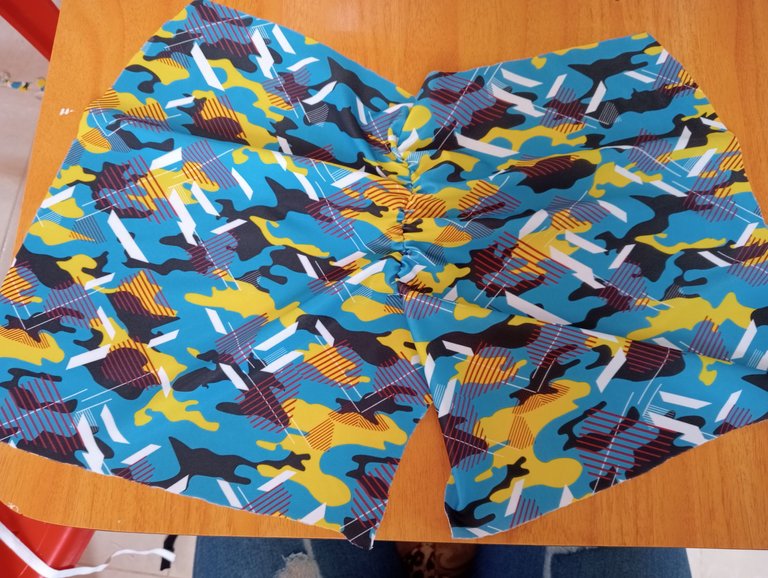
Y así, aplicando estos sencillos pasos podemos tener un short levanta cola con laterales fruncido. Espero que te haya gustado éste tutorial. Muchas bendiciones 🙏☺️.
And so, by applying these simple steps we can have a tail lift short with gathered sides. I hope you liked this tutorial. Many blessings 🙏☺️.
Hermoso trabajo, hare uno para mi. ¡Felicidades!
Gracias amiga, anímate a hacerlo, quedan muy bonitos. Saludos y Bendiciones 🙏
Thats so pretty, love the design. And, watchinf this, seems like it is really easy to make something from scratch but I know how hard it is 😲
Hola amiga @ruffatotmeee, que bueno saber que te ha gustado el diseño. Bueno, teniendo los patrones, el trabajo se hace más fácil. Gracias por comentar. Feliz noche 😊
Wow esto es tan creativo y hermoso. Me encanta la forma en que el short es elástico en los lados y las cuerdas negras le dan el estilo perfecto. Excelentemente hecho querido. Mantener el buen trabajo.
Siempre veo tus publicaciones y cada día me impresionas mas, te quedo genial. Saludos.
Gracias amiga @mariangelica1980 por tan grato comentario, es un gusto enorme saber que miras mis publicaciones. Que tengas un bonito día ☺️🤗
Buen trabajo amiga, muy bonito modelo. !Cuanto talento hay en nuestra comunidad!!!👌👍😅
Gracias mi linda @giselleayala por tu bonito comentario ... Así es amiga, ésta comunidad, está llena de mucho talento. Excelente día ☺️🤗.
Muy bonito buena idea 📝
Lindo diseño de short. Gracias por compartir el tutorial. Saludos.
Gracias a ti mi linda @mariela-b por comentar. Saludos y muchas bendiciones 🙏☺️
Beautiful design, this is really full of calculation to achieve this top. You are really good. I love it